The Conversation (0)
Sign Up
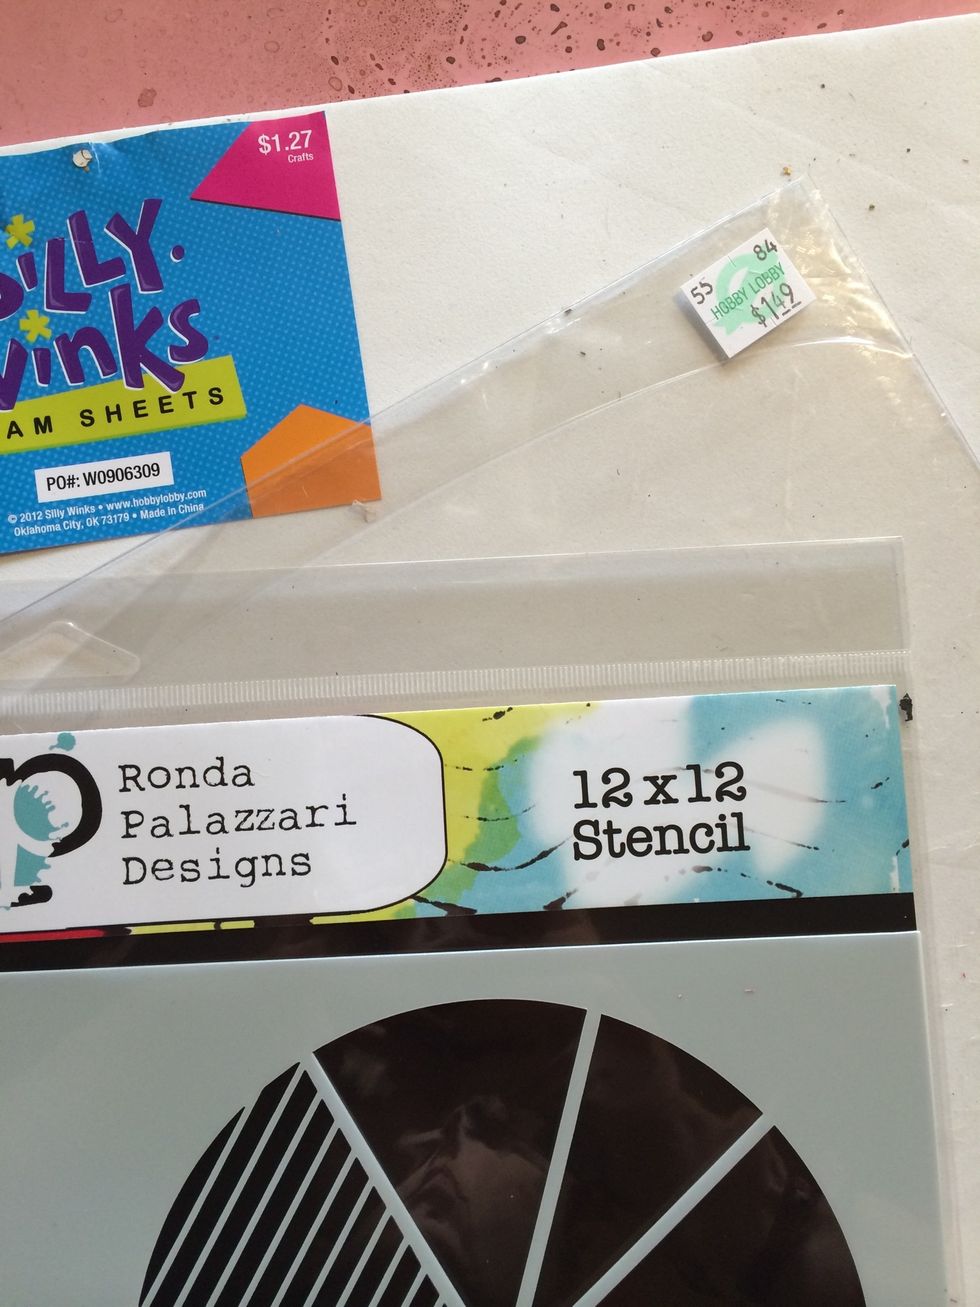
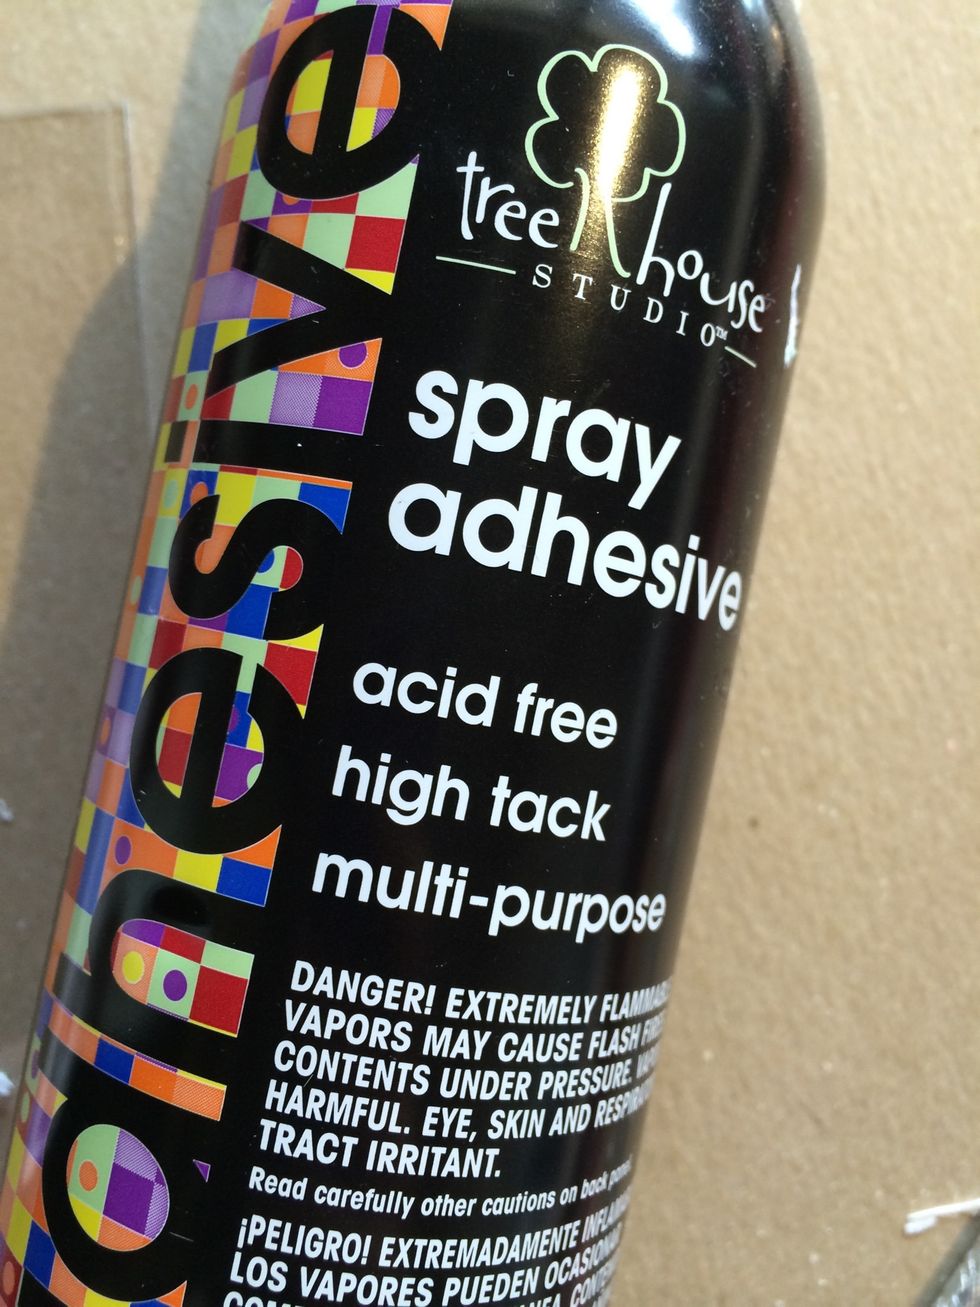
Start by gathering your supplies. My foam and acrylic are both from Hobby Lobby (pretty inexpensive as you can see) and my stencil is from The Crafter's Workshop.
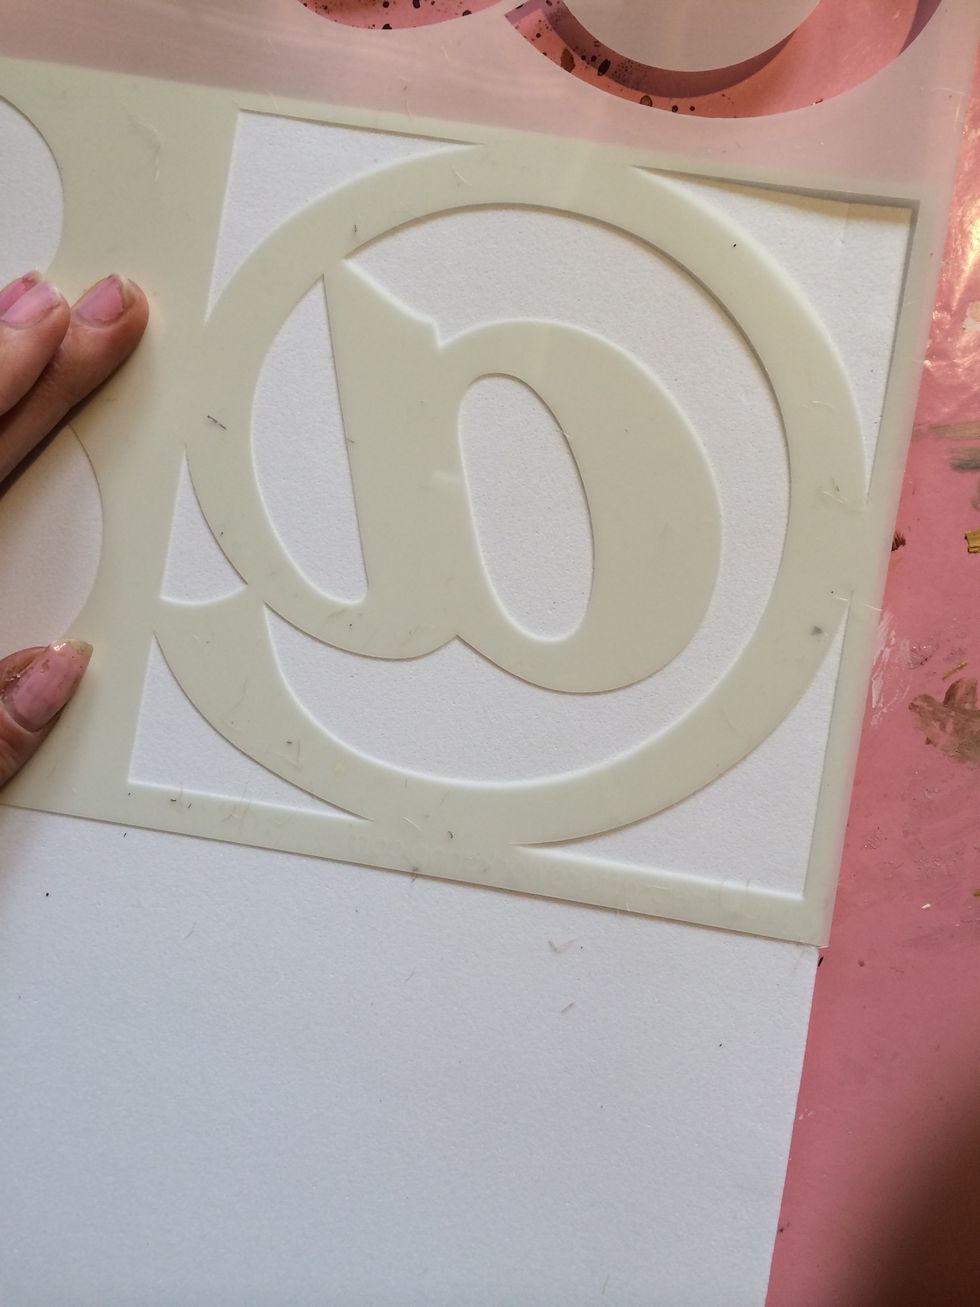
Lay your stencil down. It doesn't matter which way (face up or face down.) Since mine was a square shape, I used the corner to my advantage.
Using a black pen or a sharpie, trace the inside of your stencil onto your foam.
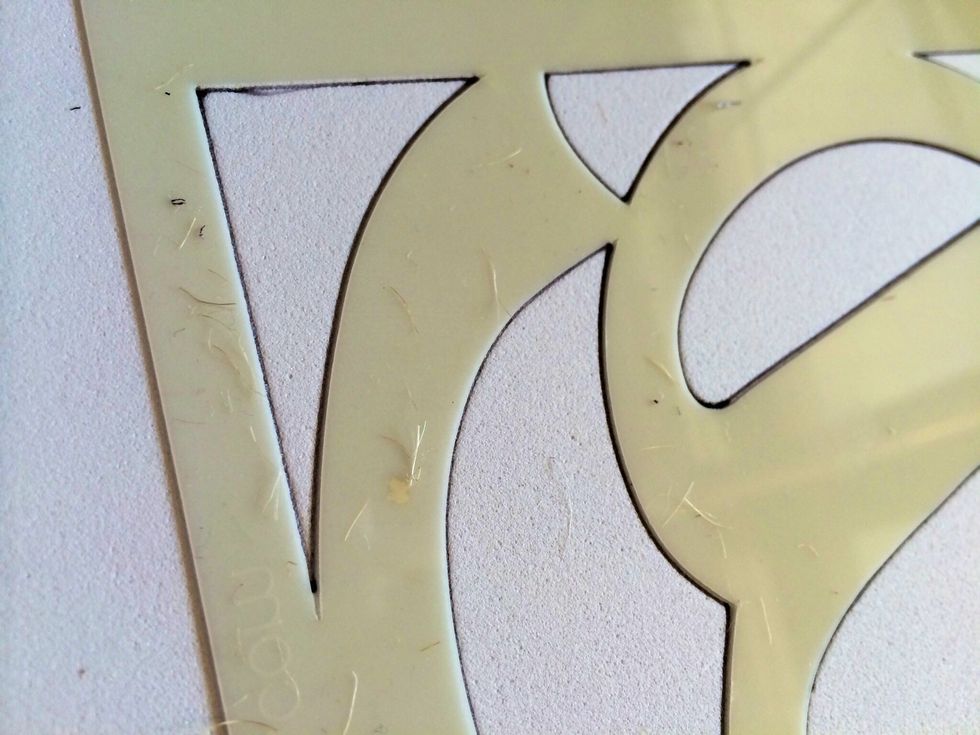
Make sure to get all the sections!
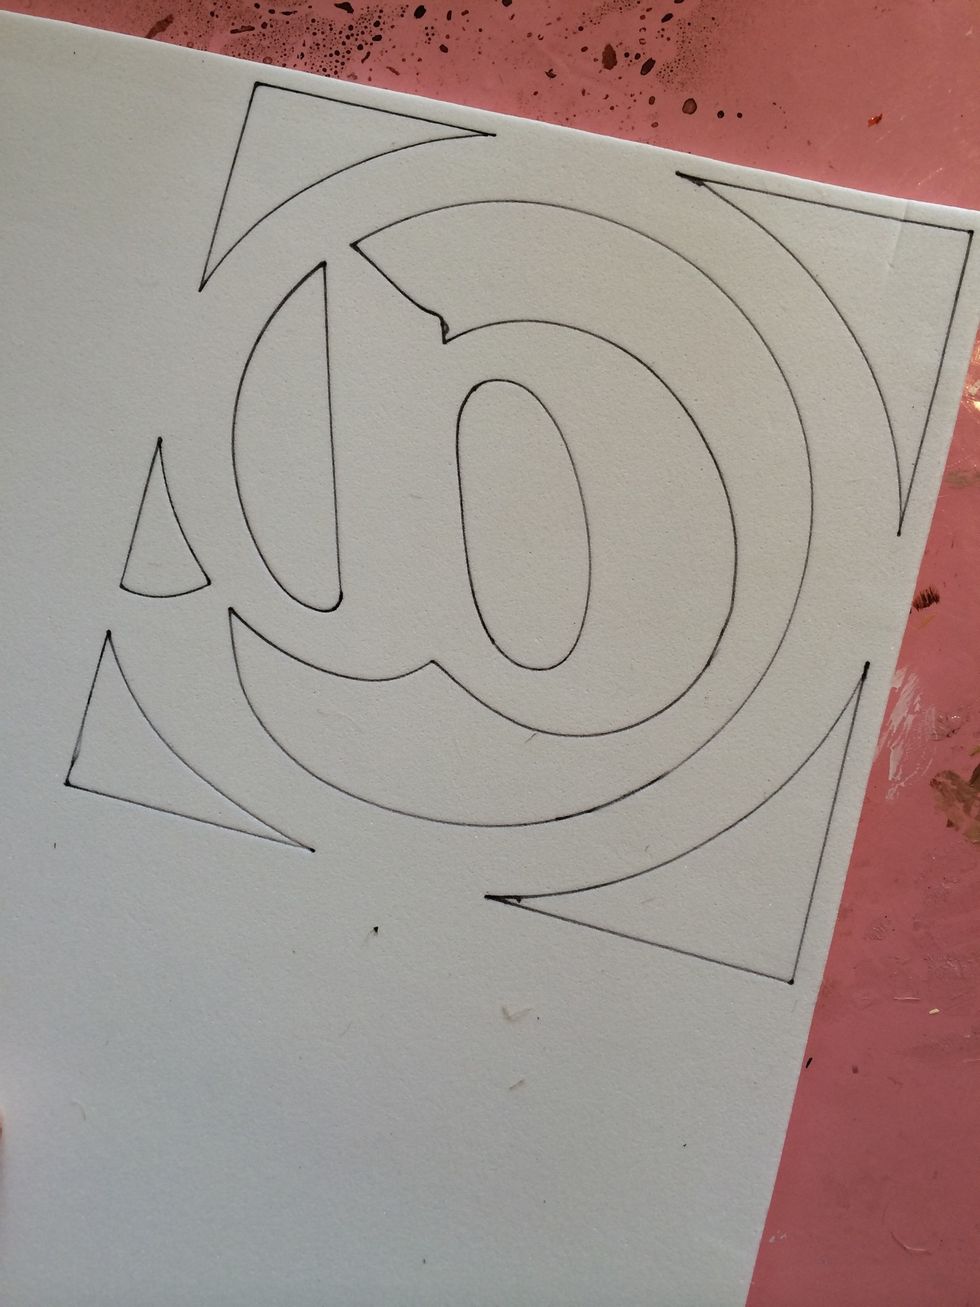
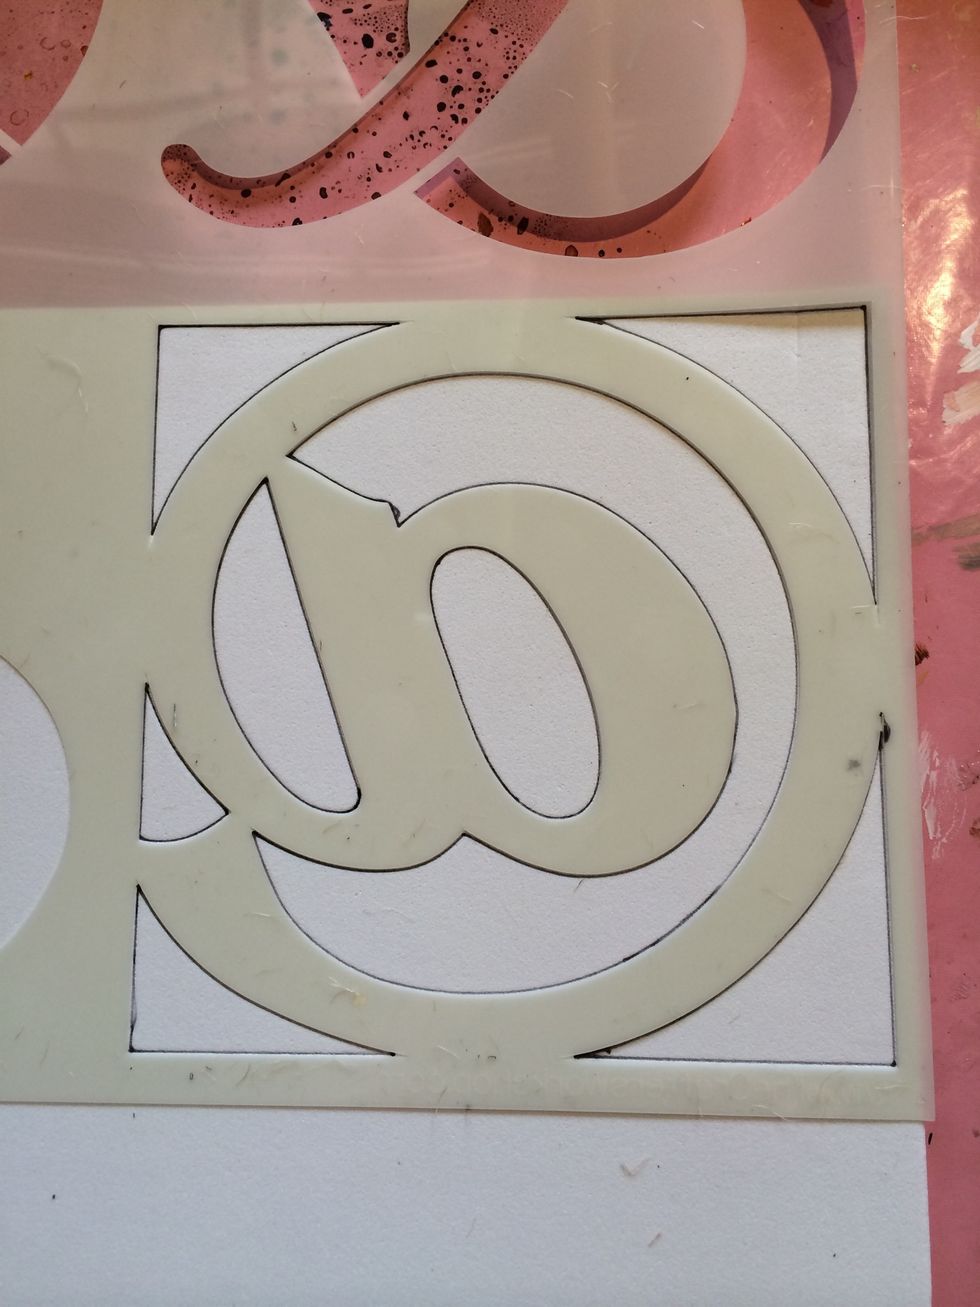
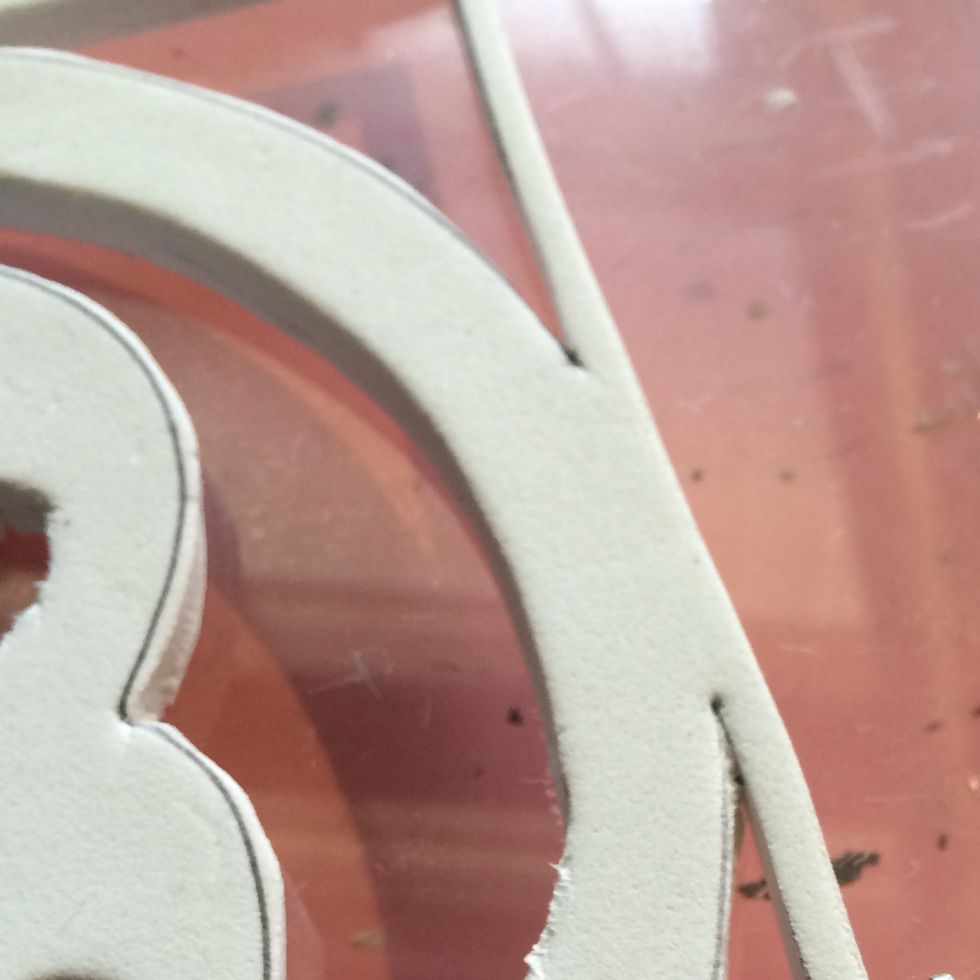
Once you remove your stencil, you should have a complete outline like this.
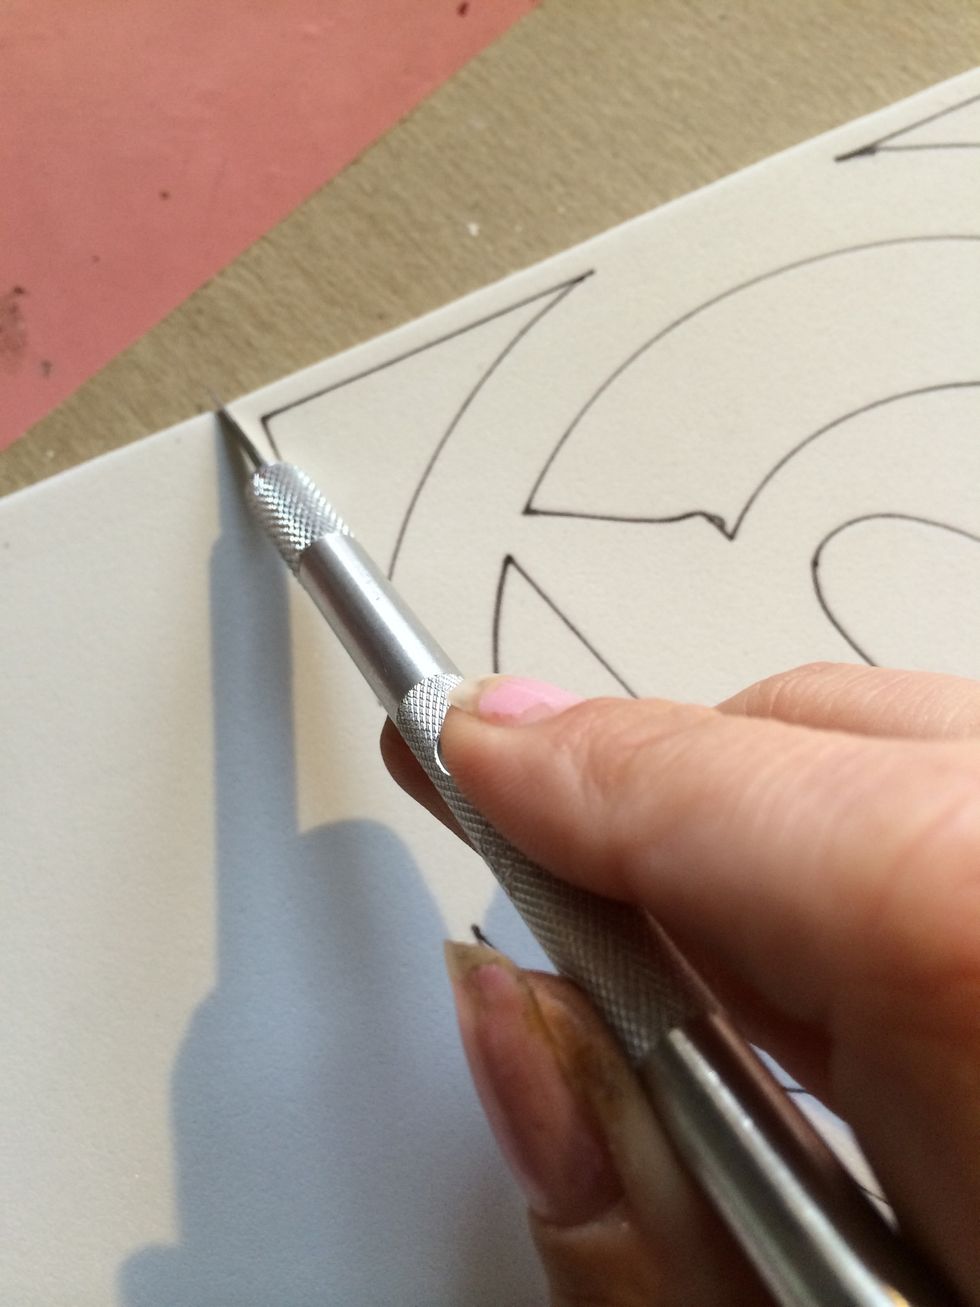
To make mine easier to handle, I cut around the area I had traced to make a smaller square
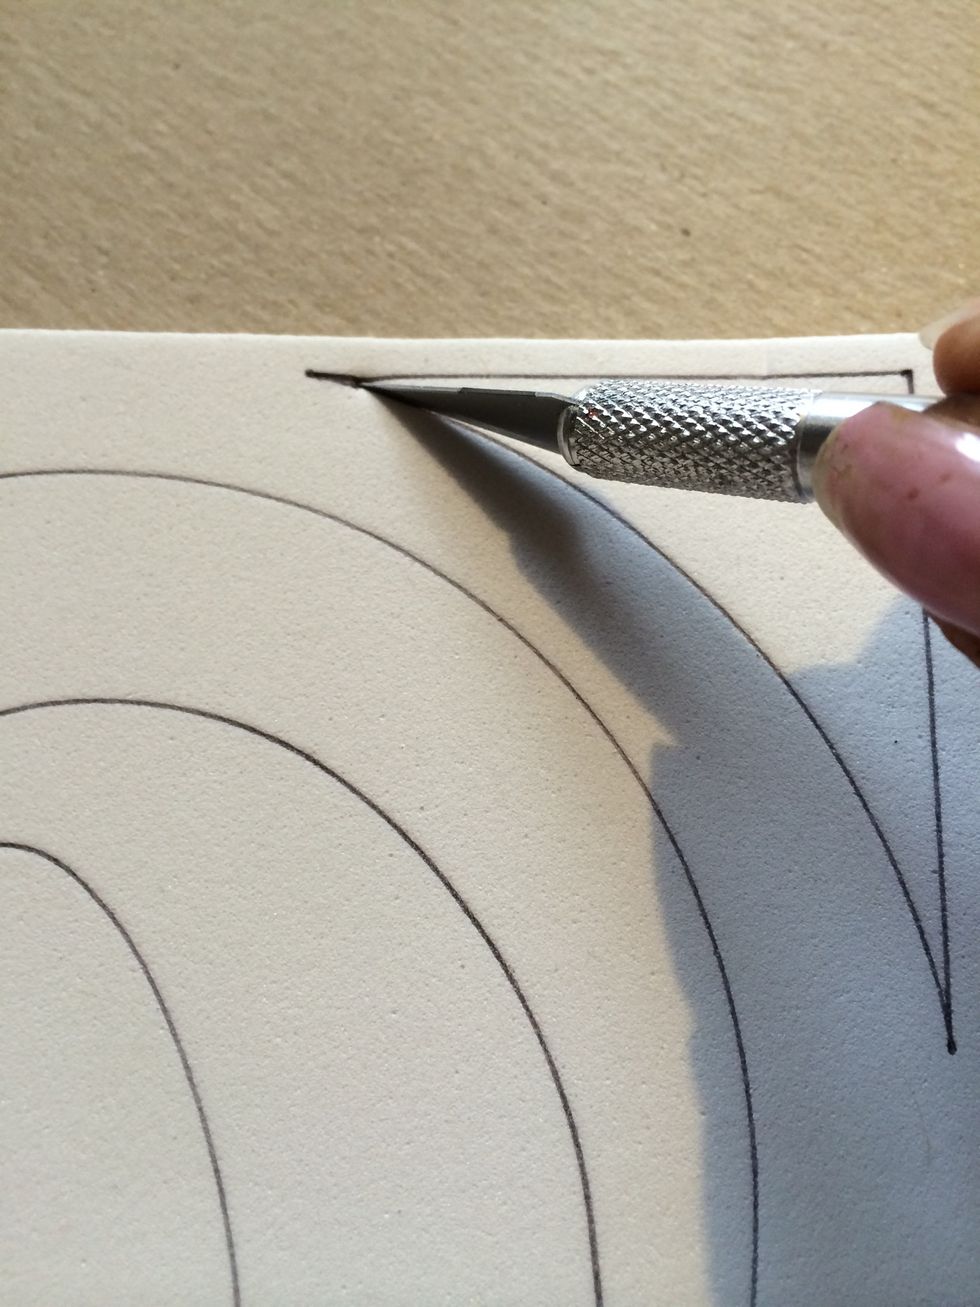
Next, using your exacto knife, cut out the segments of your pattern. Use your stencil as a guide if you need to. (Sometimes you wonder "does that stay or go!? Lol)
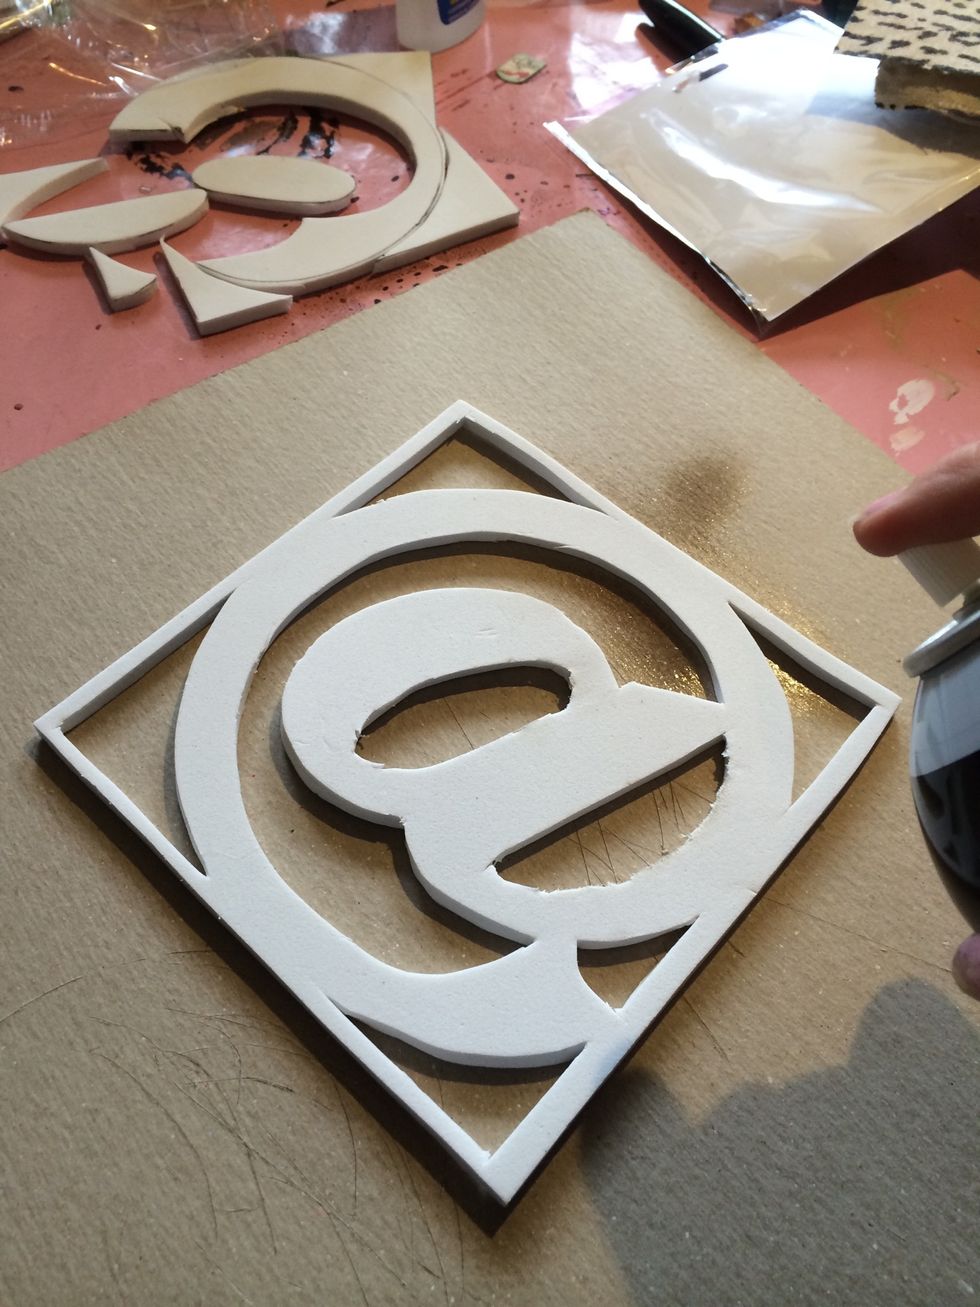
Once you're done you will have the foam part of your foam stamp! Now for the base.
Start by spraying your foam with a good dose of spray adhesive. IMPORTANT TO REMEMBER: once glued down, your image will need to be reversed, so make sure you add your adhesive to the correct side!
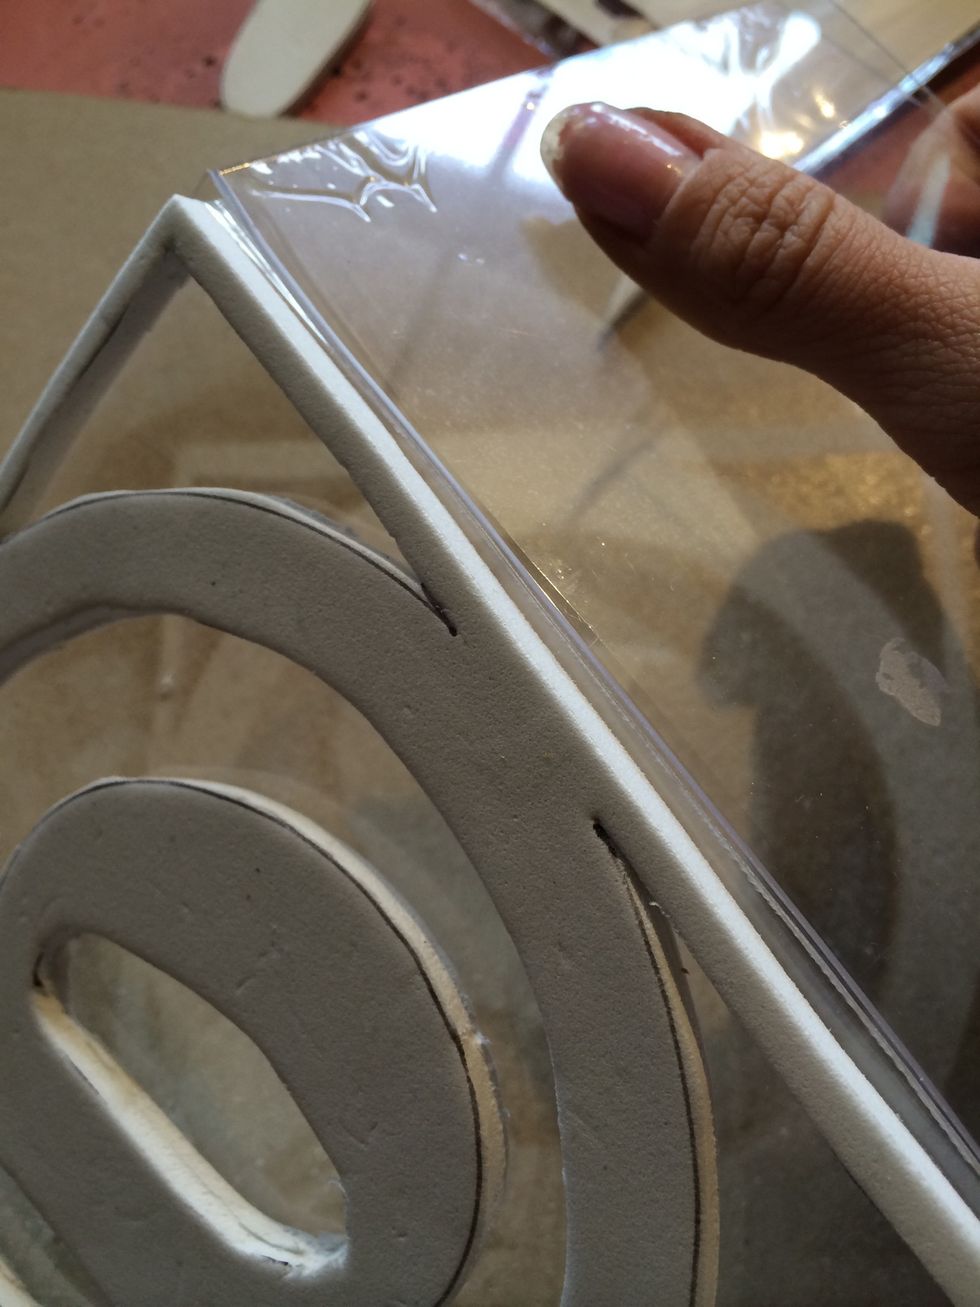
Apply the foam (adhesive side down) to your acrylic sheet. Some acrylic sheets have a thin plastic protective layer on them, so make sure to remove it first. Use even pressure or a brayer to press.
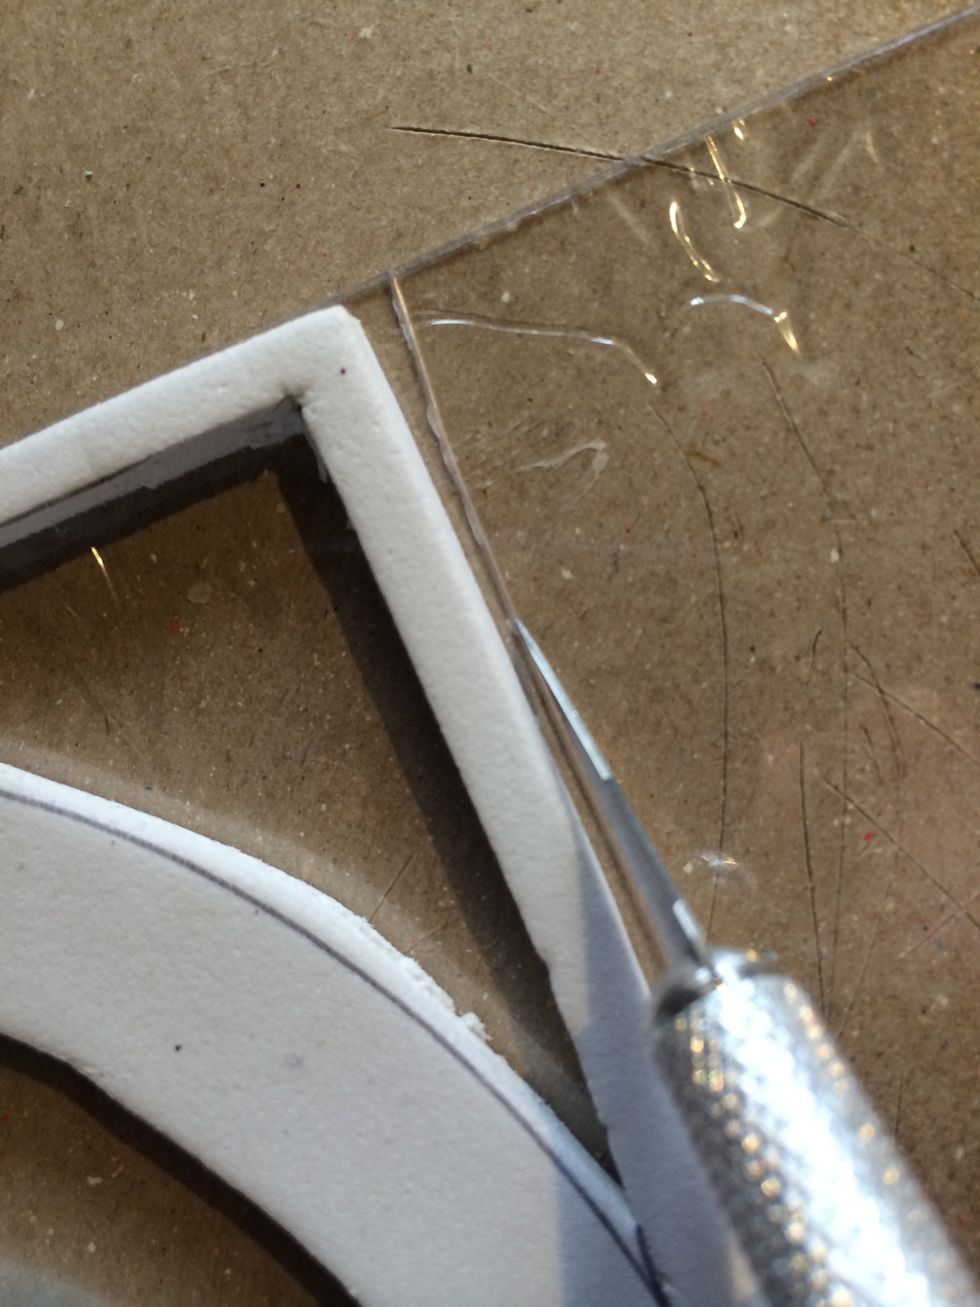
It is super easy to cut your acrylic to size now that you know how big your stamp is. Simply score with your exacto knife around your foam...
Then snap the acrylic. Repeat this on all sides as necessary.

Done!! As you can see, the image is reversed so that when it's stamped, it will face the right way. I
Thank you so much for joining me! To see a finished project with this Snapguide, check this out: http://www.thecraftersworkshop.com/blog/2014/09/1-stencil-4-ways-series-2/