The Conversation (0)
Sign Up
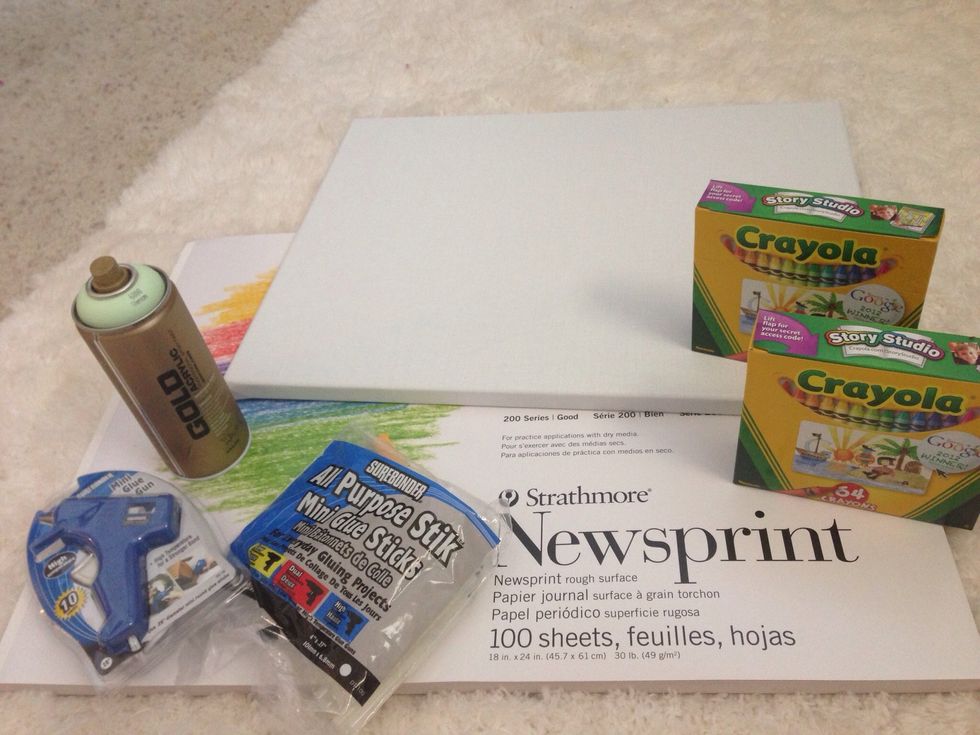
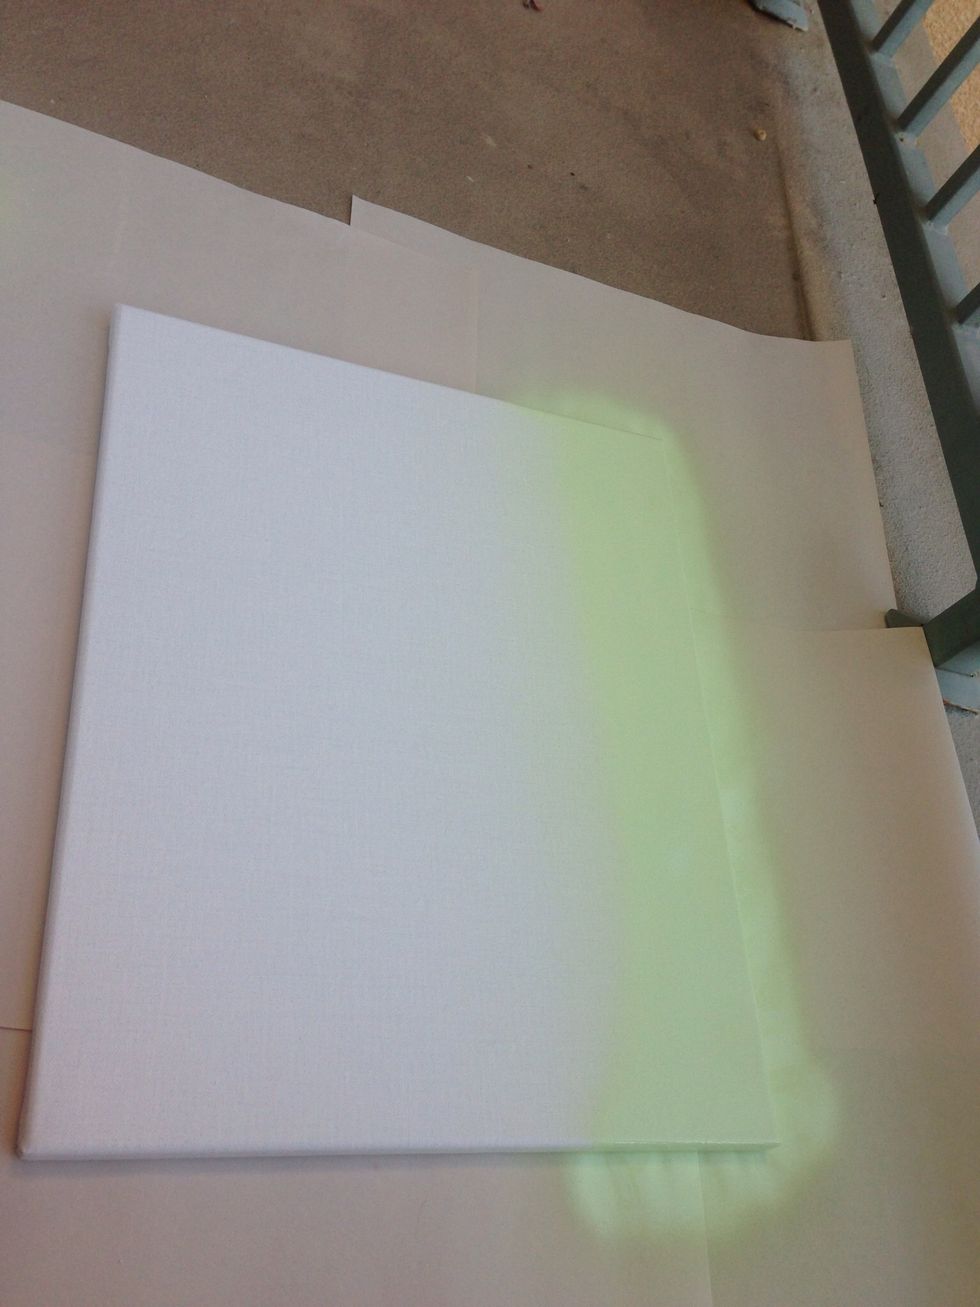
In a well-ventilated area, line the ground with newsprint. Spray your canvas with any color. Allow 30-35 minutes to dry.
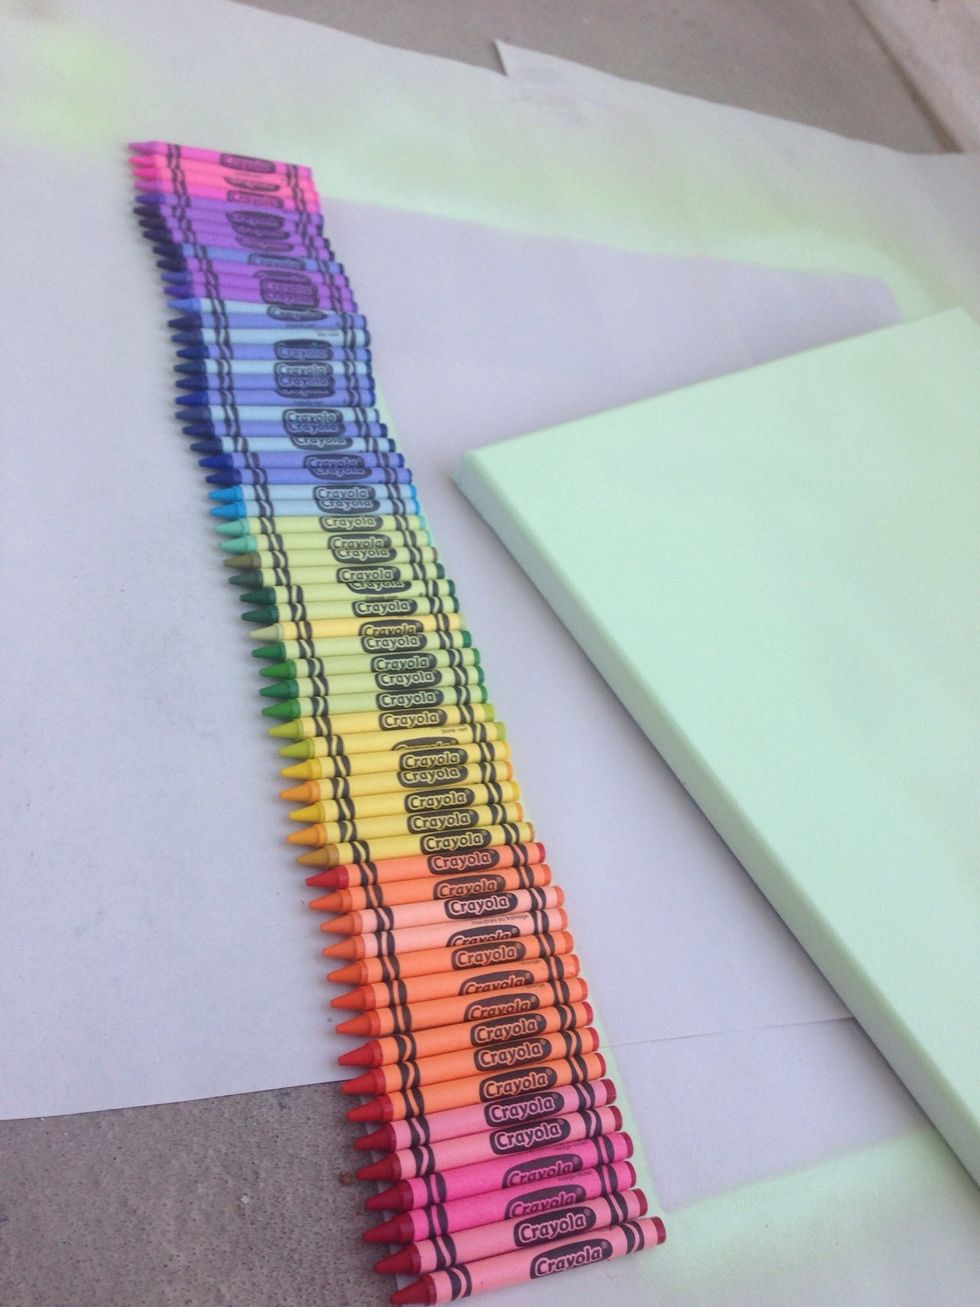
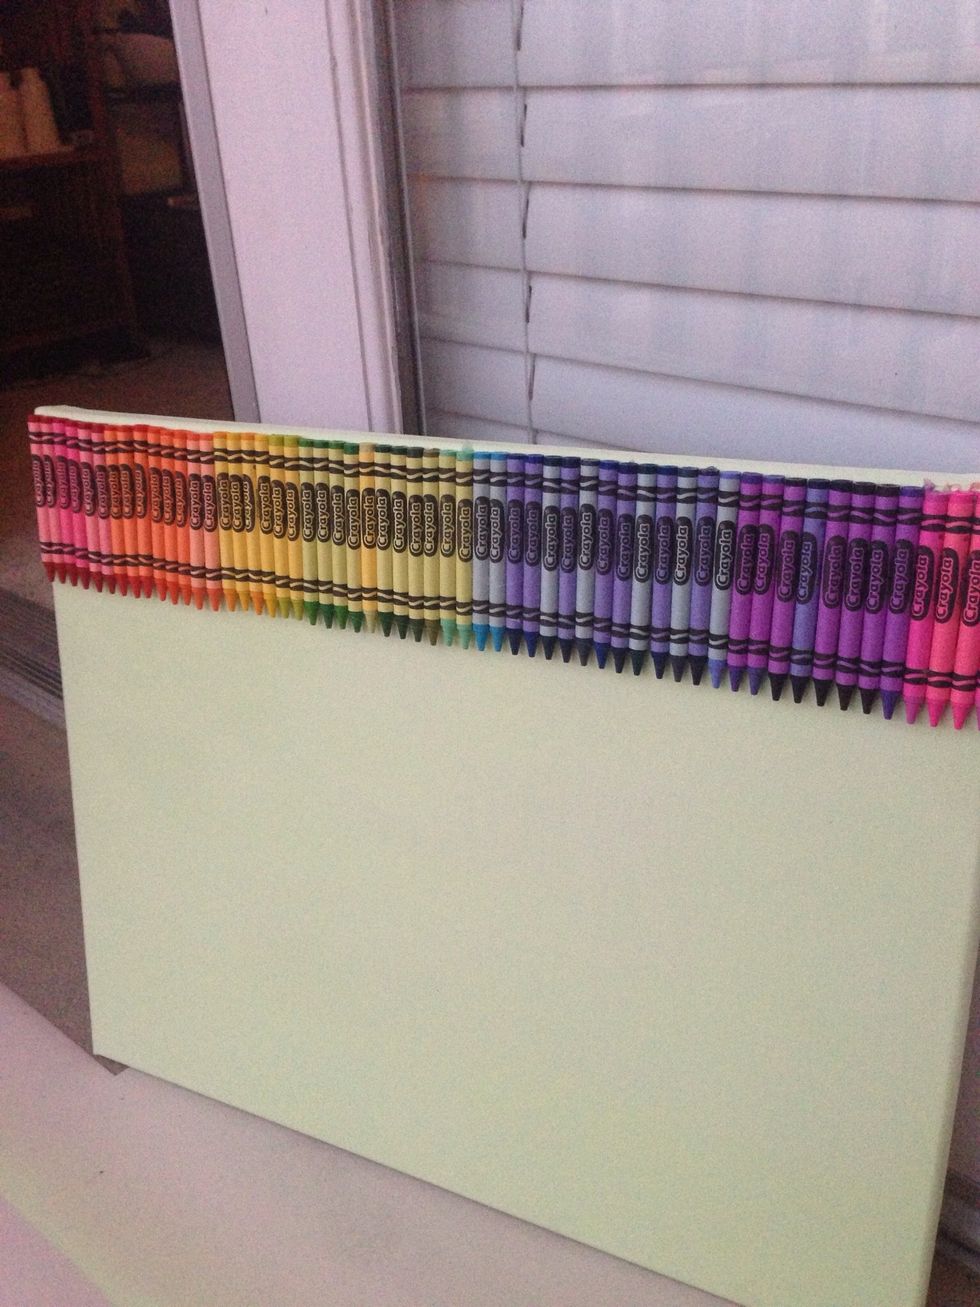
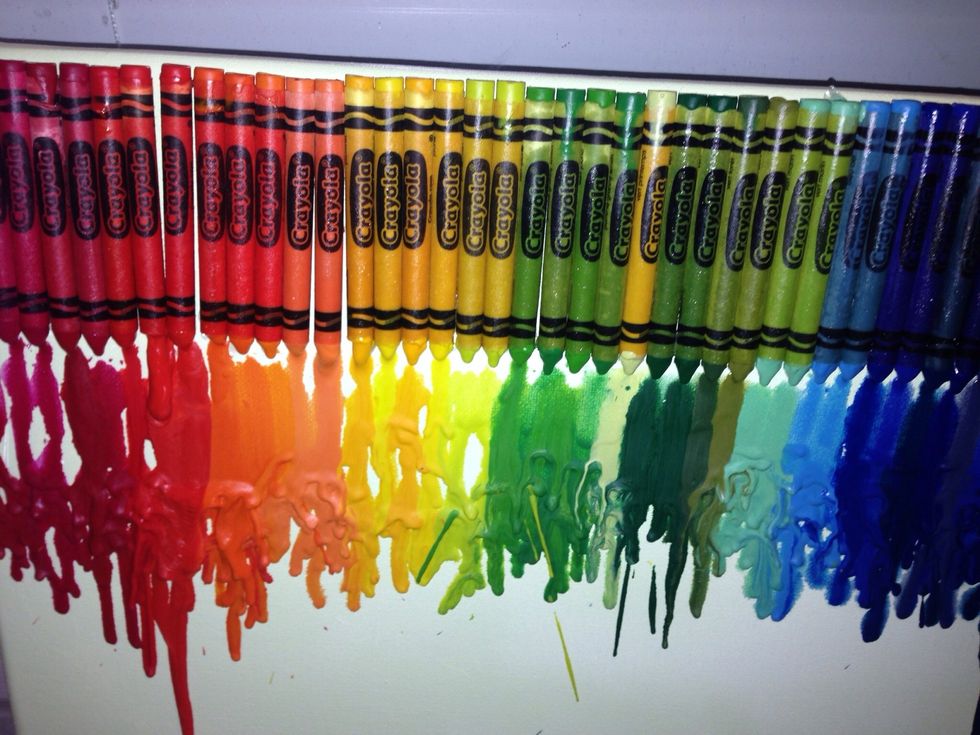
Line your crayons up along the edge of the canvas. Have fun matching rainbow colors, and make sure to remove dull colors like grey and brown.
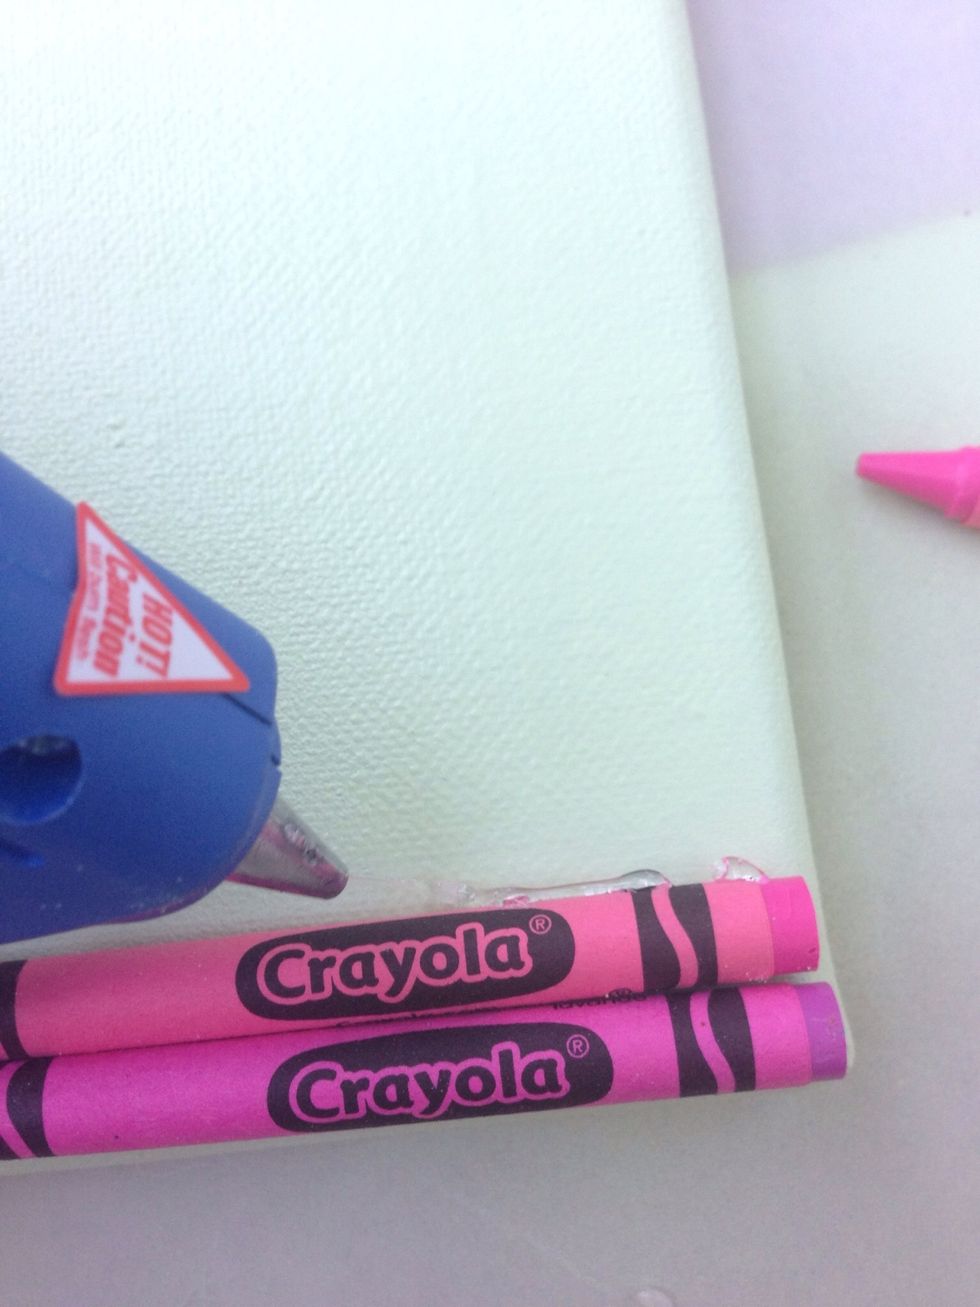
Plug in your hot glue gun, and make sure to have an adult help you.
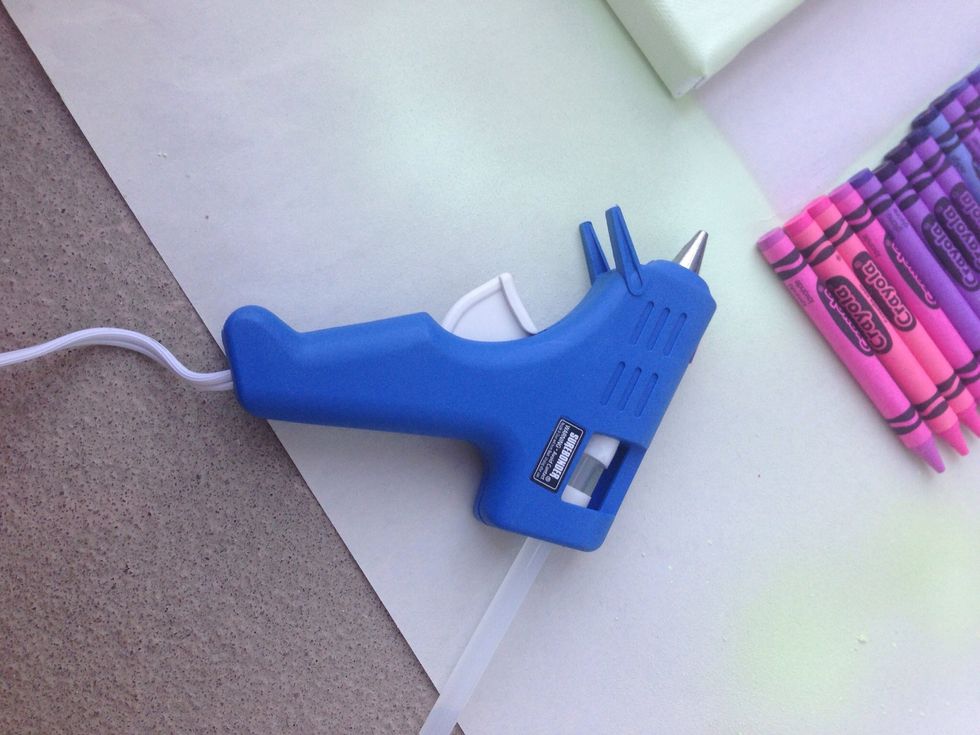
Distribute the glue evenly along the back of the crayon. Make sure you glue the crayon with the point up and the “Crayola” label facing forward.
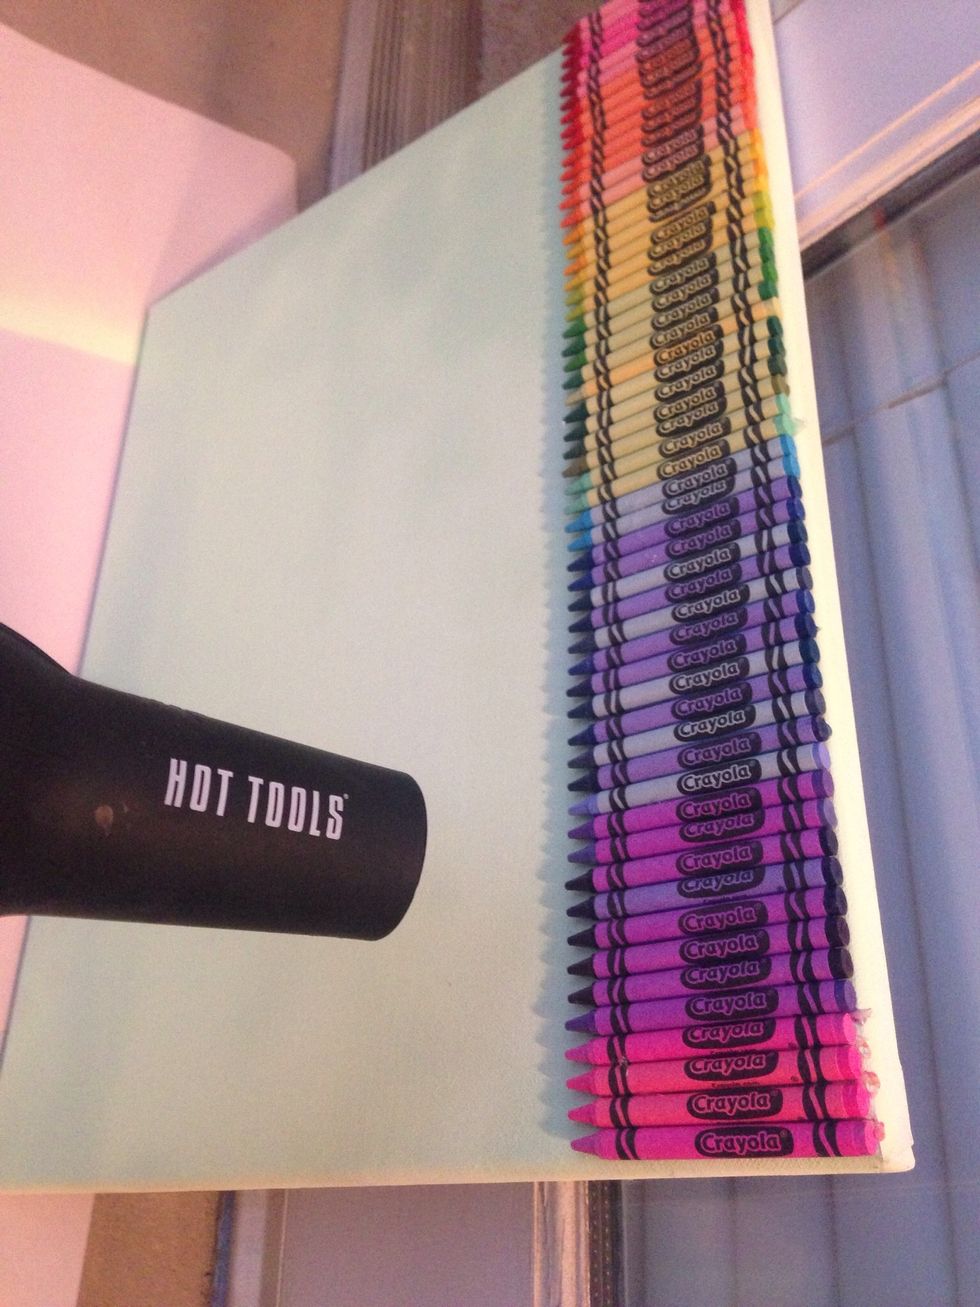
Lean your canvas against a wall. This gets very messy. Make sure to cover the entire area with newsprint. Now you’re ready for the fun part!
Set your blow dryer to high heat and aim it towards the middle of the crayon, moving downwards.
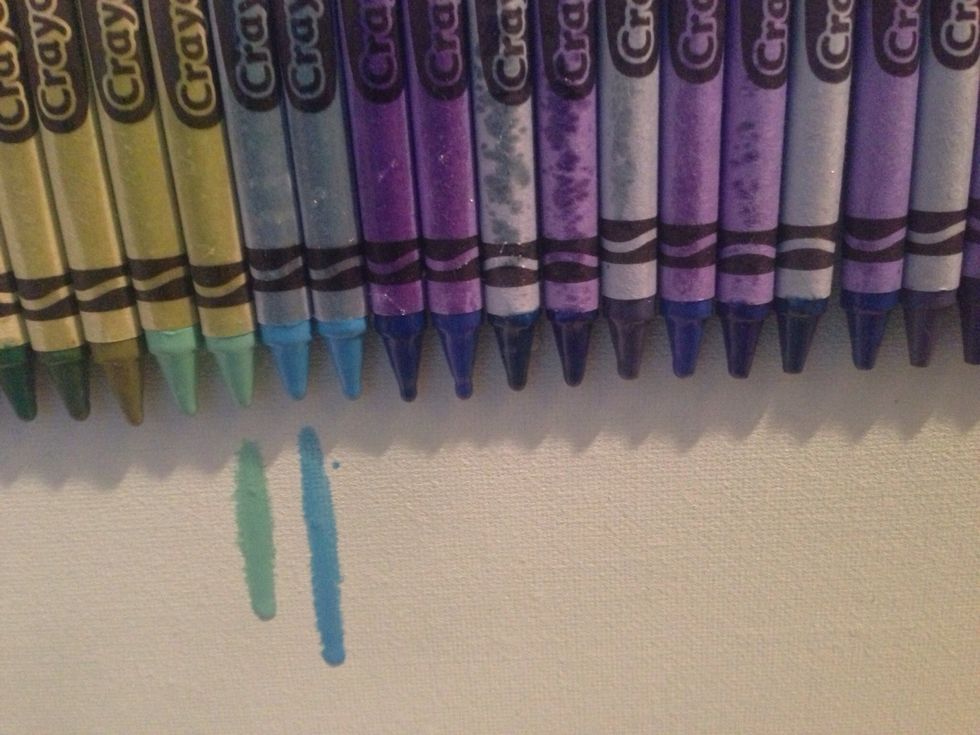
Be patient! You will notice the crayon tips becoming shiny before they start to melt. Move one section at a time. After about 5 minutes the wax will begin to drip
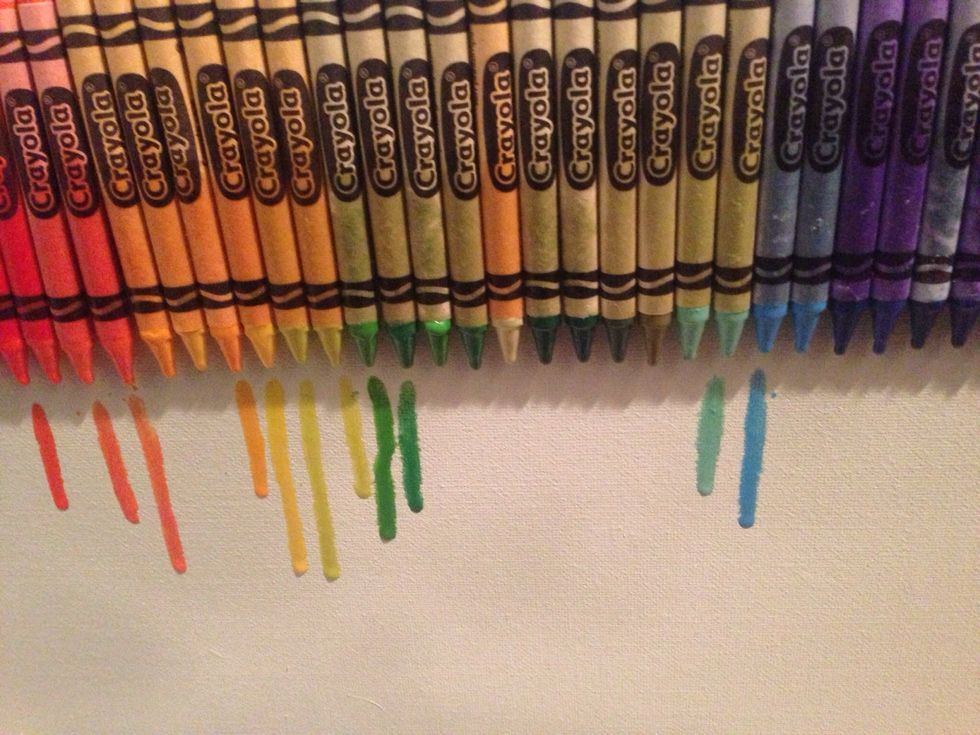
In a few minutes, the crayons will begin to melt faster and you will see the colors begin to melt. Some colors (like yellow) take longer to melt while others (like blue) melt faster.
Once you get the hang of controlling the heat, you can decide what color you’d like to see more of. If the crayon starts to clump, hold the blow dryer closer for a few seconds to let it distribute.
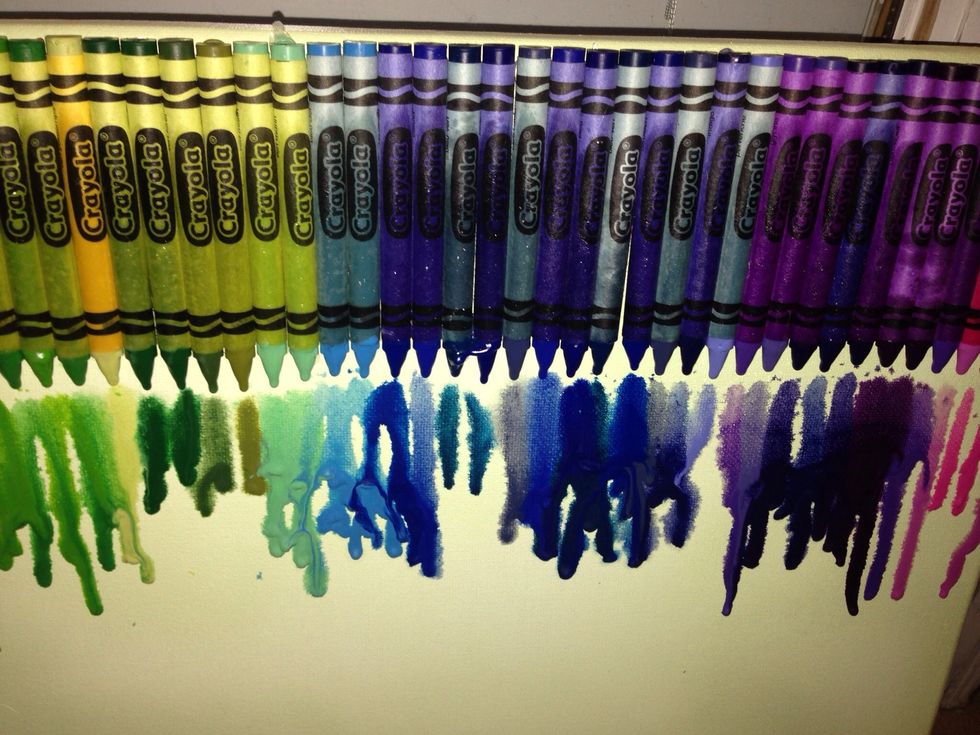
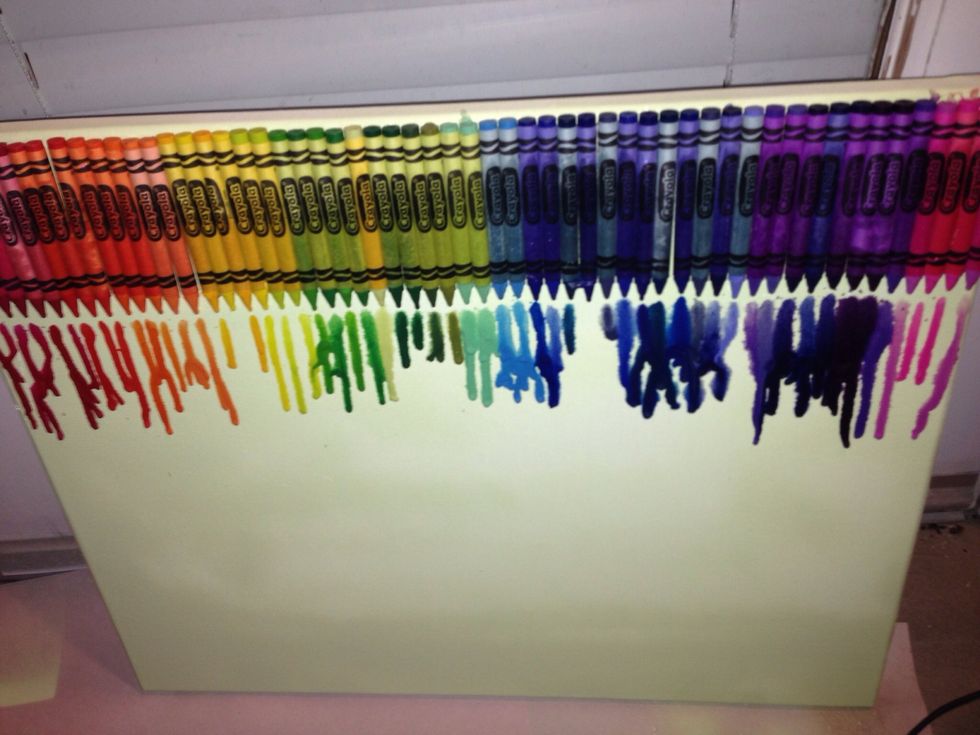
Deciding when to stop is up to you! Let the colors drip and mix and cover up over half the canvas
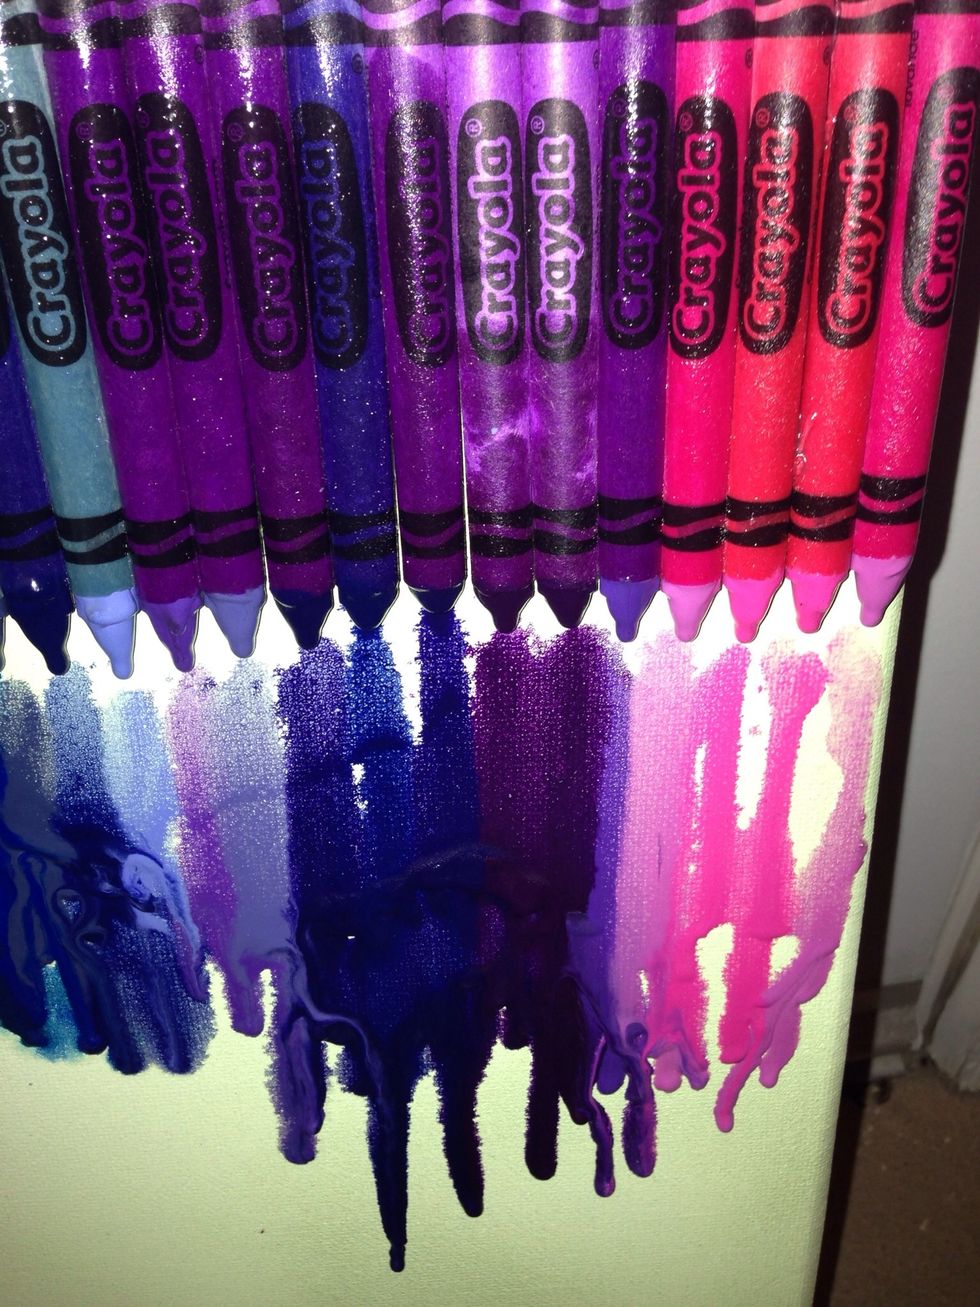
Deciding when to stop is up to you! Let the colors drip and mix and cover up over half the canvas