The Conversation (0)
Sign Up
We’ve teamed up with Gymboree to share a step-by-step guide to customize unique and adorable animal socks that are perfect for your child’s back to school wardrobe.
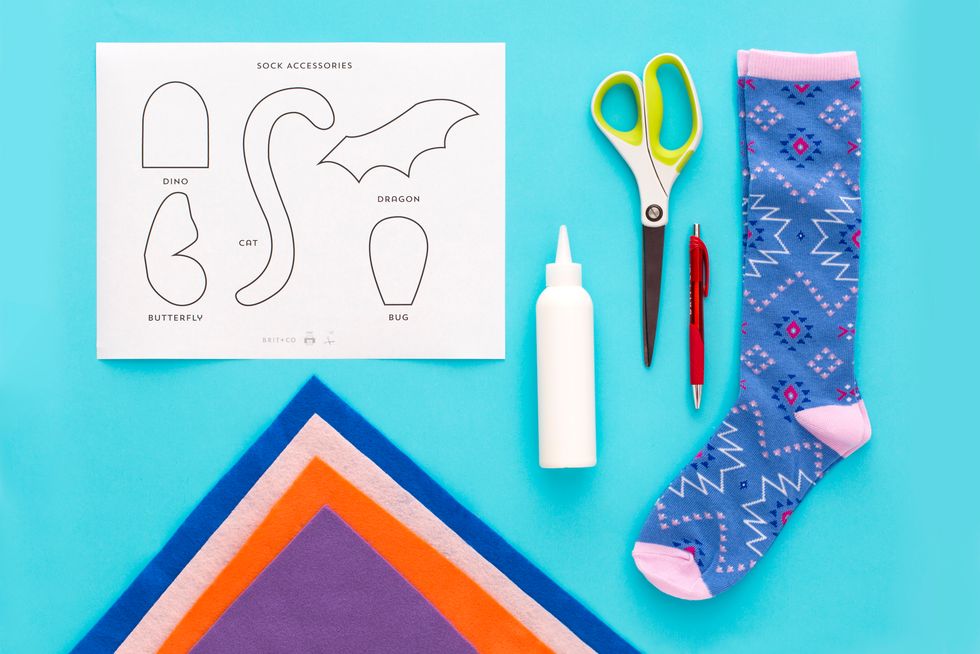
1. Gather your supplies.
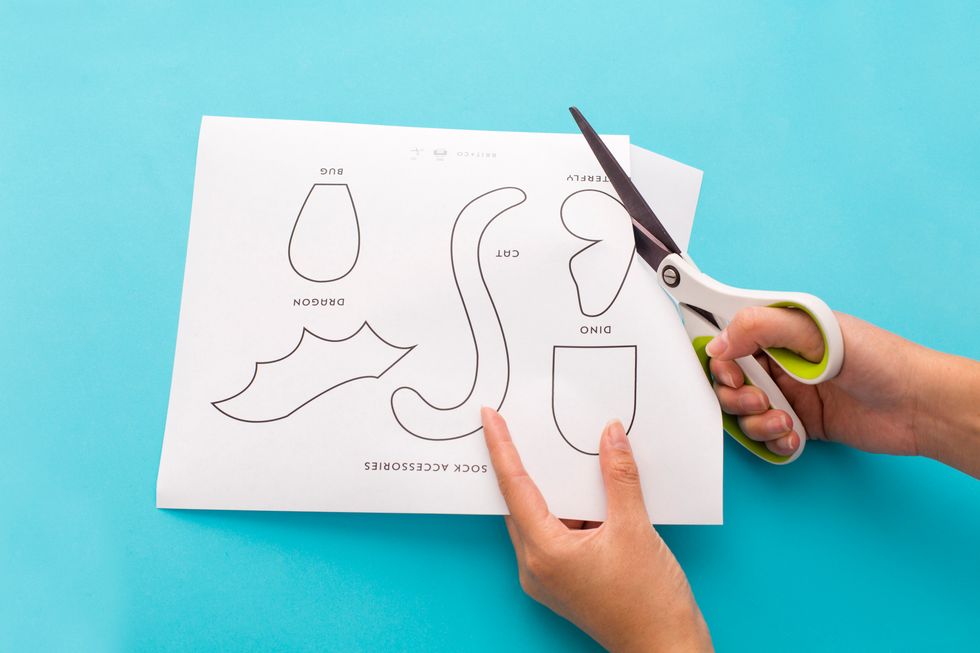
2. Cut out your stencil.
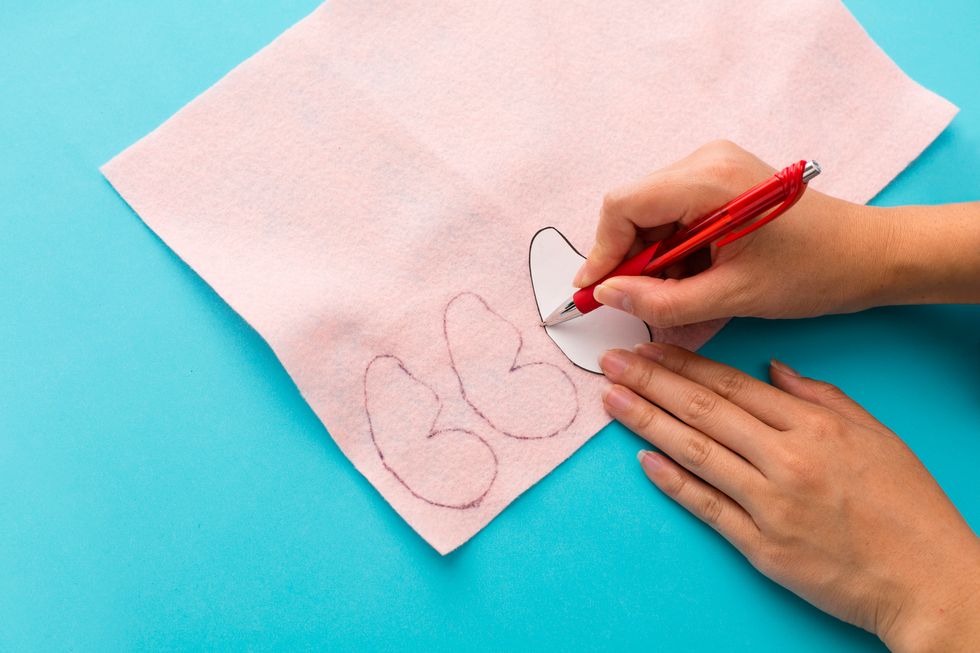
3. Trace your stencil on felt.
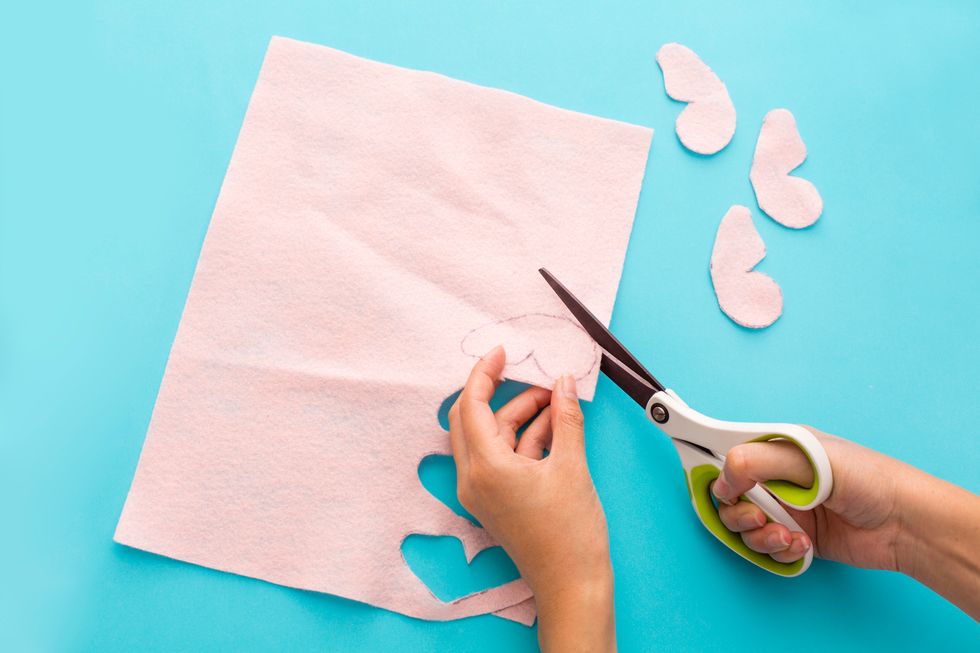
4. Cut out your shapes.
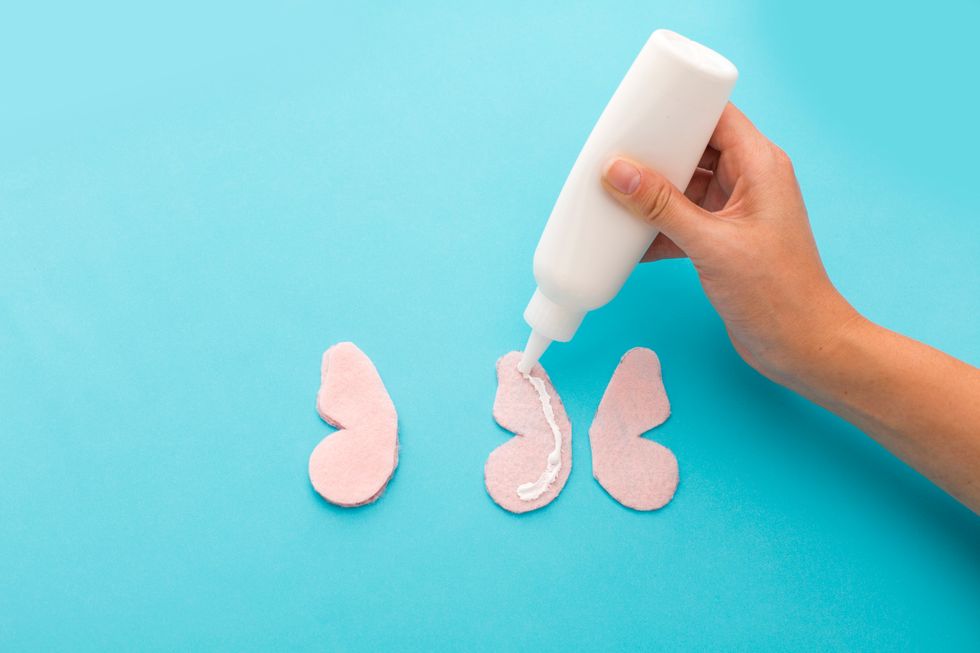
5. Glue two of your shapes together to make your wing thicker.
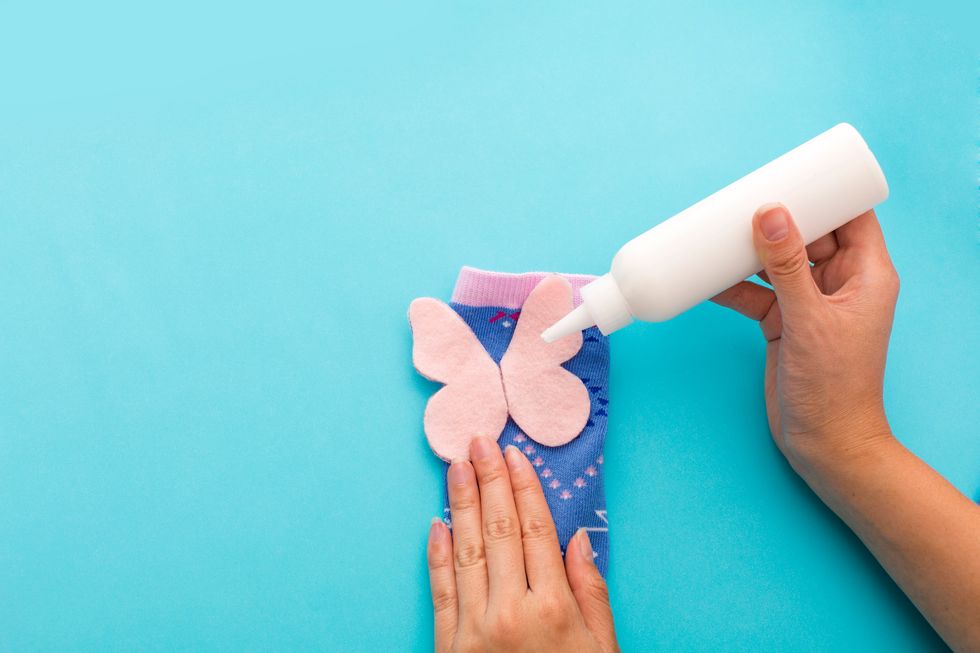
4. Glue your wings on your sock with fabric glue and let dry.
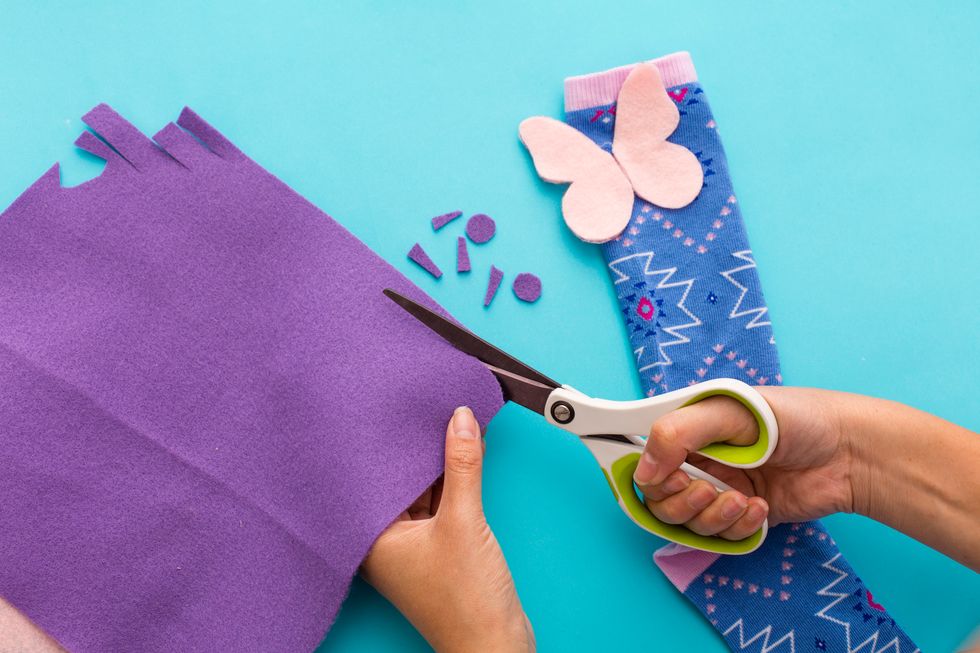
5. Cut out more shapes with a different colored felt.
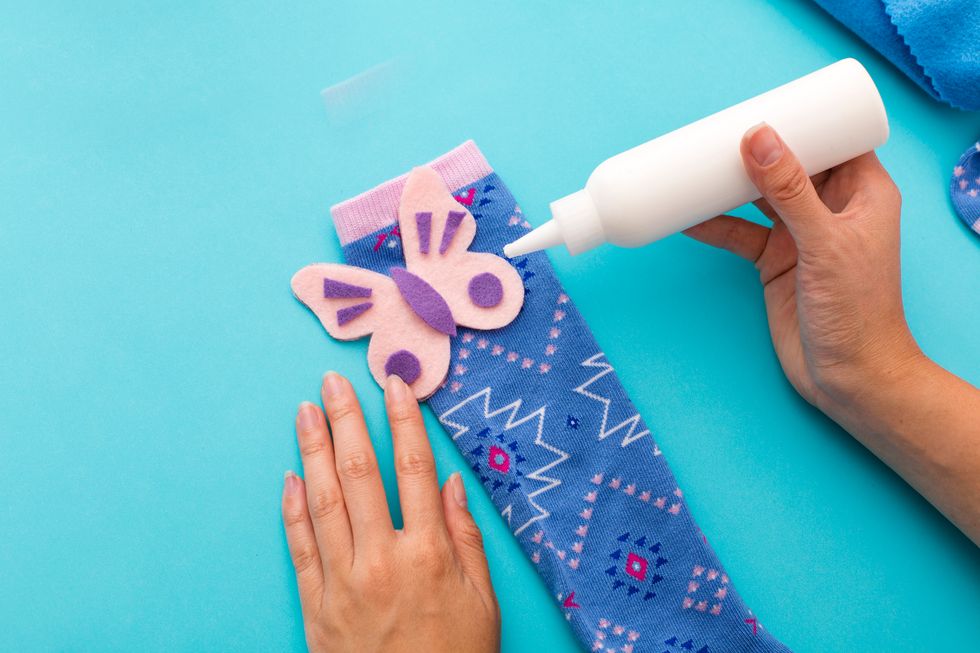
6. Embellish to your heart's desire.
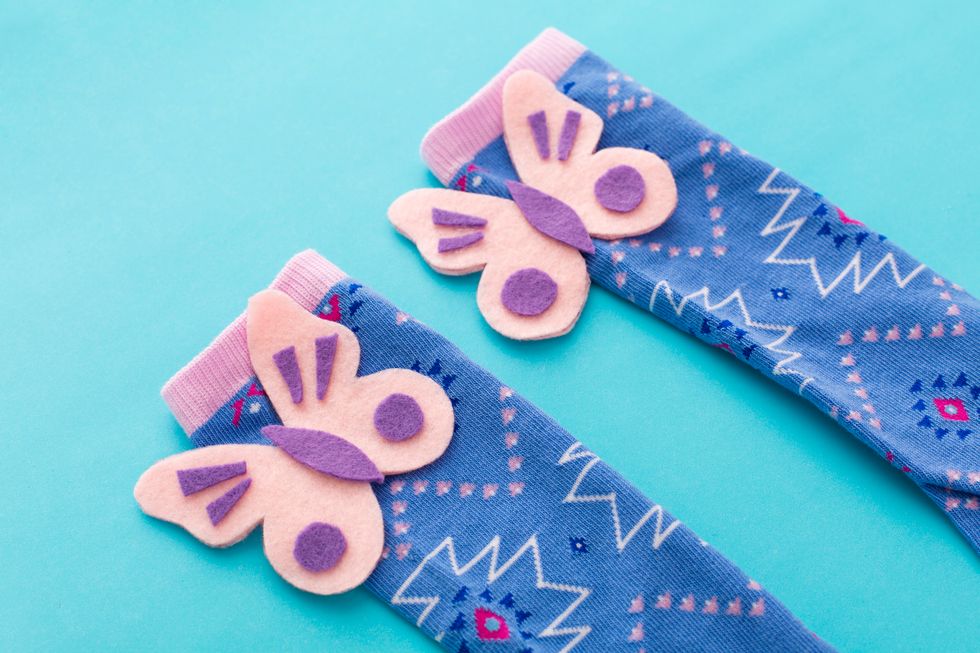
7. Admire your work.
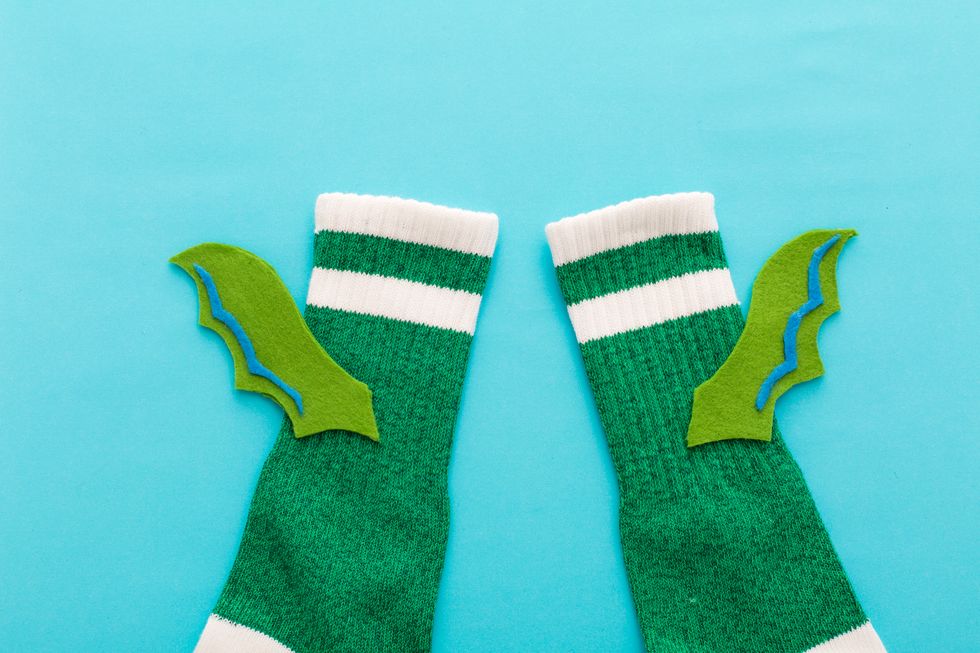
8. Continue the DIY fun at home with another pair for flair!