The Conversation (0)
Sign Up
Common materials for making knotted jewelry and accessories are: embroidery floss, cotton braiding cord, hemp and silk rattail cord. You will also need something to secure your work, such as...
A safety pin or clipboard. I recommend a clipboard (with a ruler if possible) I also highly recommend the kind with the strait flat clip rather than the bent kind. This makes for straiter knotting.
You may want to use other findings, such as jump rings or clasps. If you'd like to see a guide on adding those let me know! 😃let's get started!!
Please take note that I do not tie like this generally, as you practice your hands will fall into a comfortable pattern, for the sake of teaching I tried to slow it down and clearly show the steps.
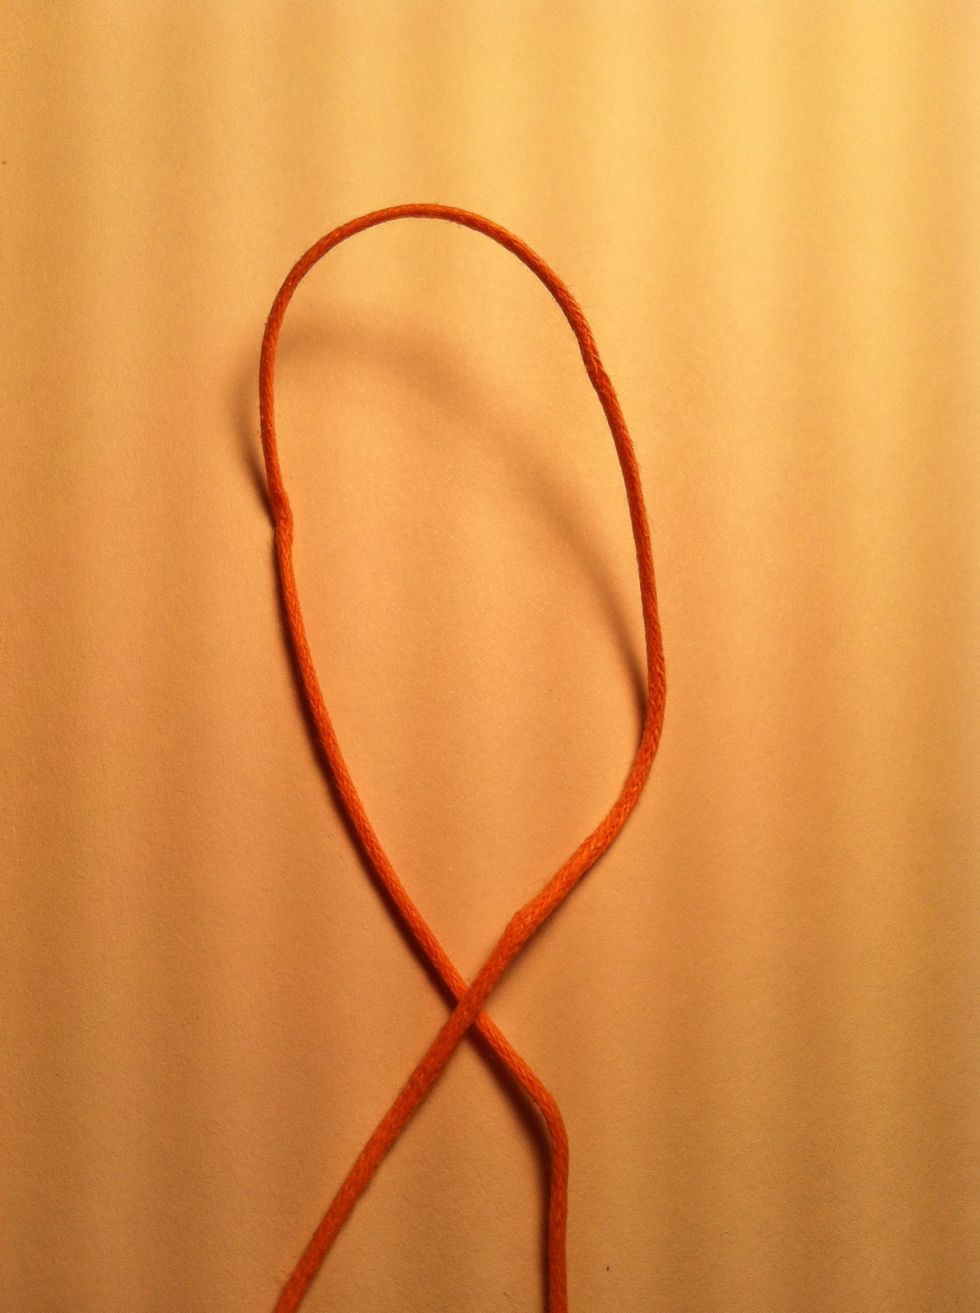
Here's the list, ignore the arrow that's for later lol.
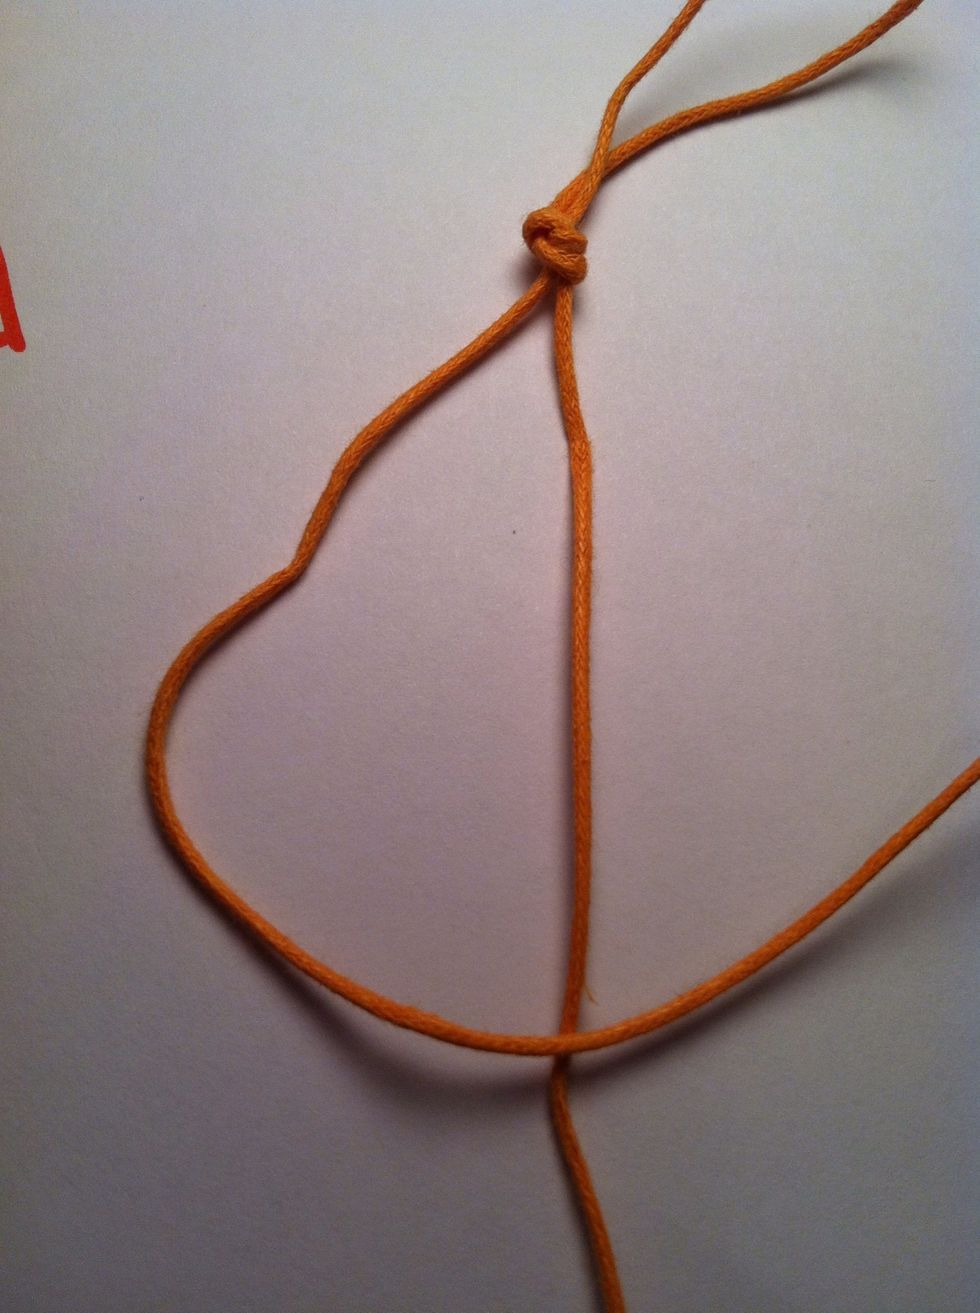
Make a loop, tail end on top.
Put tail through loop from behind.
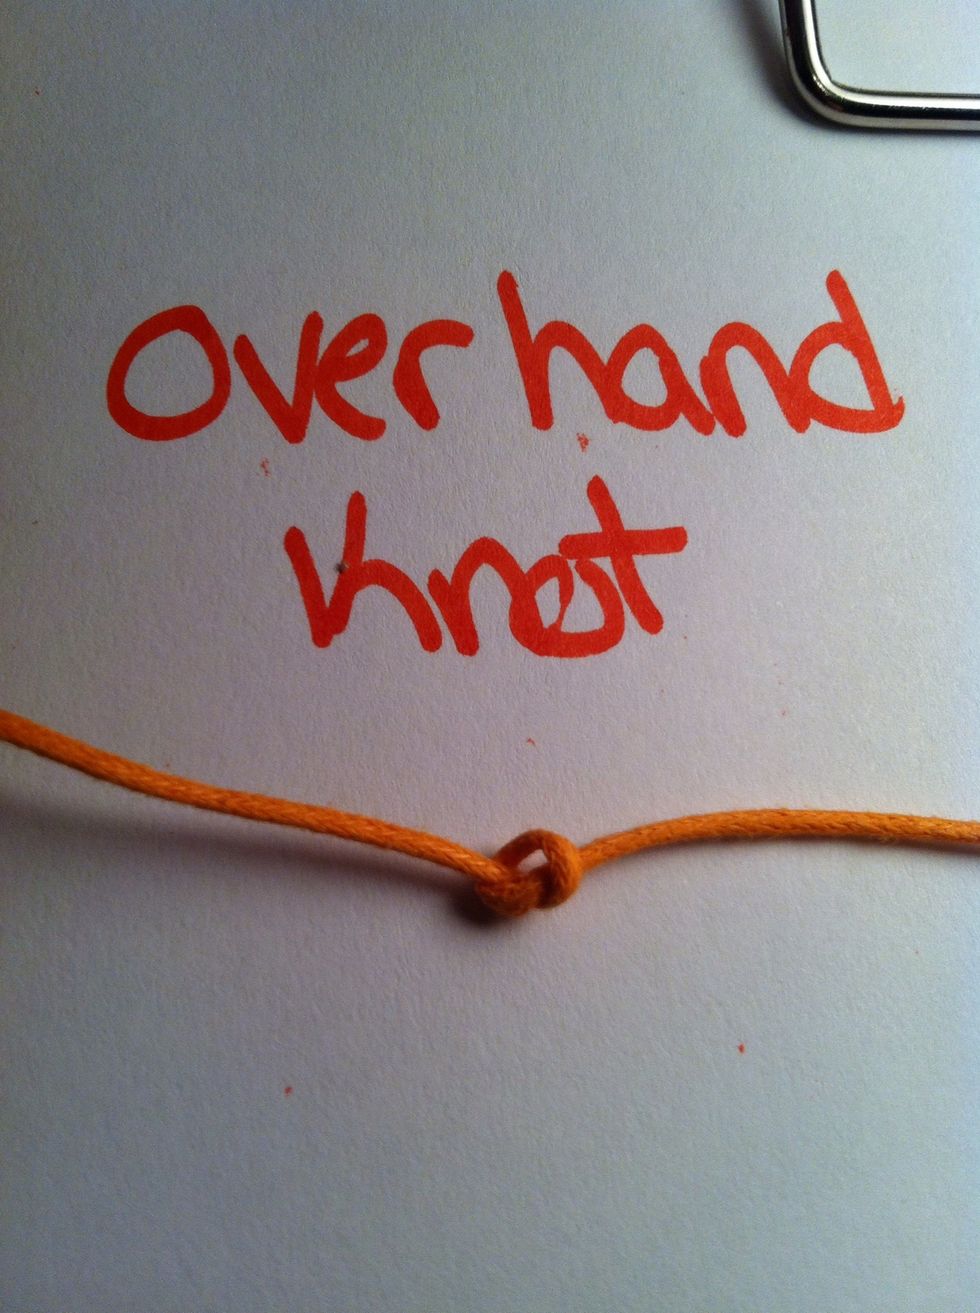
Pull tight. This can be done with and number of 'strings'. To get a tight overhand knot using multiple strings, tug on each tail separately after you've tied your knot.
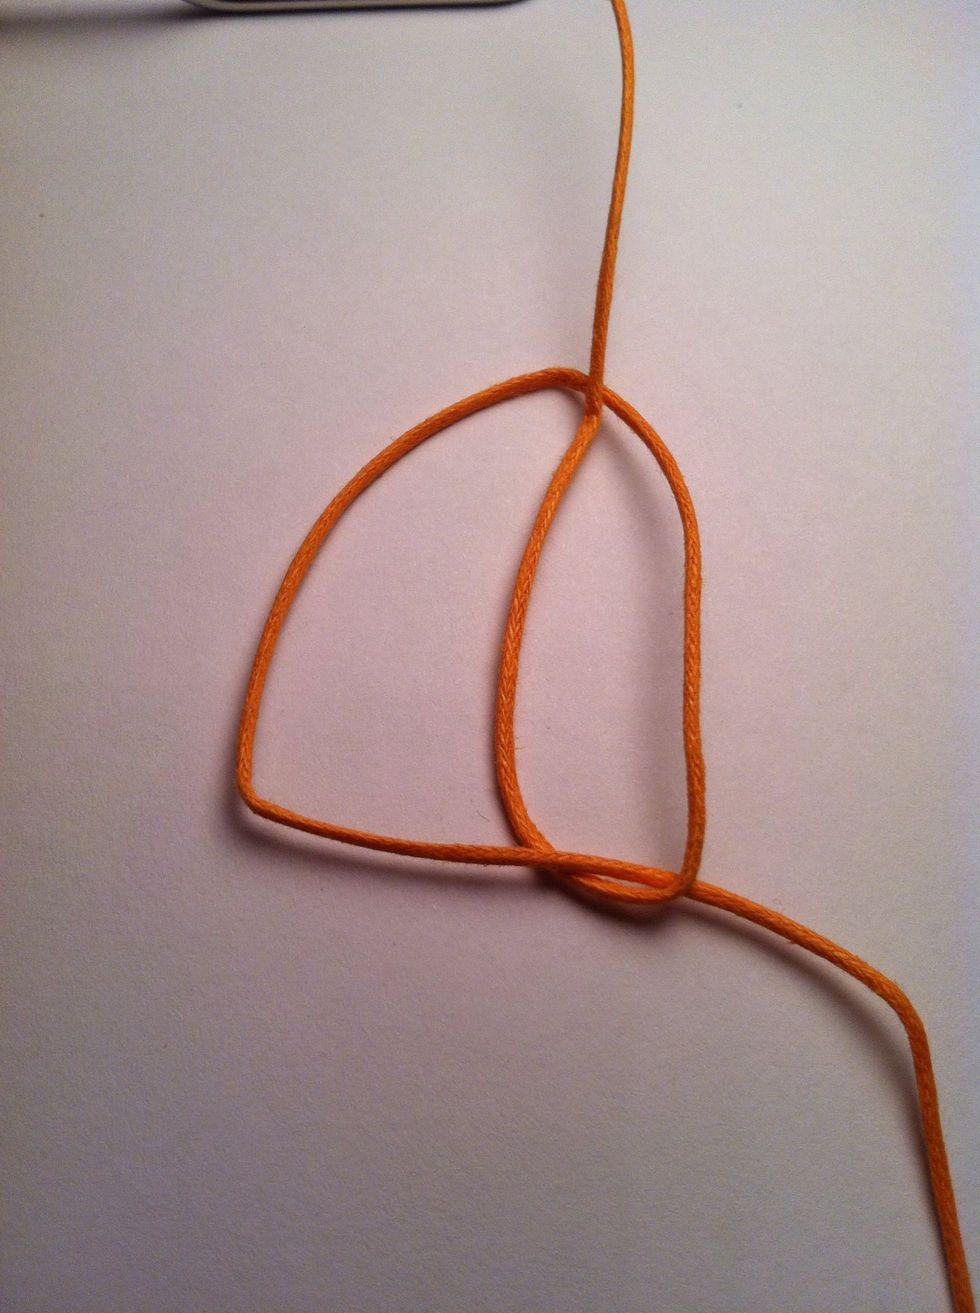
... The loop. Pull tight. This knot is usually used for securing strands to a rod or key ring amongst other things.
Fold and create loop. Place behind the object.
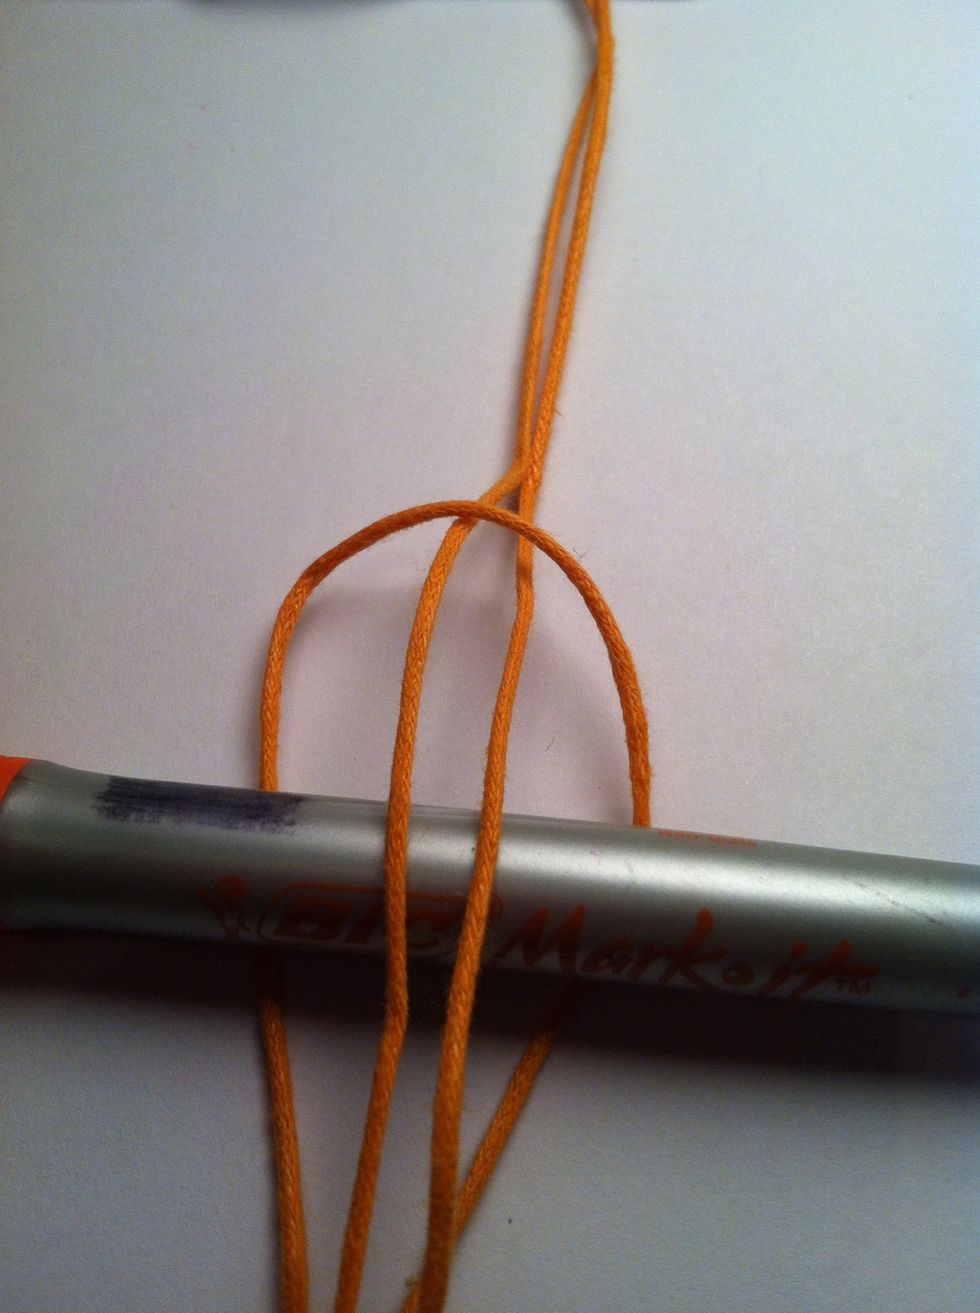
Bring the tails up and over the object and through the loop.
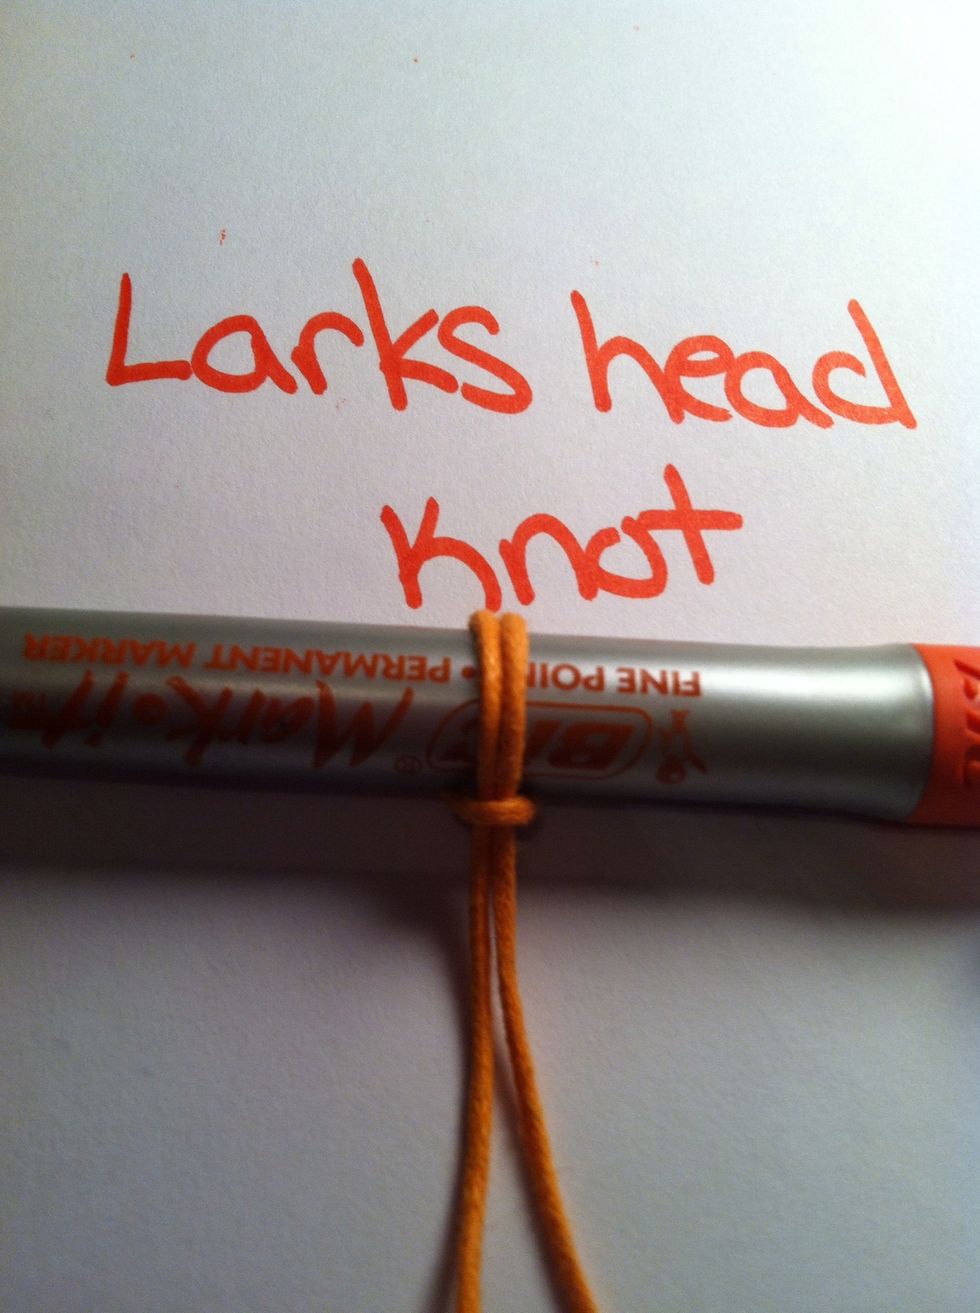
Pull tight and arrange to your preference. I usually prefer this side.
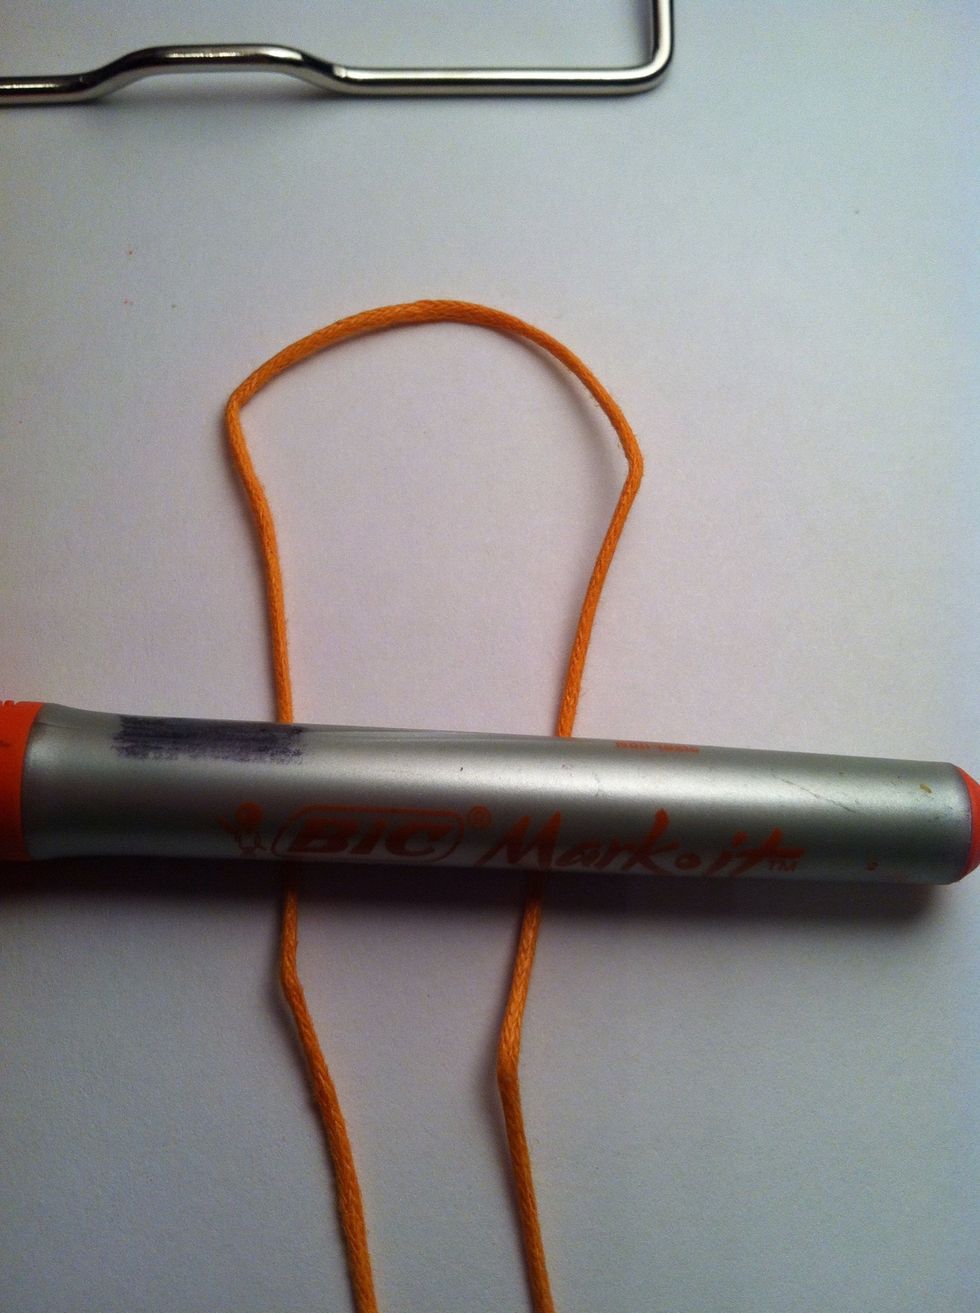
... Through the first loop, you'll make this with the sliding string. Hold the stationary string firmly pulling it away from your loop/knot. Adjust loop to desired size. This is one of the most useful
Knots you'll ever use, but it's also one of the most difficult to explain. I have seen many techniques for slip knots but I only make them this way.
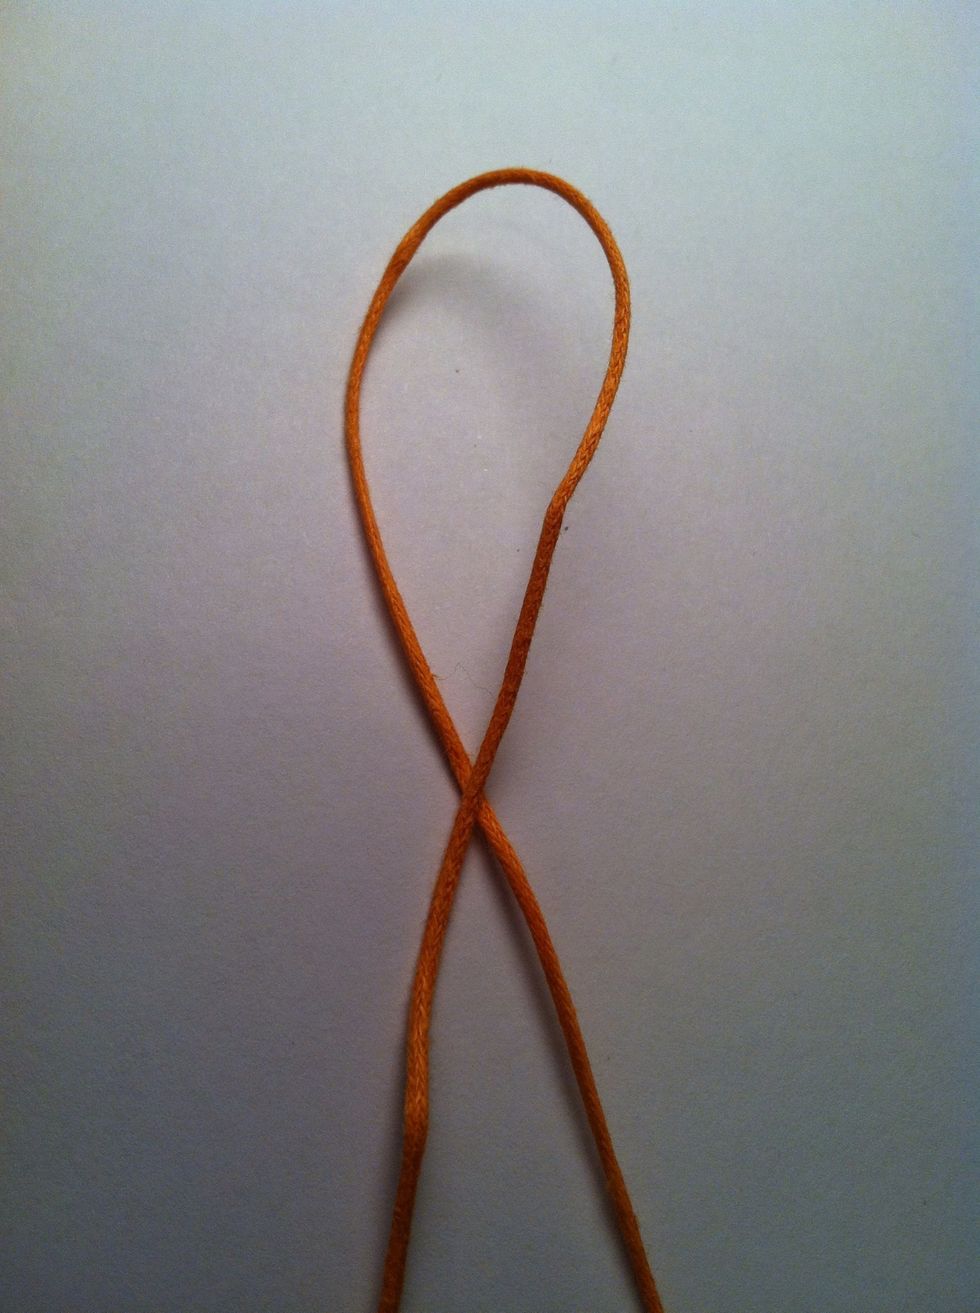
Make a loop with sliding end on top.

Pull sliding side partially through, making a loop and not pulling the tail end through.
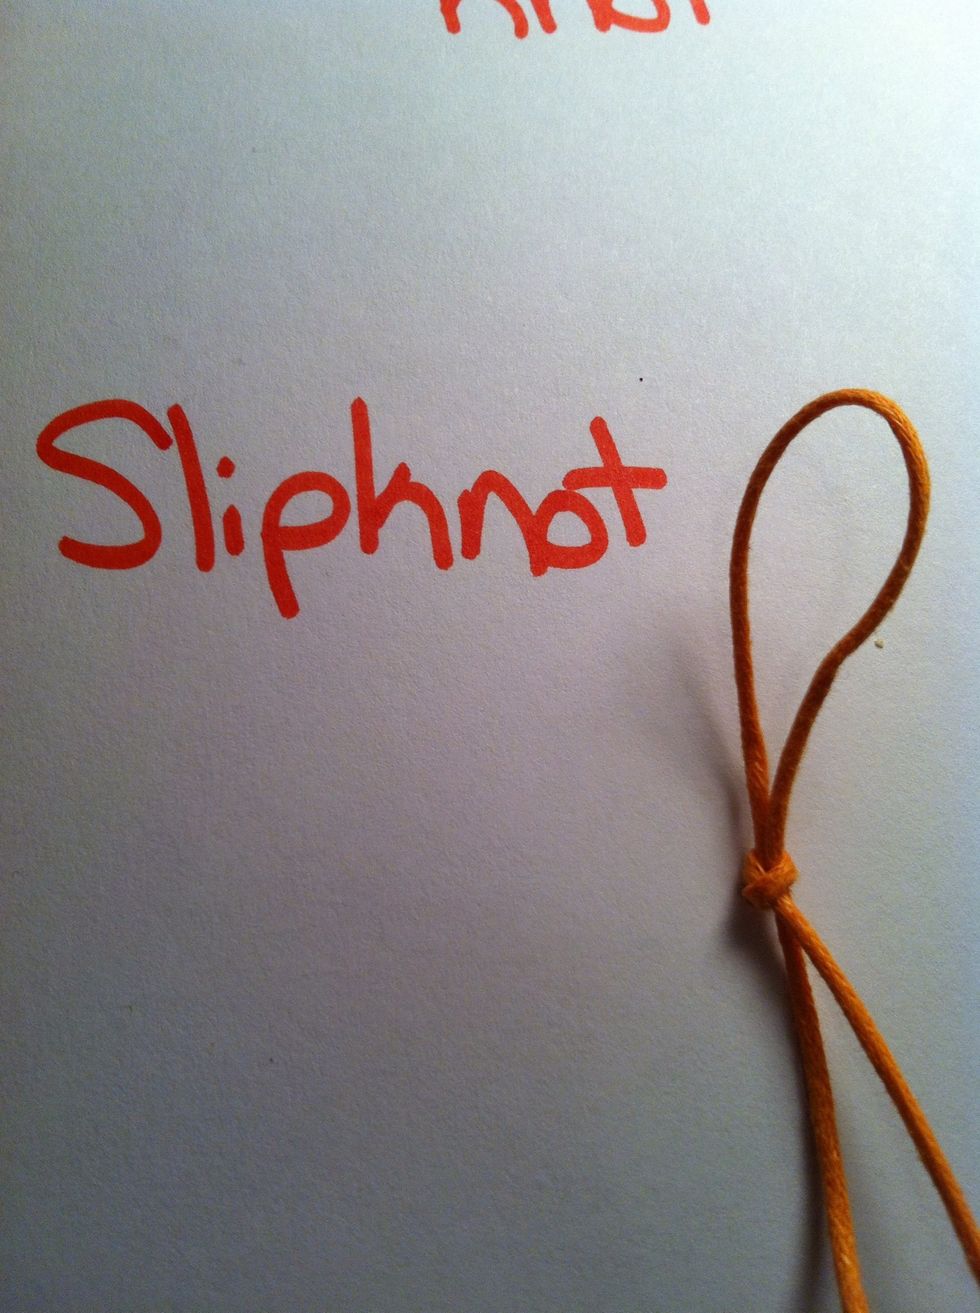
Pull the stationary string tight and adjust as desired.
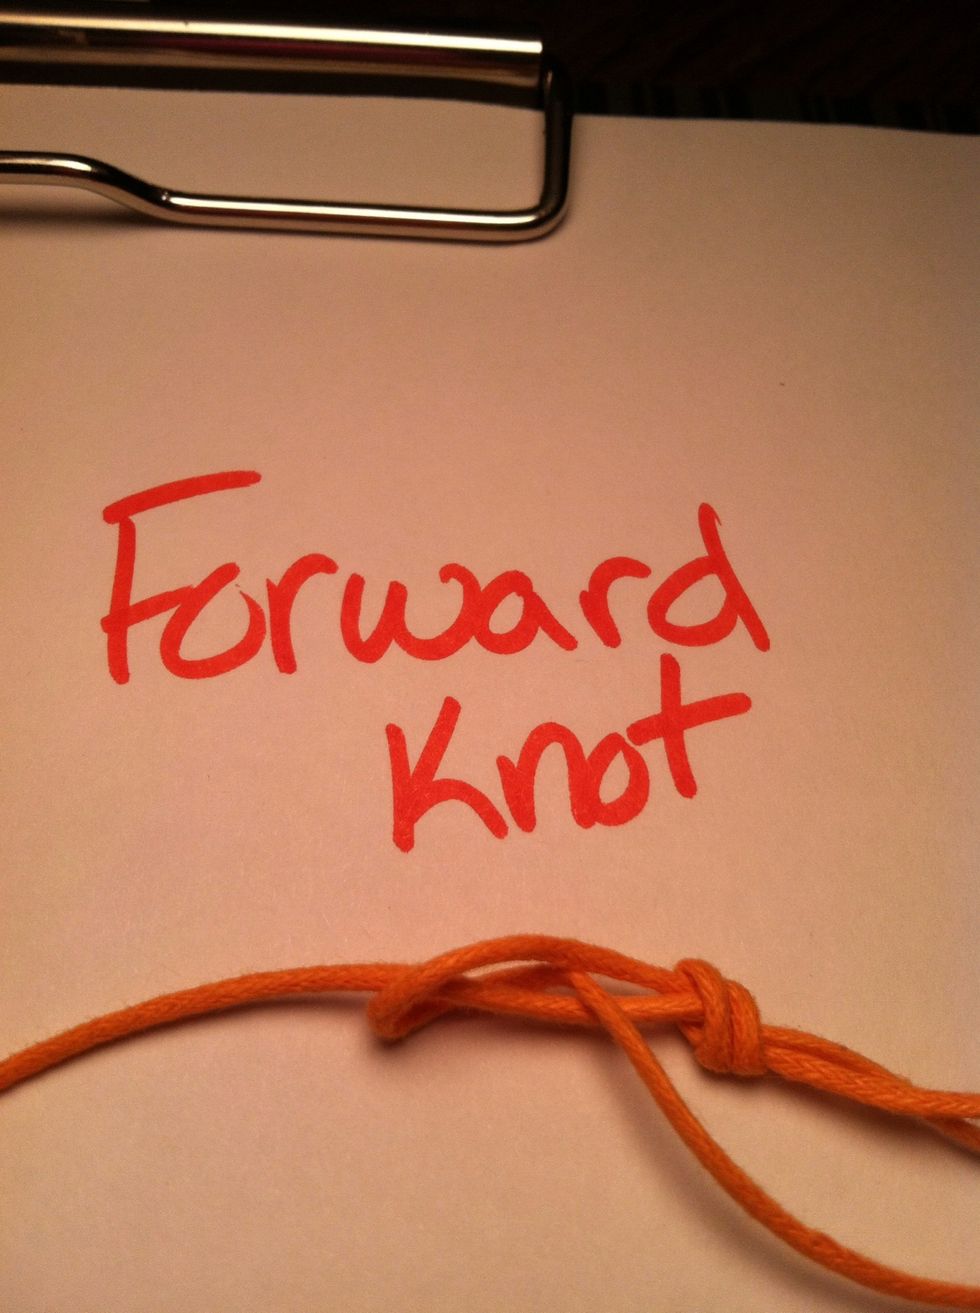
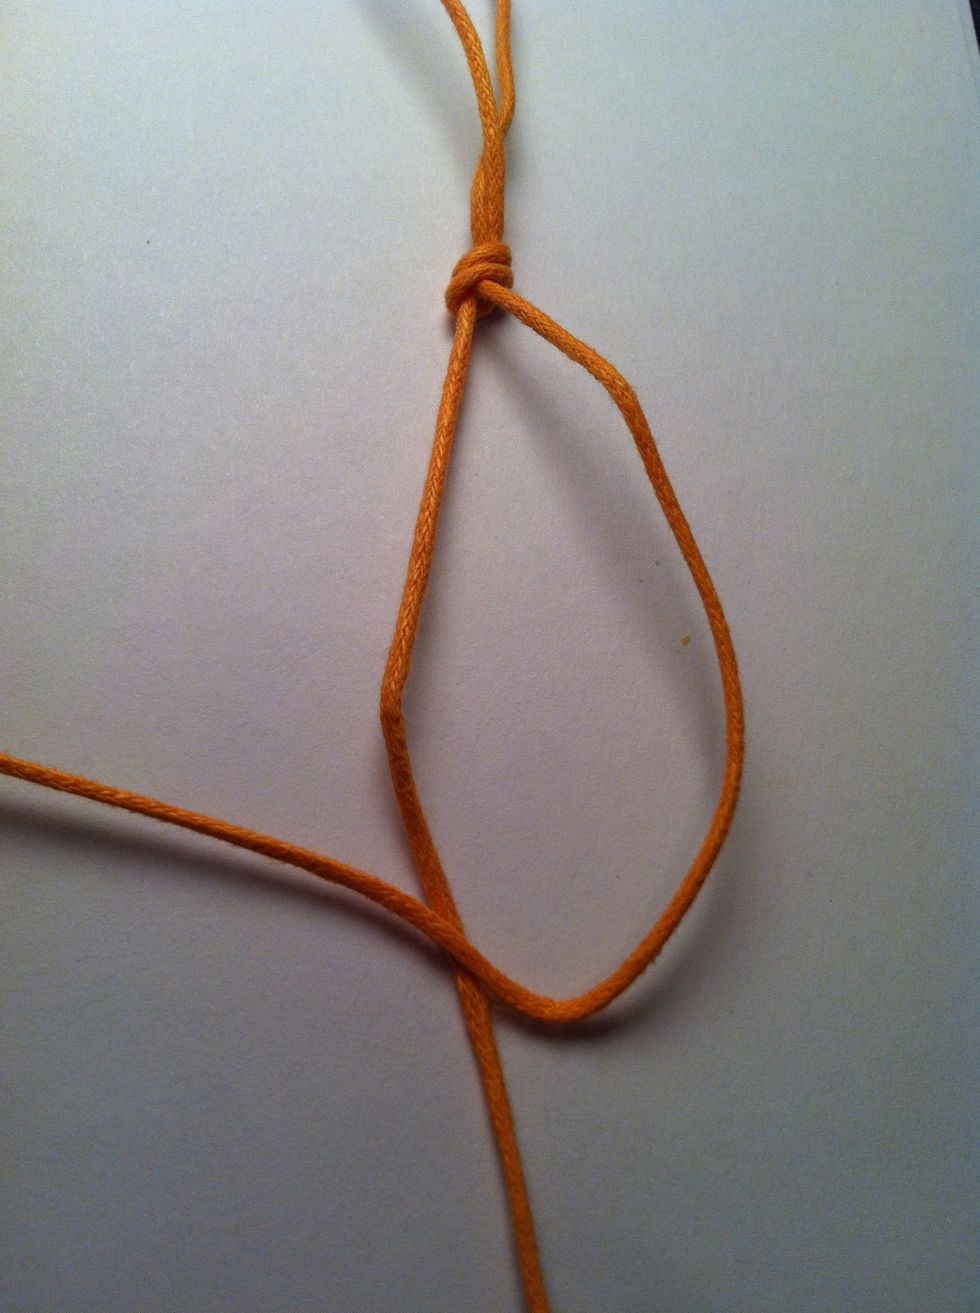
Pull up and to the right. This knot is usually done in sets of two in order to create a 'full' forward knot. Backward knots are done in the exact reverse.
Cross left over right.
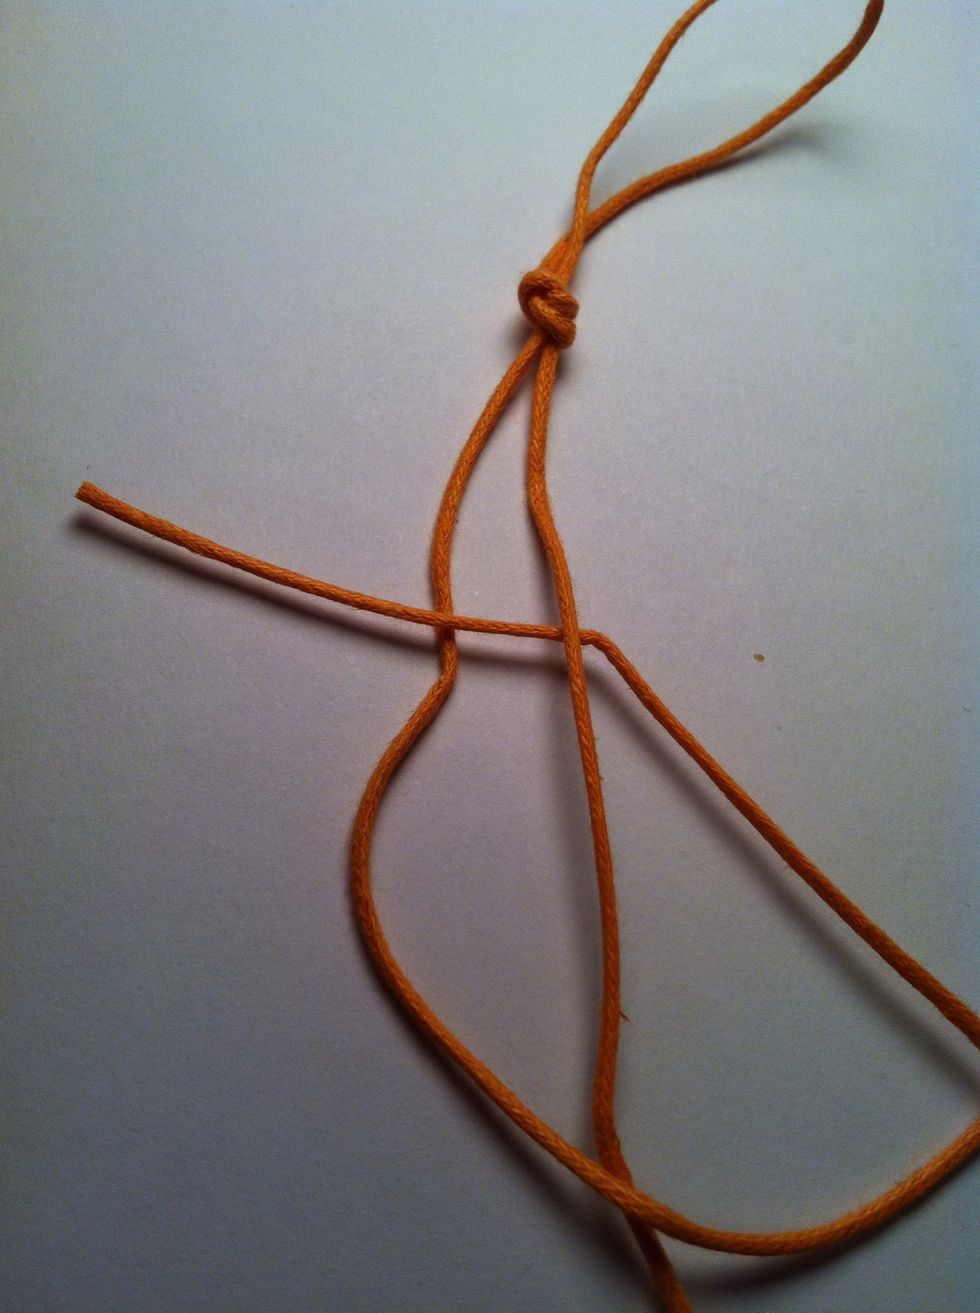
Put tail end under right string and through space.
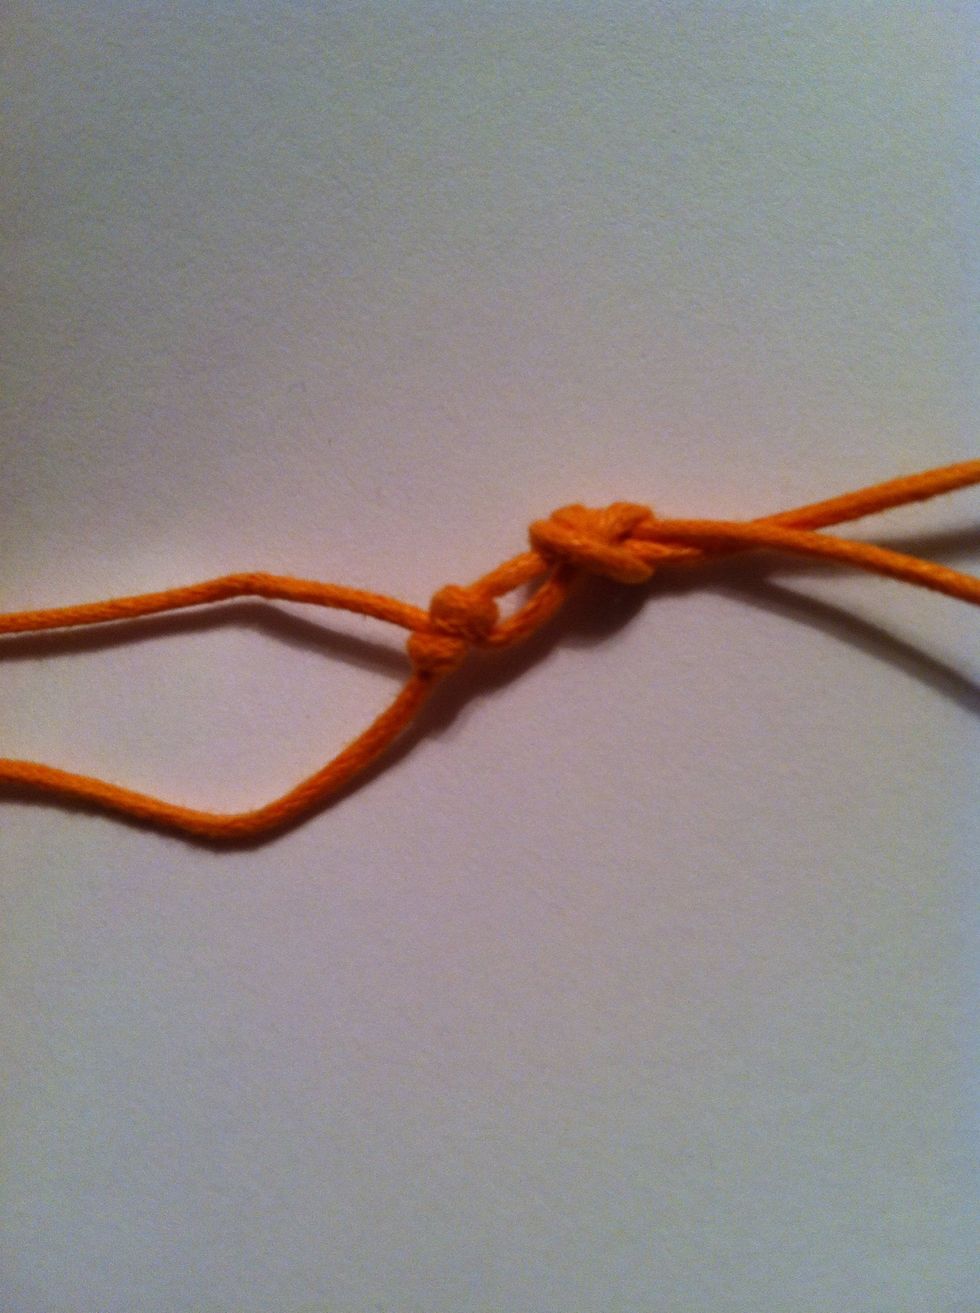
Pull up and to the right, repeat Once for a full forward knot.
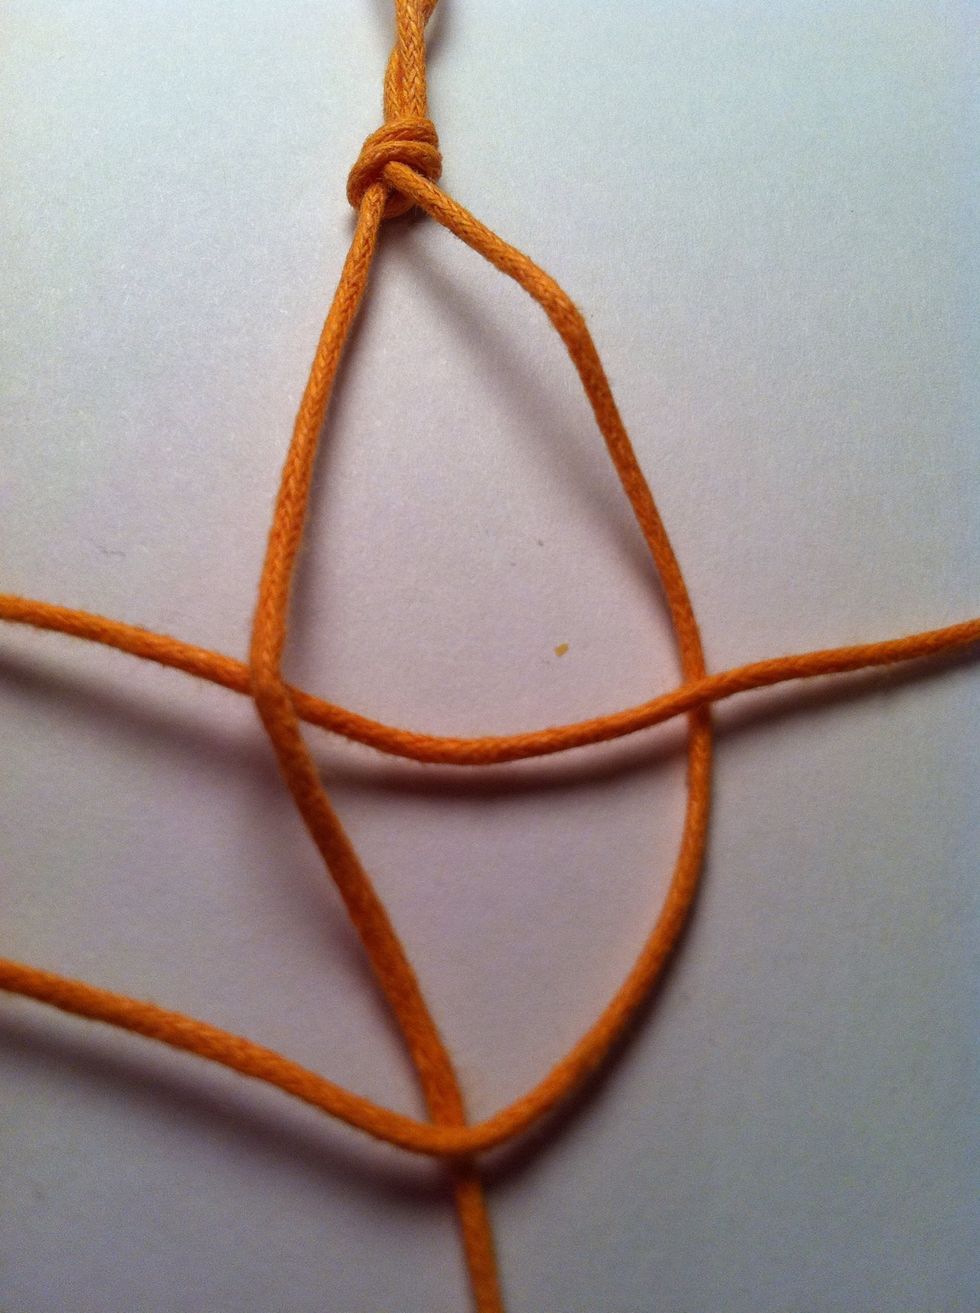
A loose picture to show how it wraps around.
Backward knot: exact reverse of a forward knot. Right over left.
Under and through.
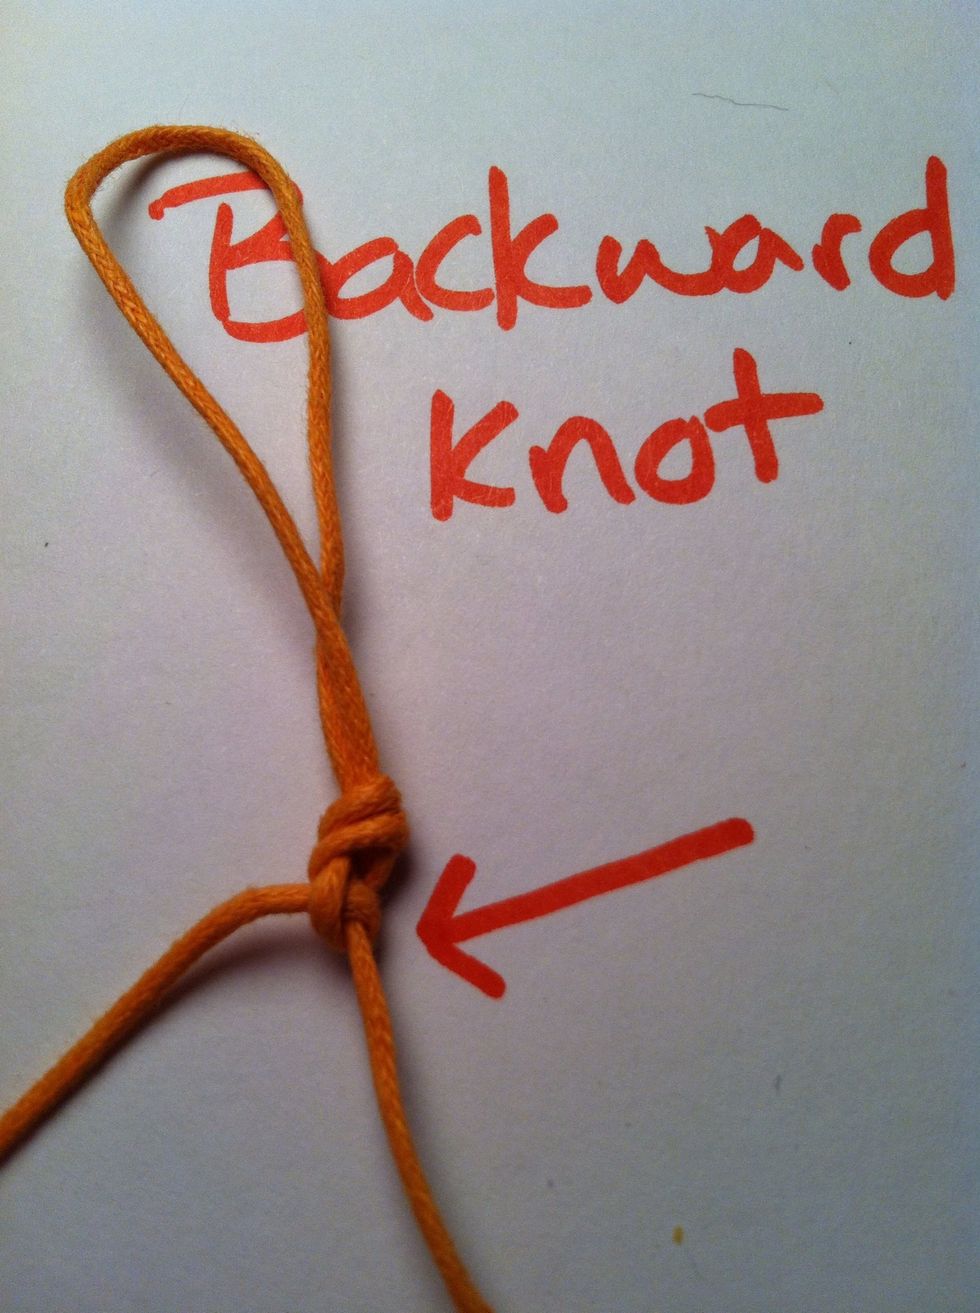
Pull tight up and to the left. Repeat once for a full backward knot.
There are also two knots used in macramé style knotting called a forward backward knot (fbk) and a backward forward knot (bfk). These are fairly self explanatory. Using the same string, you would make
One half of a fk and then one half of a bk. one half being a 'single' knot instead of the 'full' knot you create when you usually make a fk or bk.
I hope this helps you in all of your accessory making endeavors! Let me know if there are any other knotting tutorials you'd be interested in seeing! Thanks for viewing!! 😄