The Conversation (0)
Sign Up

Wire cutters are self explanatory, flat-nose pliers are used to hold your work & components, round-nose pliers are used to make loops and bead caps are for looks & stopping the bead from sliding off.

Pick up your head pin, add one bead cap to the pin with the inner part facing upwards. Add the bead, and then the other bead cap with inner part facing downwards.

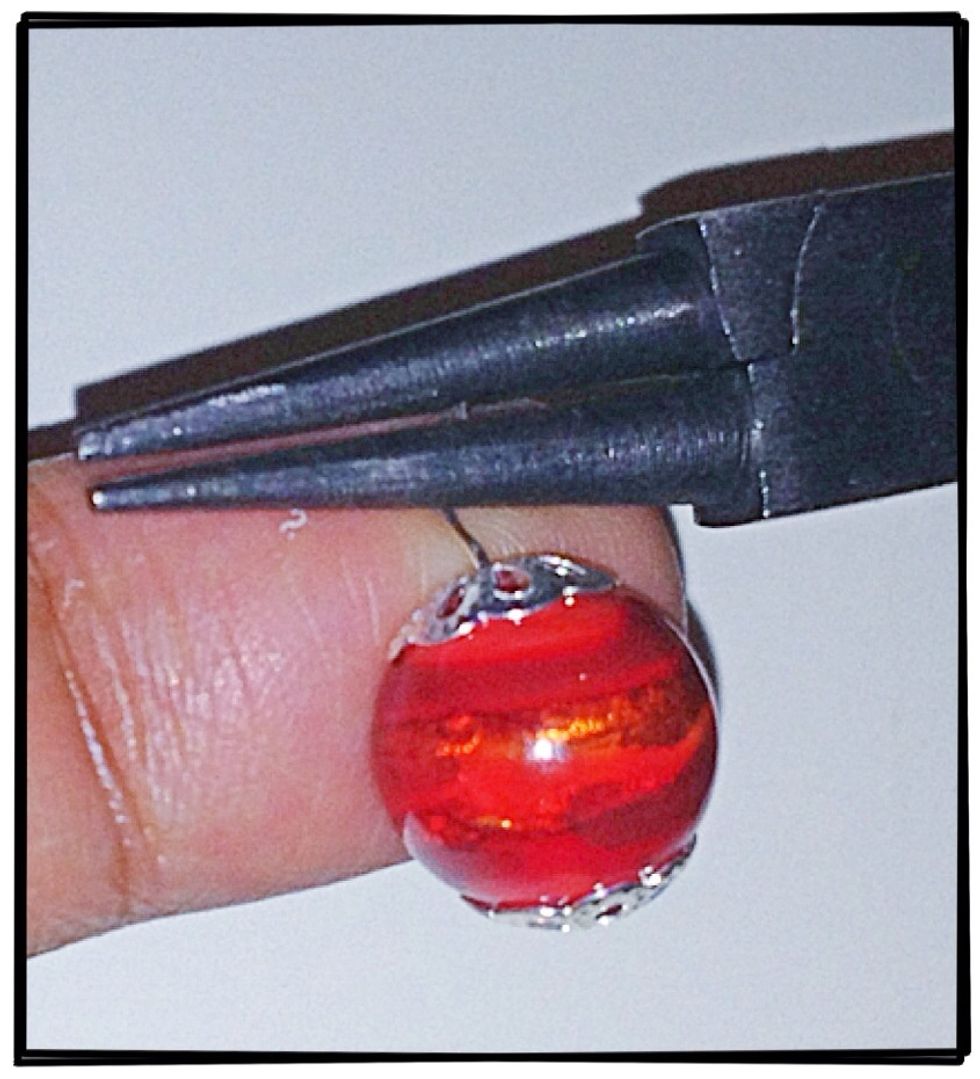
Grab the tip of the head pin with your flat-nose pliers or fingers and bend it at an angle as shown.
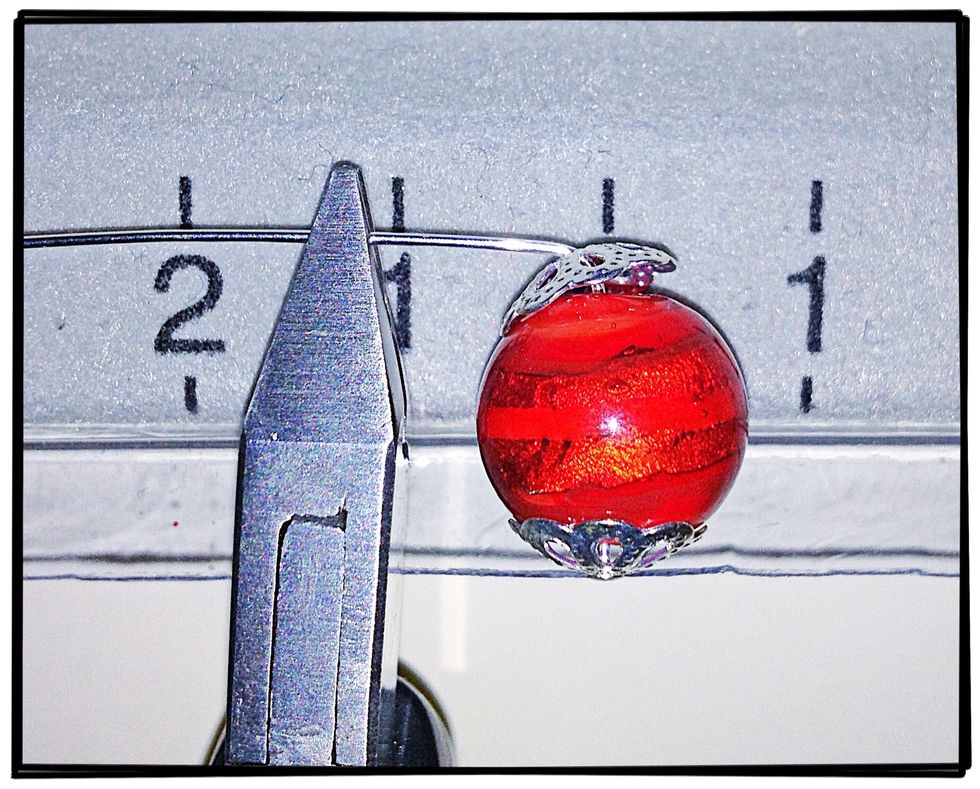
Holding the head pin, measure 1 cm of the wire starting from the top of the bead. Cut the excess wire off with the wire cutters.
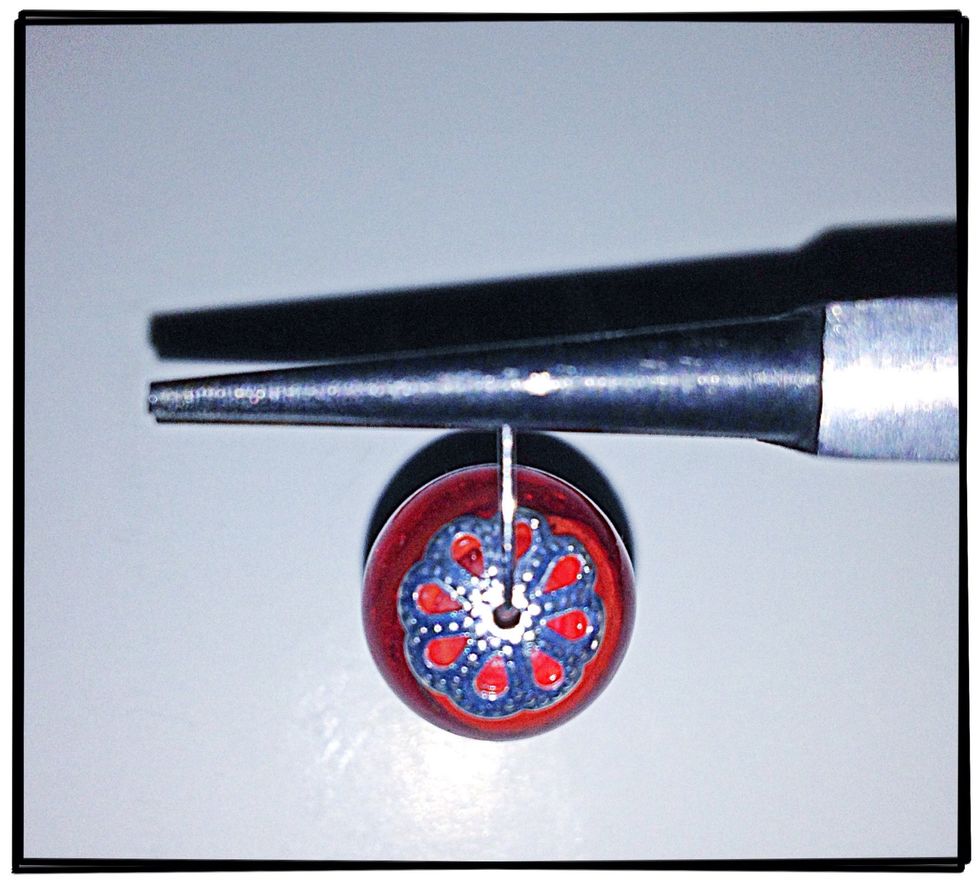
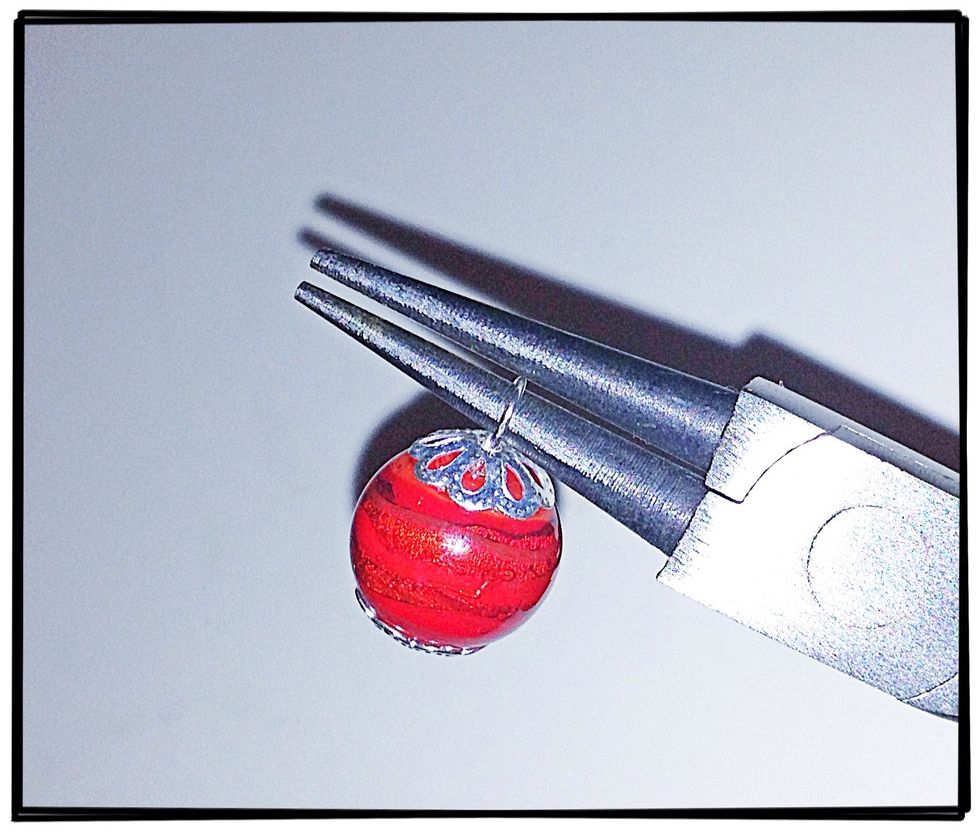
Hold onto the tip of the wire with your round-nose pliers. The tip should be held about halfway up the plier nose and not sticking out. Your work should be facing away from you as shown.
Starting from under the bead, push the bead up and around the pliers to create a loop.
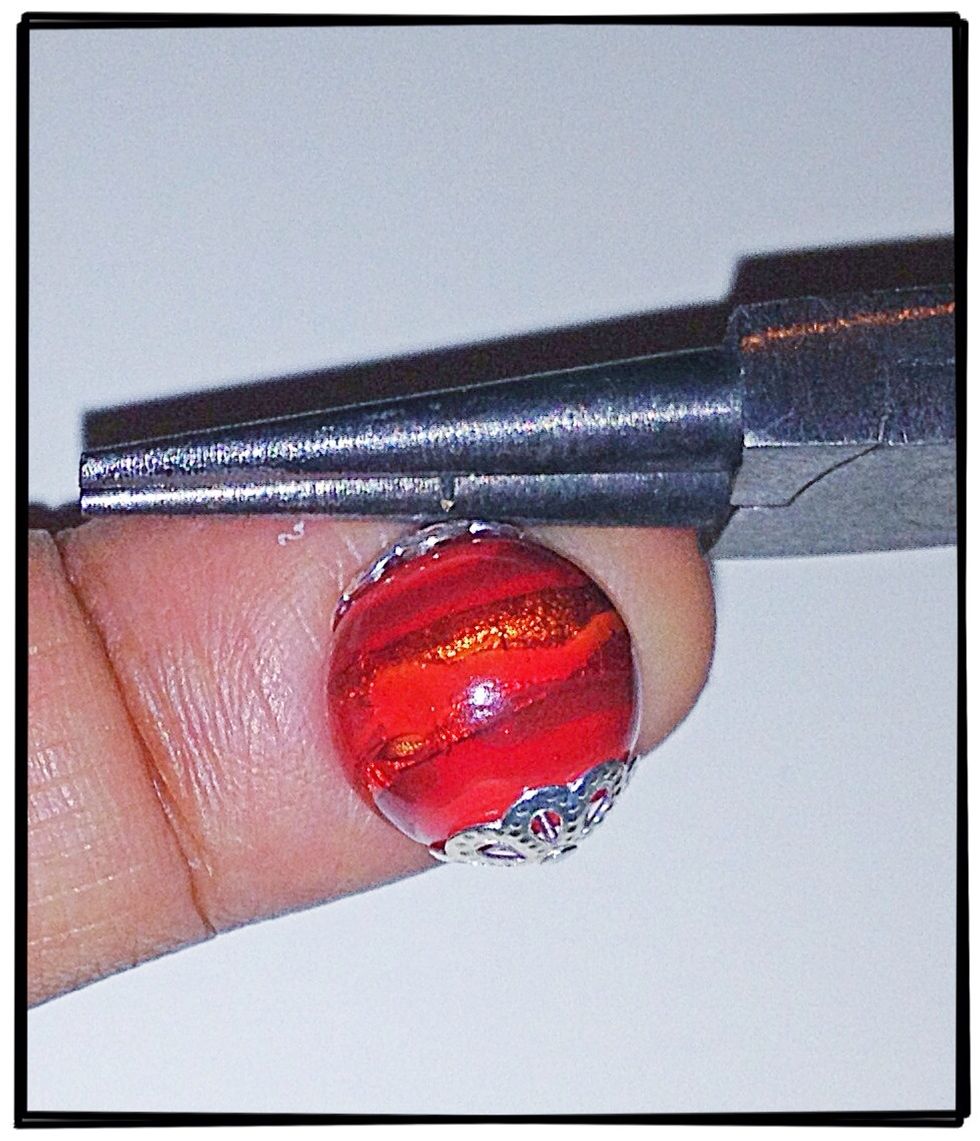
Once you've gone around, you can reposition the round-nose pliers if needed to make a full circle loop.
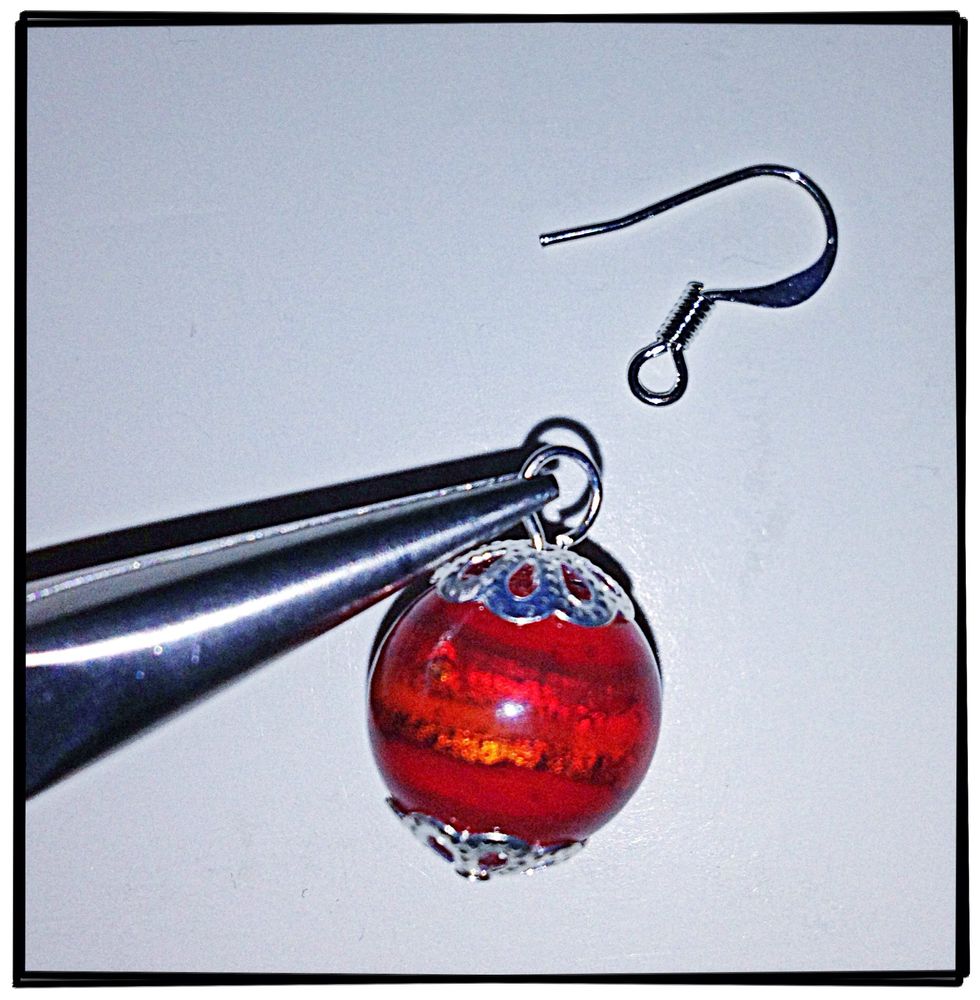
It should now look like this.

Wait don't close the loop just yet! Use this opportunity to slide on your earring wire.
Using your flat nose pliers, hold the loop and add your earring wire. Use the round nose pliers to finish and close the loop.The beginning and end of the loop should meet with no space.
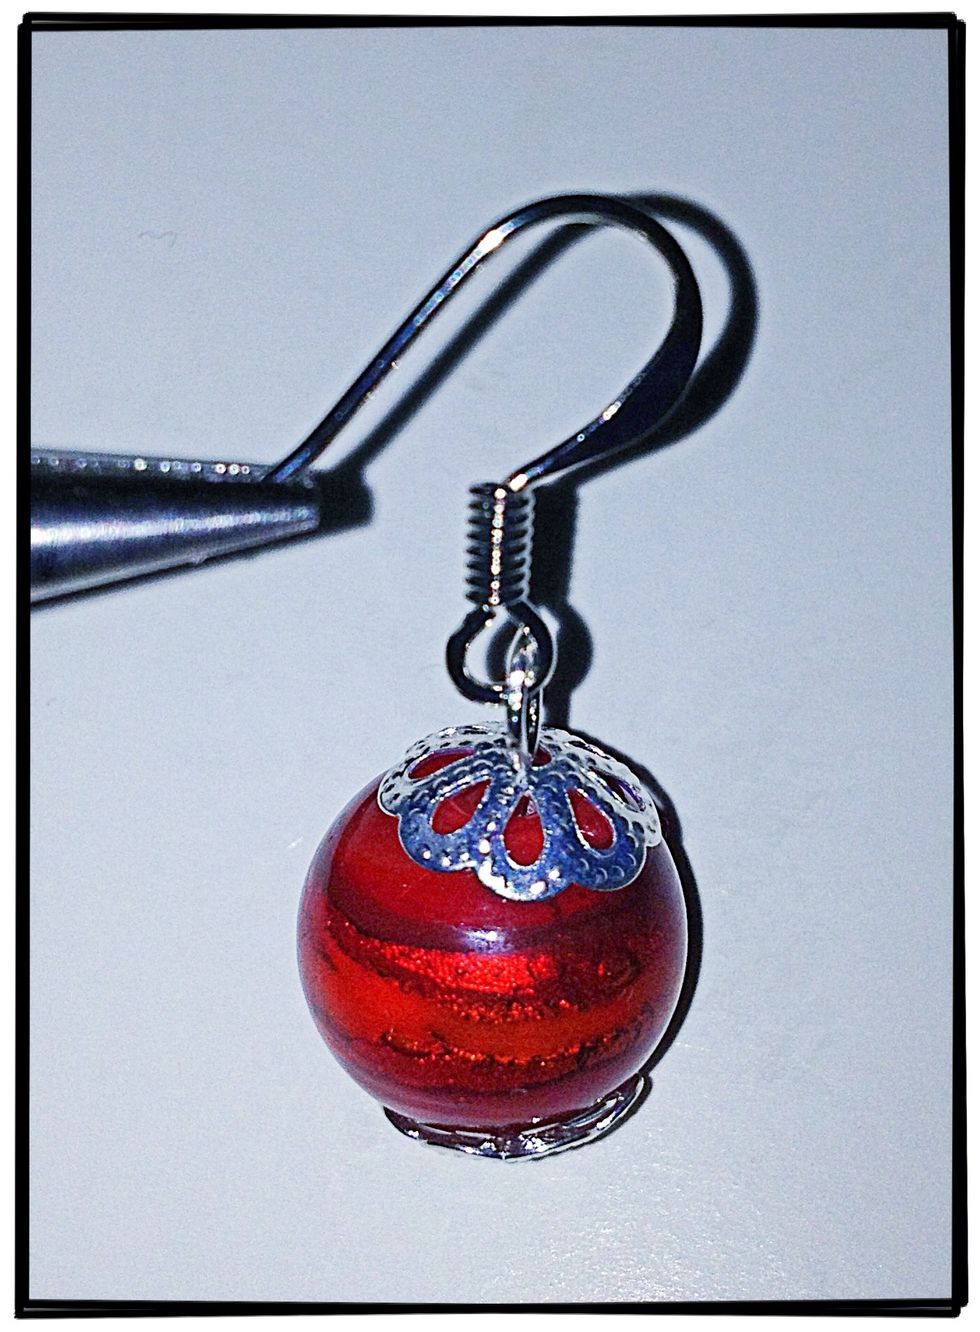
After closing your loop, your earring is now complete. Don't forget to make two of these! 😉
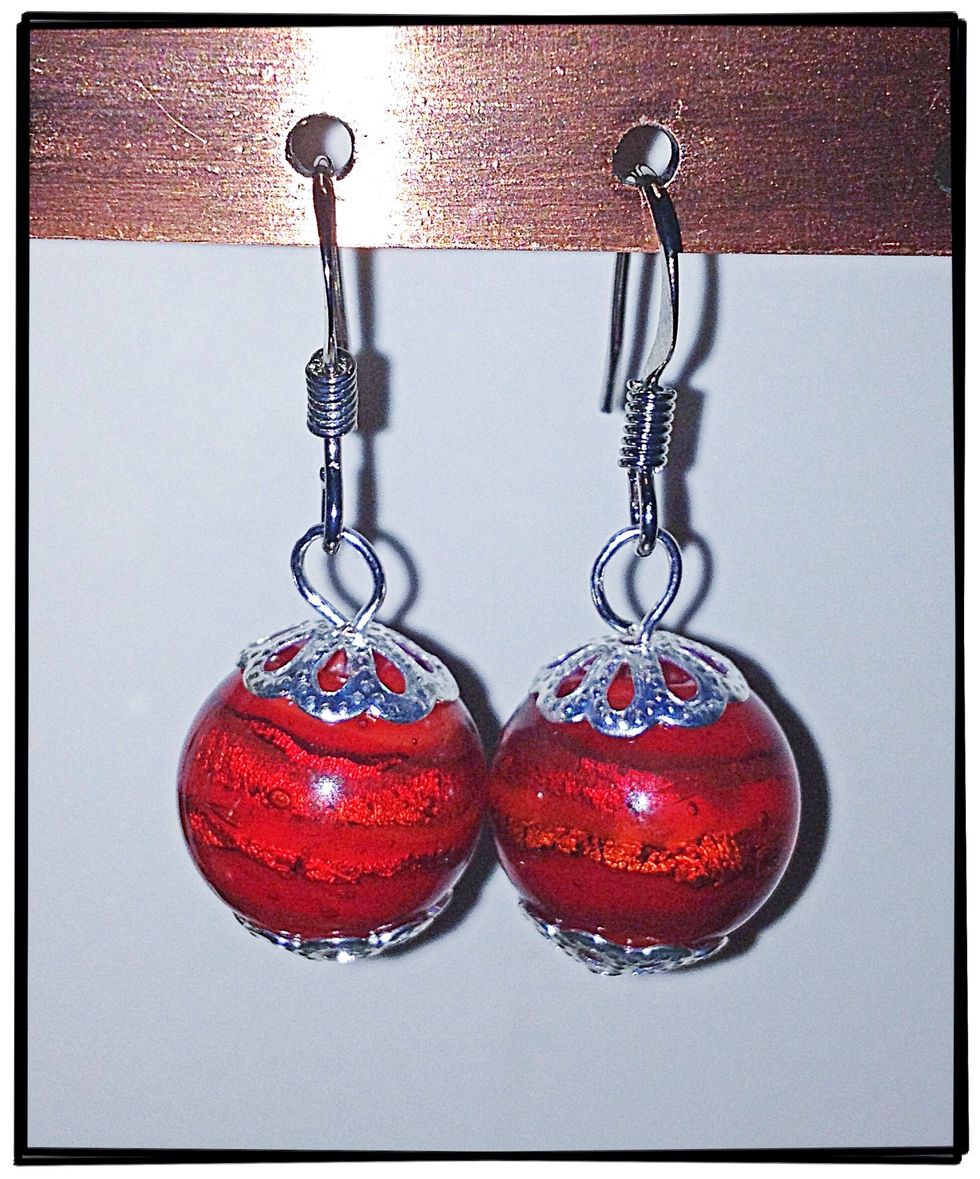
Now you have a new gorgeous set of earrings you made all by yourself! 😊