The Conversation (0)
Sign Up
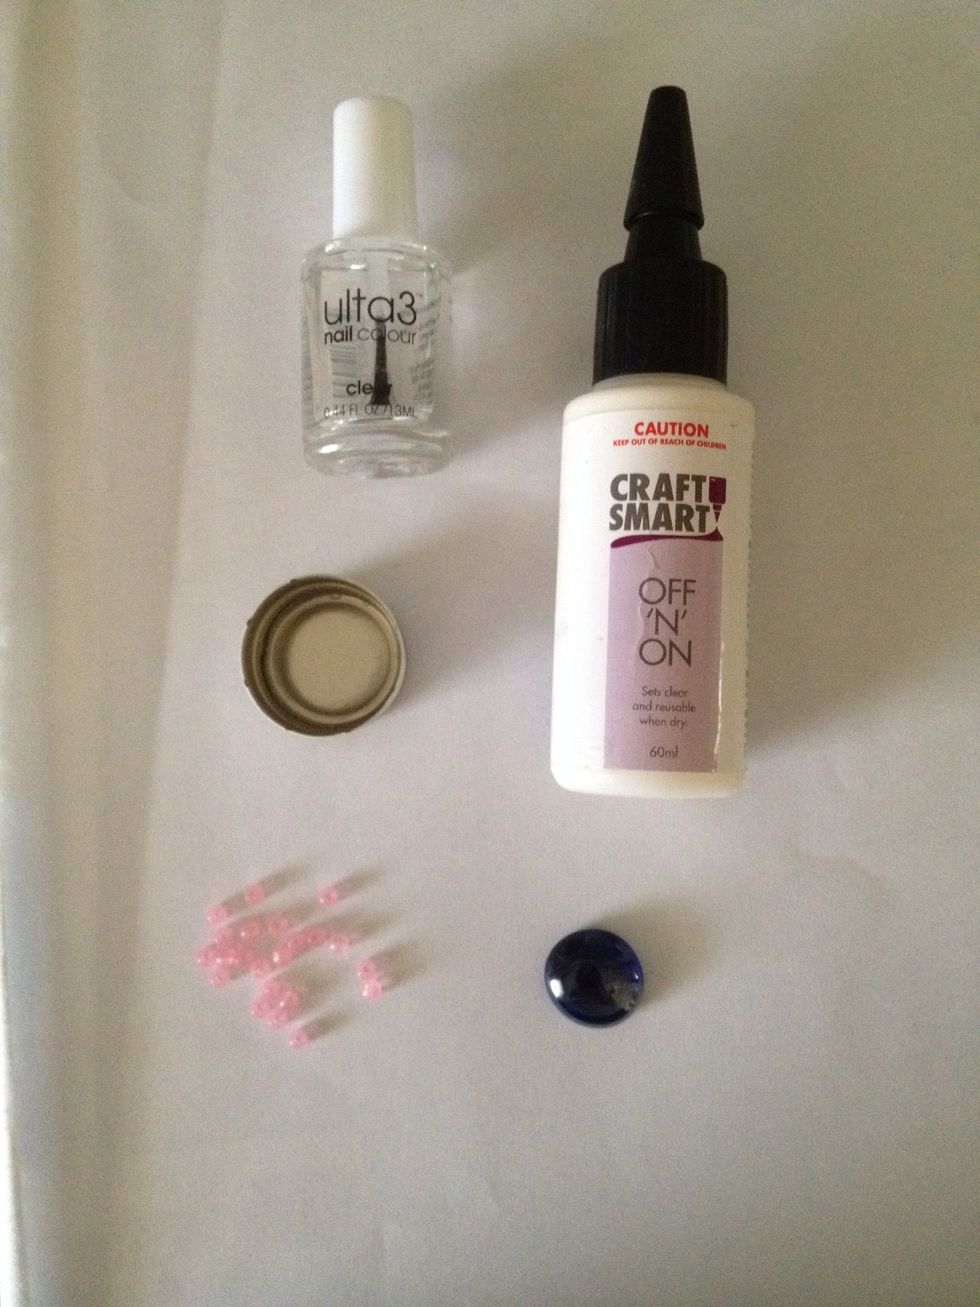
Gather supplies. (Listed)
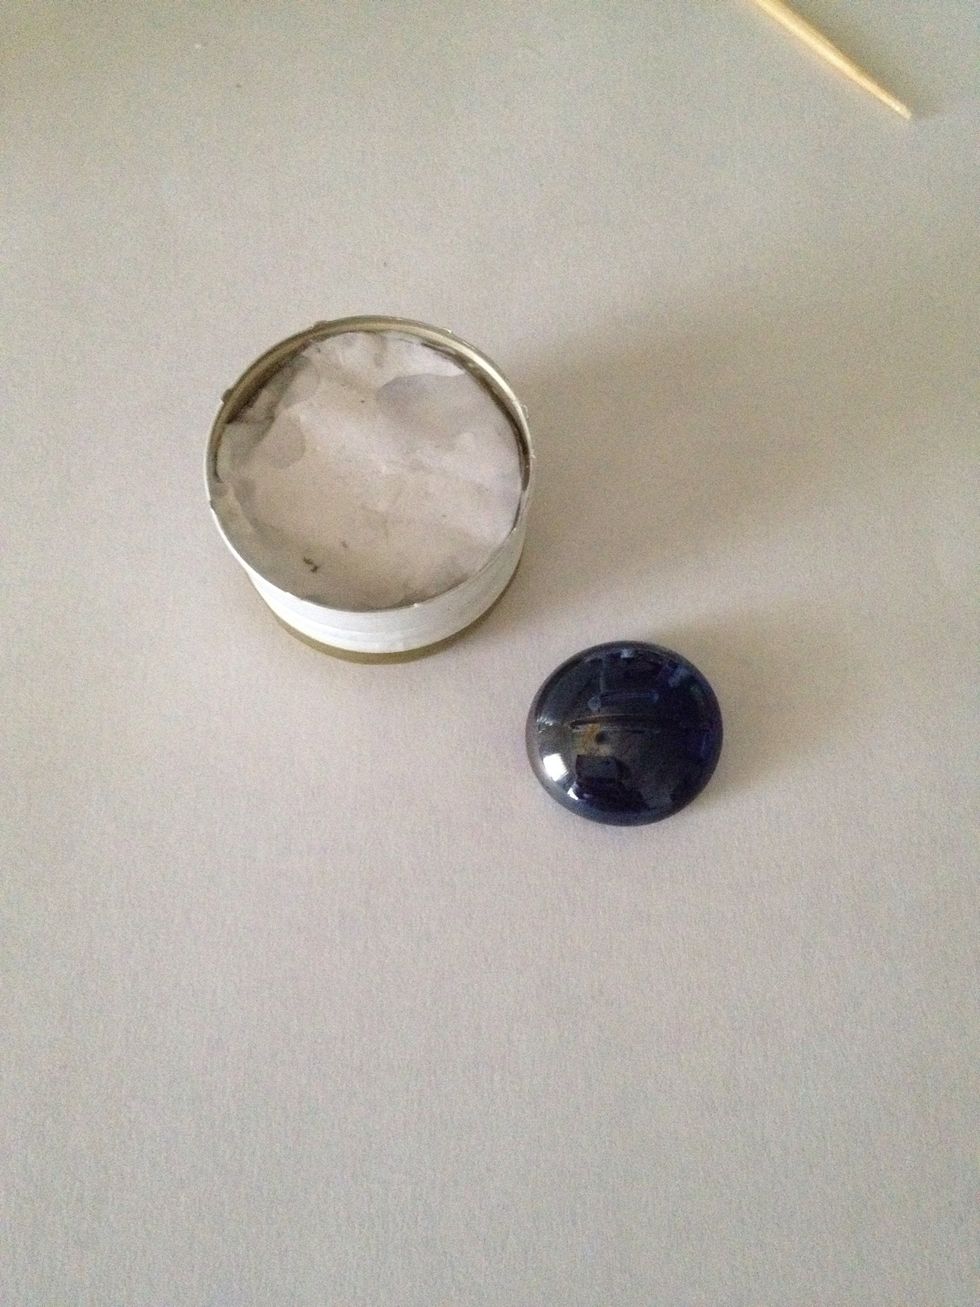
Take your wine/beer lid and your large gem.
Note: If you are using a wine bottle cap (they are deeper) it would be best to build up the height with paper. (You can see in the next step) I had to do this, my dad likes wine better than beer:)
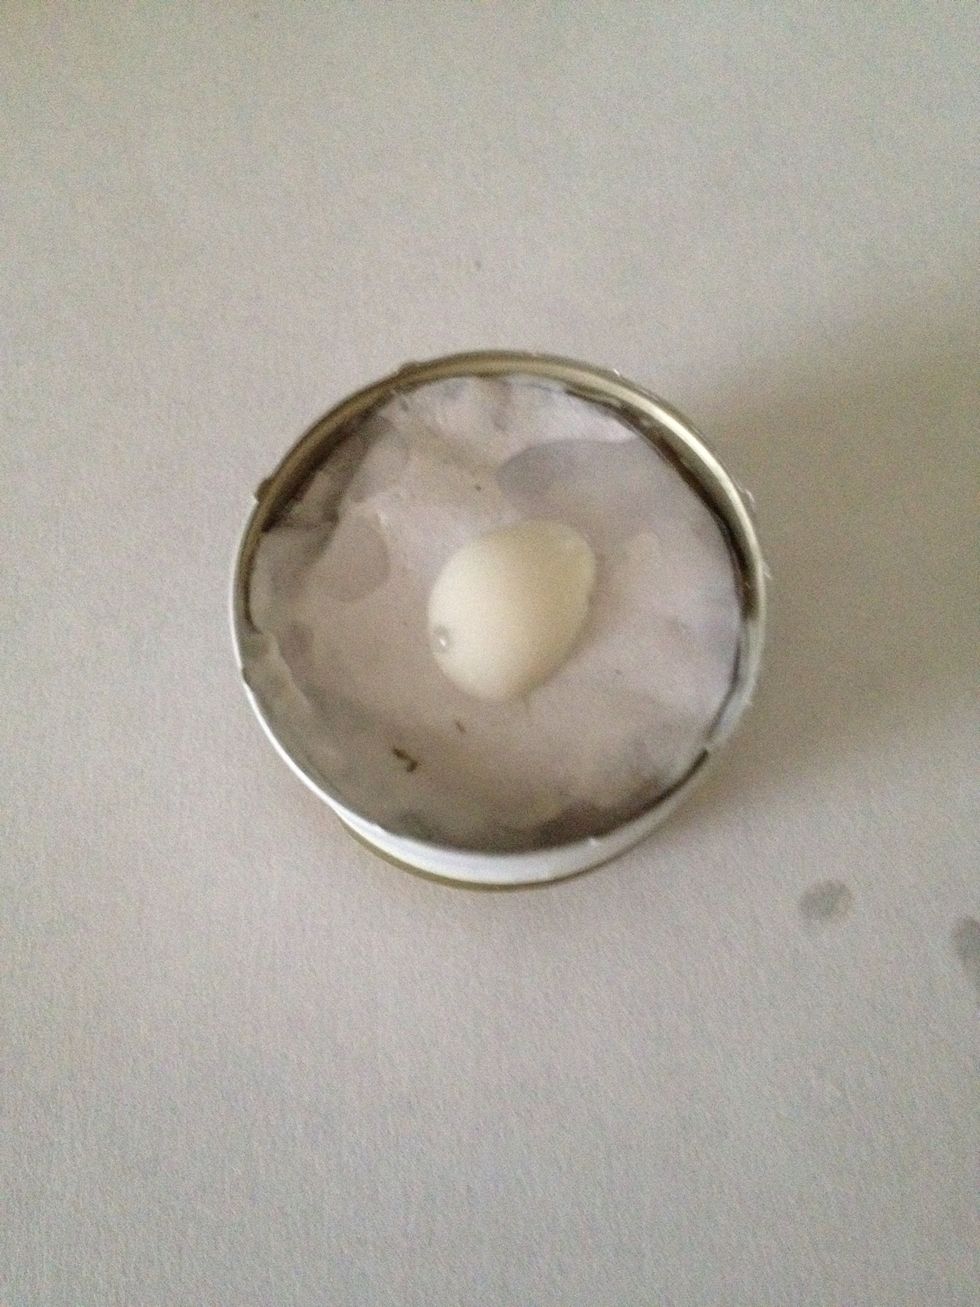
Put a dab of glue in the middle of your lid. (Paper I used to build up the height is underneath the glue. But the glue still works on the actual inside of the cap.)
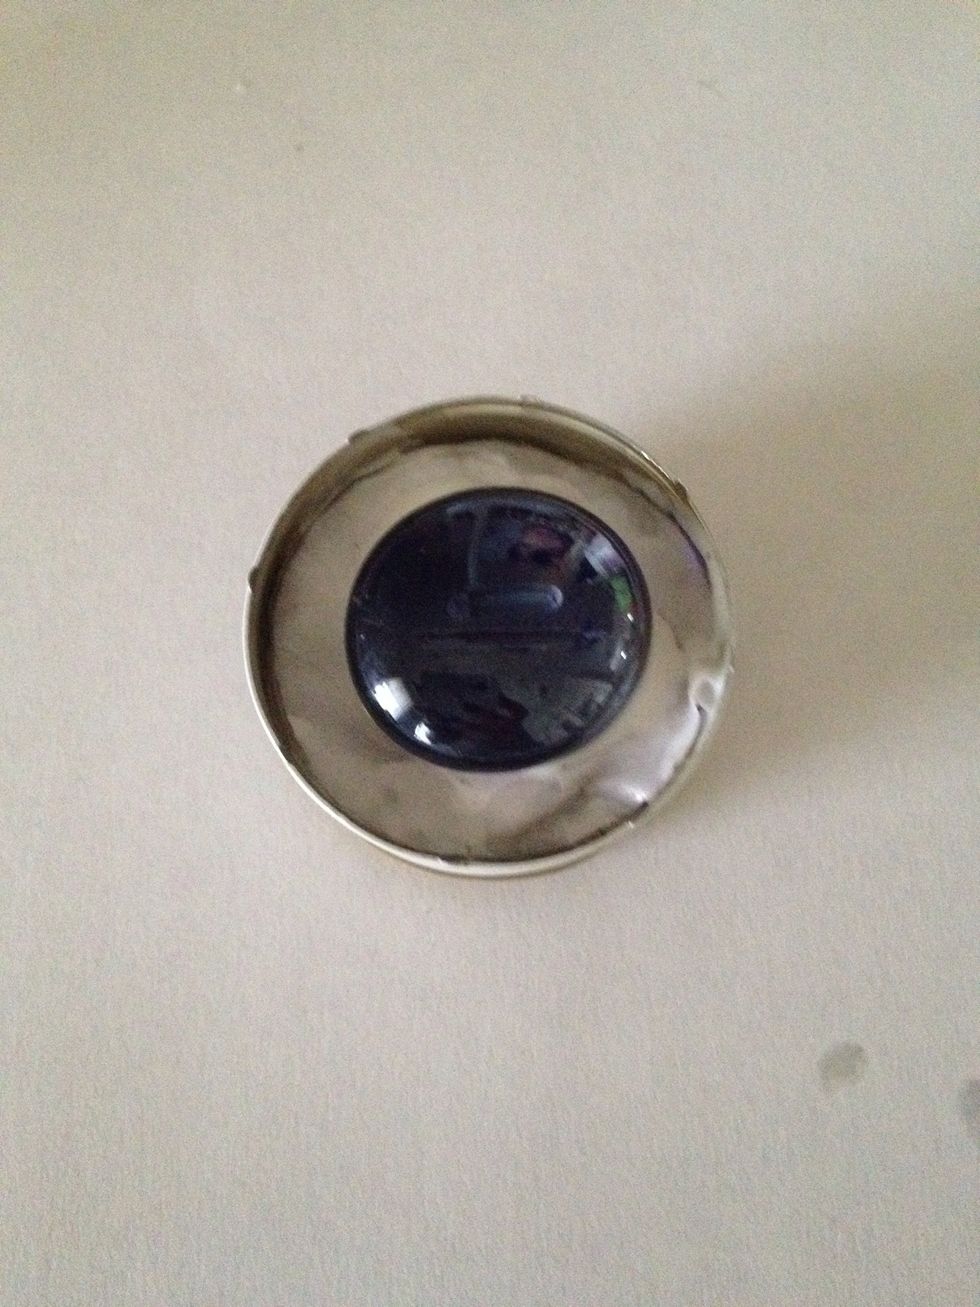
Firmly press the gem on top.
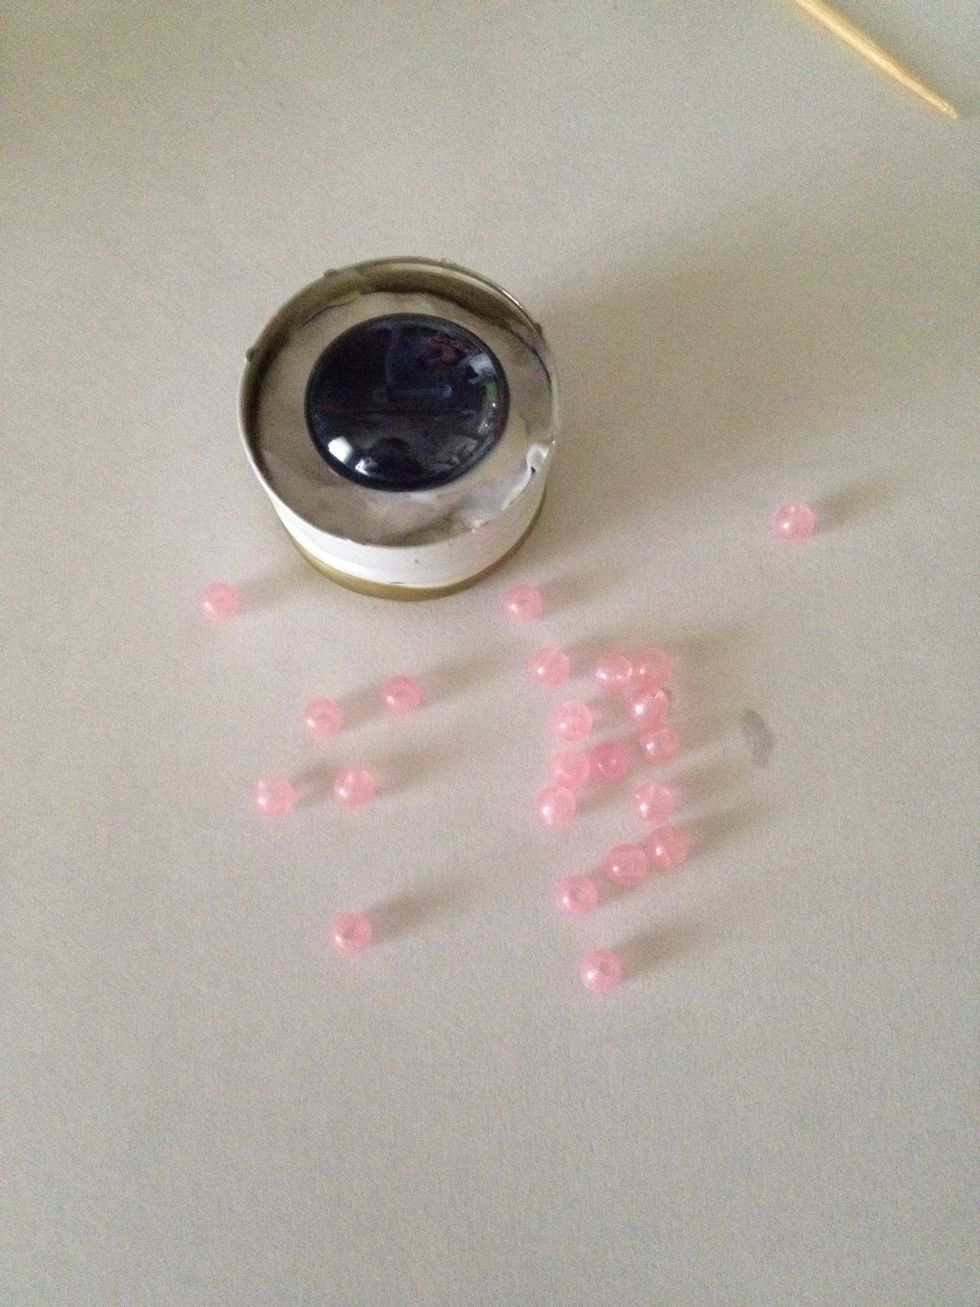
Take your smaller beads.

Put glue around the edges of your gem.
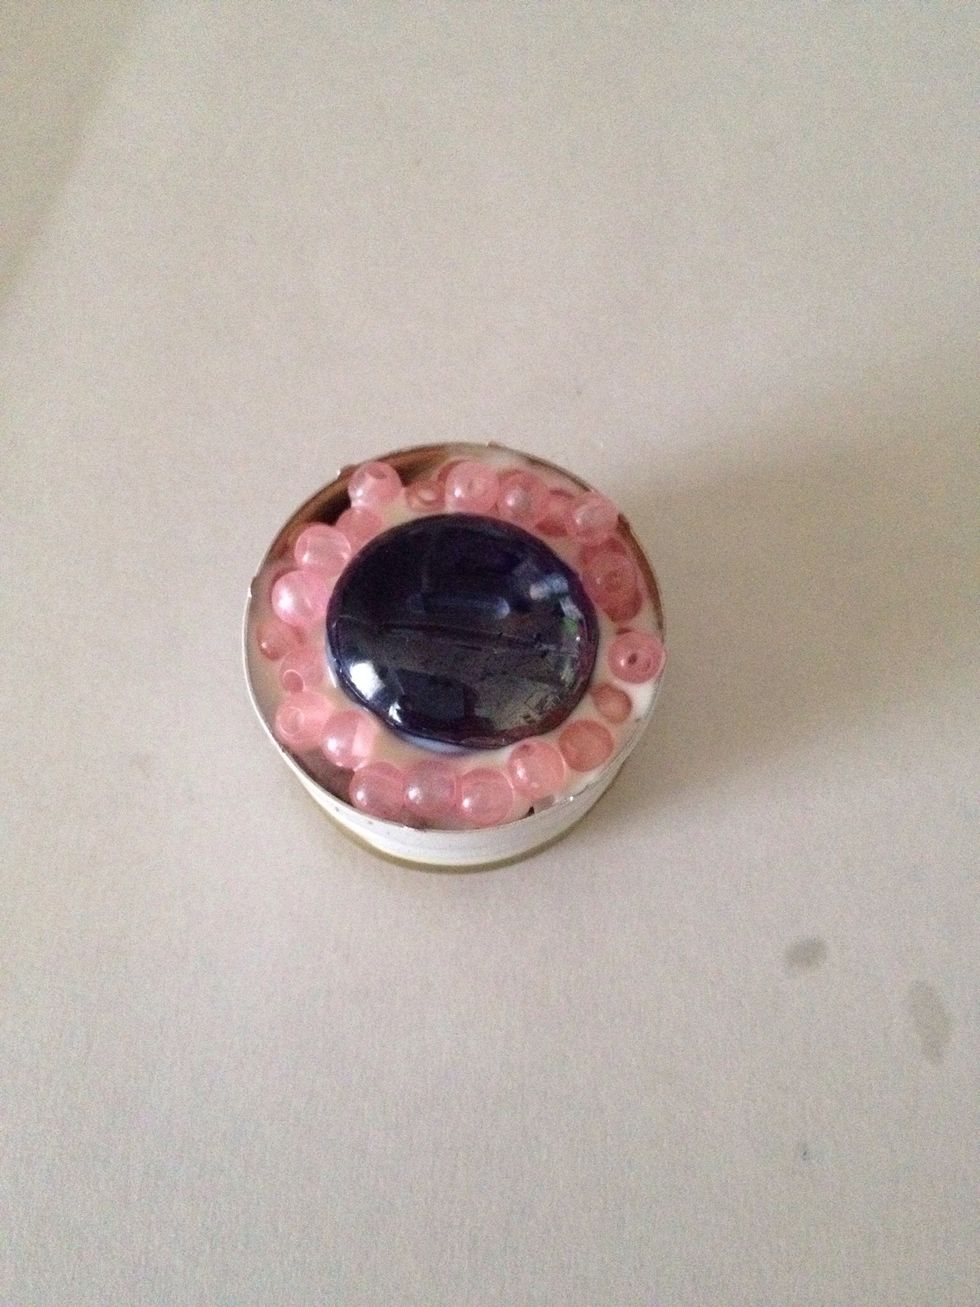
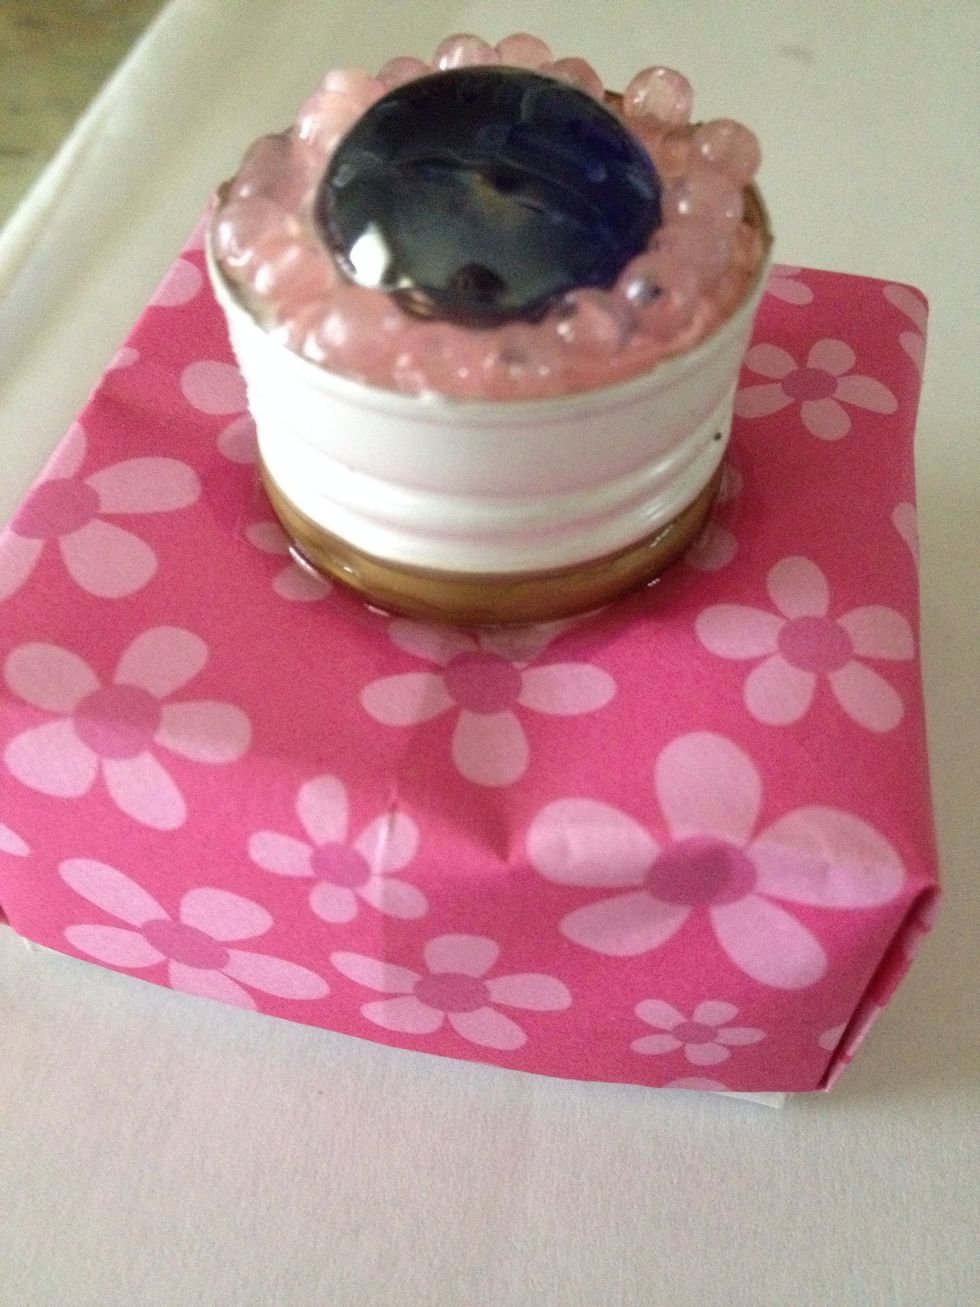
Press the smaller beads into the glue surrounding the larger gem like this!
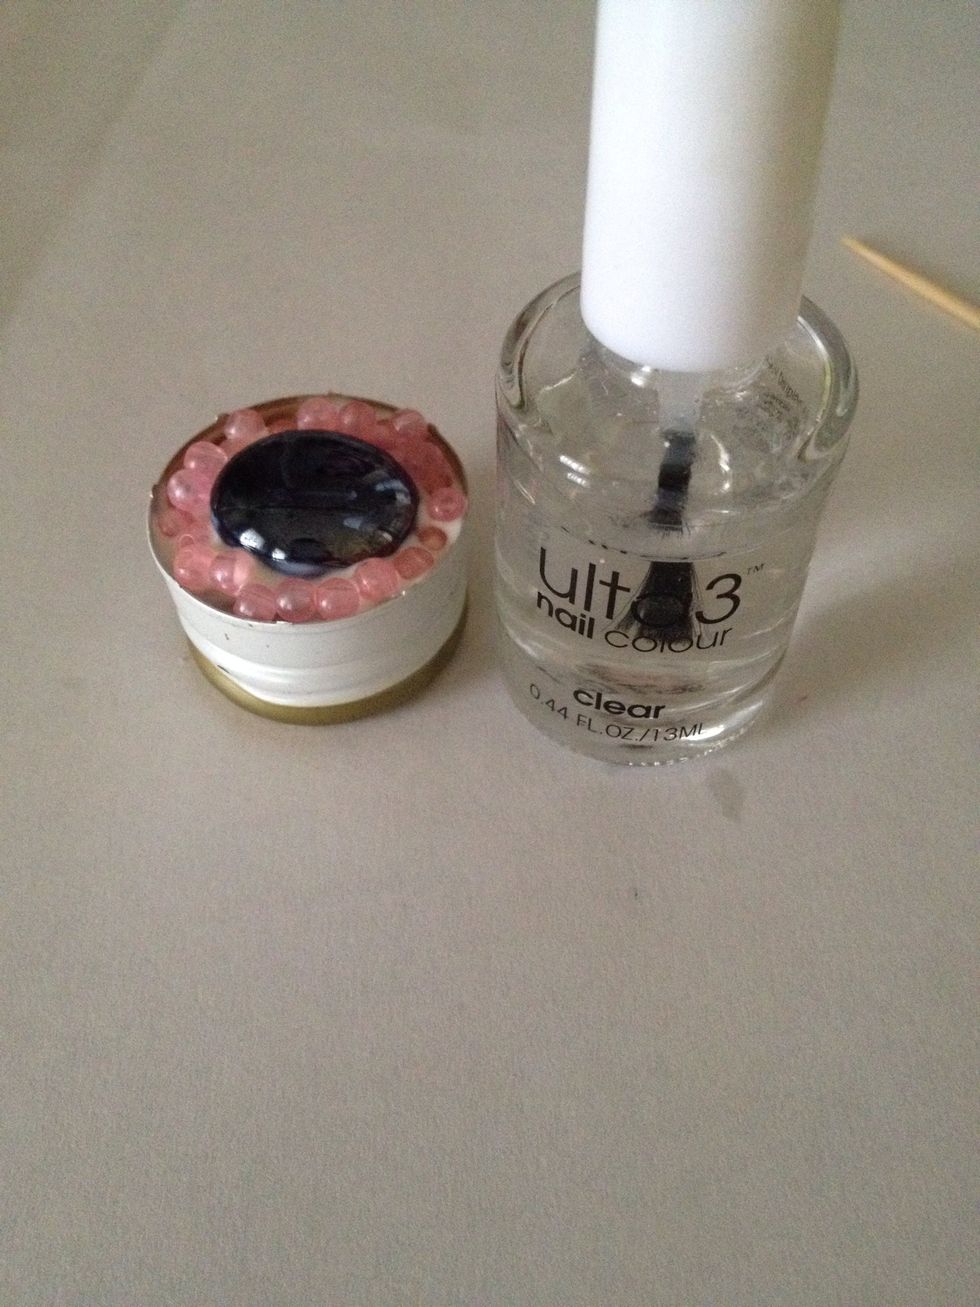
Wait for it to dry, then take your clear nail polish.
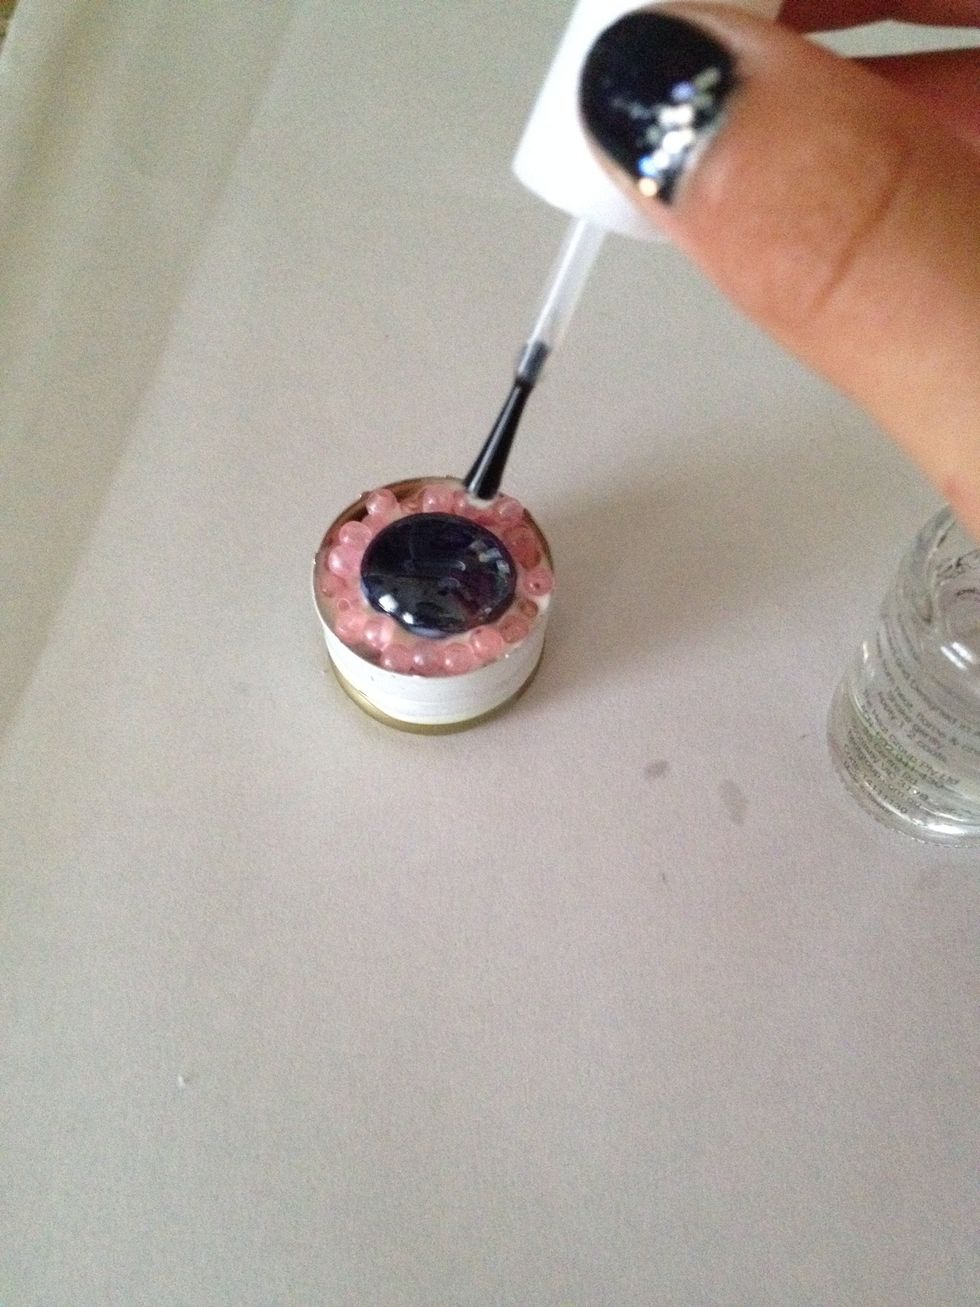
Drop it over the beads to set them in place better - it covers all of the beads but doesn't look like glue. I recommend you DEFINITELY do this step.
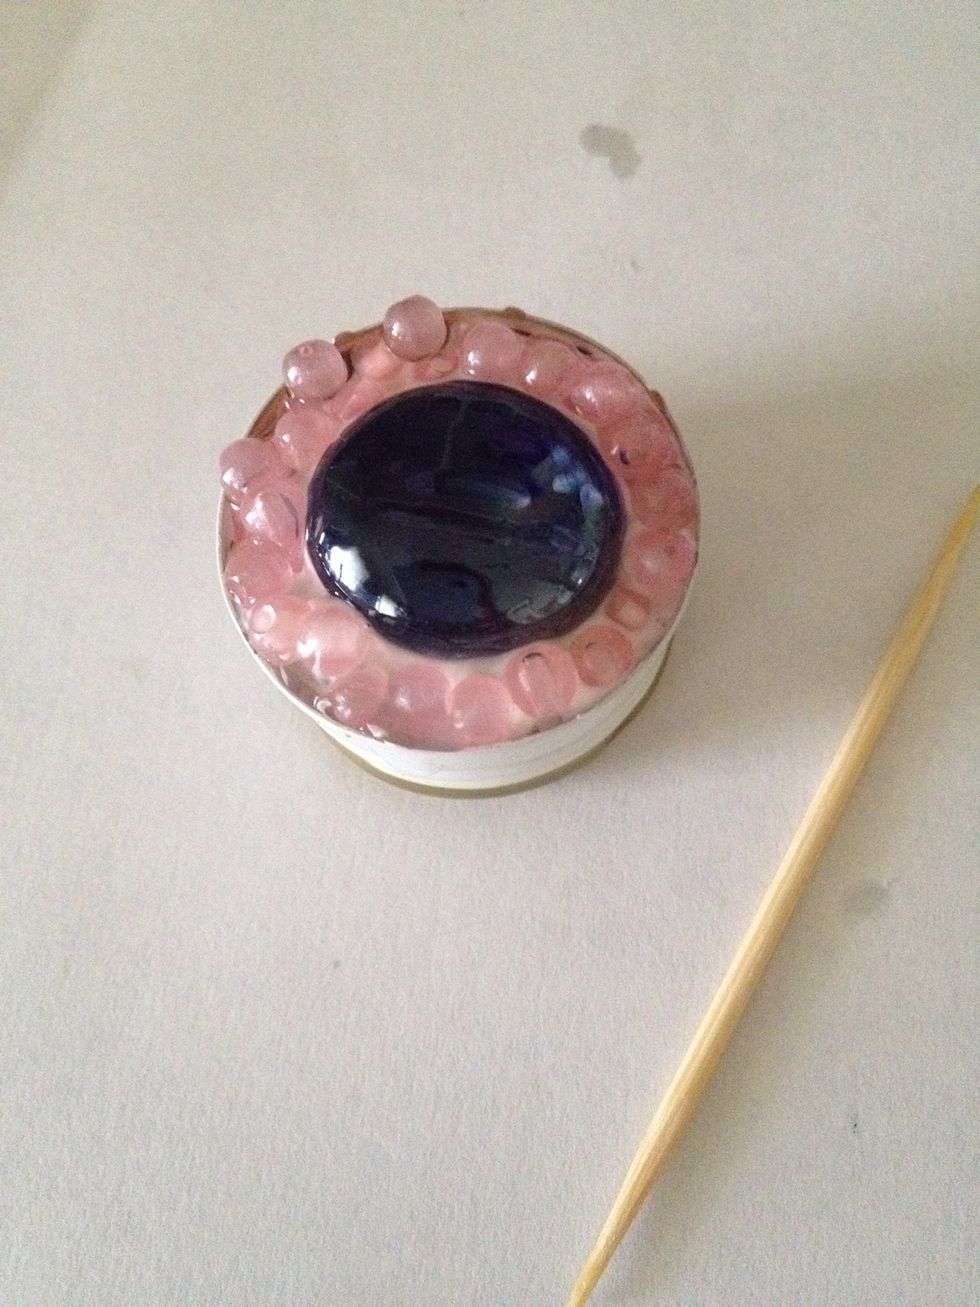
I used a toothpick to move the small beads where I wanted them without getting my fingers sticky! Wait for it to dry completely.
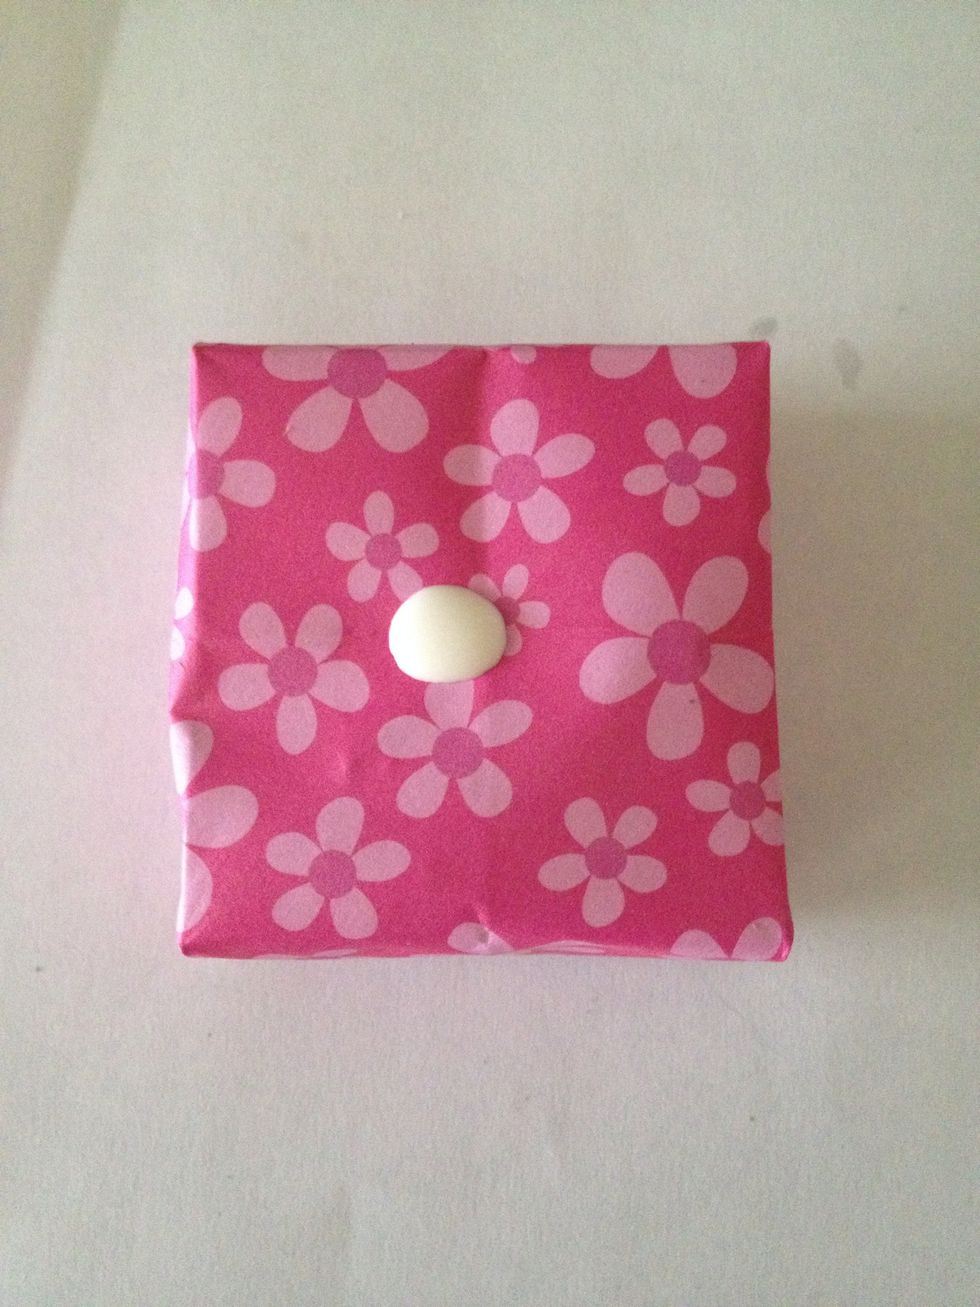
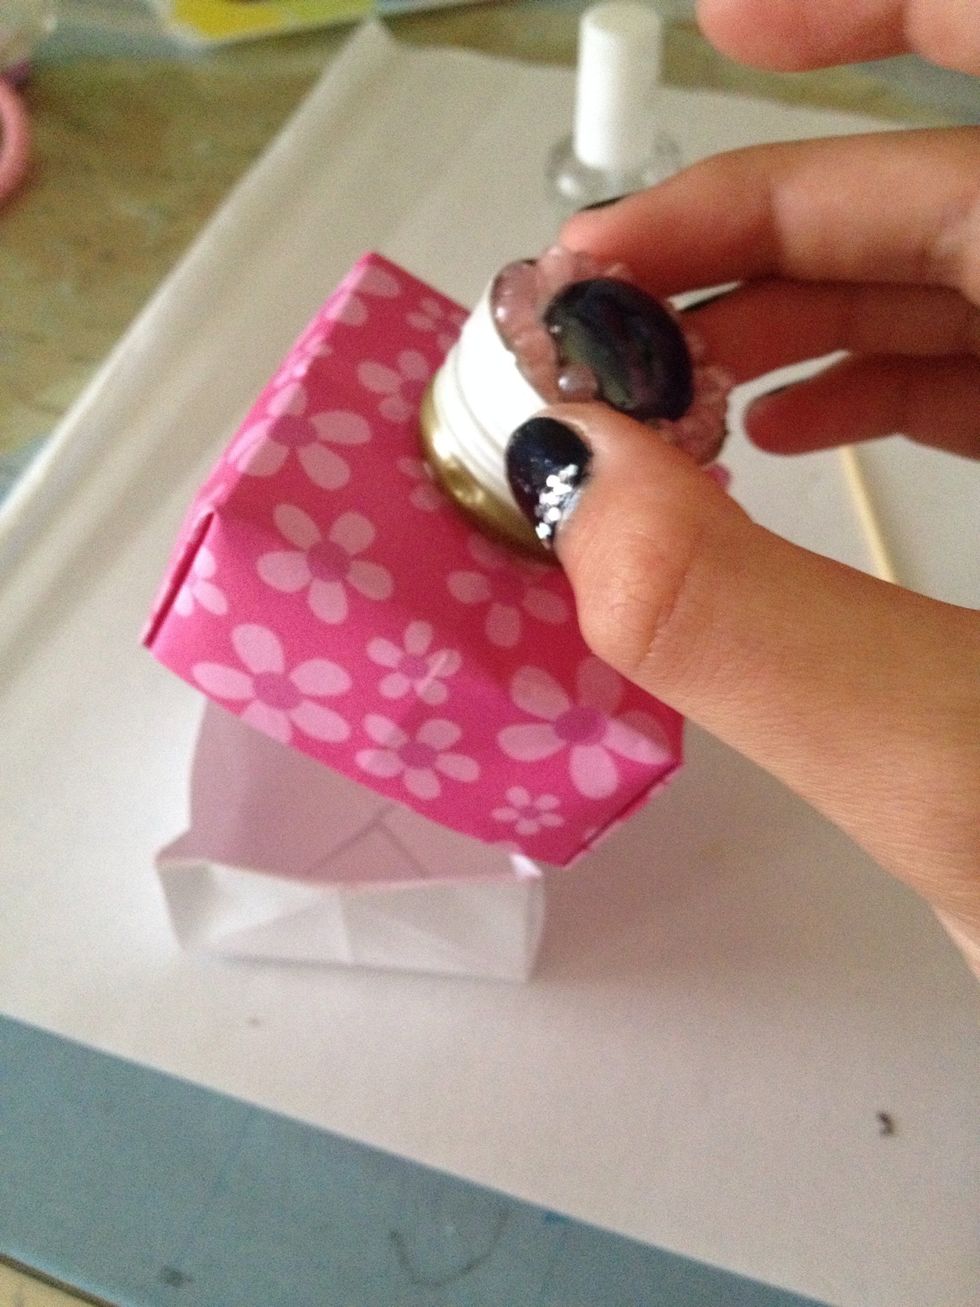
Dab glue onto where you want your handle. I am putting this one on top of an origami box I made.

Stick your handle on top.
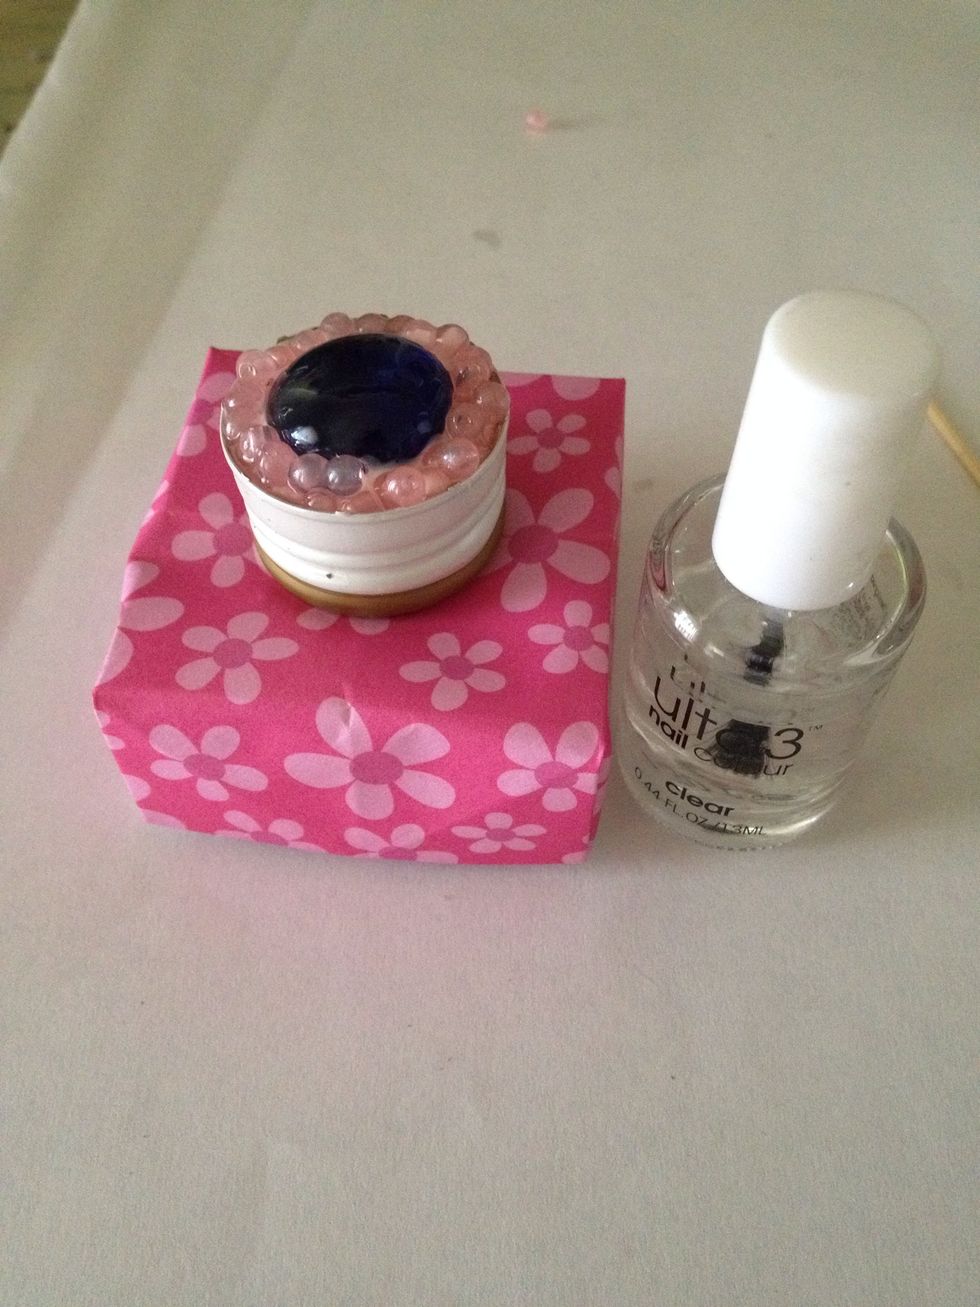
Take your clear nail polish again.
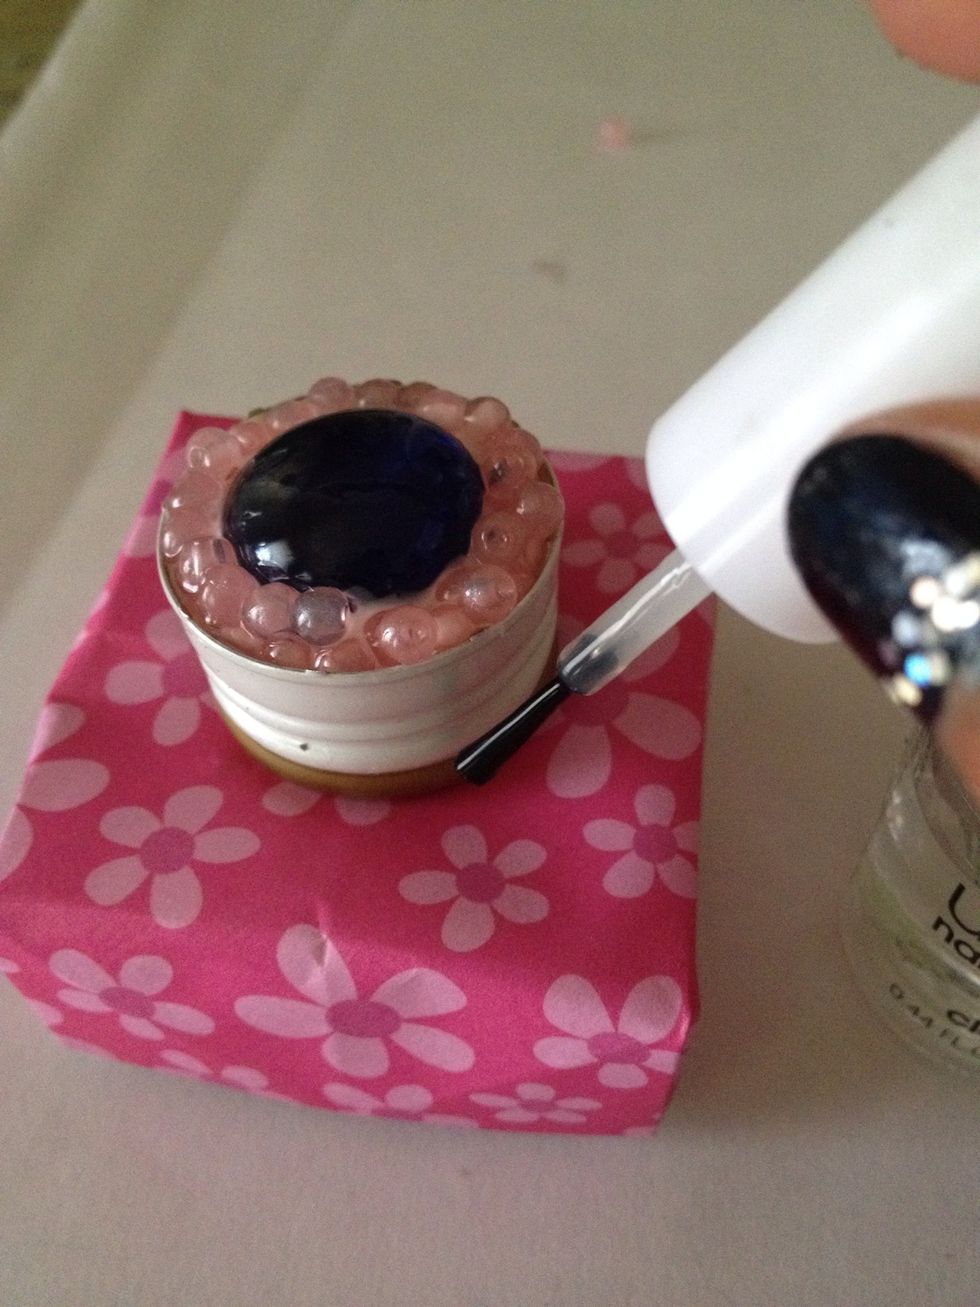
And drop it around the edges of the handle where it touches the box to seal it on, like this.
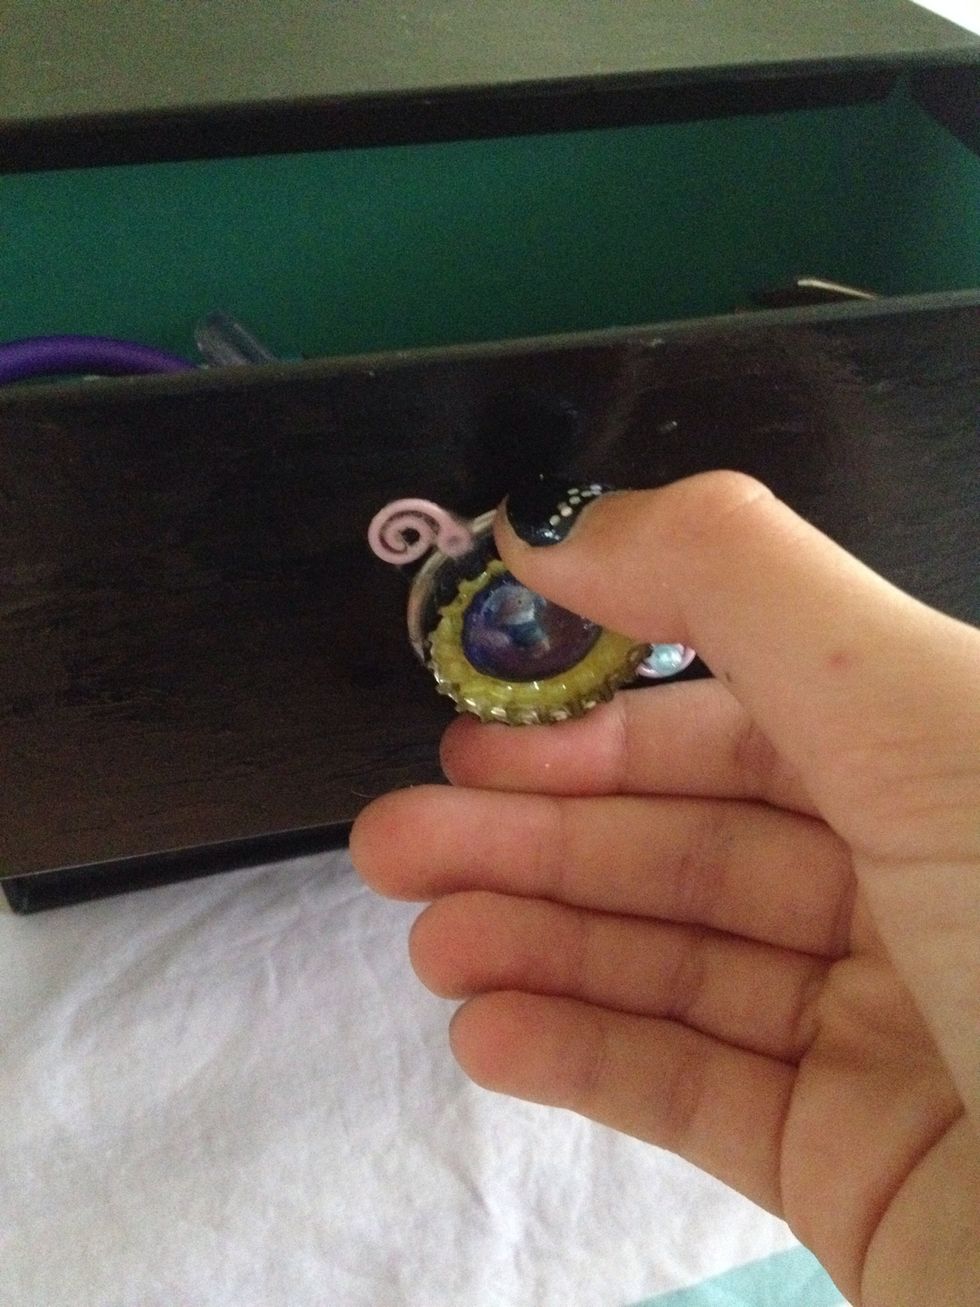
Like this, yay!
. . Make sure the nail polish is COMPLETELY DRY before you try to use the handles you made.
See!! So easy to make and so useful as well!!

I made handles for my drawers here that only had a hole for a handle. So I made these (my own invention btw!) and stuck them on. (This is with beer bottle caps)
I use them for my handles, they work really well!!
Thanks for watching, have fun making handles for all your random drawers and cupboards!! Please like and comment:) and follow!