The Conversation (0)
Sign Up
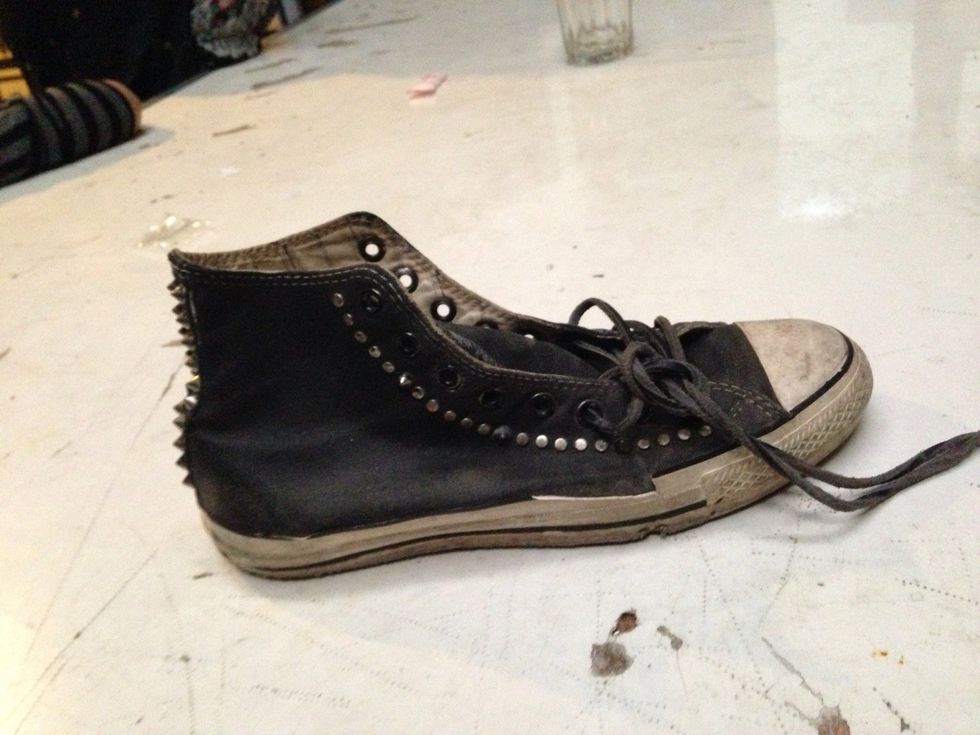
Time to retire my old limited edition converse allstar.. Nice to spend time with you...
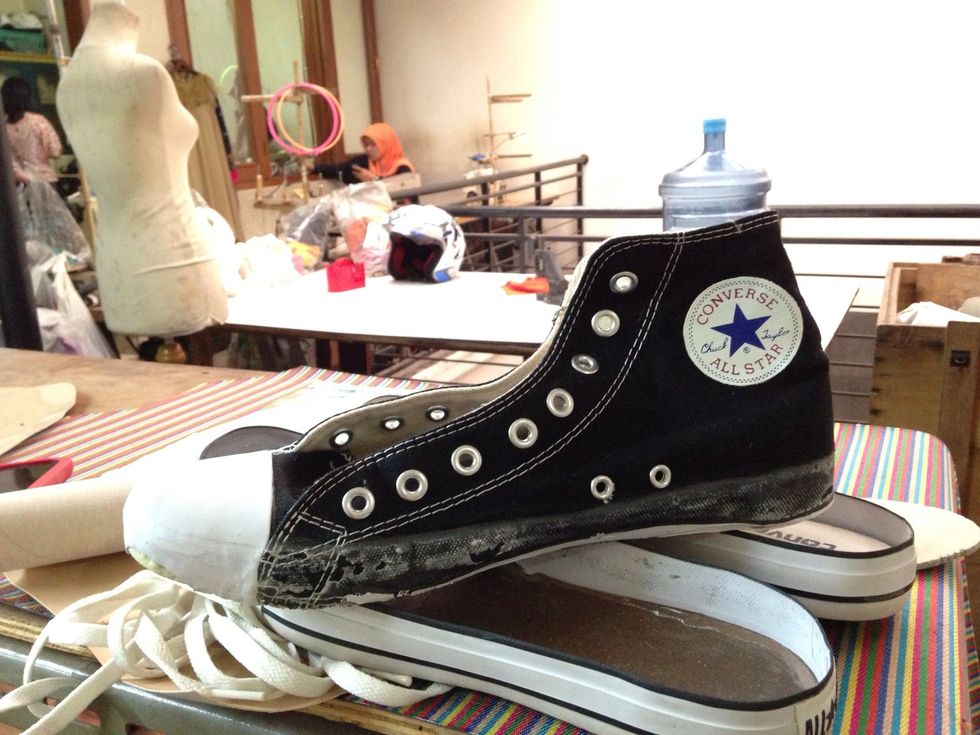
Start by a new pair of reject allstar (i bought it for about $12).. Separate the shoes from the sole, do it carefully so the rubber dont ripped.. Some gasoline would help to remove the glue..
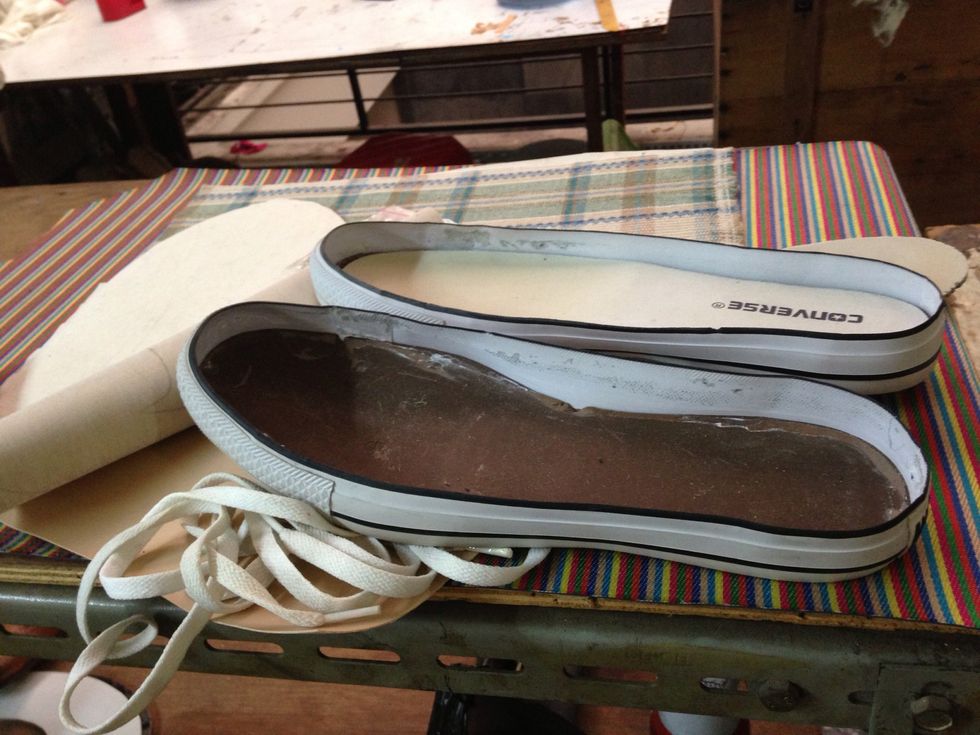
This is what you get, gently clean the inside of the rubber sole from glue with brush or dry cloth..
Trace the pattern from the separated shoes and then remove the logo, mine was a litle hard to peel so i cut it out 😜
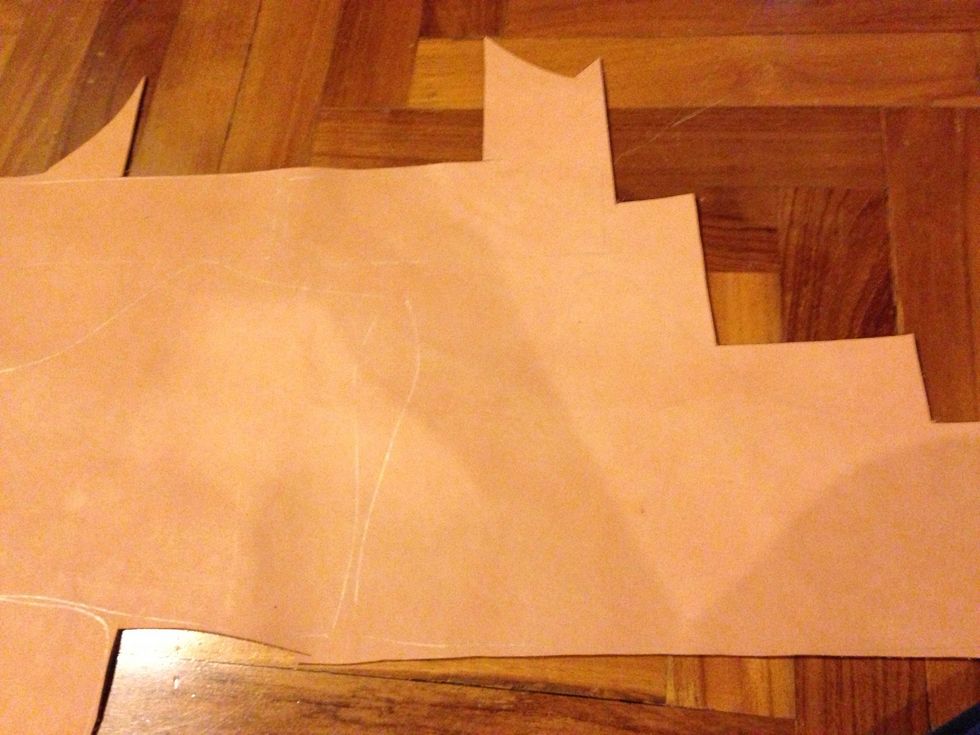
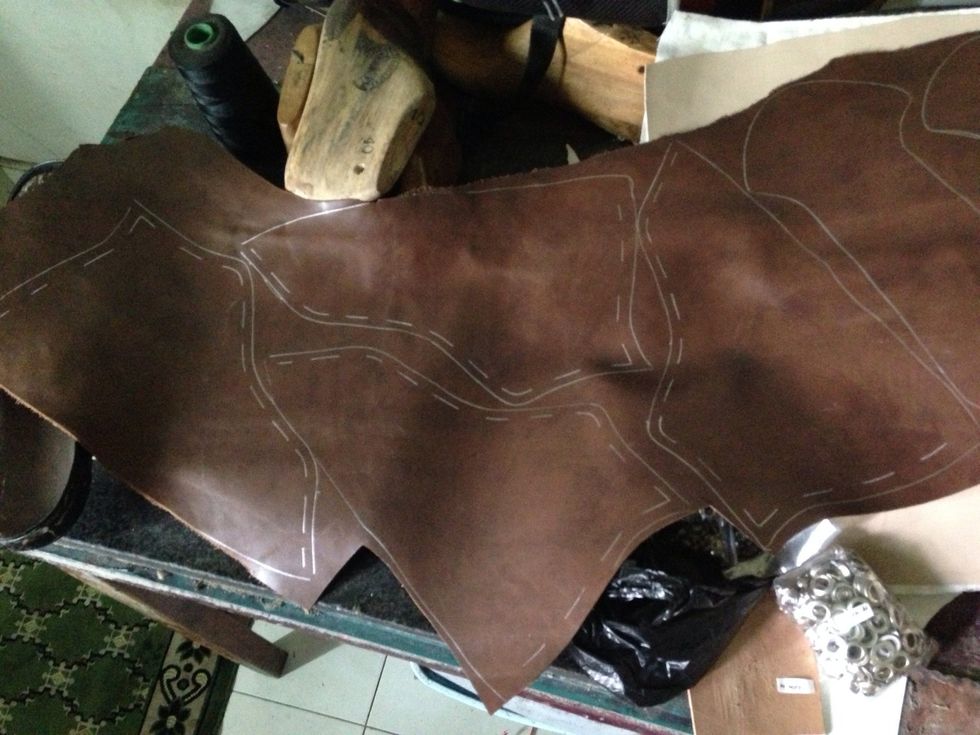
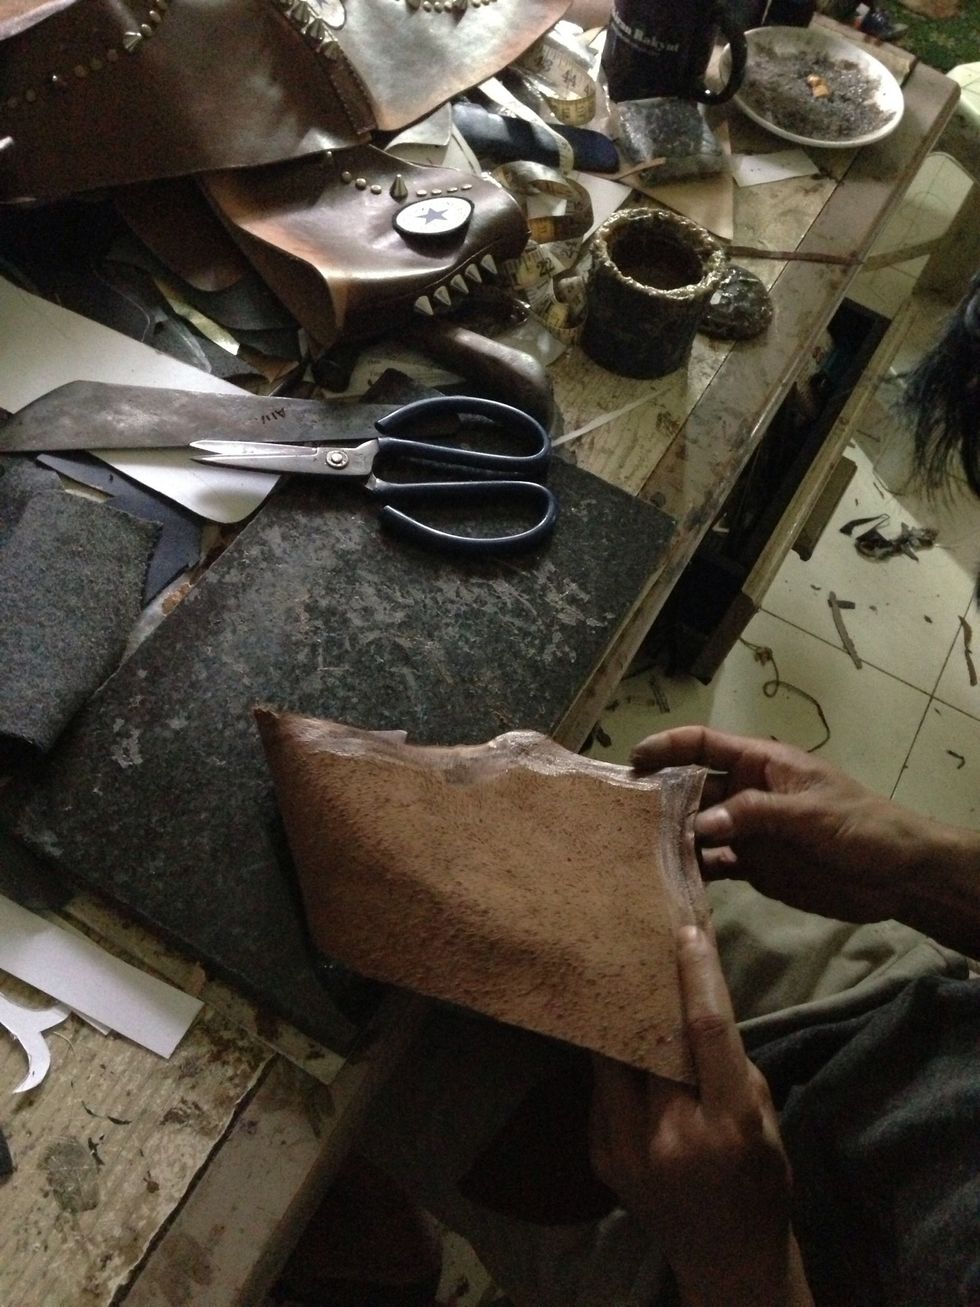
Draw the stencil to a vegetable tan leather a leather of your choice
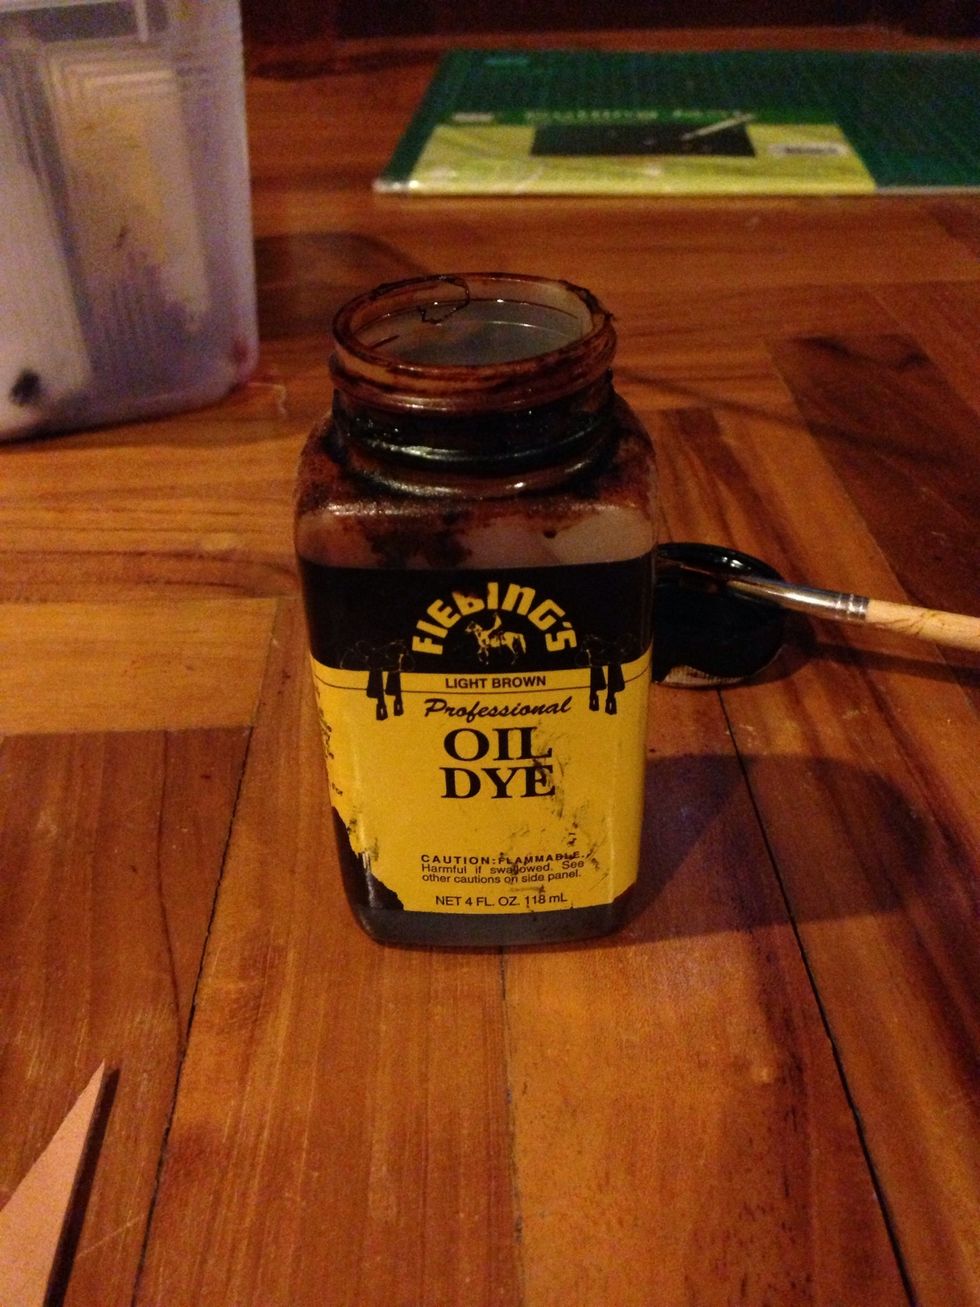
This is the leather dye i used for coloring
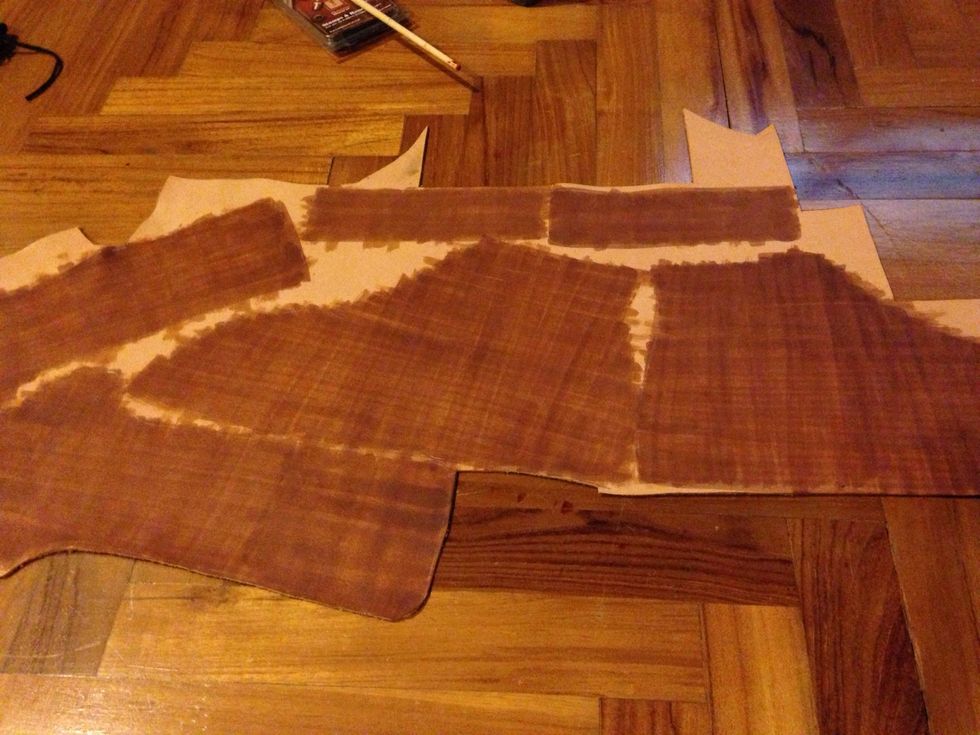
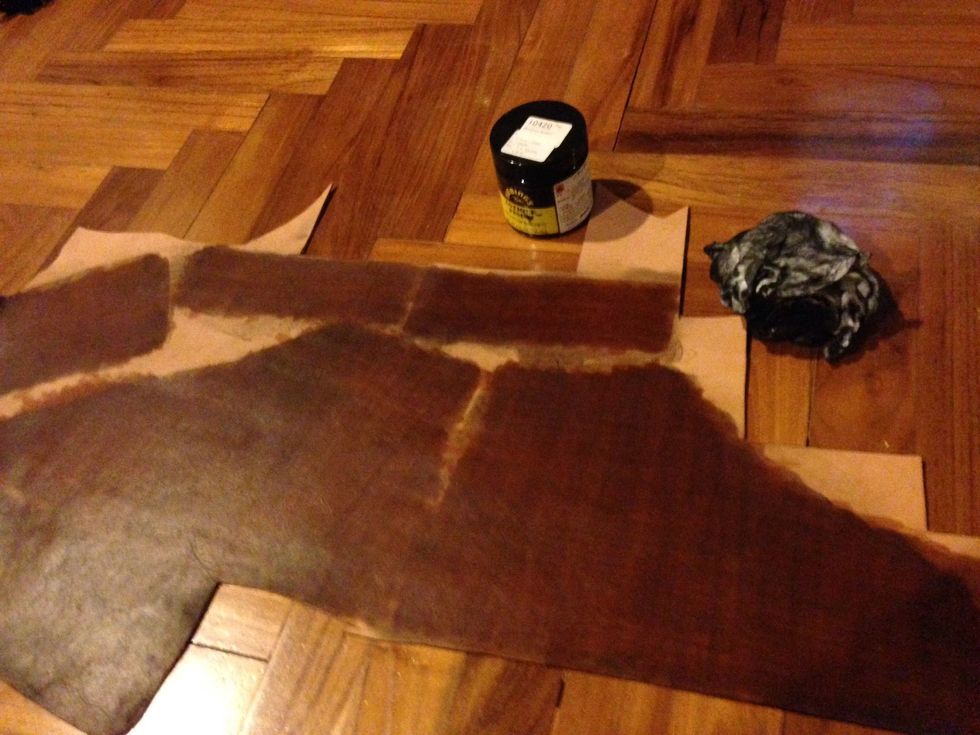
Color it out with leather dye, this is the first layer of the dye, i use light brown
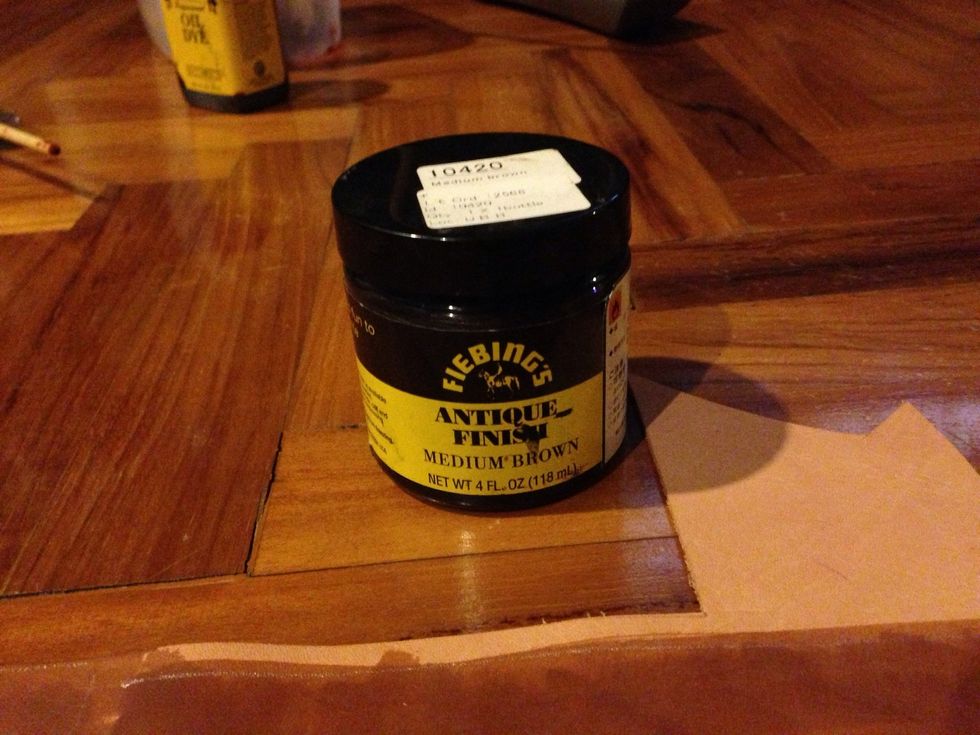
After a couples of layer i used the fiebings antique finish to darken the color and make it more vintage
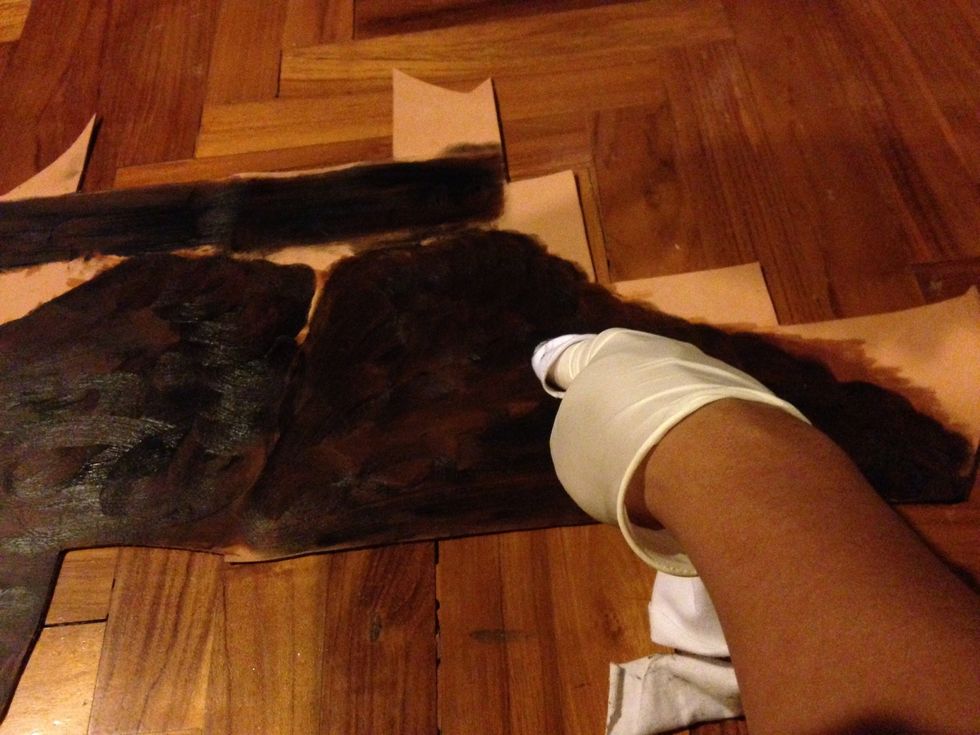
I rub it out with a cotton cloth and leave to dry..
After it dry buff it off with a dry cloth until it starting to gloss
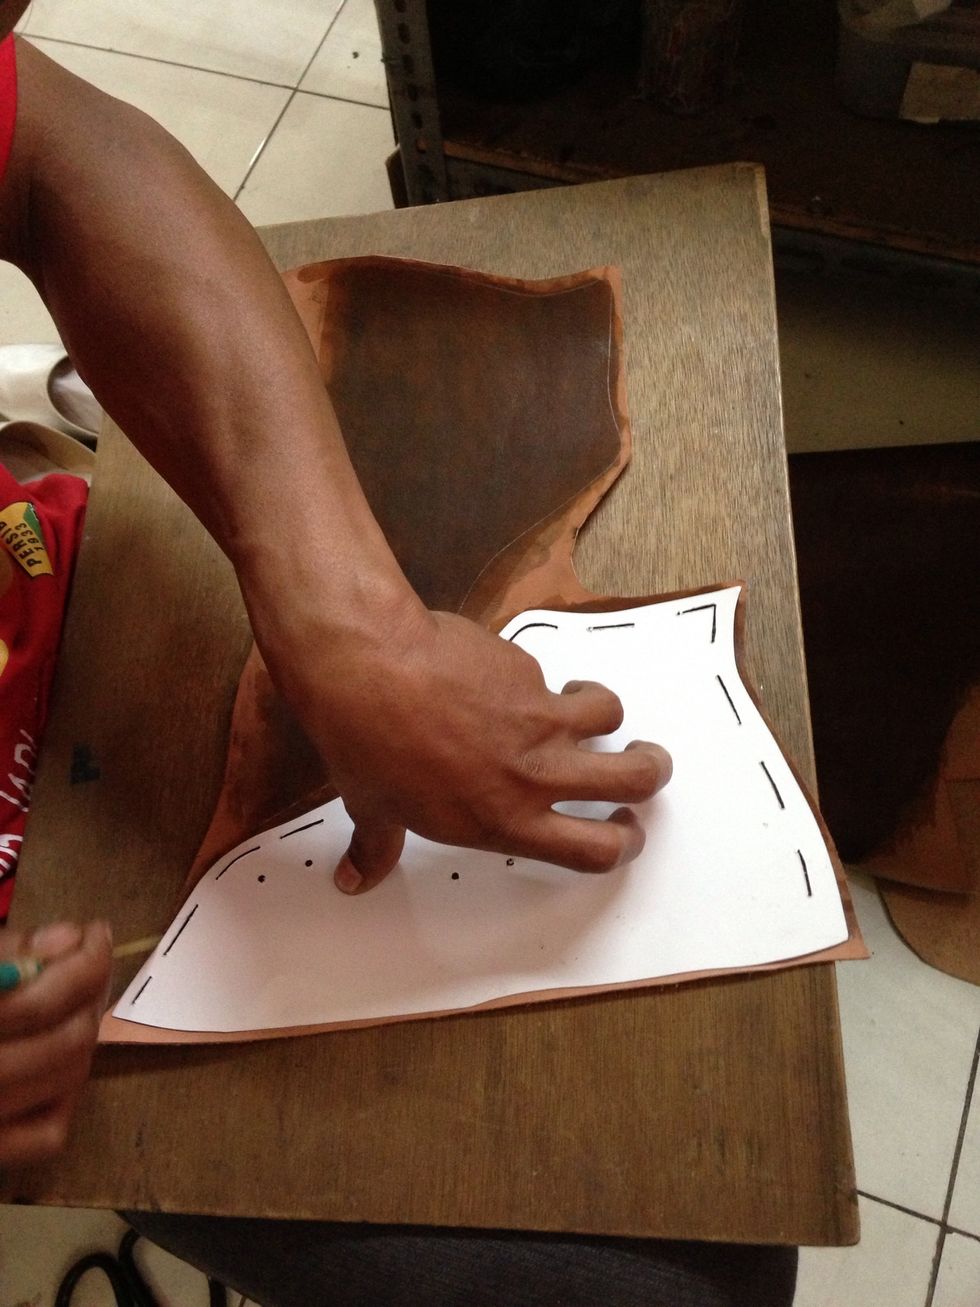
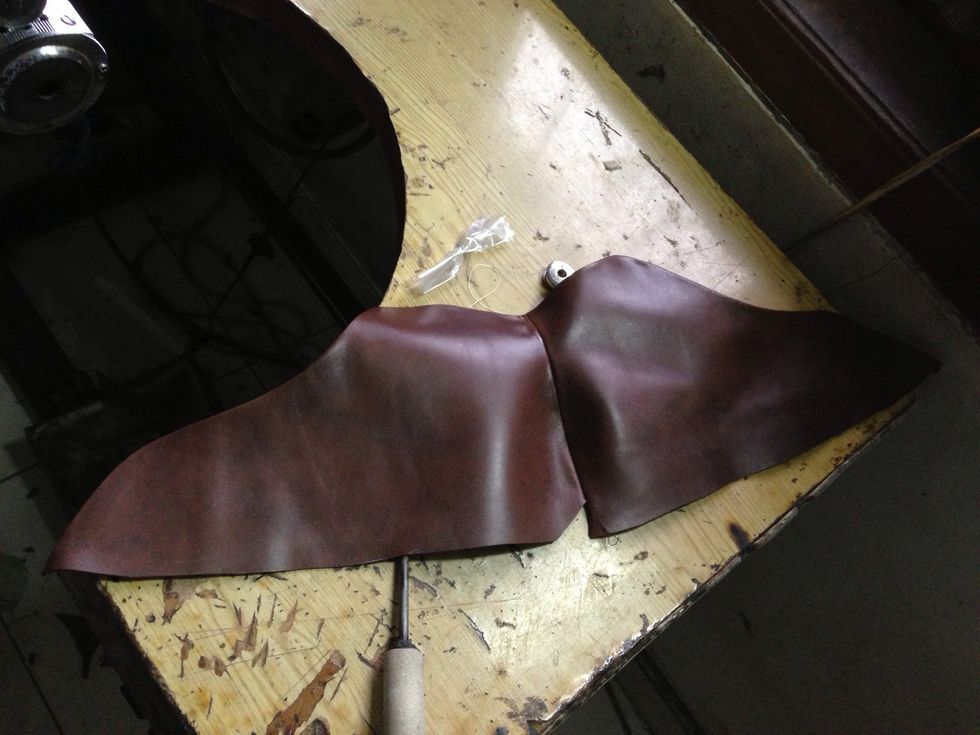
Redraw the leather with the pattern we make before, it is a prepartion to be cut..

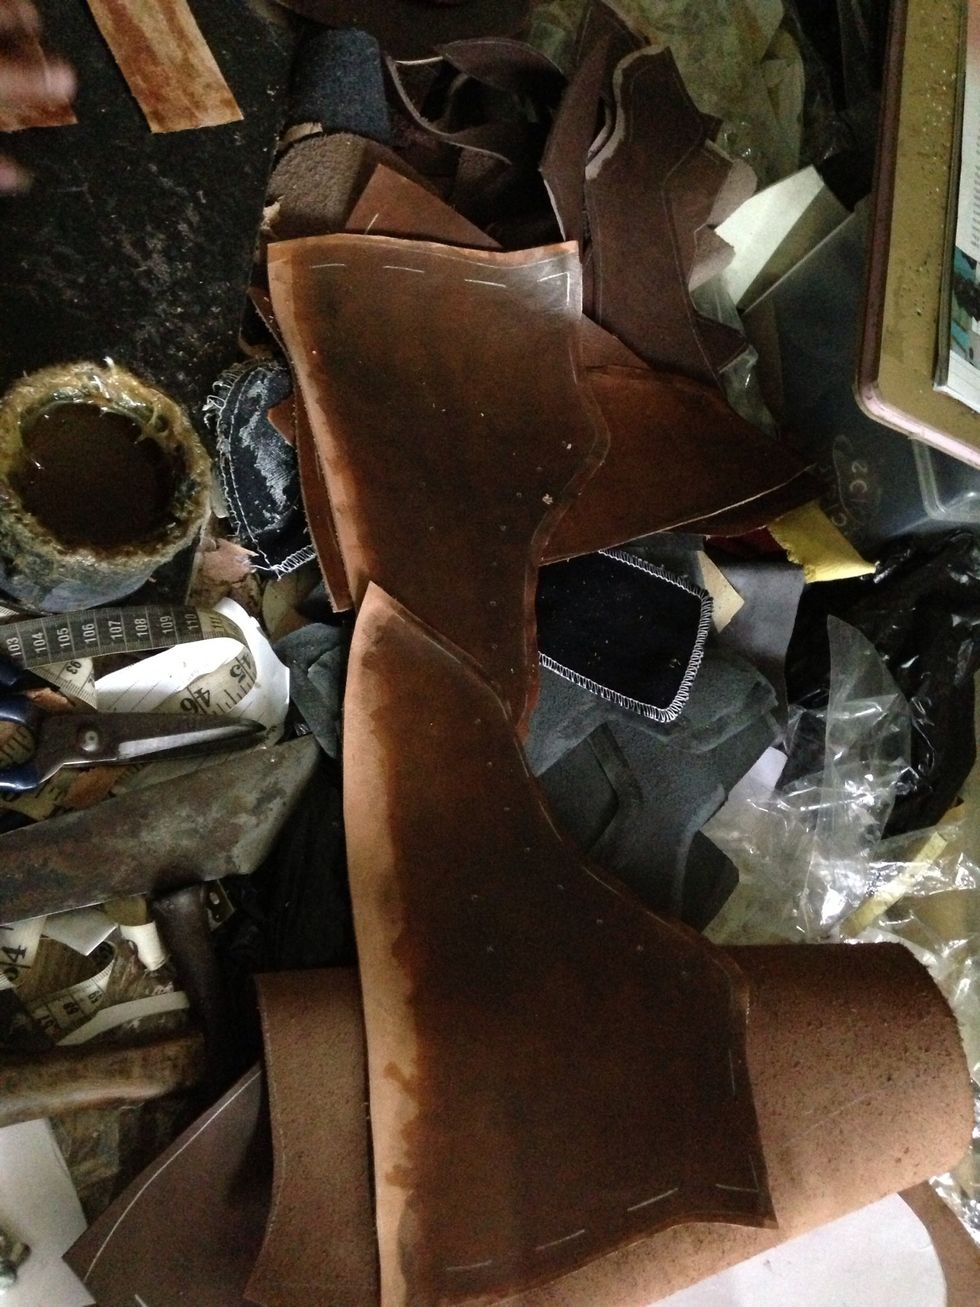
You will have a pair of outer, inner, heels, and tounge like this, ready to sew...
Redraw the eyelet and the sewing pattern on the leather..
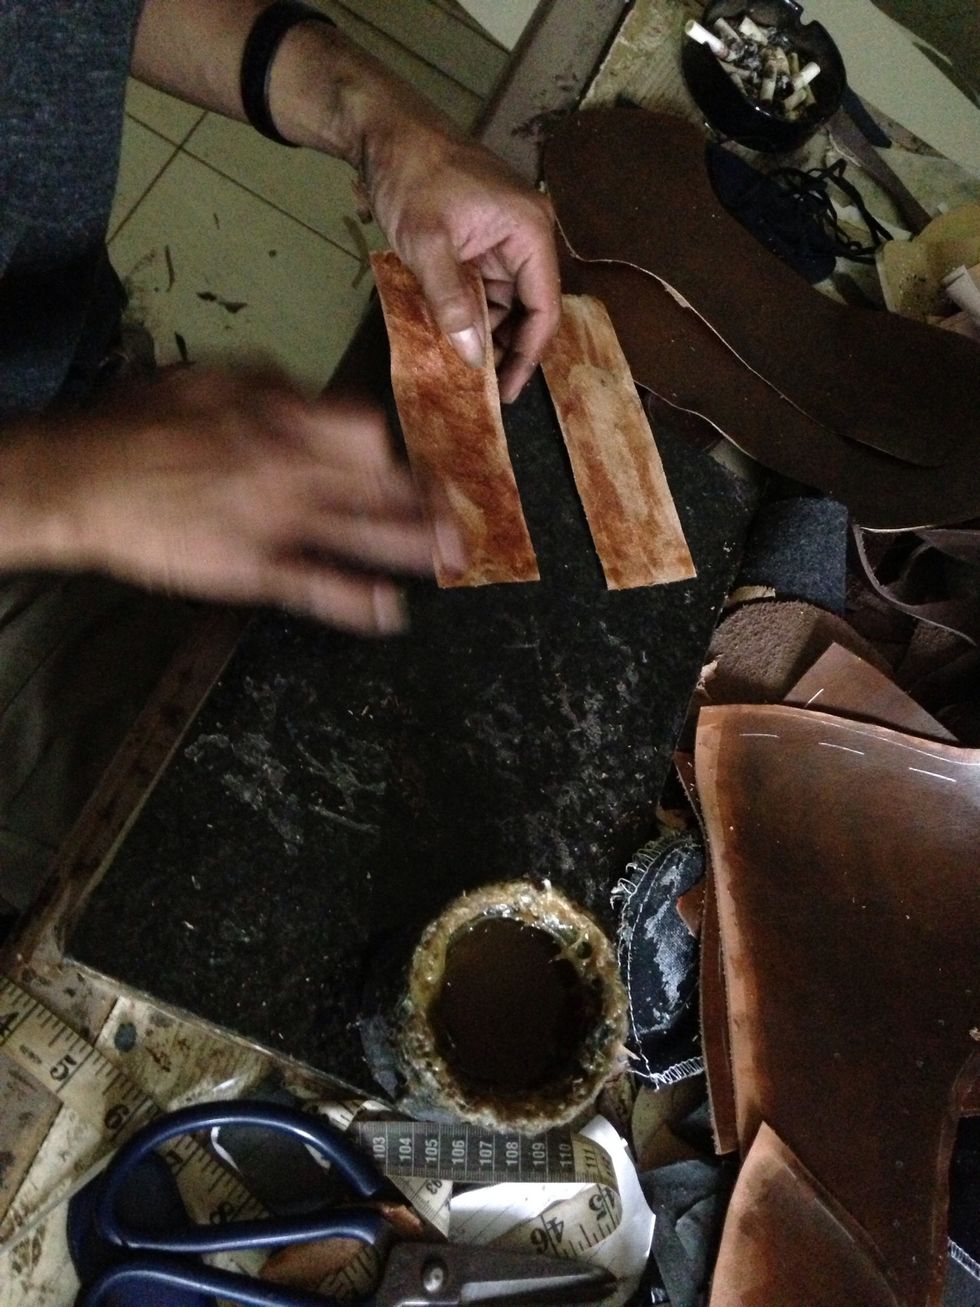
Glue it up before sewing..
Preparation of the lining.. Also draw the pattern to the lining...
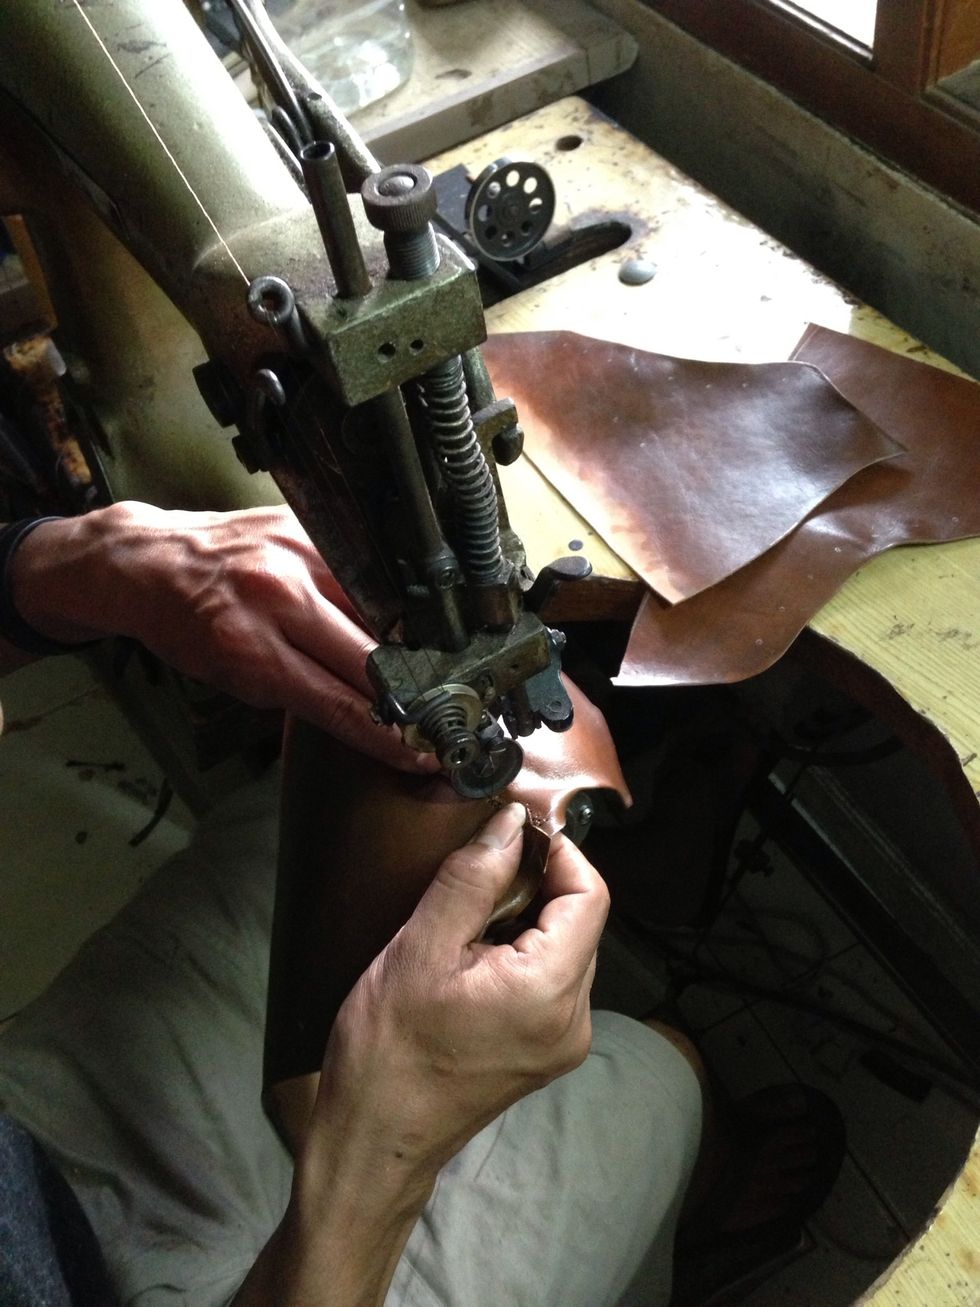
Sew it up..
Use a bigger thread and 6mm gap..
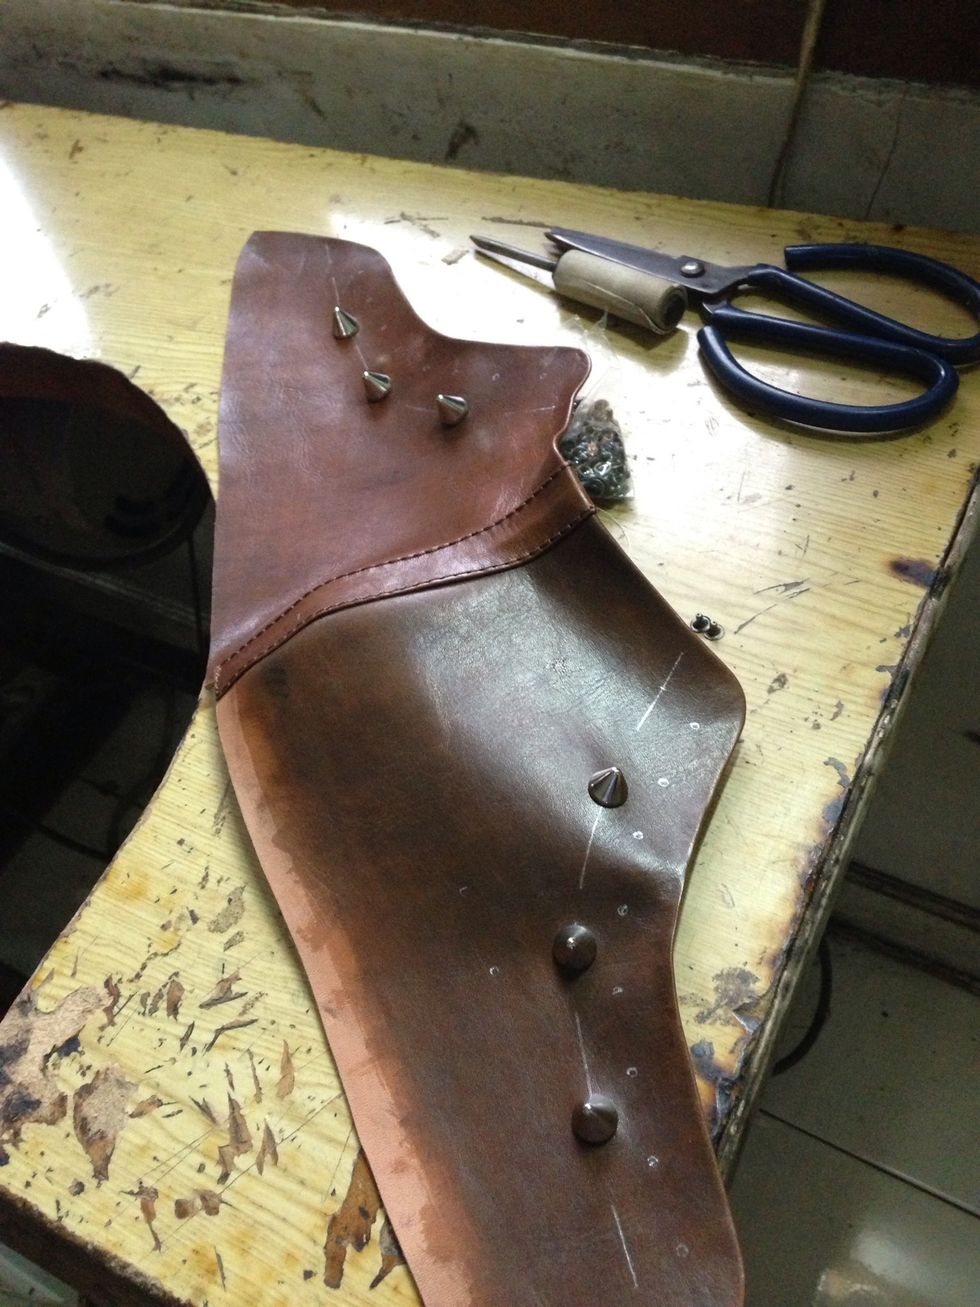
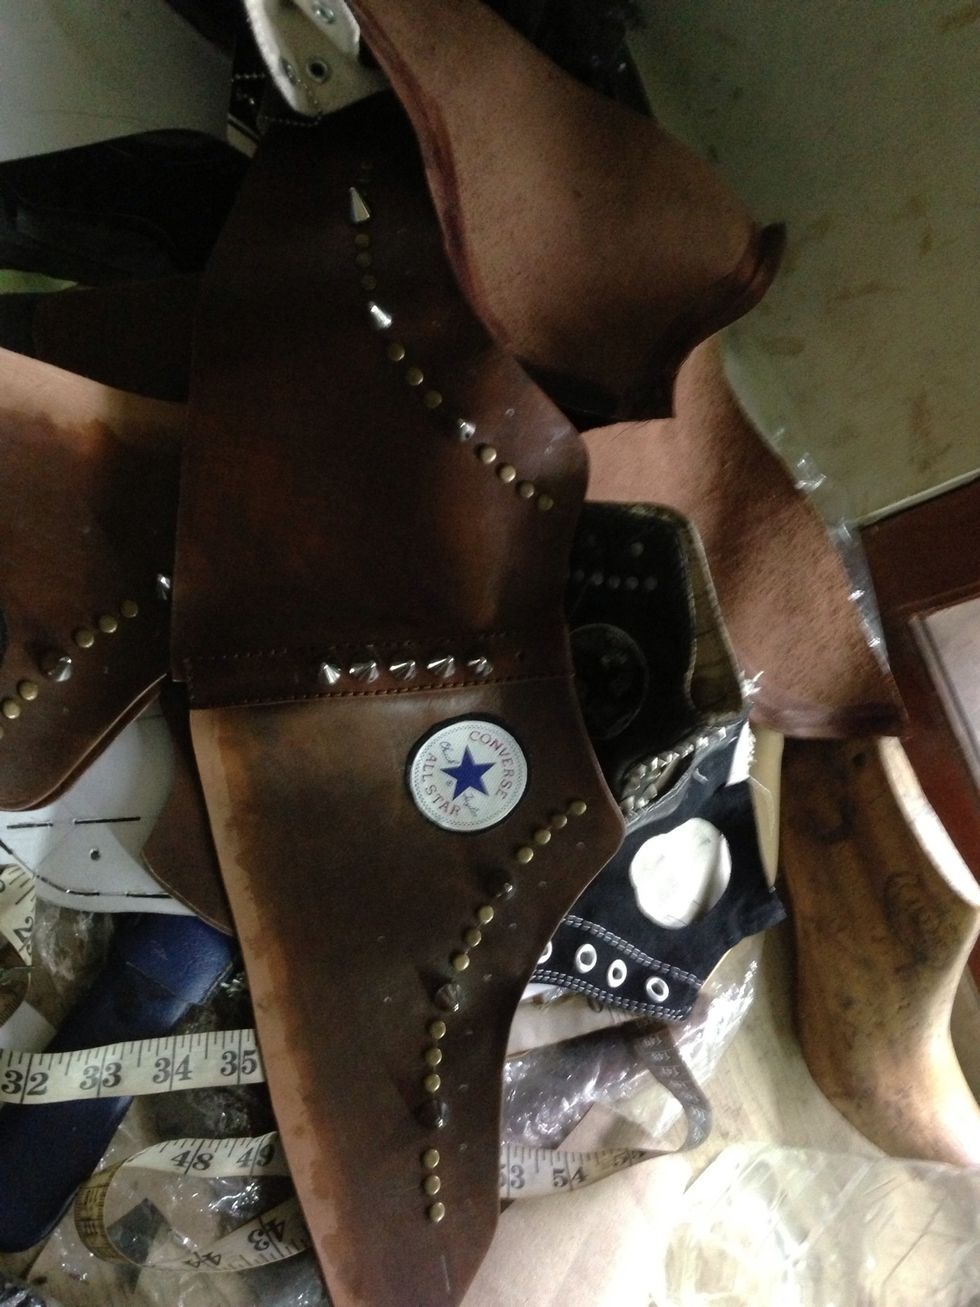
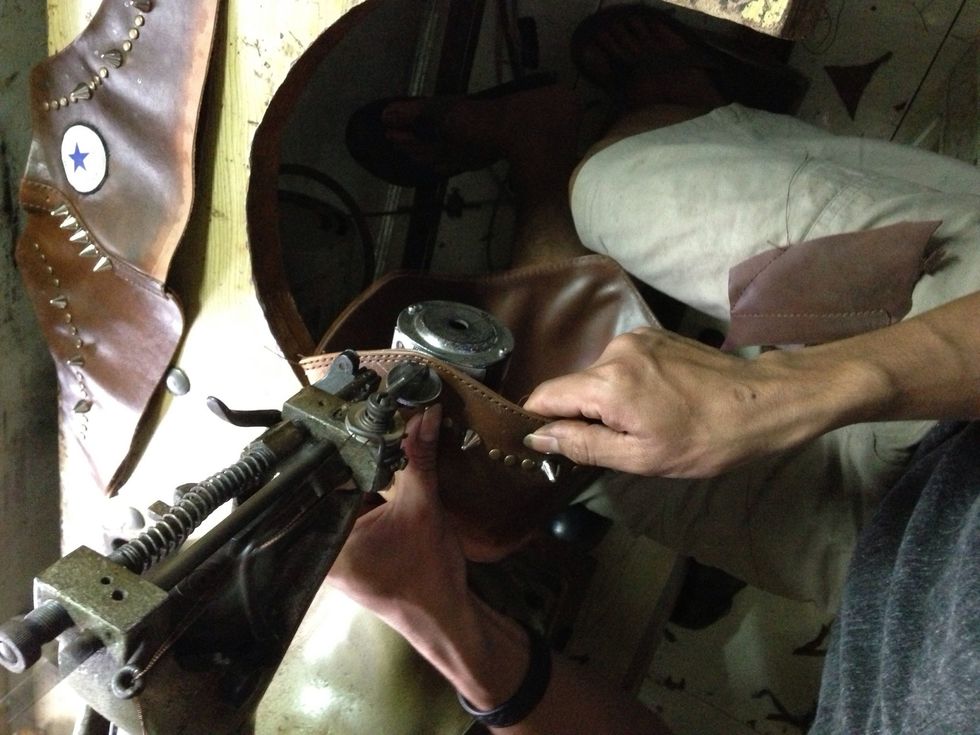
Add a stud of your choice, if you want yo add a stud follow the original sewline..
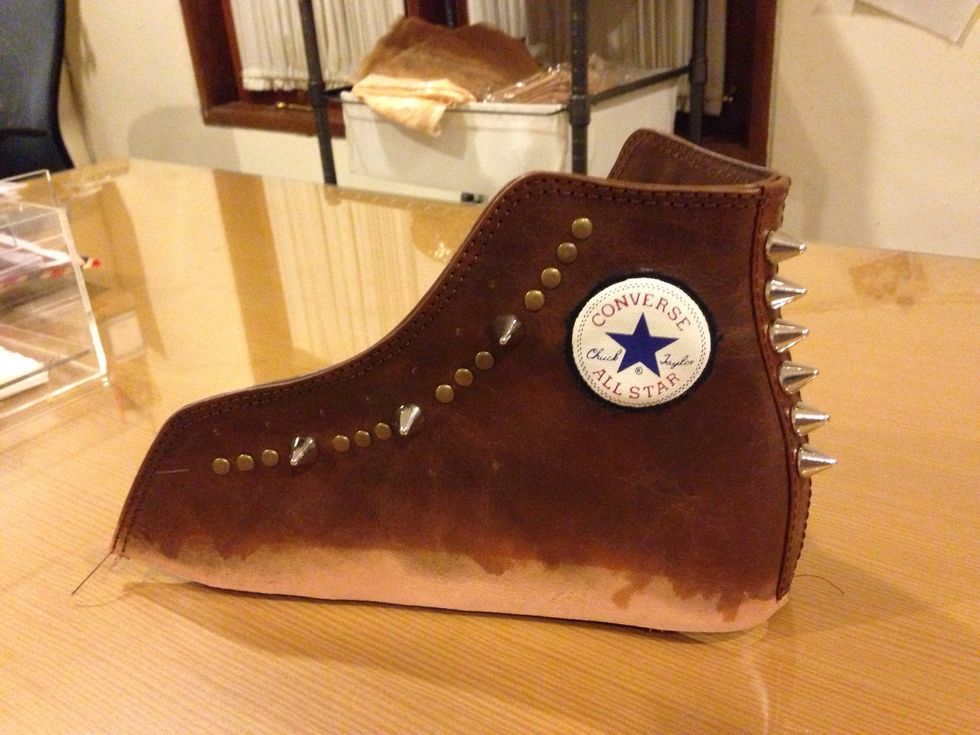
Attach the logo with glue
It should be like this with the logo attached and the all studed up 😉
Prepare the lining to be unite with the upper by gluing them together
Let the glue half dry..
Do so on the lining..
Unite the upper and the linning together..
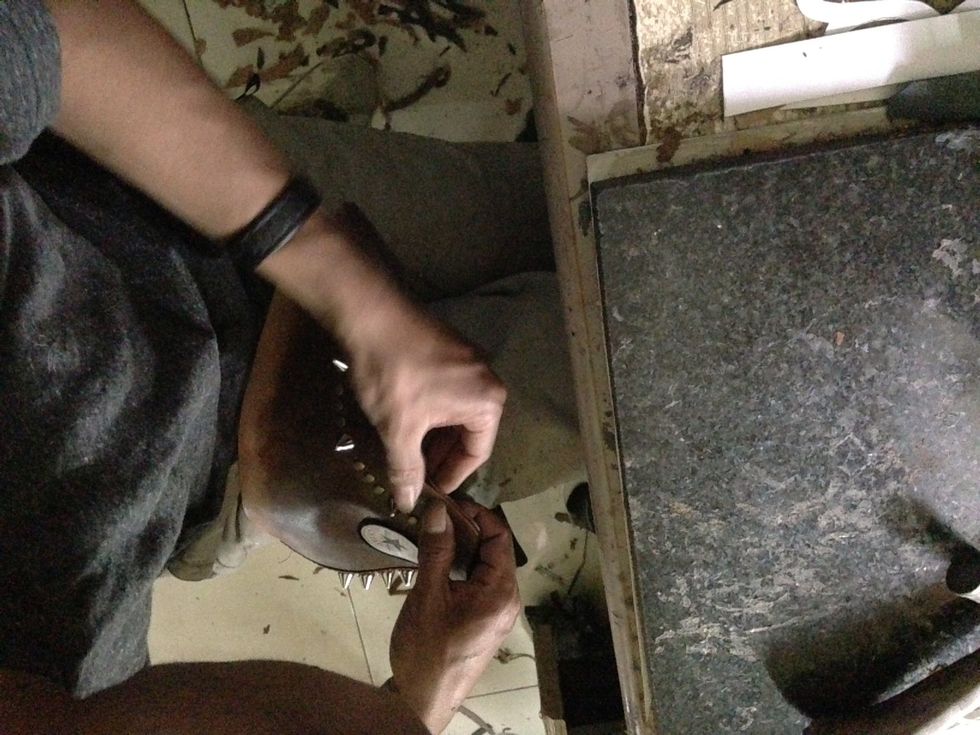
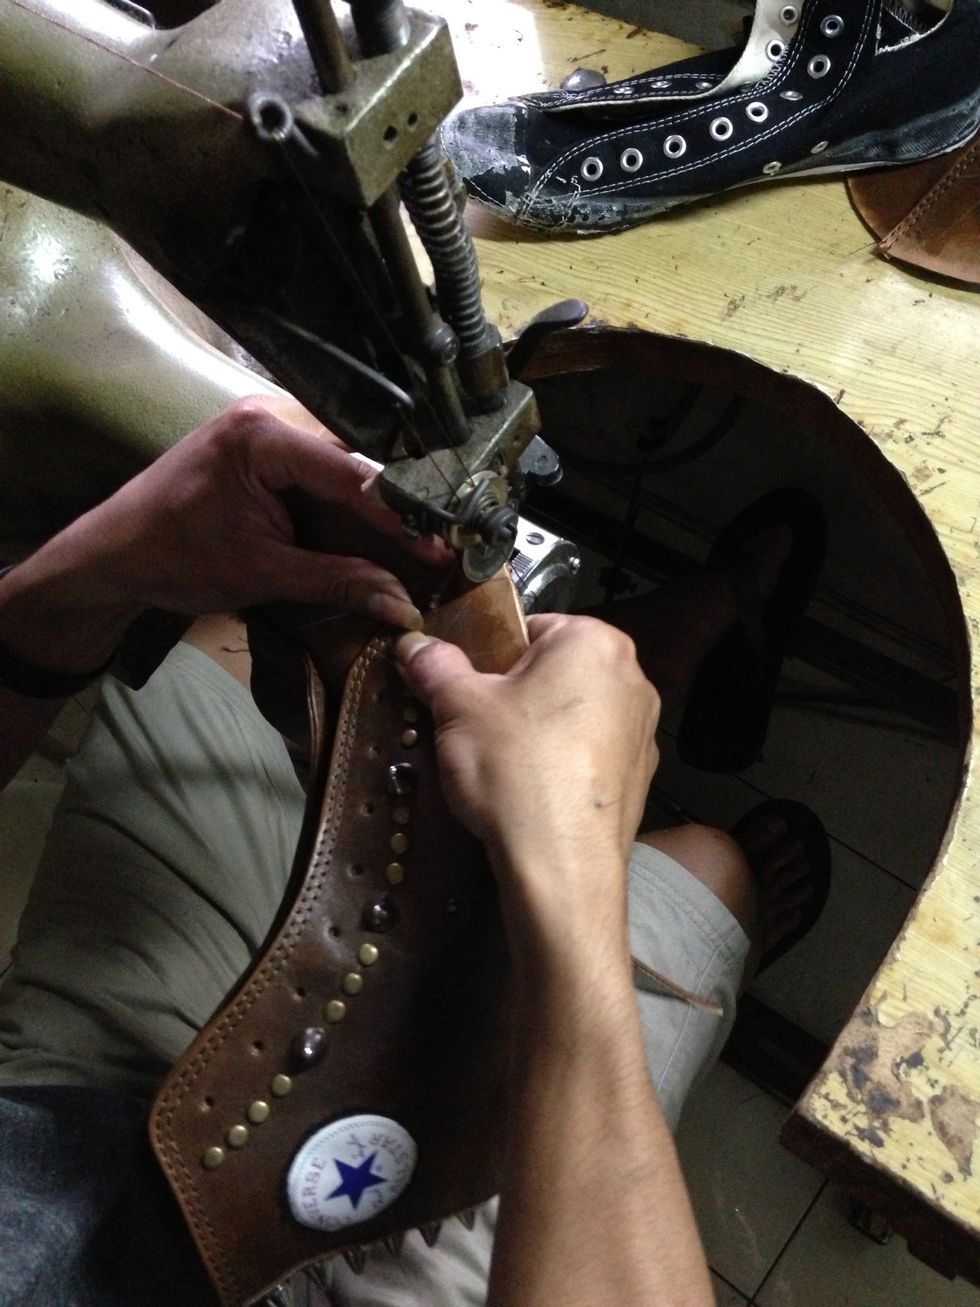
Sew the logo to the upper carefully round the edges of the logo..
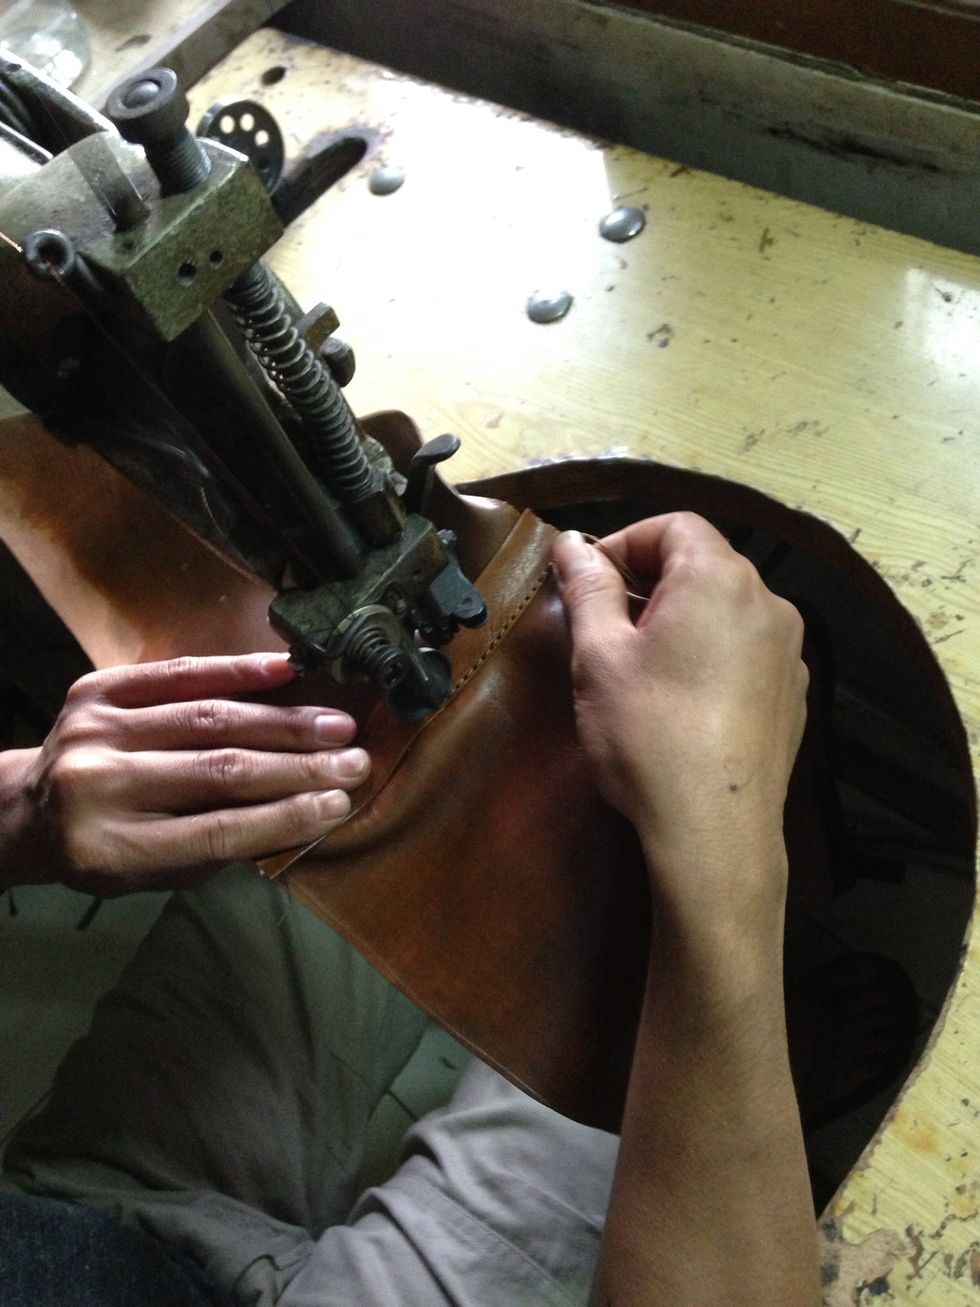
Double stitch the upper and the lining, remember to copy the stitch as the original..
The double stitch should be like this..
Unite the upper with the tounge, also remember to positioning the tounge same as the original otherwise it will not fit..
Put it on the shoelast, i fastforward it to the finished after it been pulled on the shoelast..
It should be like this.. Leave it for a night until it perfectly form.. Sit back and watch television while wait..
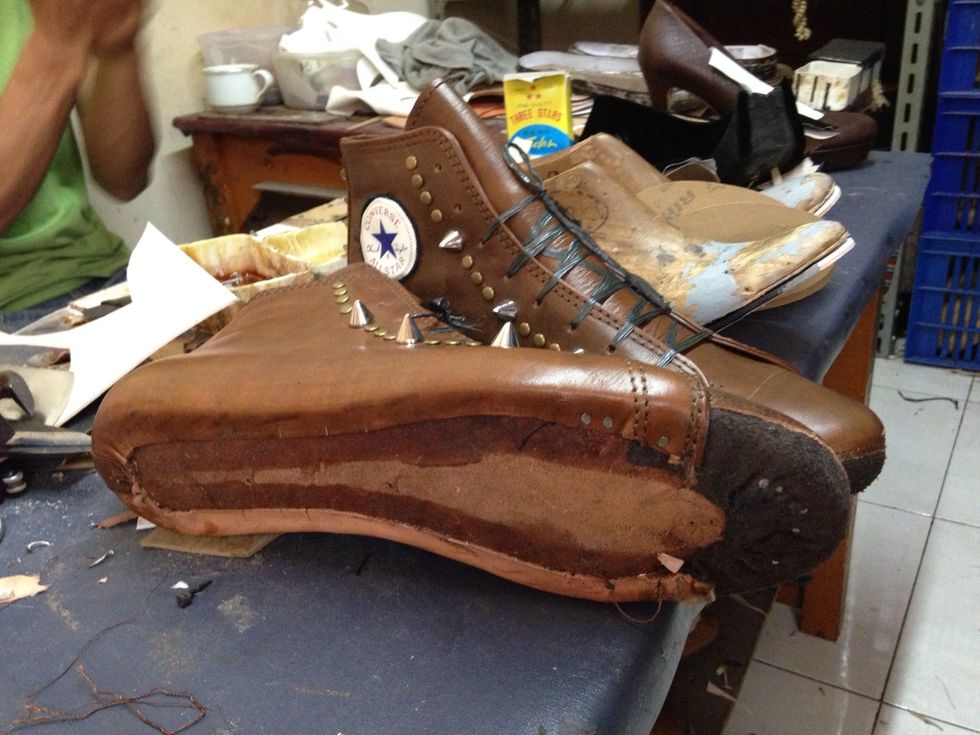
After a day, it is time to attach the rubber toe and the sole.. First clean it up from any dust or leather scrap and dont forget to take all the tacks.. And glue it up..
Do the same on the toe, remember to draw a line to guide where the rubber toe goes..
Add a glue on the rubber toe..
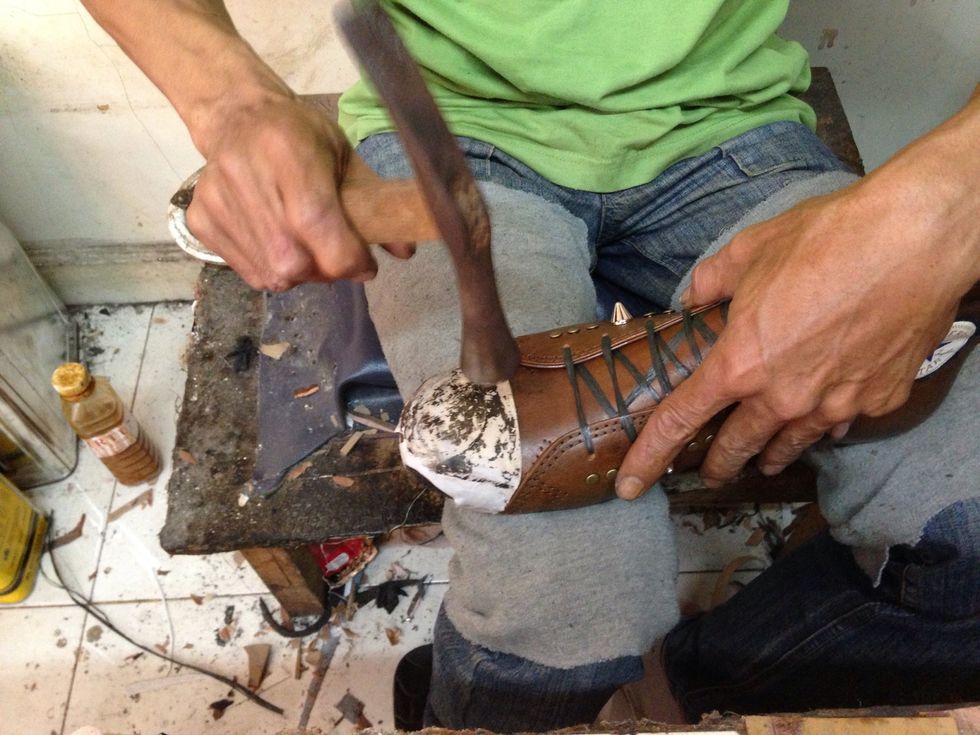
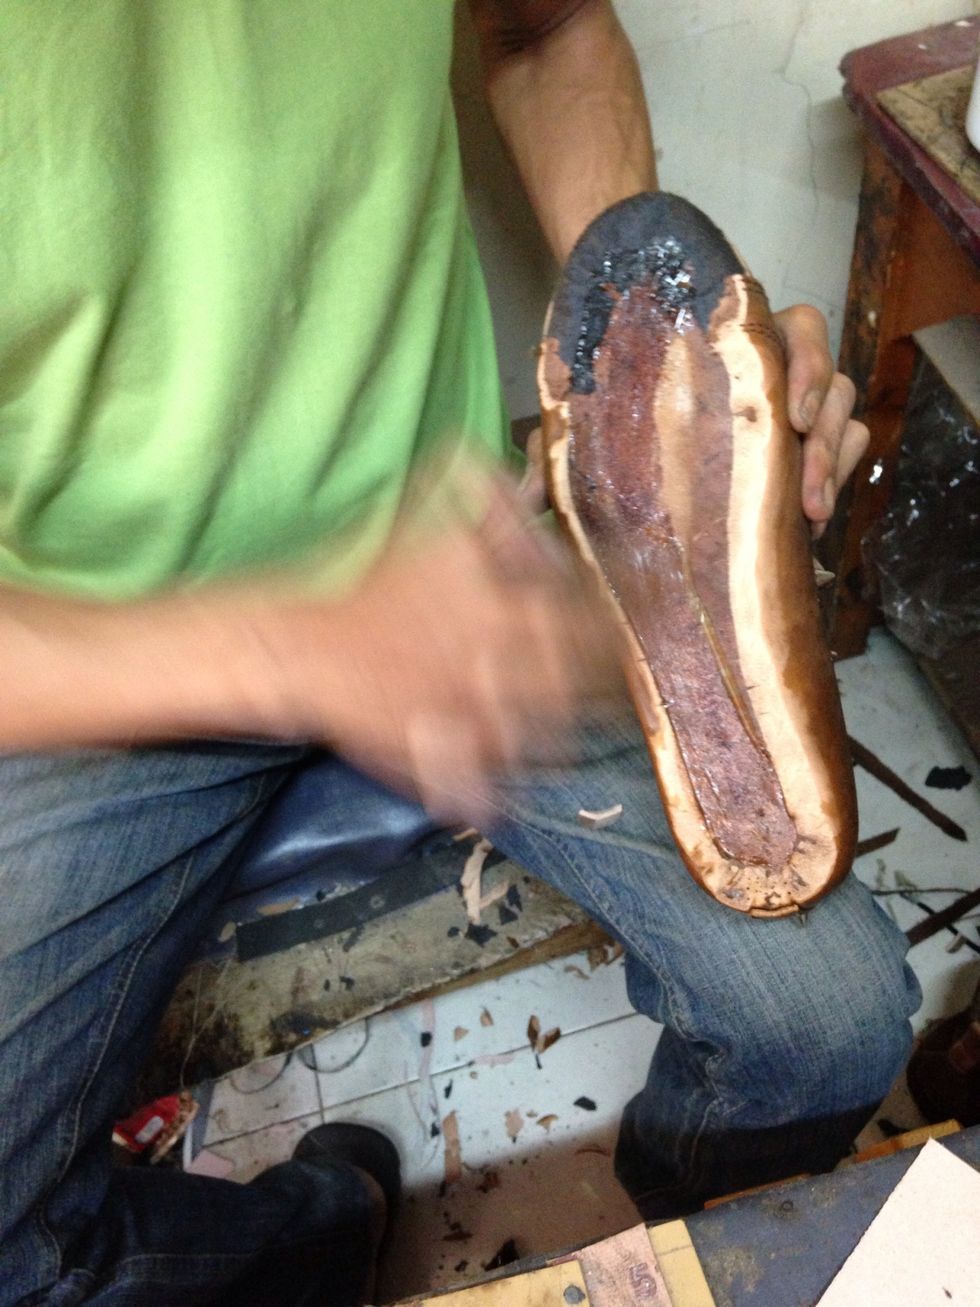
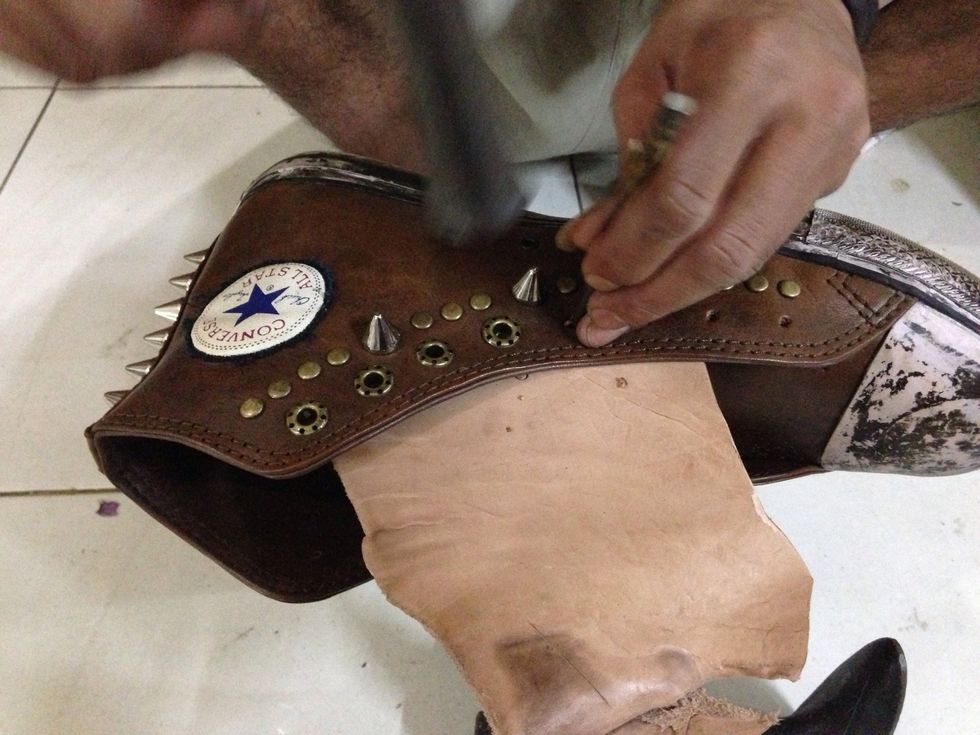
Put them together and hit gently with the mallet..
Di the same with the sole, it is best if you put them together when the glue is half dry (on both side) press alltogether firmly and hit hard with the mallet..( hit the bottom side)
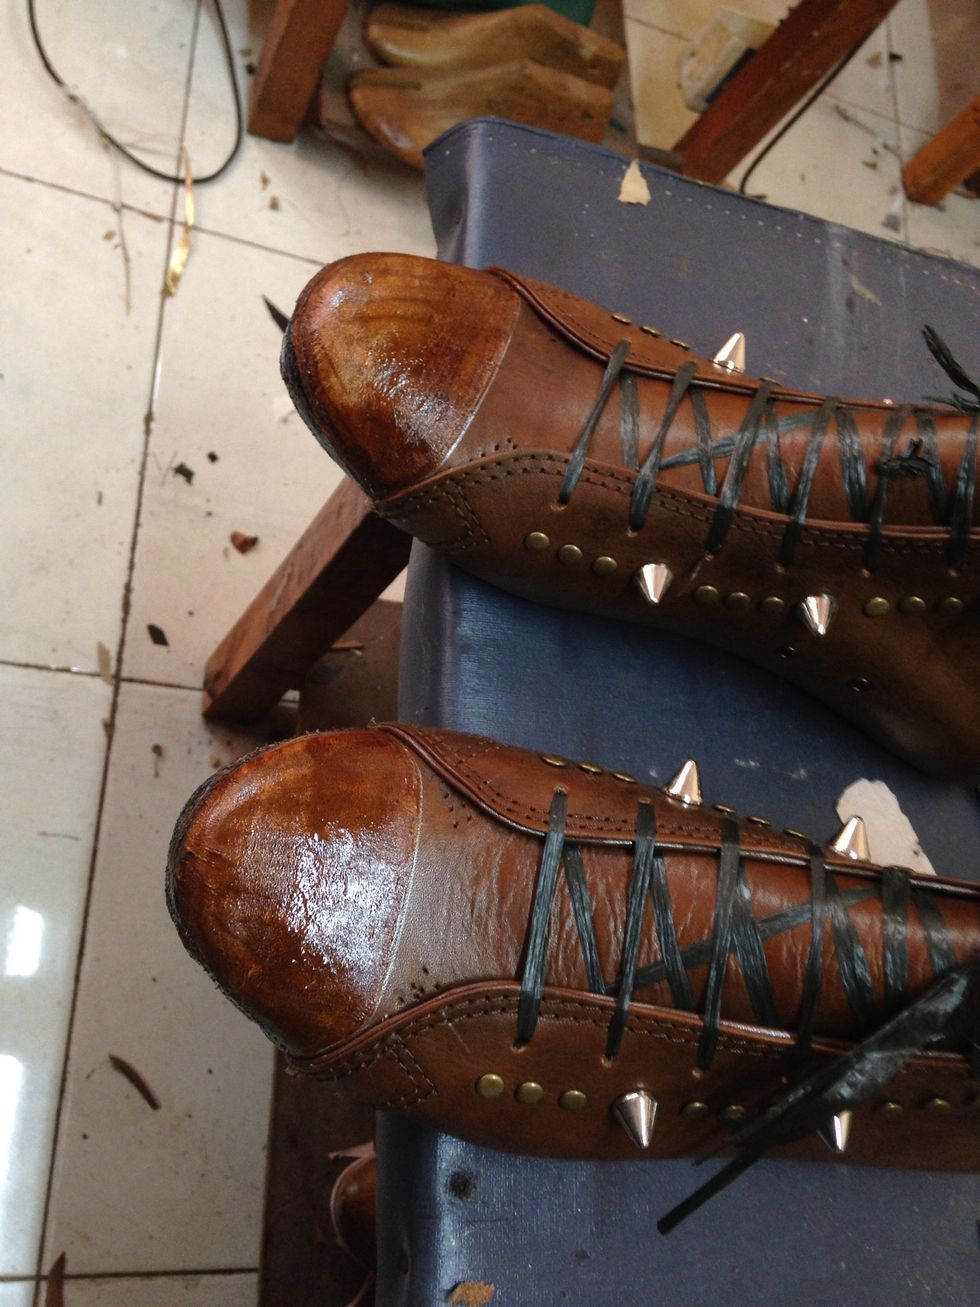
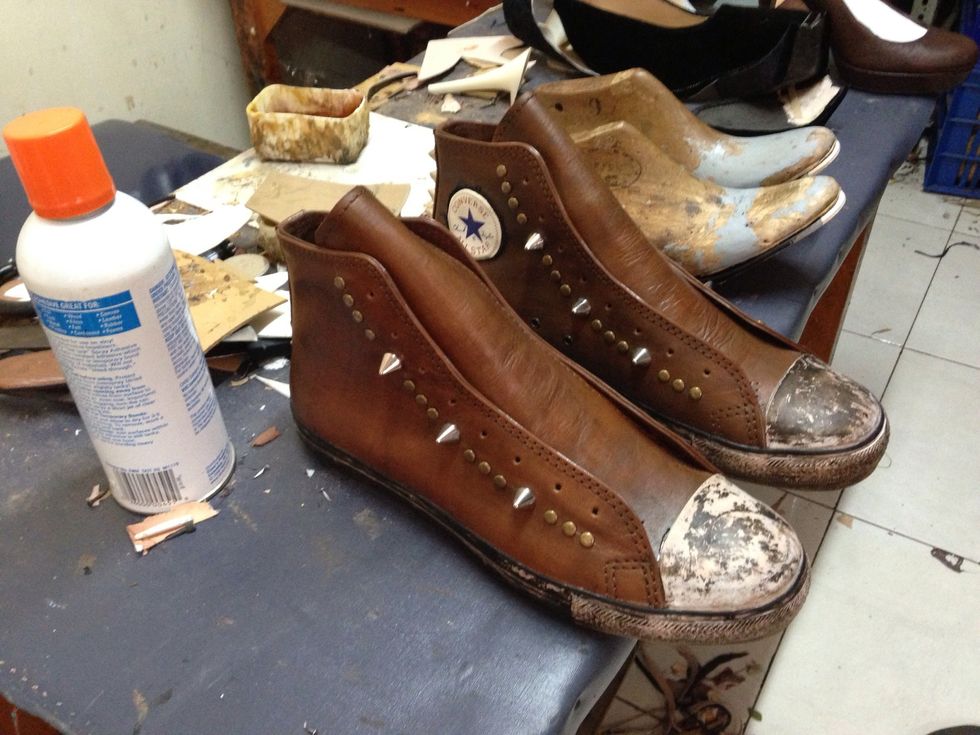
After a few hour this is how it look...
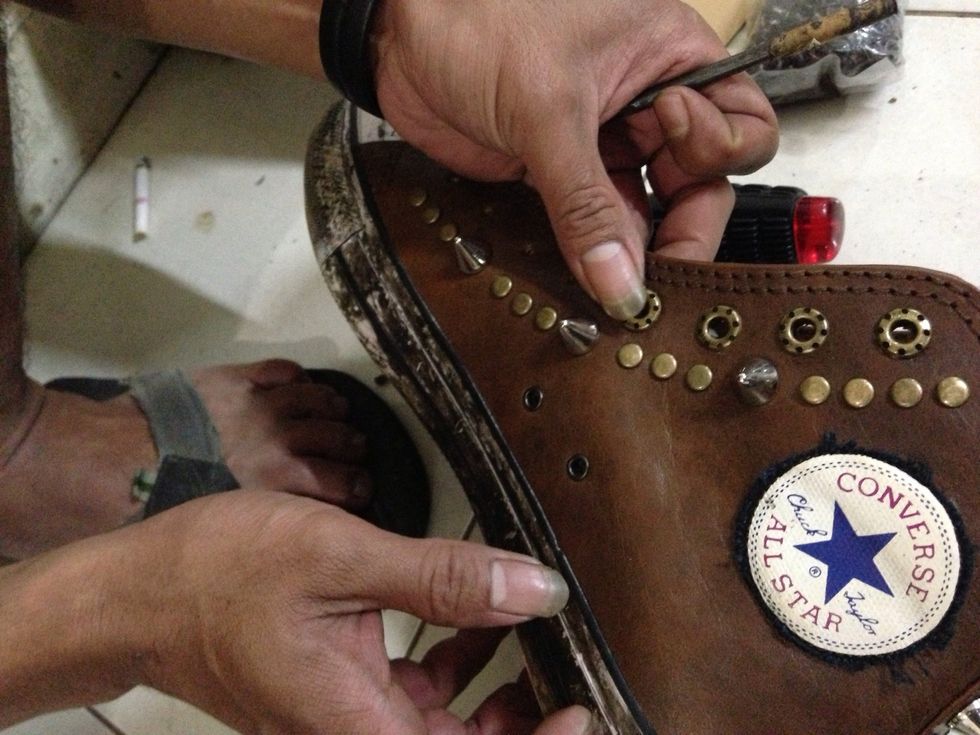
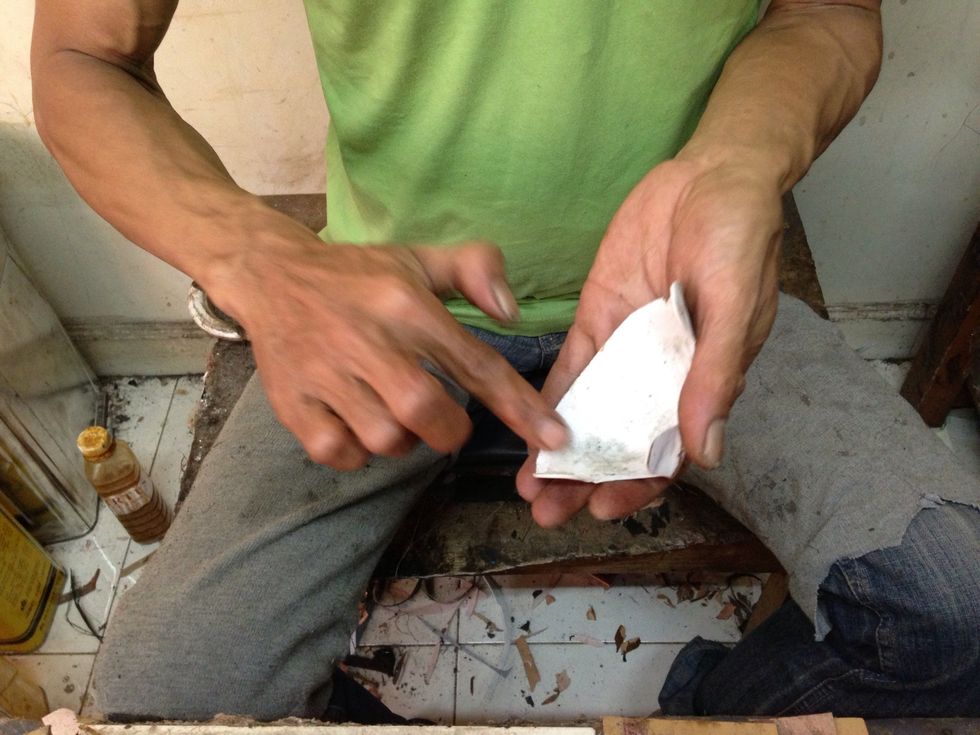
After all glue is dry remove the shoe last and start on the eyelet..
Attach all the eyelet..
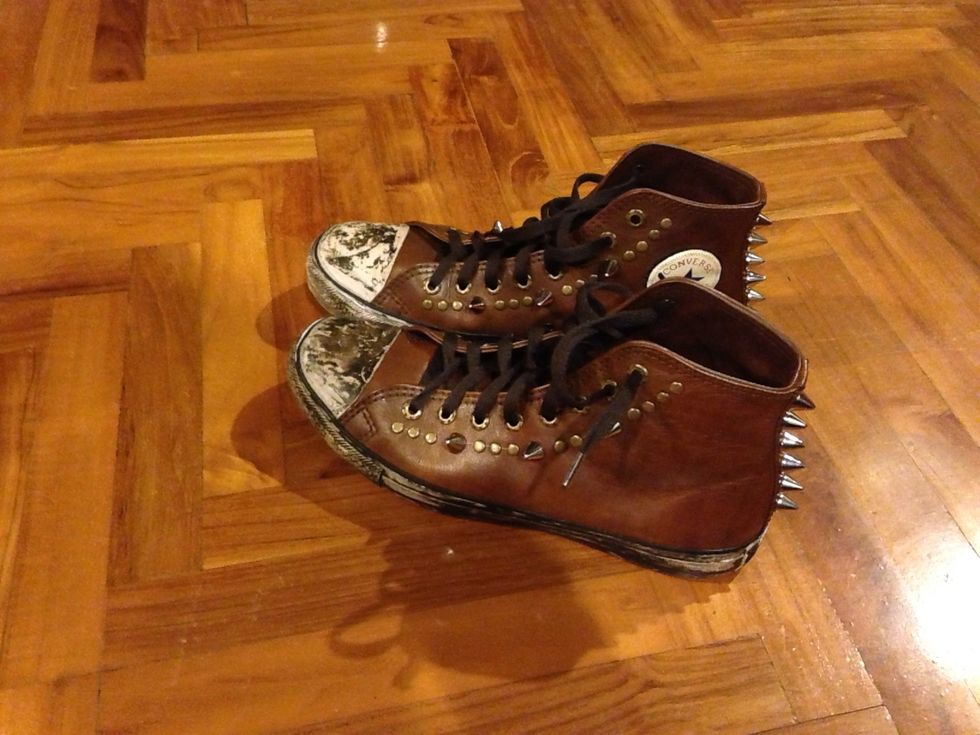
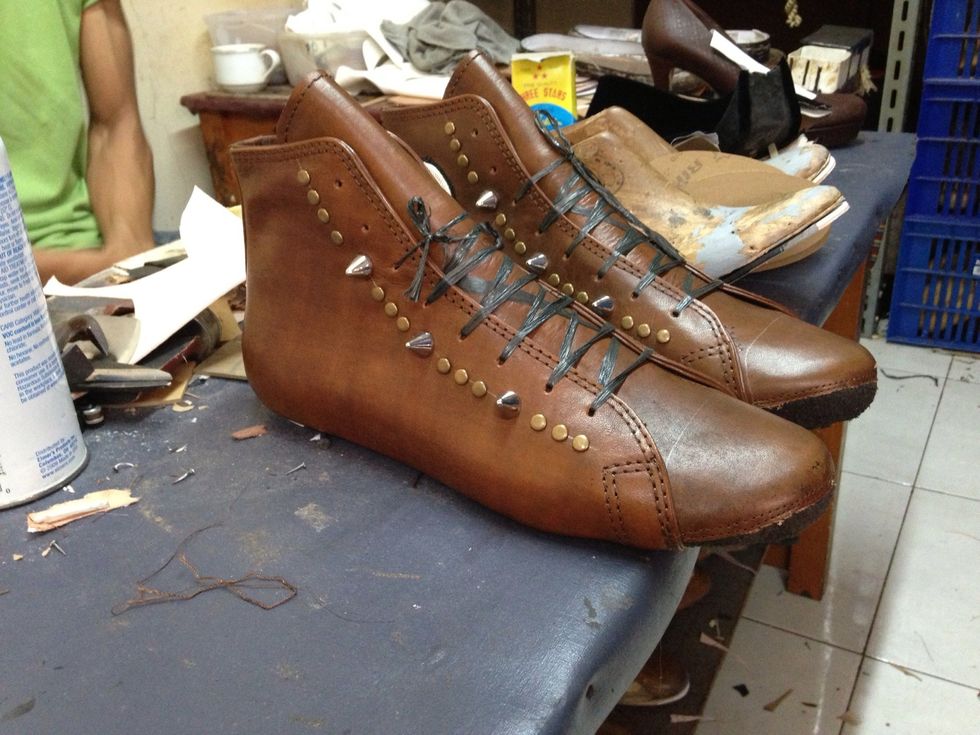
Put on the shoelace, i choose dark brown (got it for 50cent a pair)
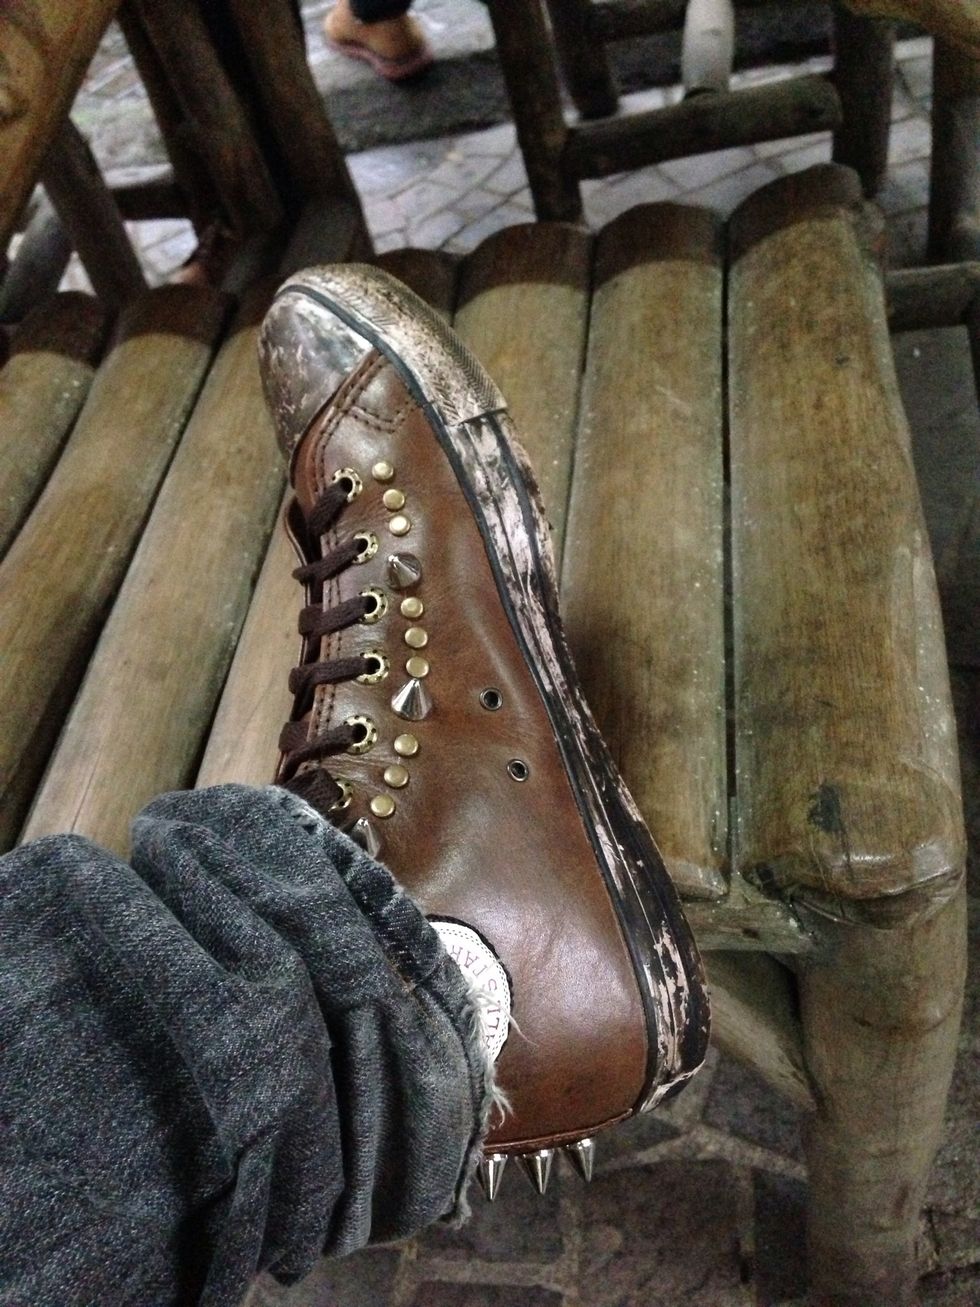
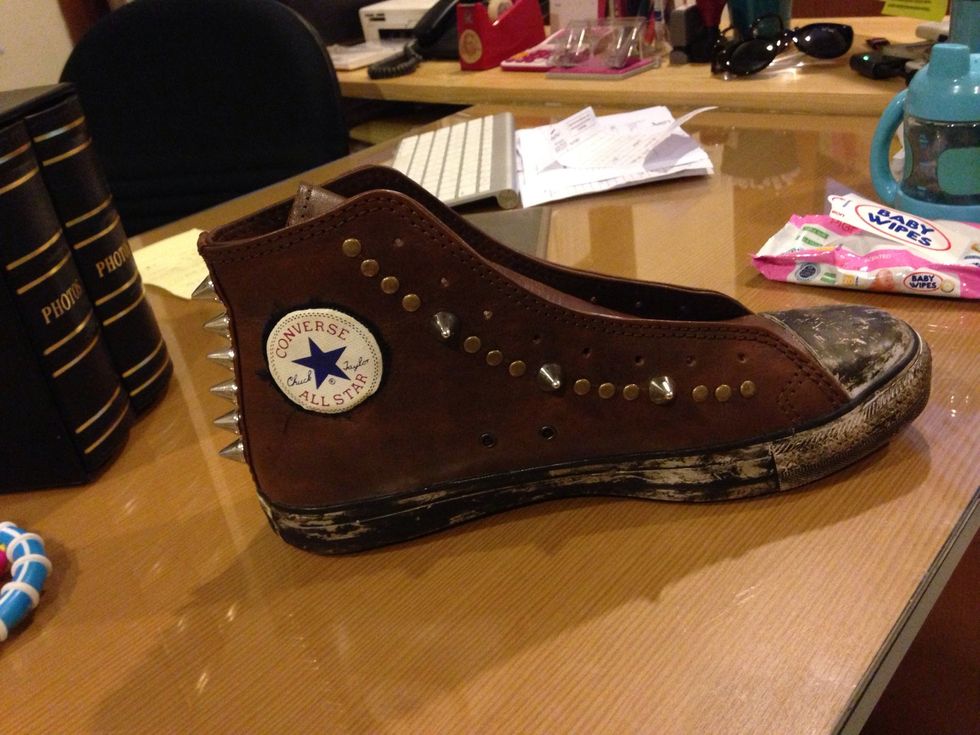
Put it on and ready to roll... Enjoy..!!!!