The Conversation (0)
Sign Up
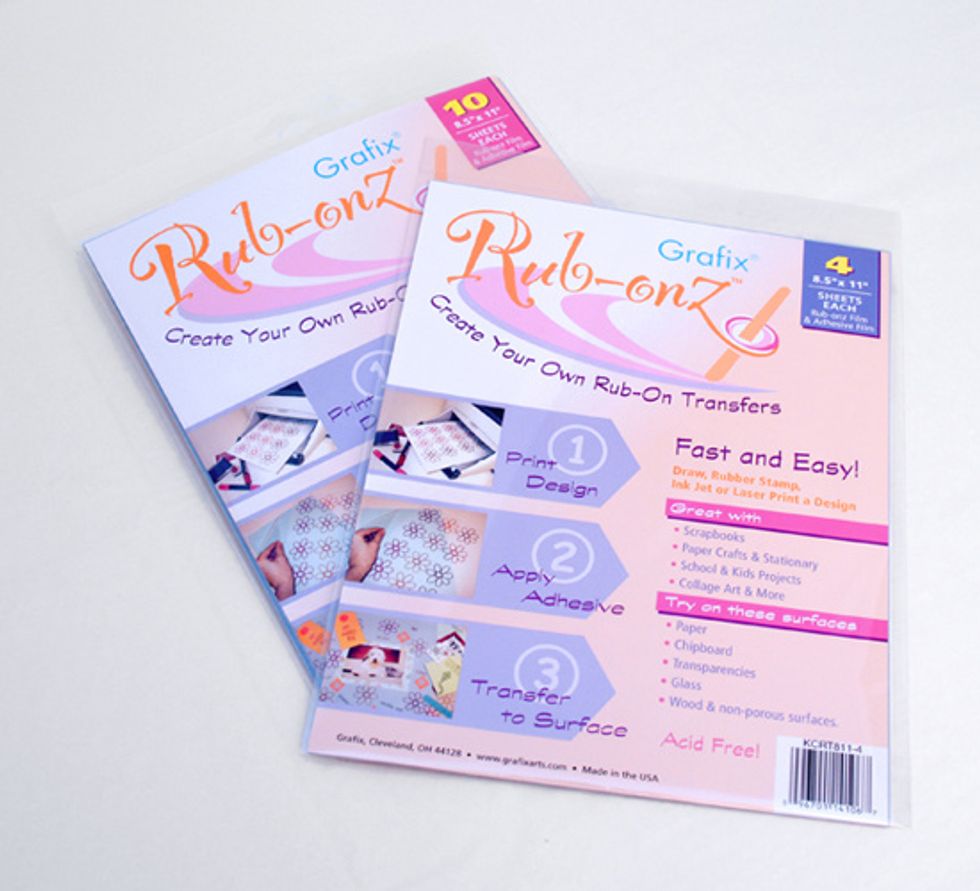
Rub-Onz by Grafix makes it easy to create custom rub ons to embellish any type of project: paper crafts, wood, glass, plastic and MORE!
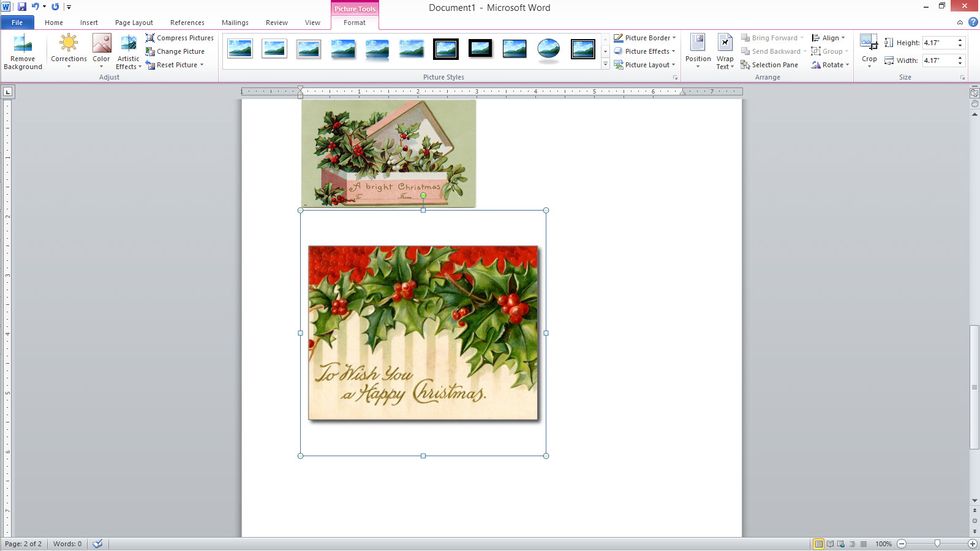
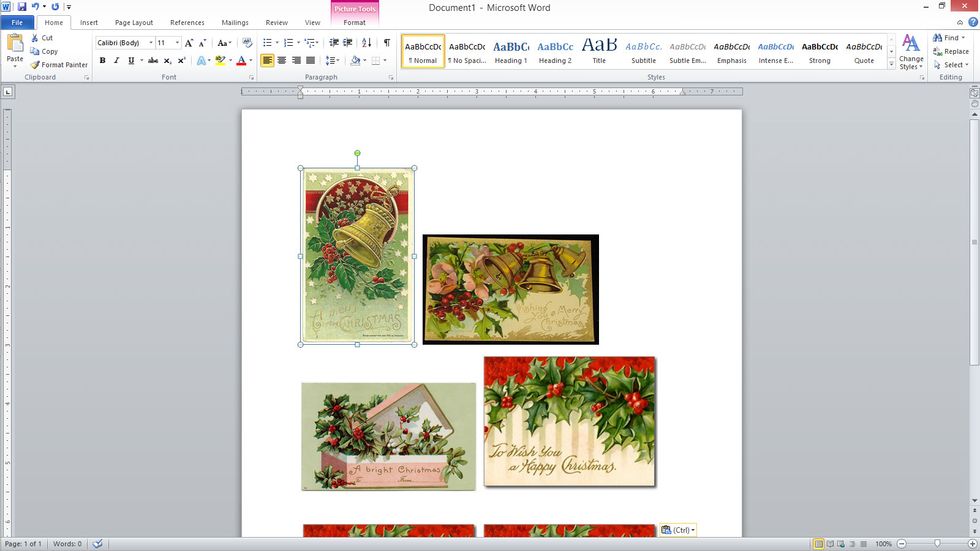
open a new document in a word processing program and insert desired image - here, vintage postcards...
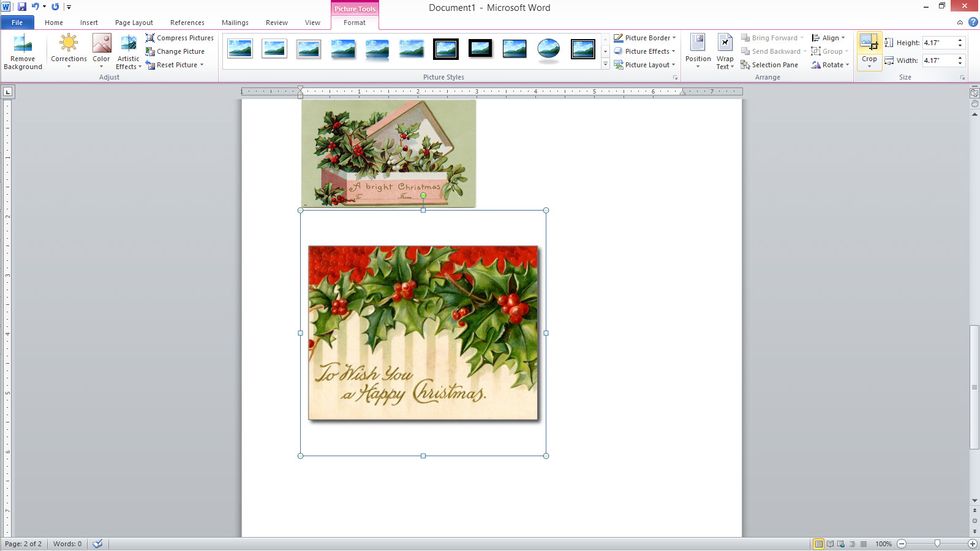
select "crop" from the menu in the upper right corner...

black "bars" will come up around photo, move bars at top, bottom and sides to move position closer to image...
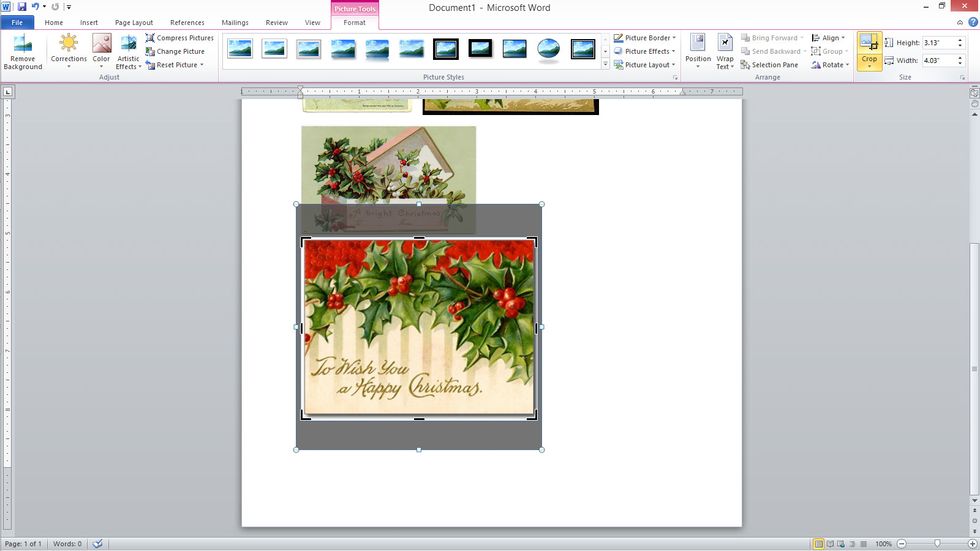
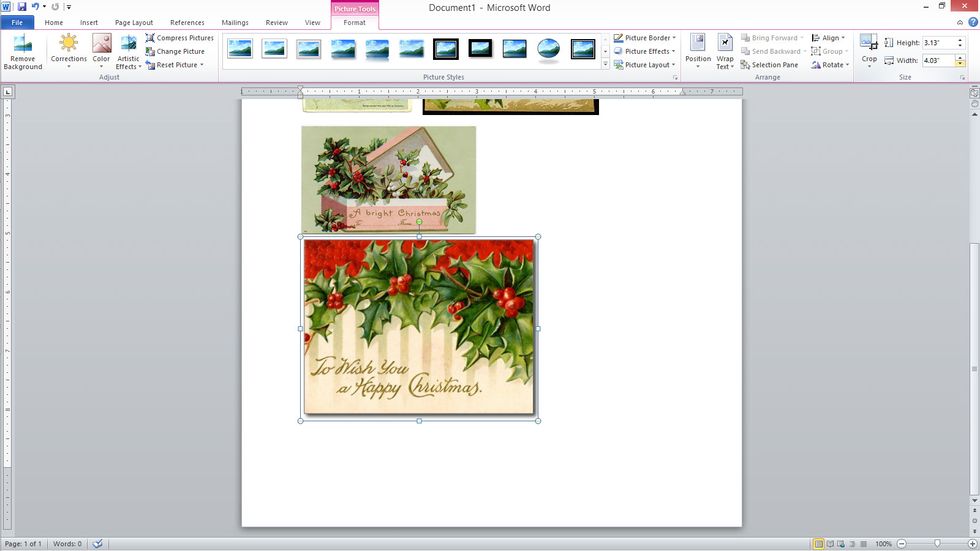
bars positioned to crop image close to edges...

select "crop" from pull down menu at upper right and click to crop photo...
use buttons at upper right to adjust size of image...
IF there is writing on images, you will need to create a mirror image of them. first, select image and then click "picture tools" at top of menu bar...
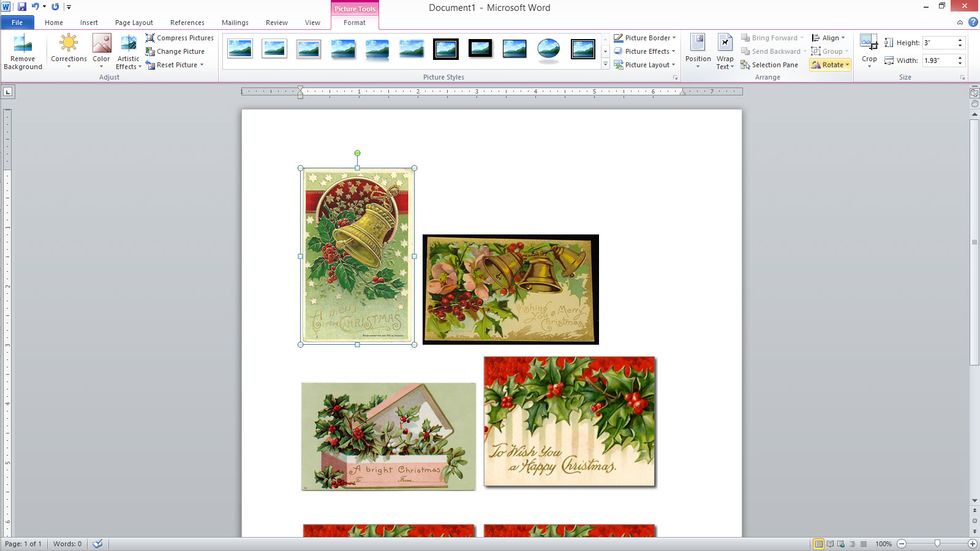
then click "rotate" at upper right...

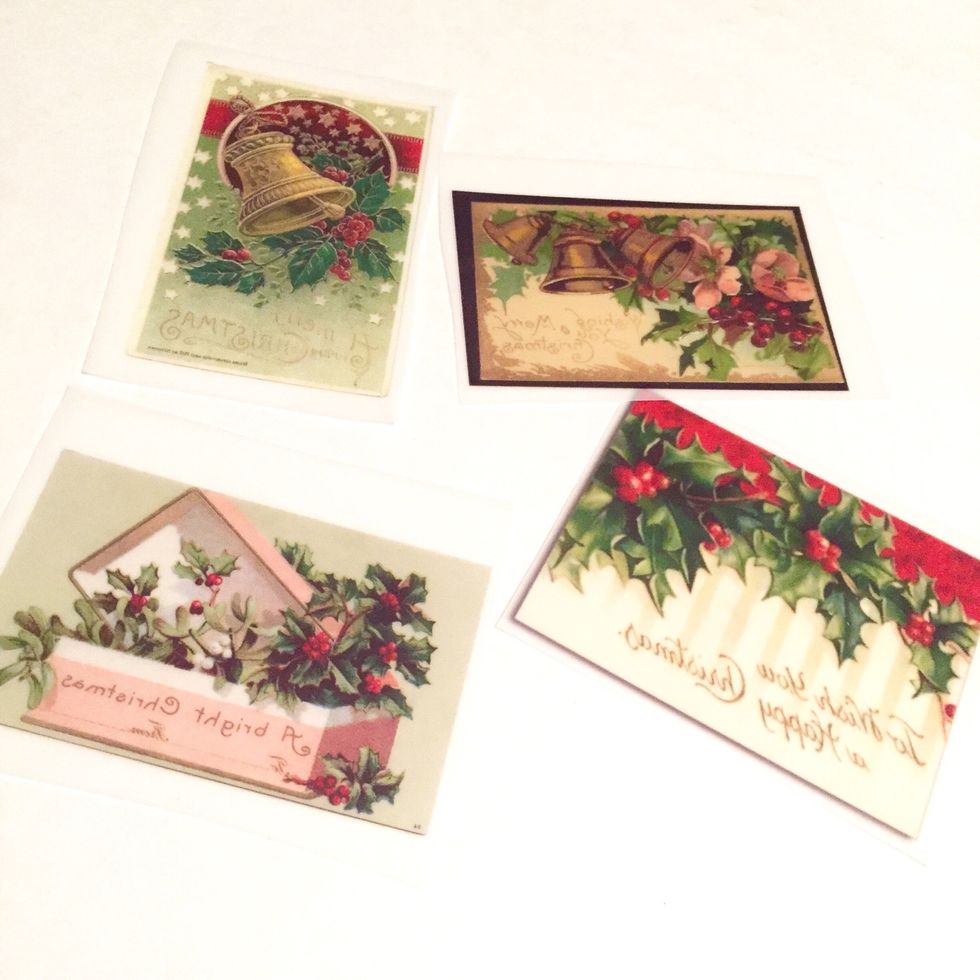
and select "flip horizontal" from drop down menu. save image, then print according to Rub-Onz package directions...

images printed on Rub-Onz transfer film - make sure you print on the MATTE side of film...
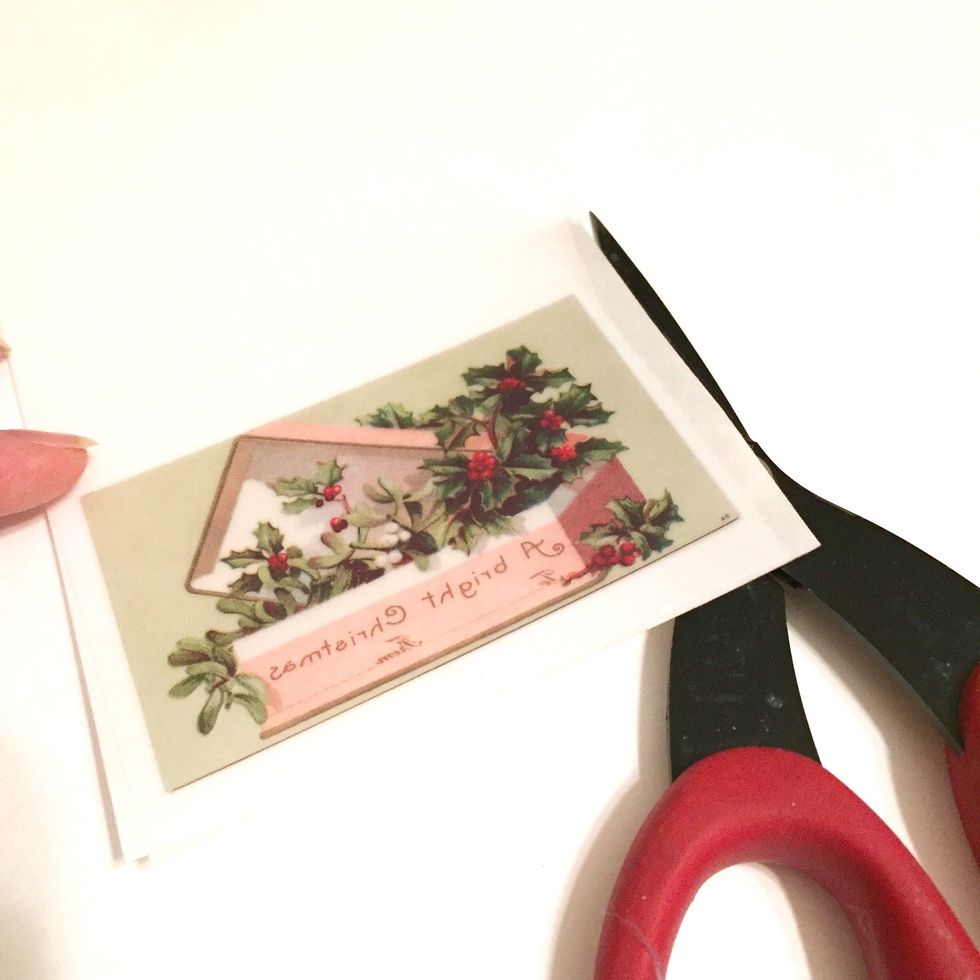
cut out images, leaving about 1/4" border around all sides...
then cut a piece of the adhesive film approximately the same size as the cut out image...
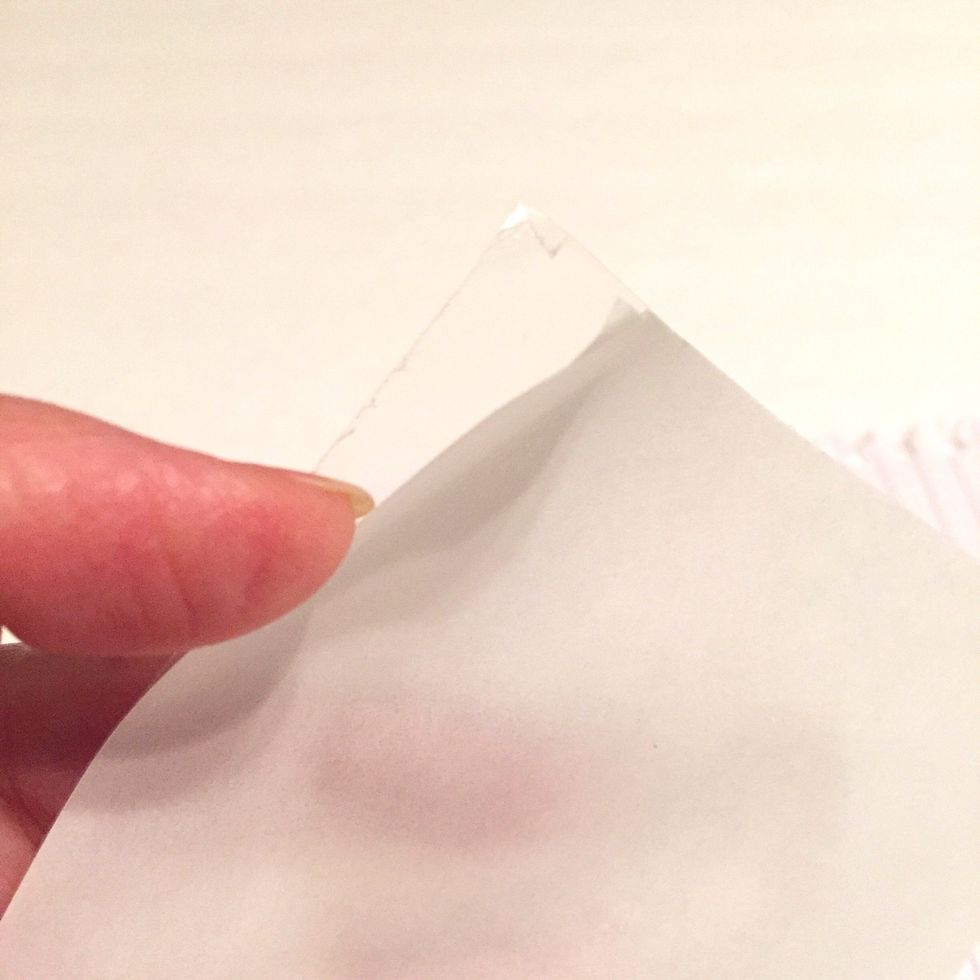
gently bend back one corner on the adhesive film and peel off the white liner...
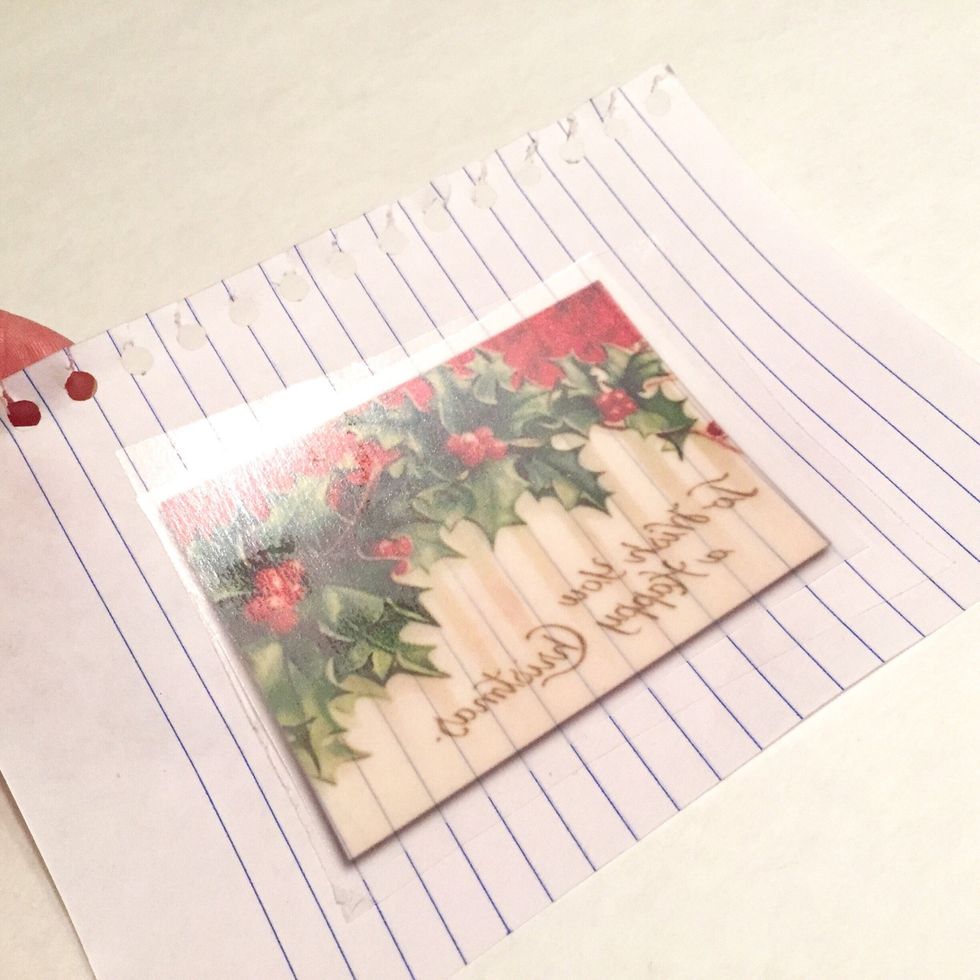
carefully place adhesive film over the image - work on scrap paper so any excess adhesive does not transfer to other surfaces...

use a bone folder to gently smooth and transfer adhesive to image...
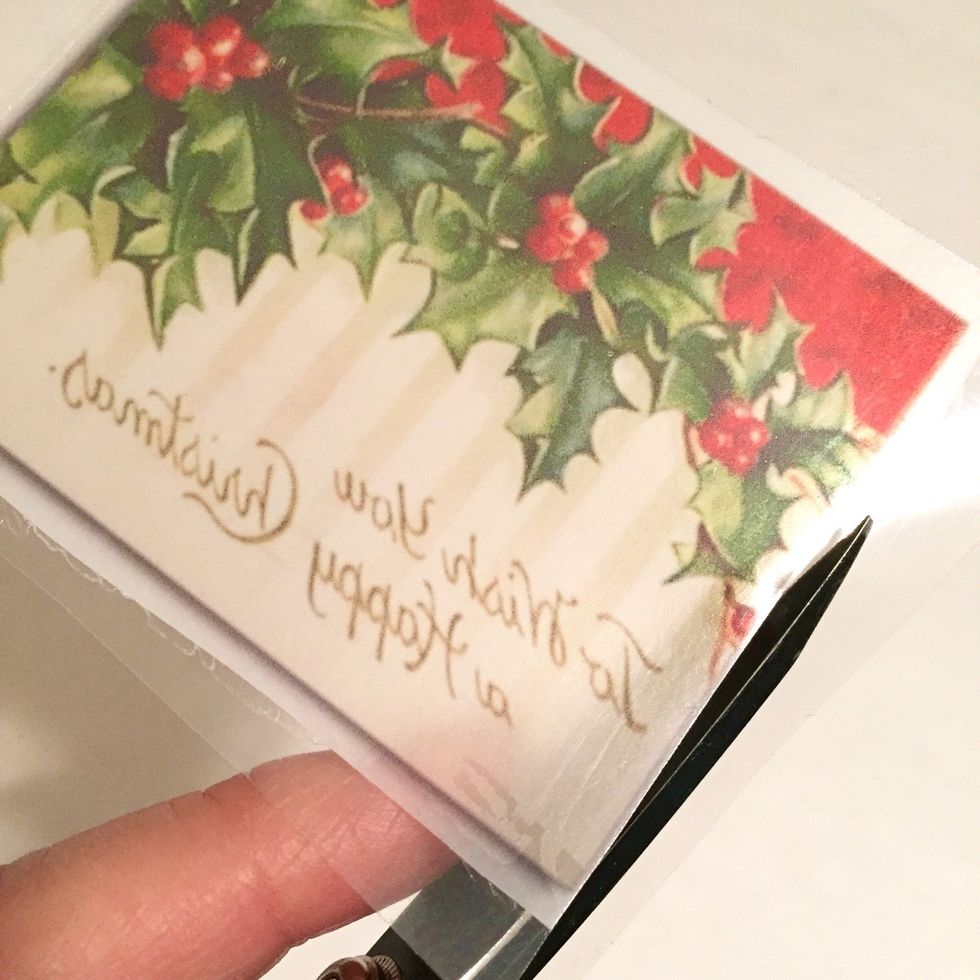
cut out image again, trimming close to borders...
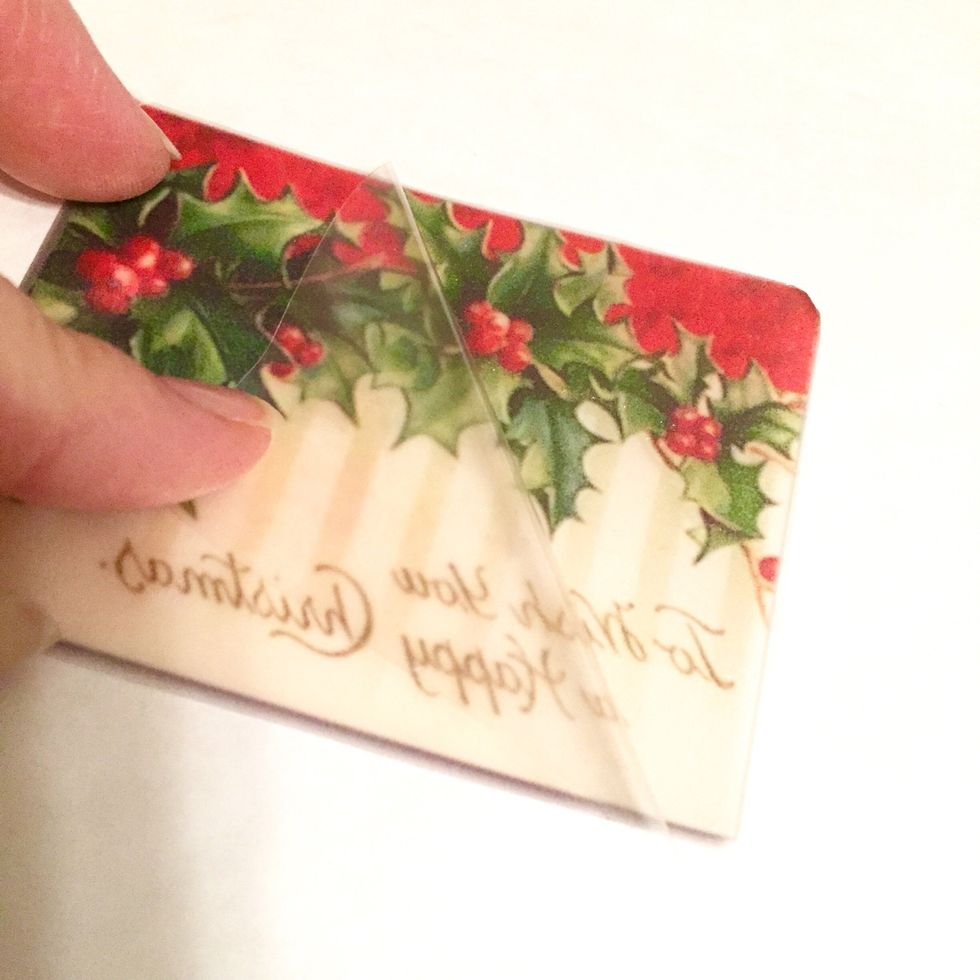
then gently remove CLEAR plastic liner from top of image. work CAREFULLY as image will be sticky...
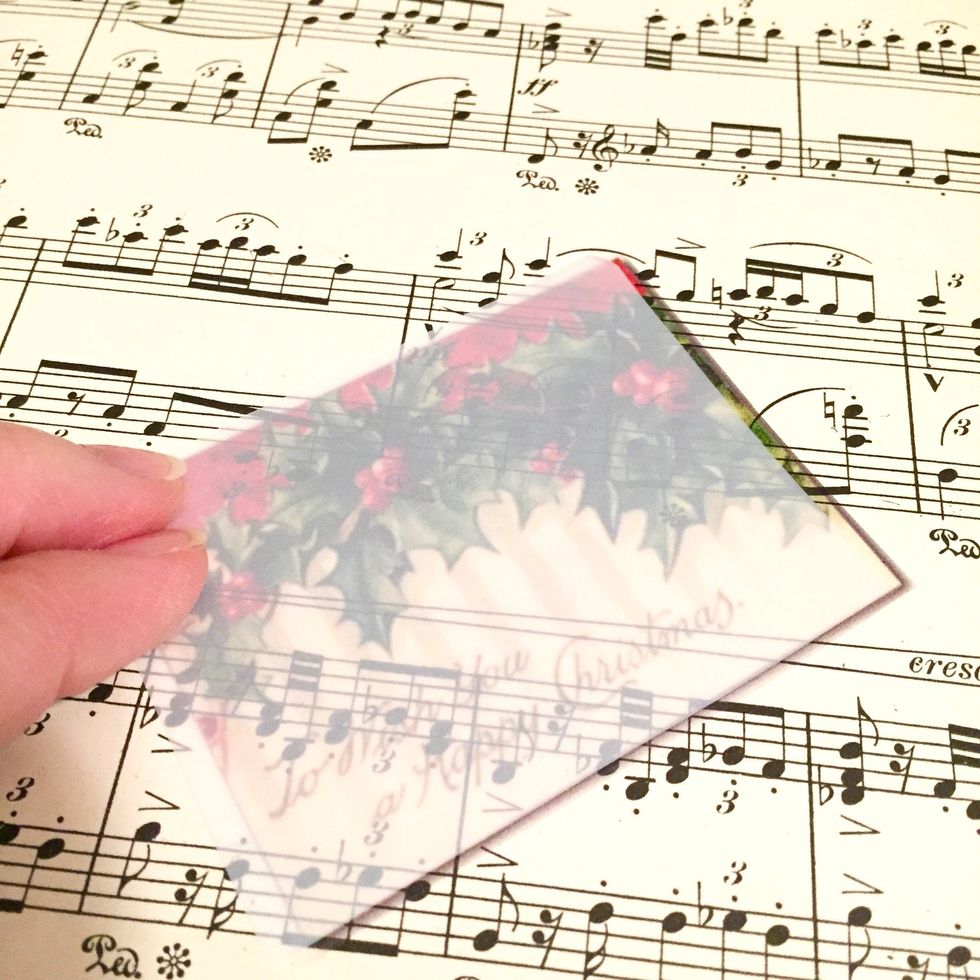
place image sticky side down on desired surface, in the project, a piece of vintage music paper...

smooth with bone folder to transfer image to surface...

then remove white liner to reveal transferred image. RUB ON COMPLETE!
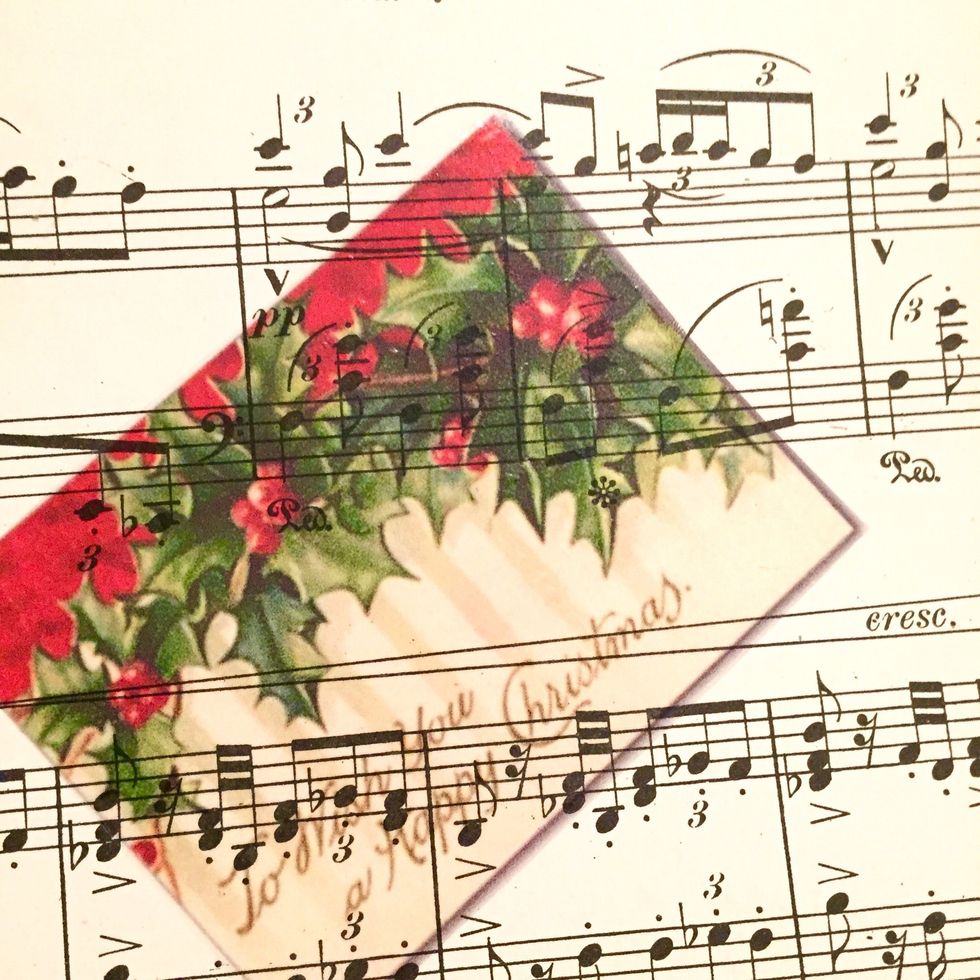
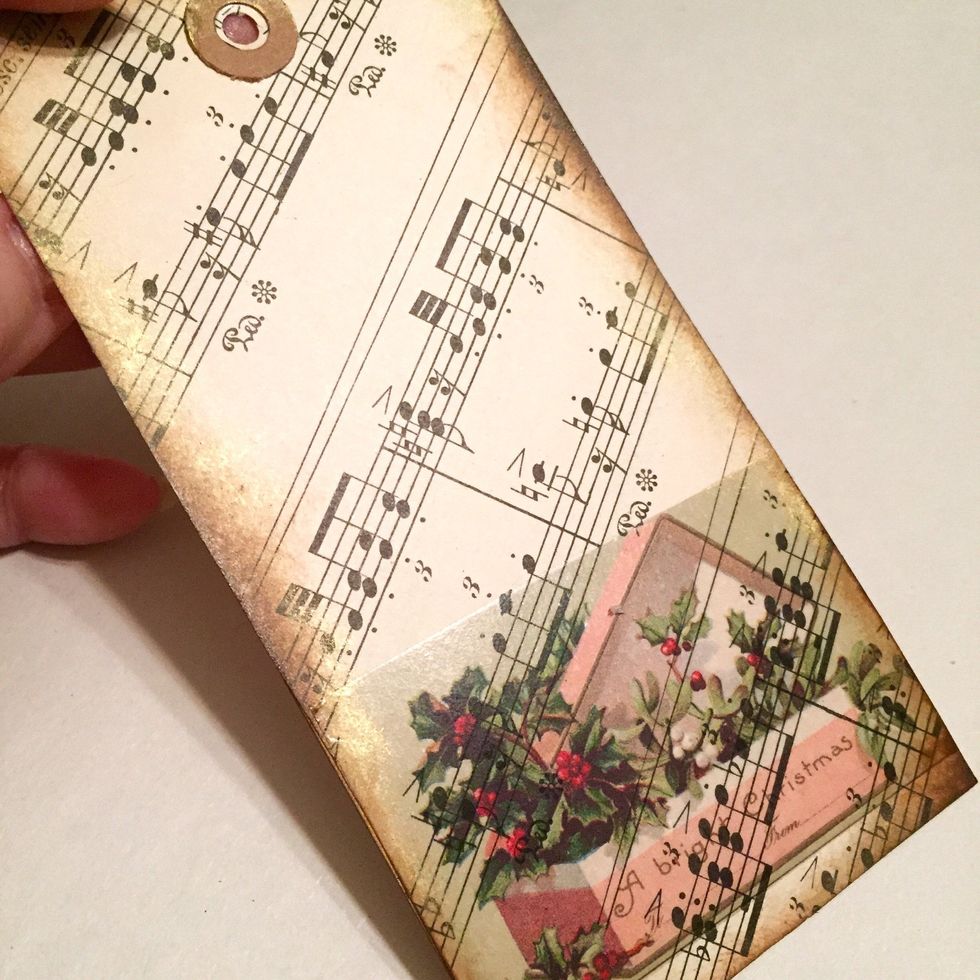
rub on applied, you can see the music peeking through the image...
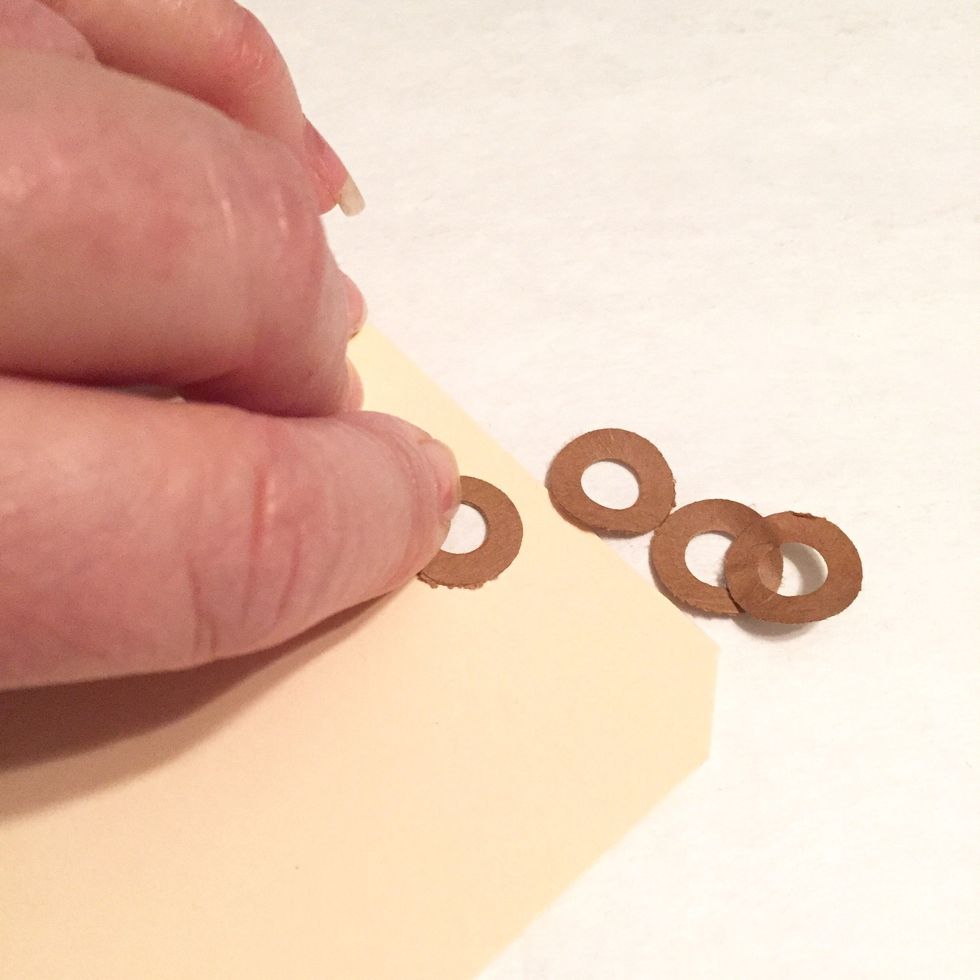
remove the reinforcement from tags...

position tag over image with desired placement of rub on and trace around...
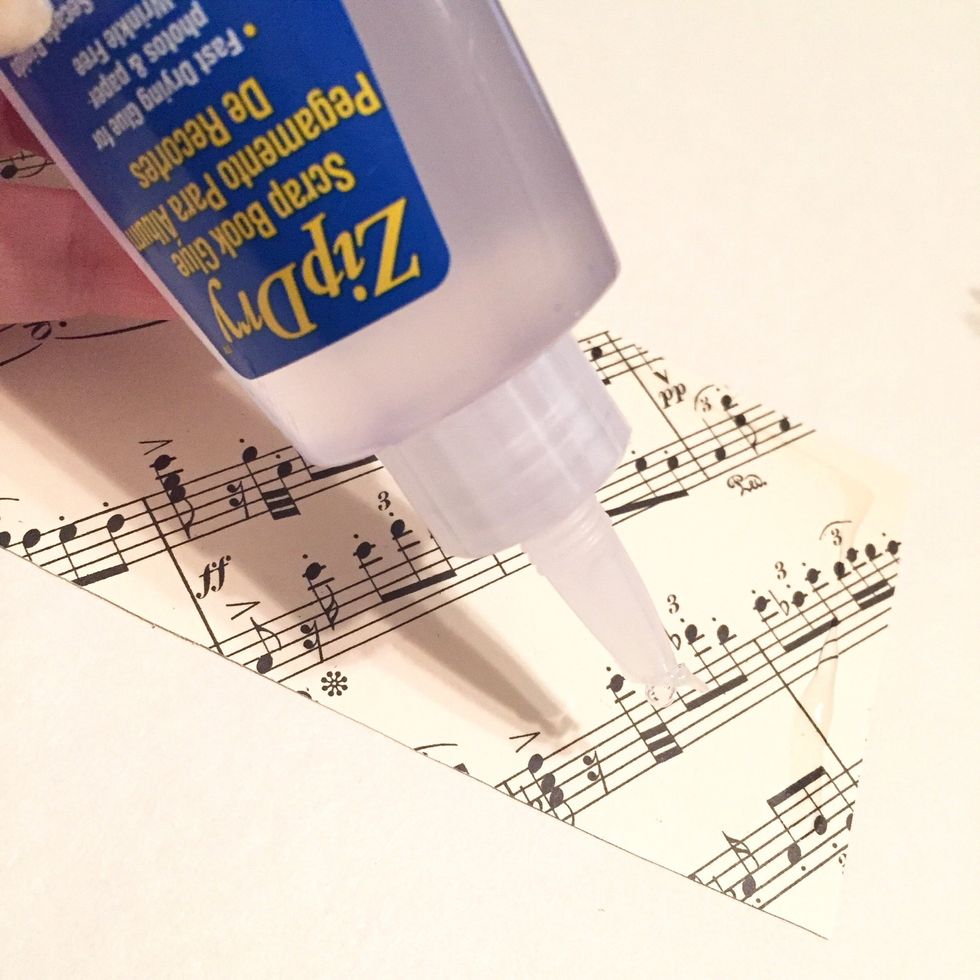
cut out tag shape from music paper and apply glue to back and adhere to tag...
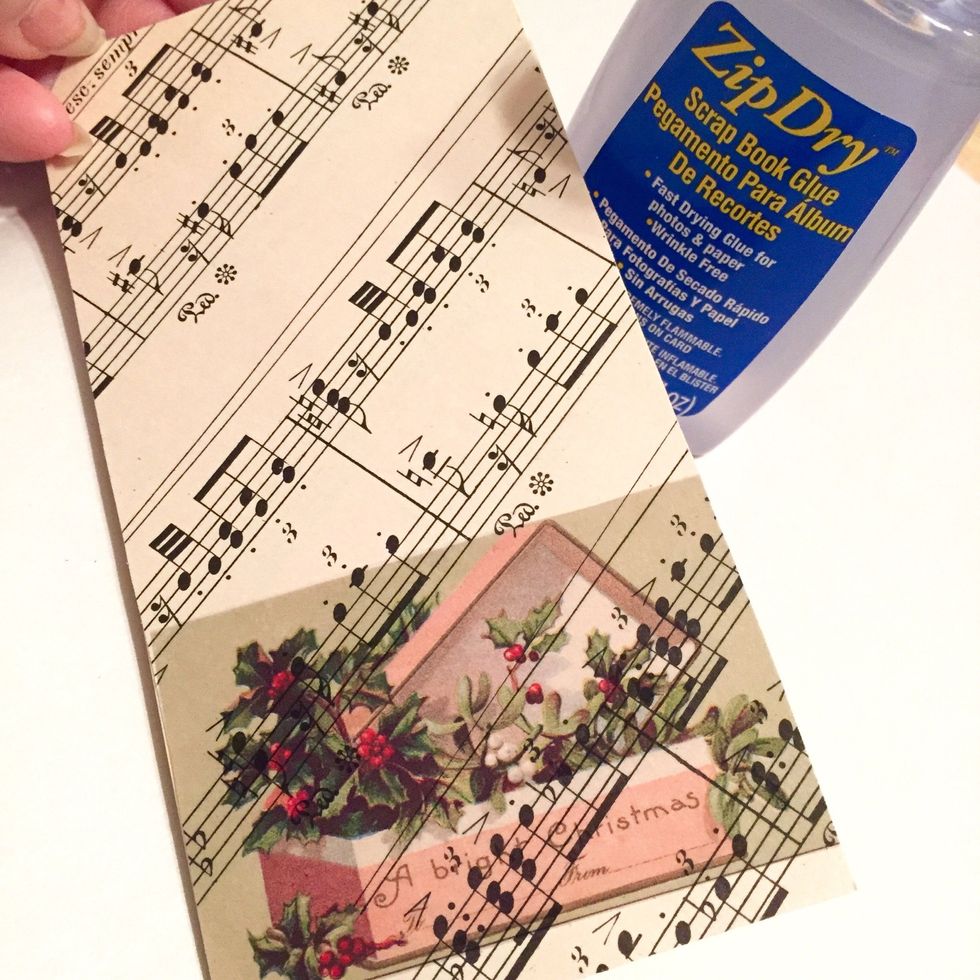
music paper with rub on adhered to tag front...

working on back of tag, punch hole through music paper...
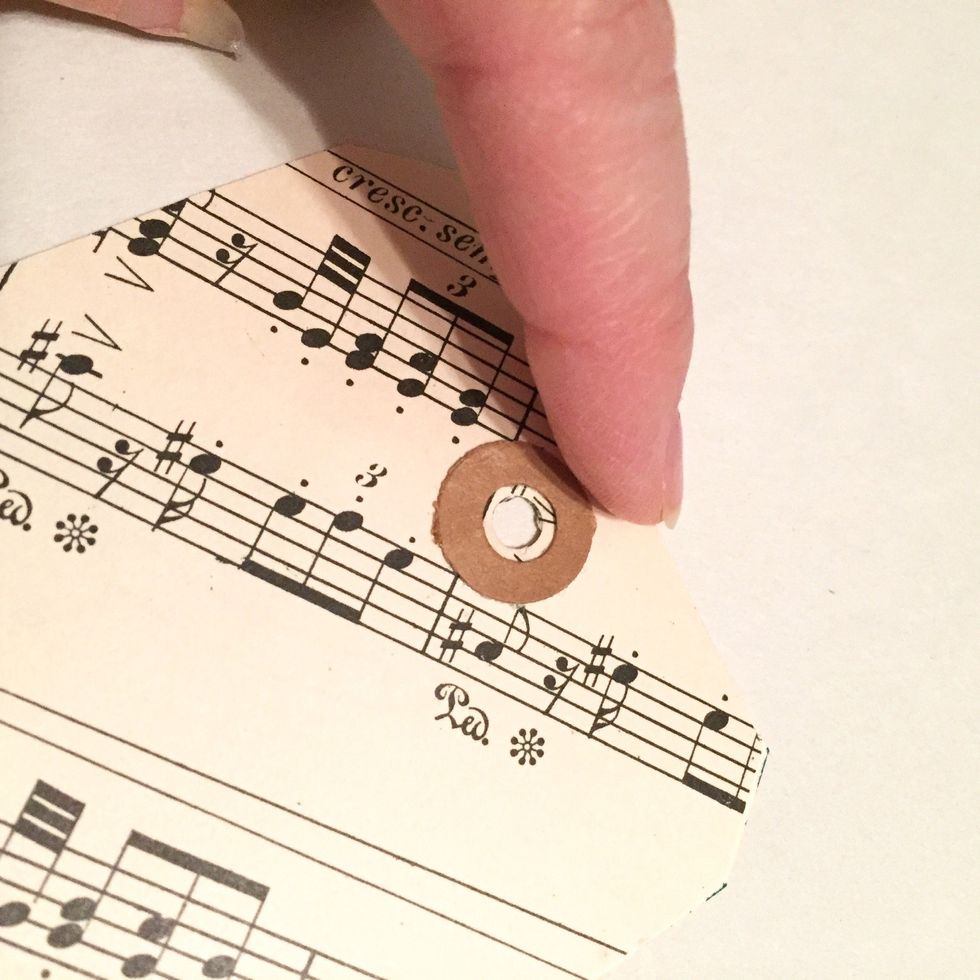
re-adhere reinforcement to tag front...
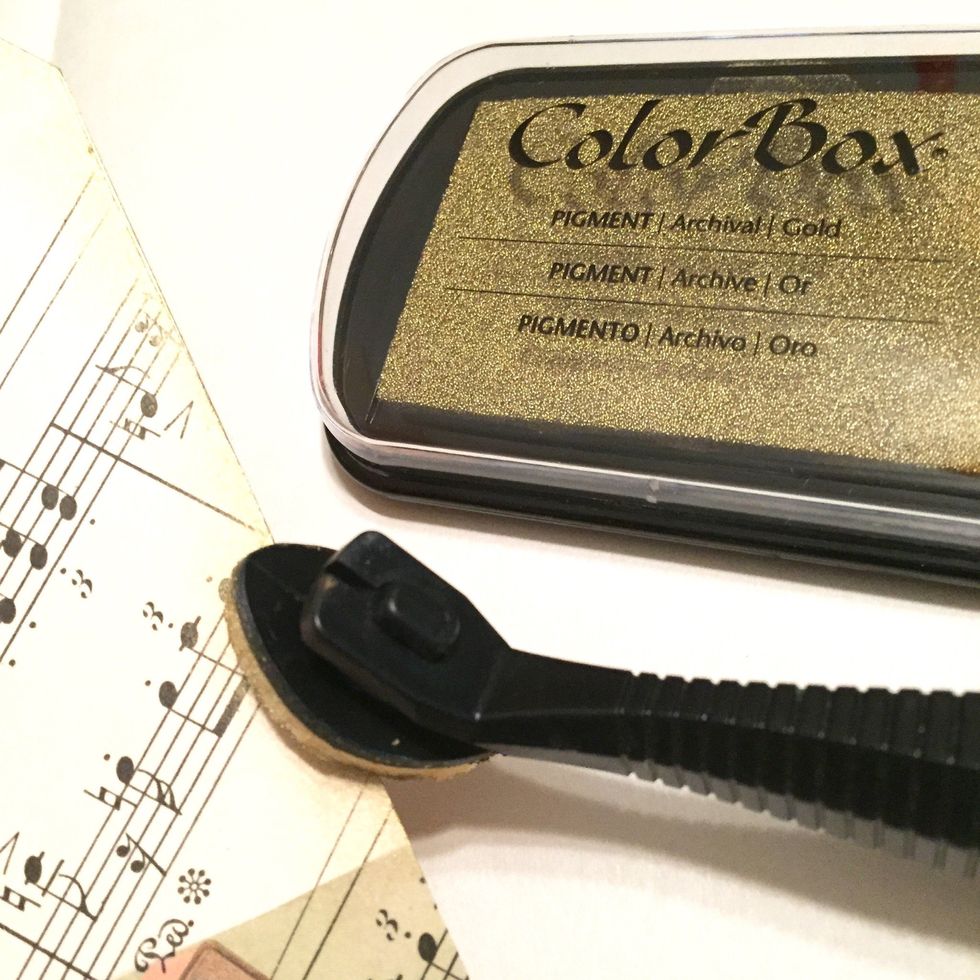
use Stylus & Tips to apply Gold Pigment Ink to edges of tag...
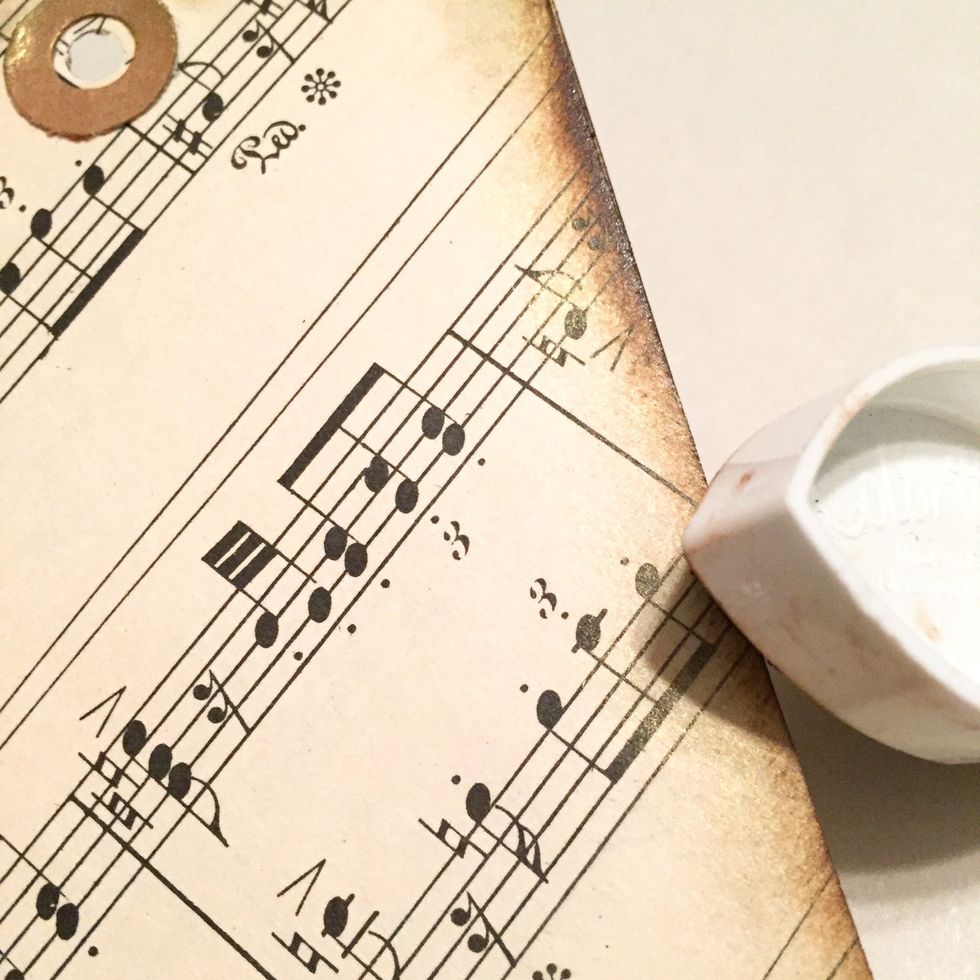
then use Chestnut Roan Chalk Ink to distress edges...
inked tag...
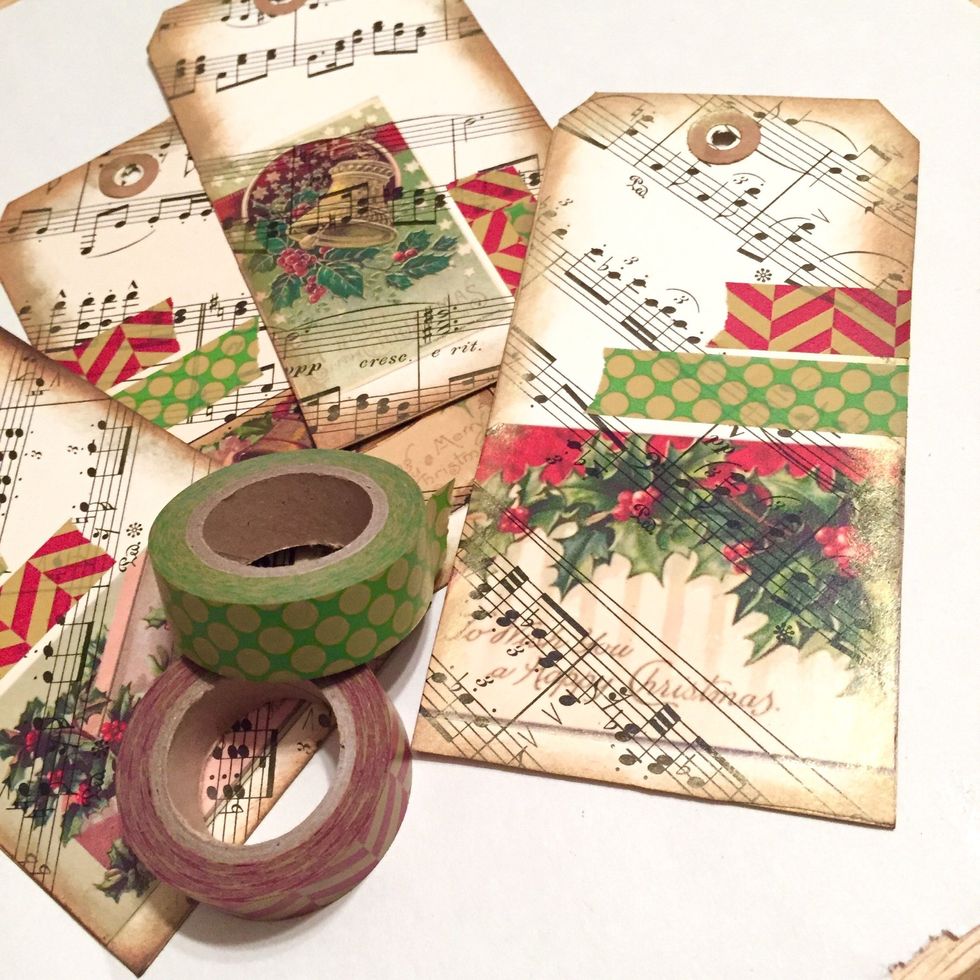
use strips of washi tape to embellish tags...
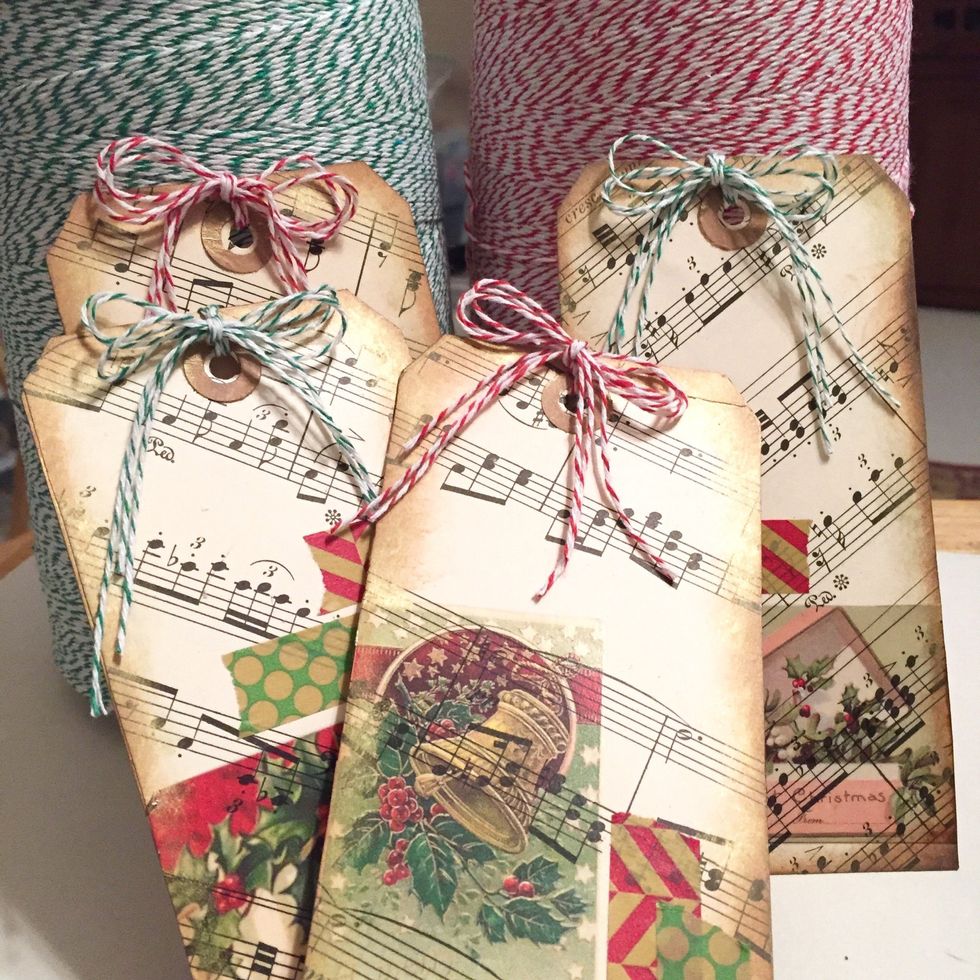
tie tags using 3 strands of baker's twine...
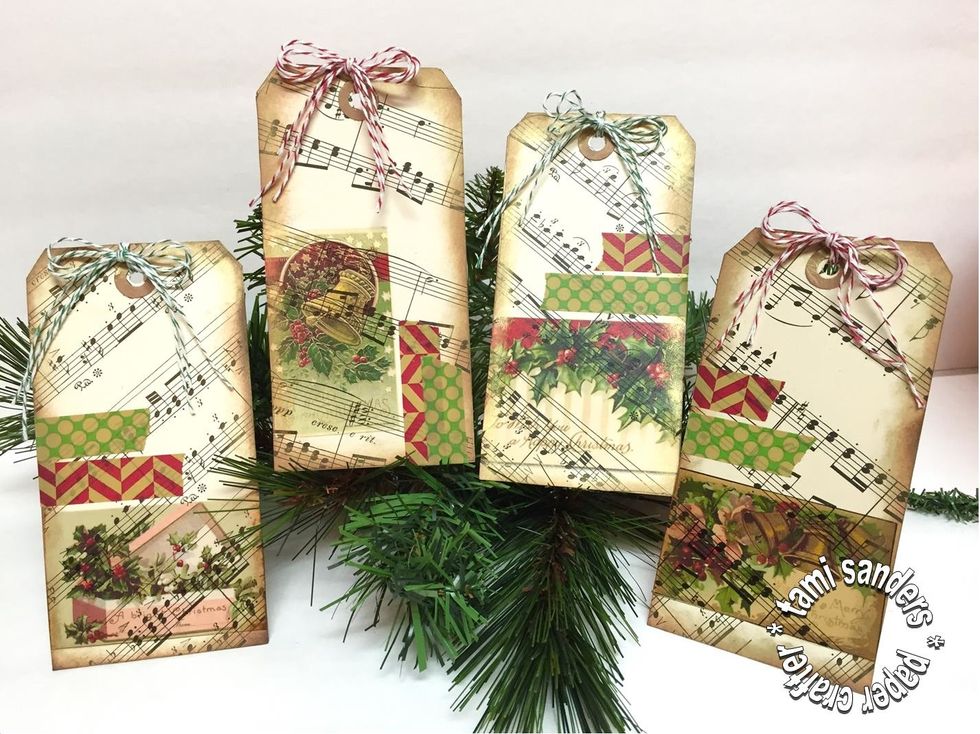
finished tags! all ready to add to your packages or holiday baked goods for gifting!
thank you for viewing my snapguide; i hope you enjoyed the project! find me and more projects on my website: www.tamisanders.com *** visit grafix to see complete line of products at www.grafixarts.com