The Conversation (0)
Sign Up
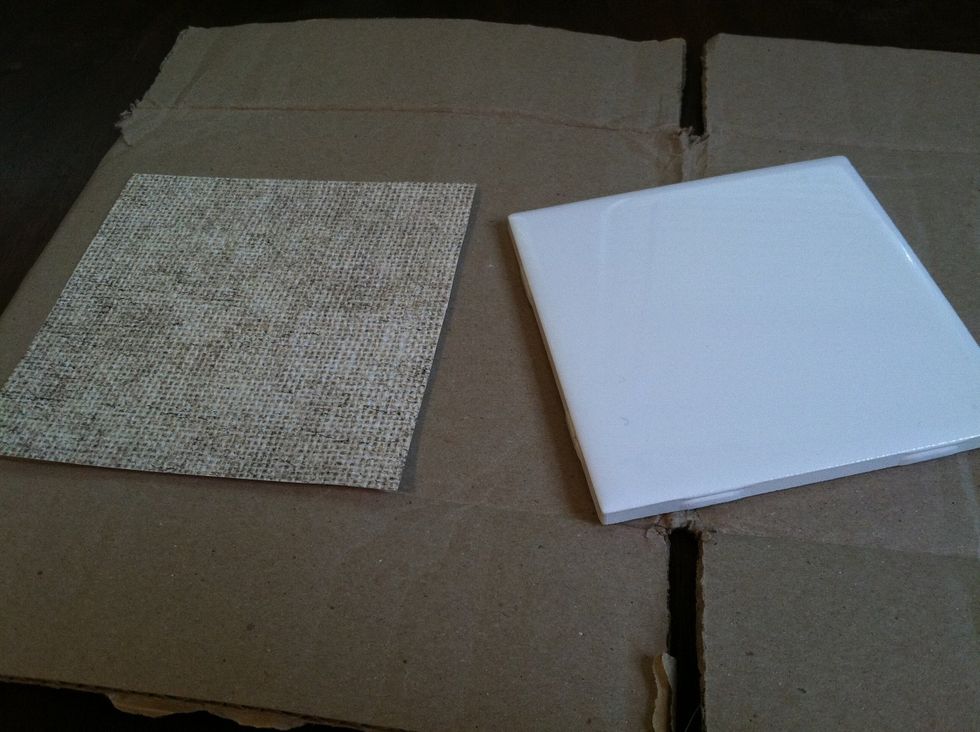
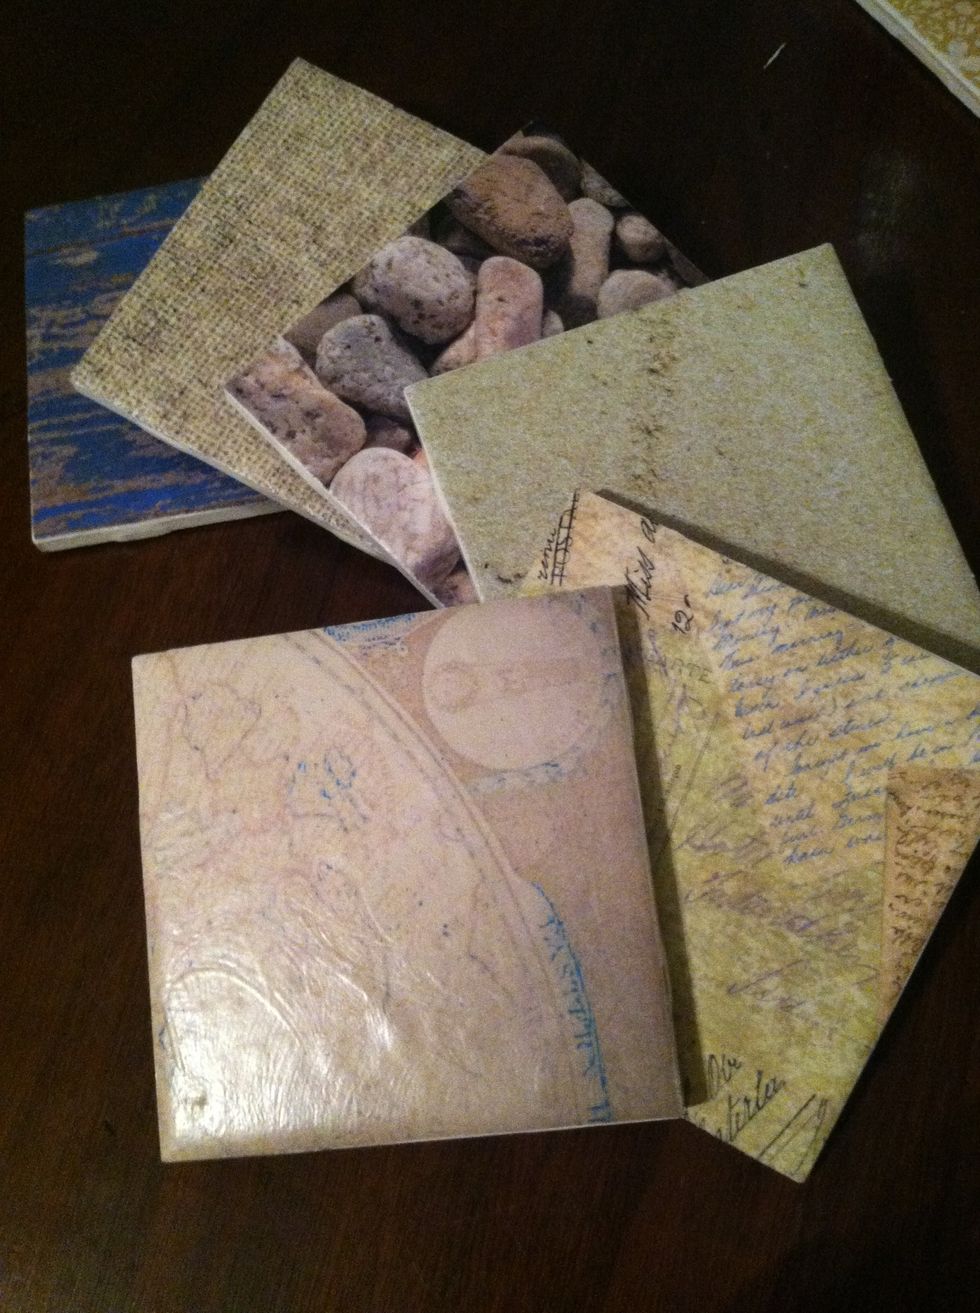
I bought the tile at Lowe's, and the Modge Podge and paper at Hobby Lobby. The paper was on sale for about 30¢ per 12"x12" sheet, but photos or paper from home (even wrapping paper!) is free!
Rubber cement is at either of these stores, Walmart, or even places like CVS Pharmacy. It's great to have on hand for quick projects and scrapbooking or journaling!
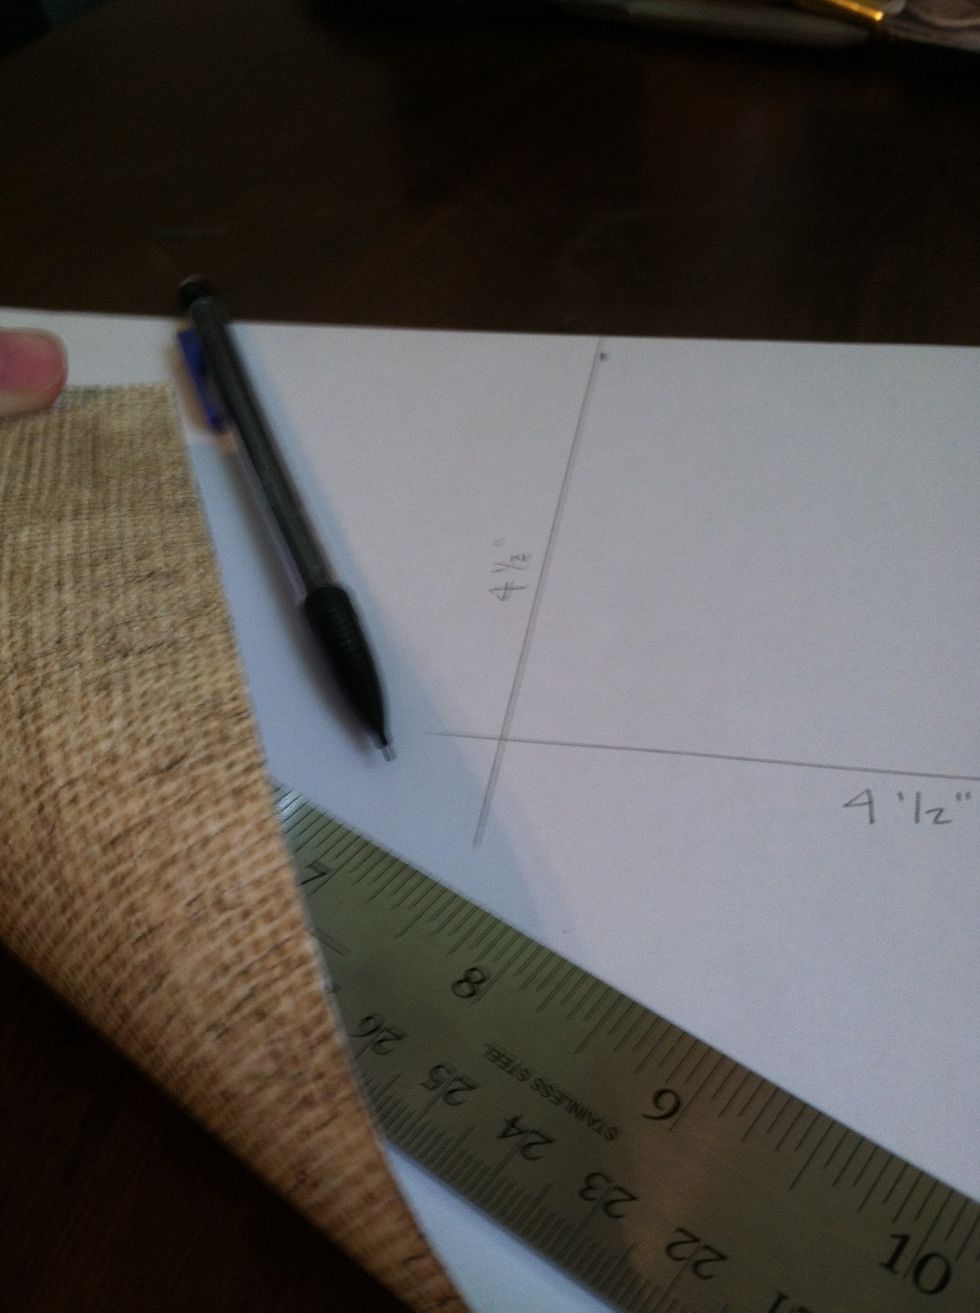
Measure the back of your paper to be slighter larger than your tile (4.5"x4.5")
Cut out your square of paper.
I'm making these tiles for my mom's birthday! She and Dad have a blue/beach themed room, so I chose a mostly neutral palate. It's subtle enough they can use most of the coasters anywhere in the house.
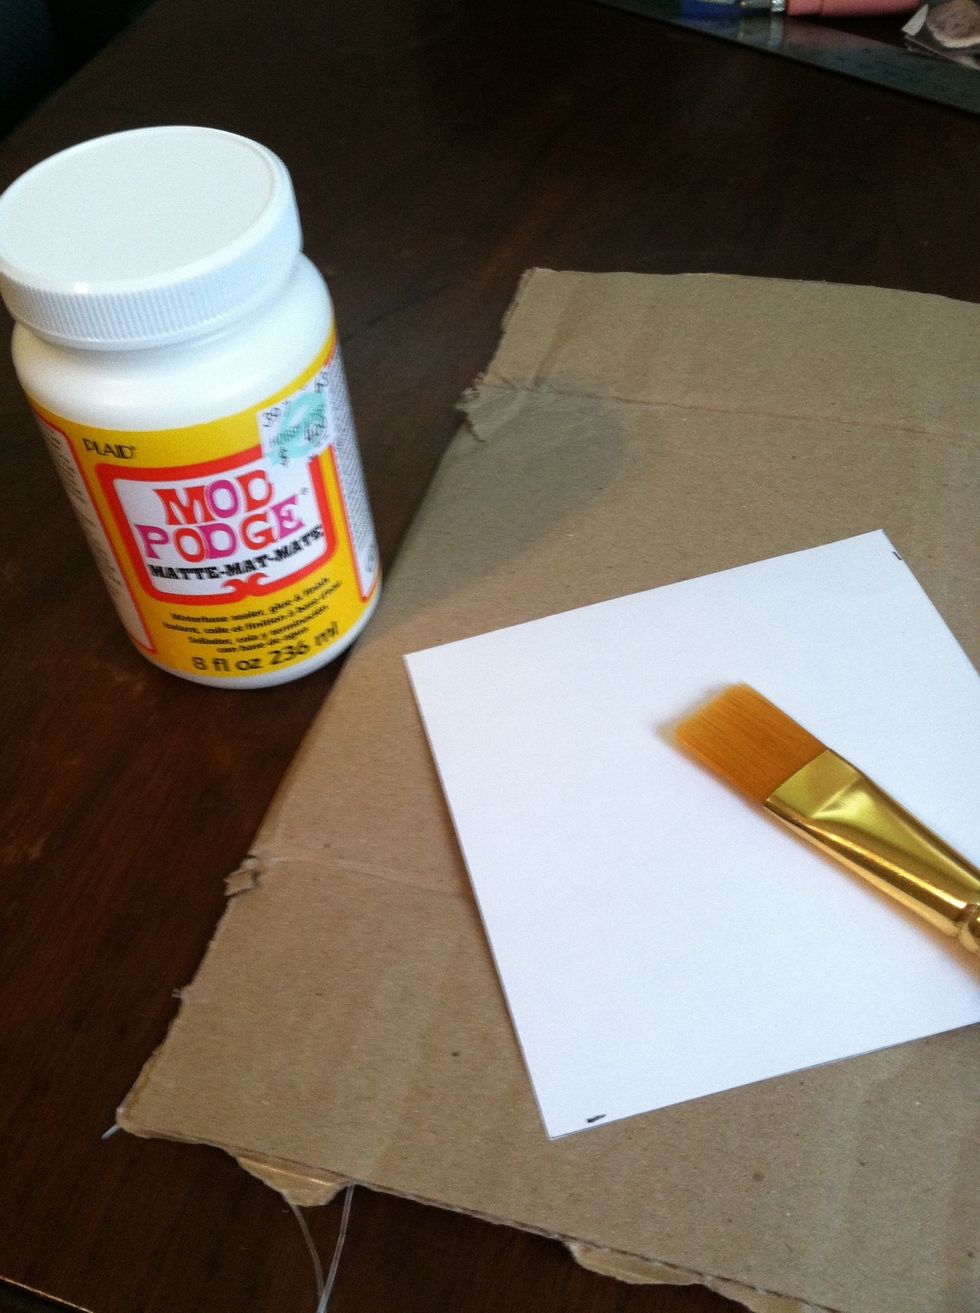
Take your paintbrush and apply Modge Podge liberally to the back of the paper....
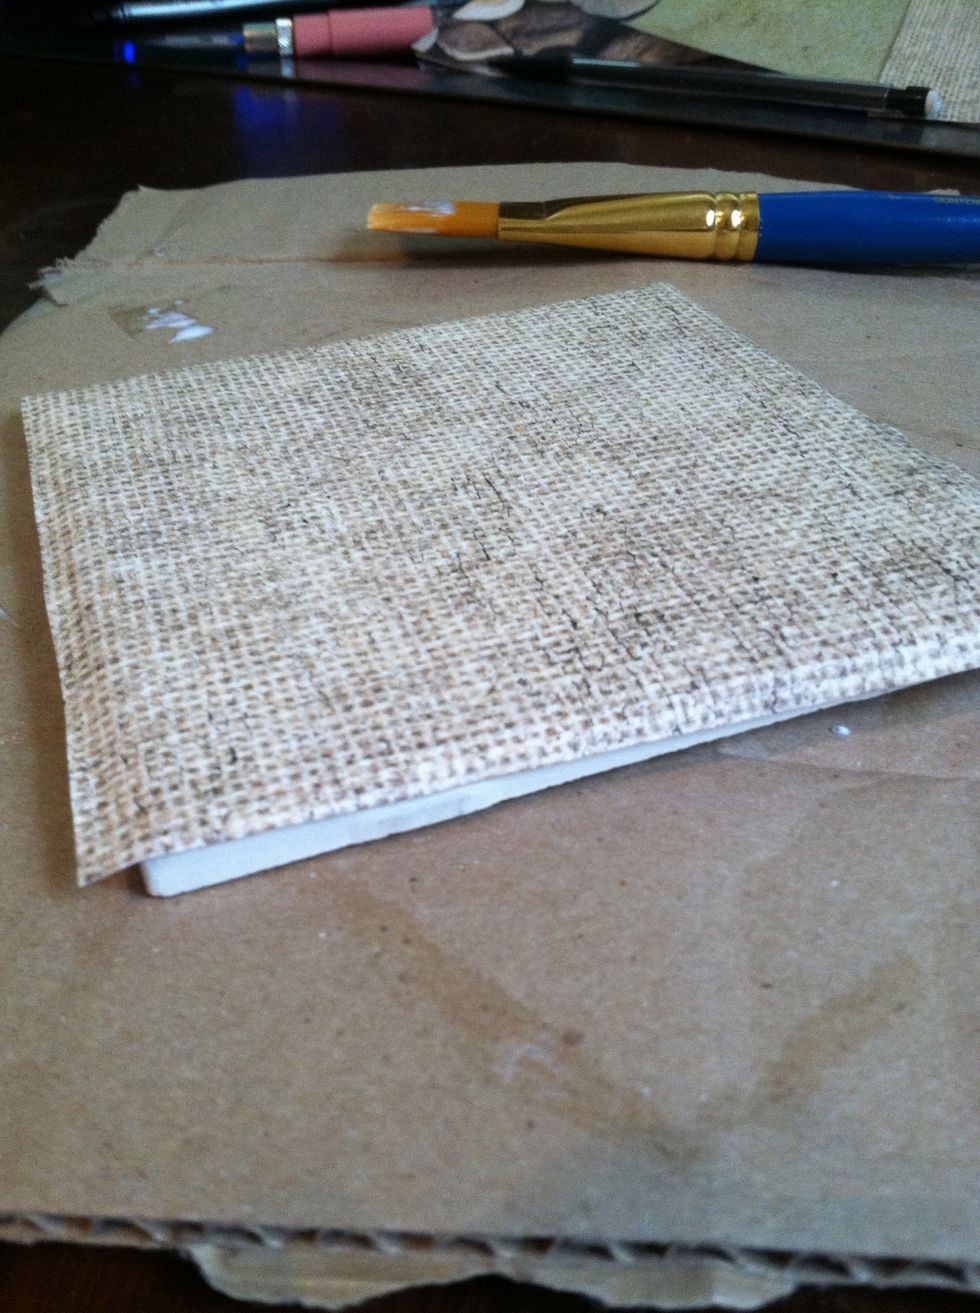
...and place it on the tile. The paper should hang over all four edges.
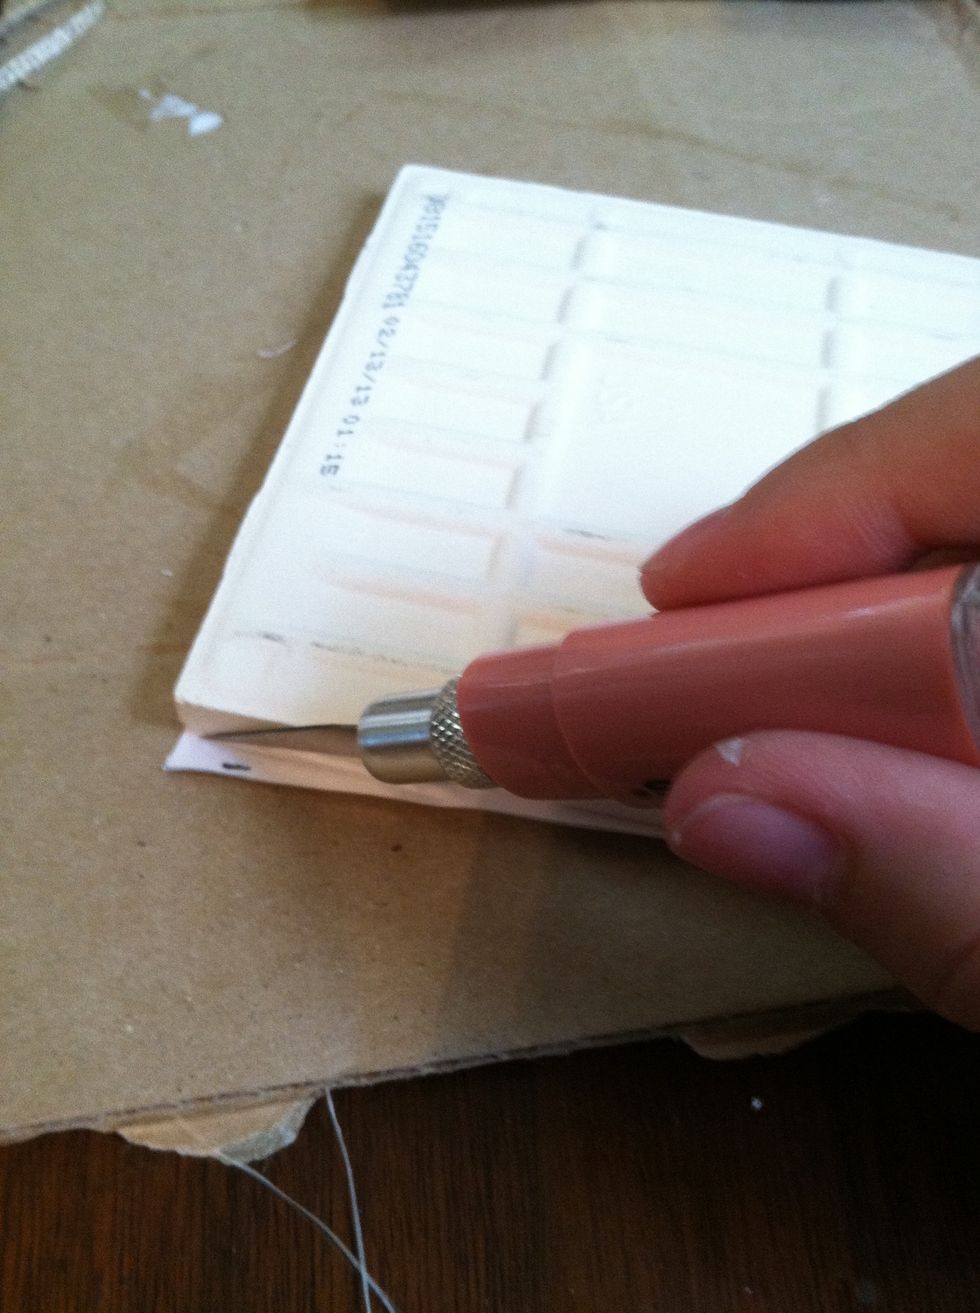
After smoothing out air bubbles (use another tile, a book, credit card, etc; always smoothing in one direction) flip over the tile and use the exacto knife to cut the paper down to fit the tile.
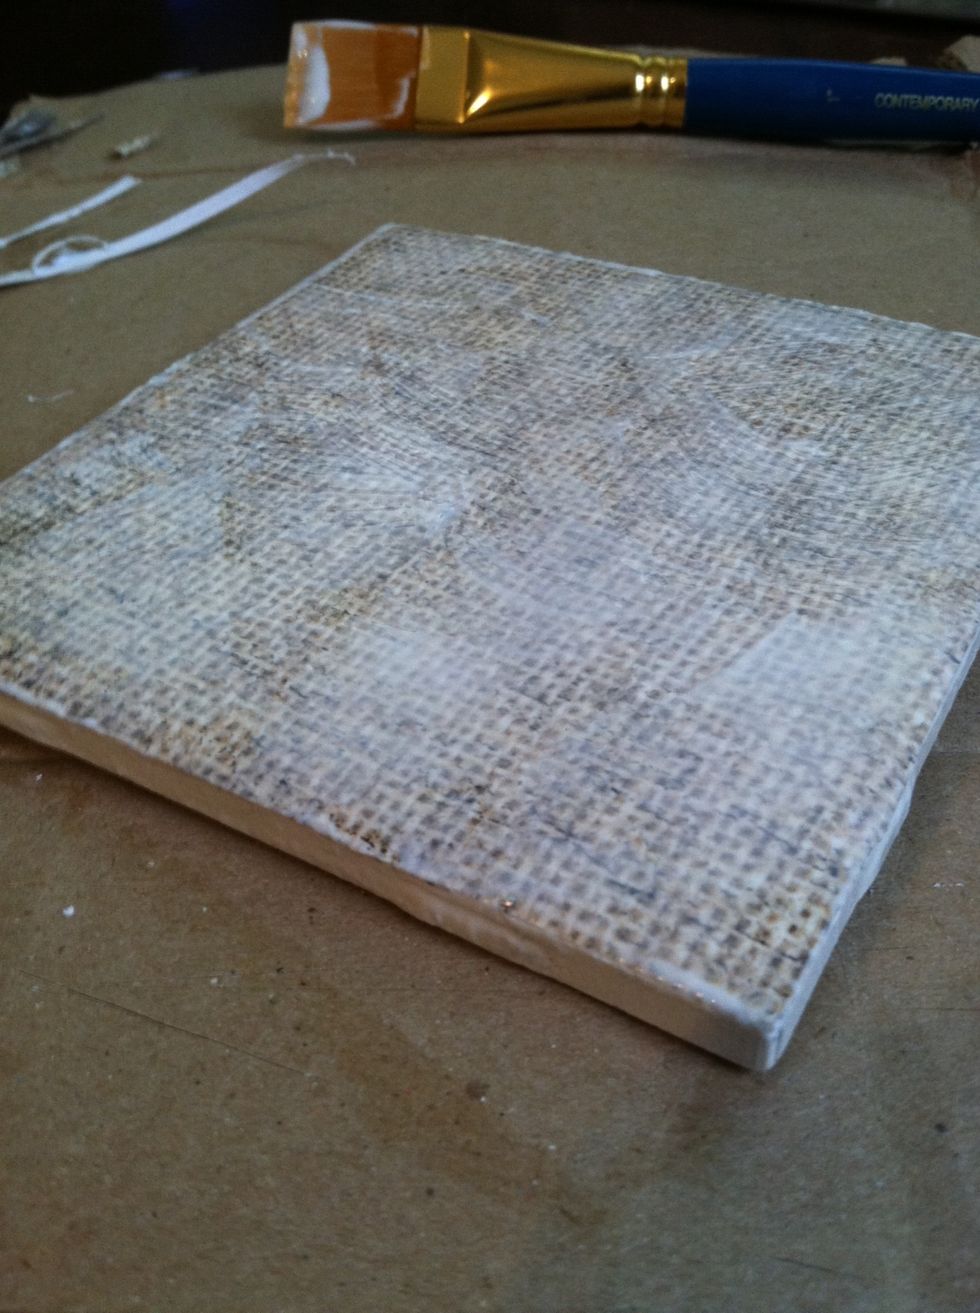
Apply the Modge Podge to the top and sides of the paper covered tile. There are multiple ways to apply Modge Podge for different effects (instructions on the bottle).
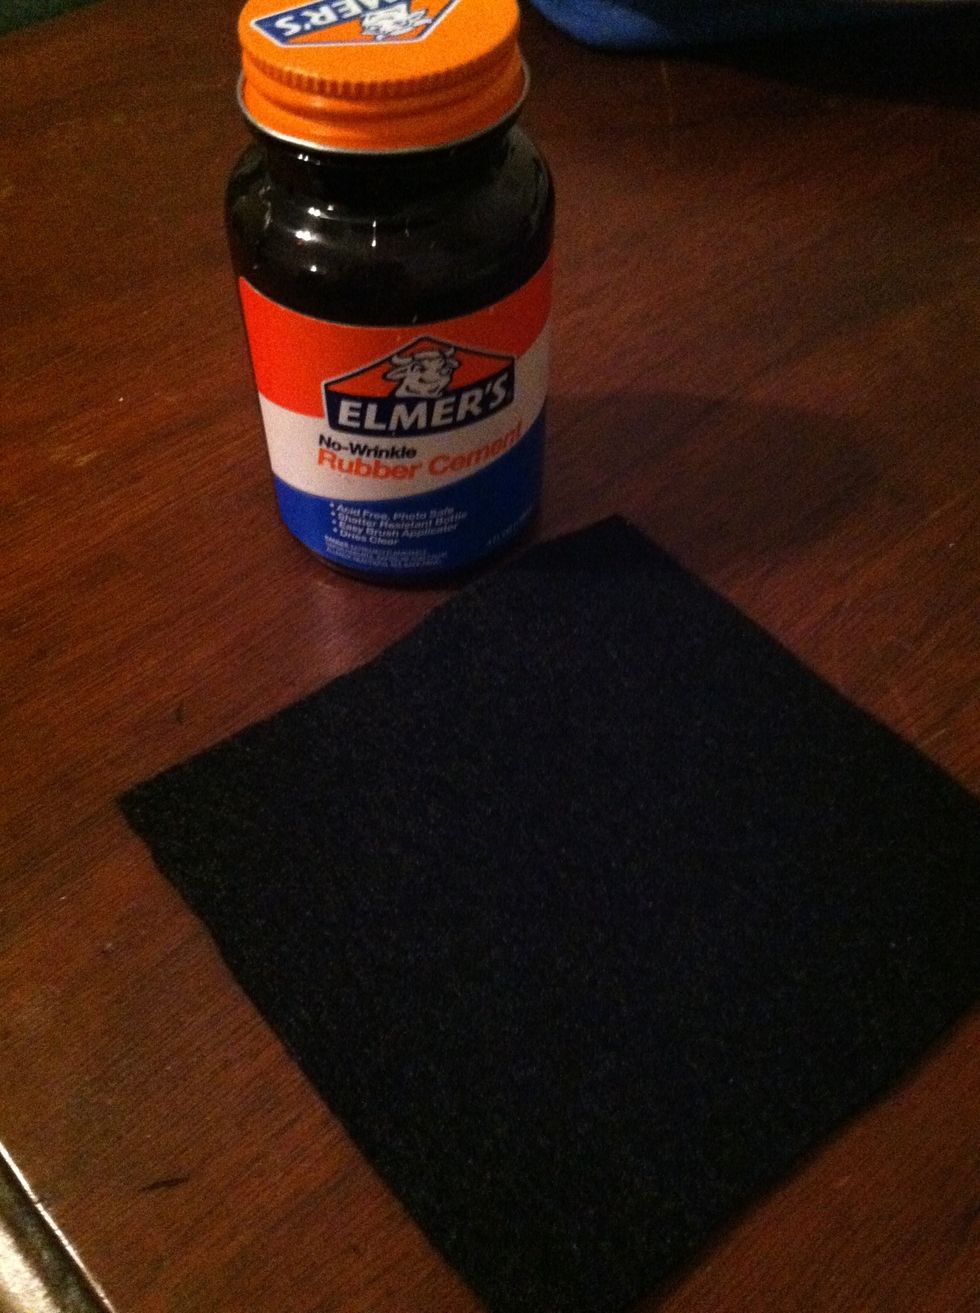
Let your tiles dry for at least 20 minutes. While they're drying, cut out six squares of felt. I like my felt squares to be almost as big as the tile. Use the tile as a guide when cutting the felt.
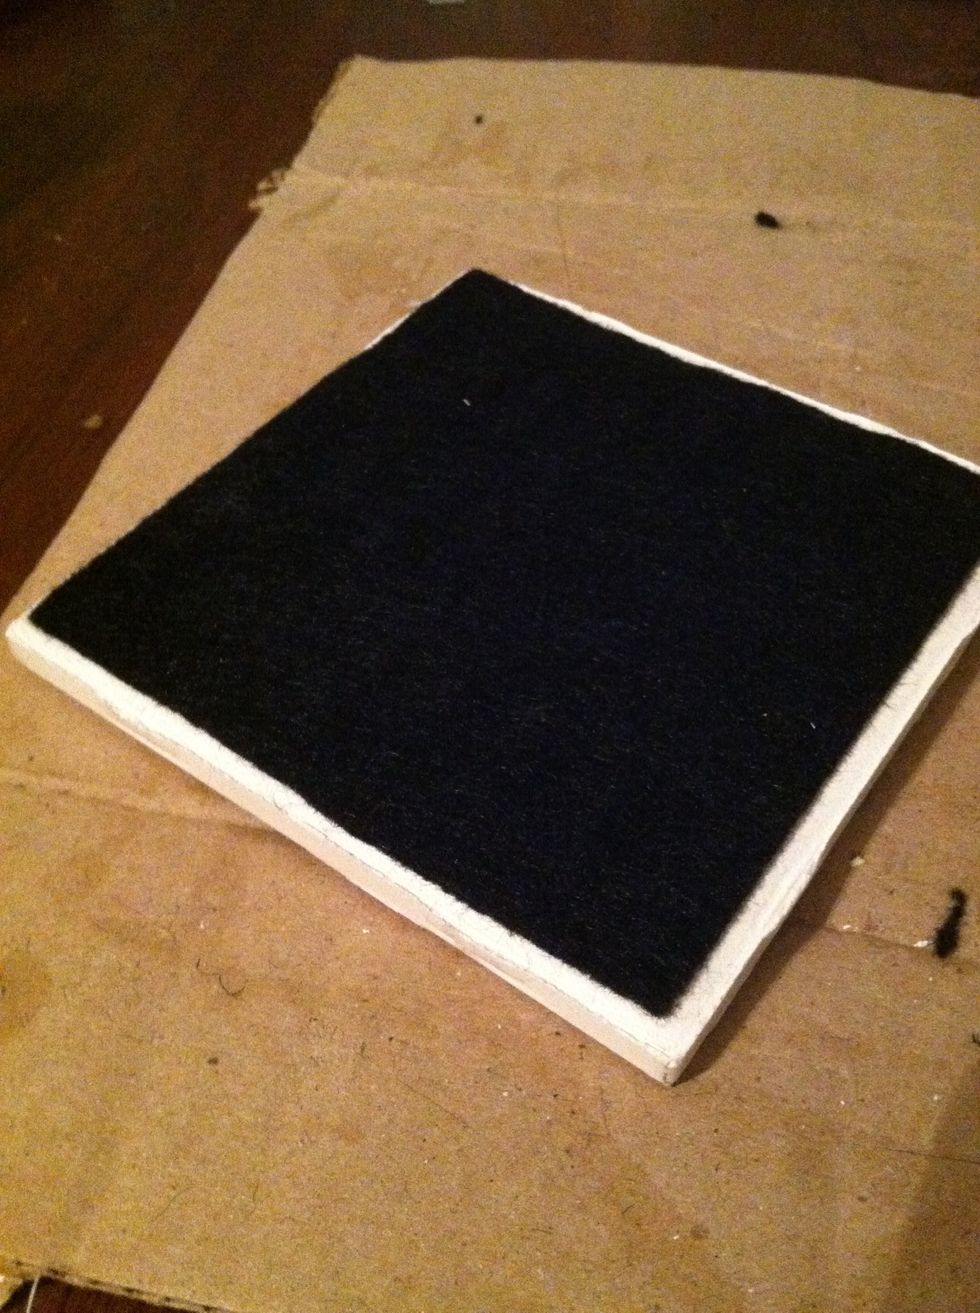
Use rubber cement to adhere the felt to the bottom of each tile. A hot glue gun also works.

Stack the tiles on top of each other to apply pressure to the felt and rubber cement for a good stick! (I had extra tiles for other projects that I used as added weight.)
You may want to apply another thin coat of Modge Podge and secure loose corners of felt after the rubber cement is dry.
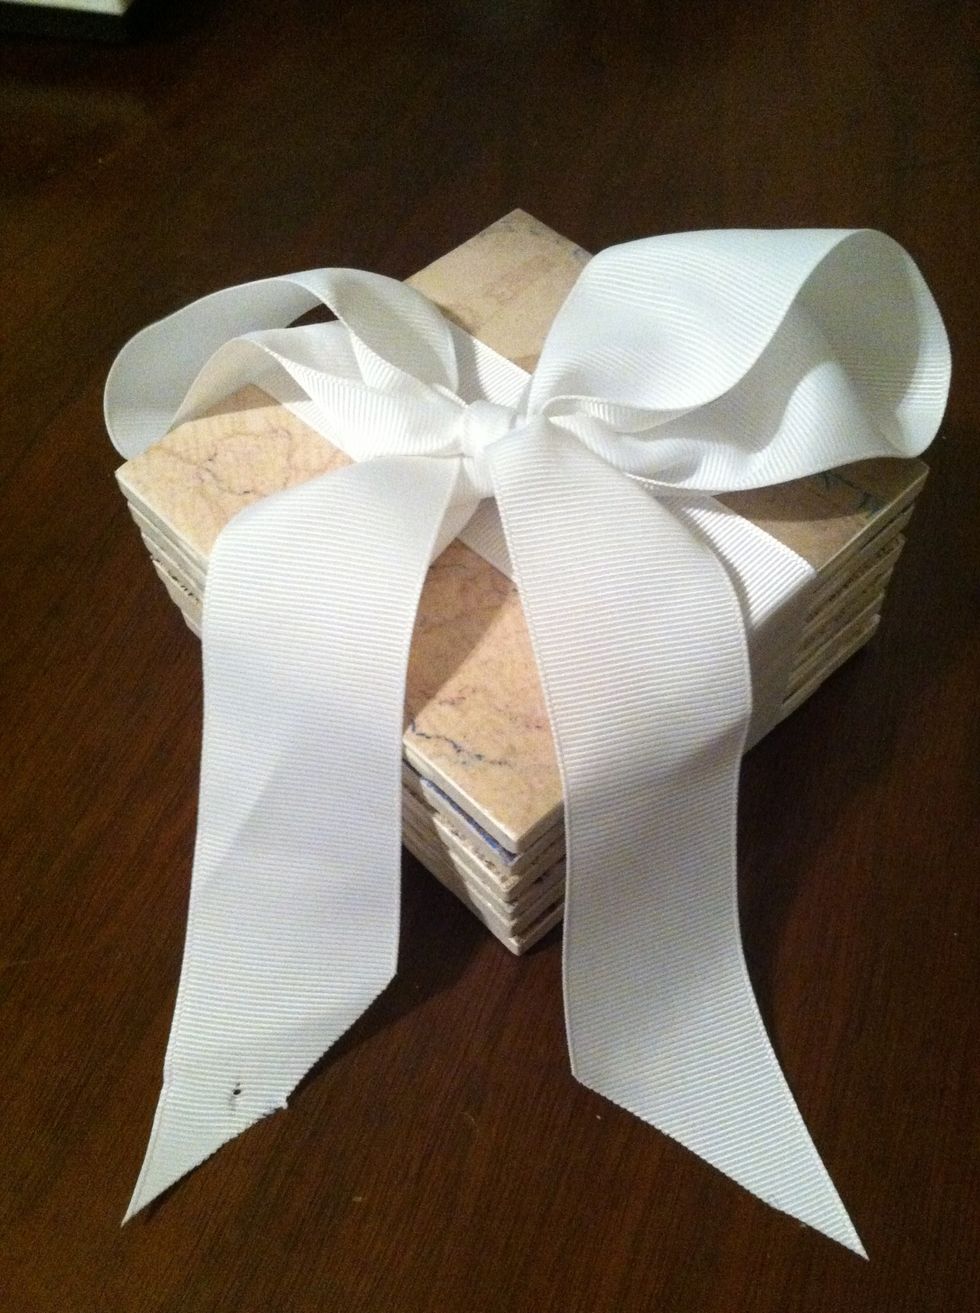
These make a great gift! Modge Podge takes a month to cure. You can't put anything hot on these until they're cured. If you want to have them cure faster, use a clear, acrylic, spray sealant.