The Conversation (0)
Sign Up
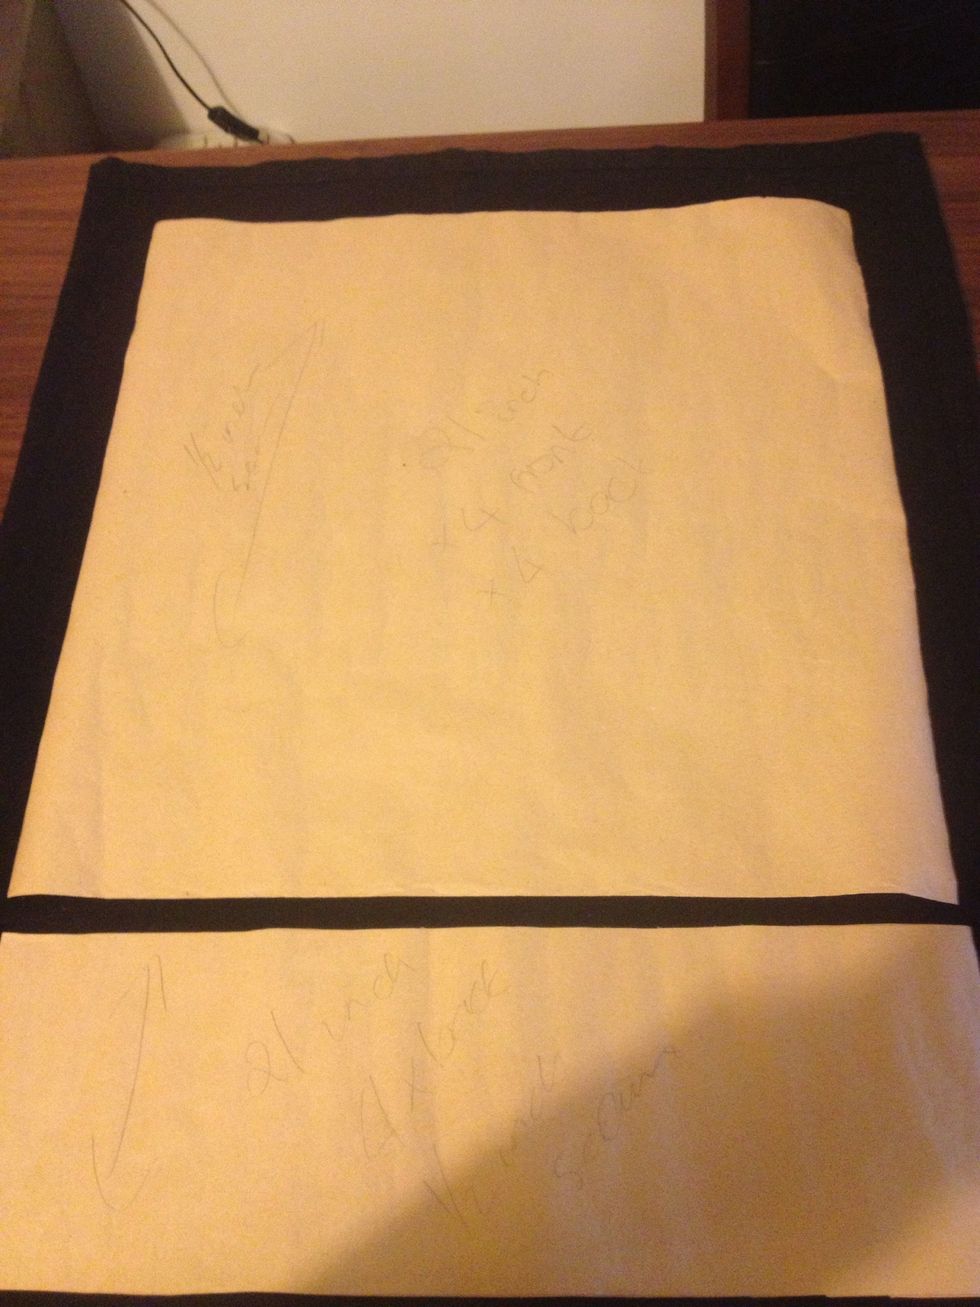
To make pattern: if you are making a cover for a 16"x16" cushion, you want to make 2 pattern pieces. The first, a 19"x19" piece and a 19"x7" piece. These measurements include a 1" seam allowance.
The smaller pattern piece is to make a "flap" kinda like on a pillow cover, but doesn't need to be as long, hence the 7". I found this is the best length as it makes it easy to put on the cushion.

Front pattern piece cut out

Back pattern piece cut out.

Oblong piece for "flap".
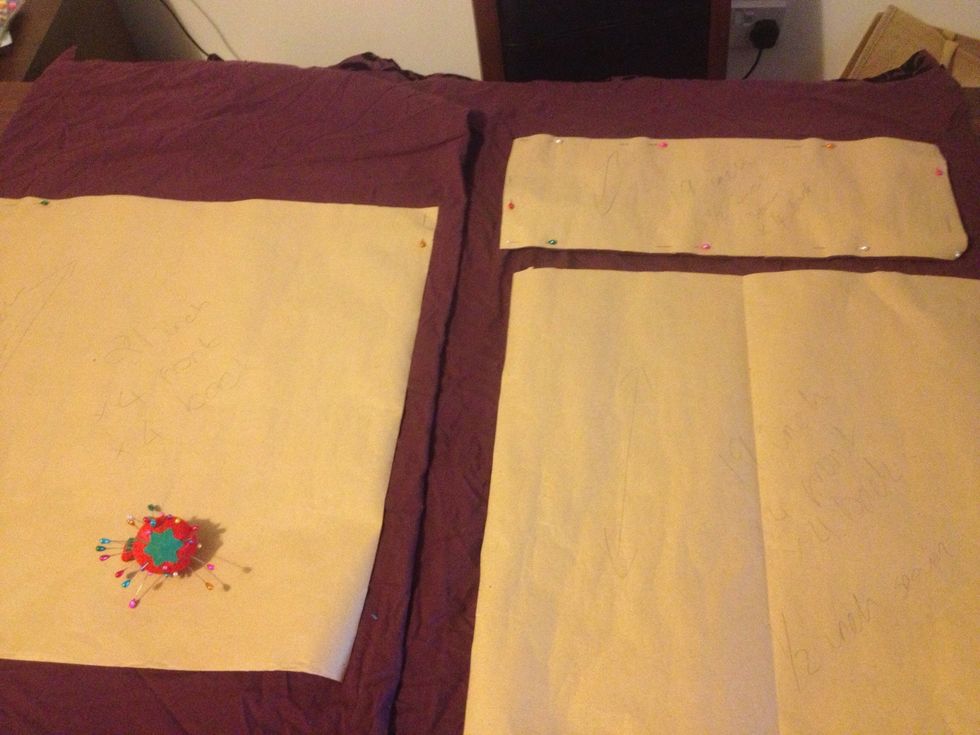
Lay out your pattern pieces. For each cushion you need 2 of the squares and 1 of the smaller rectangles. Pin in place and cut out.
I'm also using an old table cloth to give a contrast to the purple duvet cover.
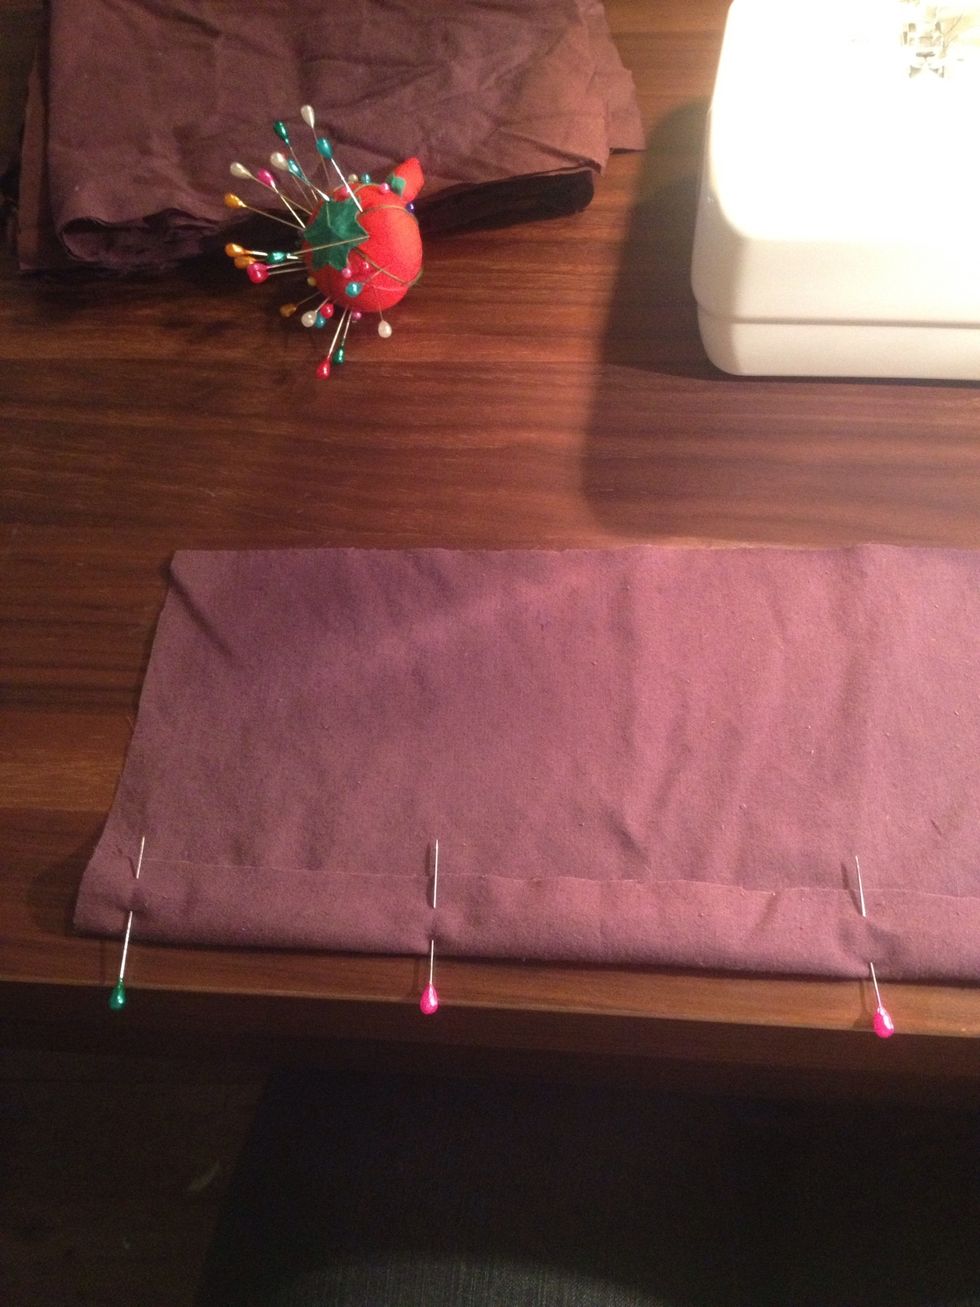
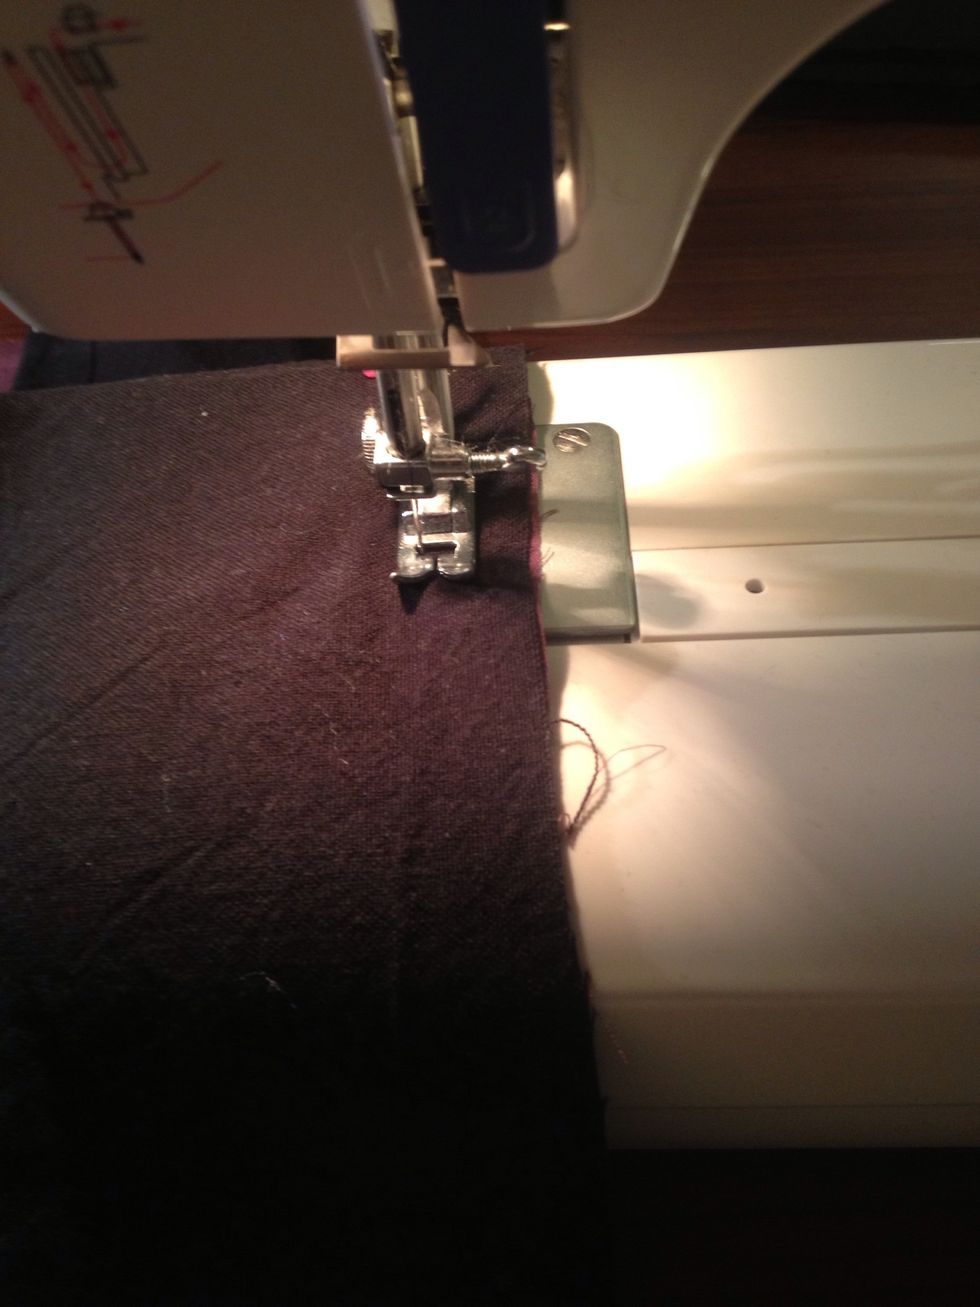
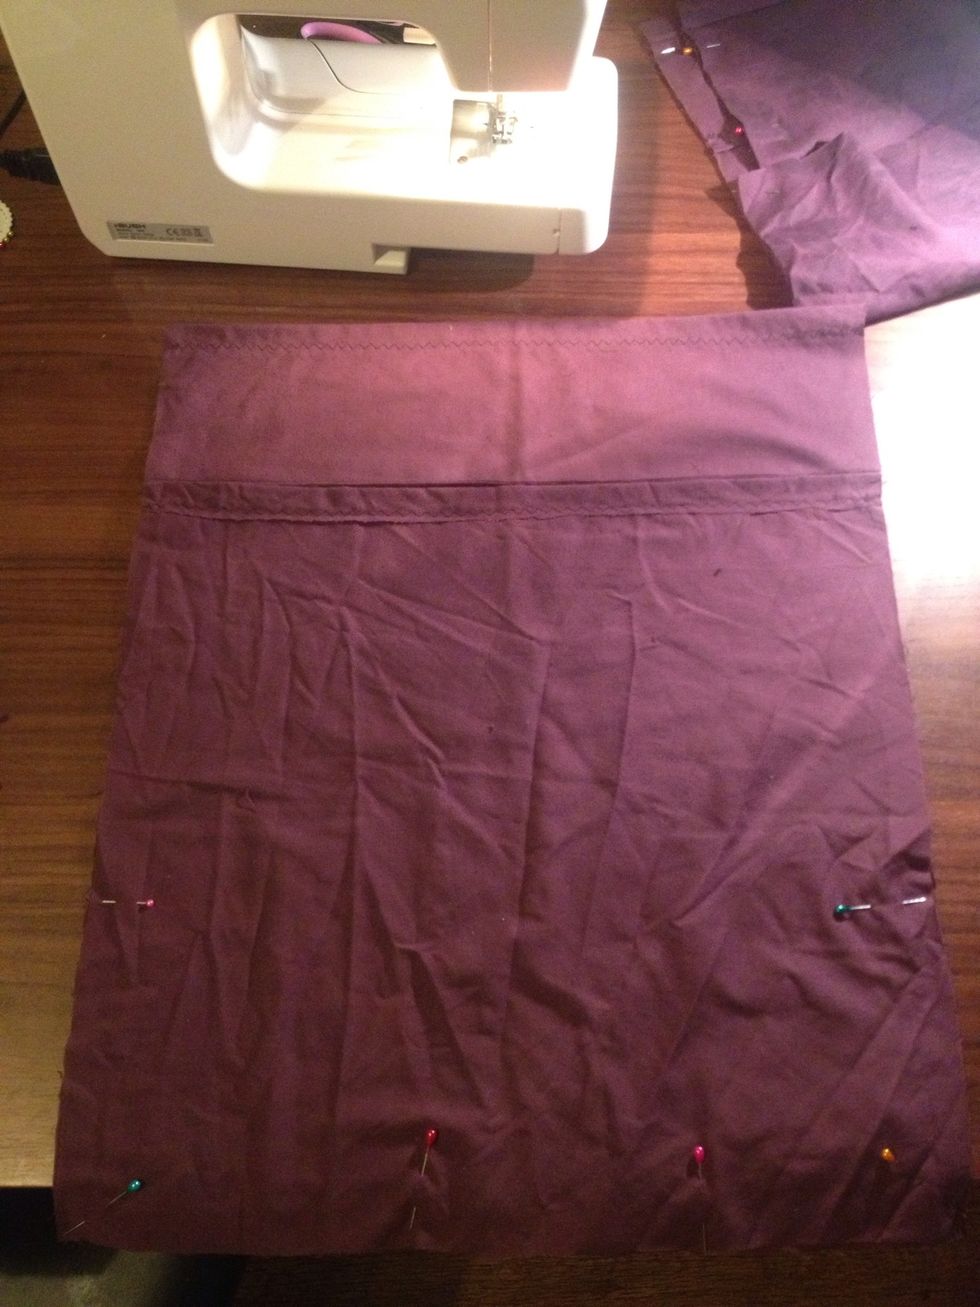
On the oblong piece: turn up 1" to make a hem along the long side.
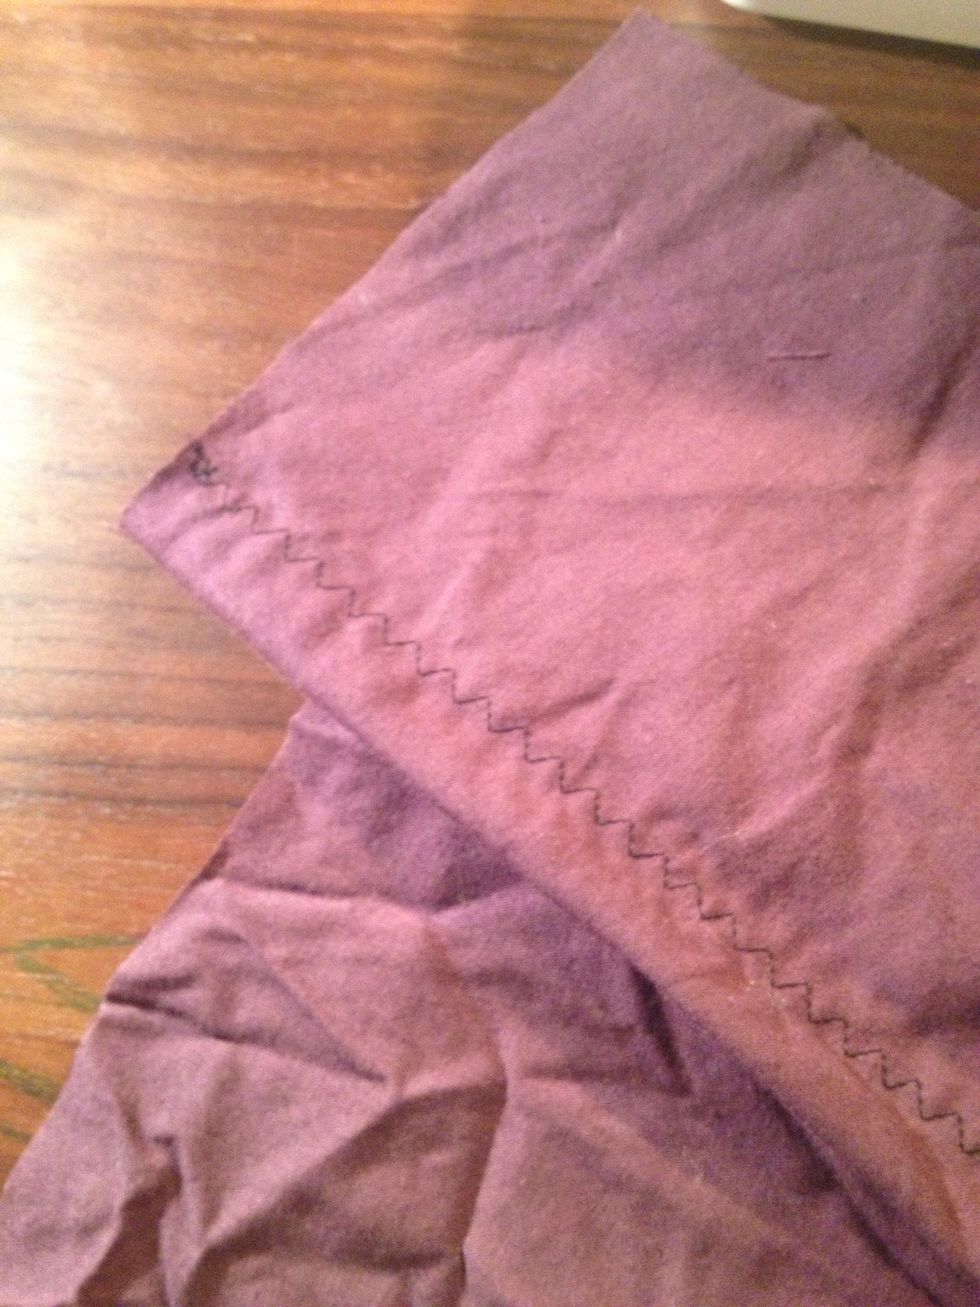
Stitch in place. I used black thread in a zig zag to allow for stretch and also to tie it in with the black fabric.
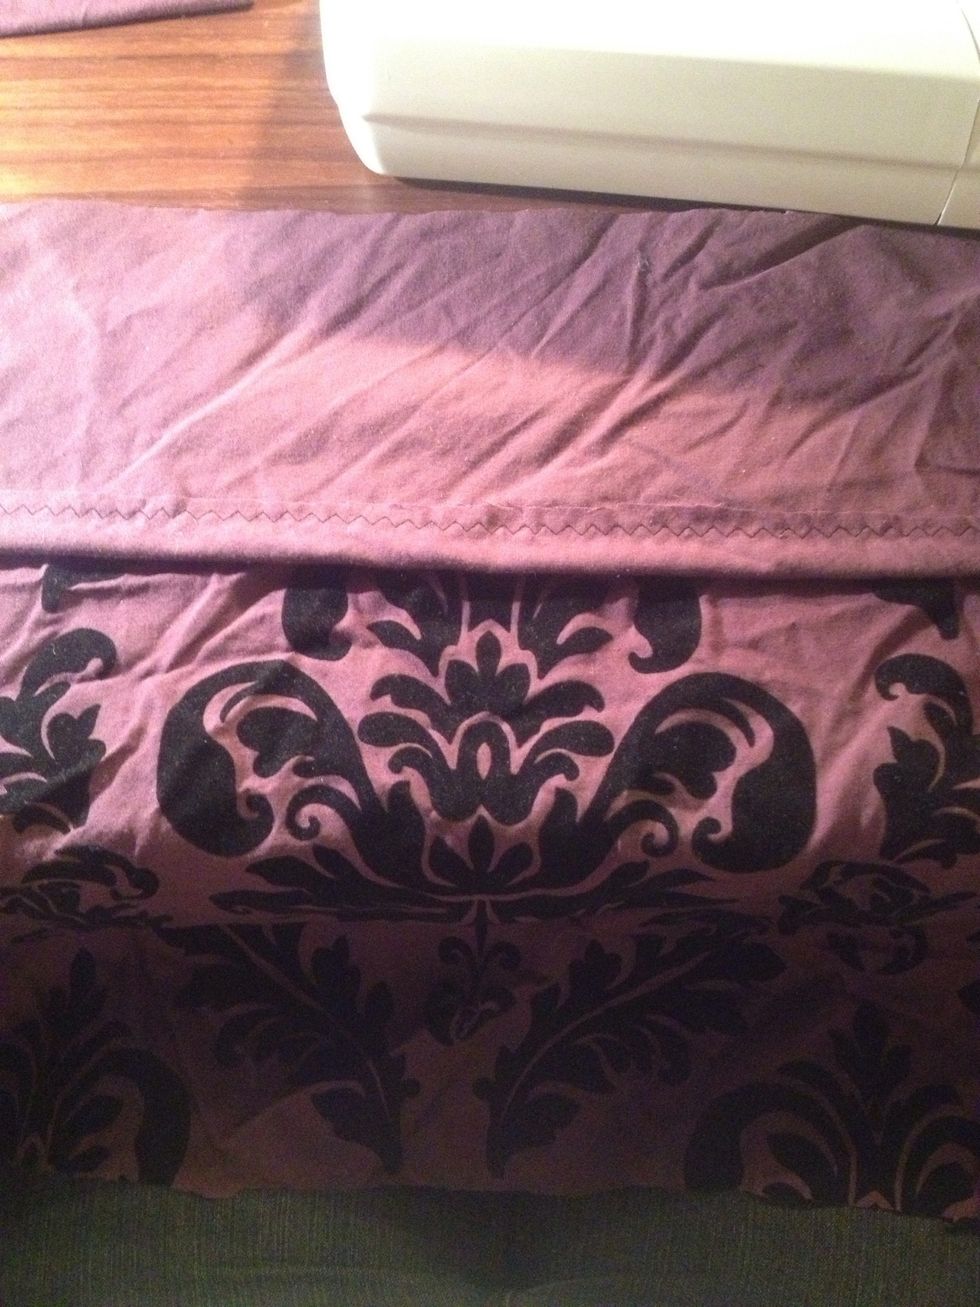
Place oblong onto square piece, right sides together with the "hem" of the oblong towards you.
Sew in place along the top, using the 1" seam allowance.
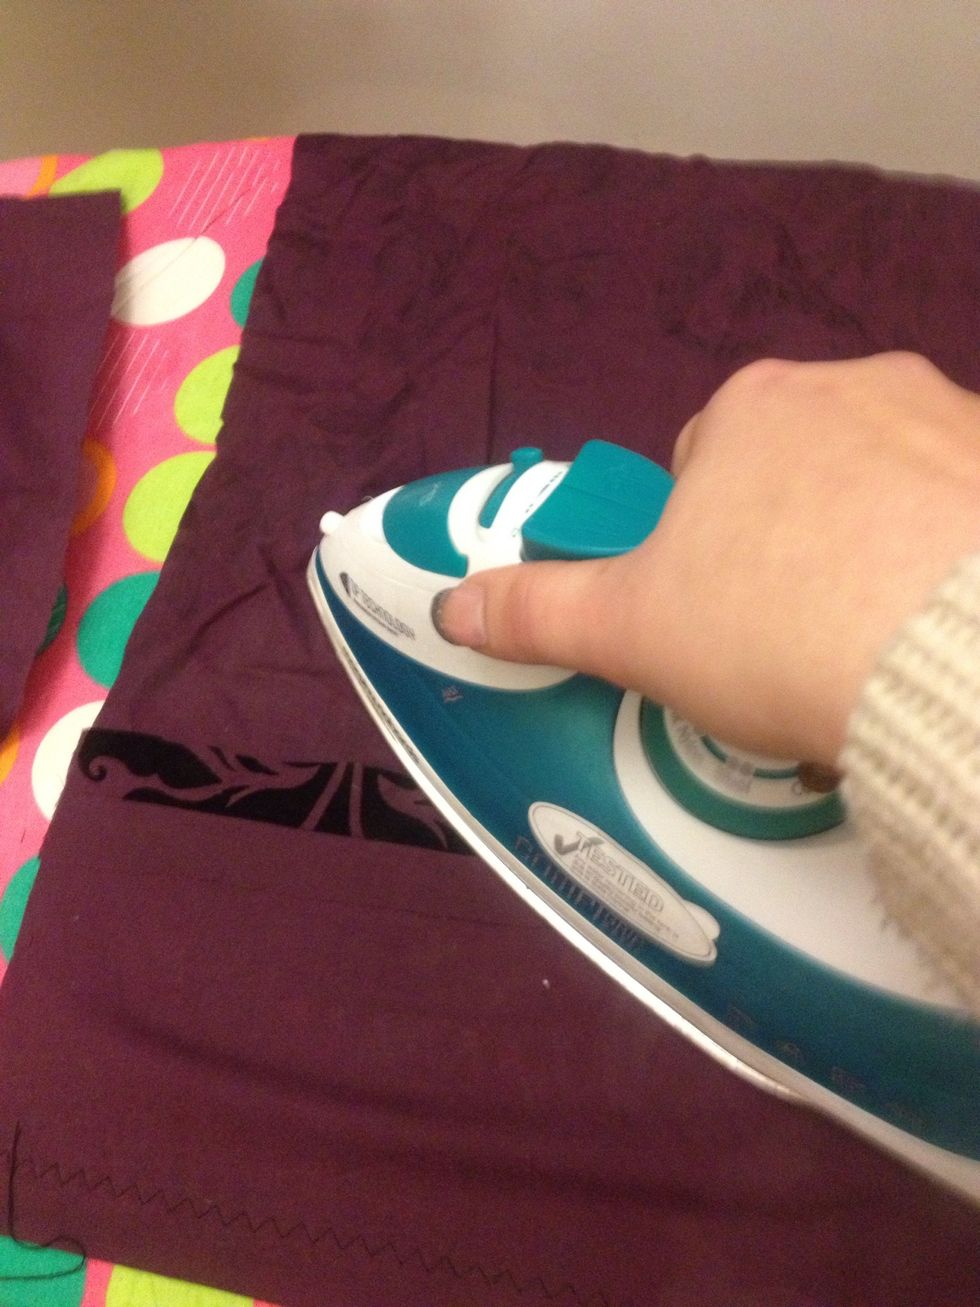
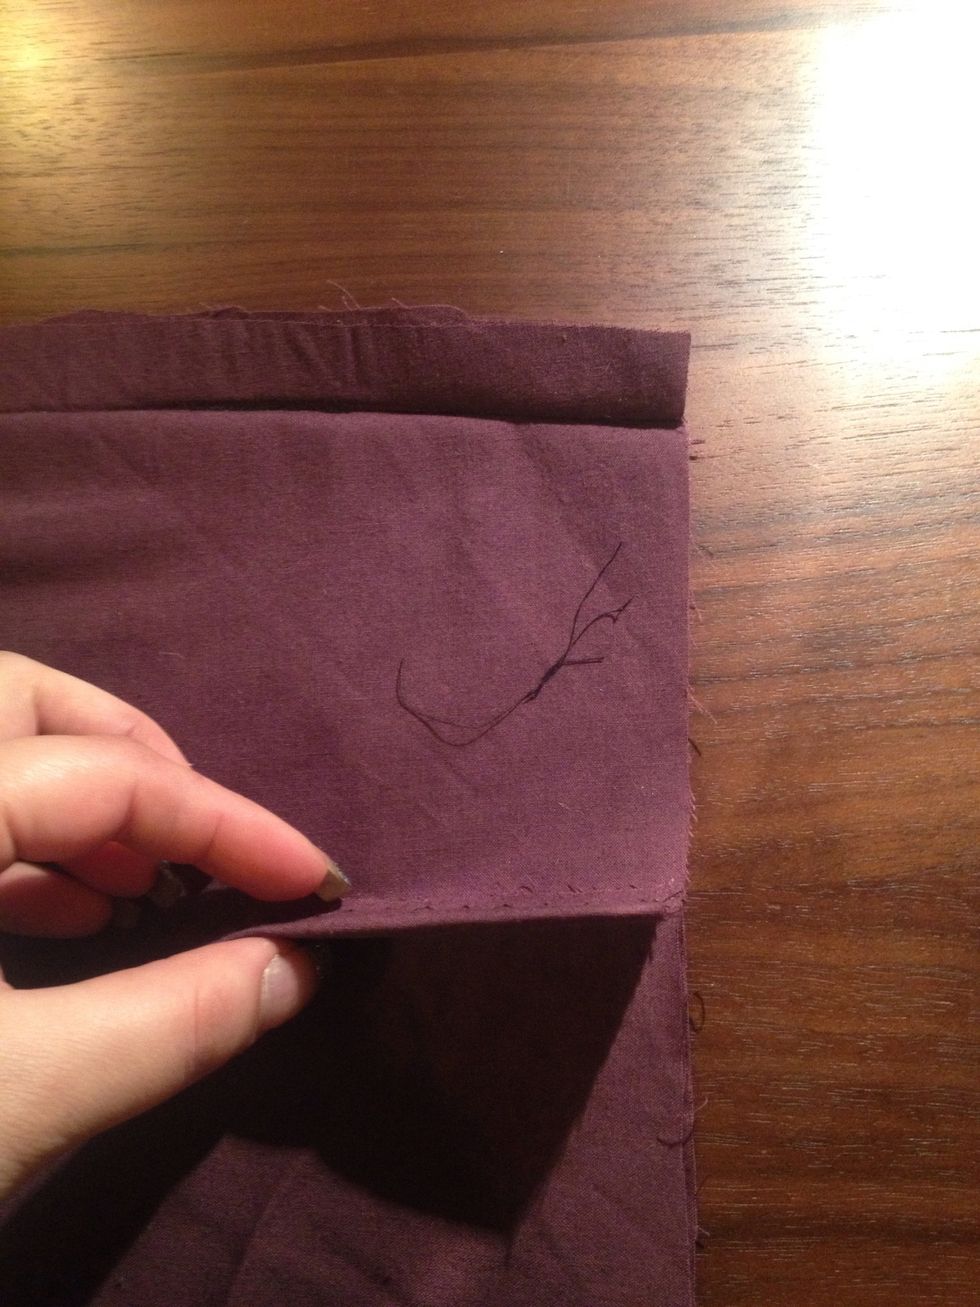
Open and iron along the seam to flatten it out.

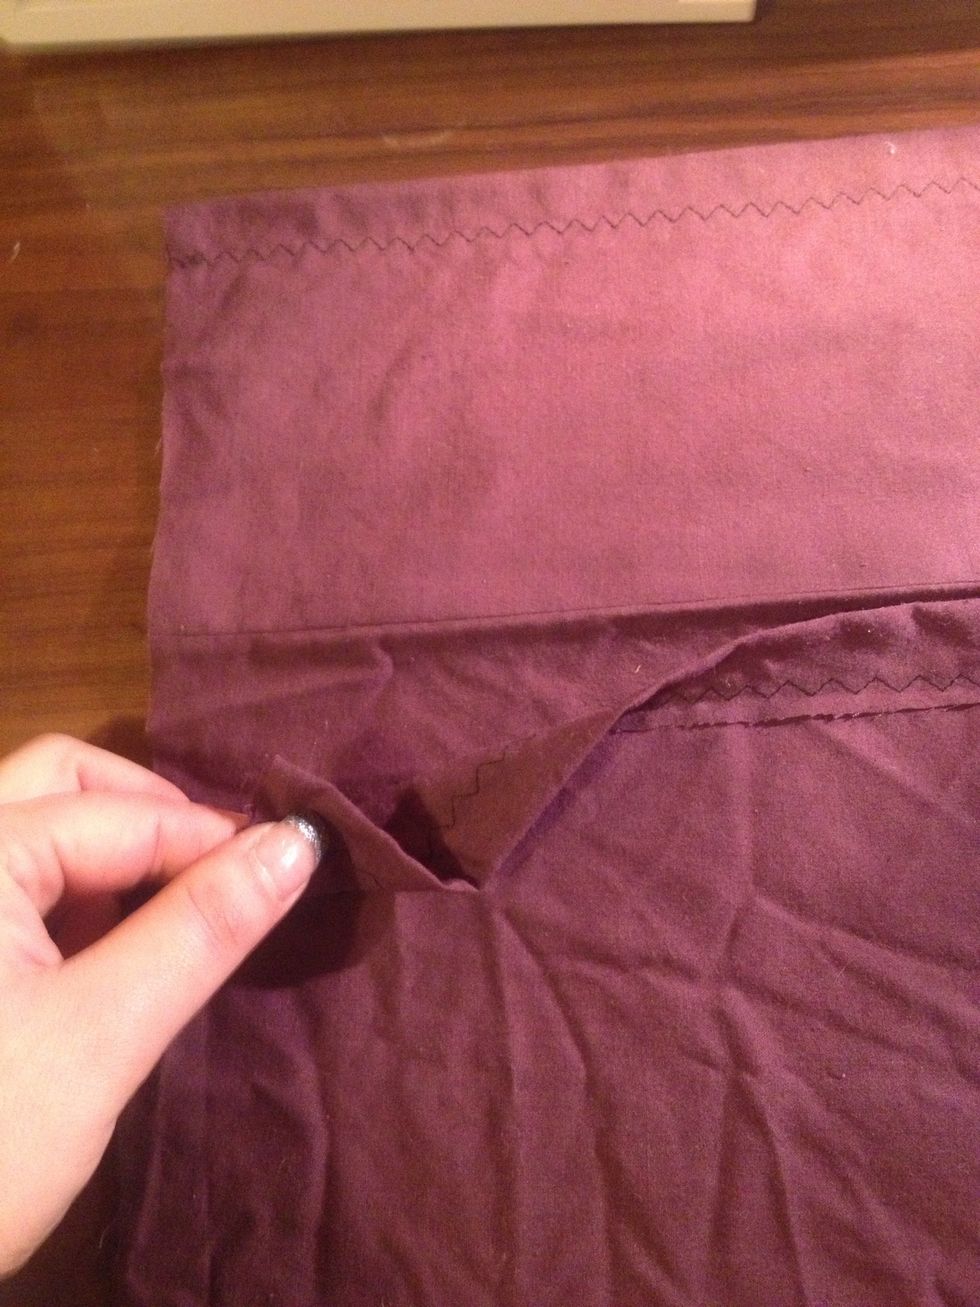
Take your back piece and hem one side the way you did the oblong piece.
Pin the front and back together, right sides together with the flap at the top and the hem of the back piece at the top too.
This is what it should look like at this stage.
Now fold the flap over onto the back so it makes a "sandwich" and pin in place. The layers should be: flap then back then front.
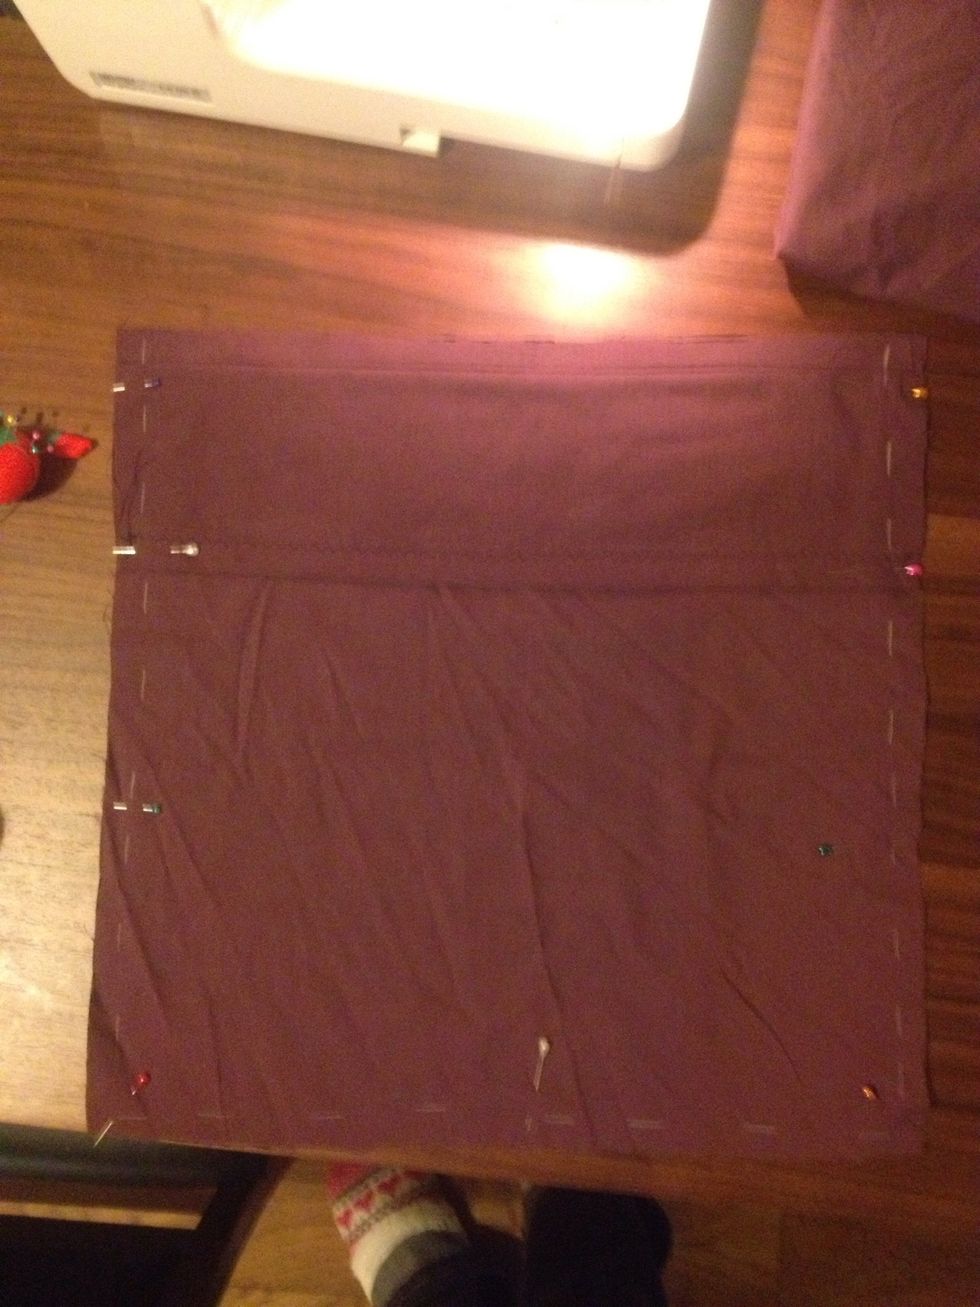
Sew your 1" seam down the sides and along the bottom, NOT along the top. See the white markings for where to sew.
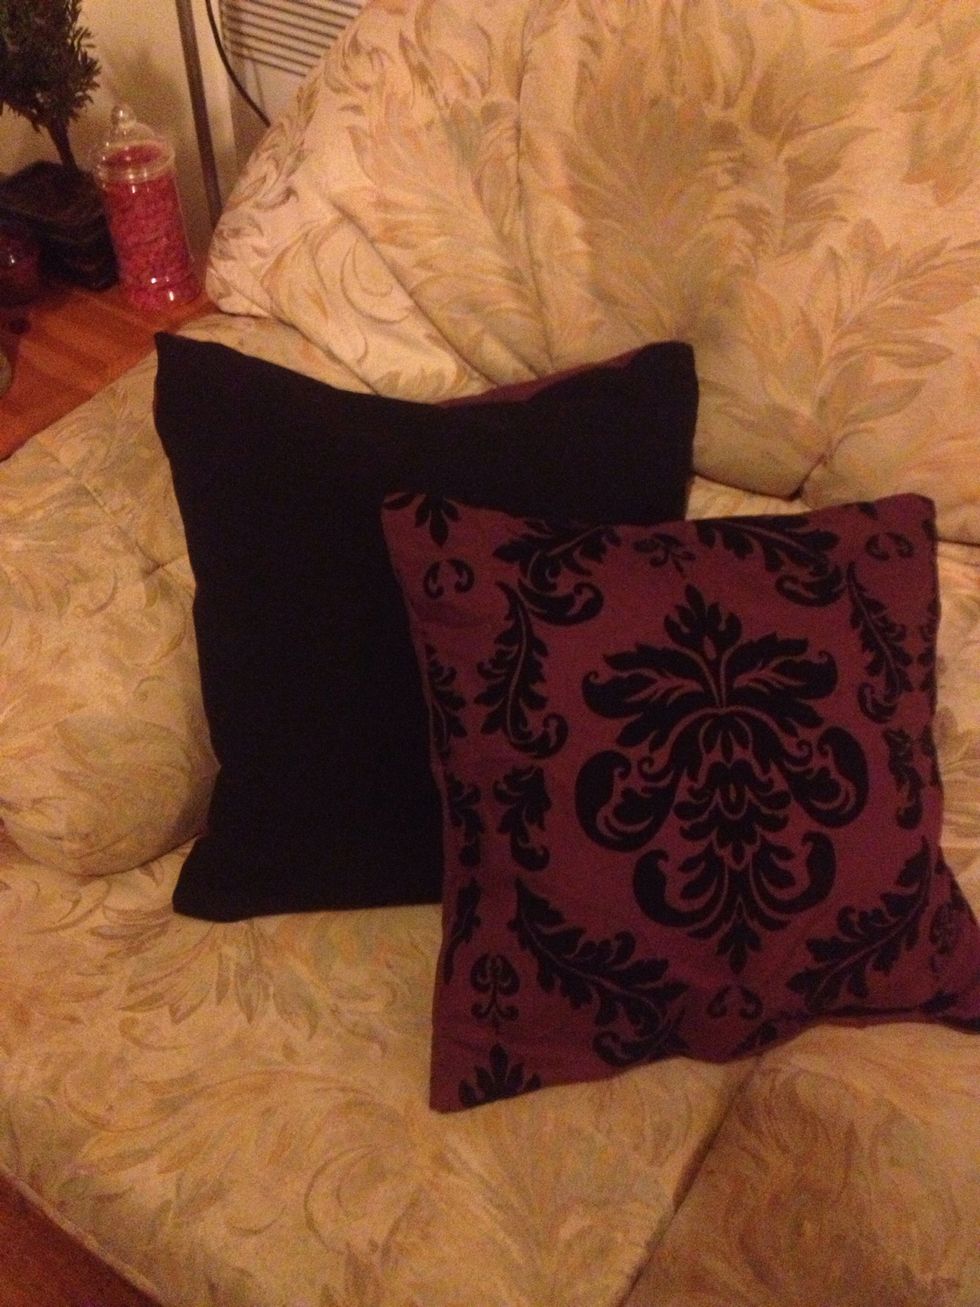
When finished sewing, turn inside out and reveal your finished cushion cover. Insert cushion and enjoy!