The Conversation (0)
Sign Up
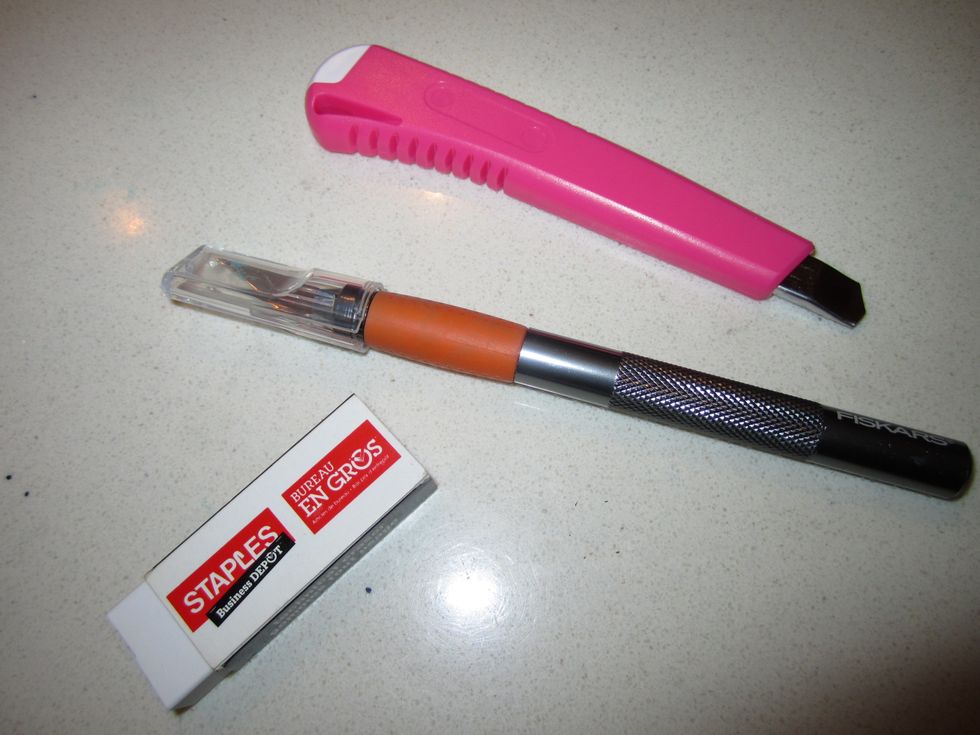
Exacto knife, art knife and Staples white erasers (2 pack for $1.50)

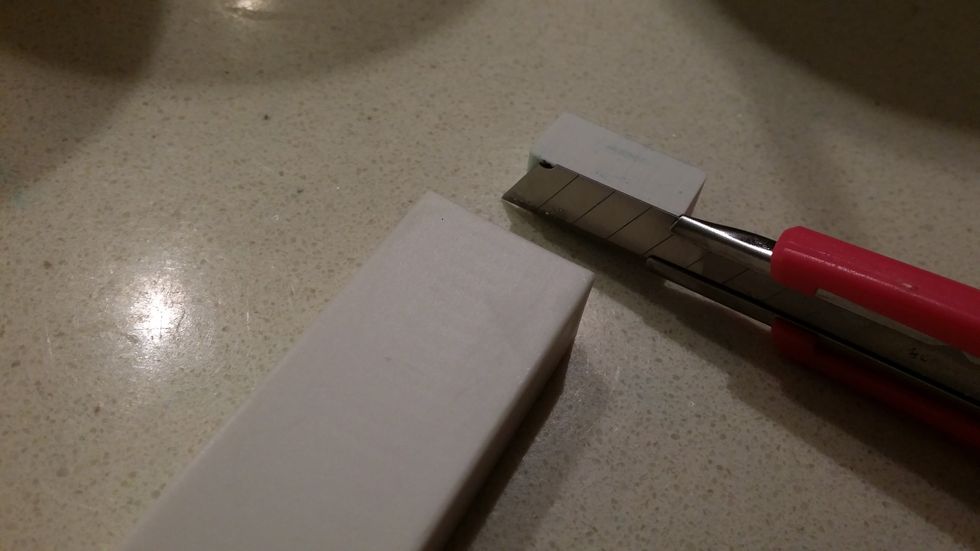
Cut off a piece of eraser slightly larger than your design
Start with something simple because you will learn a lot from your first stamp and apply what you learned on your next one.

Trace the eraser so that it becomes the space to draw your design in OR if you have a picture...
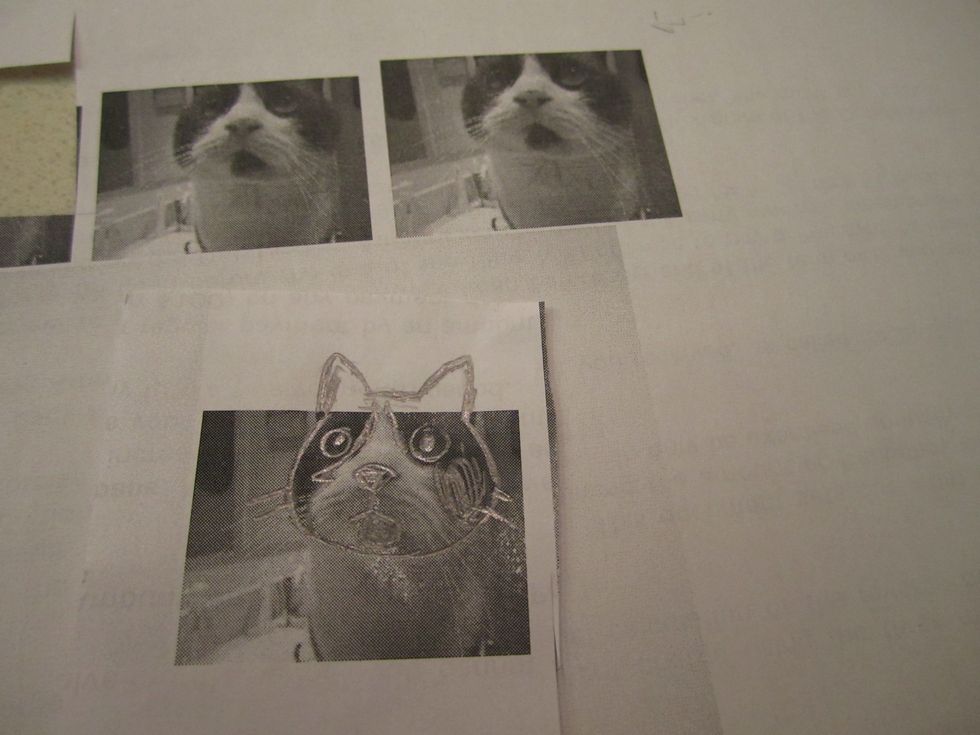
Print a picture or photo in different sizes and choose one small enough to fit on the eraser. Trace over the design with a pencil and fill in the black areas.
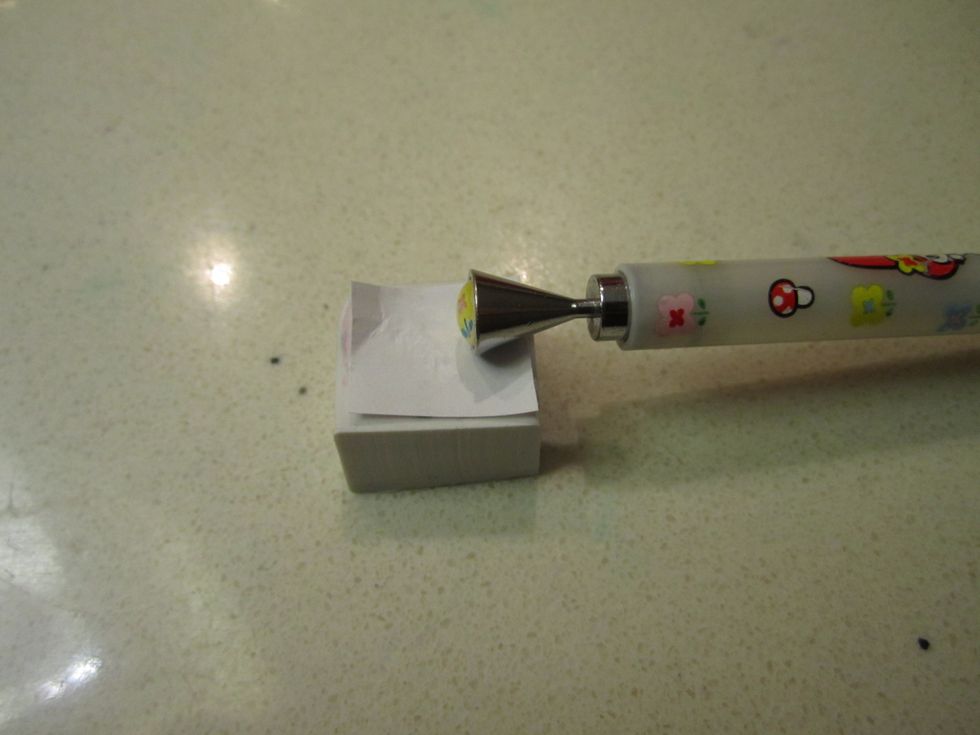
Transfer the image on to the eraser by rubbing the back of the paper with the end of your pencil. It will transfer the drawing on to the eraser.
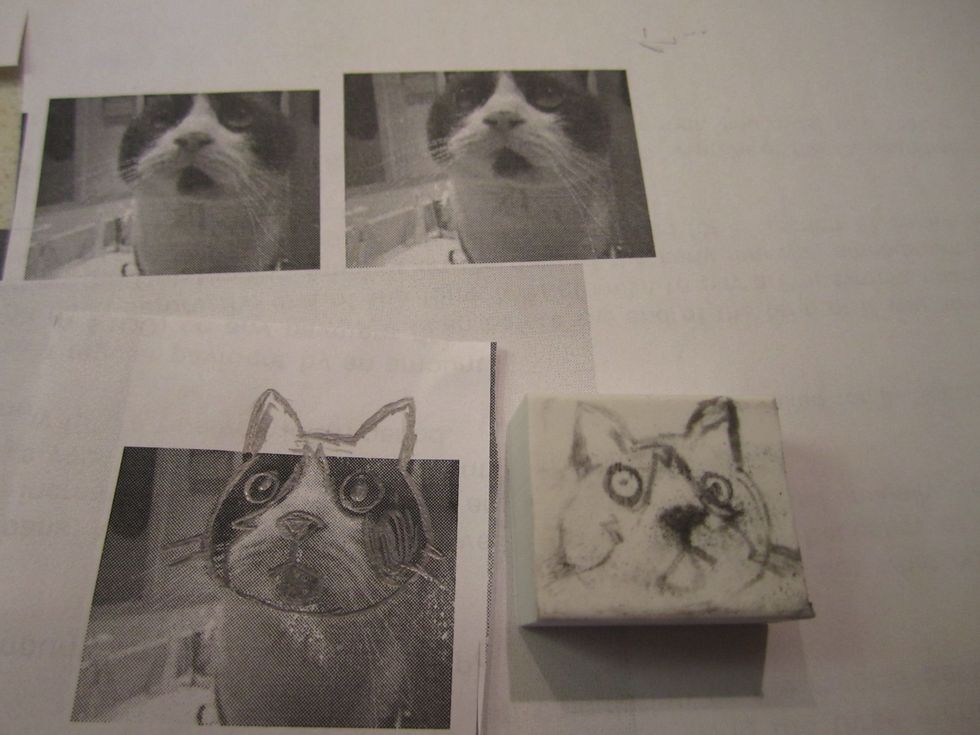
The image has been transfered to the eraser. Fill it in with a fine point Sharpie, coloring in the black areas and making the outlines thick enough to carve around either side.
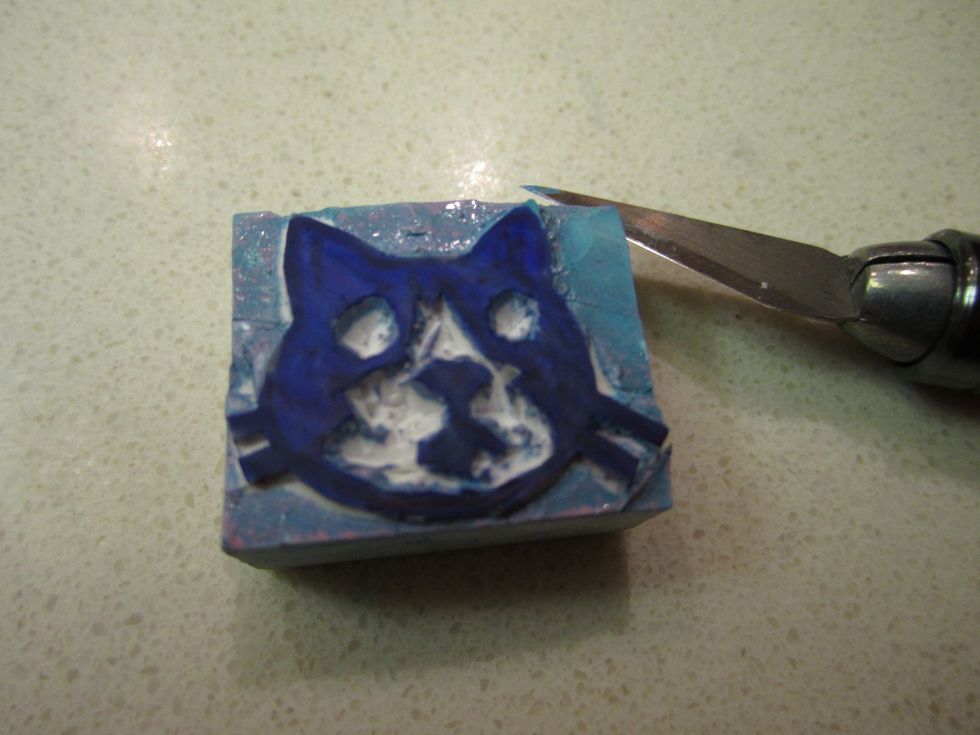
Leave the black parts and carve the white parts away. Stamp with ink to test if any of the background of the eraser shows when you stamp your design on paper. If so, just slice a thin layer away.
It was too hard to cut around a small pupil in the eye so I cut the entire eye out in a cone shape. If you have eyes in your design, it's fun to leave blank and draw in after you stamp it on paper.
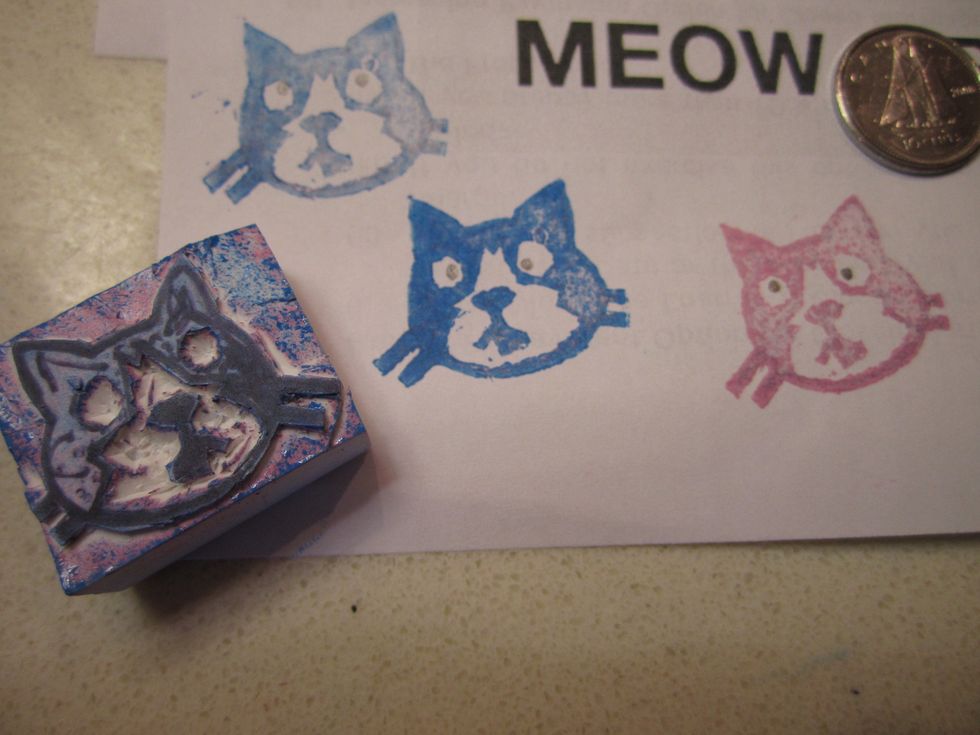
Start with a simple design like this one. If you see outlines of the border of the eraser when you stamp on paper, just cut away a thin layer until only the design is left when you stamp onto paper.
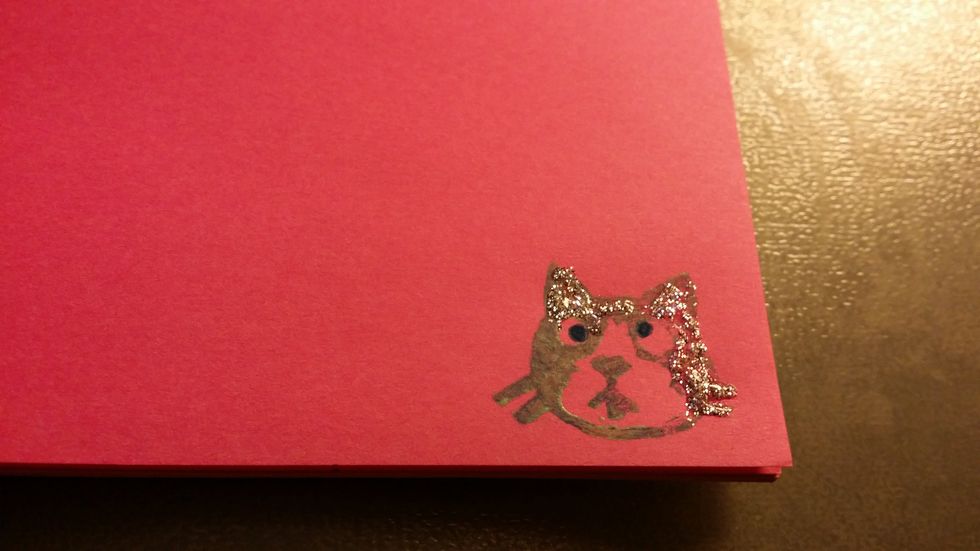
Bling up your stamps with glitter glue. I personalized this by stamping the corner of every page of this Post-it pad and get to draw in crazy cat eyes every time I use a sheet.
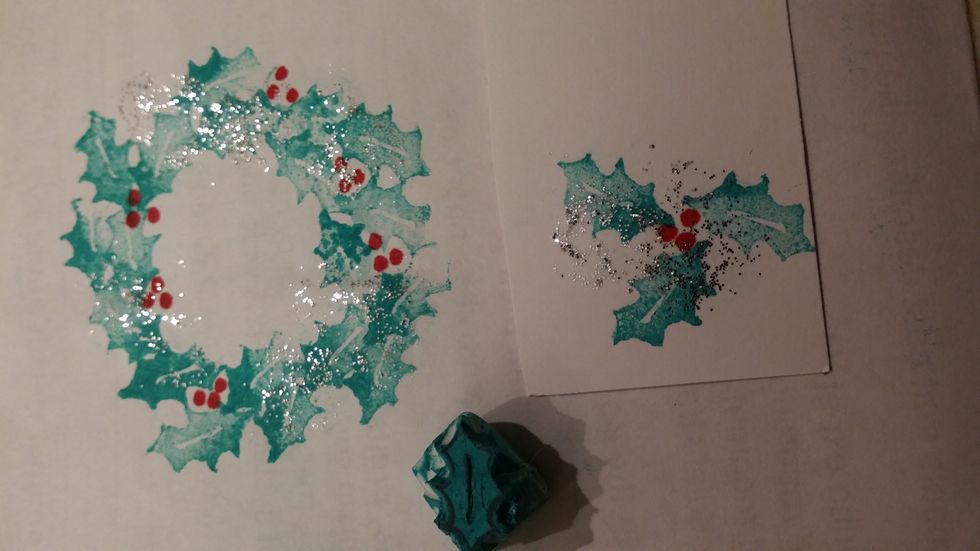
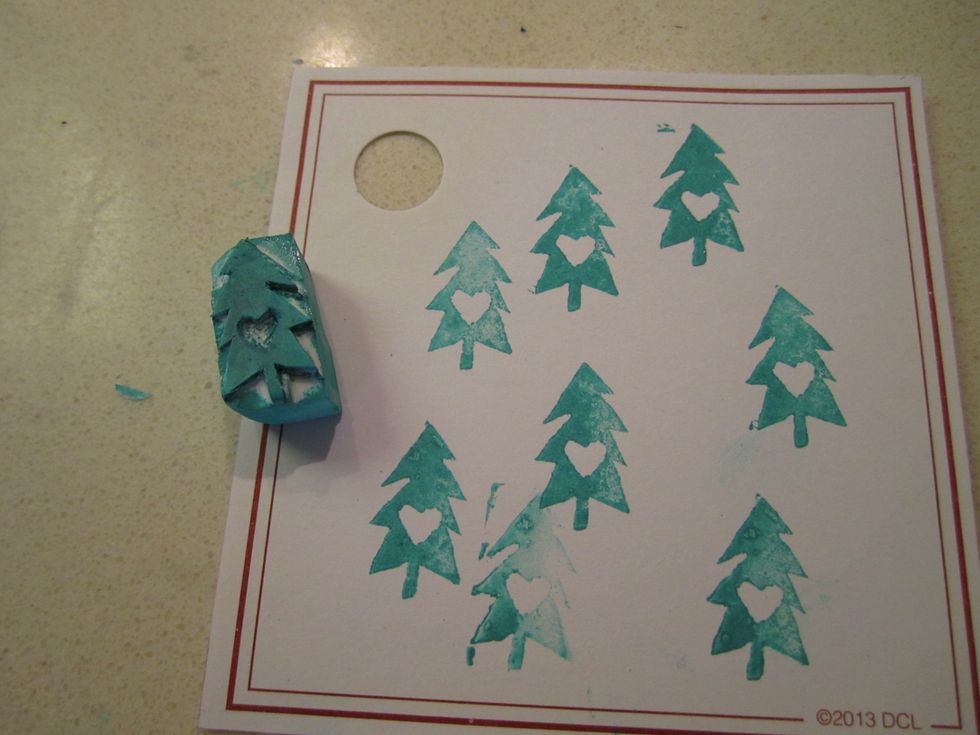
Save greeting cards and use them to make gift tags - add glitter glue. I used a Sharpie to make the berries.