The Conversation (0)
Sign Up
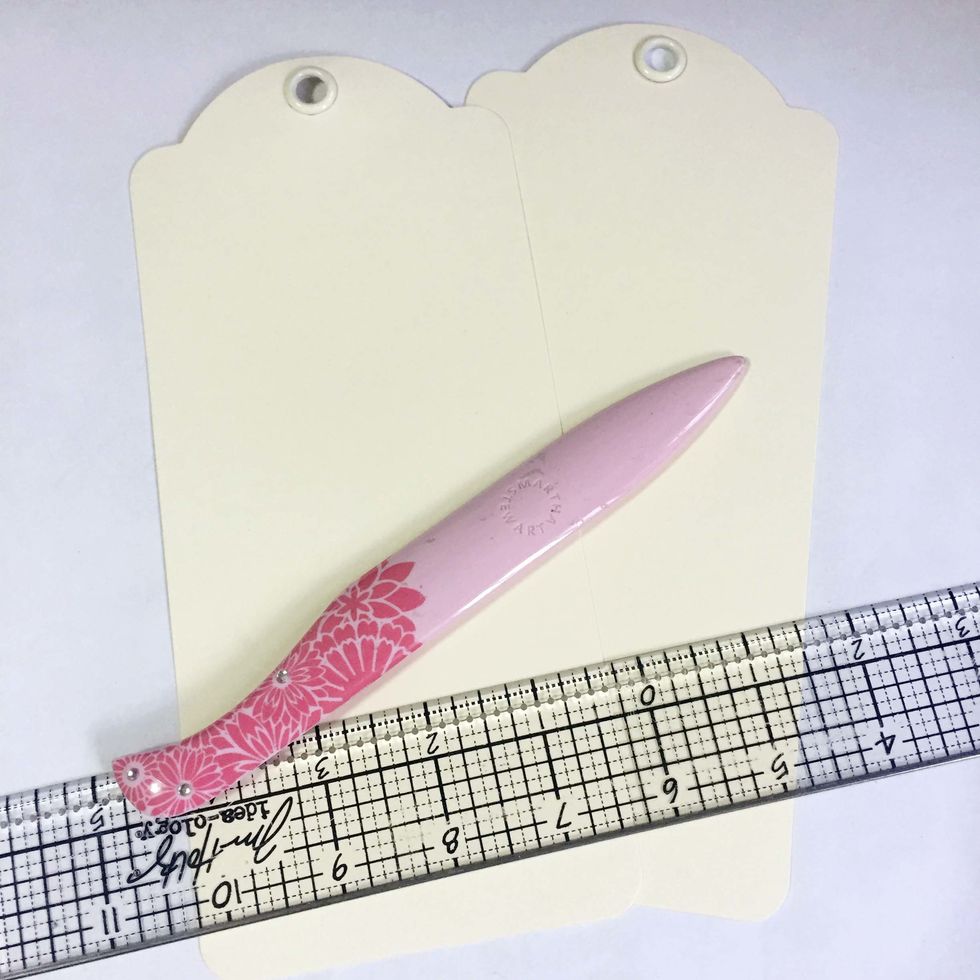
Gather your supplies, a list of supplies can be found at the bottom of this guide. You will need 2 large ivory tags for a gift box.
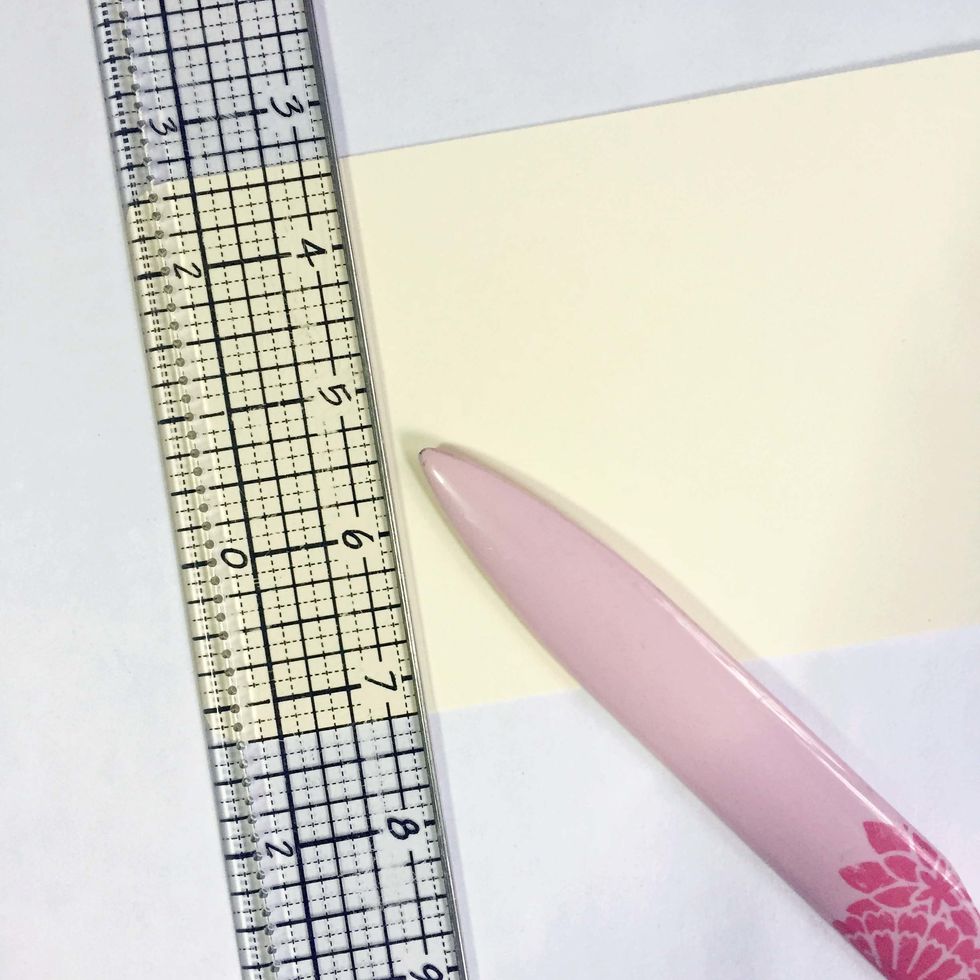
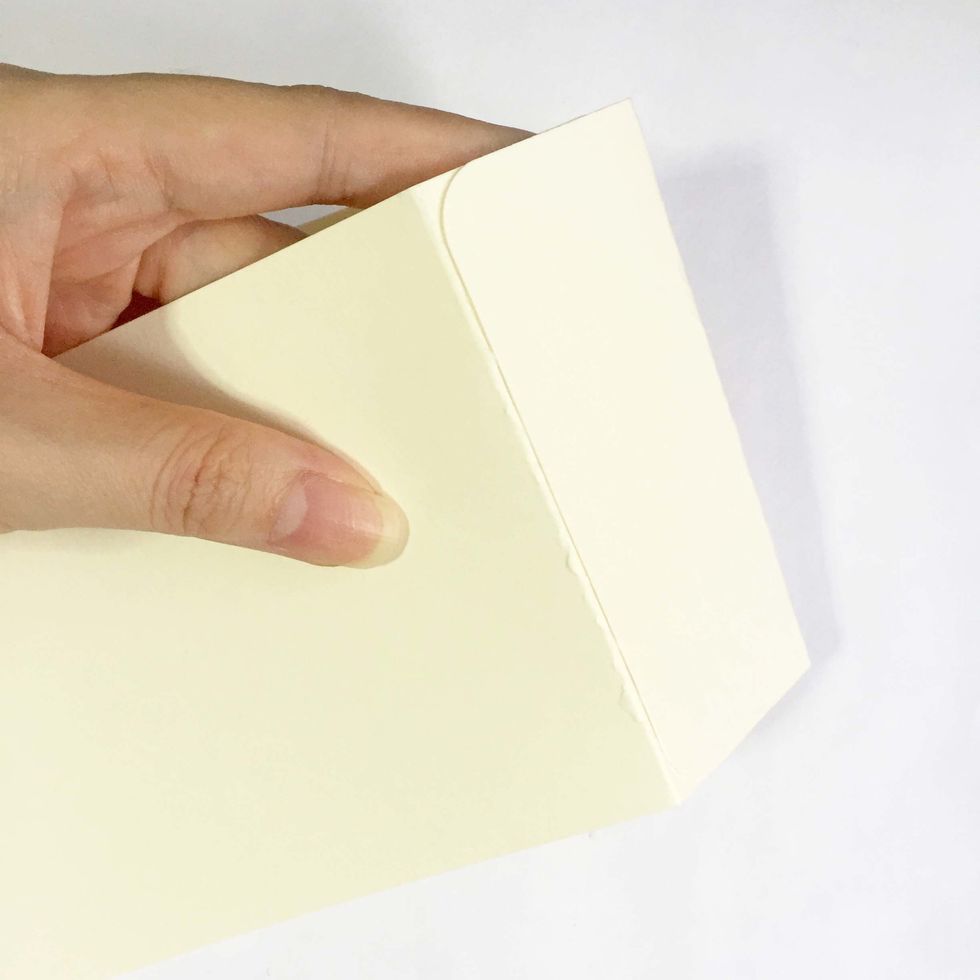
Score 1.5" away from the bottom of the tags.
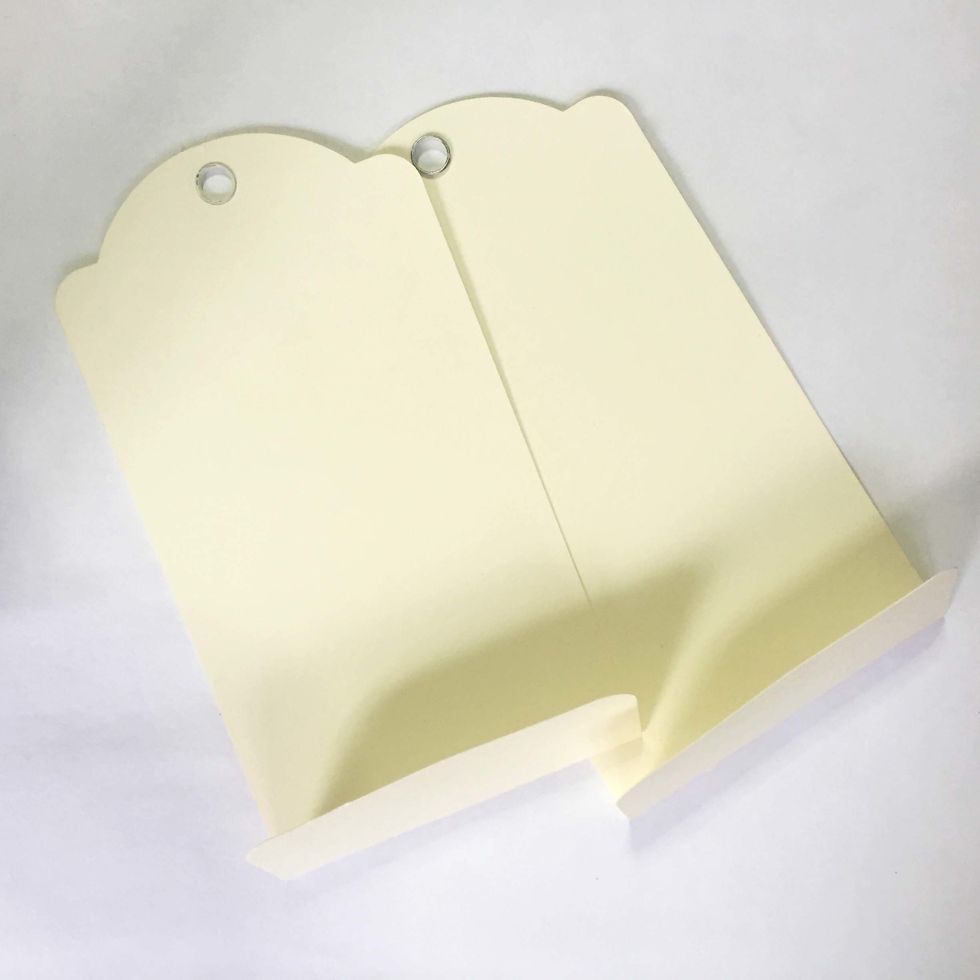
Fold them inwards as shown.
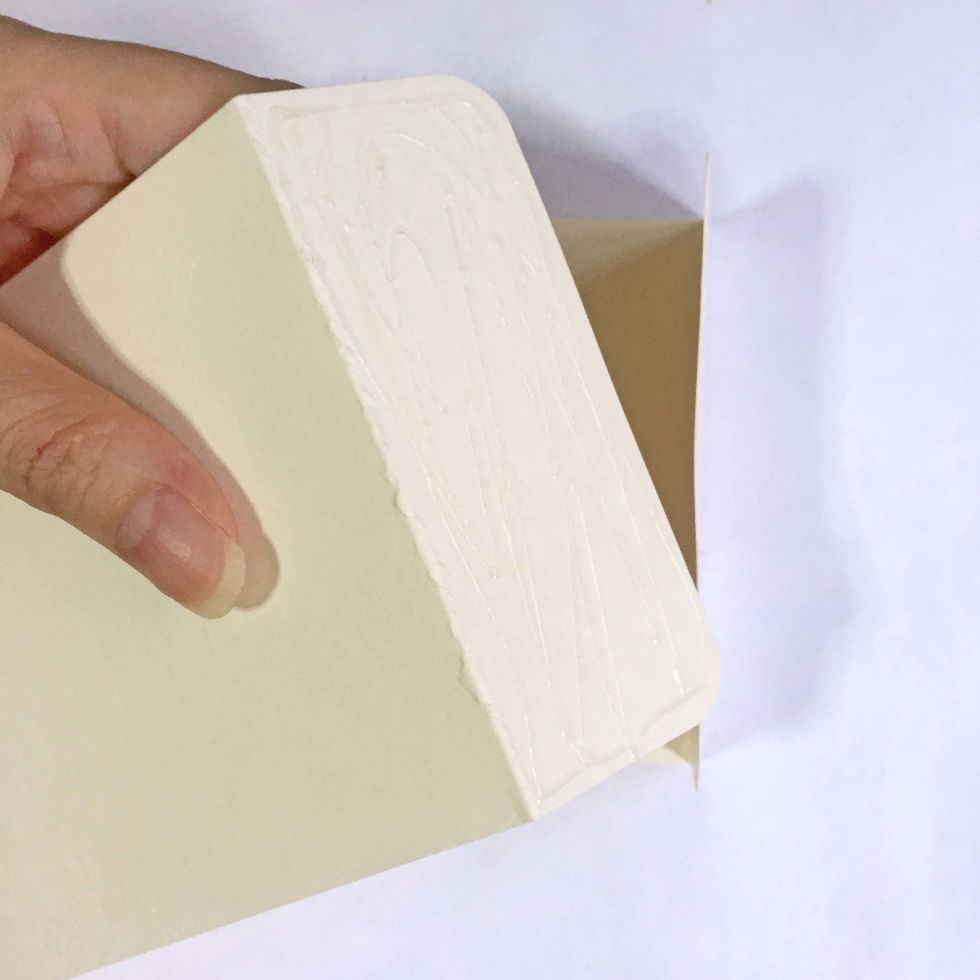
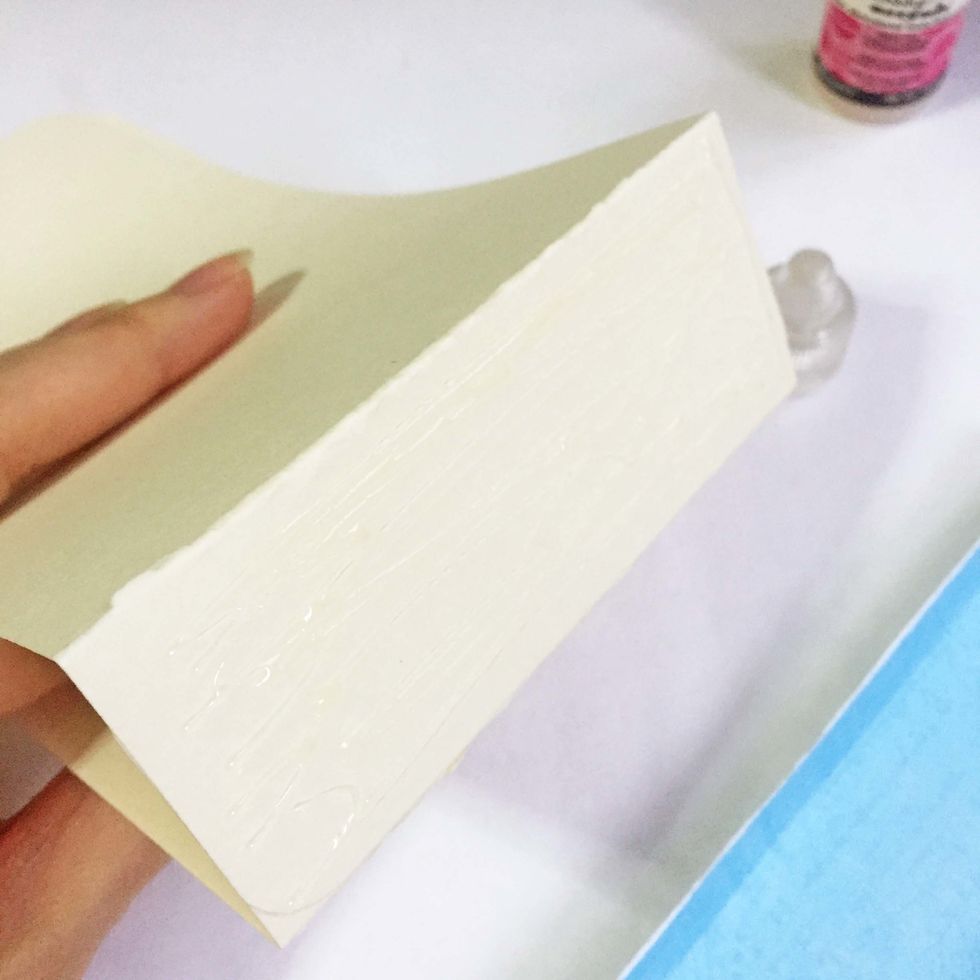
Apply glue on one surface.
Glue over the other tag as shown. This will be the base of the box.
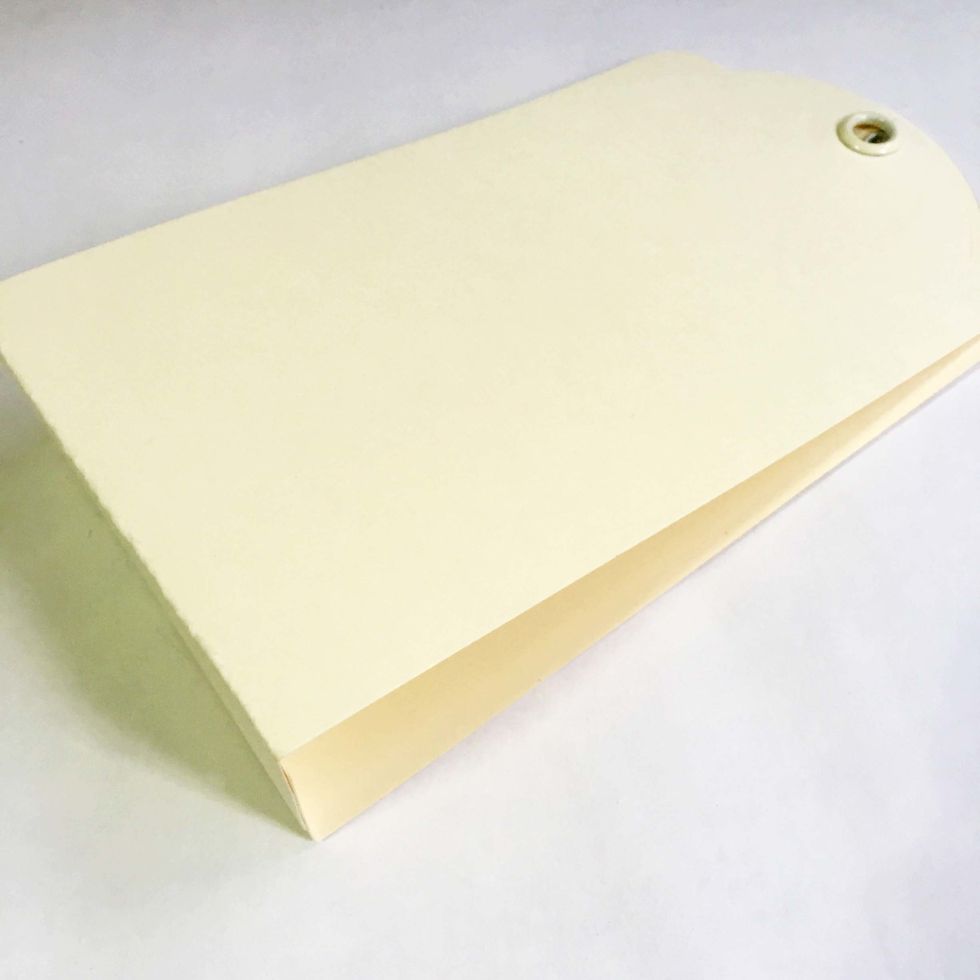
Once glue, this is how it will look like.
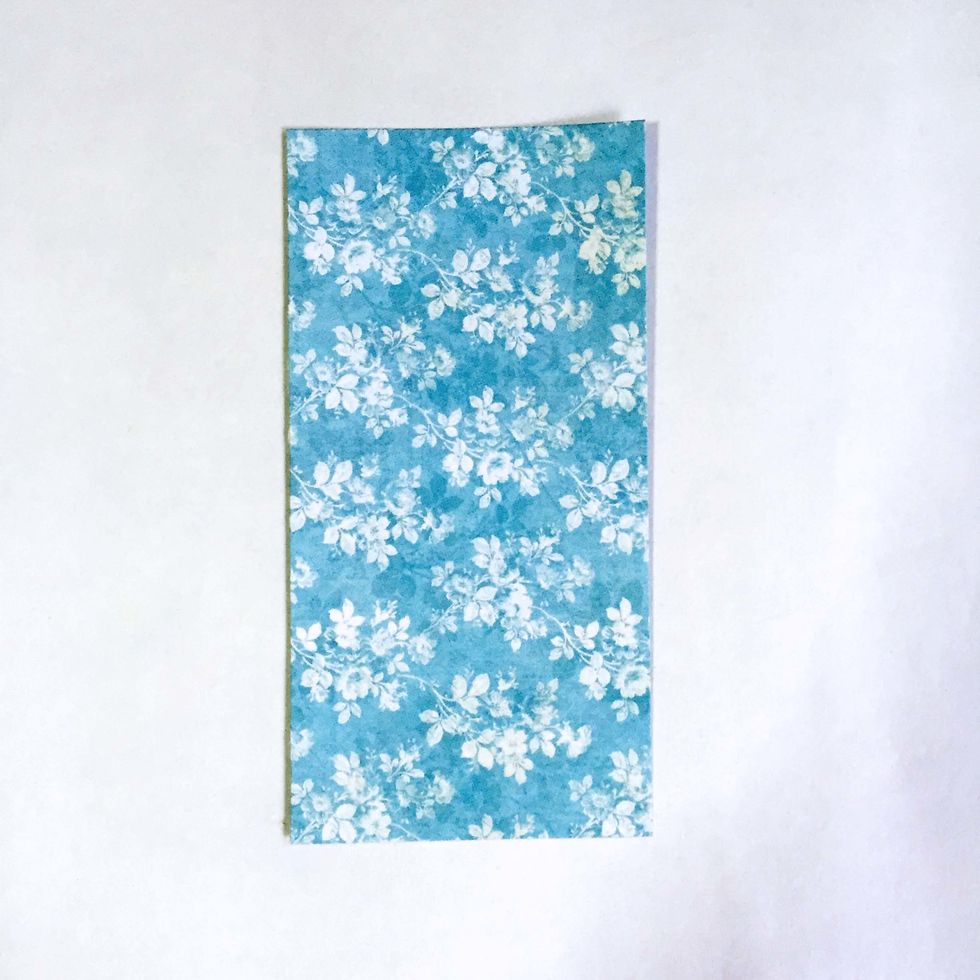
Choose a pattern paper of choice, cut a 2.5" x 5" rectangle.
Score and fold 0.5" from both sides as shown.
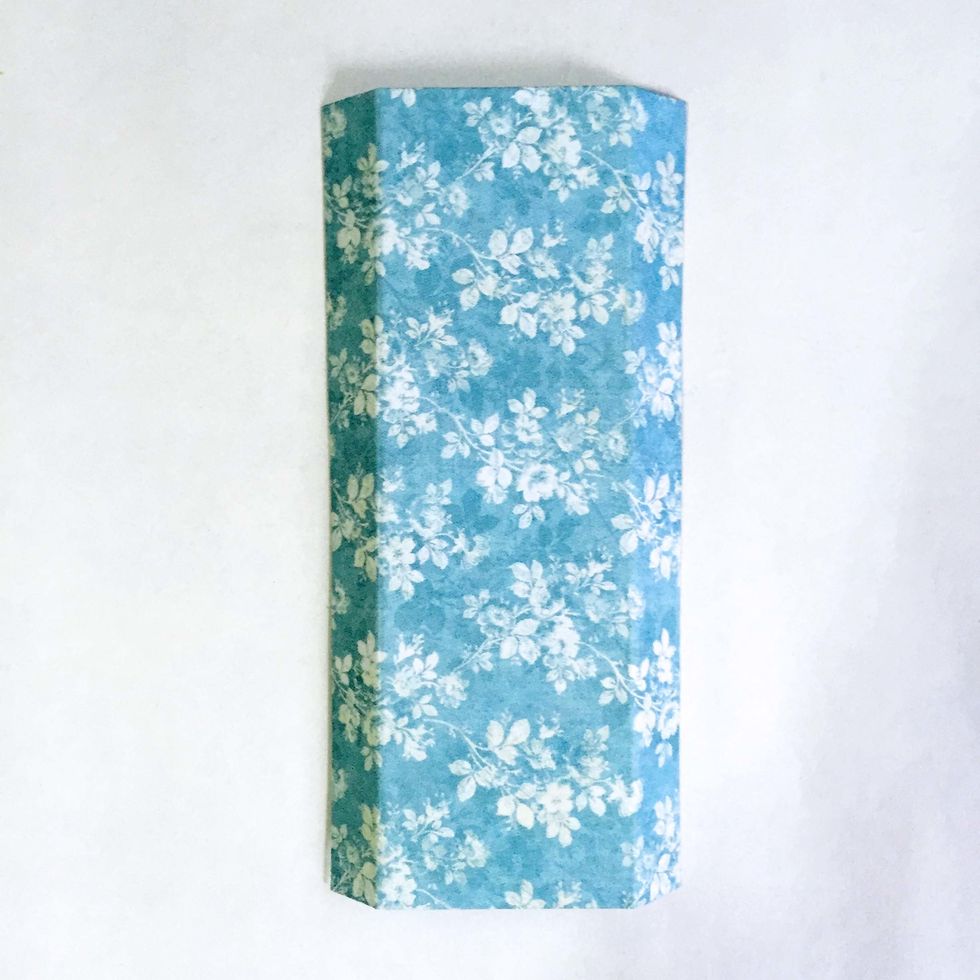
Apply glue onto the base of the tags.
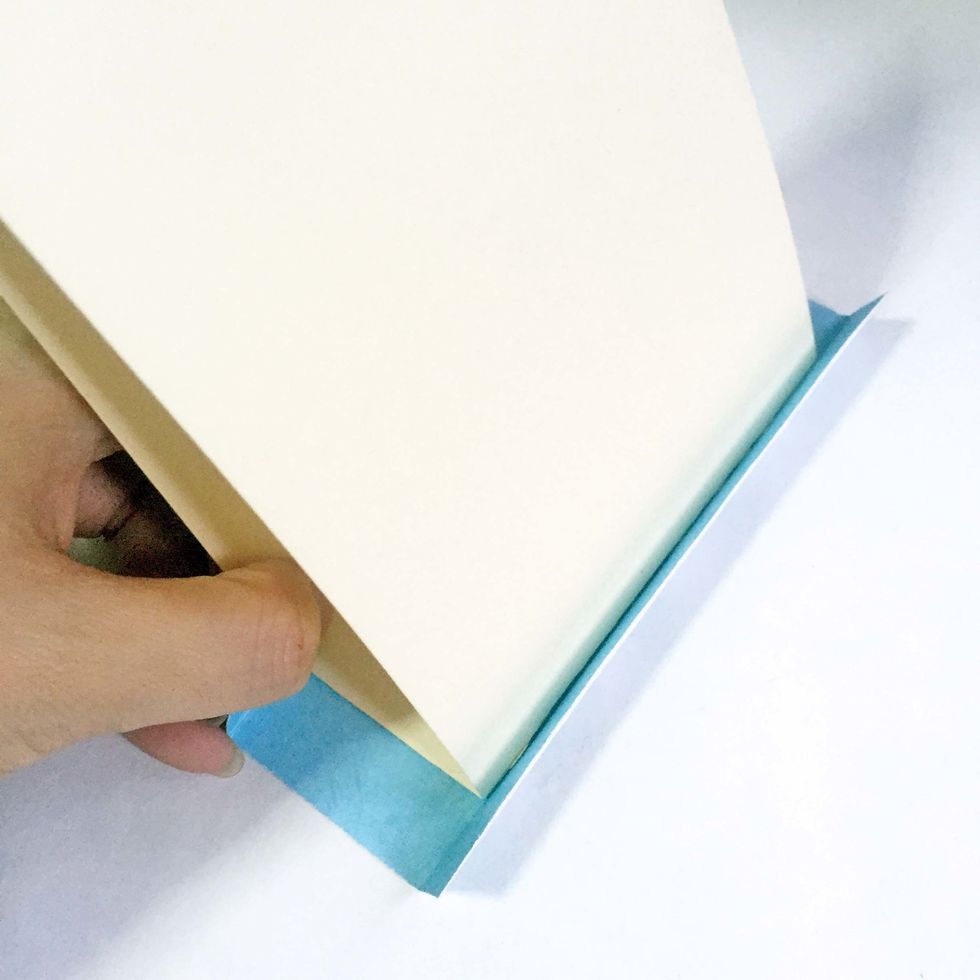
Centralize and glue down the base onto the pattern paper you've prepared in Step 8. Some space should be left on both ends of the tags. Adjust when necessary.
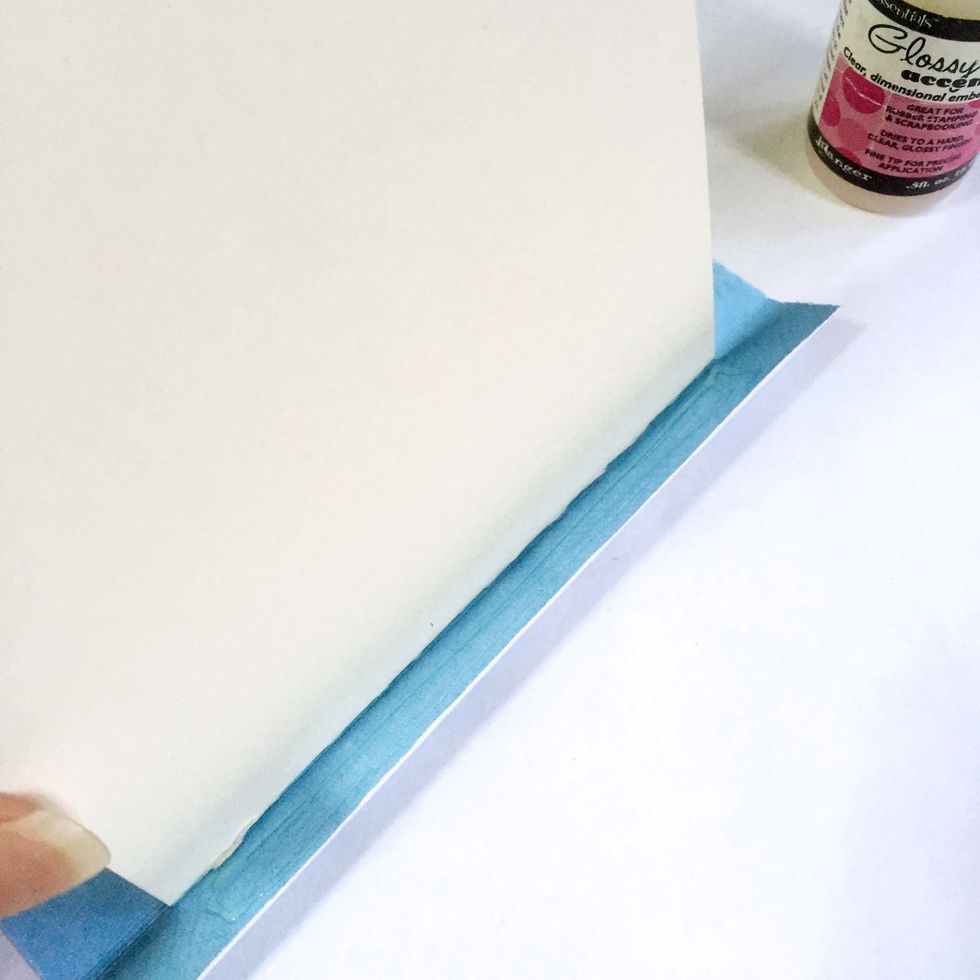
Apply glue onto the 0.5" flap of the pattern paper.
Glue over the surface of the tag as shown. Repeat on the other side of the tag.
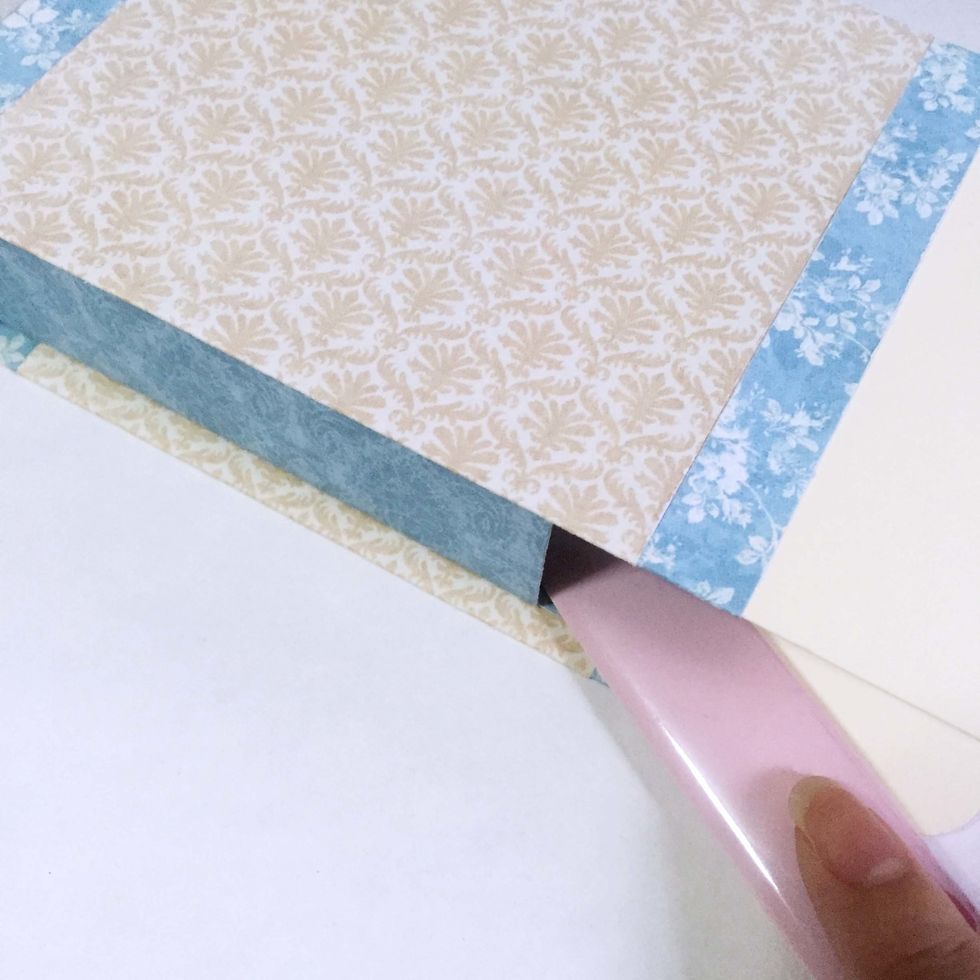
Cut tabs on the inside of the pattern paper as shown.
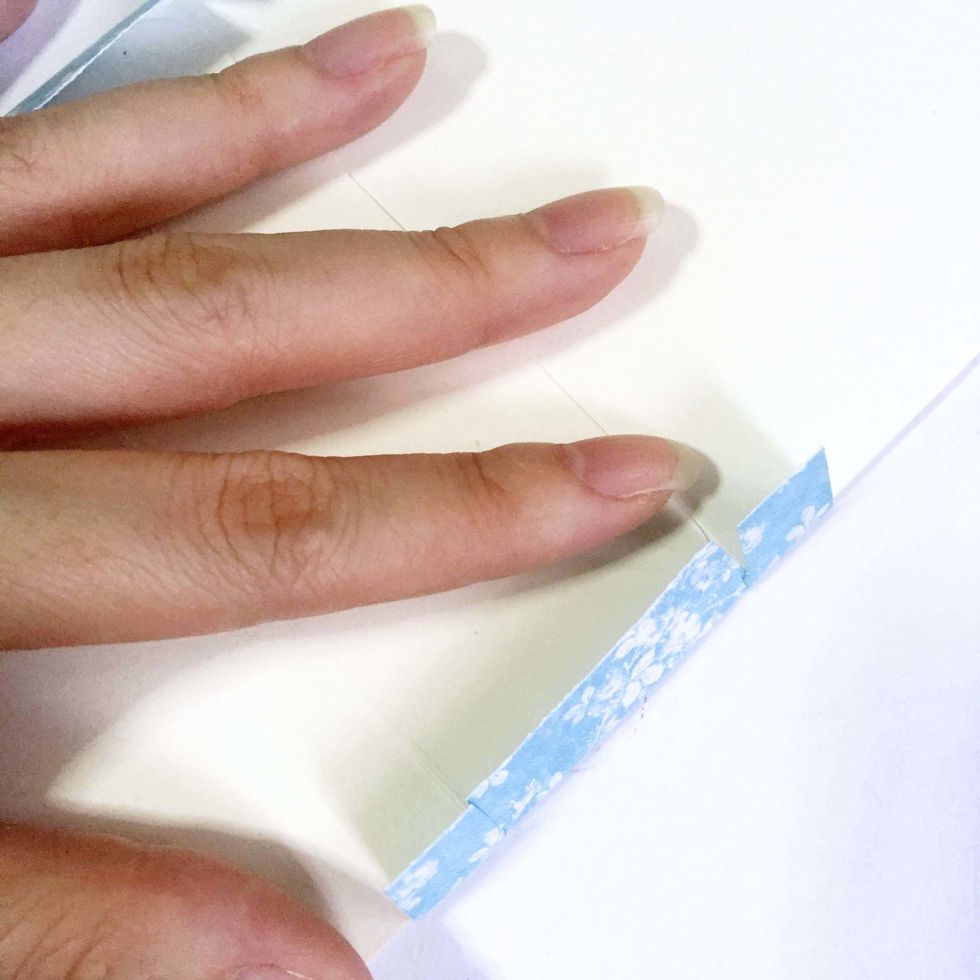
Fold in and apply glue.

Glue down the tabs on both end on the inside of the base. Fold and adjust when necessary.
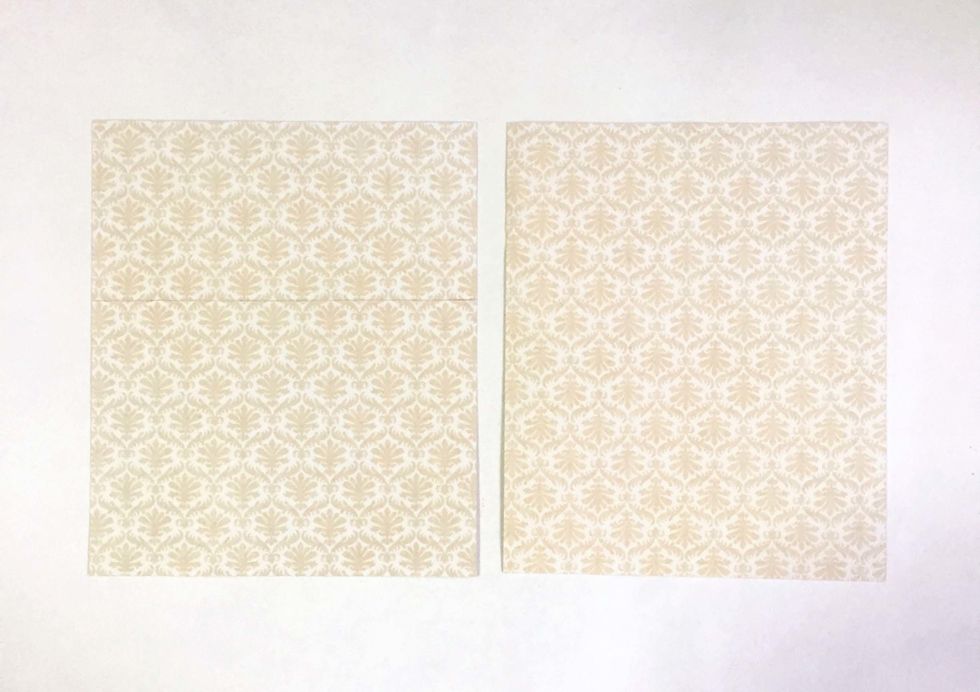
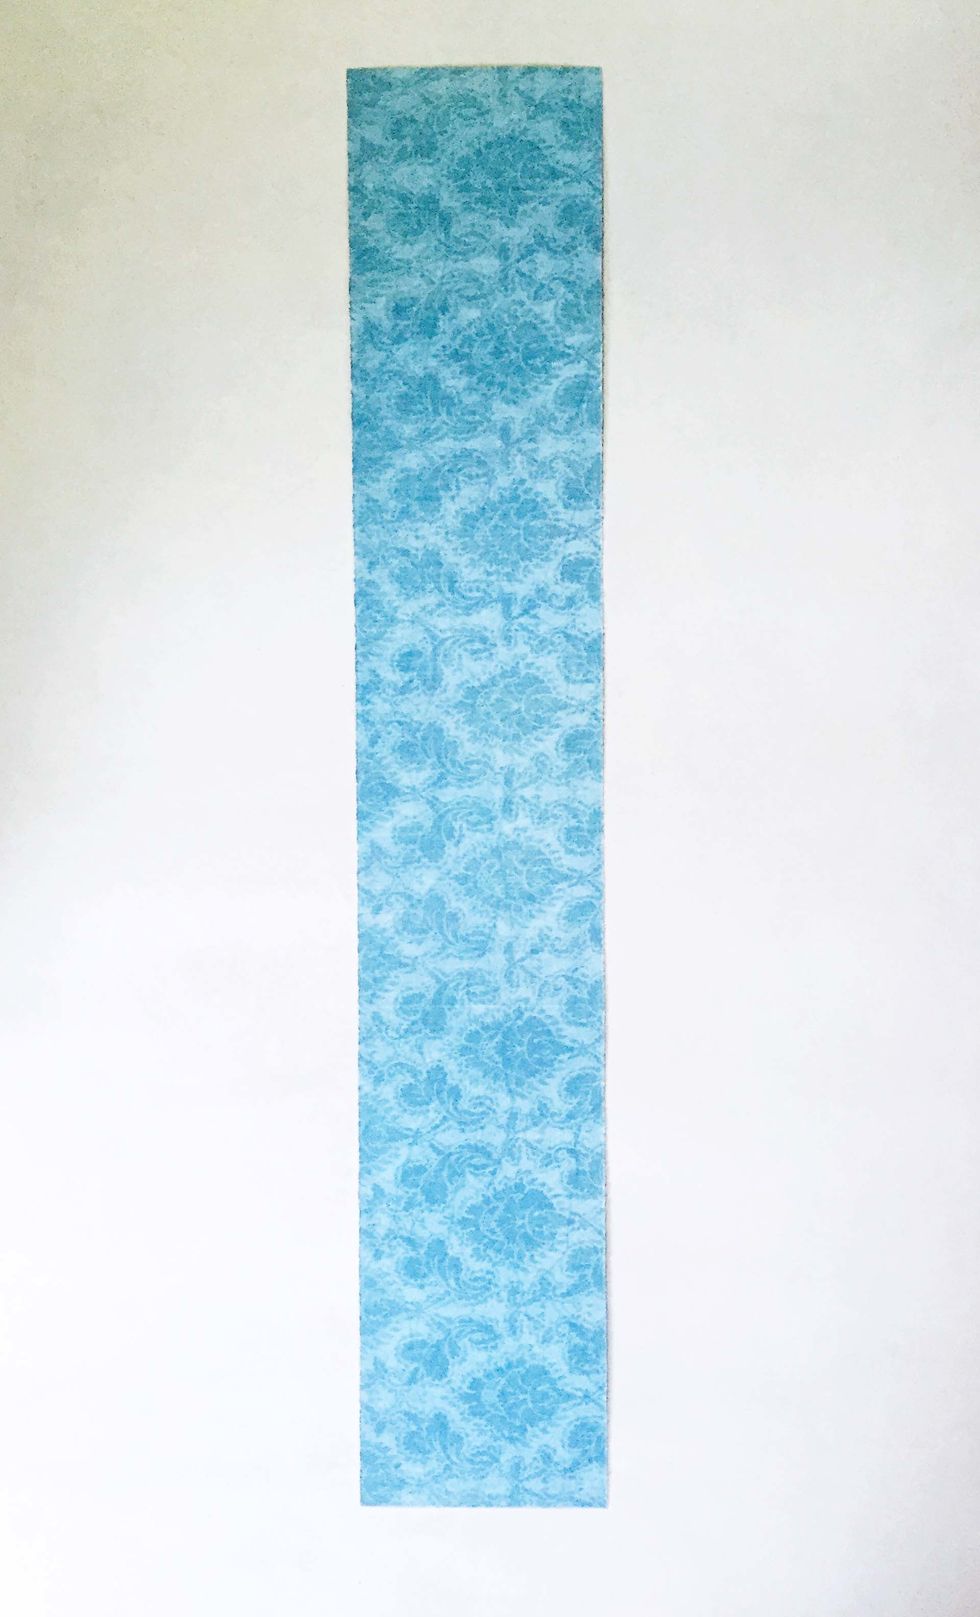
Choose a pattern paper of choice, cut 2 pieces of 3.5" x 5".
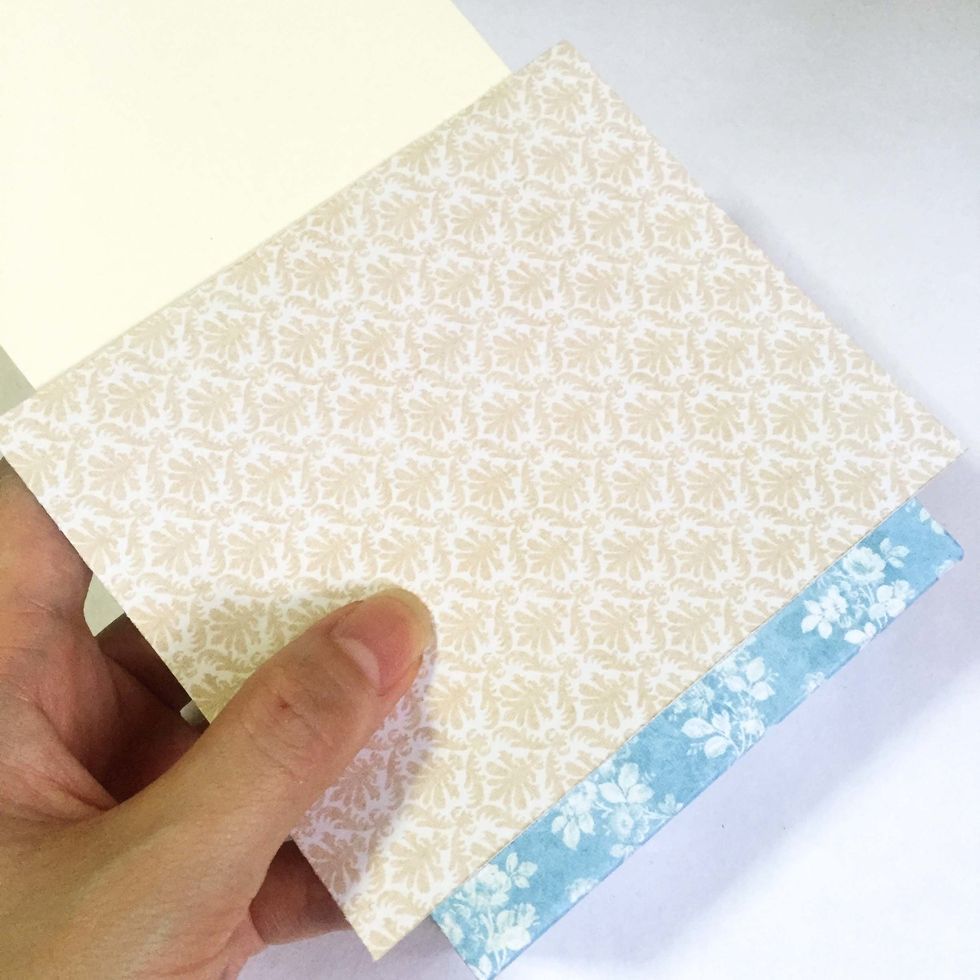
Centralize and glue down the pattern paper onto the exterior surface of the tag. Repeat on the other side.
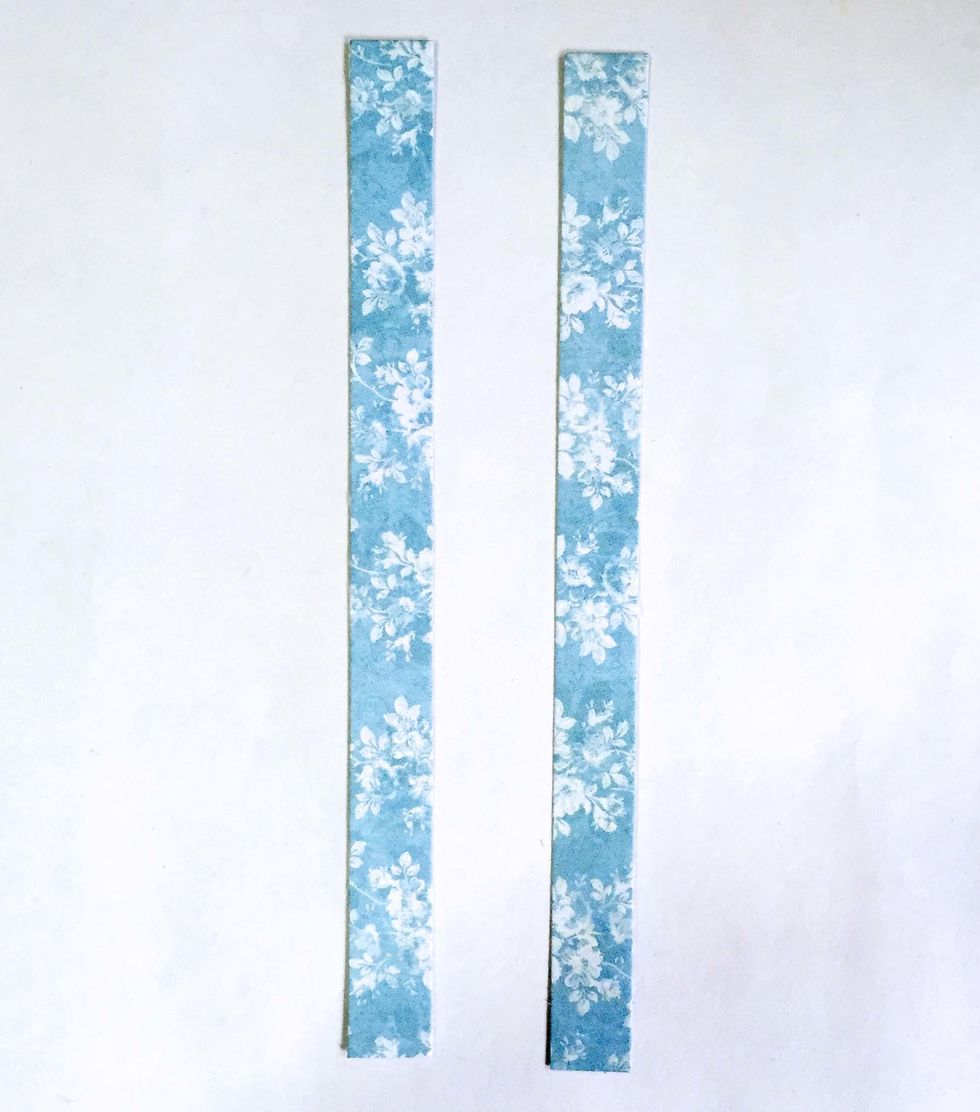
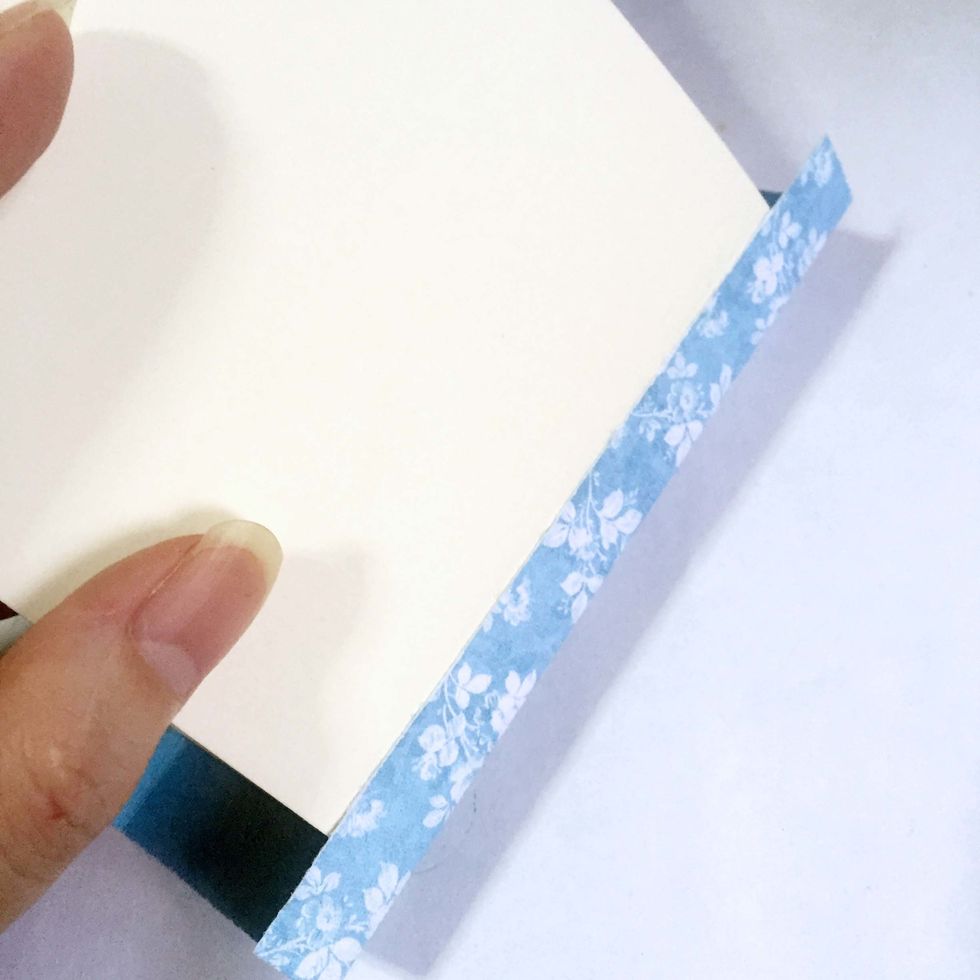
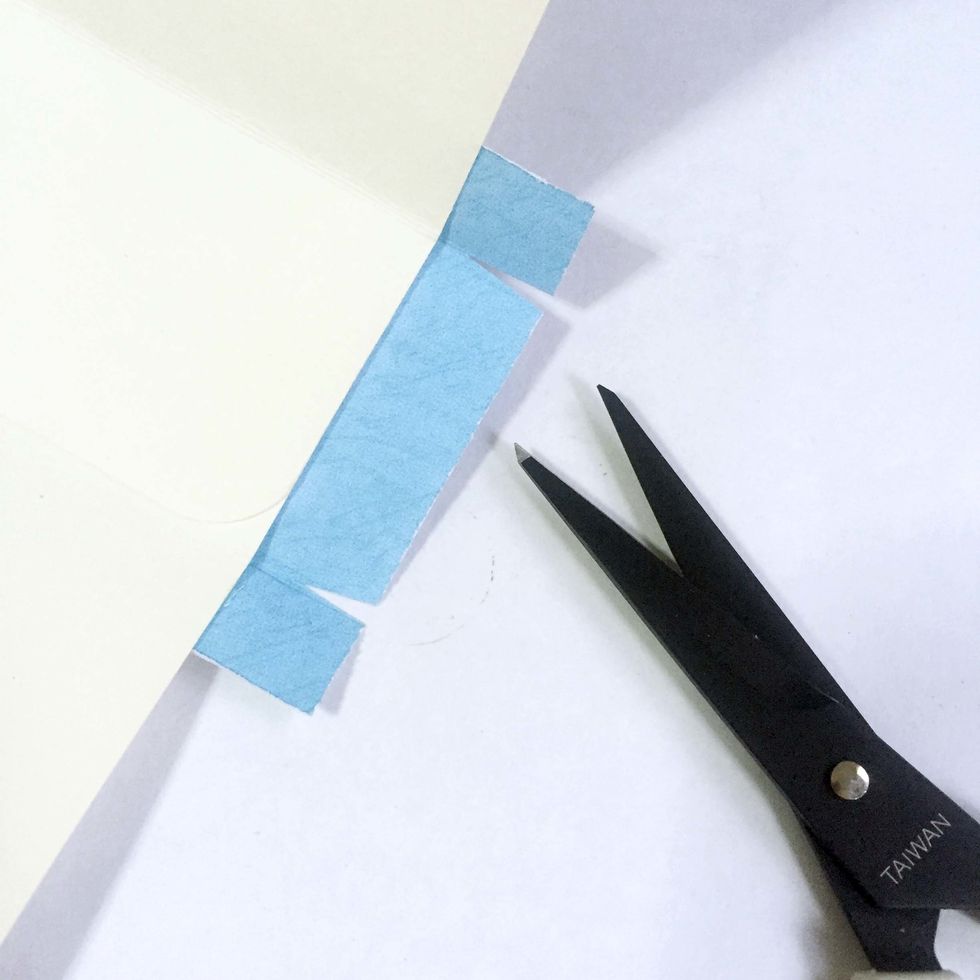
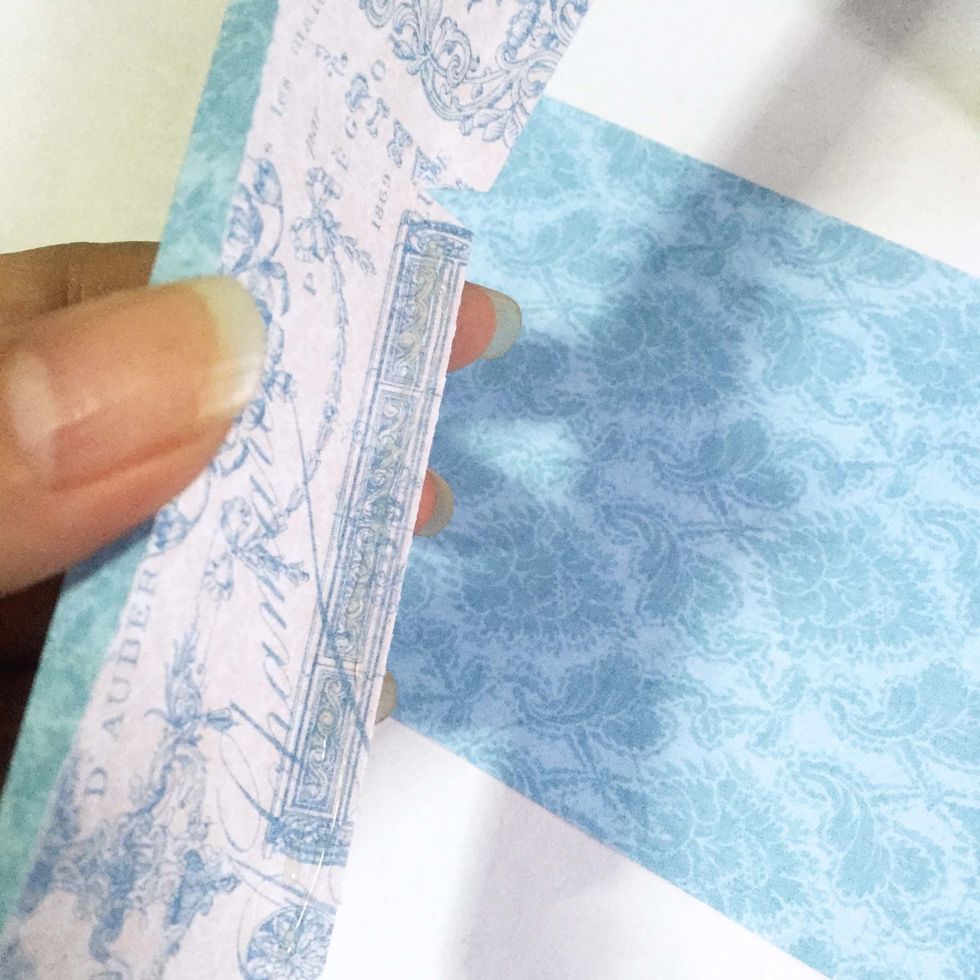
Using the same patter paper of choice from Step 7, cut 2 strips of 0.5".
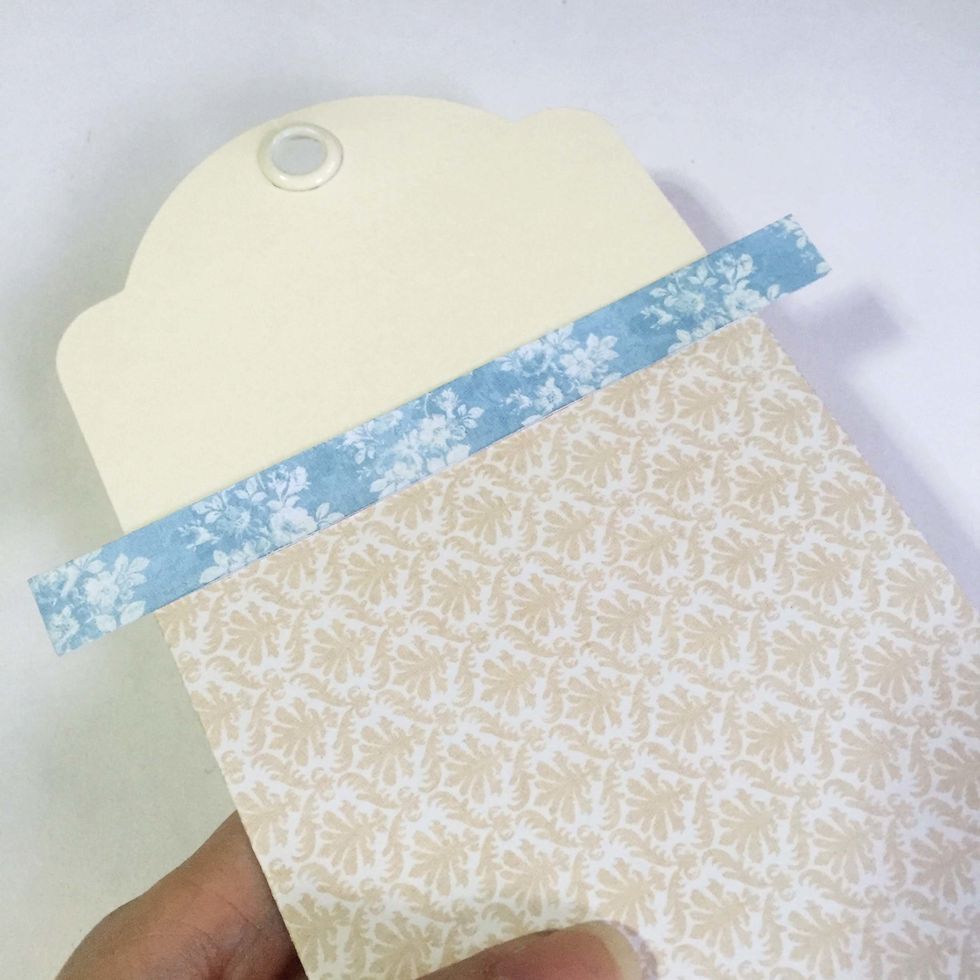
Glue on top of the tags as shown.
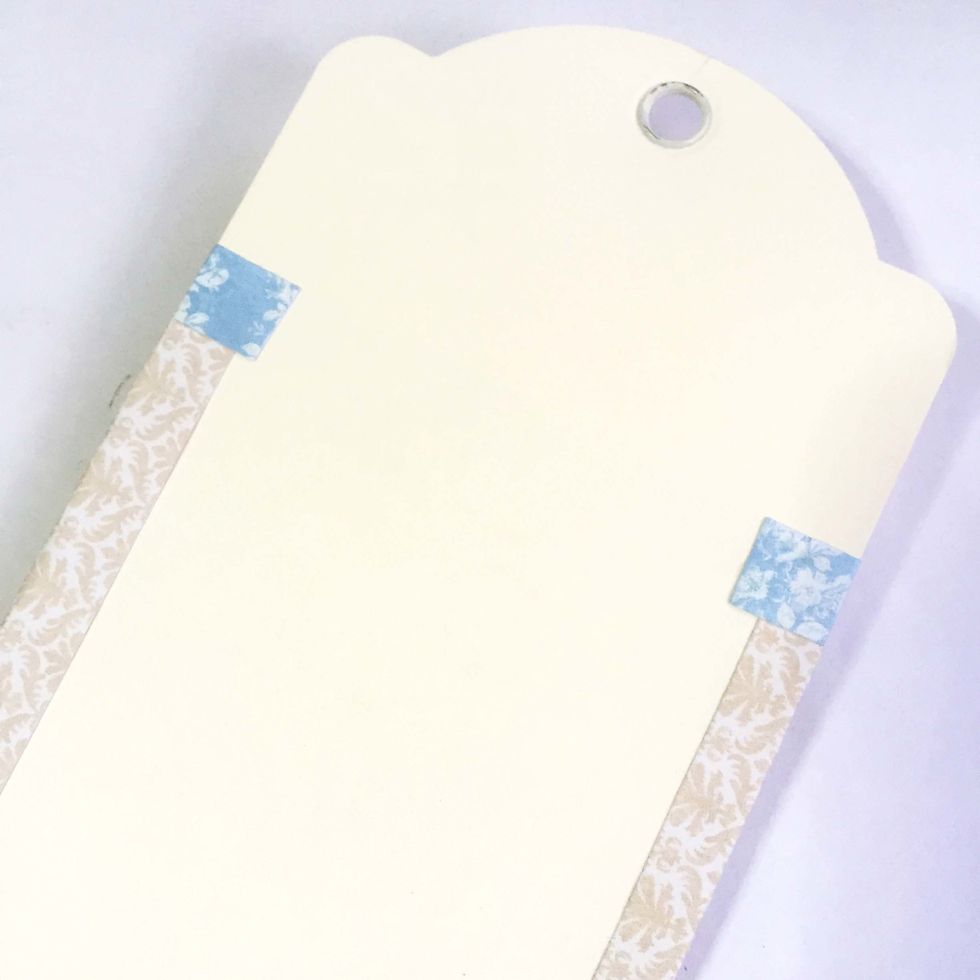
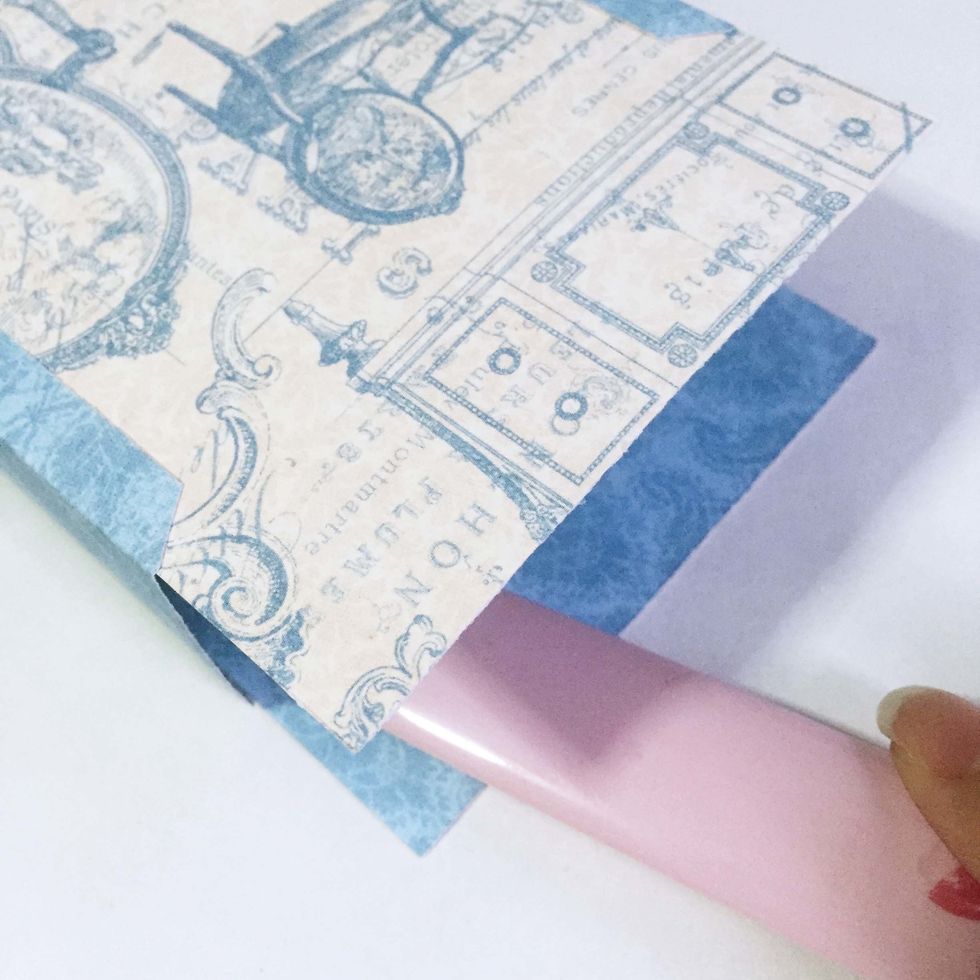
Fold and glue over the flagging tabs onto the interior of the tags. This will give a more polish look on the edges.
Choose a 12" x 12" pattern paper of choice, cut a 11.5" x 2" long rectangle.
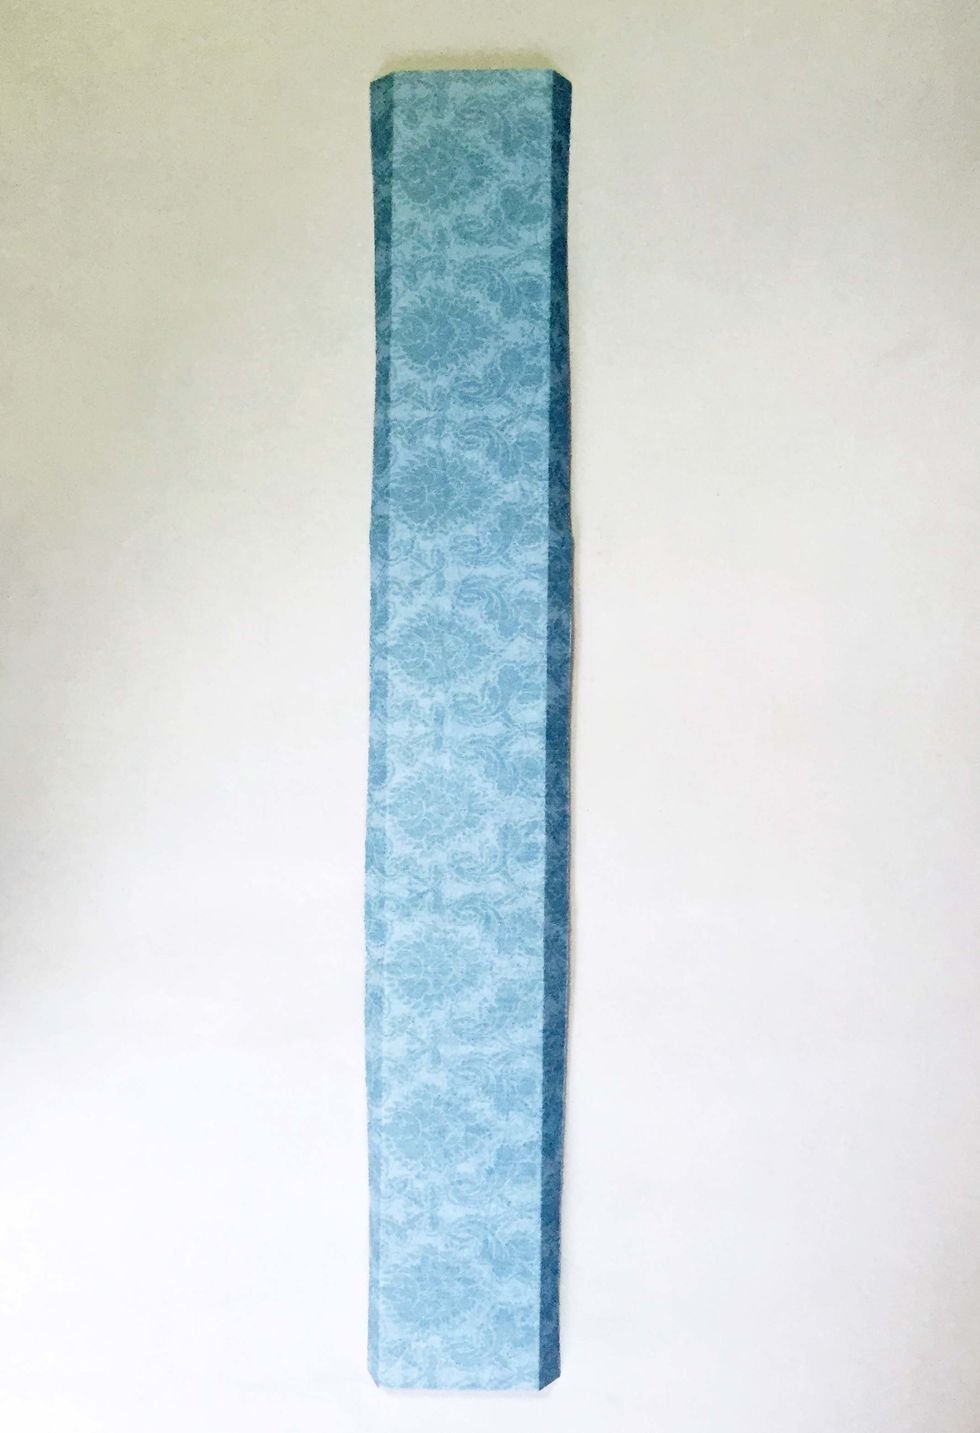
Score 0.25" on both sides and fold inwards.
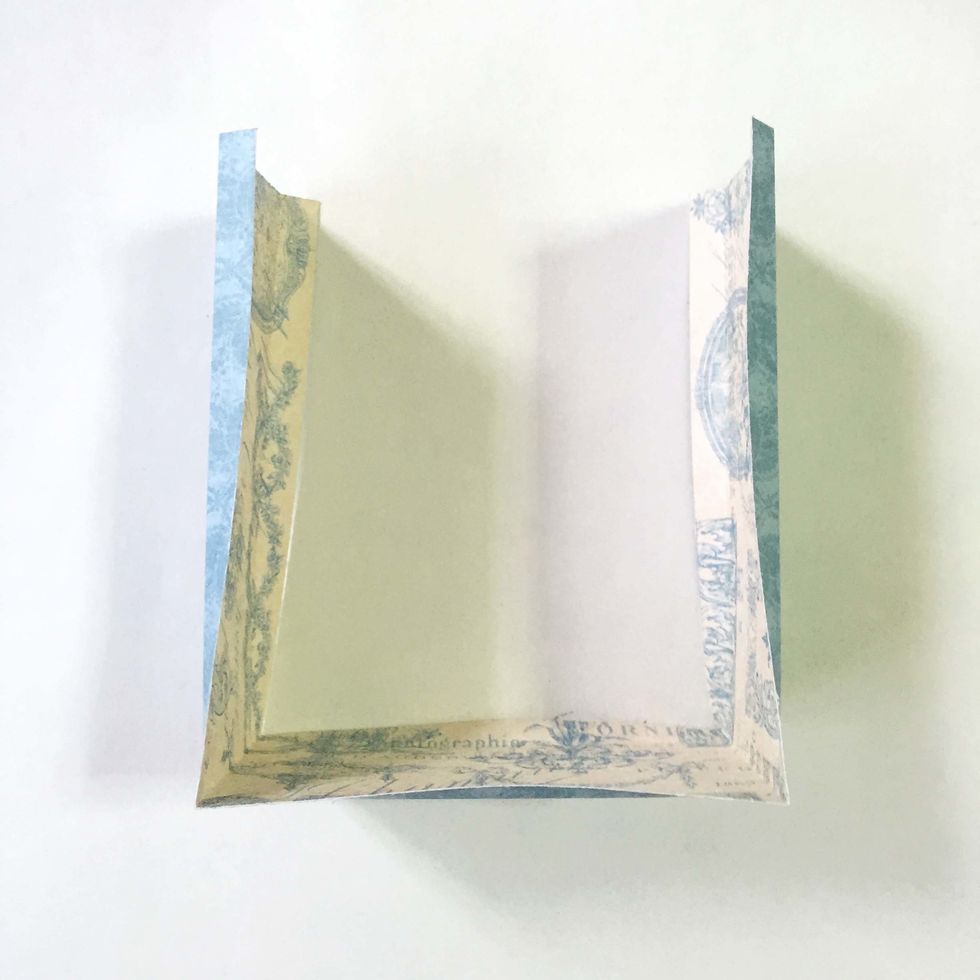
Turn around and score 4" on both ends of the rectangle paper. When fold, you will get this U-shape structure. This will be the attaching piece to connect the tags together.
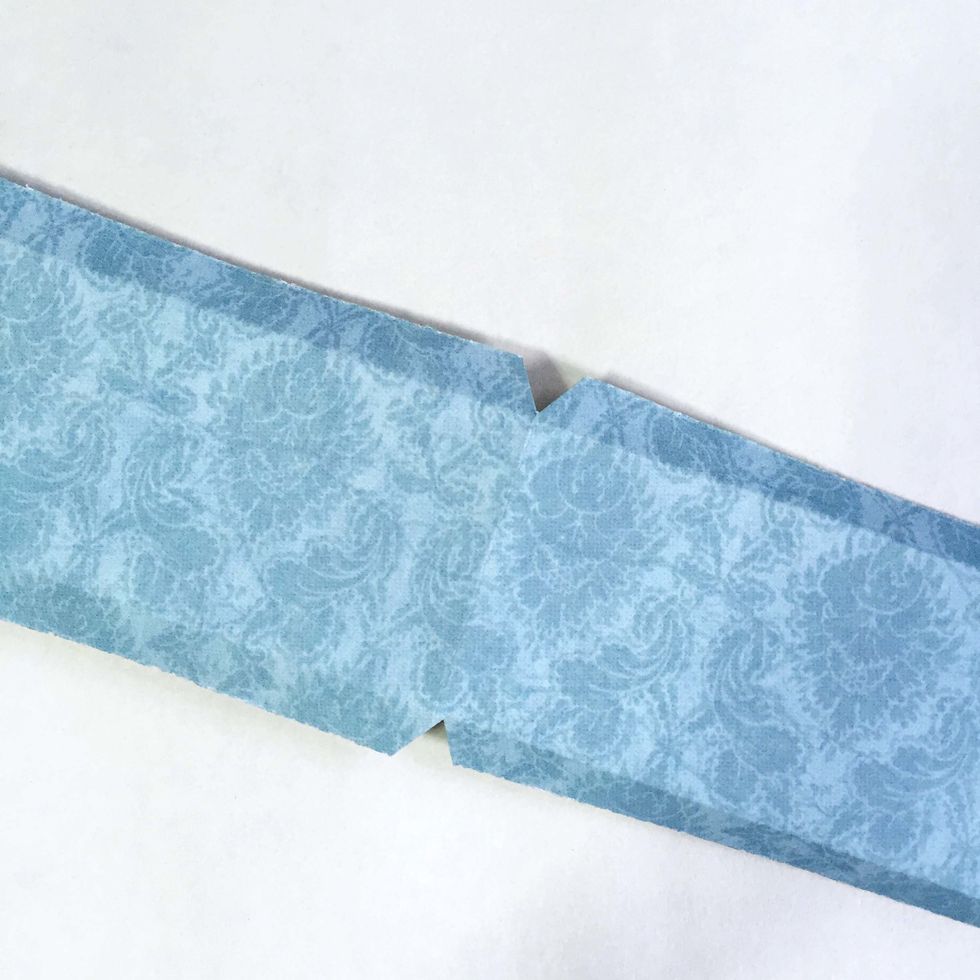
Cut Vs over at the folded area on the tabs as shown.
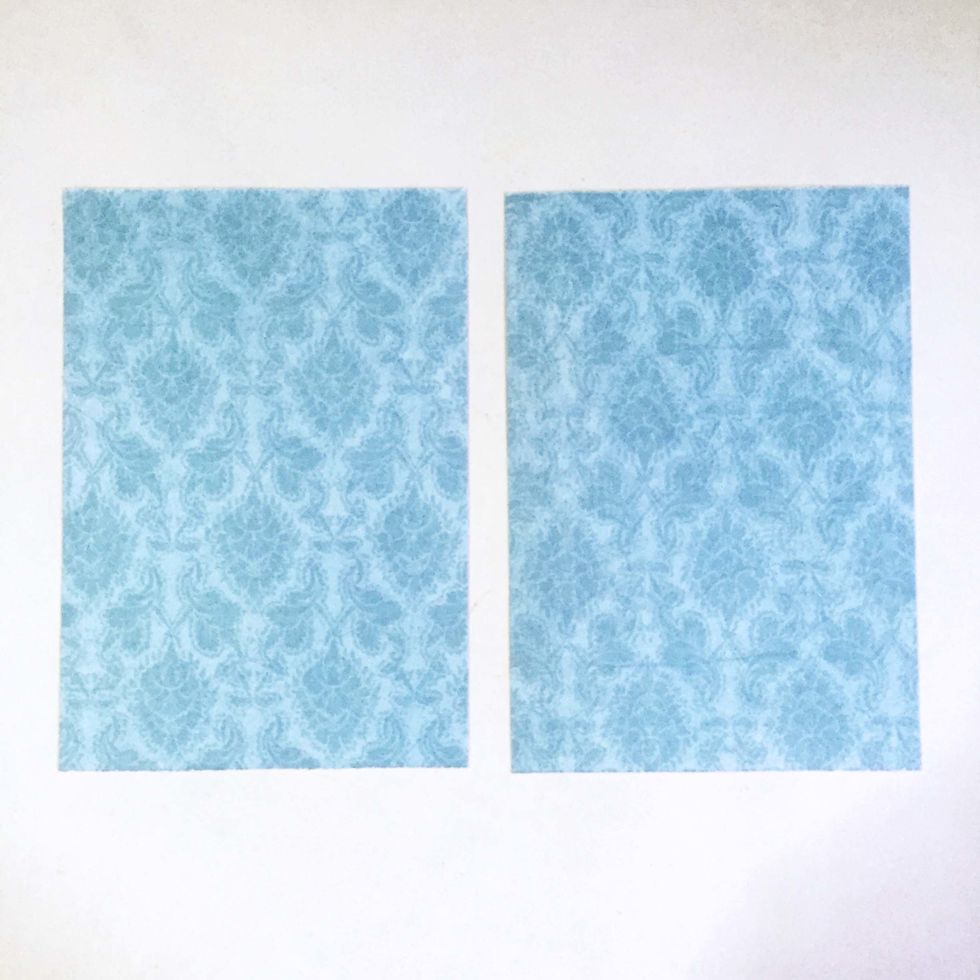
Using the same pattern paper (or any of your preferred choice), cut 2 pieces of 4" x 3.5".
Apply glue on the center tab of the U-shape structure (from Step 23) as shown.

Position and glue the patter paper you've cut from Step 25 as shown.
Apply glue on the side tab as shown.
Glue under the pattern paper as shown. Repeat on the other side.
Repeat Step 27 - 29 for the other sheet of pattern paper. Once you've glued over the tabs, this is how it looks like from the back.
Use a bone folder, gently burnish to adhere the papers onto the tabs. This will be the completed attaching piece for the tags.
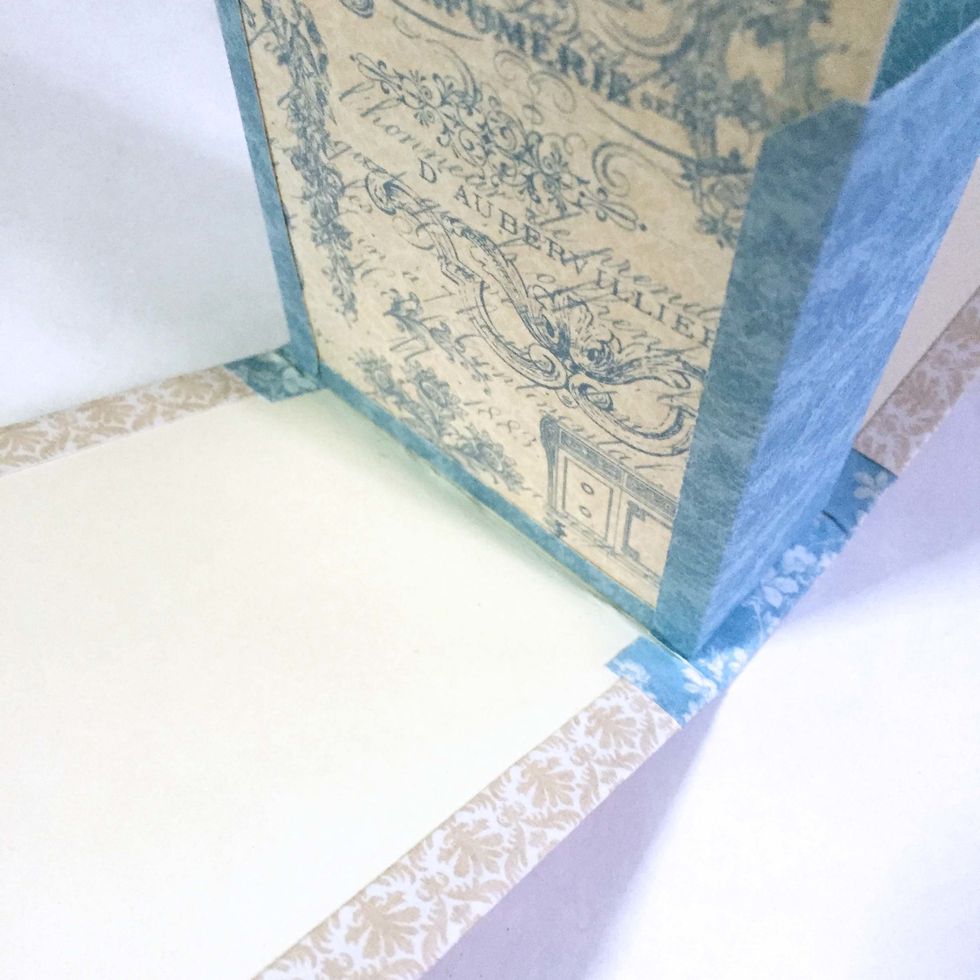
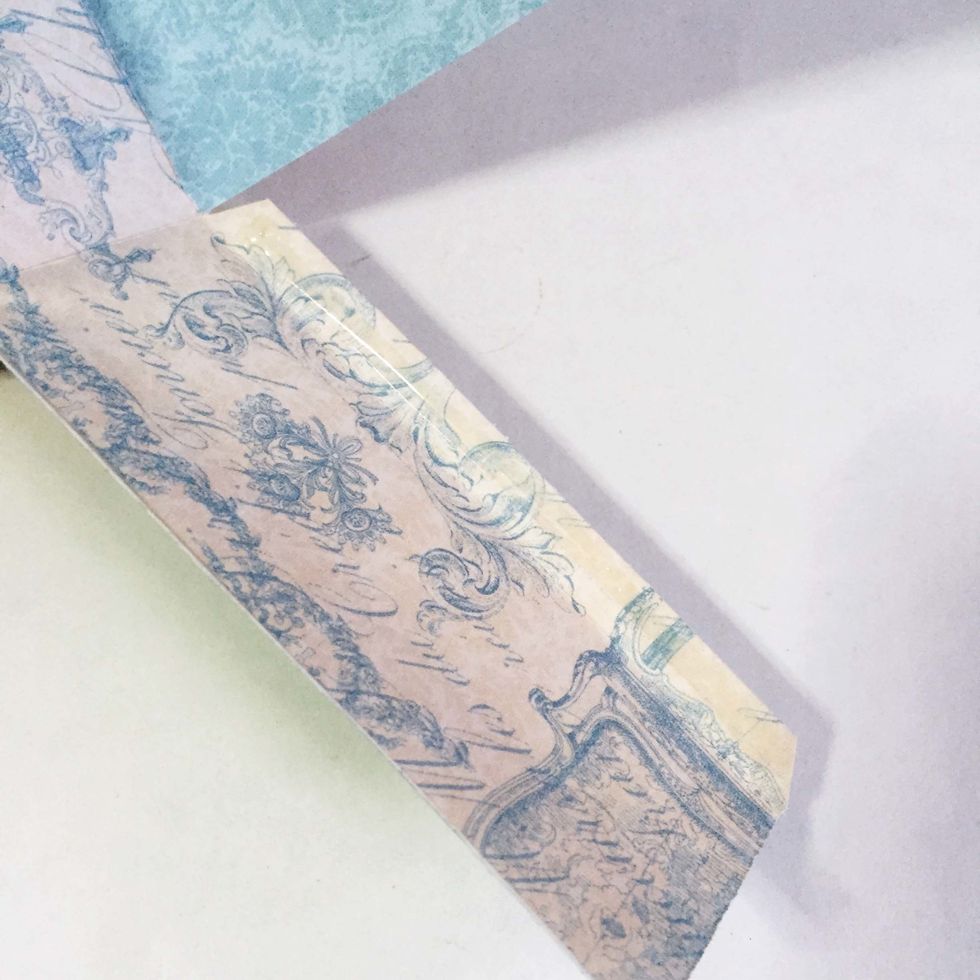
Centralize and glue down the attaching piece as shown.
Apply glue on one side and glue down onto one side of the tags. Adjust when necessary.
Glue over the other tag. Adjust when necessary.
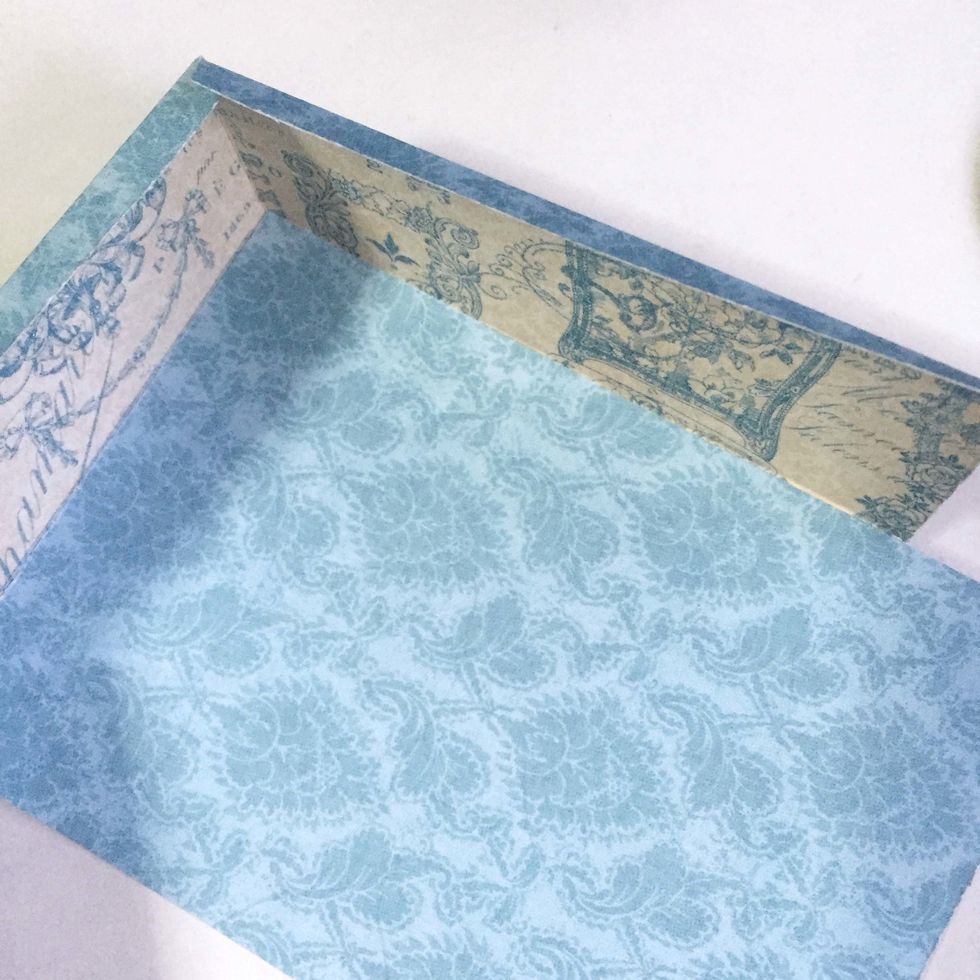
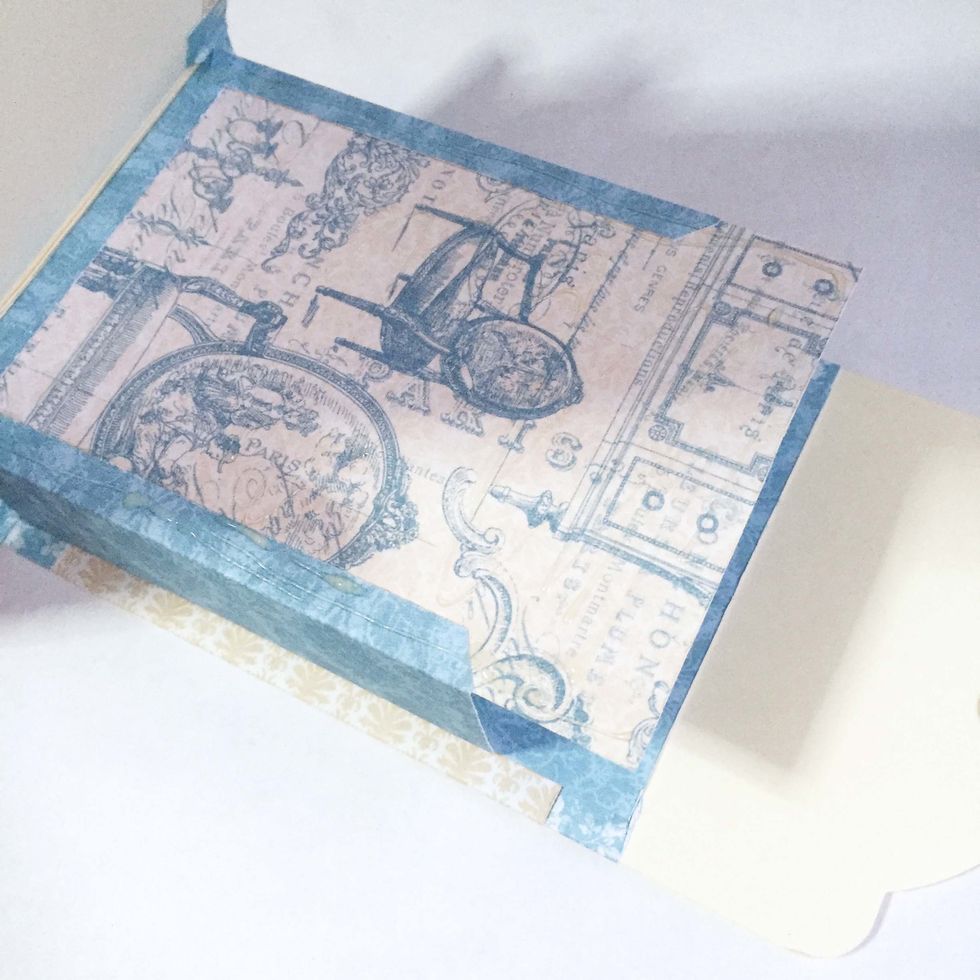
Using a bone folder, gently burnish the interior of the box to ensure the surfaces are well-stick together.
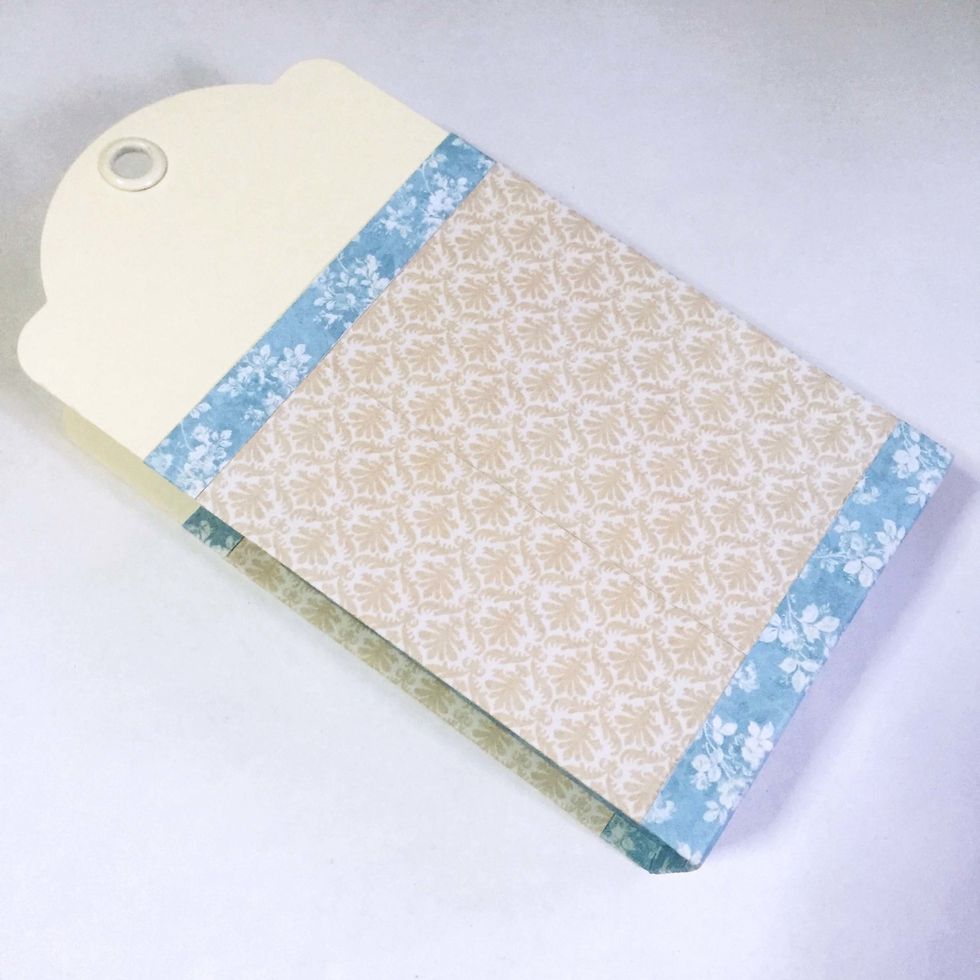
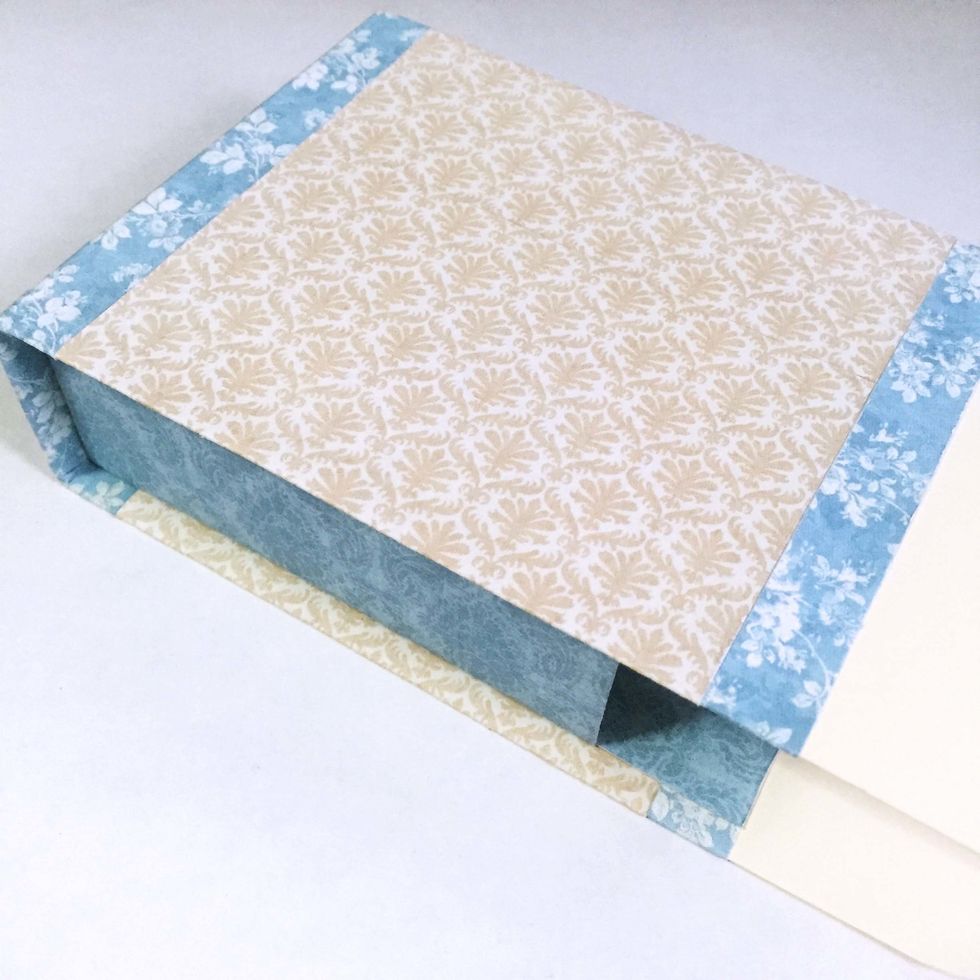
And you are done with the gift box, ready for embellishment.
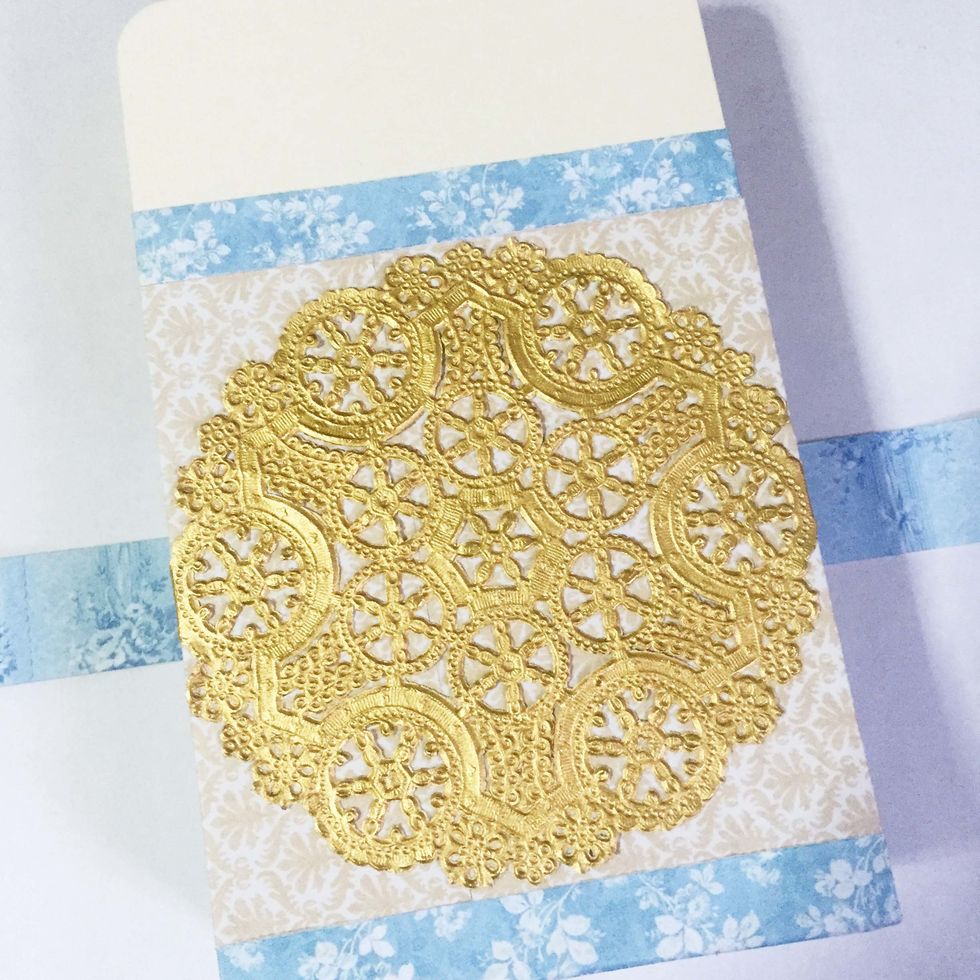
To give the gift box a more classic polish look, center the box with a 4" Medallion Gold Dolly.
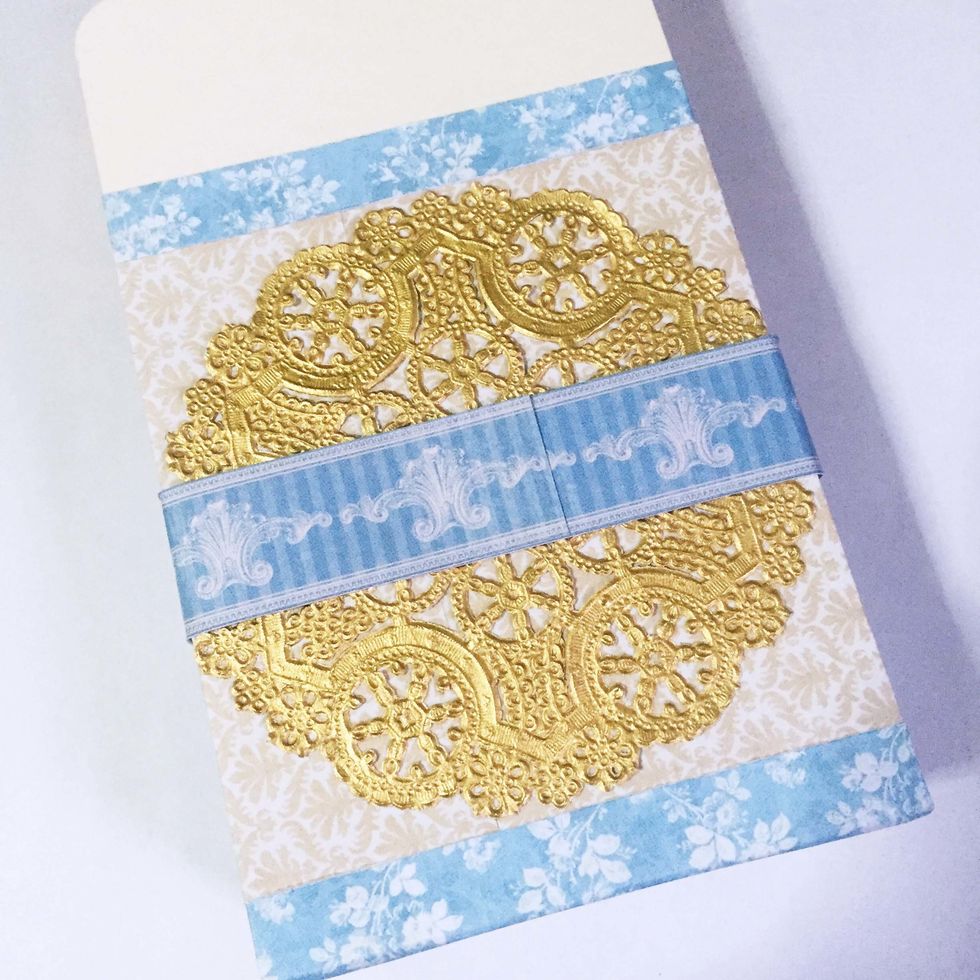
Surround the box with some pattern paper strips or ribbons if you'd like to.
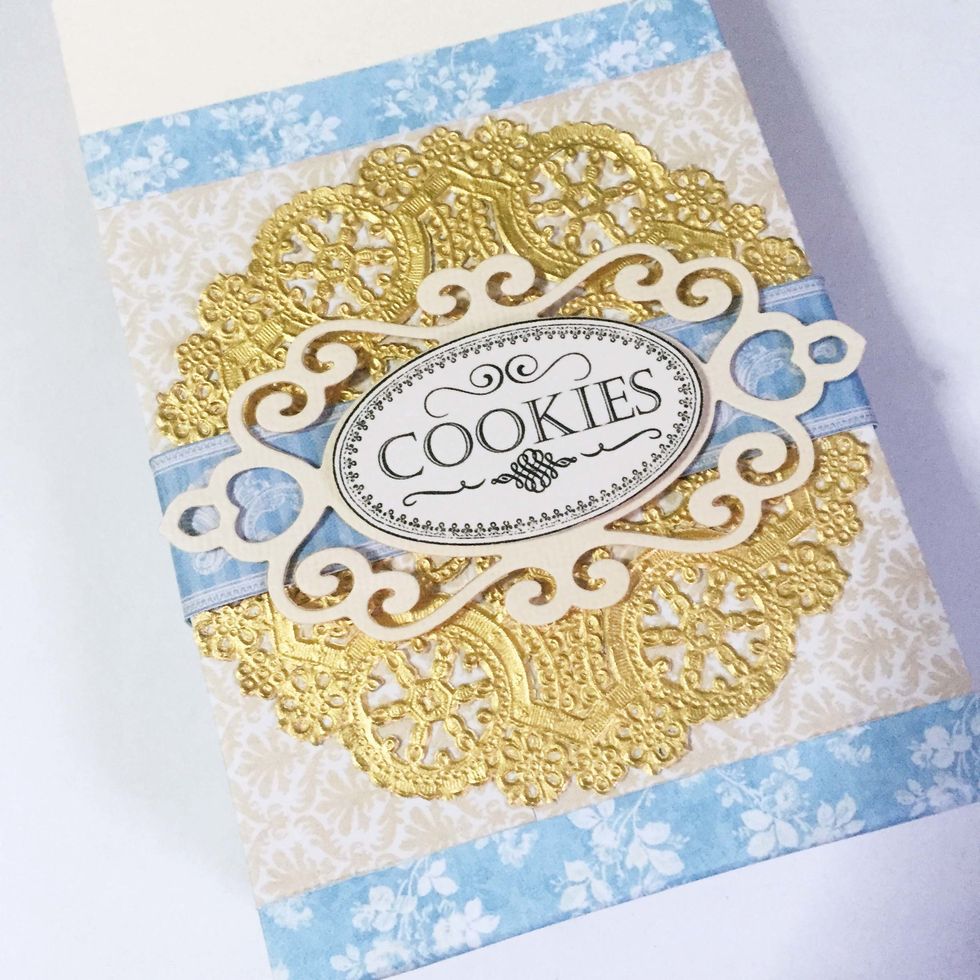
Die cut one of the oval tags from Spellbinders Fancy Tag 2 die set. Glue over the labels as shown. These labels are created by me and is available free to download here: https://goo.gl/HFp6W9
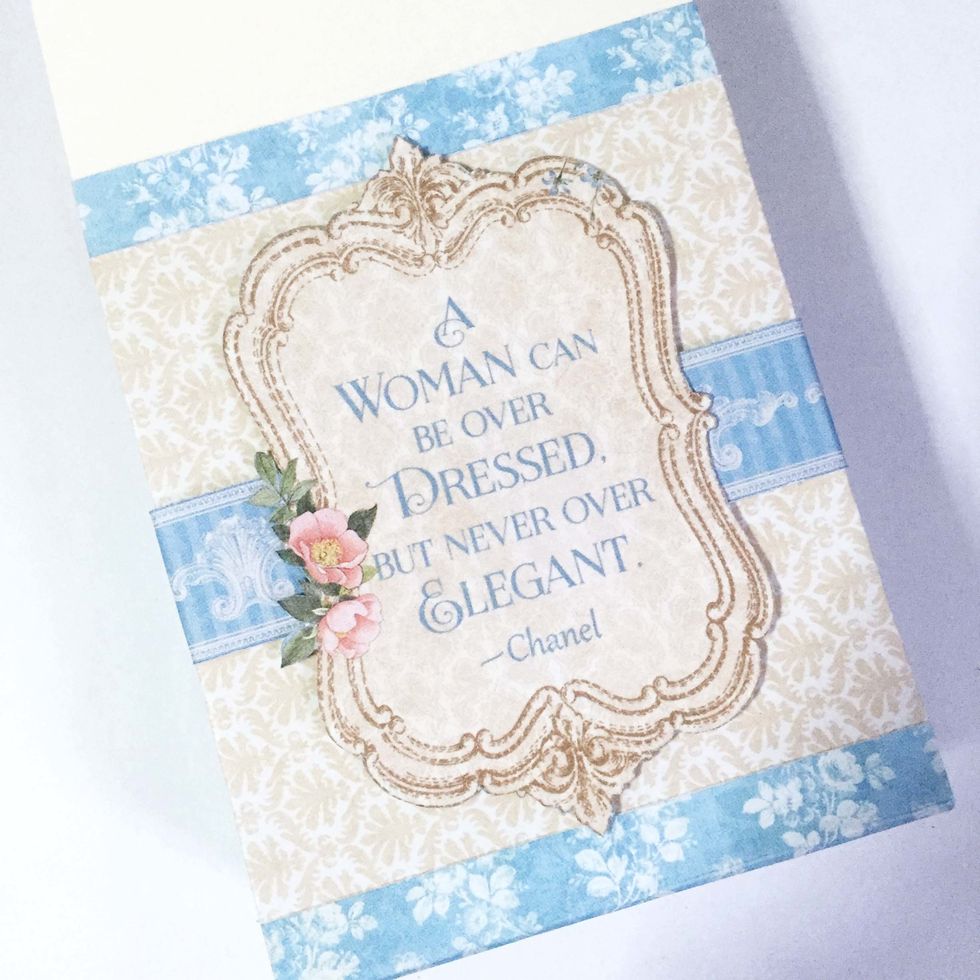
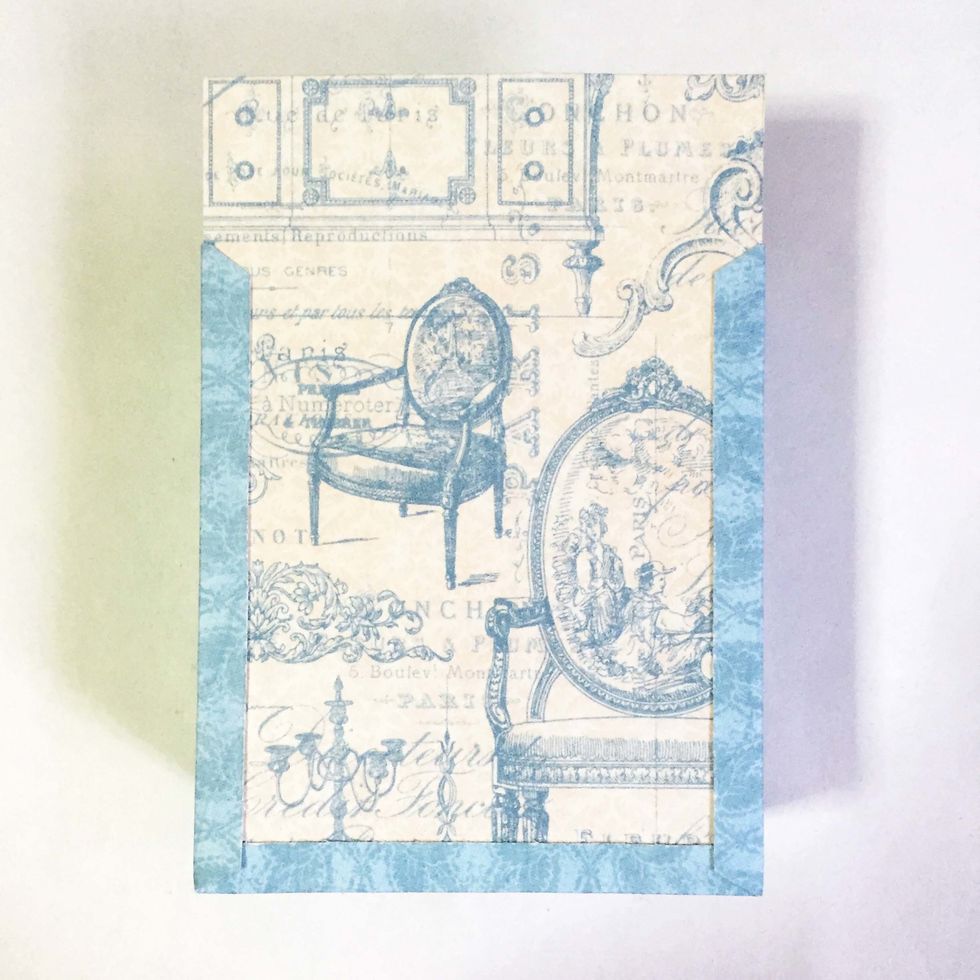
Fussy cut out a phrase of your choice (or any other images you preferred) and glue it over the back of the box.
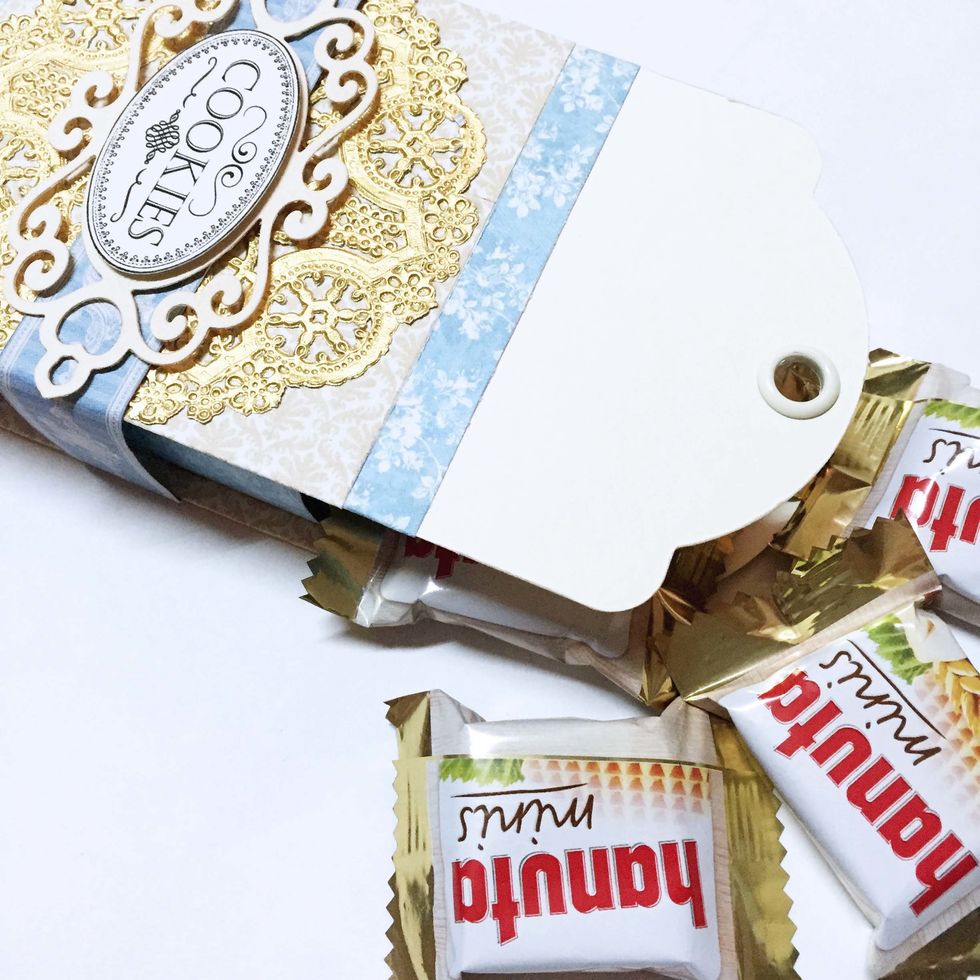
Add some sweet treats into the box.
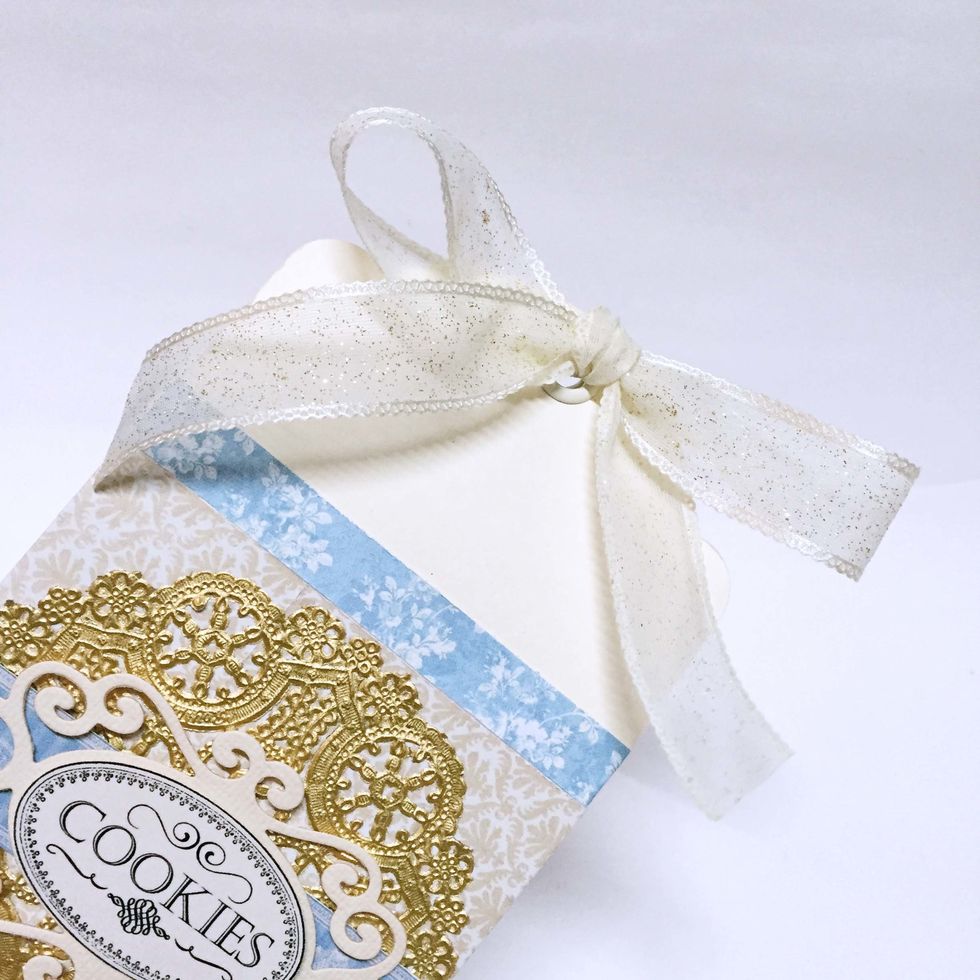
Secure the box by tying some ribbon over the grommets of the tags. This will complete the gift box.

If you'd like to, you might want to add some mulberry flowers to further embellished the gift box.
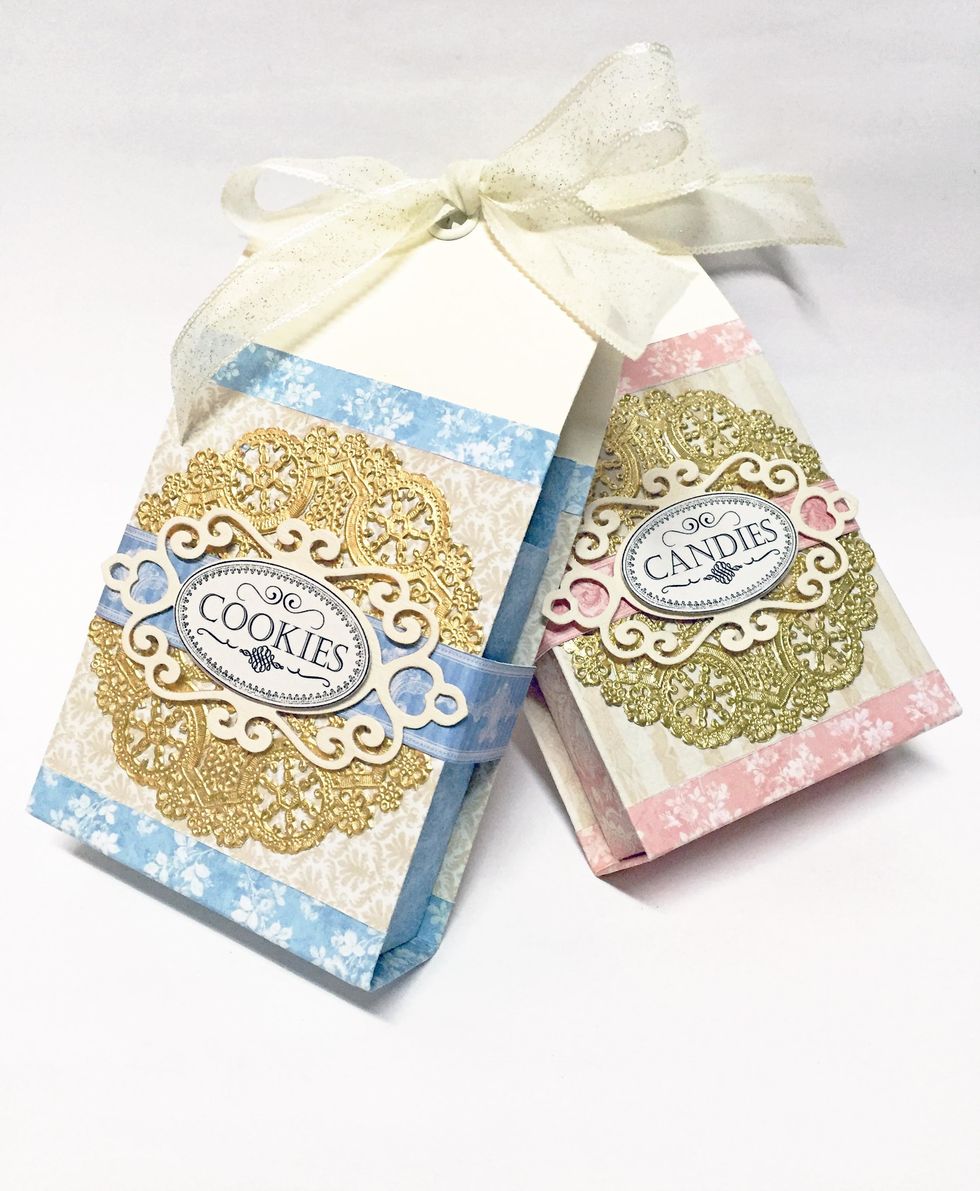
I've created 2 boxes - one for cookies and the other for candies. Have fun!!