STEPS
TOOLS
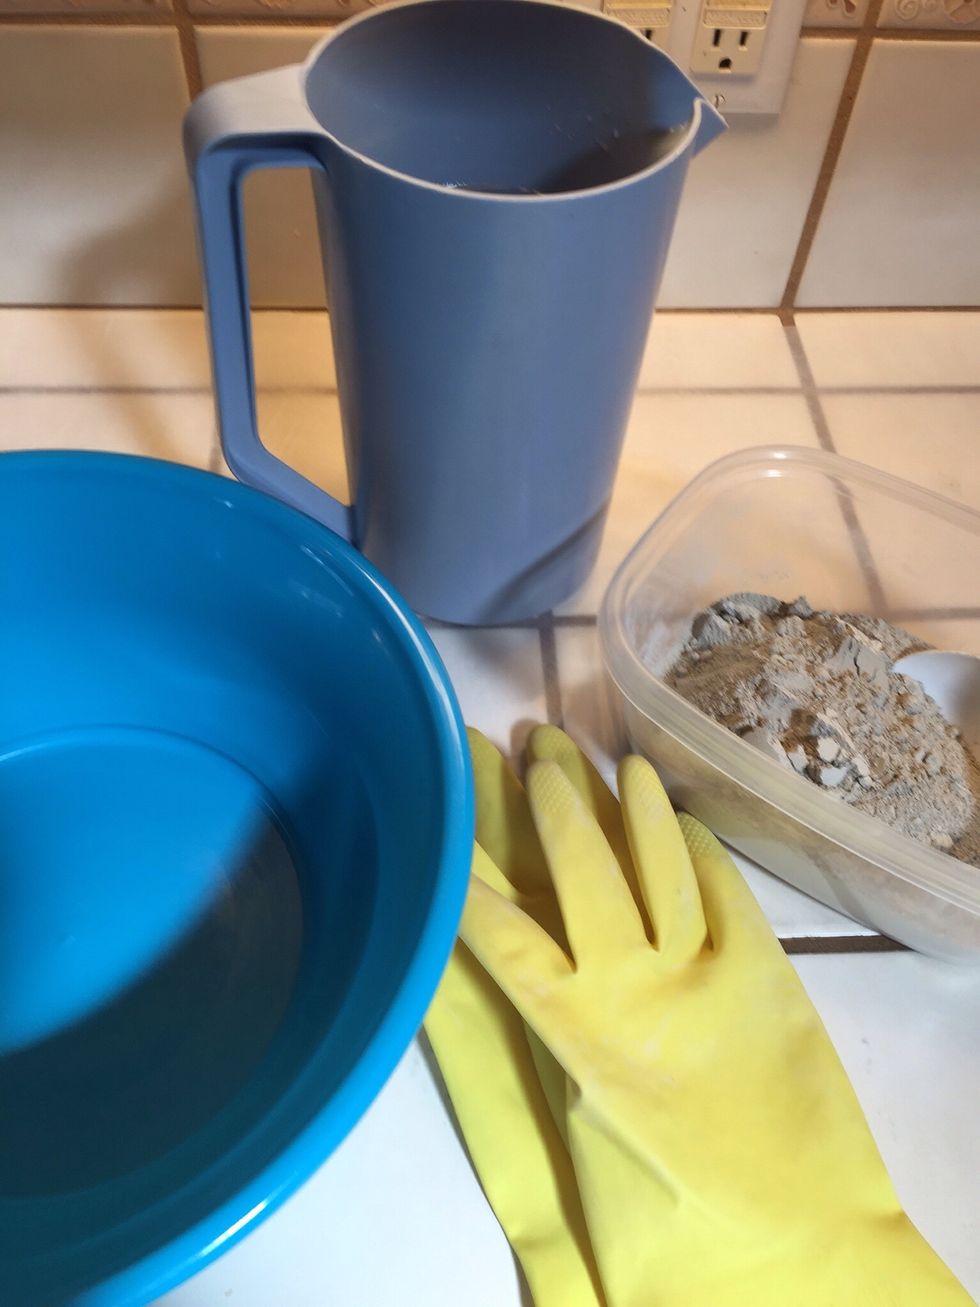
Gather supplies. Be sure to wear gloves, they are essential to keeping your hands well cared for.
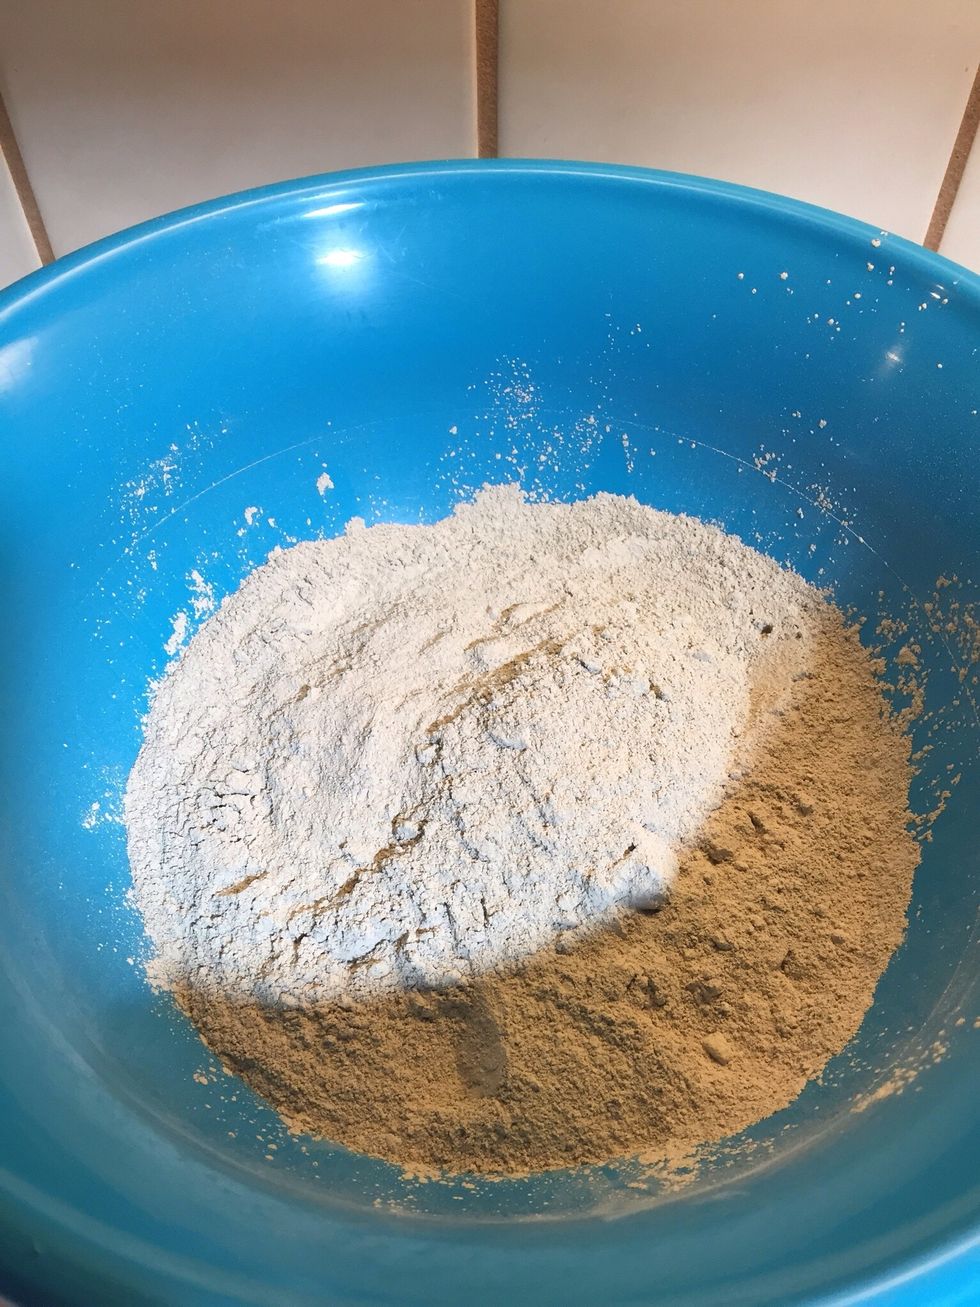
For the stems; Add dry cement into bowl. I did not measure, I just counted scoops. I used fast setting concrete, & it sets up quickly, so I made small batches. I made five stems at a time.
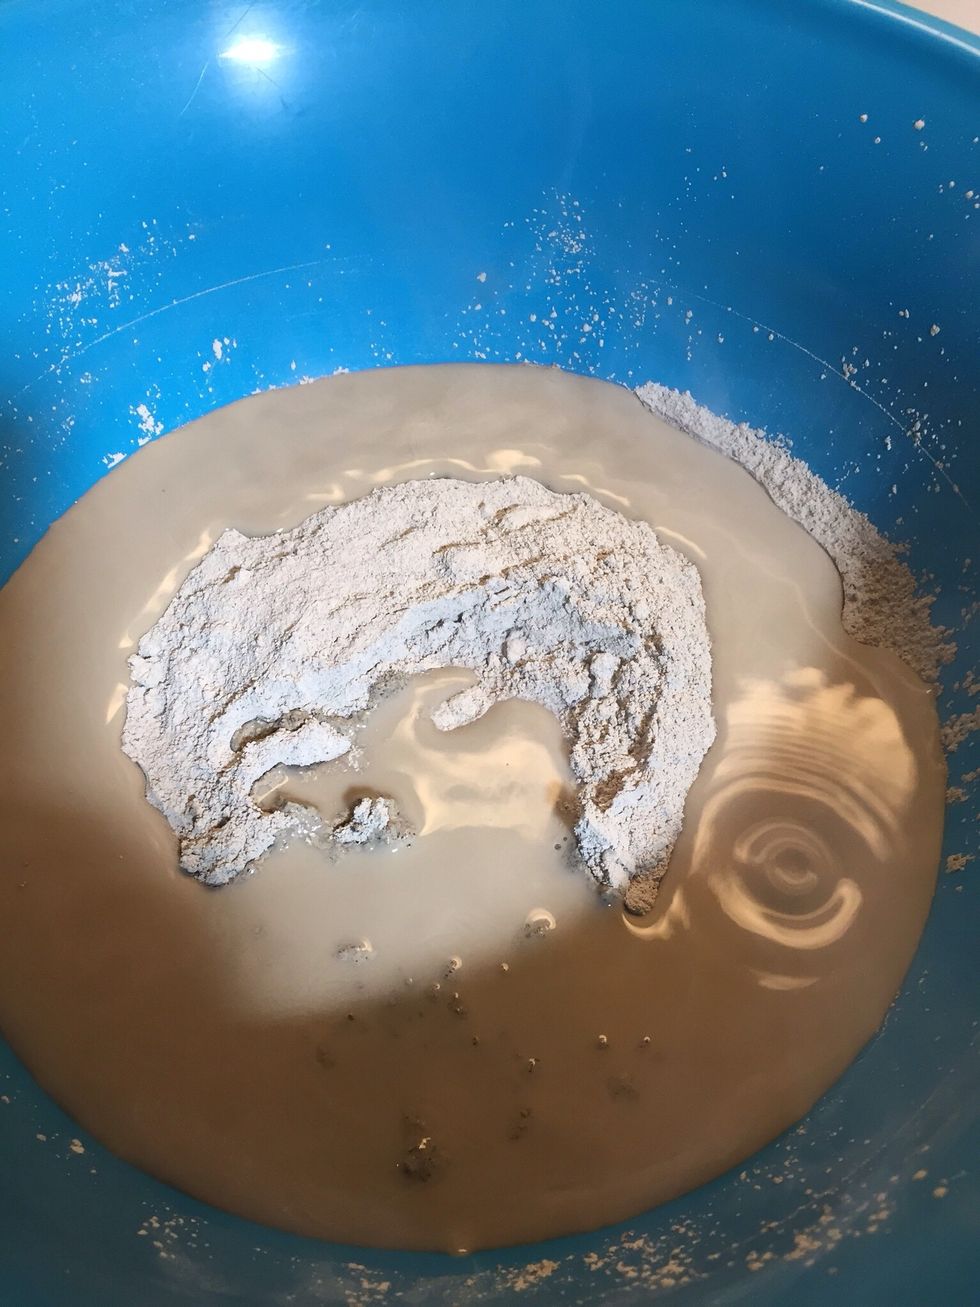
Slowly add water to dry cement. Again, I did not measure, little by little. You want the consistency of thick thick sand, just a bit wet, not too slushy.

Again, this is quick set, so you have to move quickly. Mix cement and water together.
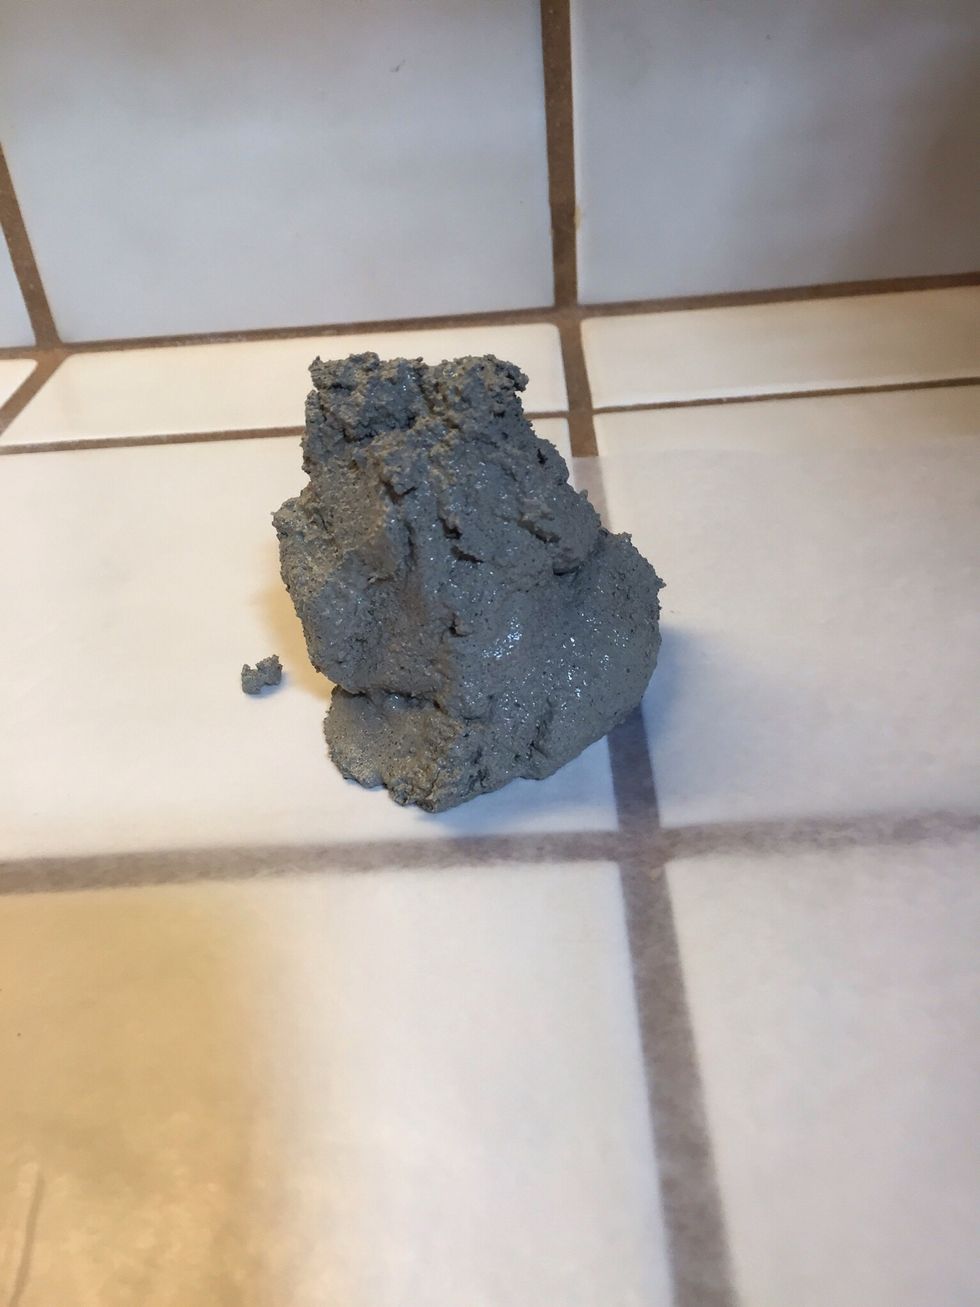
Drop piles onto wax paper. After you've emptied bowl, then 'mold' your stem. Flat bottom, and somewhat to a point on the tip....
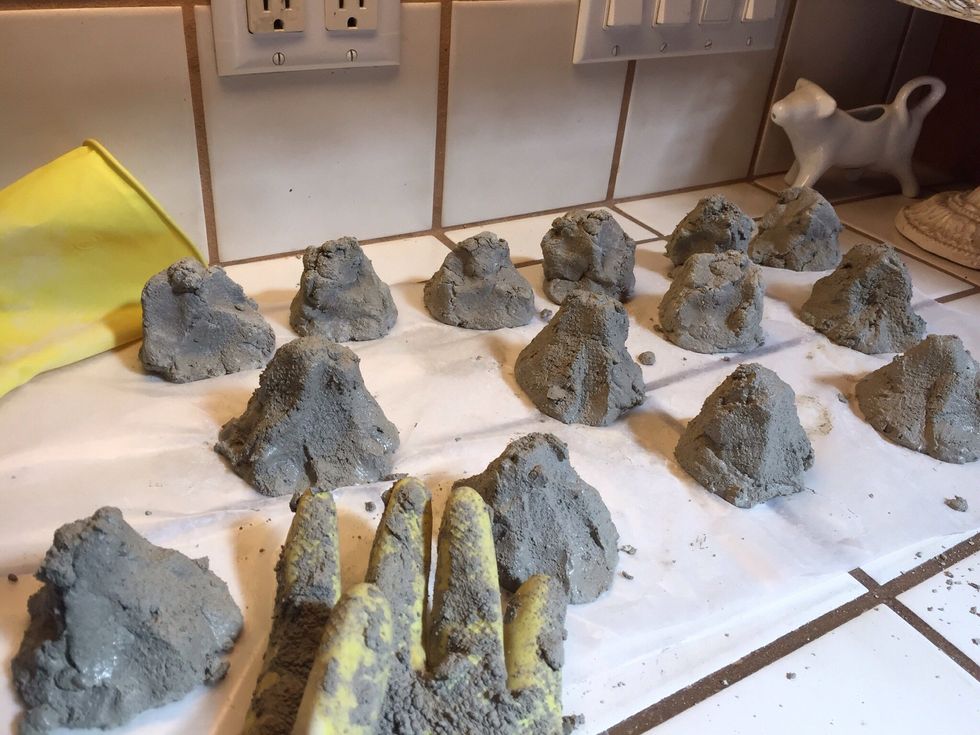
Shape like little mountains....let dry.
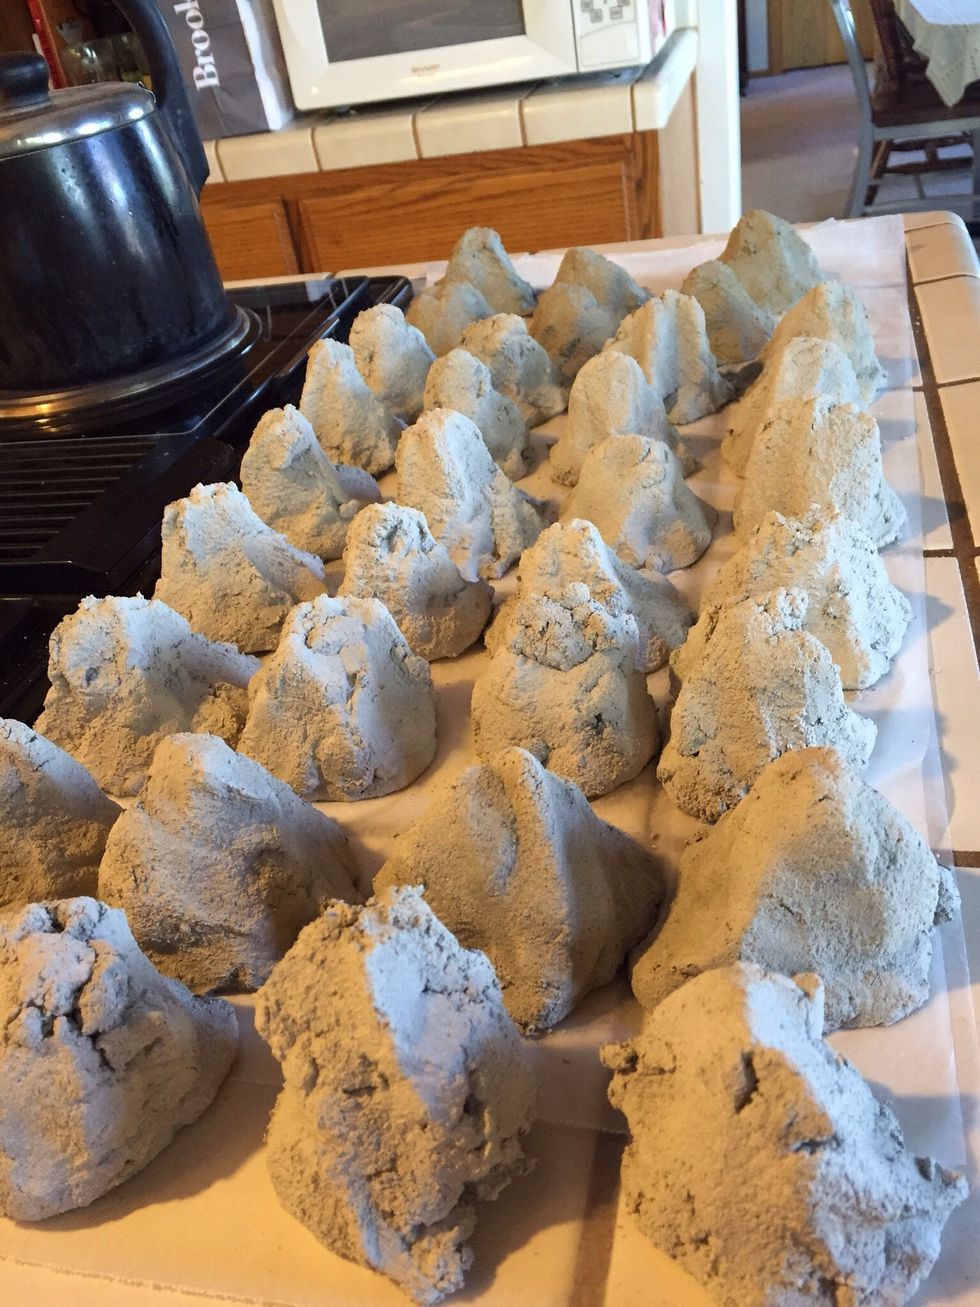
Dried
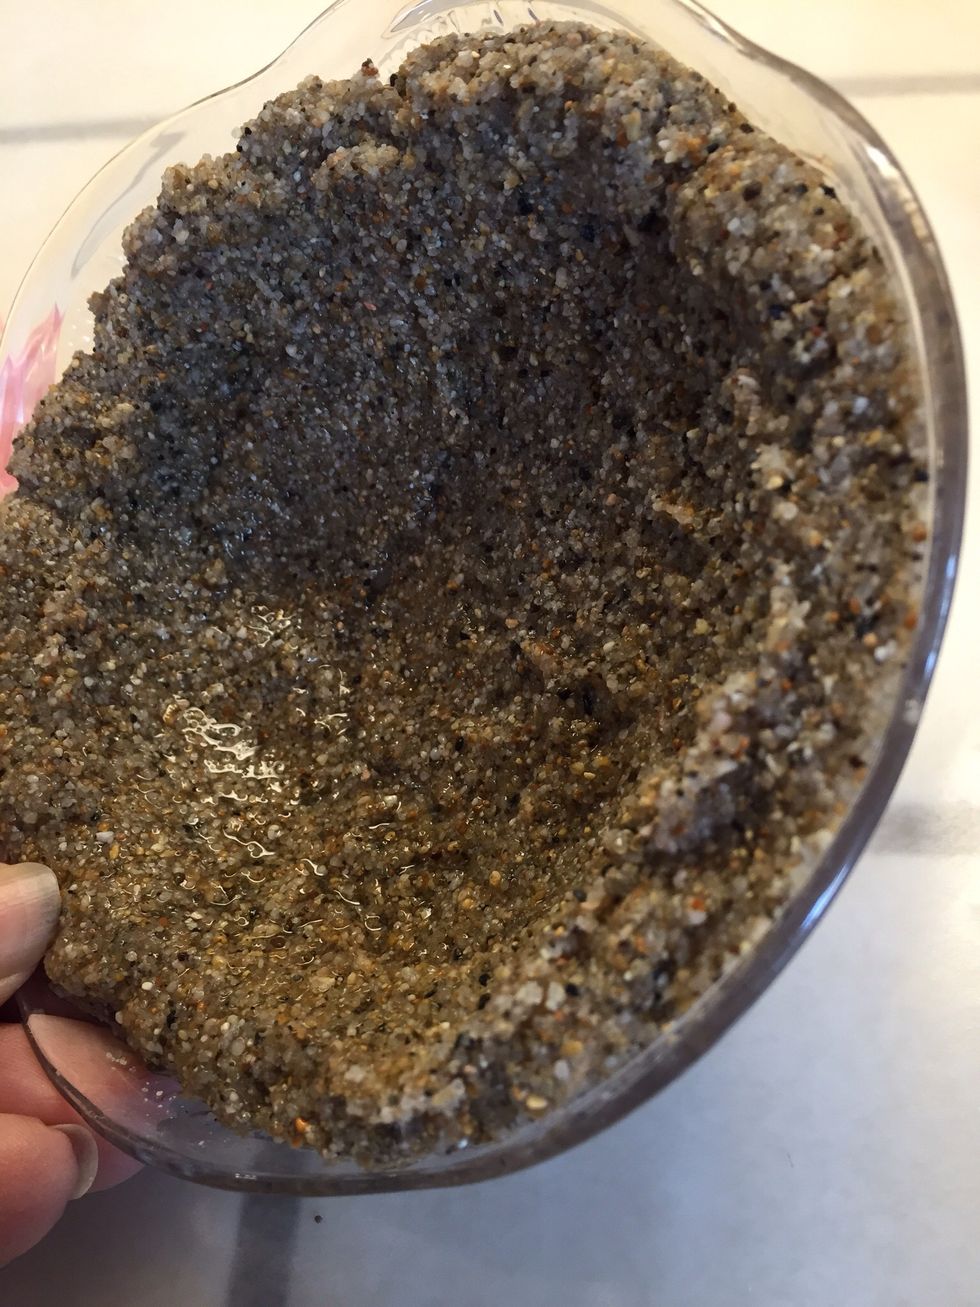
For the mushroom cap, mold wet sand to the sides of appropriate sized bowl. You want to mold a 'well'.
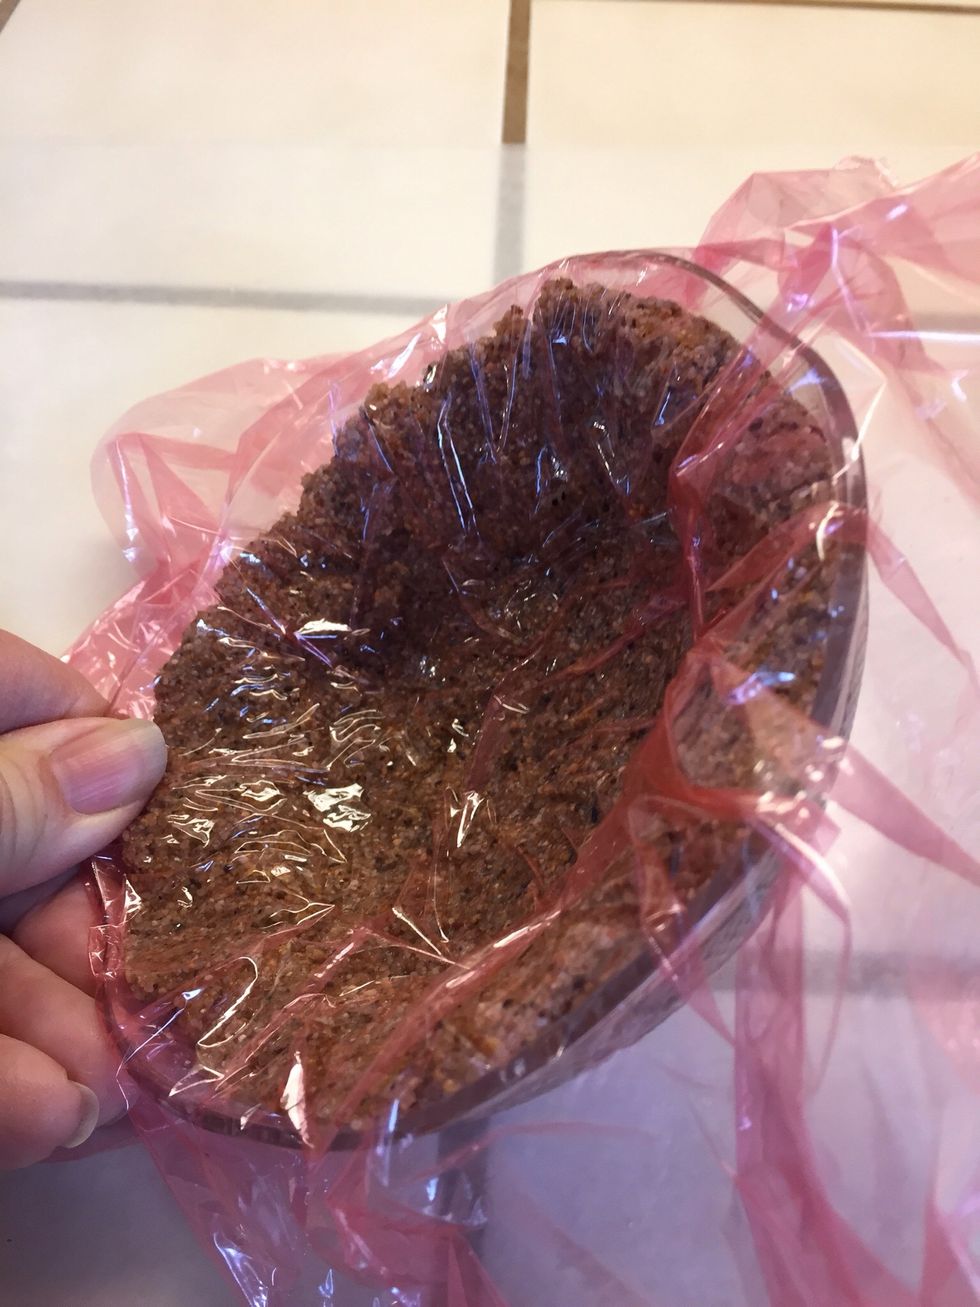
After you mold the sand, add a sheet of cellophane over sand.

Mix cement up like you did for the stem, only this time make it more wet. Pour mixed cement into molds. Again, I made five at a time.
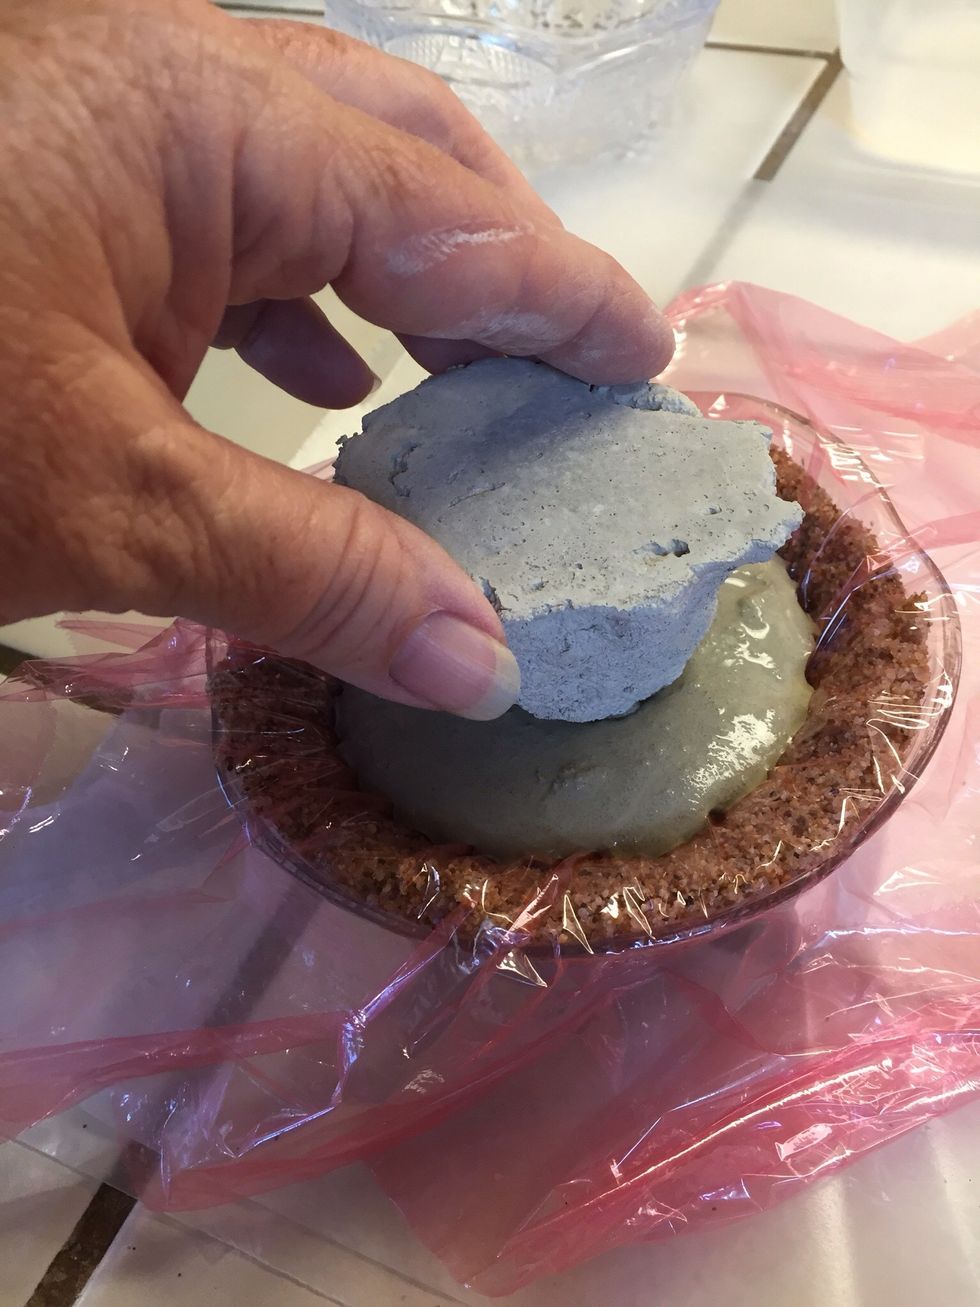
After cement has been poured into bowls, stick the completely dry stem into the cement well. Hold a moment or two to set.

Let dry. When dry, lift out of mold and set aside.
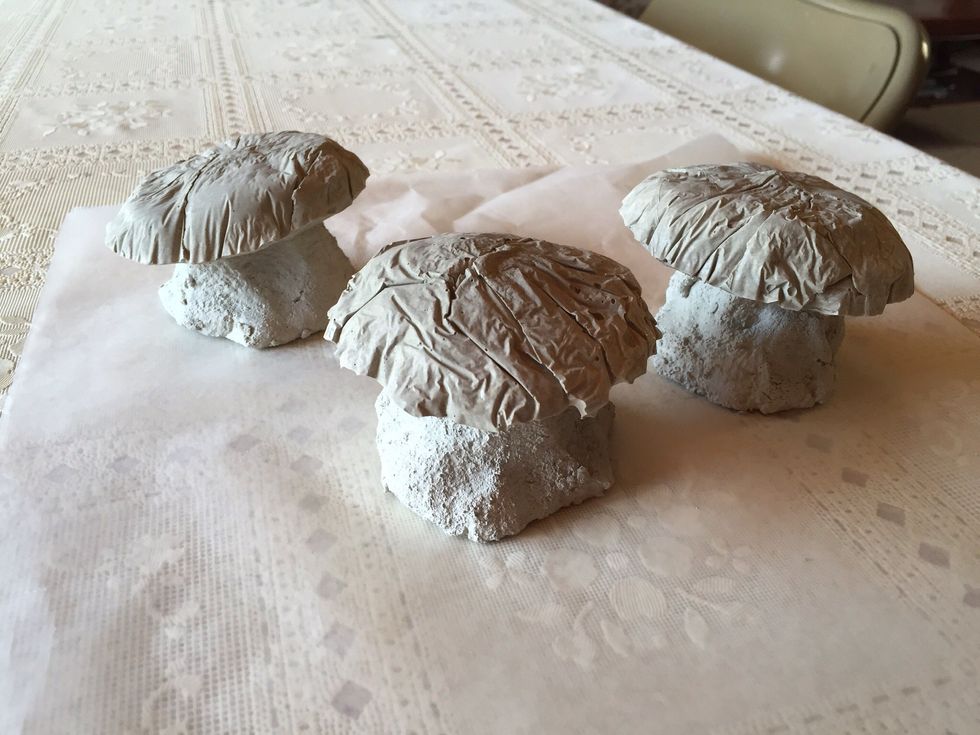
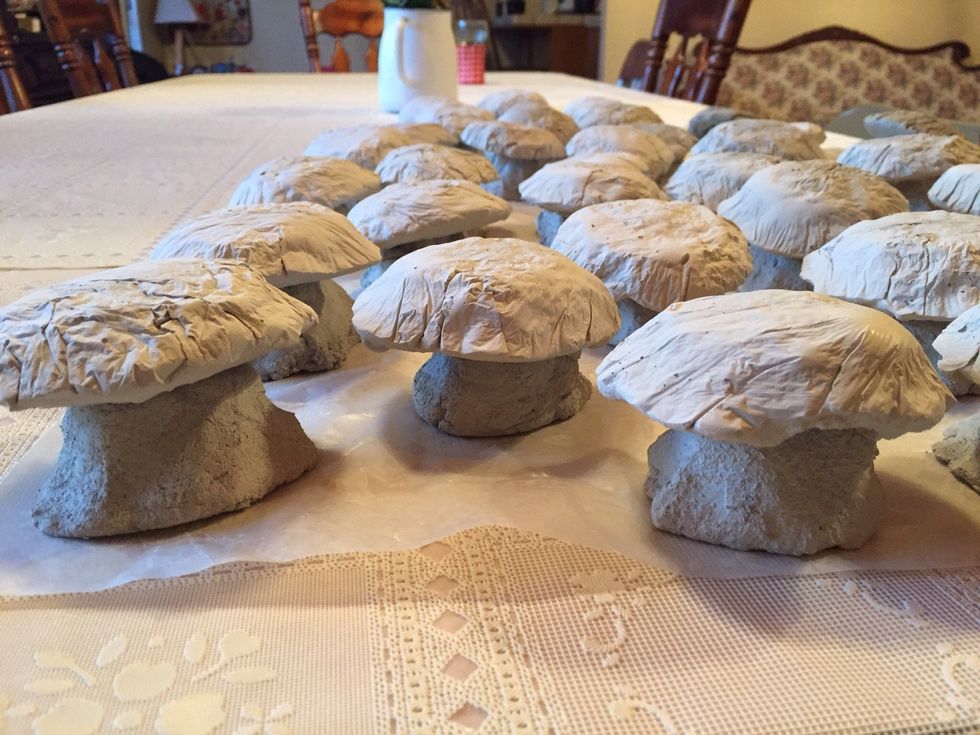
Dried and ready to paint. Be sure to work on wax paper, or put something down over your work space, to keep area clean.
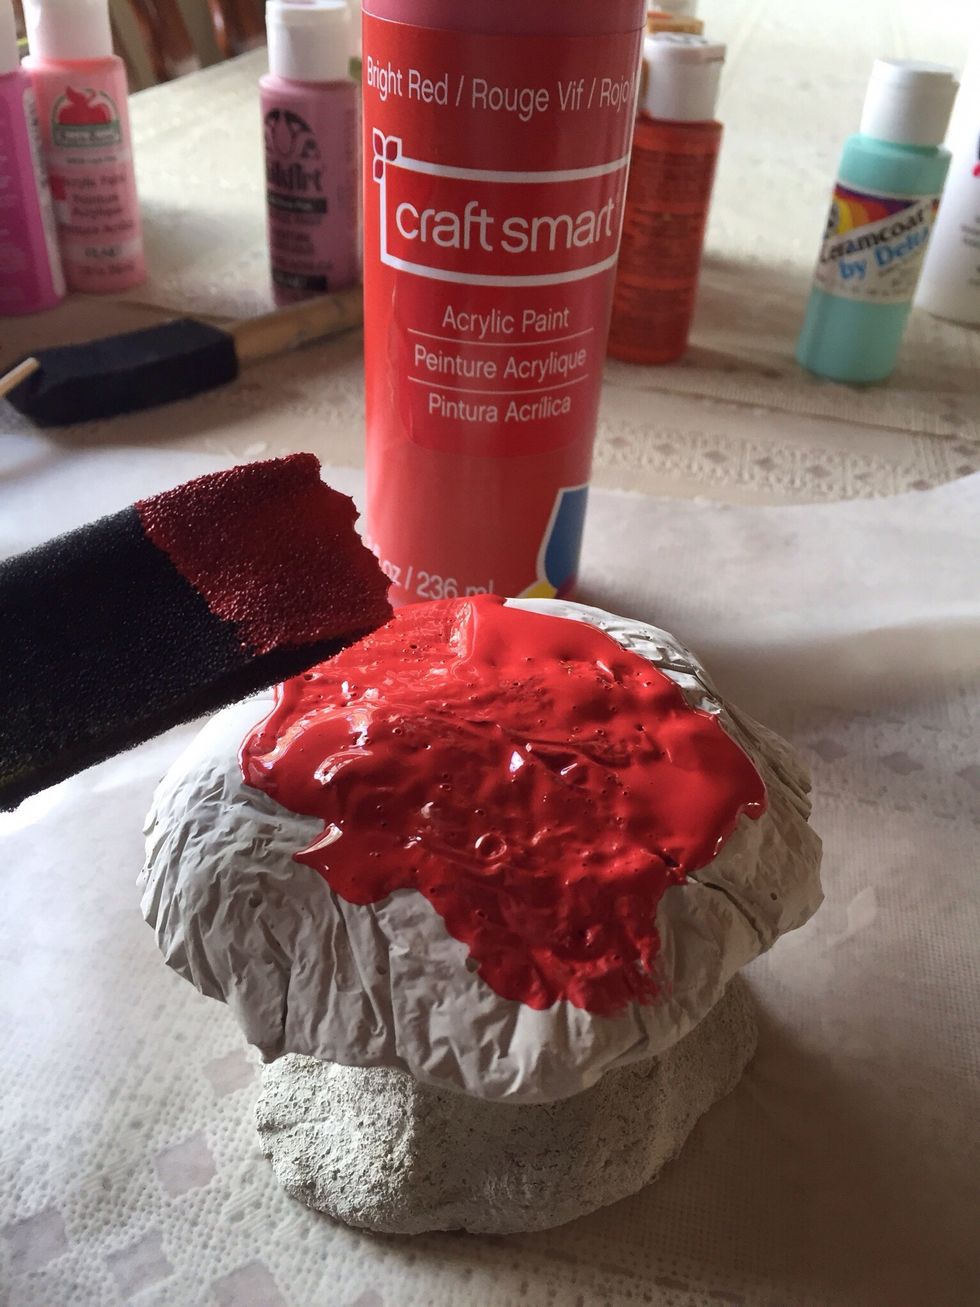
Paint your mushrooms whatever color you desire. I used acrylics and interior Behr household paint.
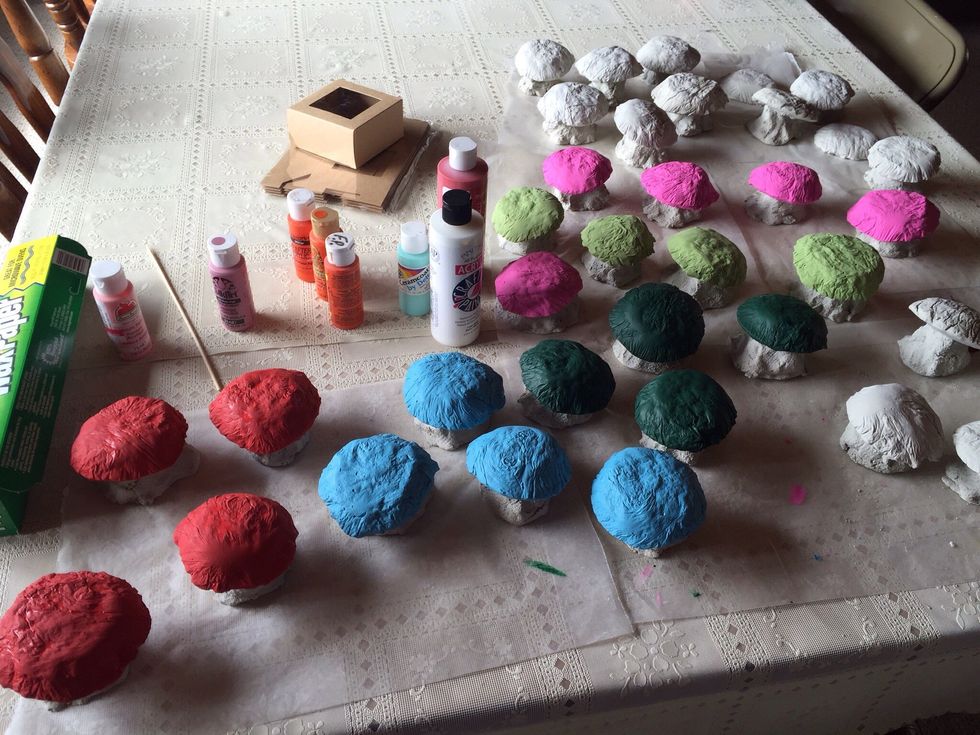
I only painted the tops, not the stems. You certainly can paint stems if you'd like.
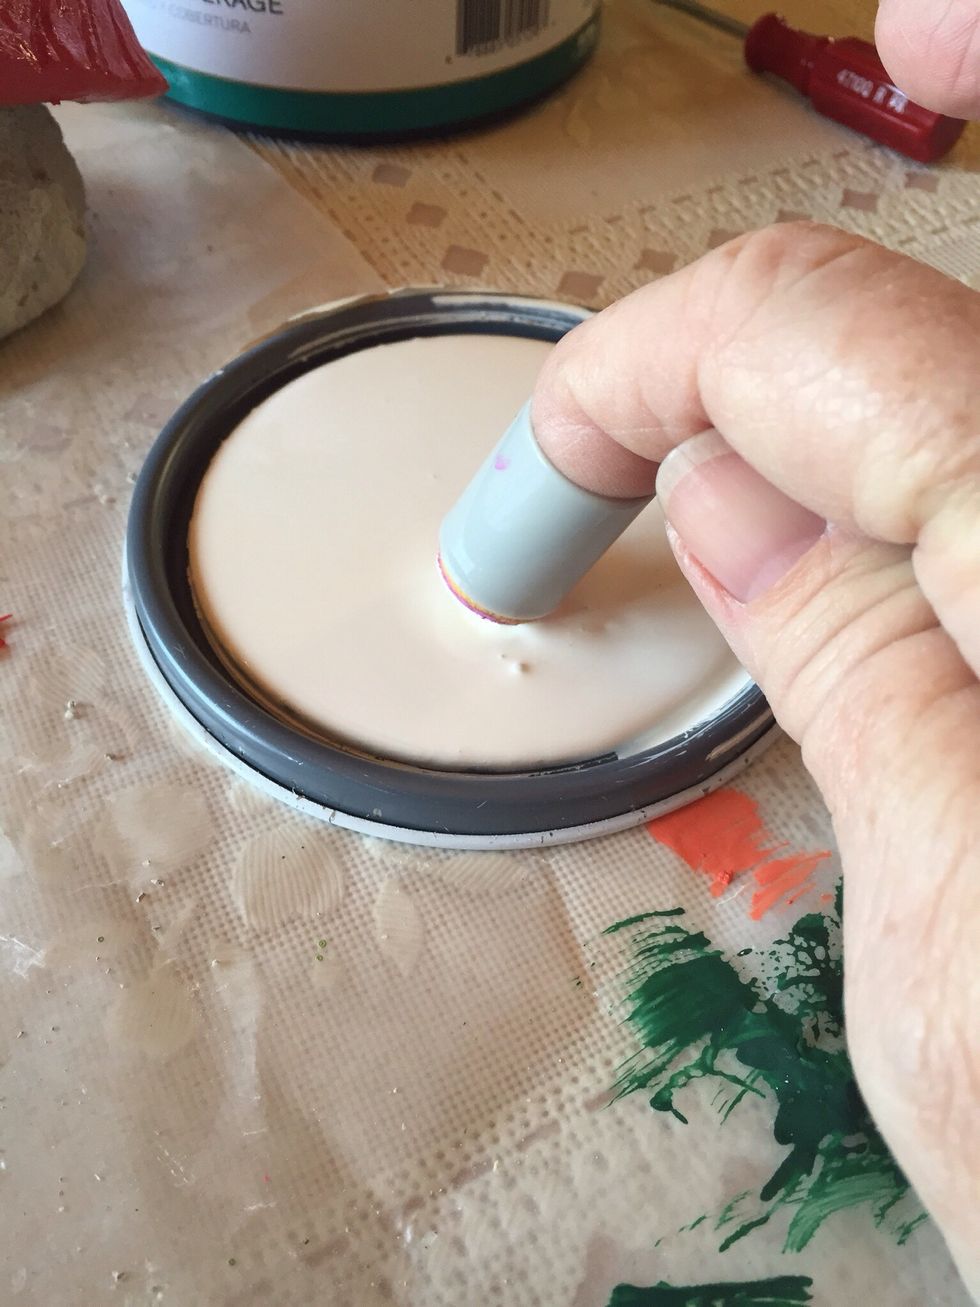
For the mushroom dots, I used a dauber, dipped into paint.
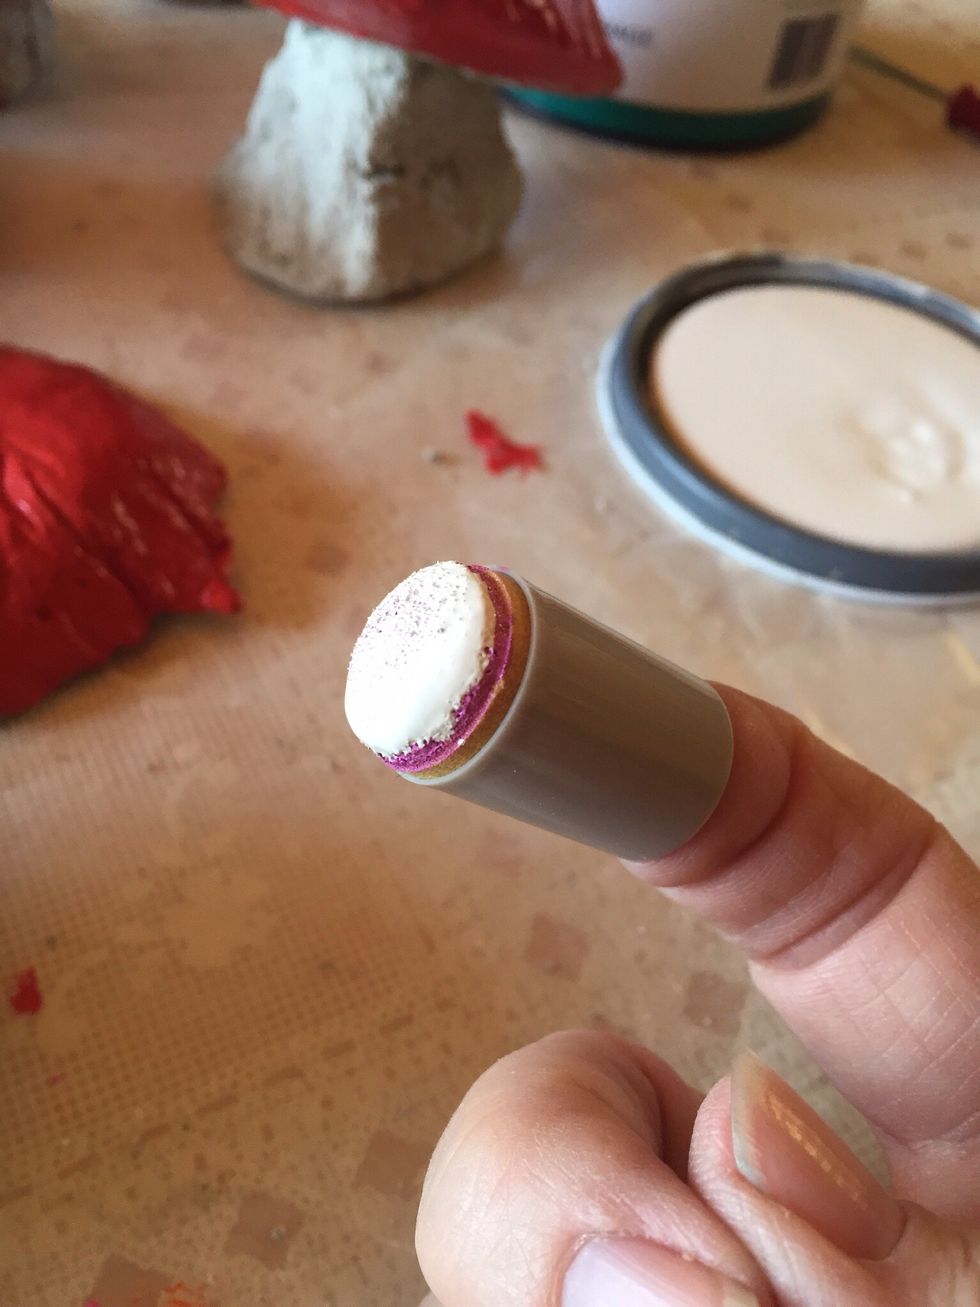
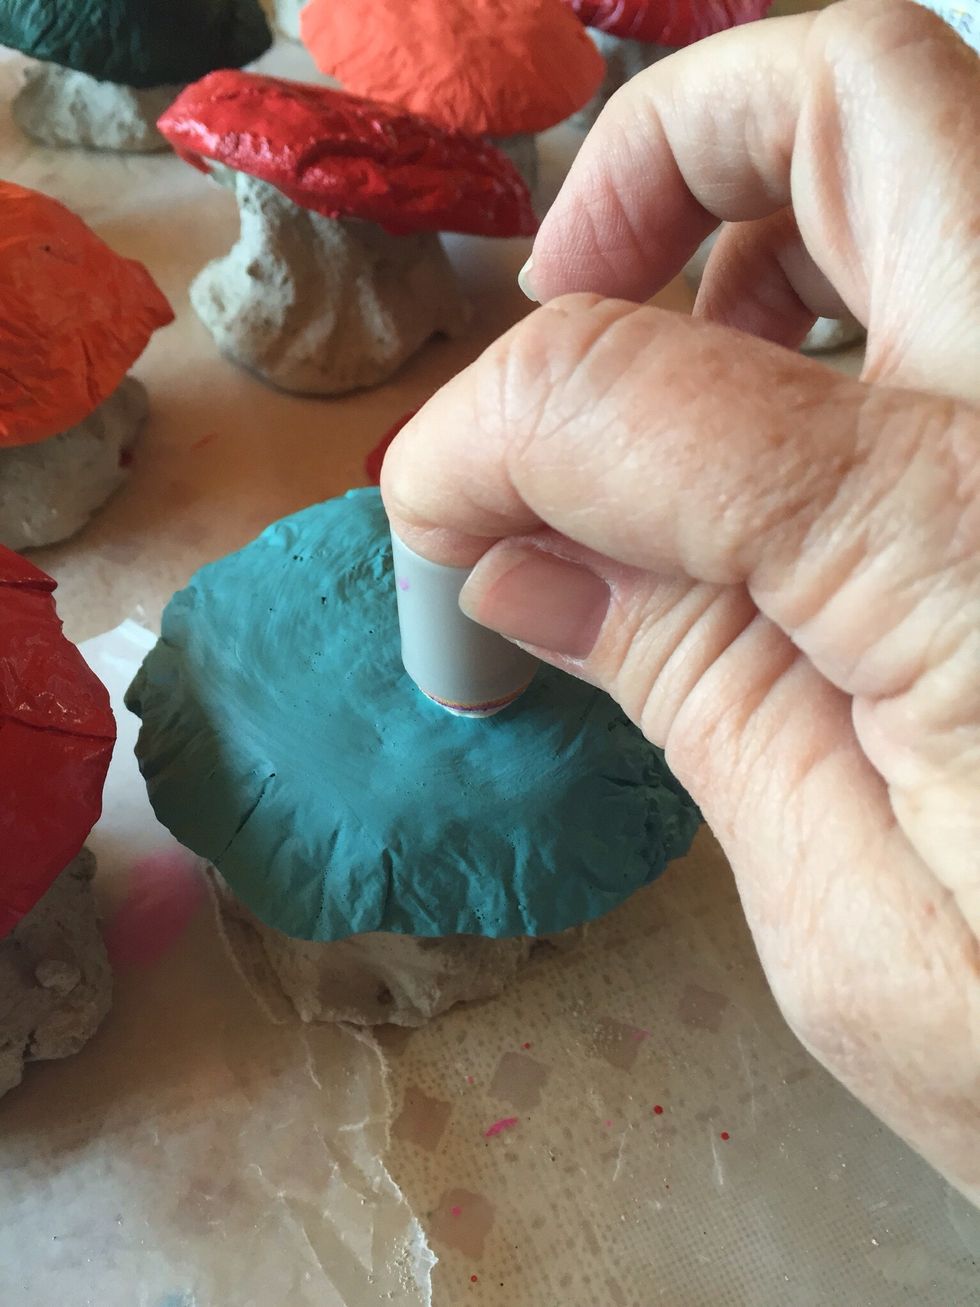
Randomly paint dots over top of your mushroom.
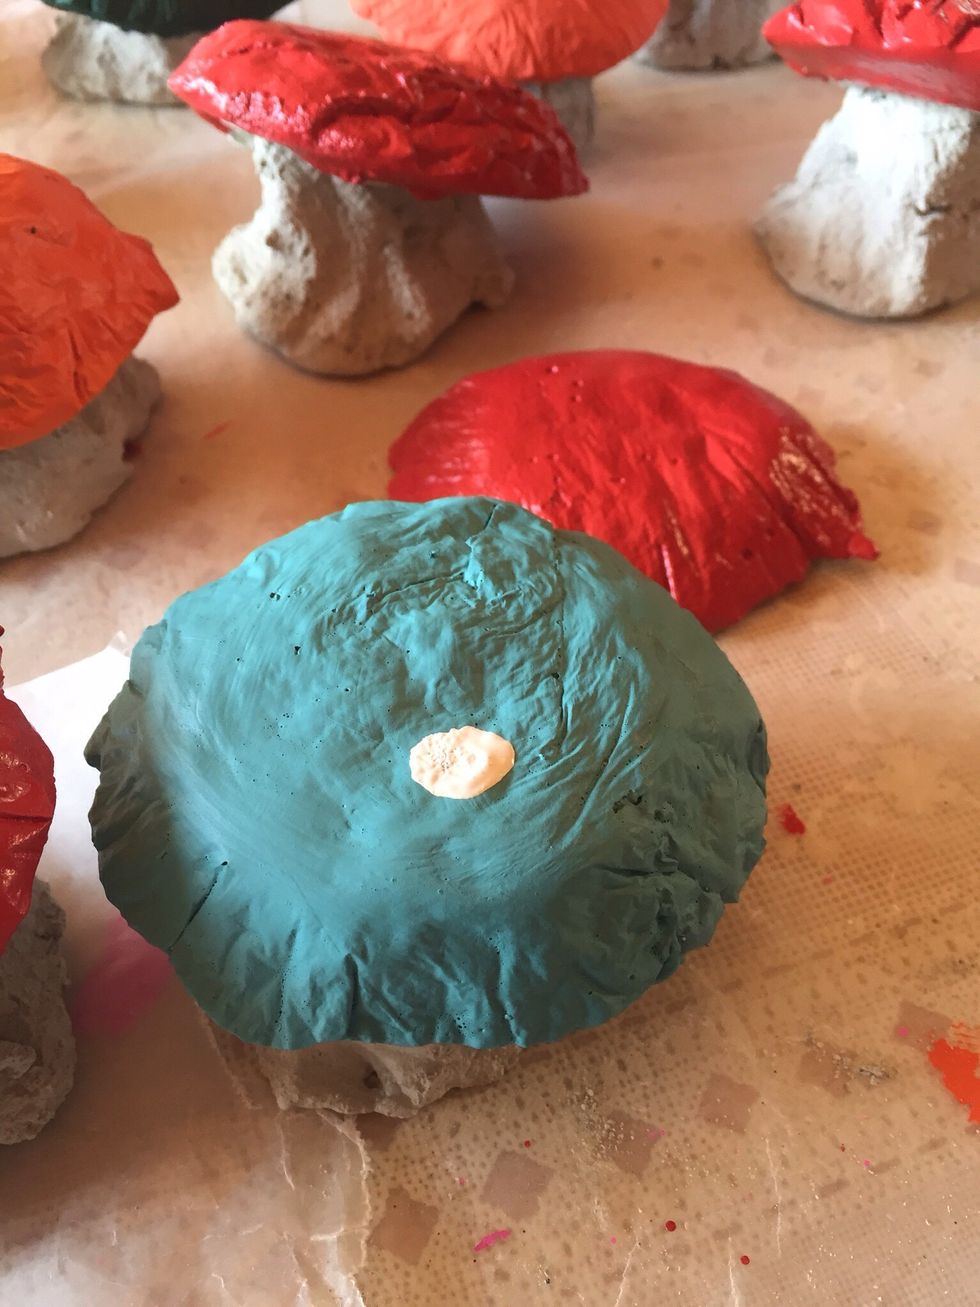
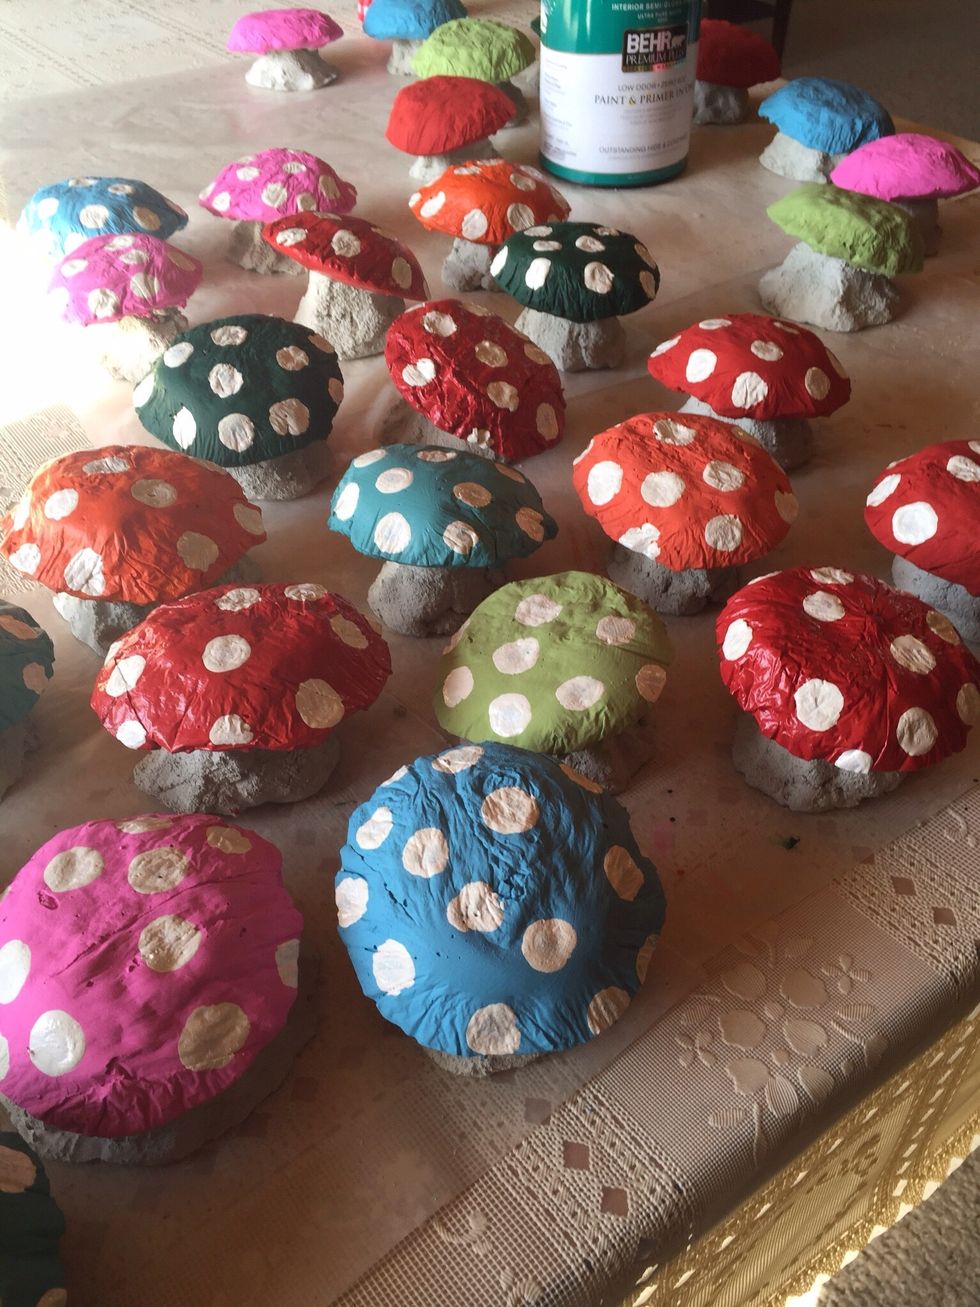
Looking good....

I wanted to give these a top coat, so I watered down some Outdoor Modge Podge, and gave each mushroom two coats, drying completely between coats.
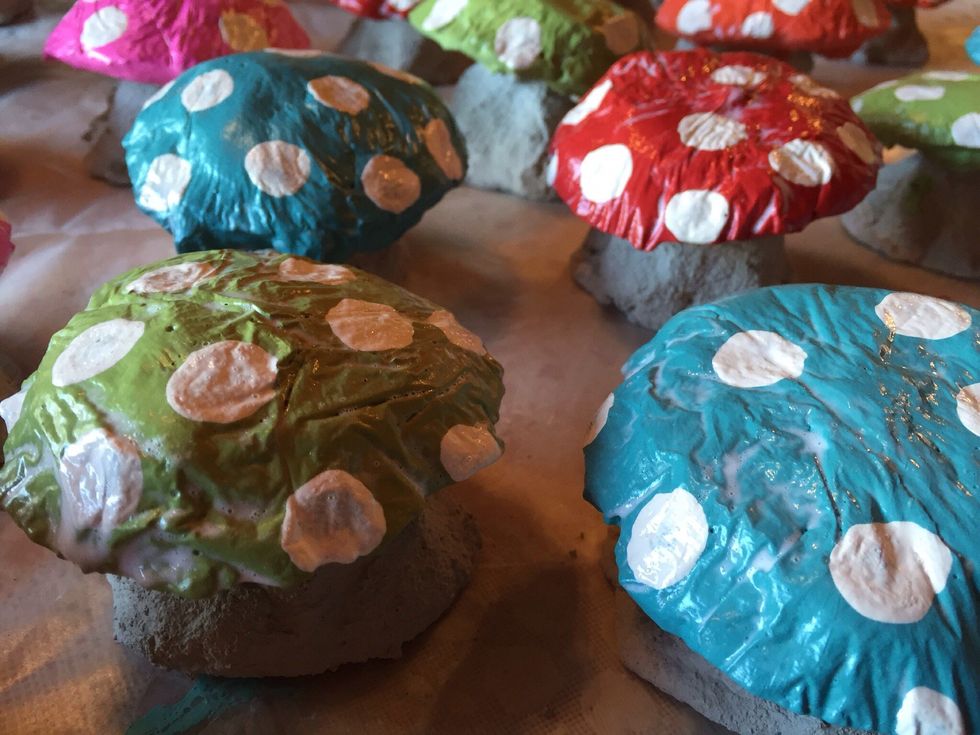
Drying.
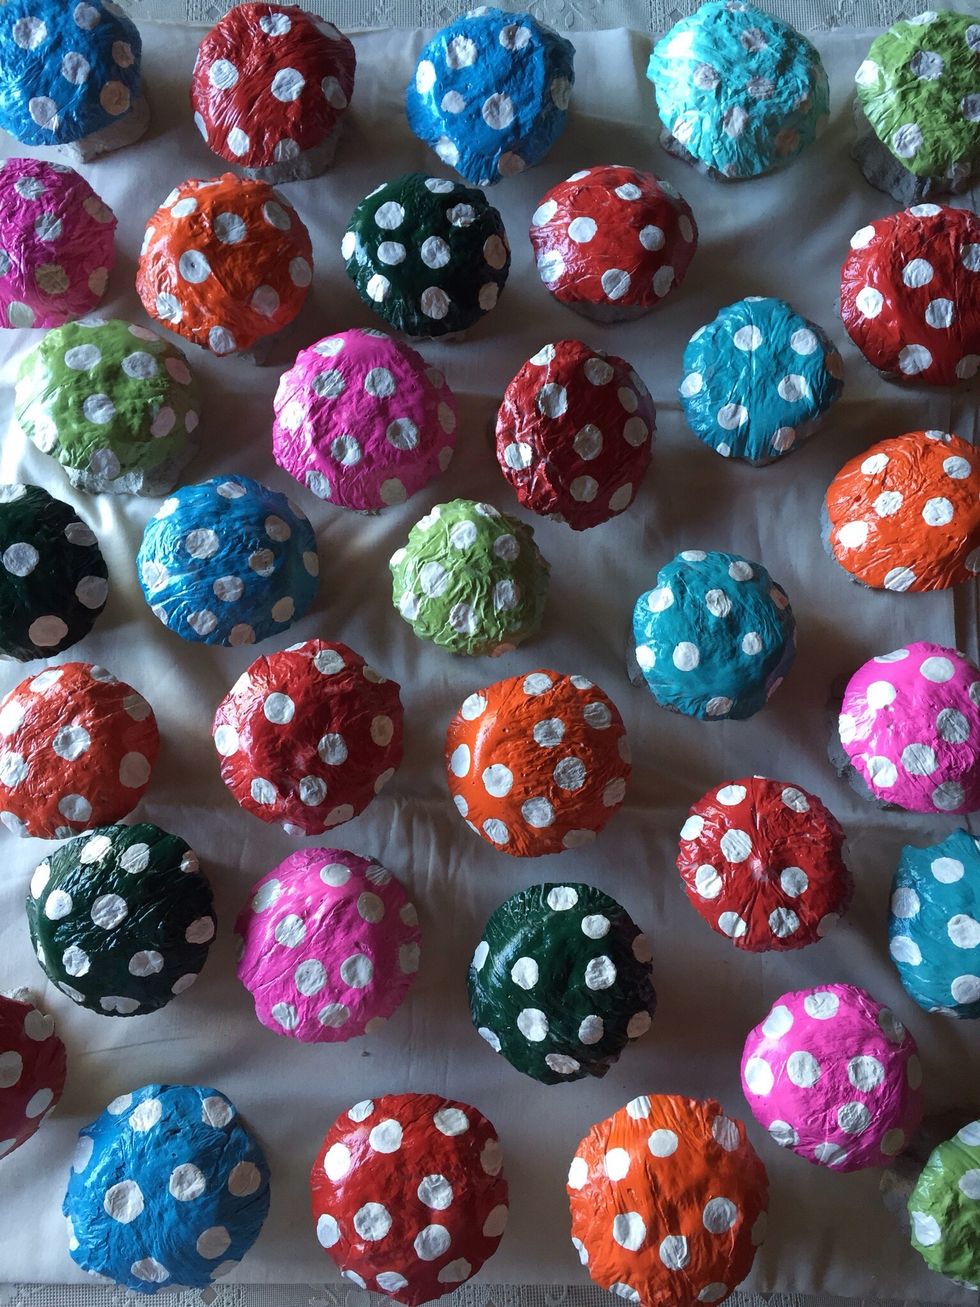
Fantastic! Ready to add cheer to your garden.
- Concrete
- Water
- Plastic bowls
- Sand
- Cellophane
- Wax paper
- Gloves
- Paint, brushes, dauber
- Top coat sealer
The Conversation (0)
Sign Up