The Conversation (0)
Sign Up
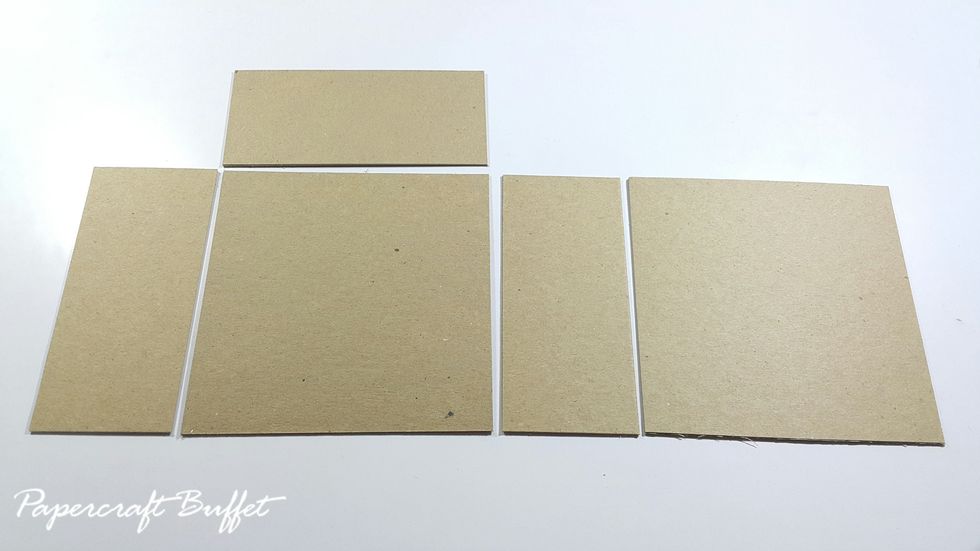
Ready chipboard 2pcs 5-1/4"x5-1/4", 3pcs 5-1/4"x2-3/8" (2 sets)
Form them into shape with connecting strips (2sets)
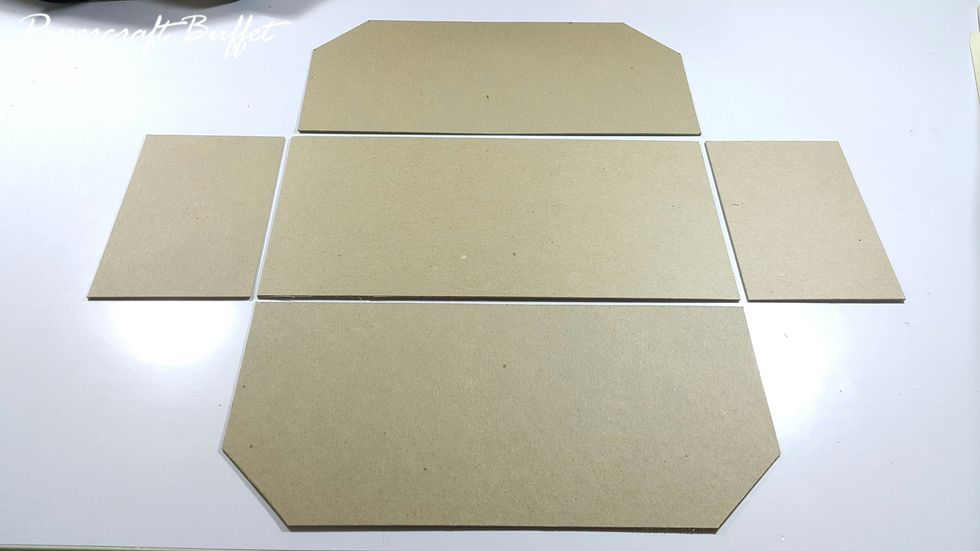
Ready chipboard 1pc 5-1/4"x10-11/16", 2pcs 3-1/2"x5-1/4" and 2pcs 10-11/16"x5" (chop 1/2" from corner to form shape as shown)
Form them into shape with connecting strips
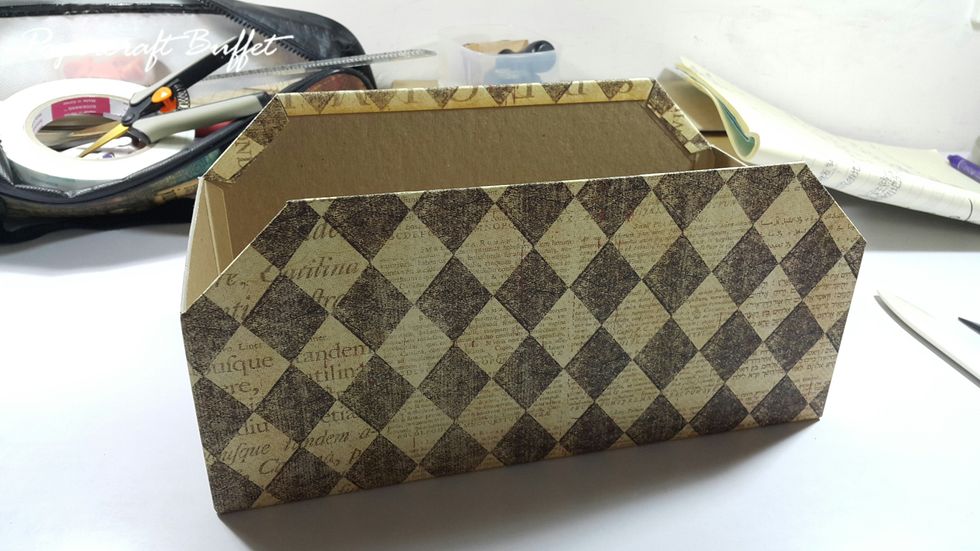
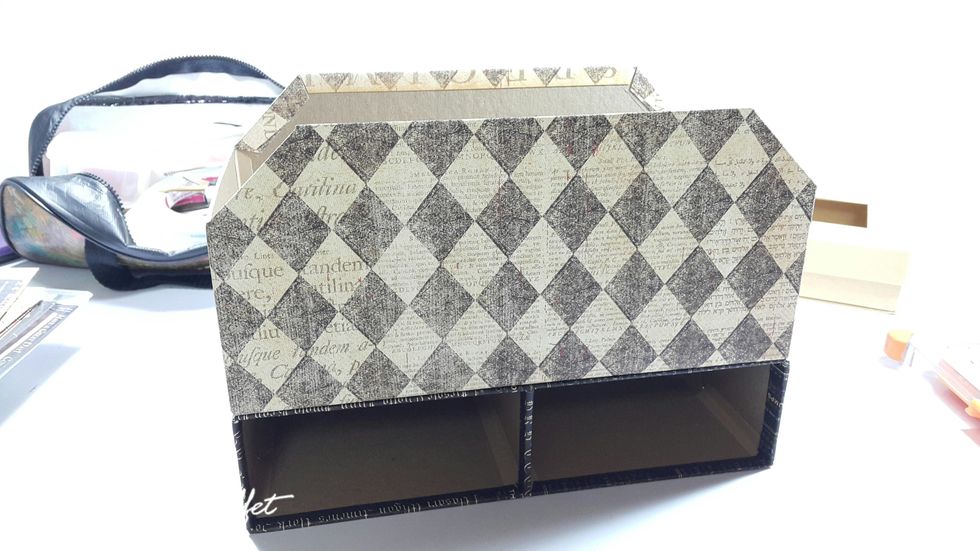
Cover the front and back with paper of 6"x12", fold and adhere the excess
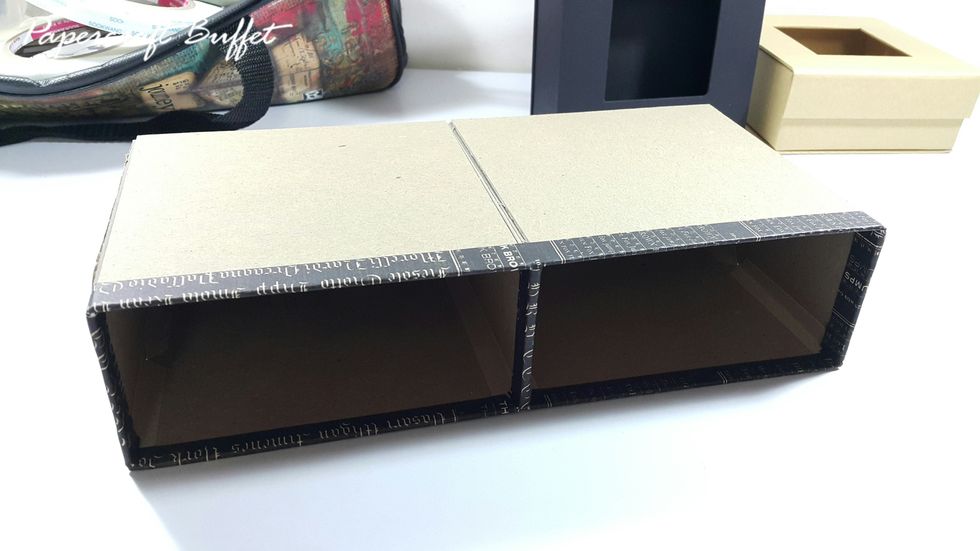
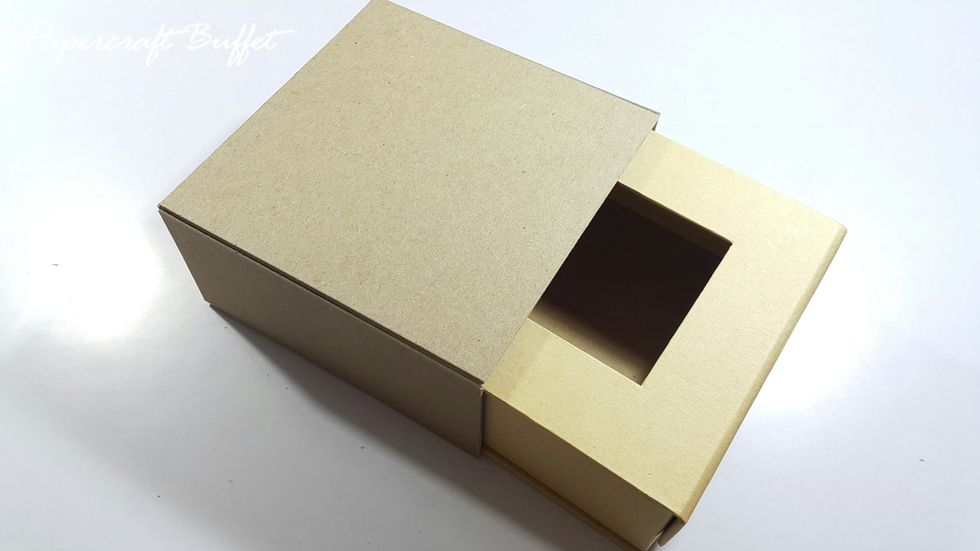
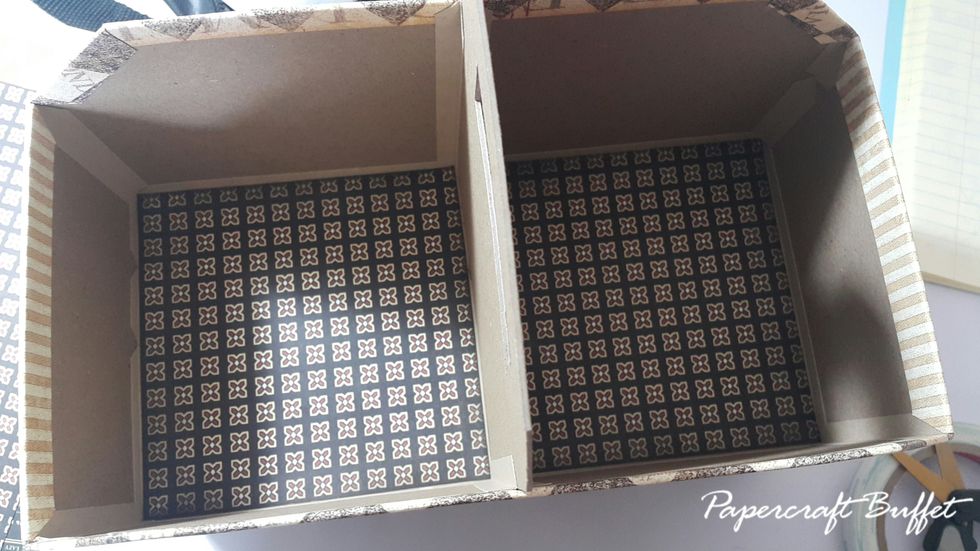
Adhere the two drawers together, and cover only the edges with 1" strips
Cover the back of the drawers with 3-1/2"x12" paper
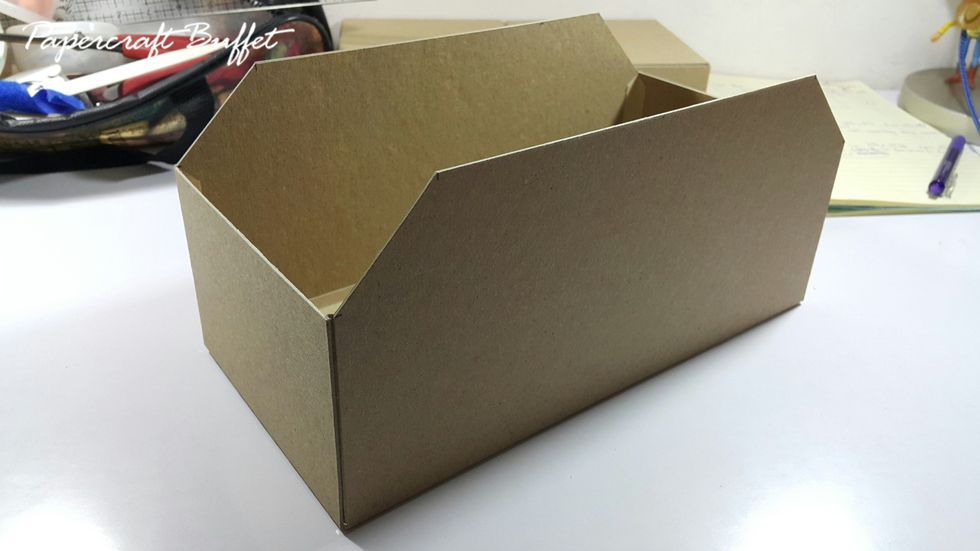
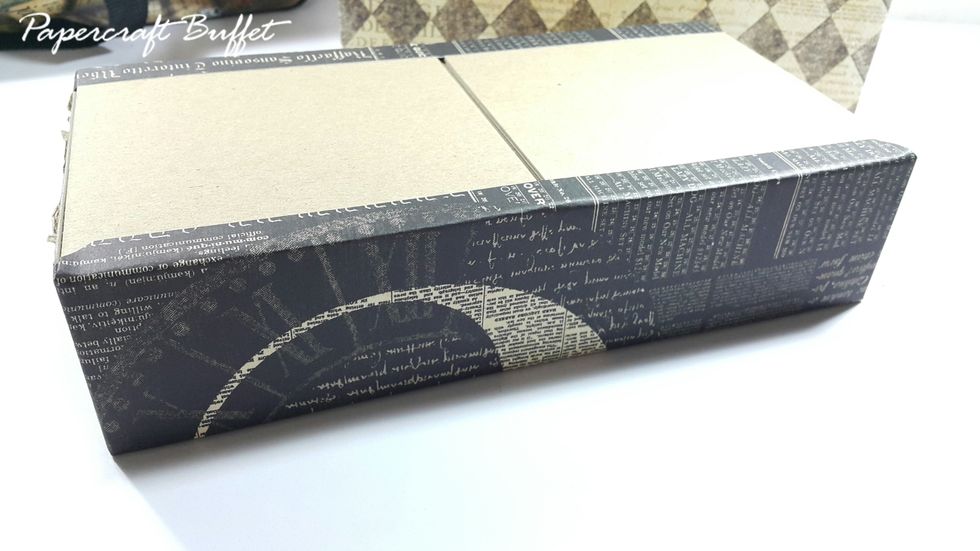
Adhere parts together, then cover the two sides with papers 5-1/4"x7"
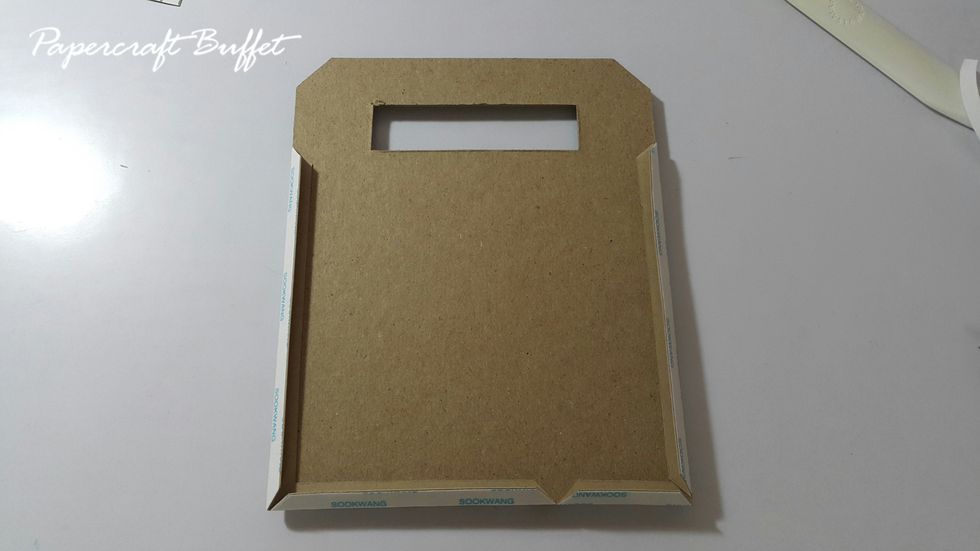
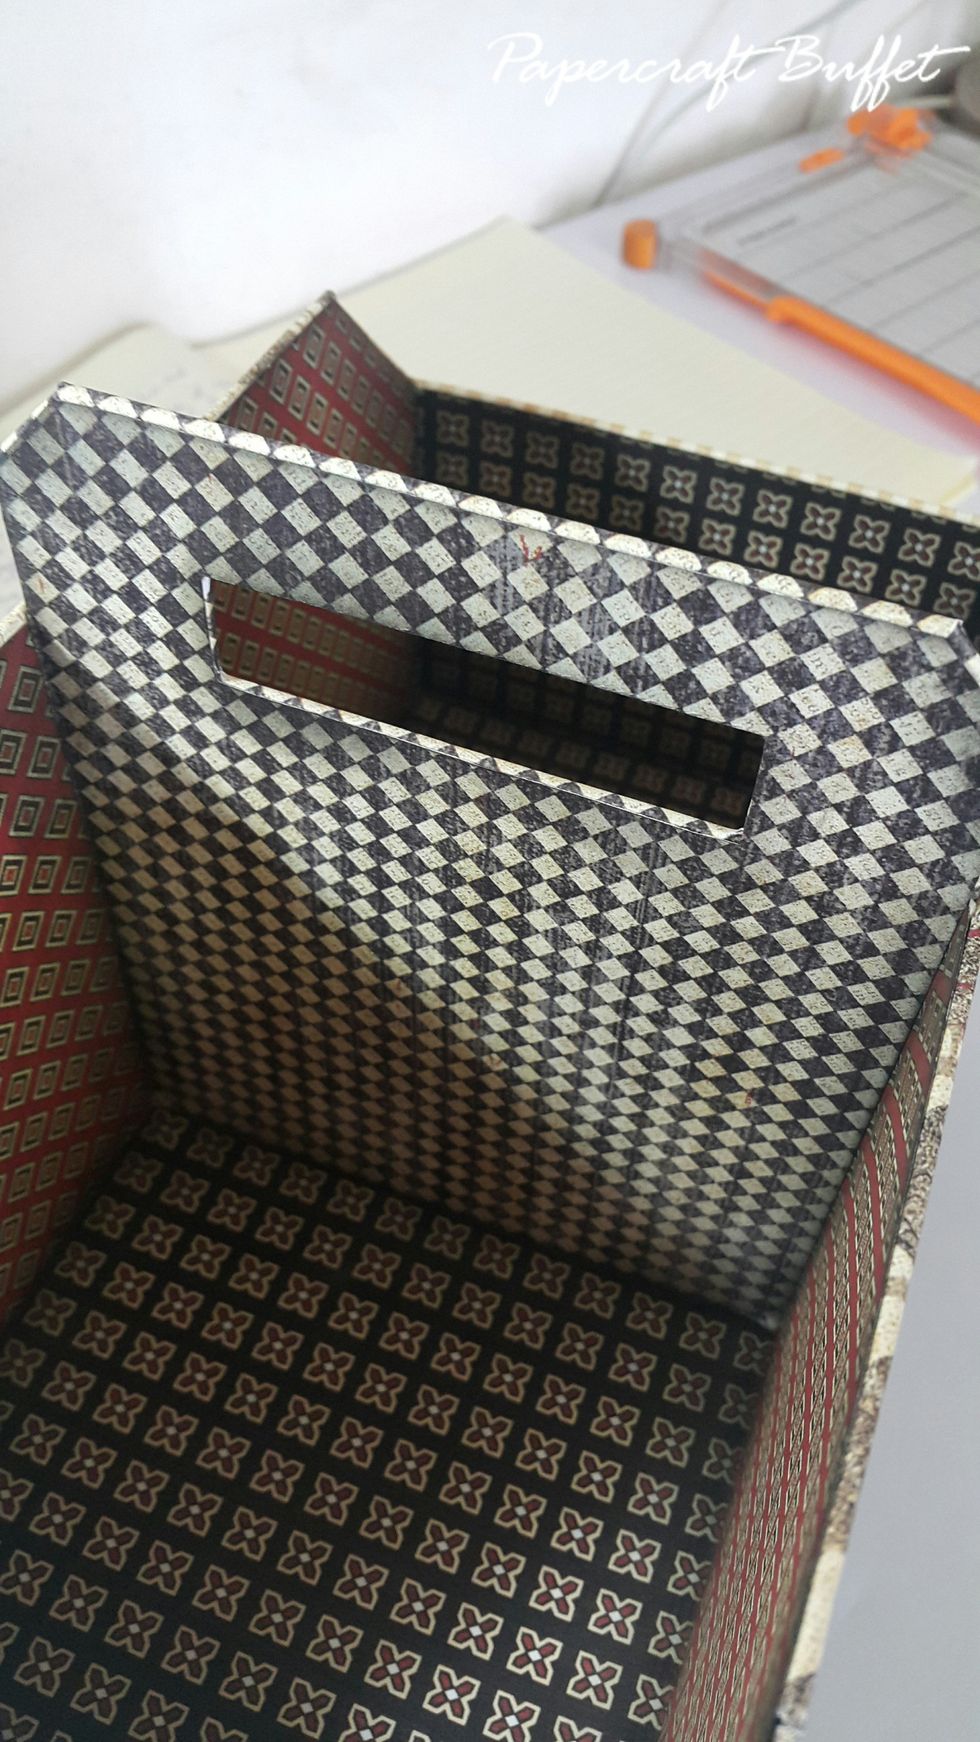
Ready chipboard 5-1/4"x6-1/2", cut a hole of 3"x3-3/4" in the middle for handle (from 3/4" of the top), trim a corner to give nice shape (1/2")
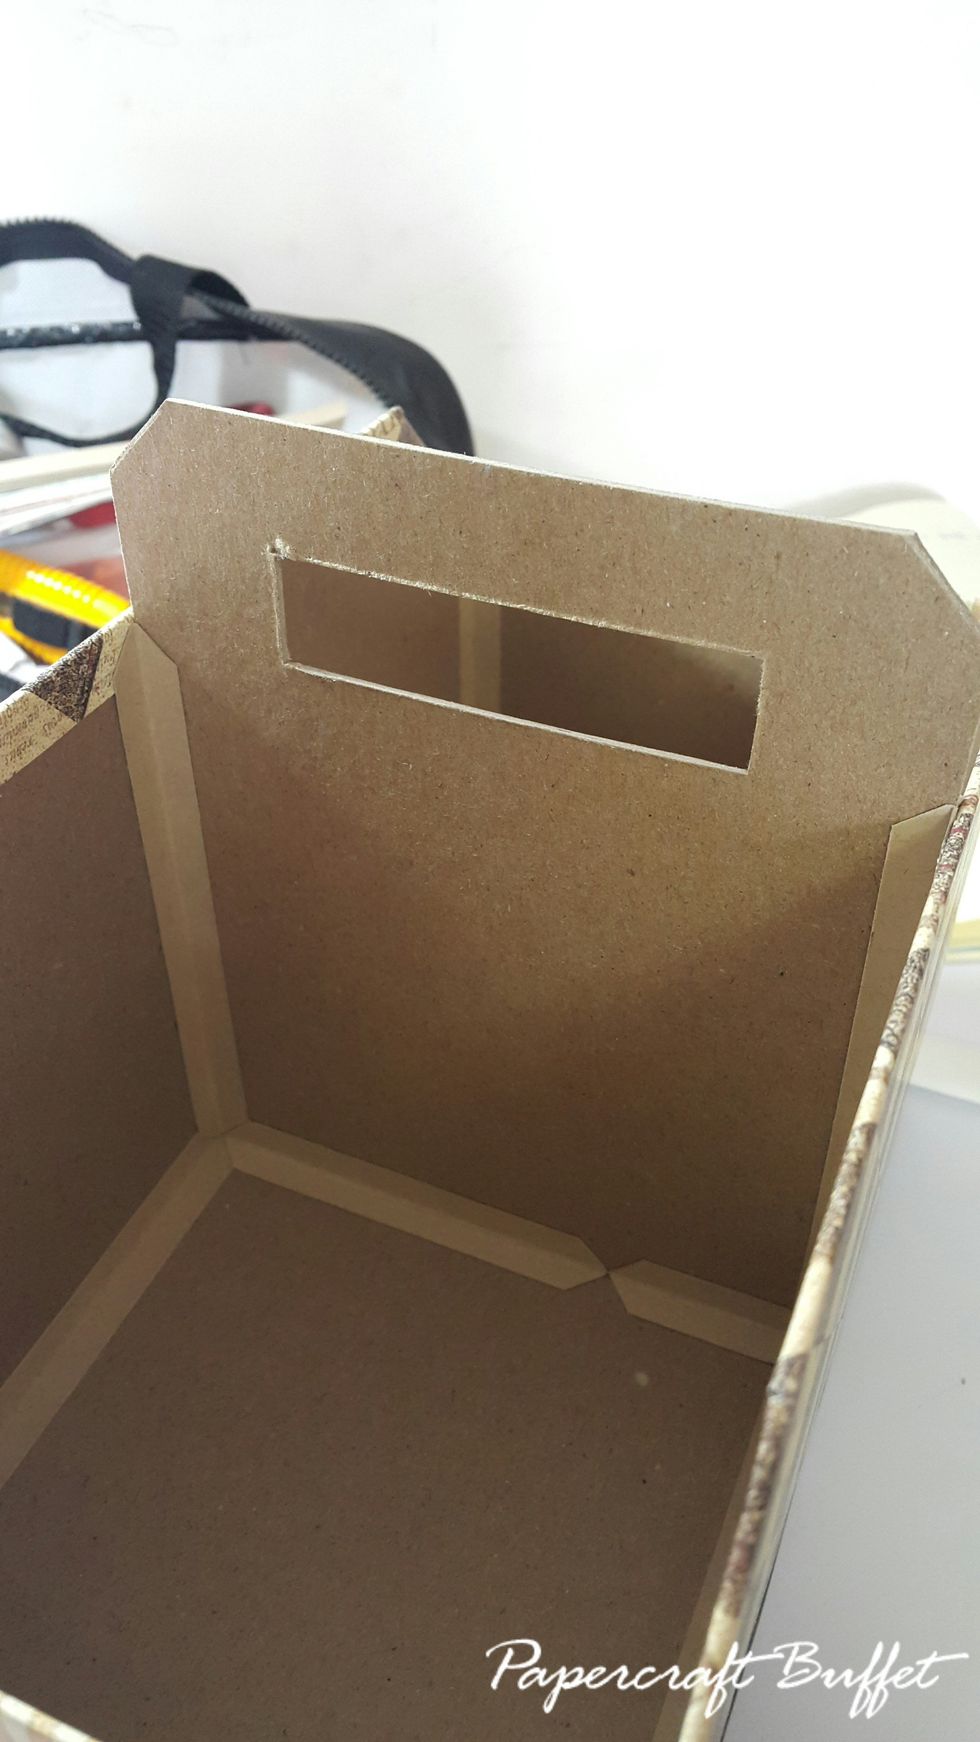
Use connecting strips on both sides and adhere into the box, as shown
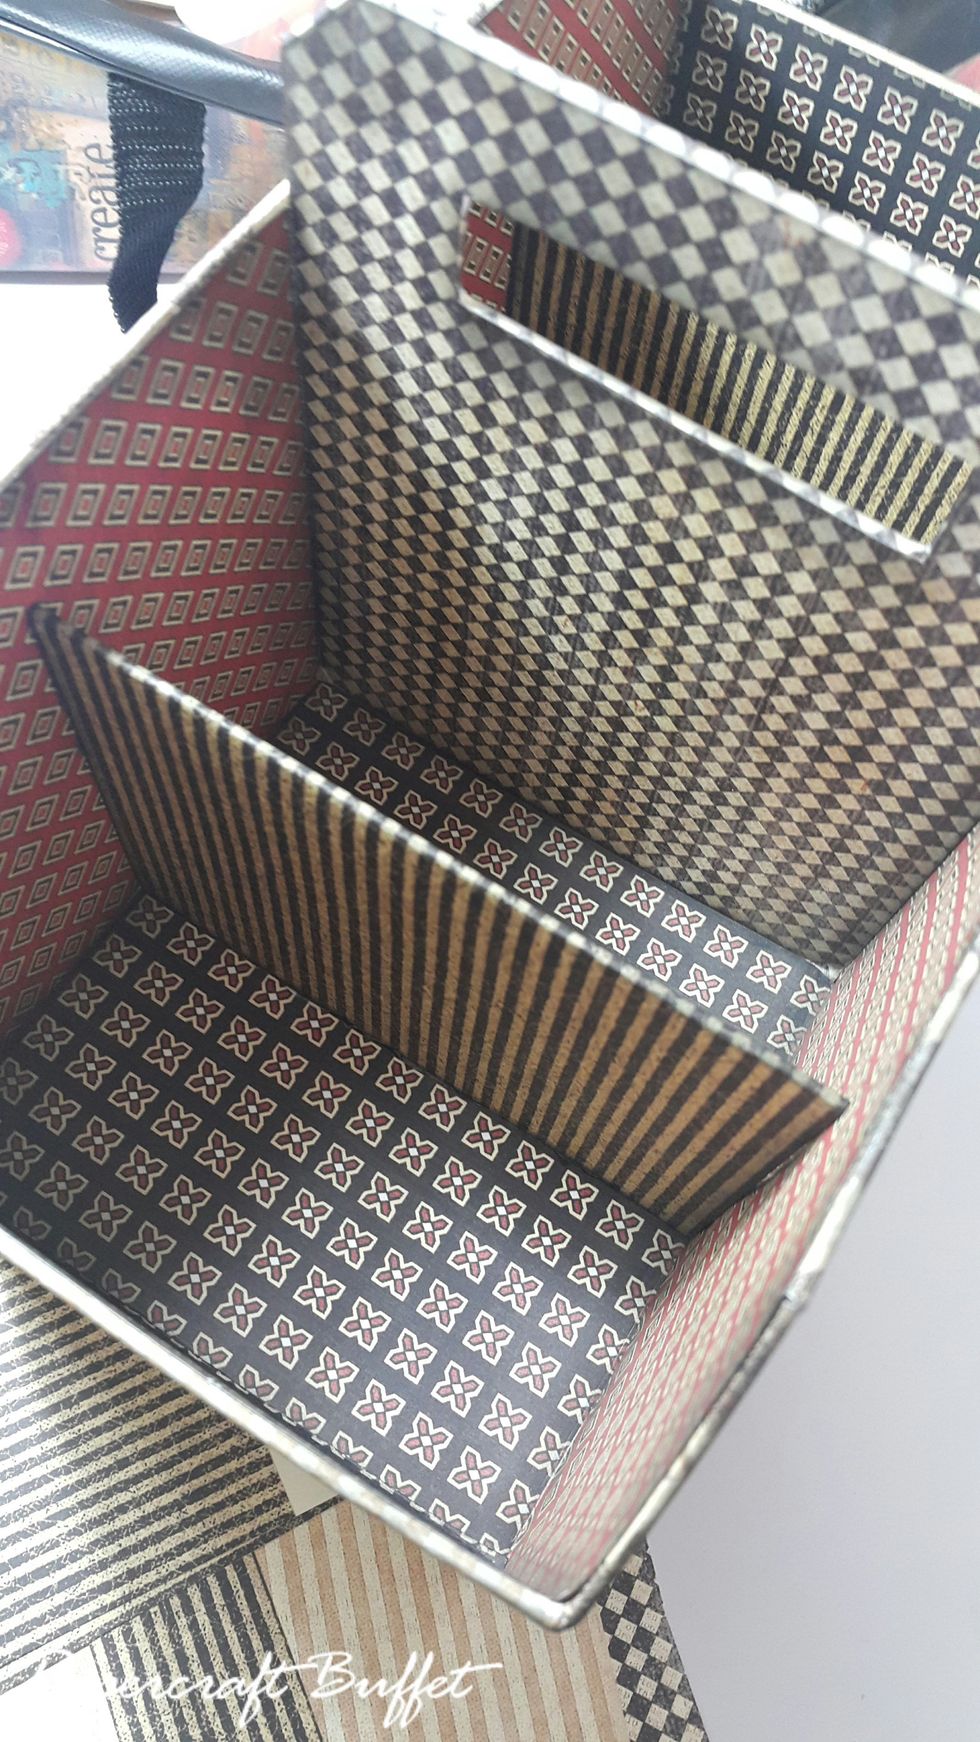
Cut paper 2pcs 5-1/4"x5-5/6" for the base of inside
Cut paper 4pcs 5"x5-5/16" for the inside front and back, remember to trim the 1-1/2" corners
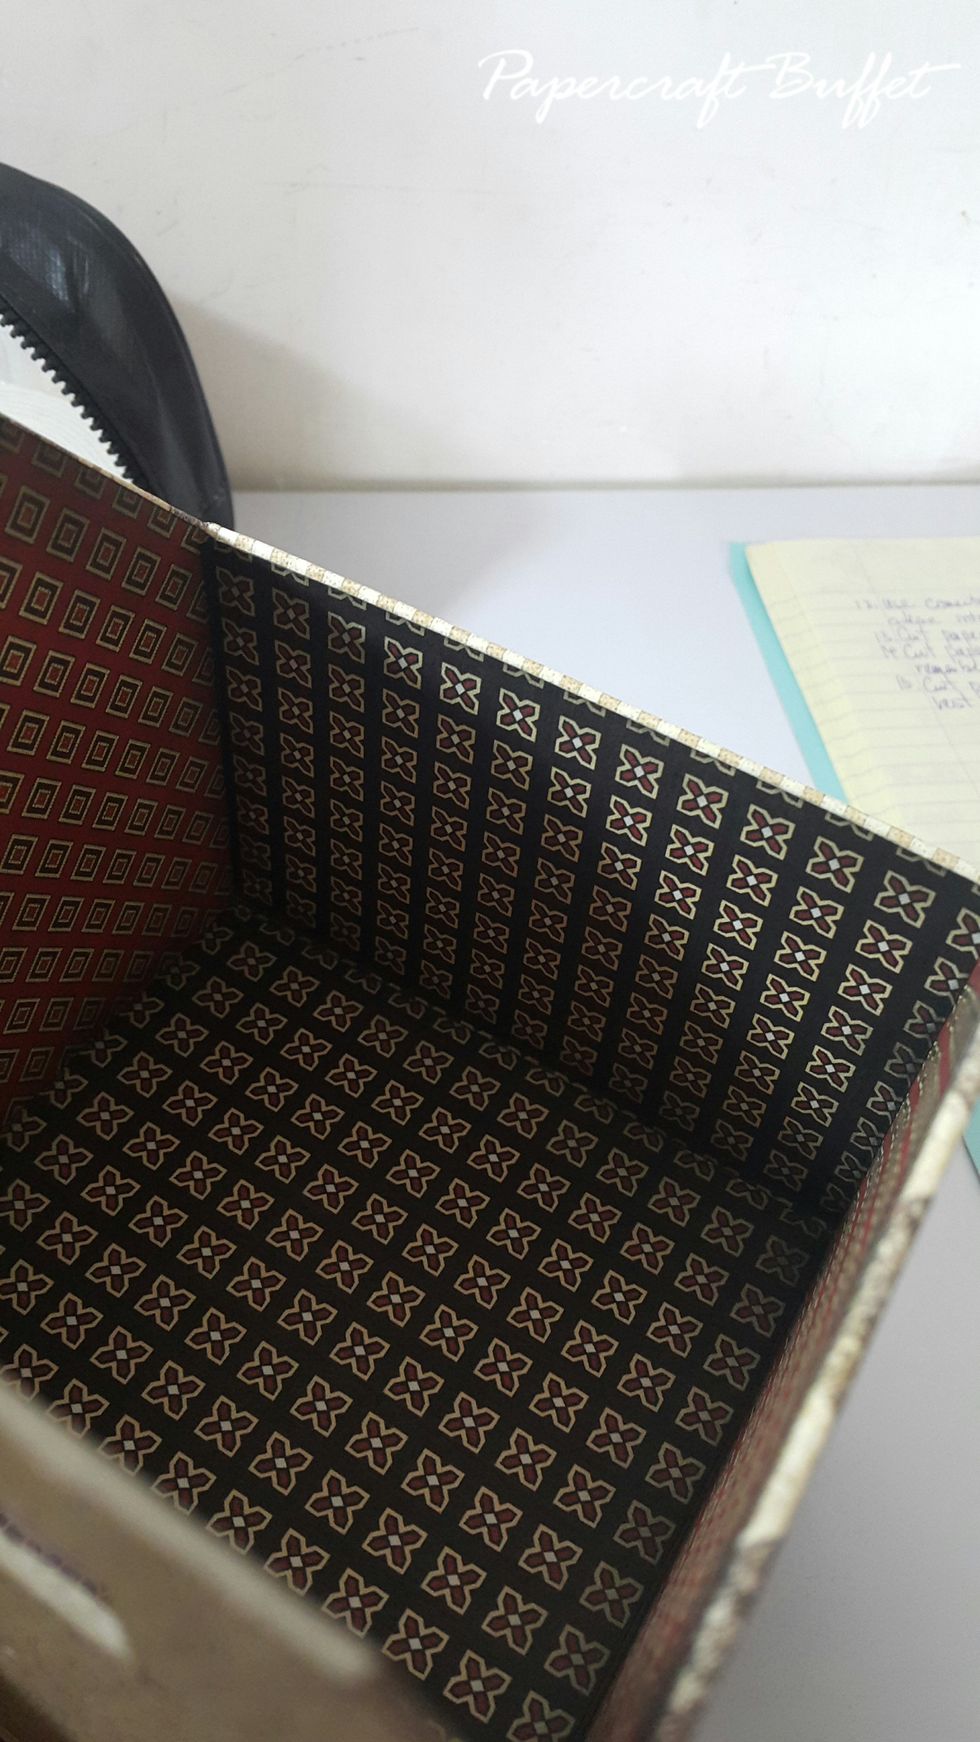
Cut paper 2pcs 3-1/2"x5-1/4" for the rest of the inside
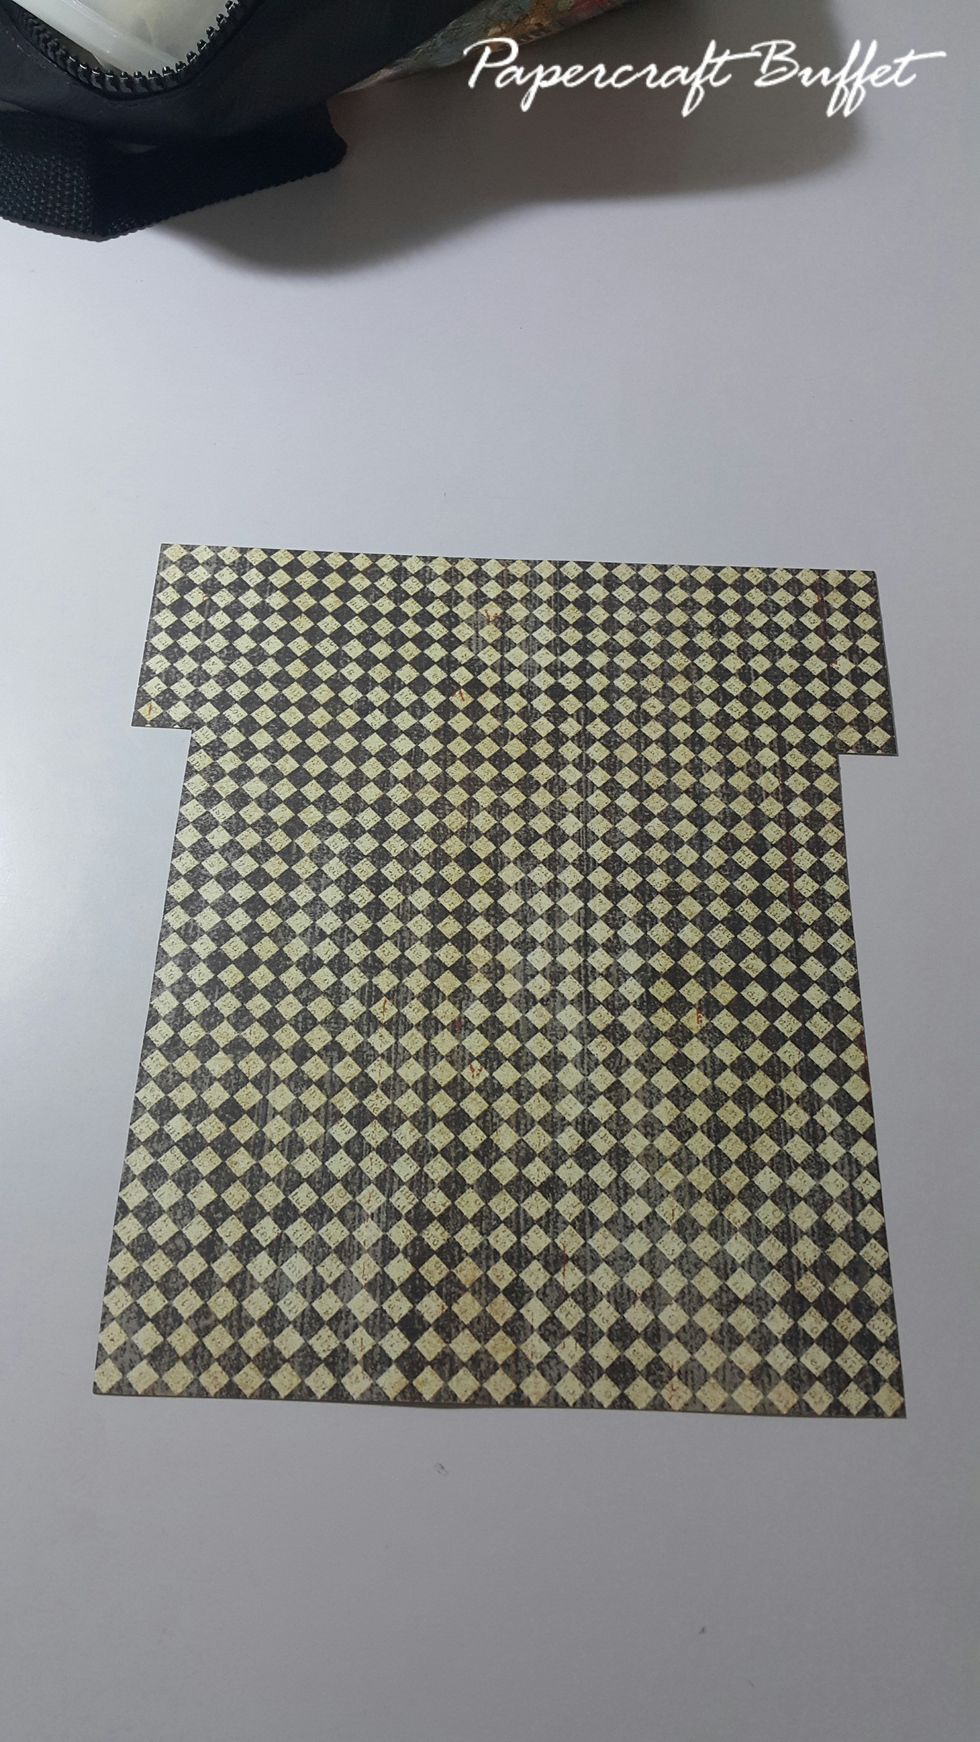
Ready a piece of paper 7"x6-1/4", cut out a part from the lower corners by 1/2"x5-1/8", as shown
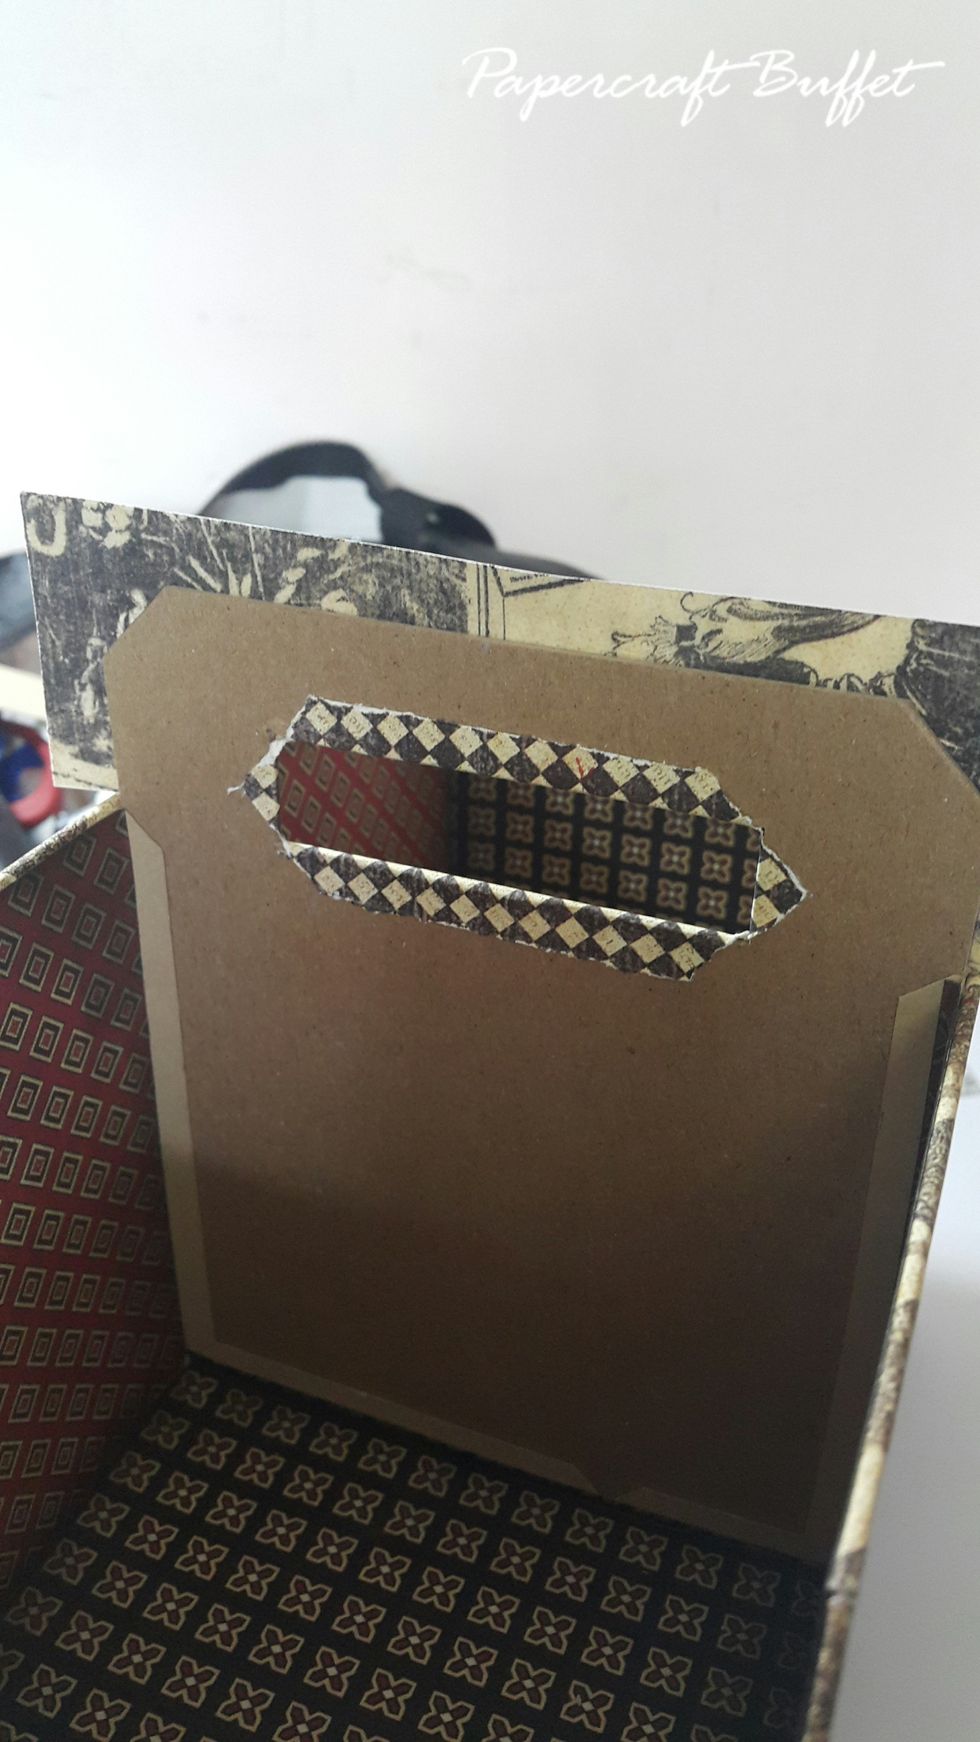
Adhere, cut a hole to fold inside the handle
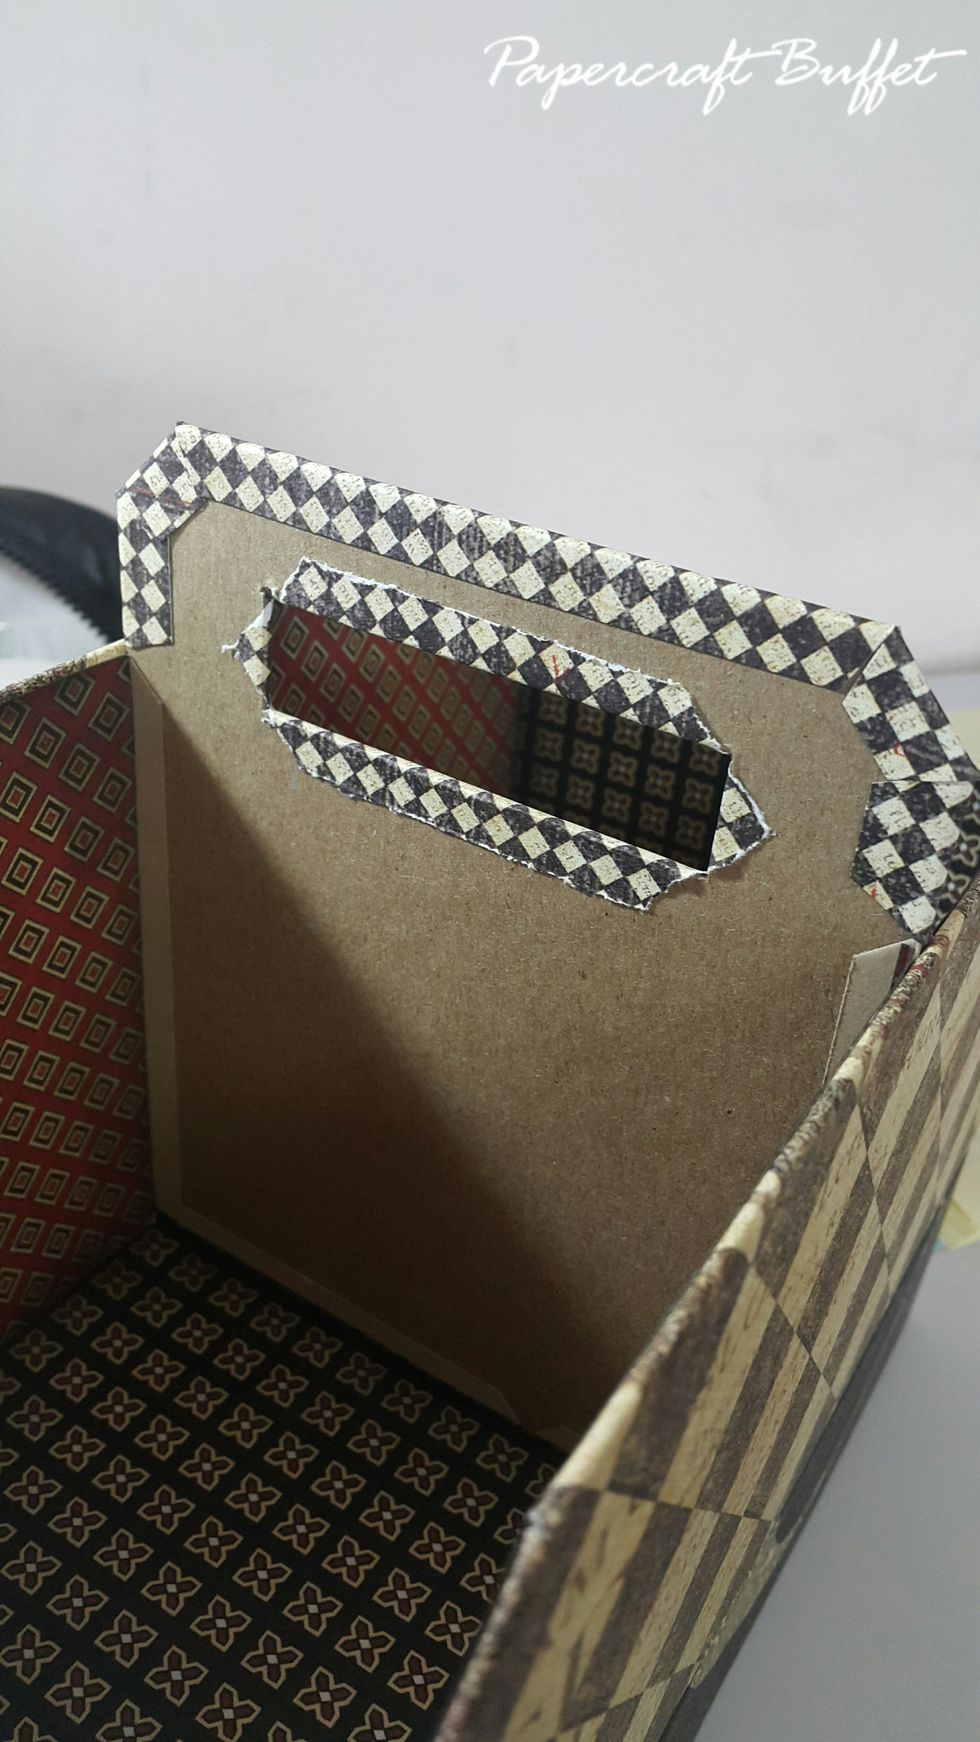
Fold and adhere the excess
Cut another paper 6-1/2"x5-1/4" and crop the 1/2" corners, and also the hole like the chipboard, adhere (or you may trace it before step 10)
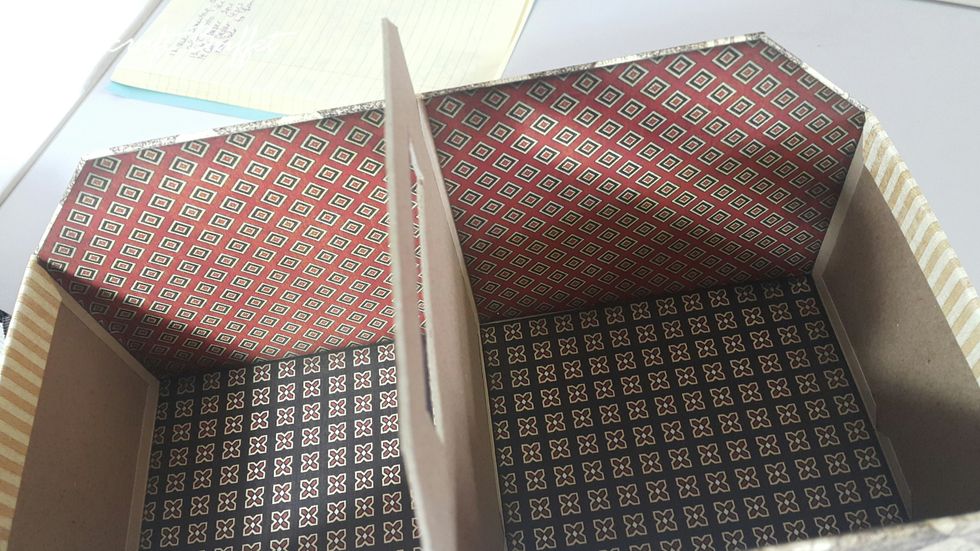
Cut two panels of 5-1/4"x4", cover both sides with a paper of 5-1/4"x8"
Adhere the two panels into the box with strong glue
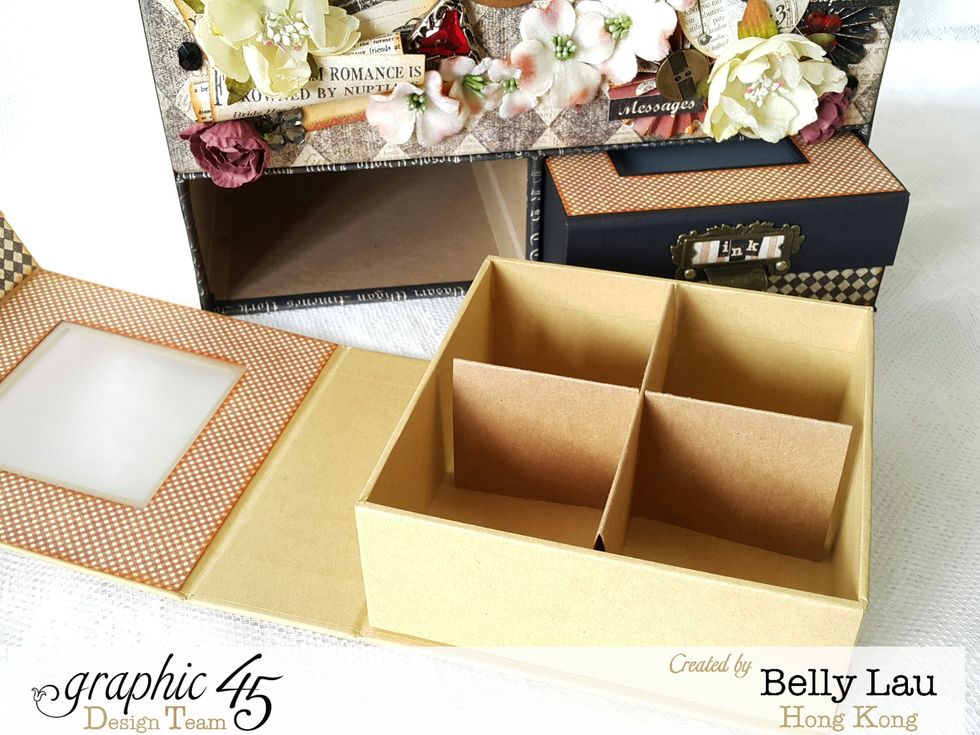
Fold two pieces of the cards from mixed media box into half, then cut off 1/4" from the base (you can skip this part depends on what you are going to put into the mixed media box, and start decorate

Trim a gap from the folded card, one up and one down which let them to be inserted into each other, this are going to be the compartment divider inside the mixed media box.
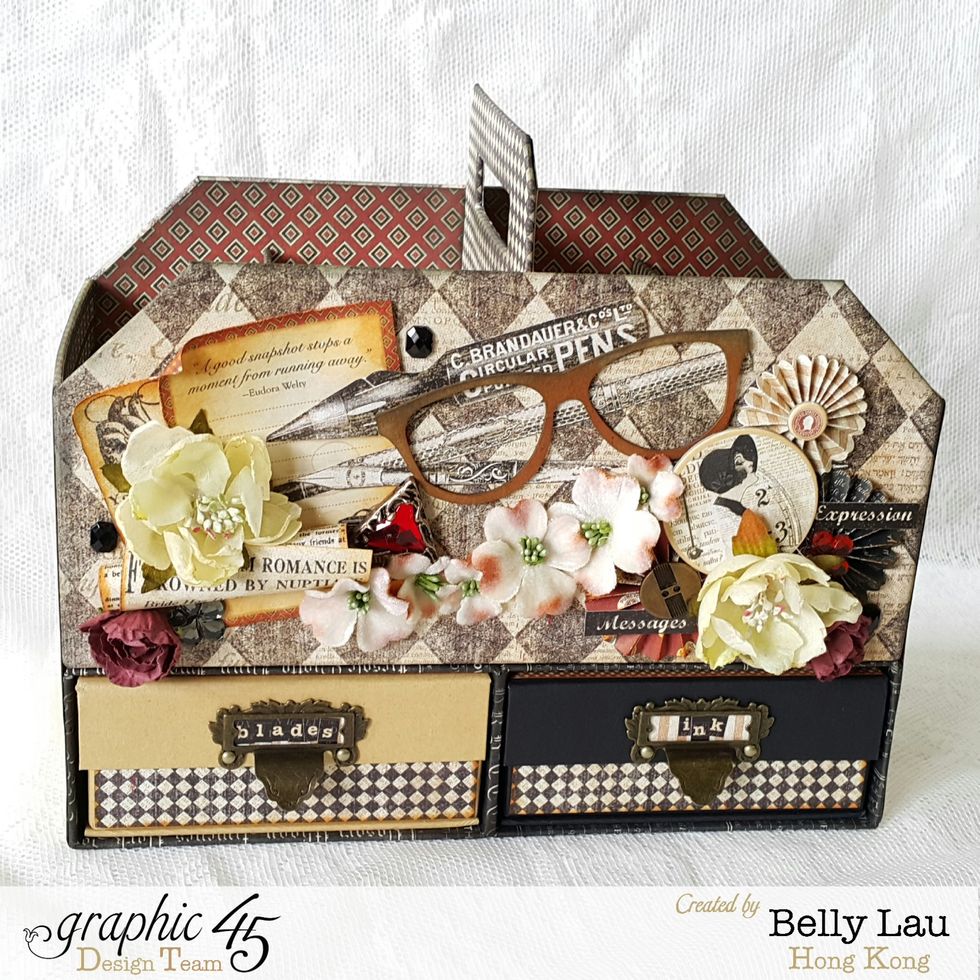
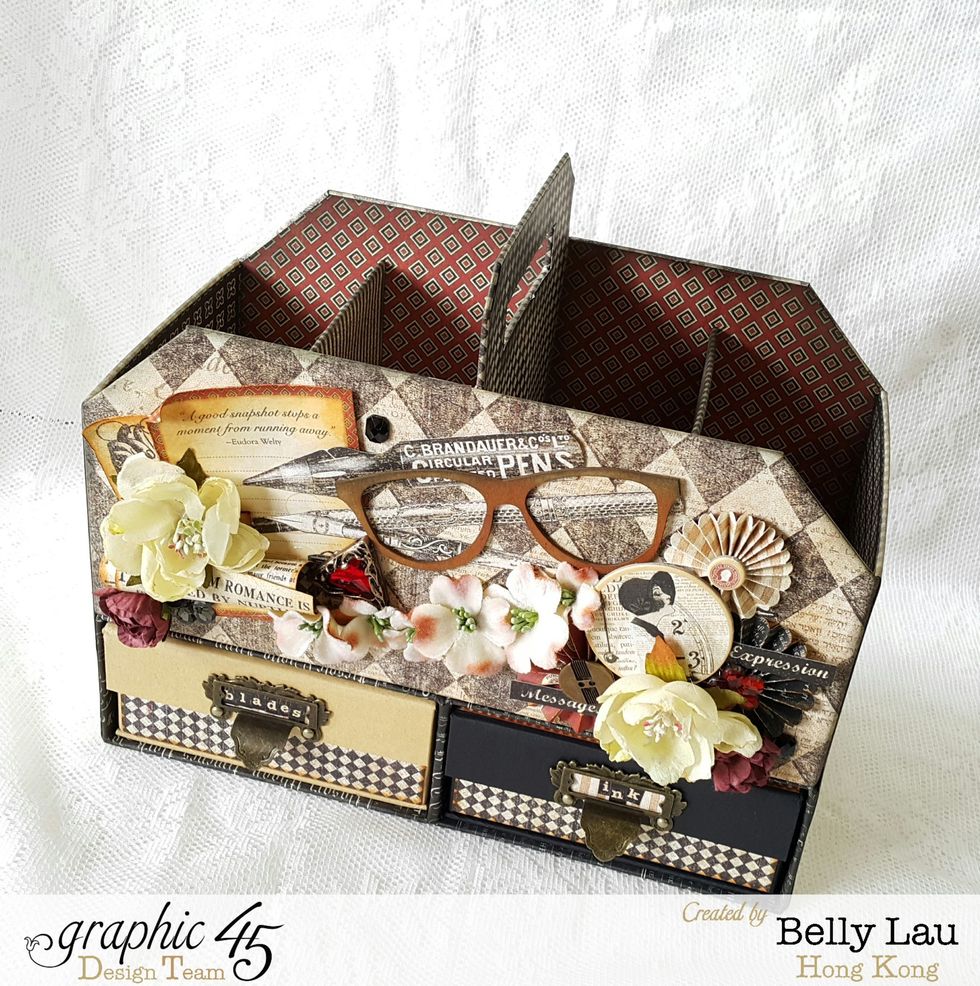
I did only decorate the front of the tool box as I may have other boxes sit next to it

You can amend the height of the tool box to fit your need
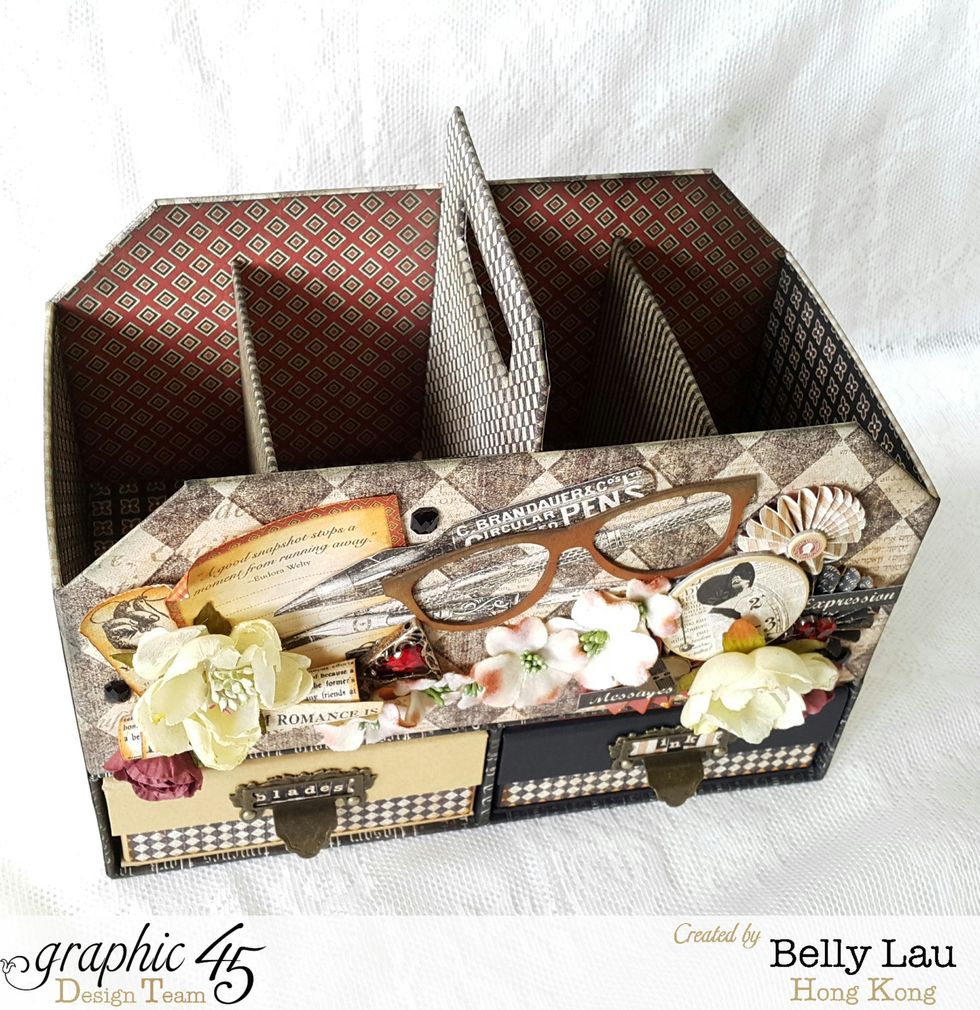
You can put more compartments inside the tool box, or just use some cups
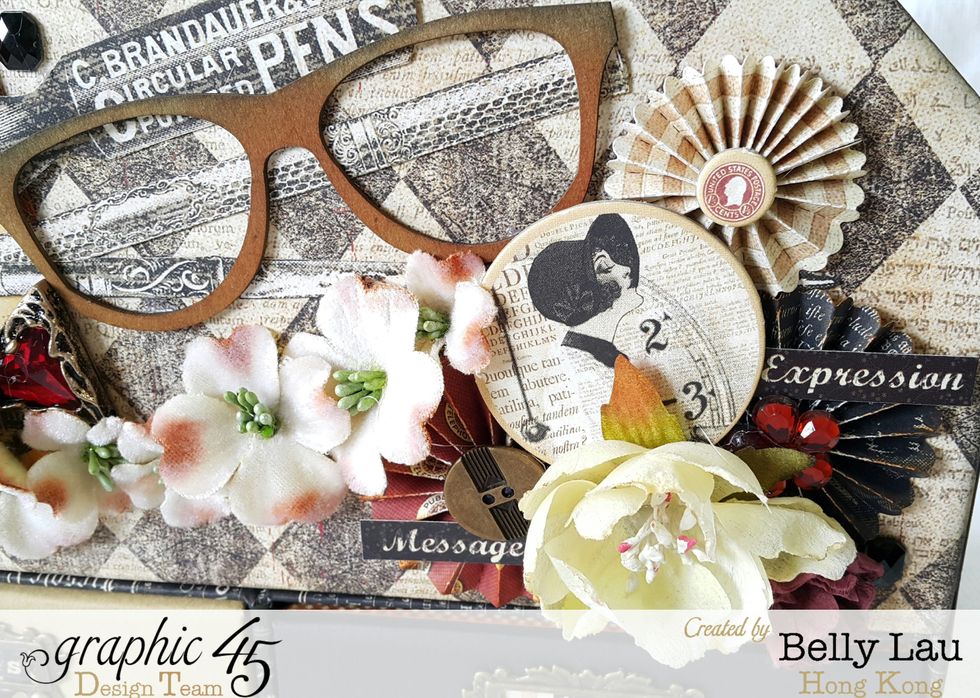
Flowers, buttons, beads, chipboard or some die-cuts for decoration
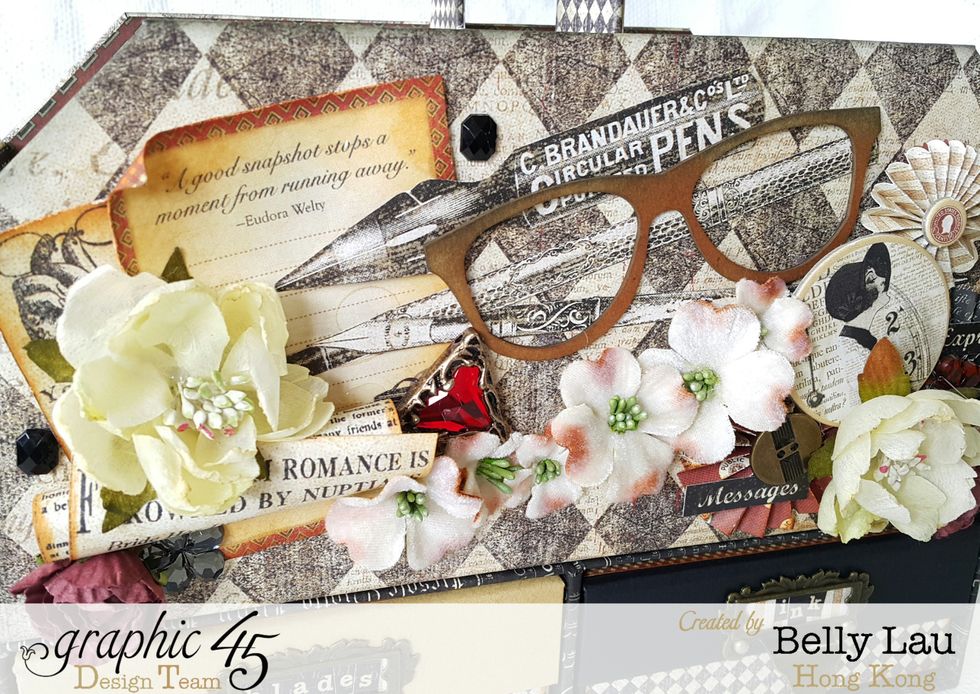
Flowers, buttons, beads, chipboard or some die-cuts for decoration
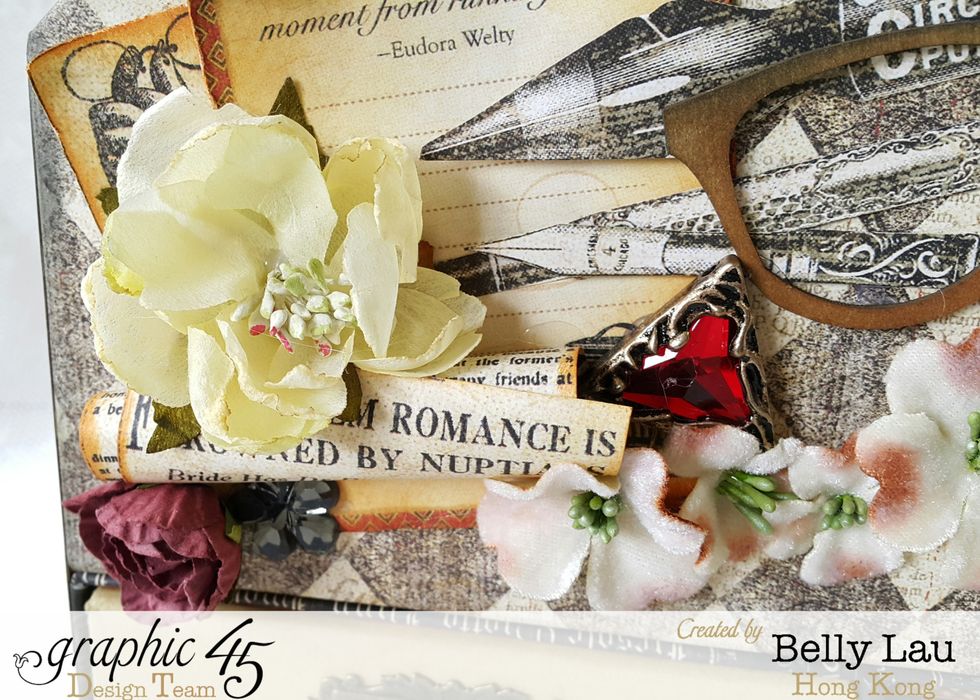
Flowers, buttons, beads, chipboard or some die-cuts for decoration
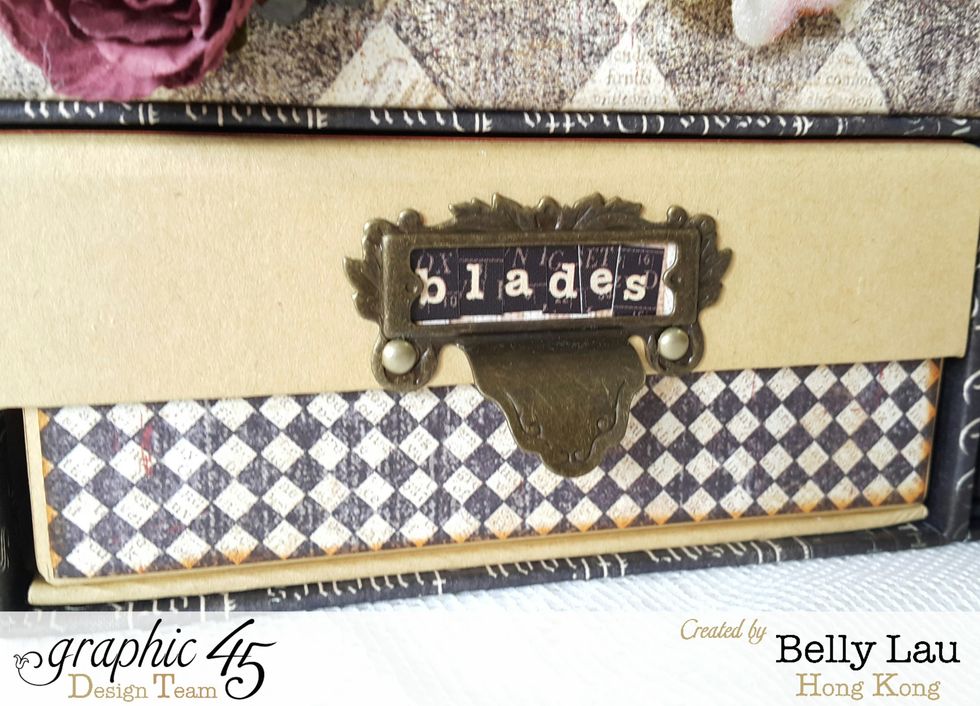
Here I adhere a piece of paper on the front of the mixed media box, and also a metal label holder
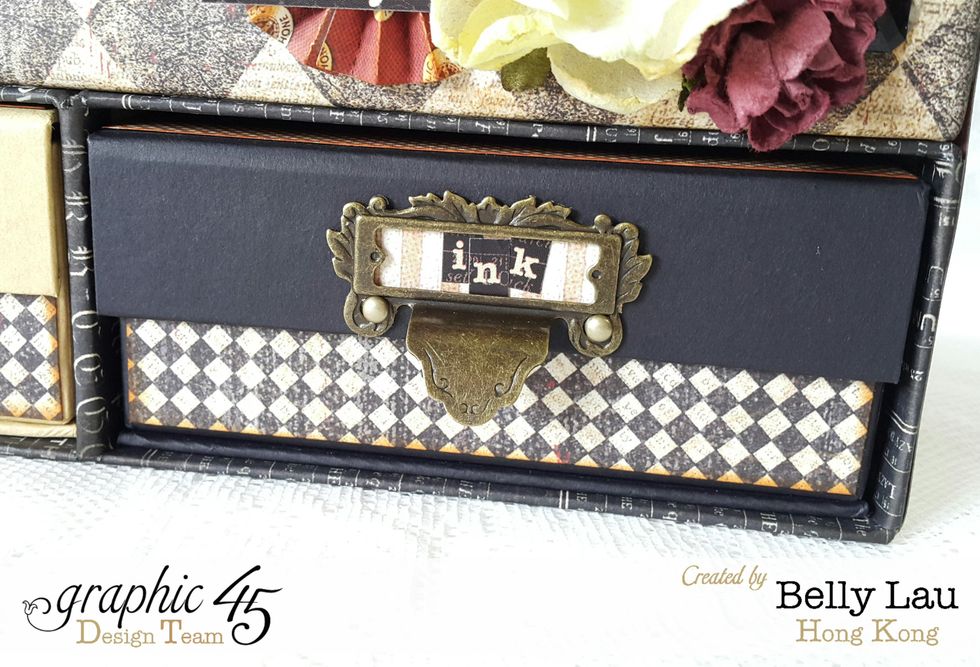
I chose to use the black mixed media box for the ink just because you don't need to care about the ink when you put inside the box
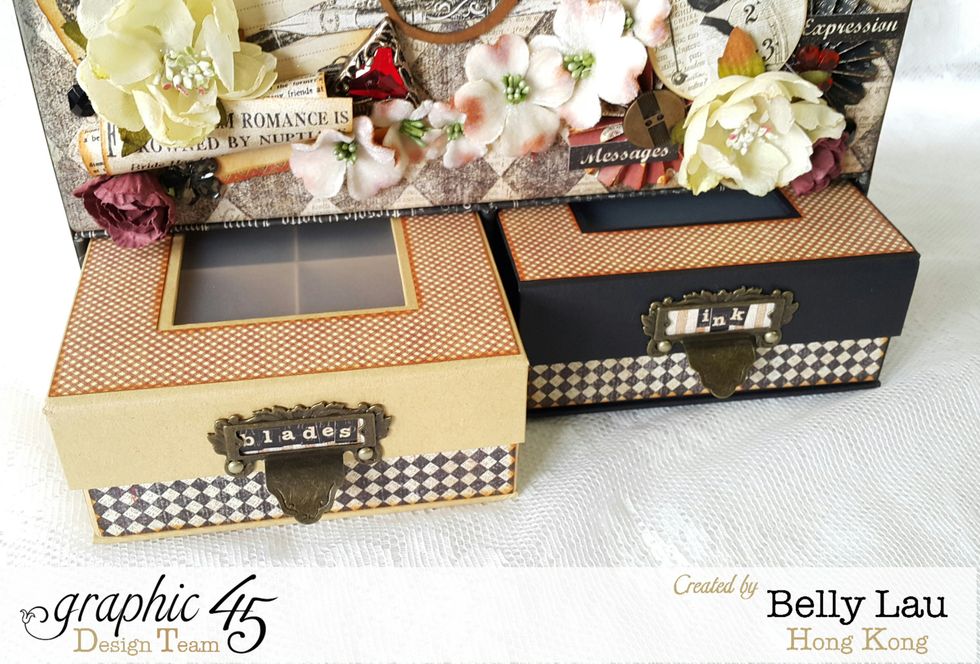
In order to let the mixed media boxes to be matched with your tool box, adhere a piece of paper on top
What I did to cover the inside of the mixed media box is first a piece of recycle plastic file folder and then a piece of paper, this seems more tidy
Enjoy!!! Thanks for stopping by:)