The Conversation (0)
Sign Up
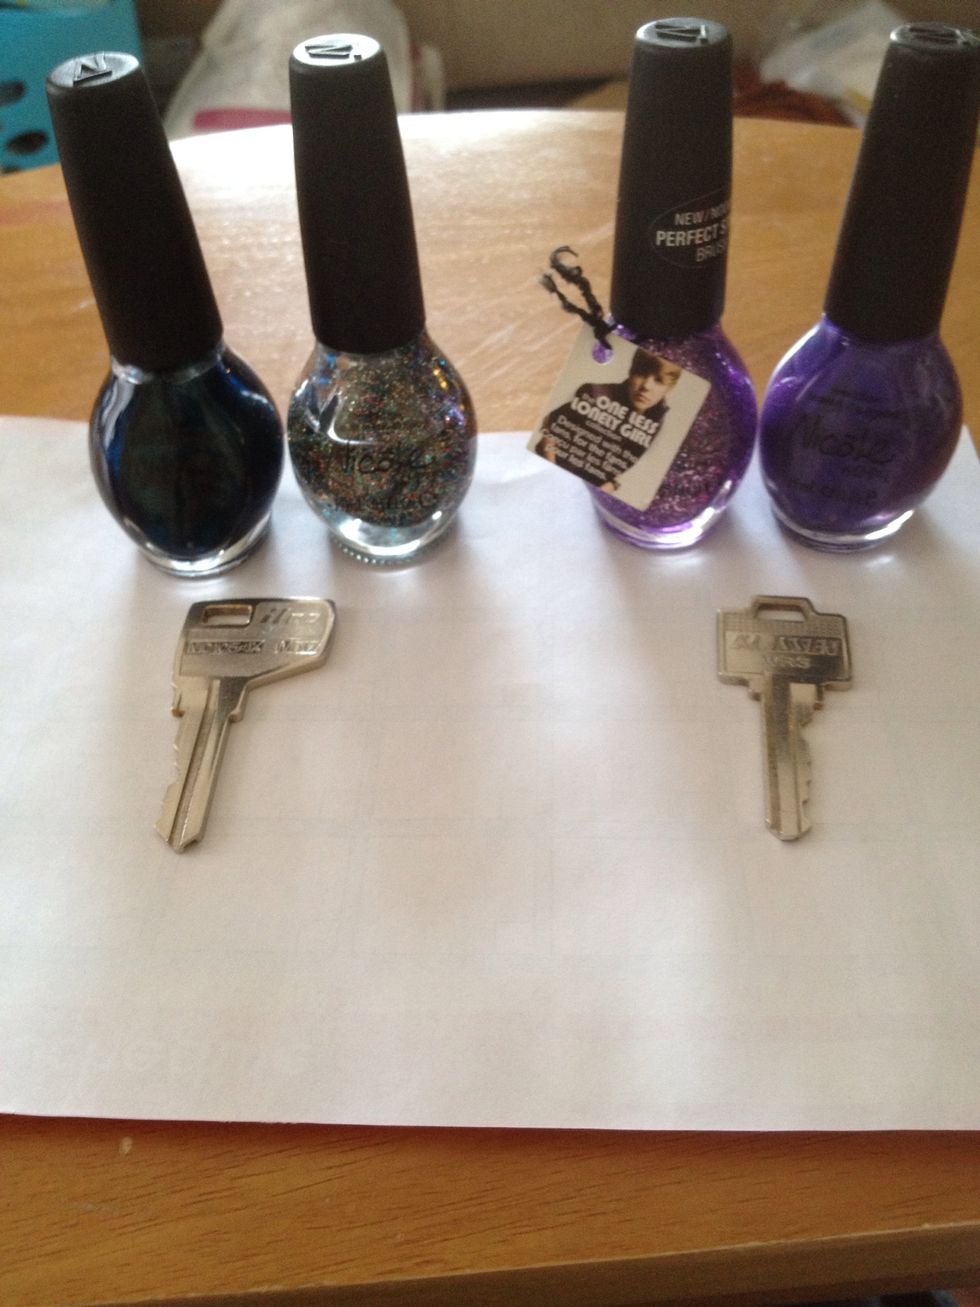
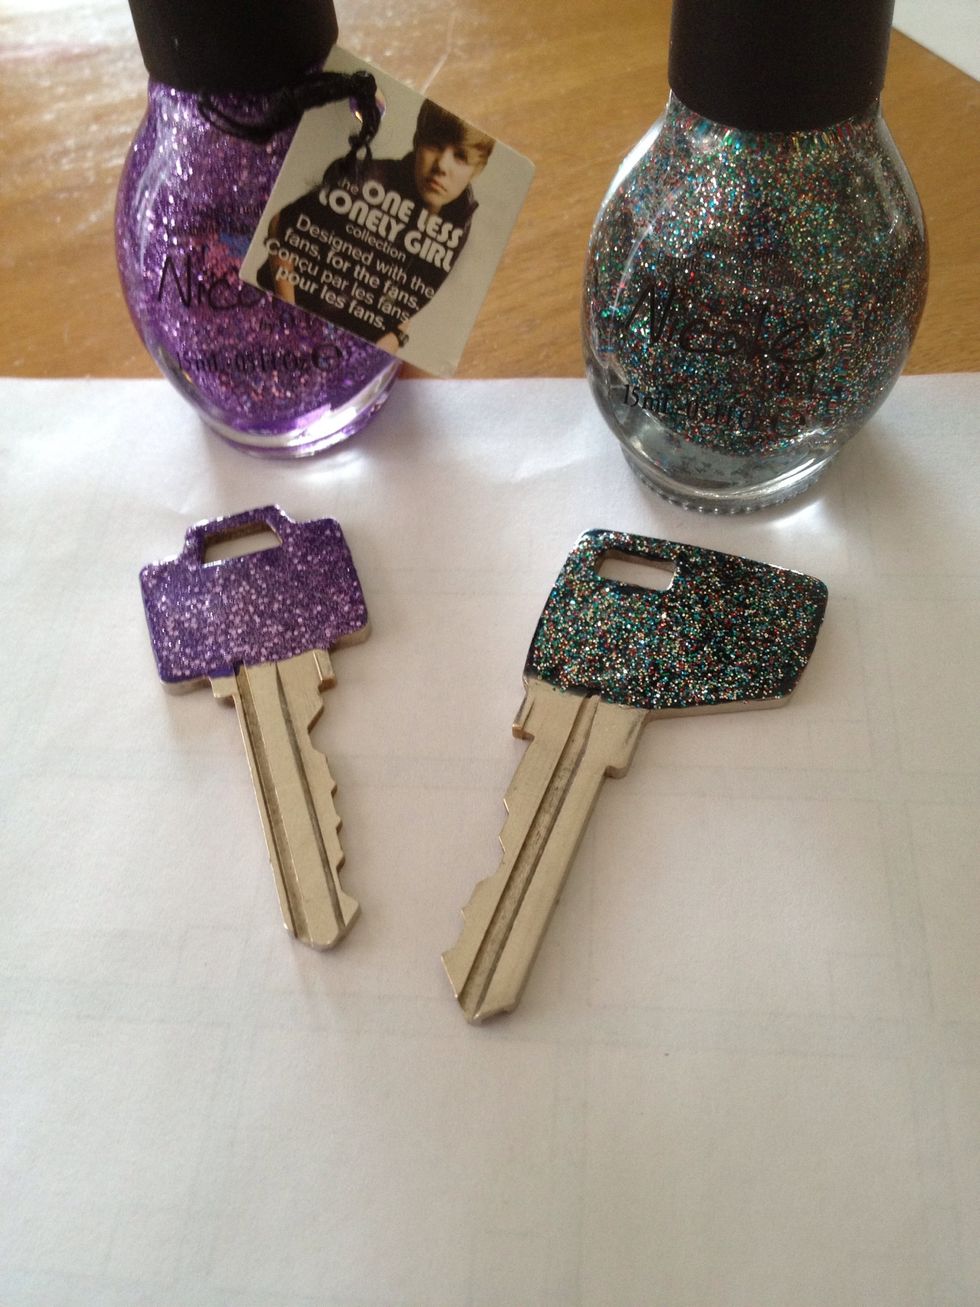
Gather supplies. I used Nicole by OPI nail polishes. If using tape to guide where you polish do now. *i just free handed it.*
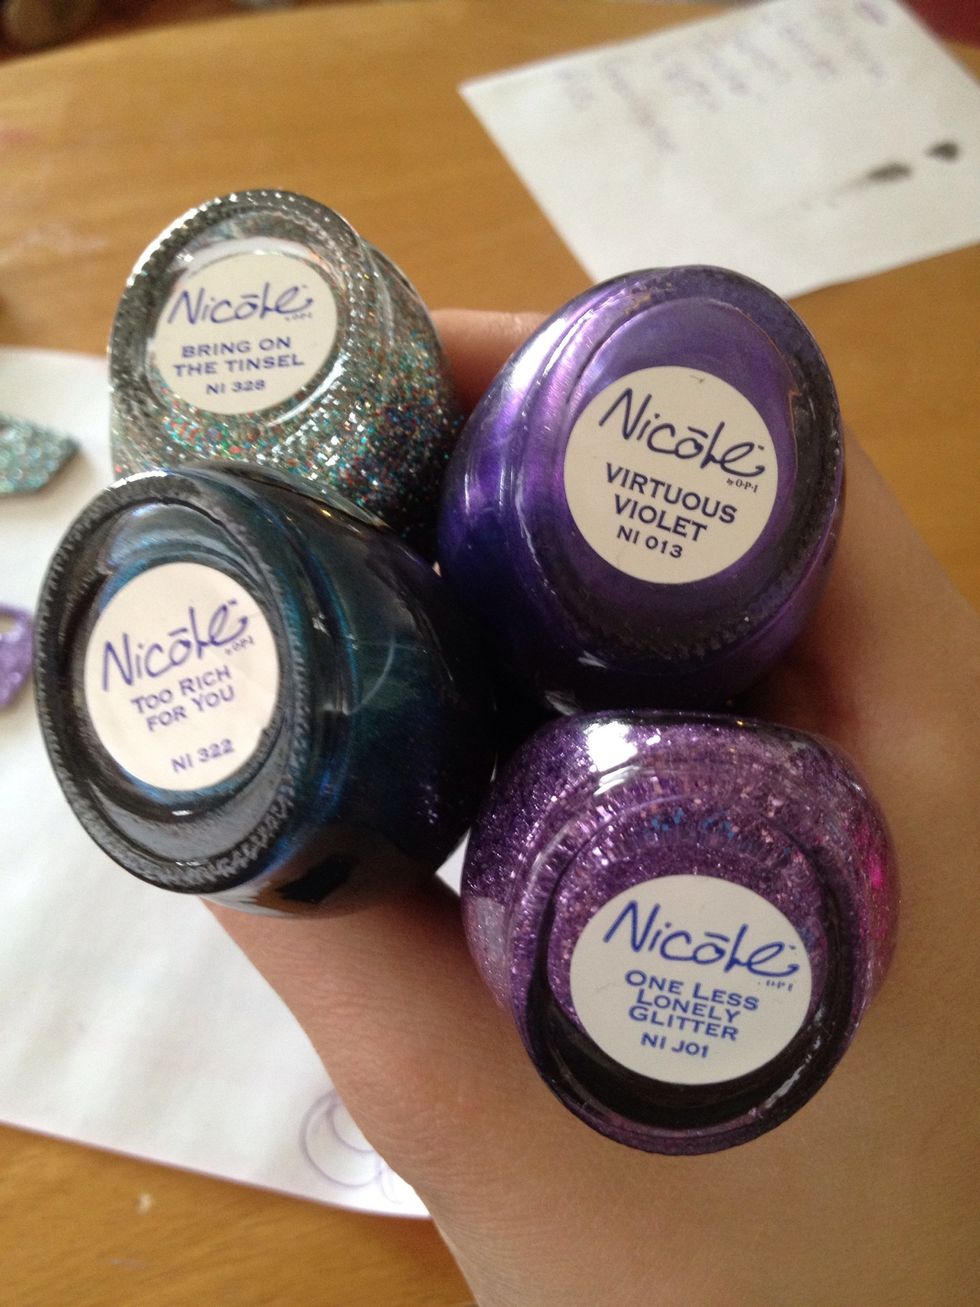
These are the shades used. I like to use a dark or heavy color for the base color I find that it makes a nicer more noticeable key. You can use any color tho. There your keys!
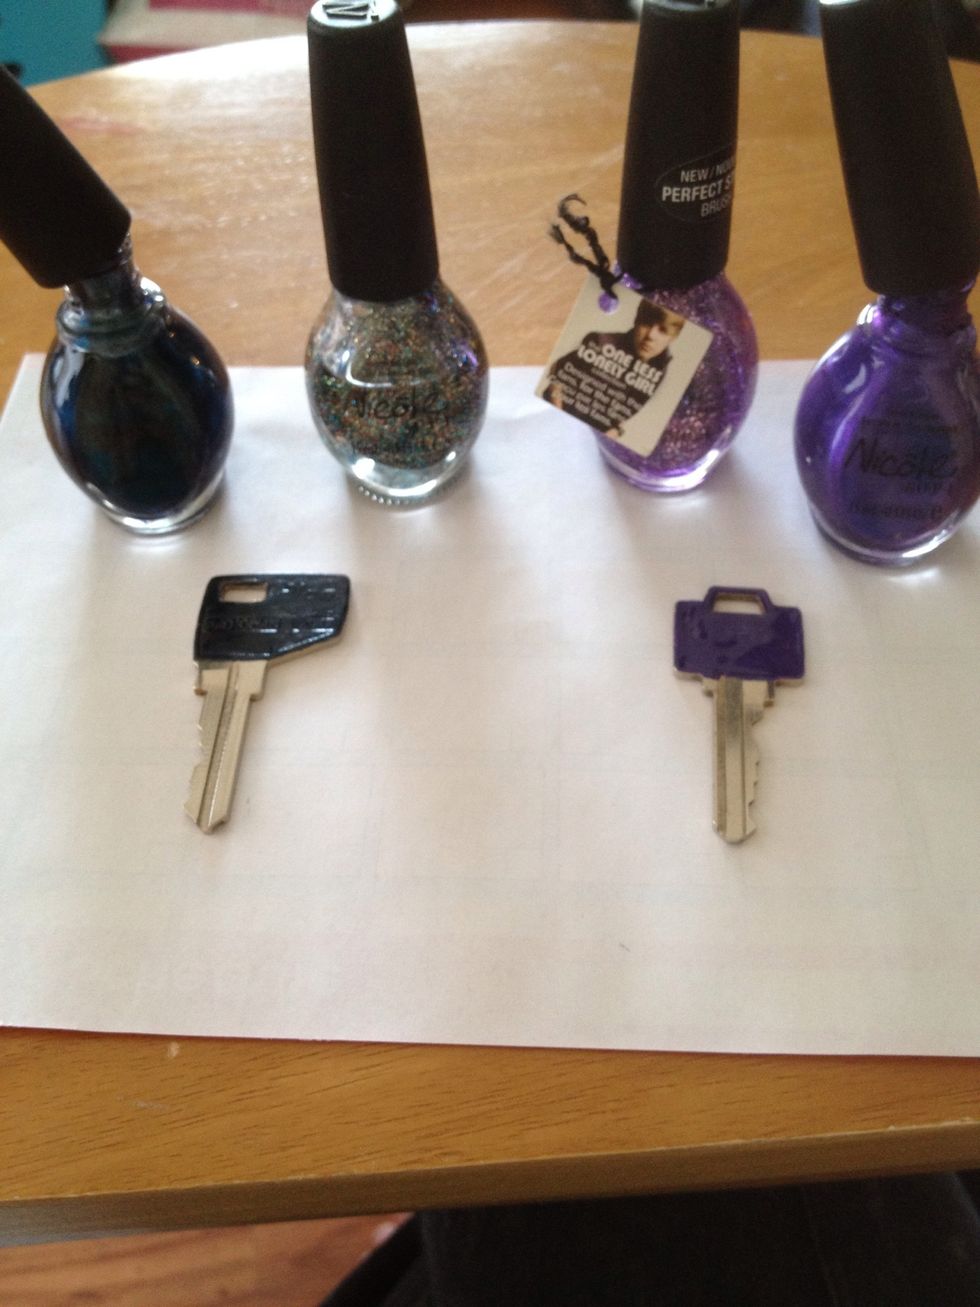
Paint the keys with one coat of base color and let dry. One coat of nail polish takes should normally dry in 15 to 20 mins. * I never waited that long*
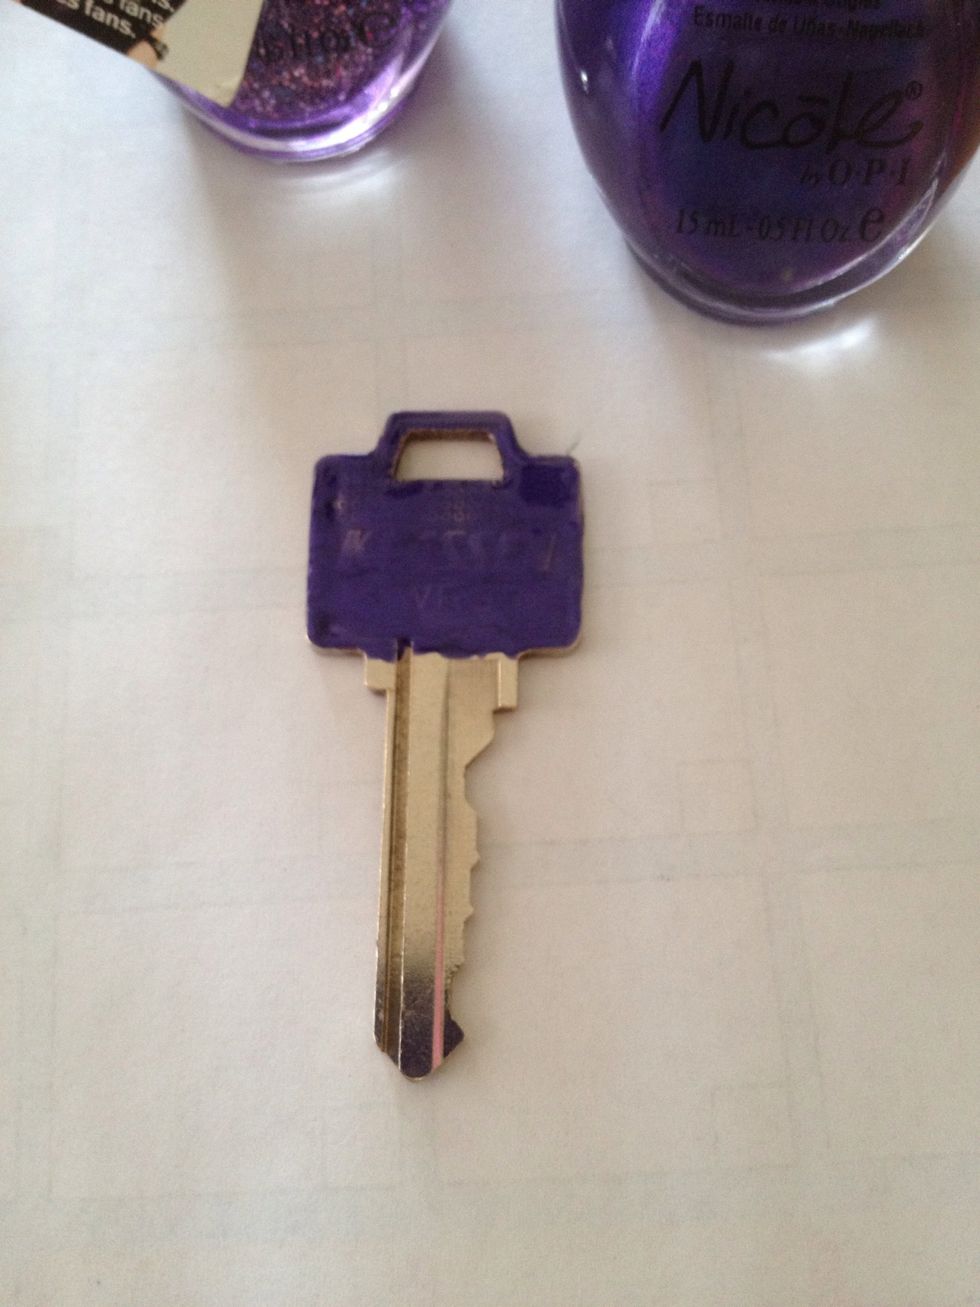
That's one coat of the purple. So then I put another coat of color.
That's the blueish green key with two coats on. I liked how the polish filled in the manufacturing logo.
Paint one coat of top color. I chose glitter but anything will be perfect. You can also do any other nail effect on your keys too. Paint the other side.
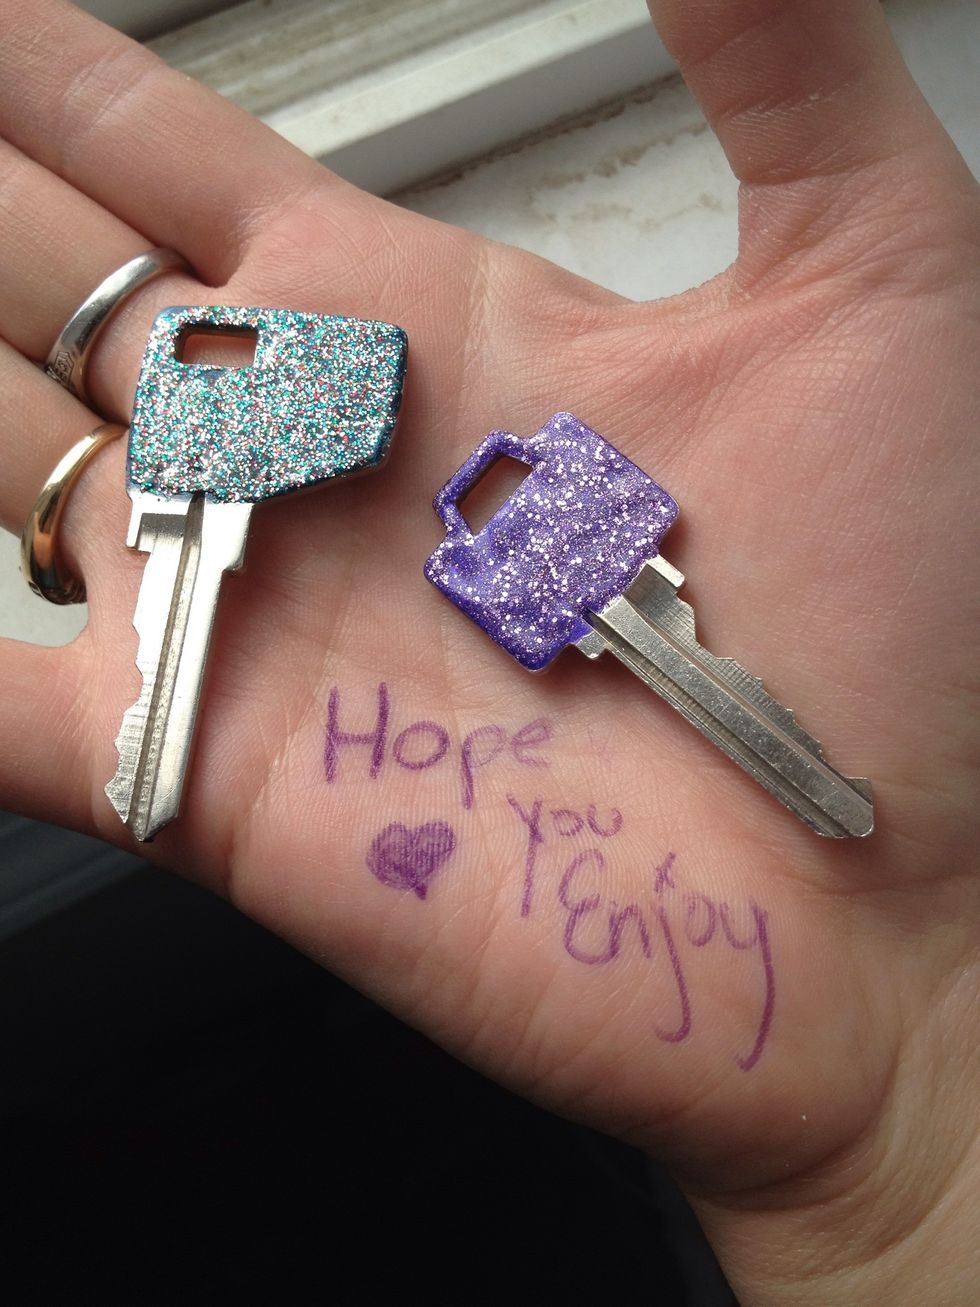
Finish with a top coat and let fully dry I suggest over night for complete dryness. Then enjoy or beautiful keys.