The Conversation (0)
Sign Up
Cold porcelain is a type of cheap air dry clay that is can be used instead of polymer clay.
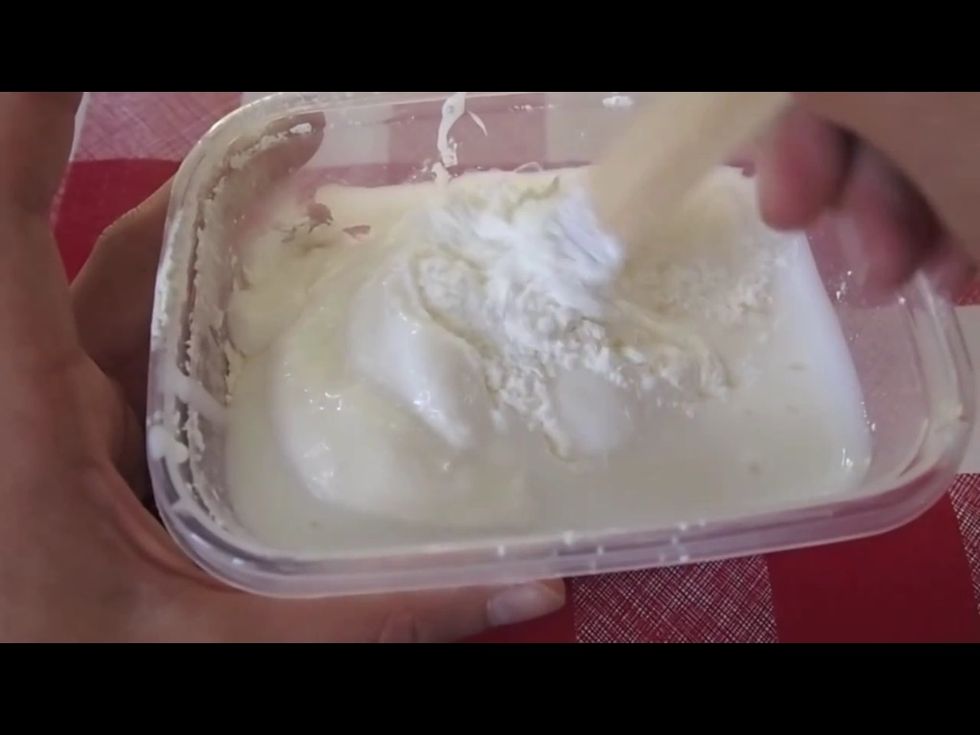
Mix the cornstarch and PVA/craft glue together.

Add two tablespoons of lime/lemon/vinegar juice. (I'm using lemon)
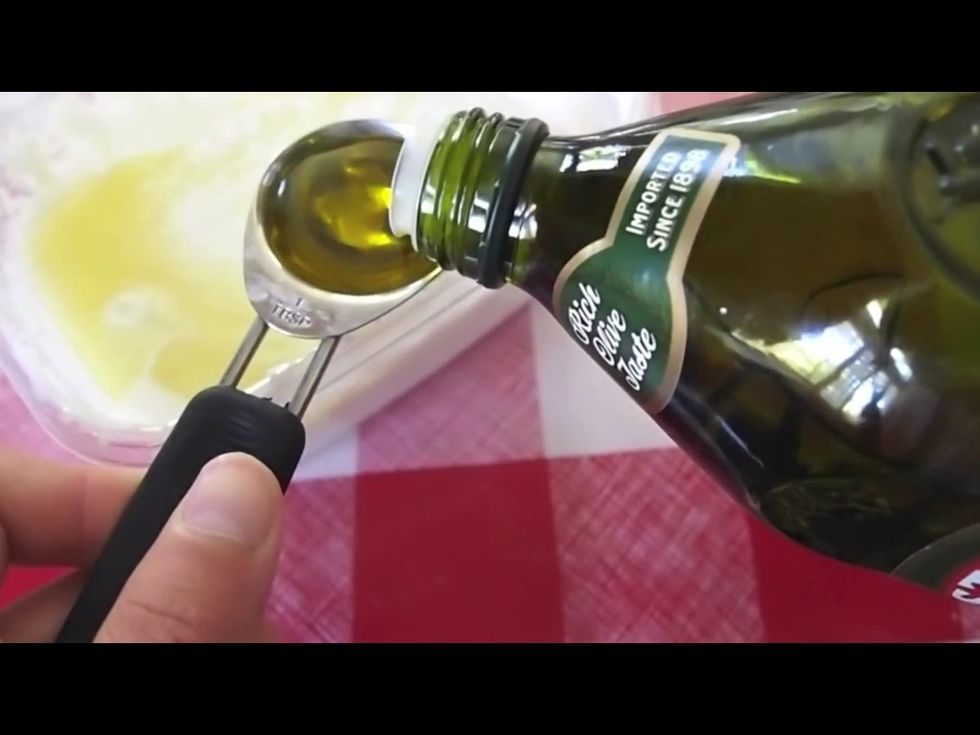
Add two tablespoons of olive oil/baby oil. (I'm using olive oil as you can see) Mix thoroughly.

Microwave the container with the mix in 5 intervals, with each 15 seconds long.
After each interval, take out the container and mix thoroughly with the mixing tool. (plastic fork, knife..etc) After the 3rd interval, clumps should be forming. Make sure to mix those in well.
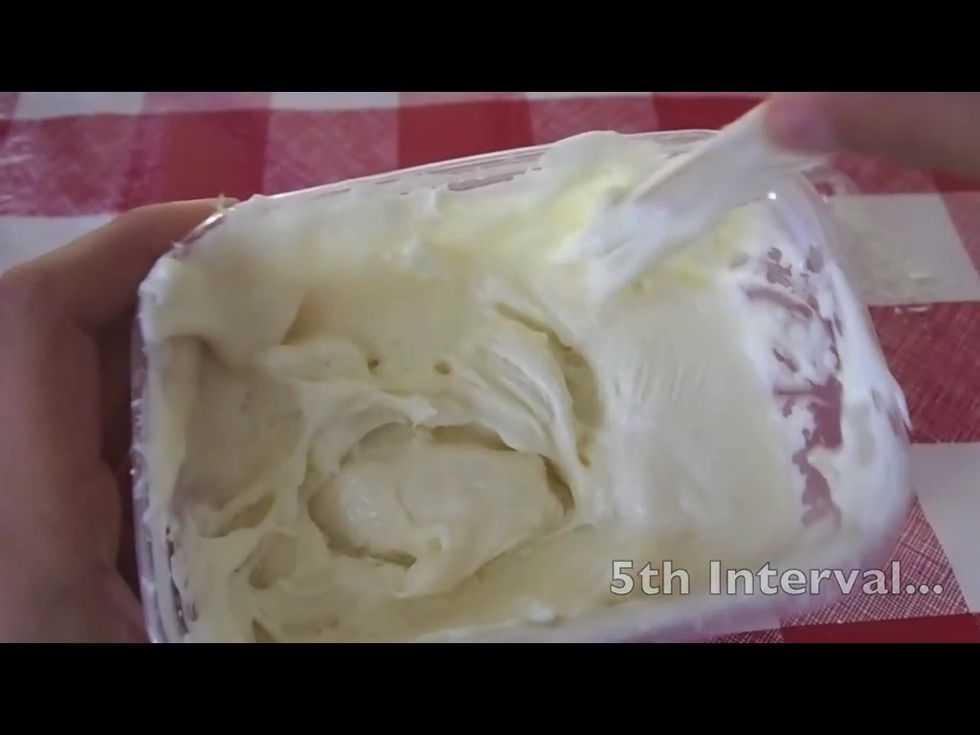
After the 5th interval, the consistency should be sticky and stiff, with lots of 'clumping'.

Knead the porcelain for 10-15 minutes, or until cooled, on a clean surface.
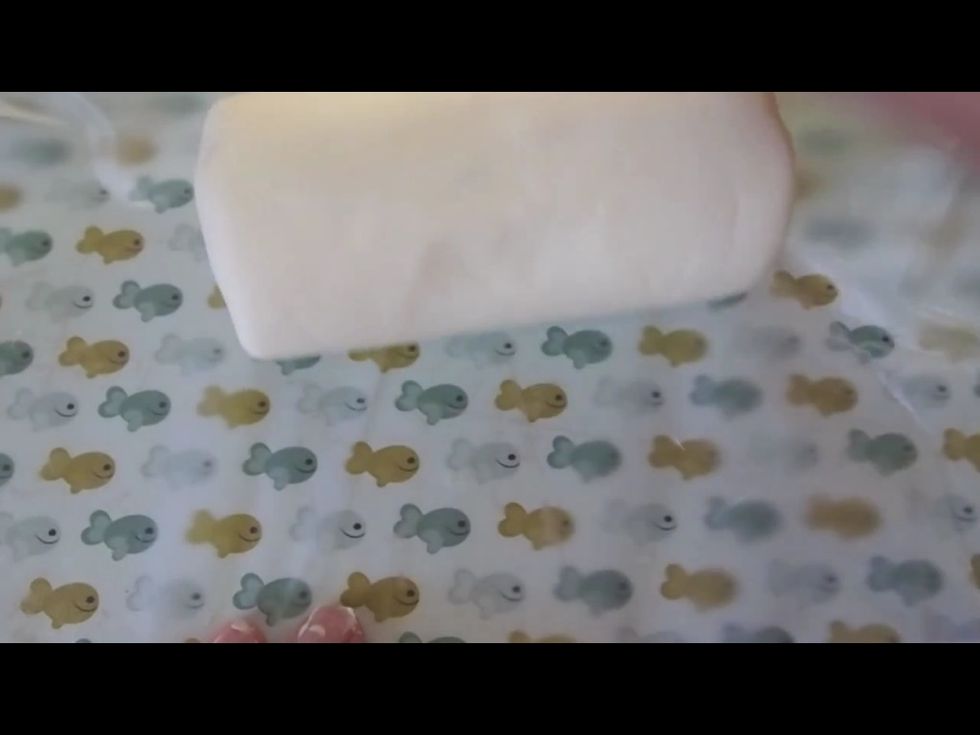
When it has finally cooled, wrap the cold porcelain in plastic film tightly, so that no air reaches the clay inside, or it will dry, and place it into the fridge for 24 Hours.
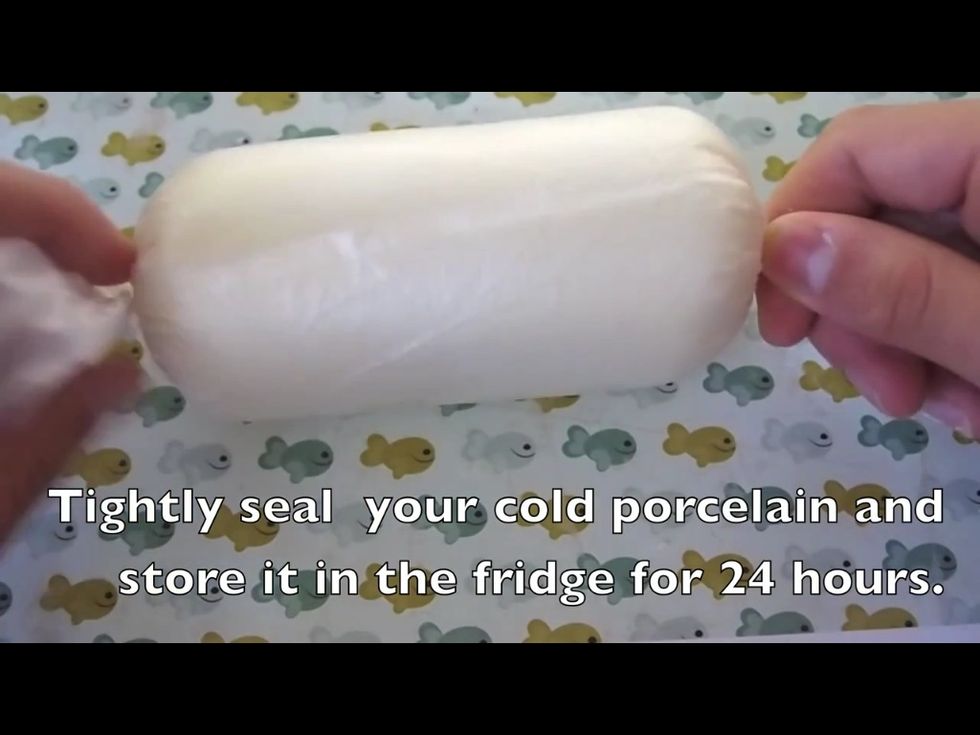
I suggest rolling the clay into a log, then rolling the plastic around, and finally twisting the ends so it looks like a candy. Storing it in an airtight container before freezing would work better.
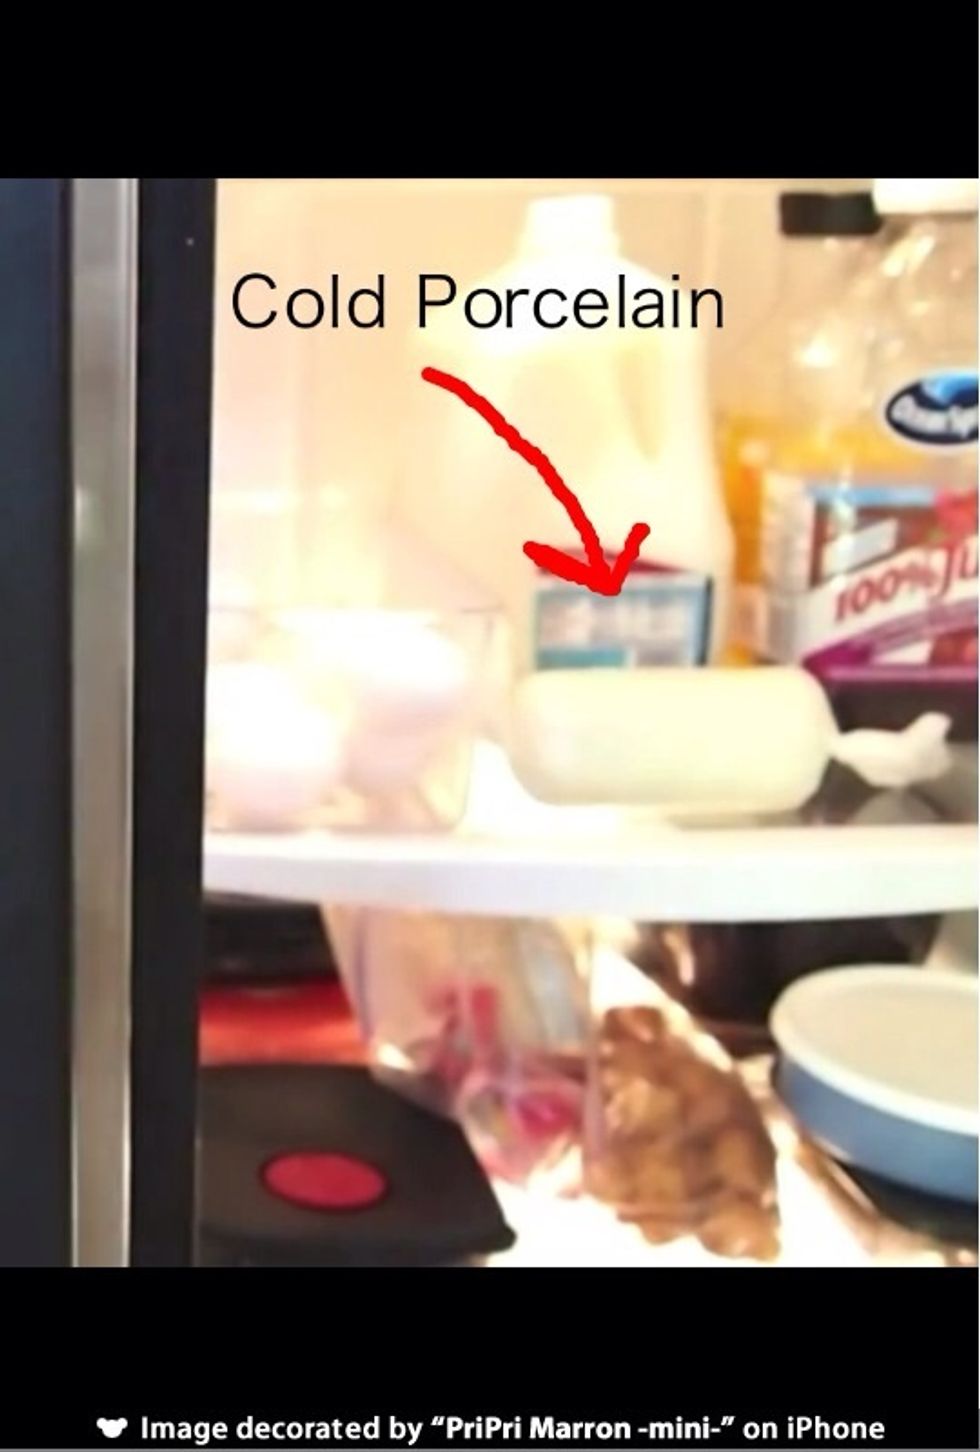
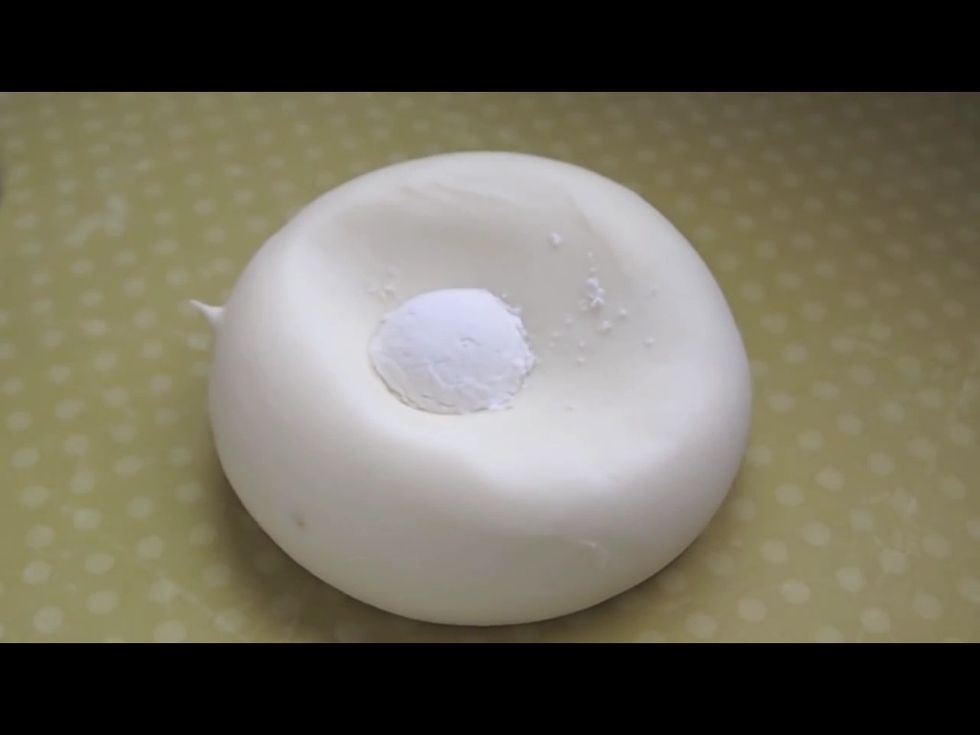
After 24 Hours, takw it out of the fridge, and if the inside is still sticky, add some more cornstarch to it, and knead it in.
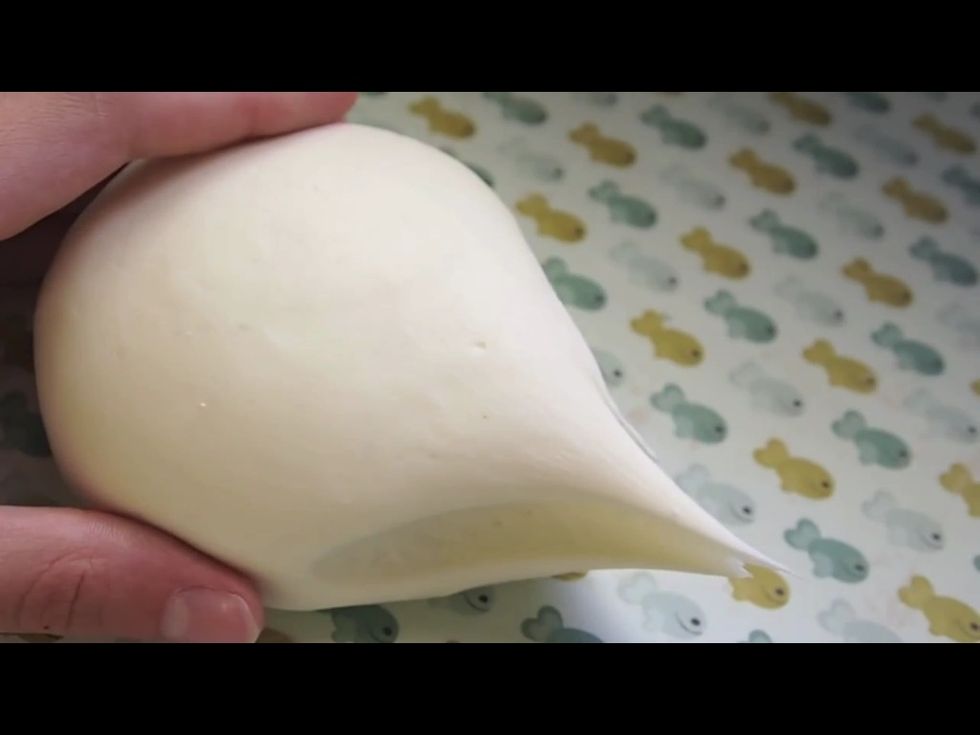
When you pull a bit of the clay, it should from a 'tear drop shape'-ey stretch mark. That should be the right consistency.
The clay should dry/harden depending on how thick or thin your creation is. Pros- economical, cheap, durable, picks up detail (molds), easy to work with, achieve thin results, never cracks
Cons-air dry, so needs to be sealed tight, clay shrinks when drying, (if coloured,)-colour will darken upon drying
Enjoy creating things with your homemade cold porcelain clay, and feel free to ask me any questions, or how to colour it, because when this clay dries, it is translucent- not white as it looks.