The Conversation (0)
Sign Up
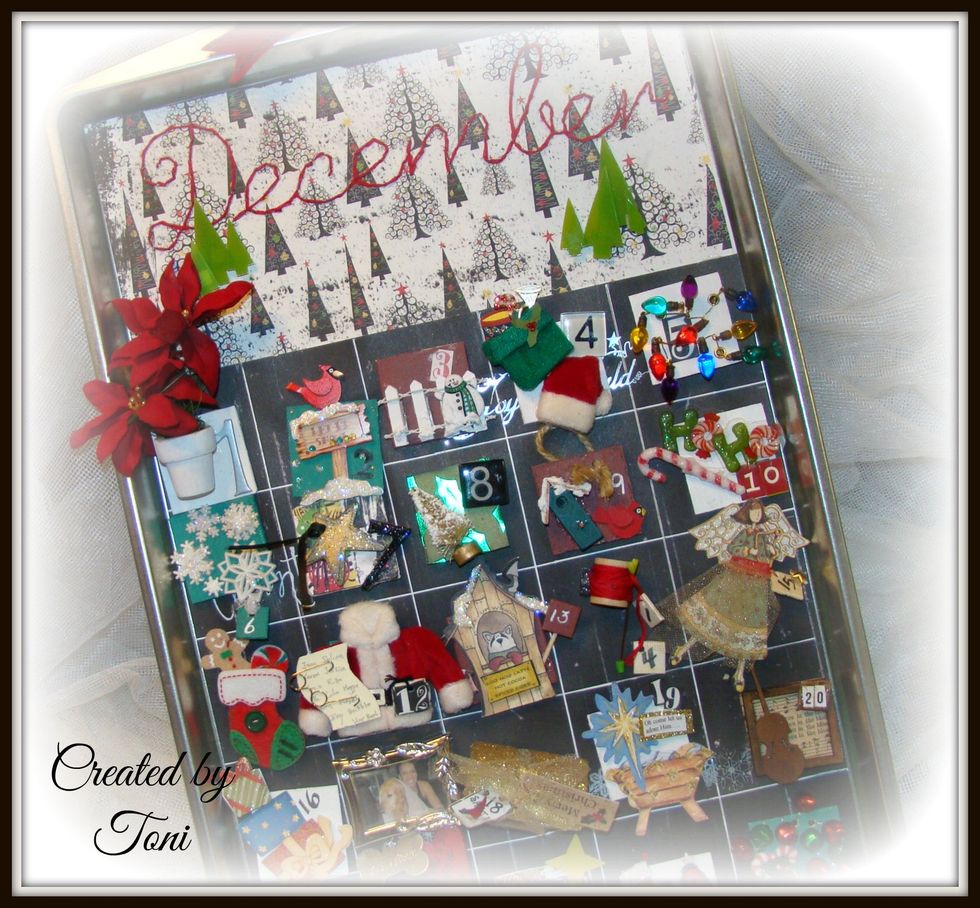
There were many steps in making the calendar tiles. This tutorial is basically to inspire you with ideas you may want to use for your own tiles. Let your creativity go wild.
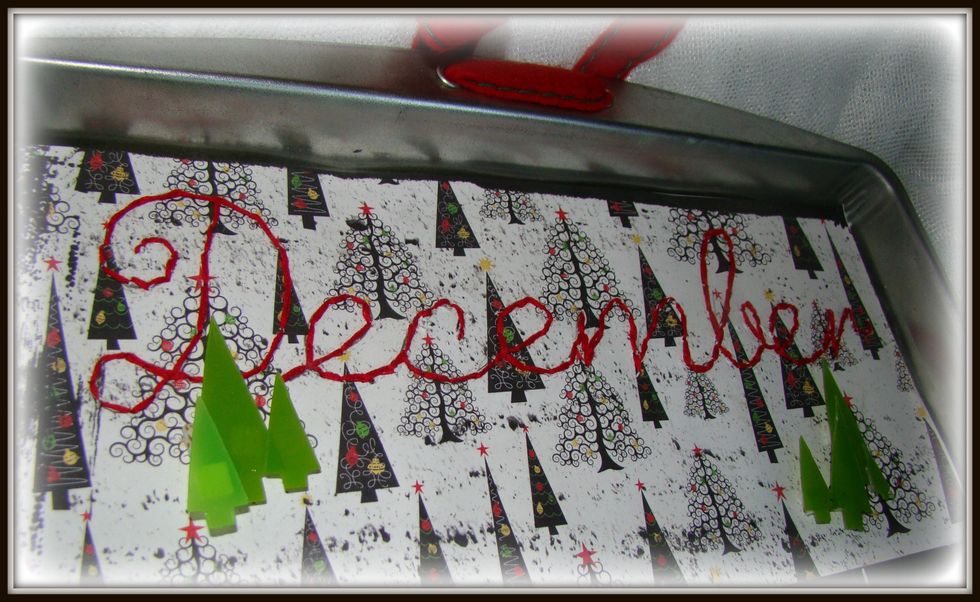
I wrote out my letters first then just followed them with the basic stitch using red embroidery floss on scrapbook paper. Adhered down to cookie sheet.
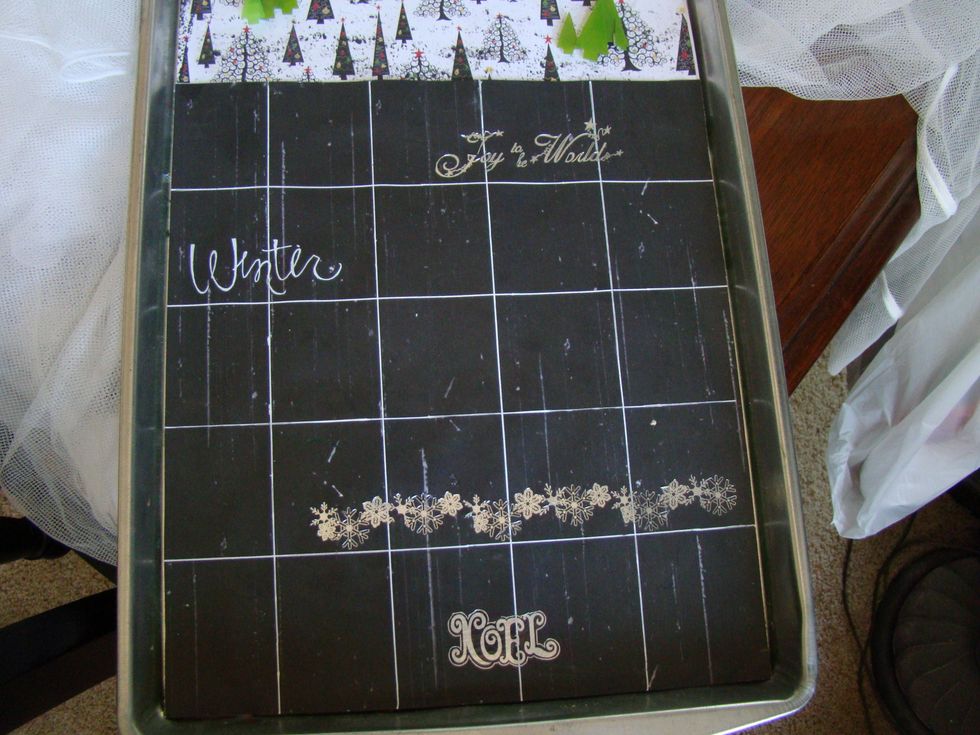
Using chalkboard paint I covered the remaining portion of the cookie sheet. Using a white pen I drew out the grid lines. I randomly applied chalkboard Christmas rub ons here and there.
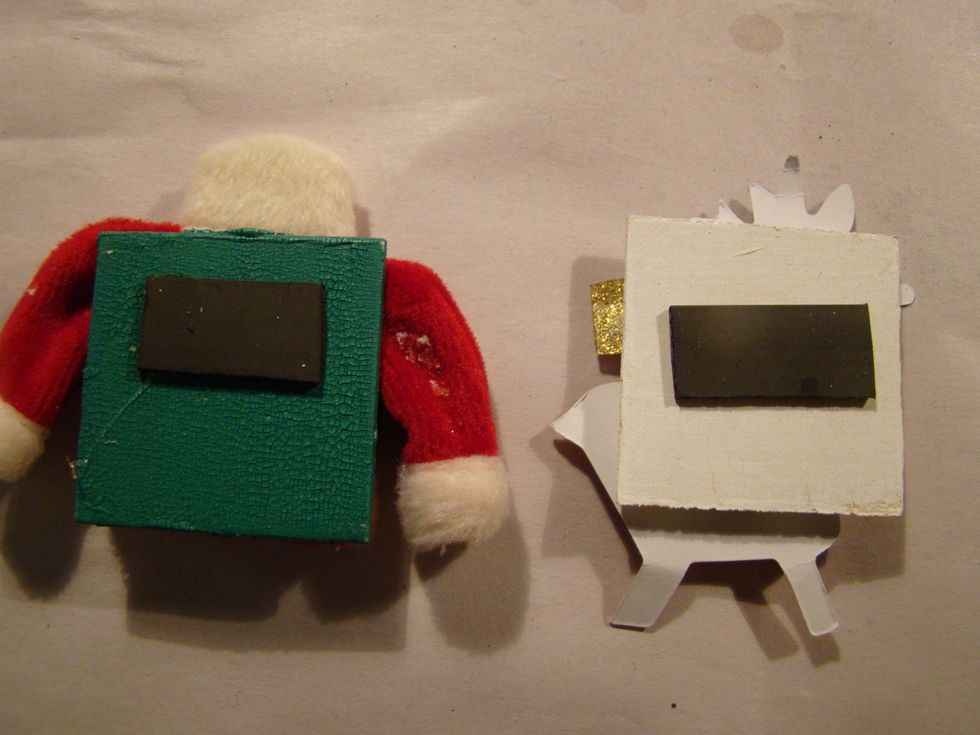
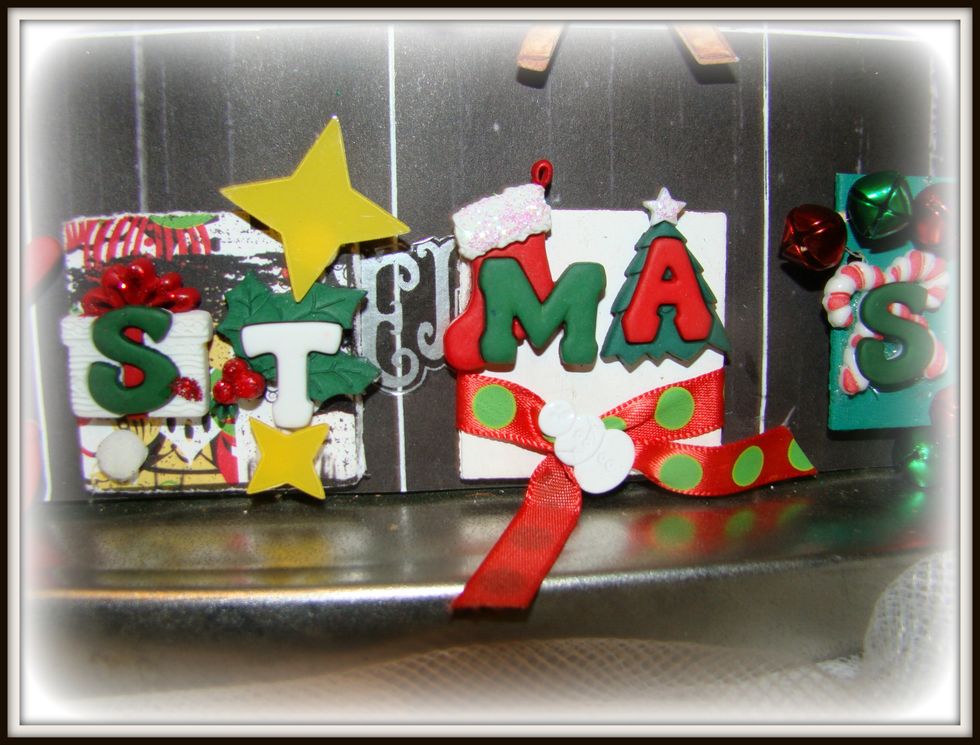
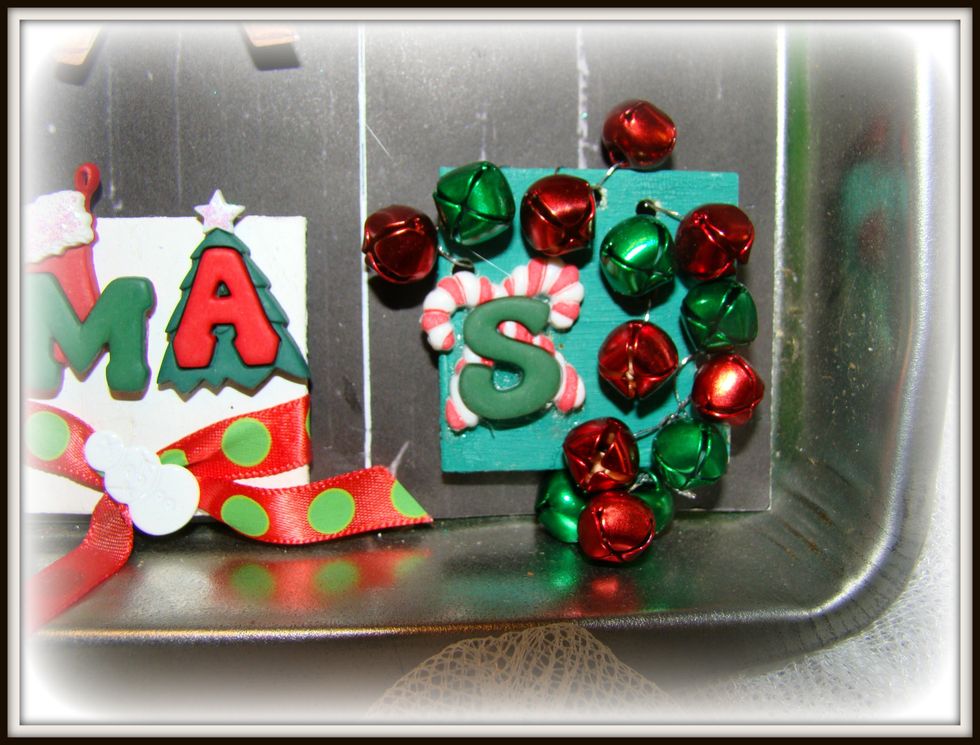
I gave each wooden square a coat of acrylic paint and then embellished. Flip over and glue magnet on the back.
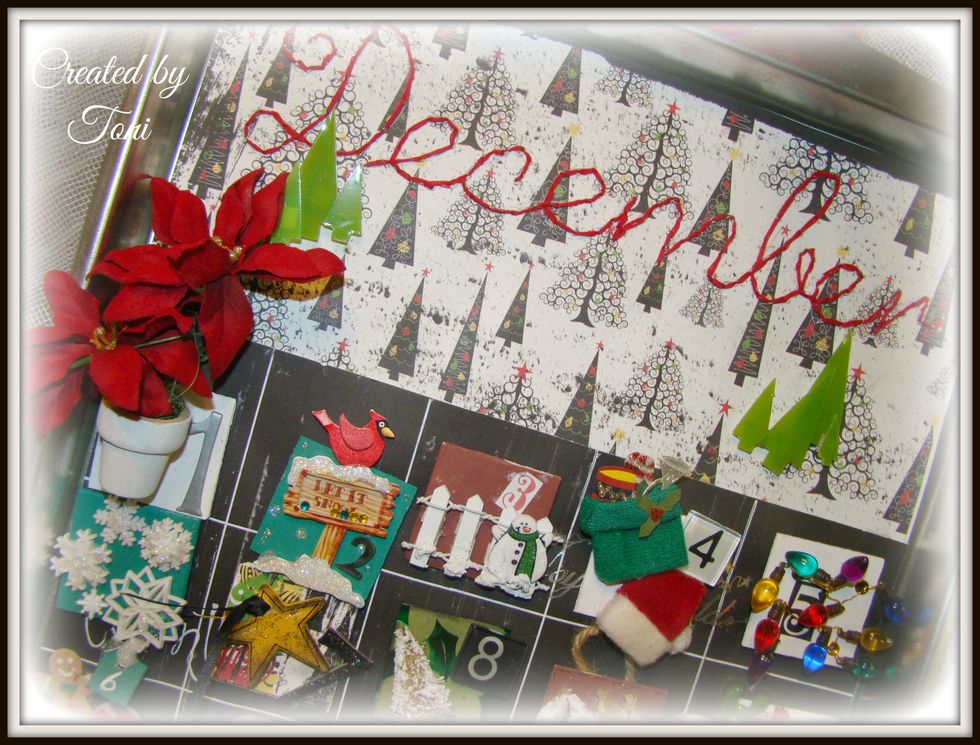
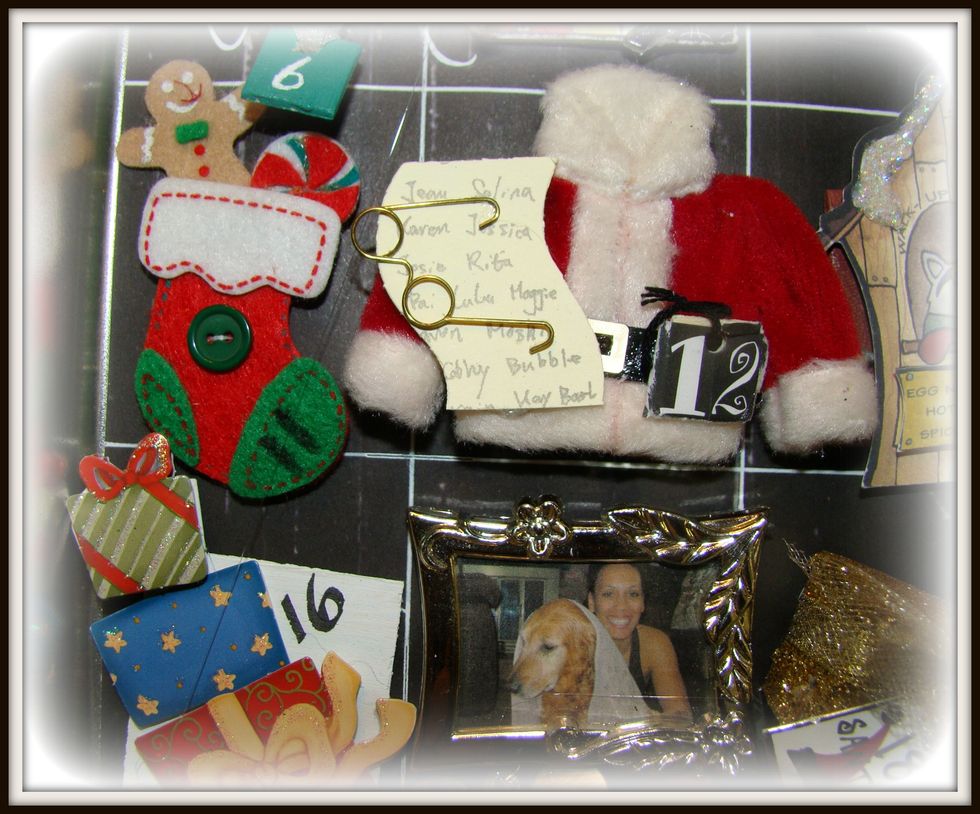
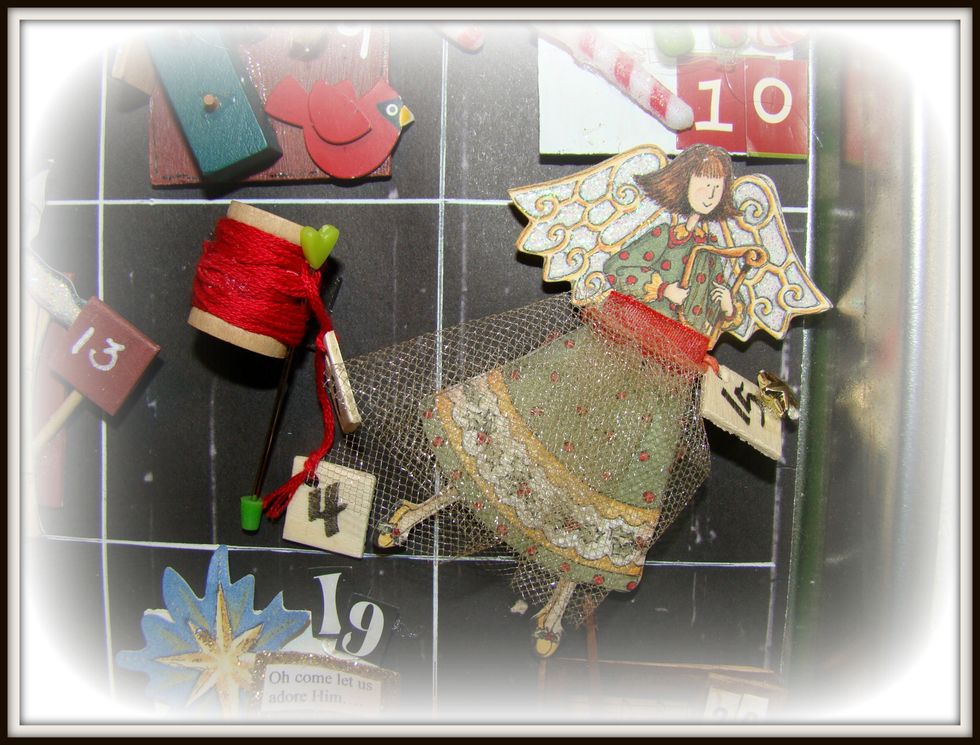
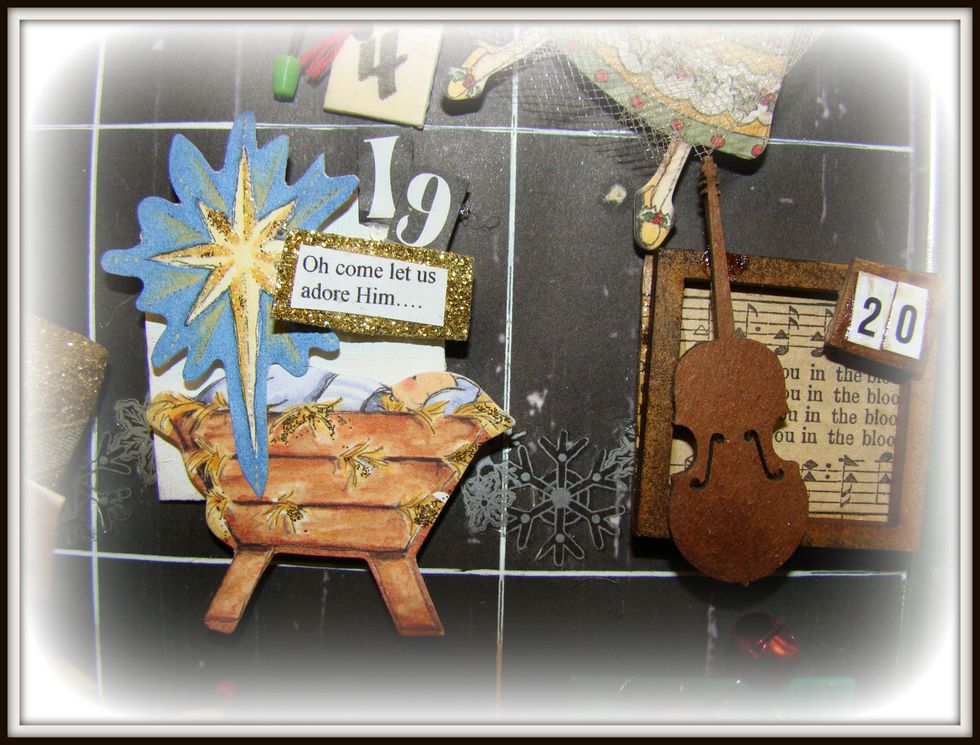
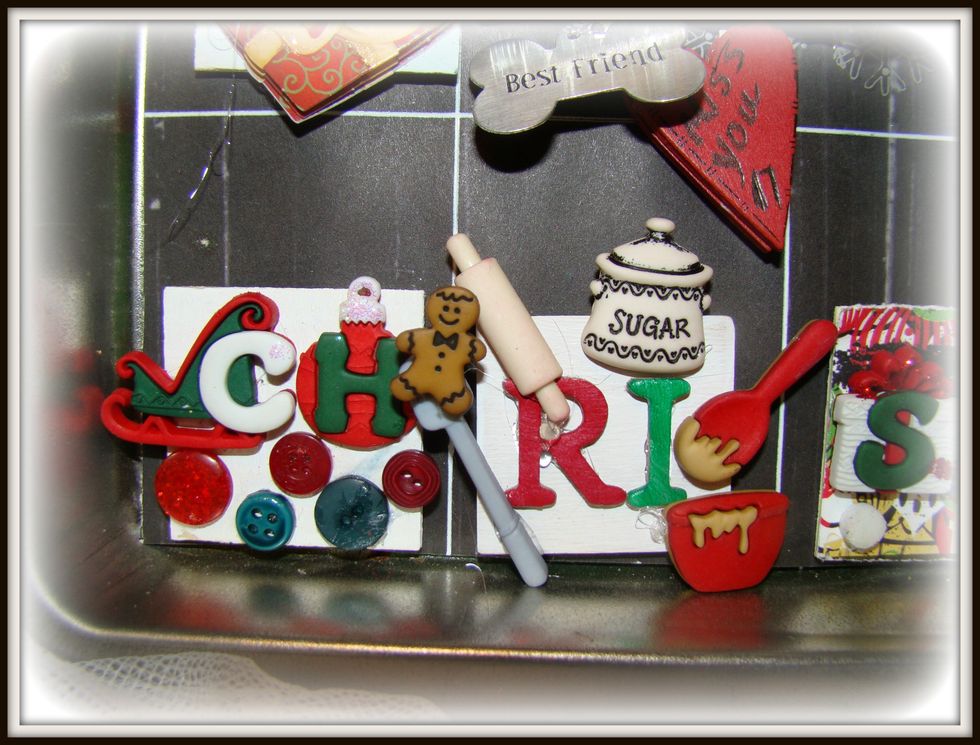
Now you can go wild with ideas for each day... I found many items in the miniature section of Hobby Lobby & Michaels.
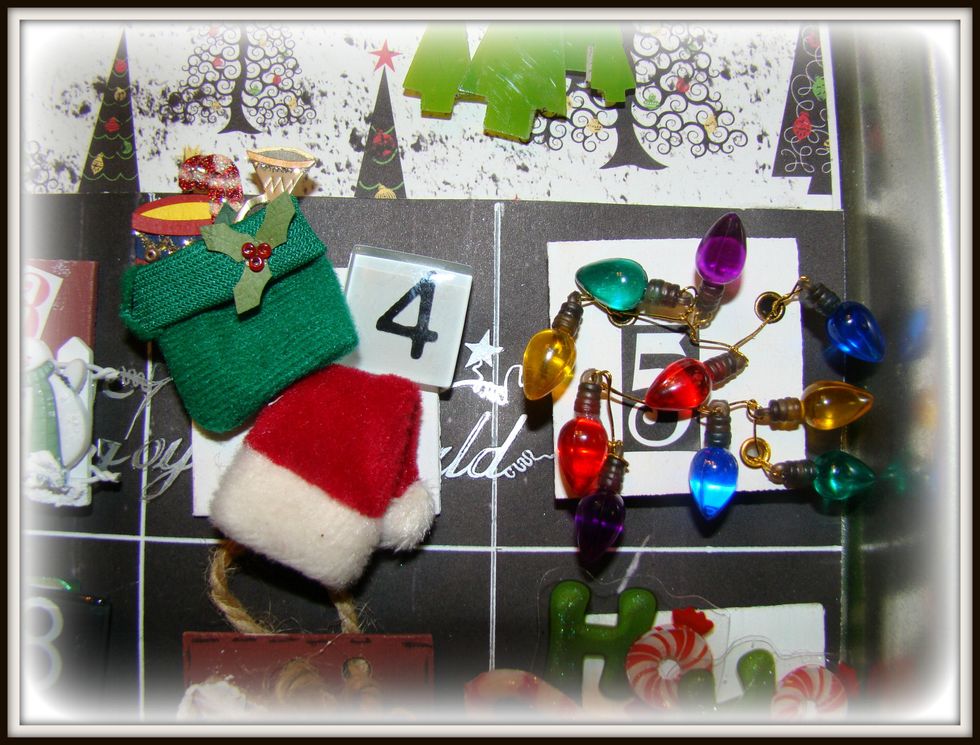
The next few photos are just to give you ideas of items and ways you can embellish your little squares.
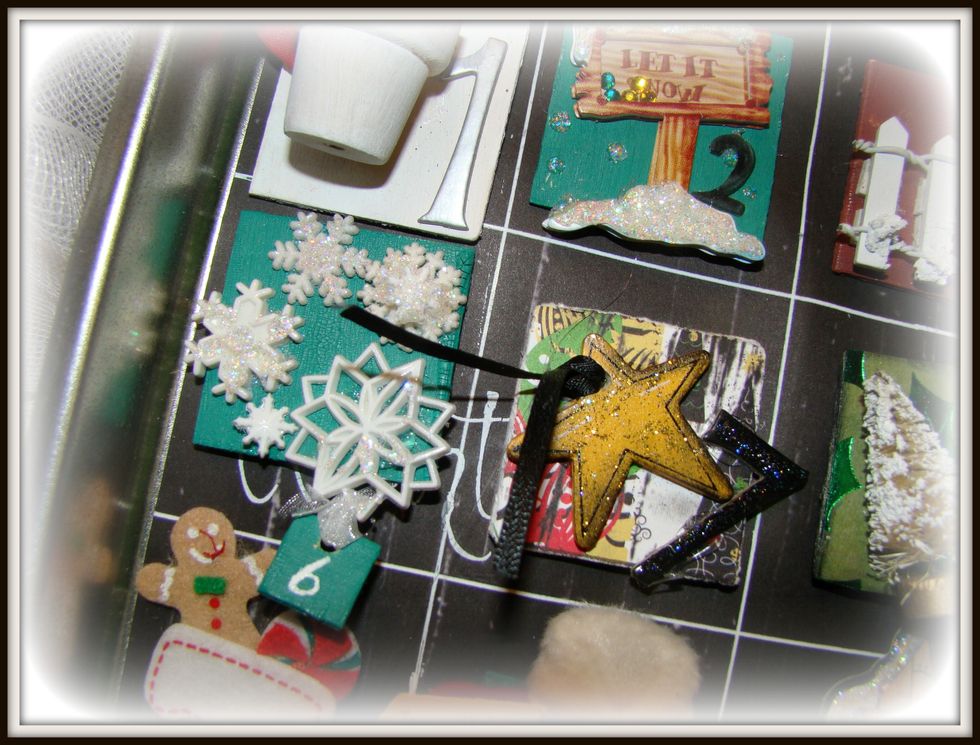
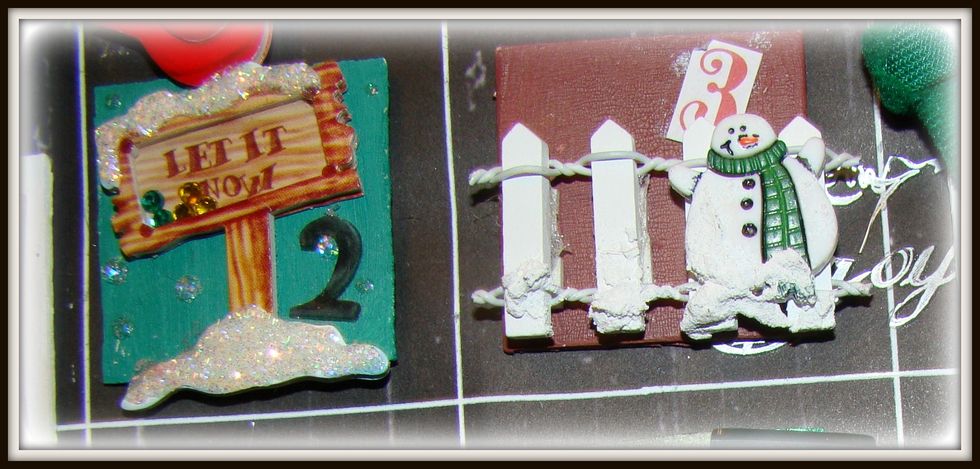
Add Snow Tex for texture, and Stickles for a bit of sparkle

Many of the items I used I purchased at Michaels or Hobby Lobby in the miniature section.

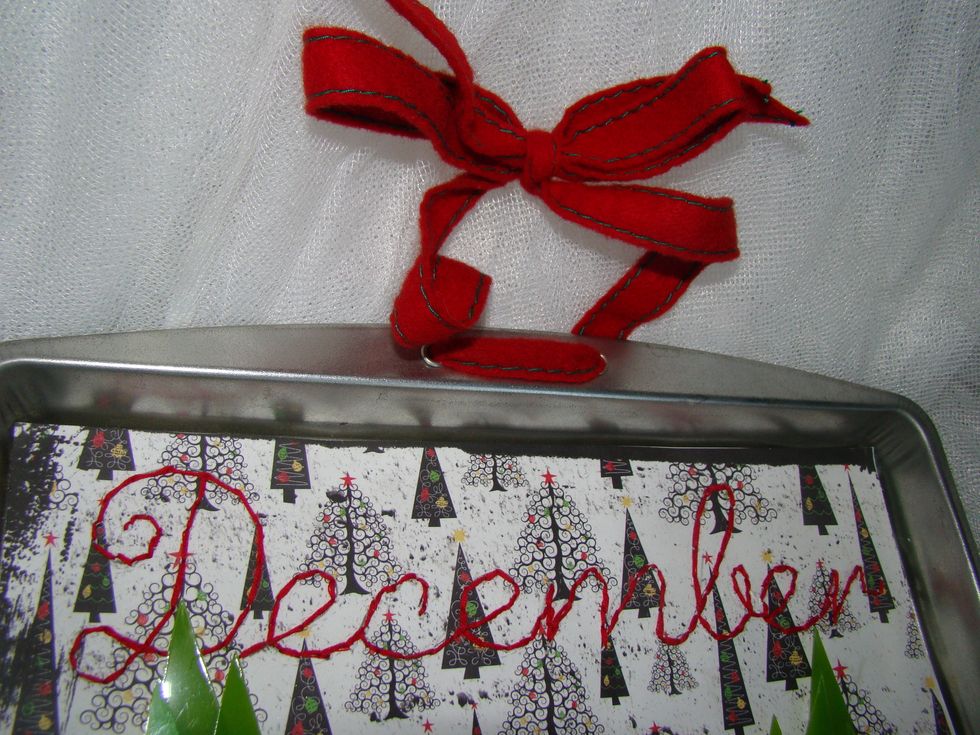
The final step, I took a crop a dial and punched two holes in the top of the cookie sheet, then ran ribbon through it to hang on wall.
I hope this provided some inspirational ways to use those little embellishments that you have sitting around the craft room. Have fun and Merry Christmas ! www.toni-burks.blogspot.com