STEPS
TOOLS
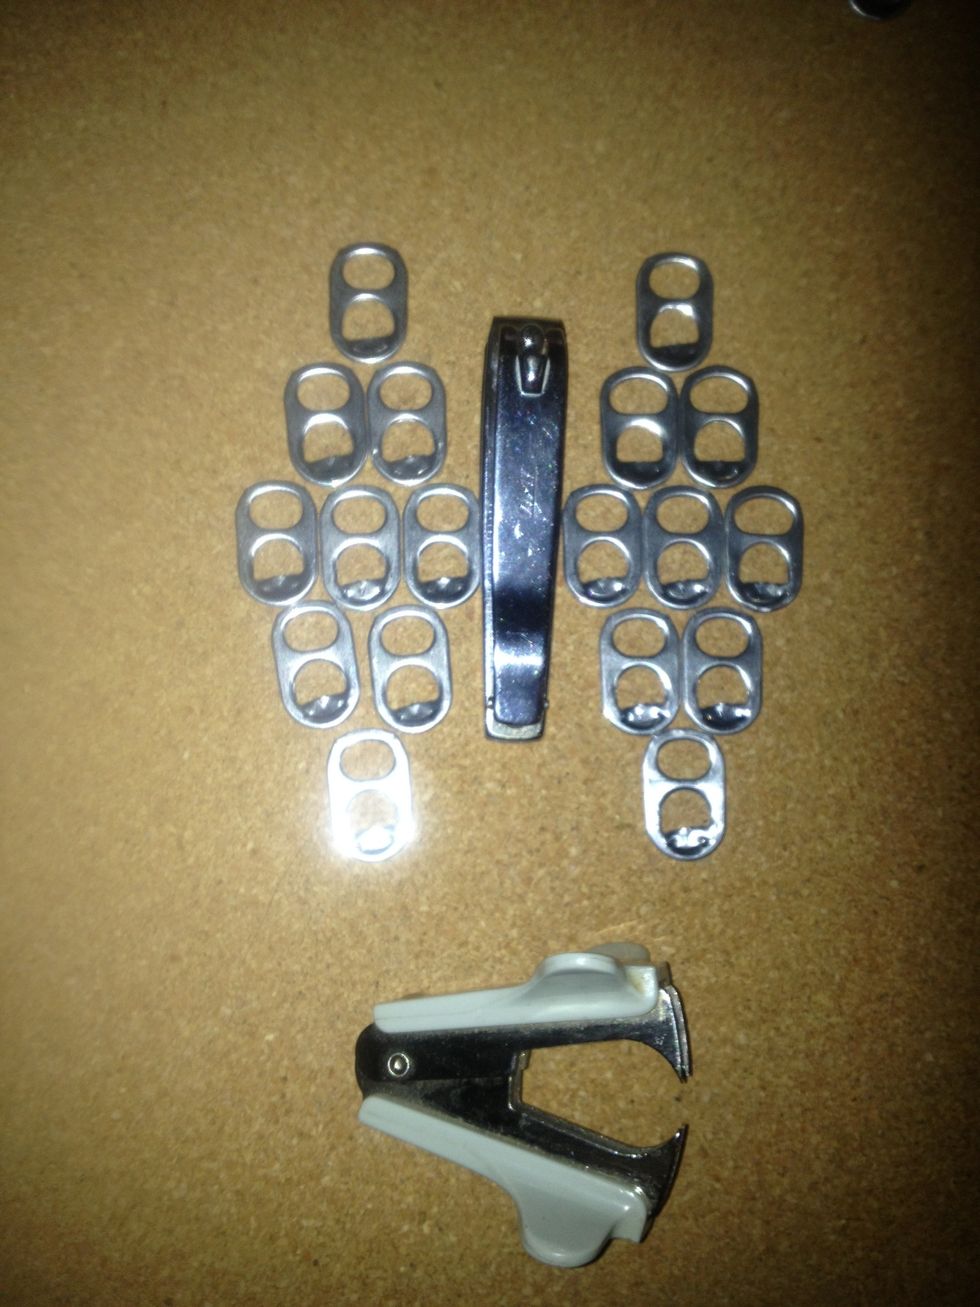
You will need 18 soda tabs. 9 for each earring.
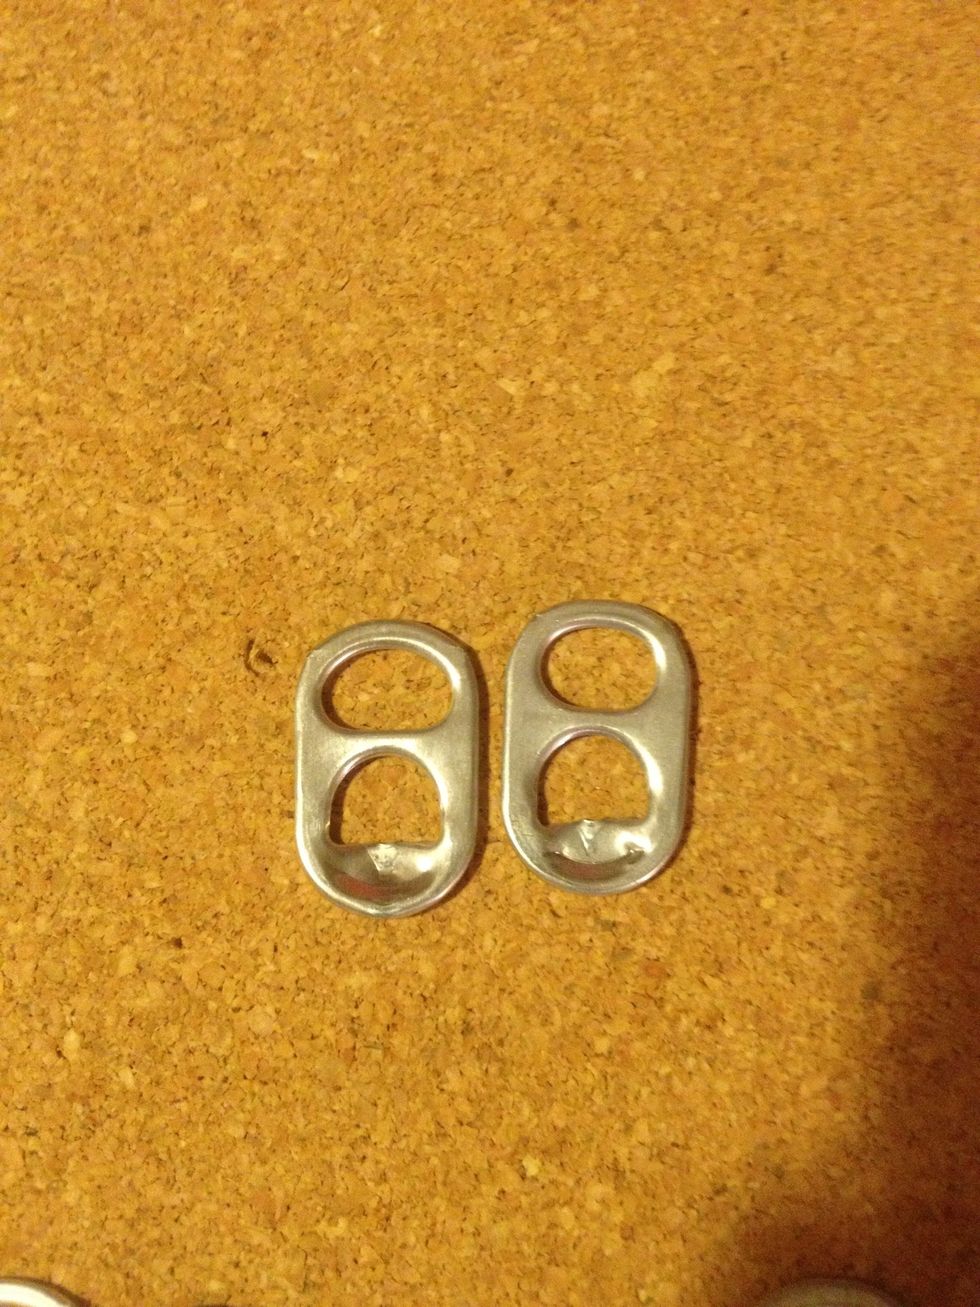
Put two tabs aside, you will not be bending these.
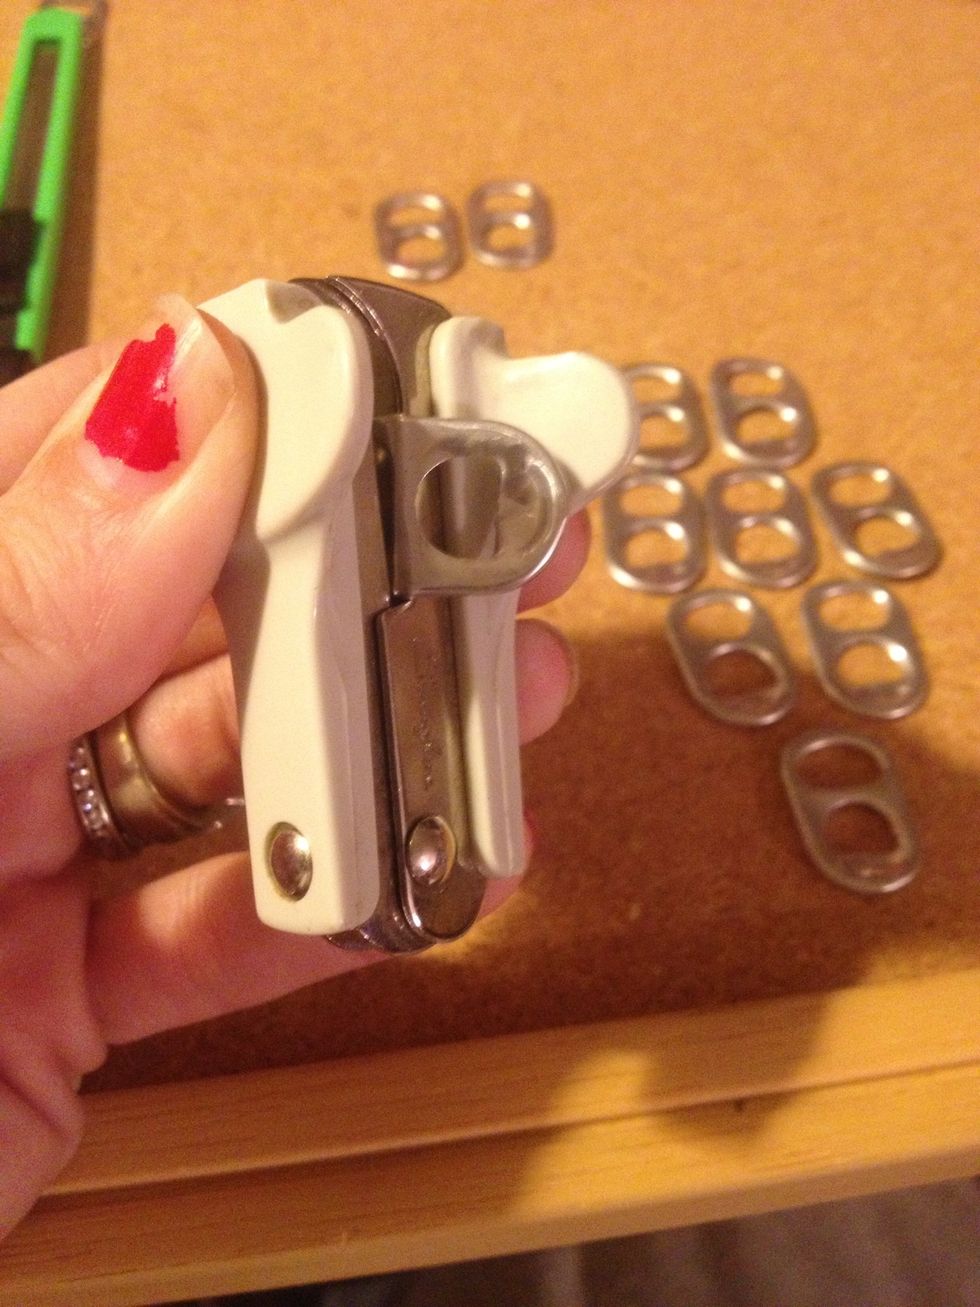
Take all the other tabs, one by one and put them in the stapler remover. Push down the side that is sticking out.
I find this way easiest when it comes to bending tabs. You won't scratch your table or hurt your fingers. Which I have done in the past, lol
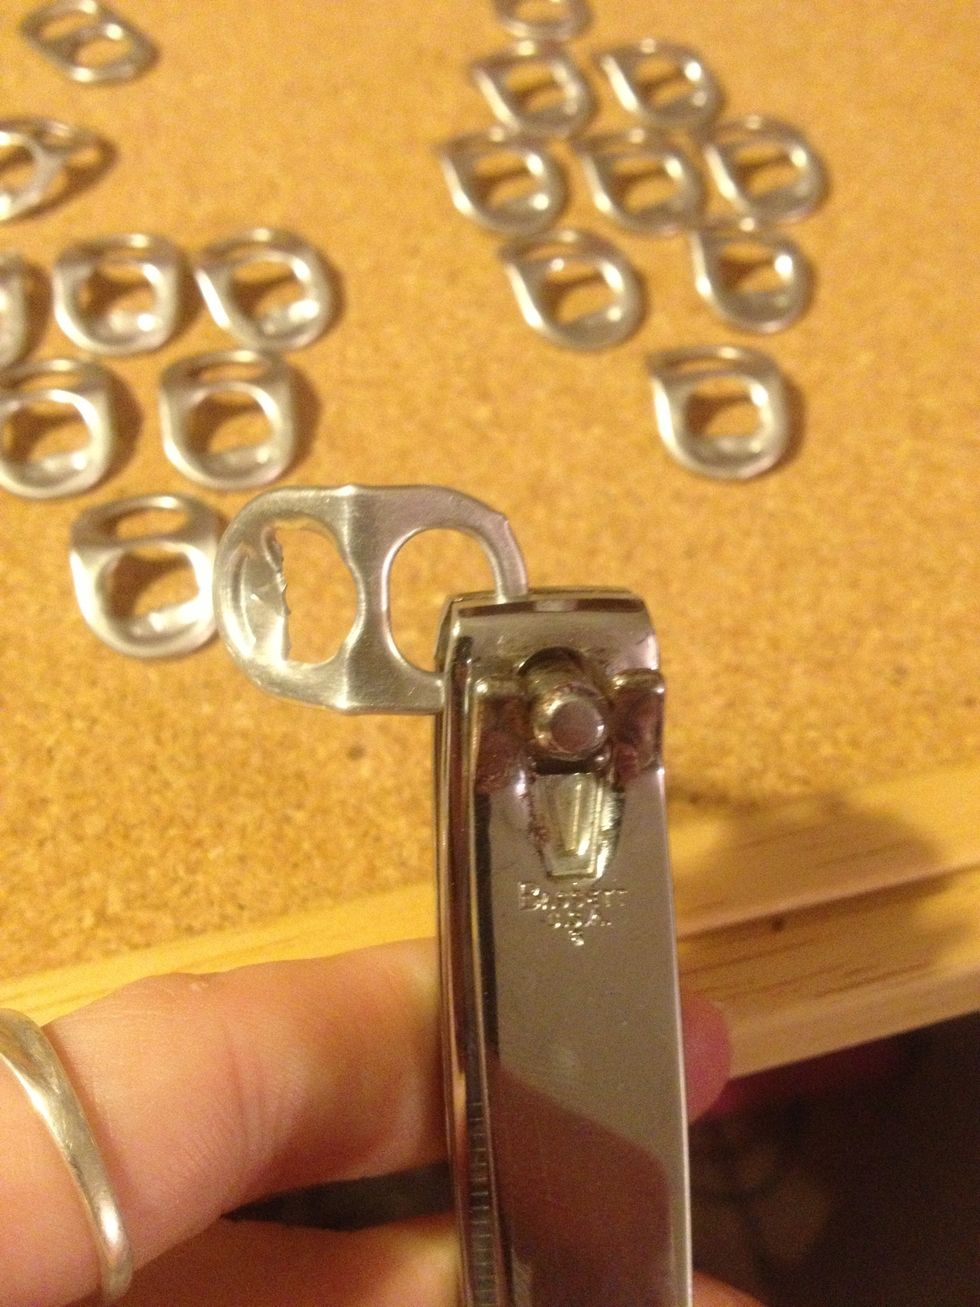
Get your nail clippers and snip the middle of the top tab. This is going to help with attaching the tabs together.
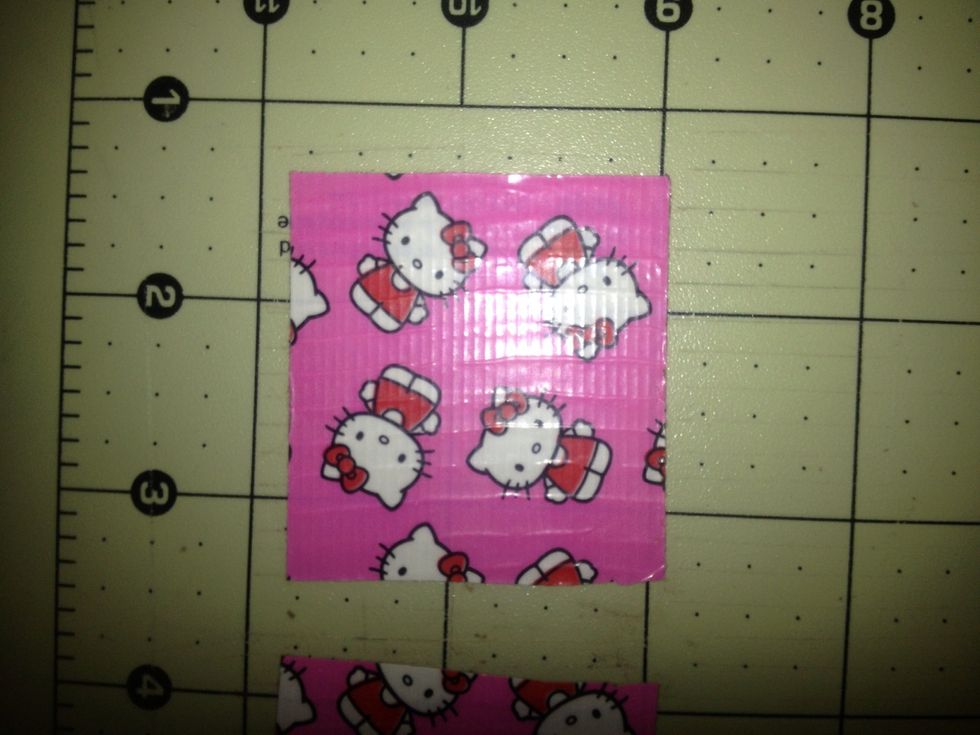
Take two inches of duct tape and cut it in half length wise. Then cut little strips the other way these will be used to hold the tabs together.
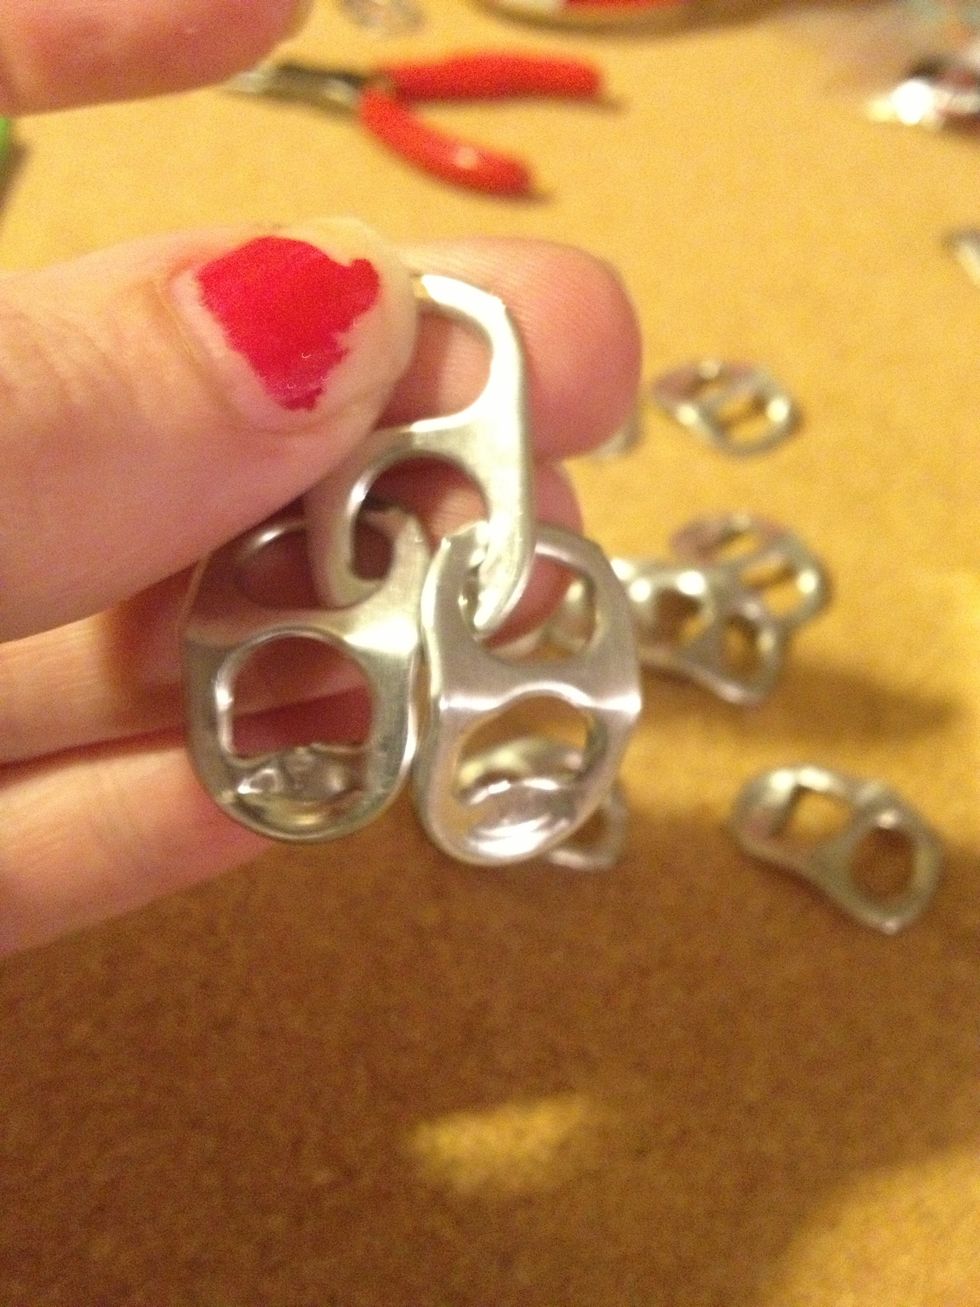
Attach two tabs to the first straight tab.
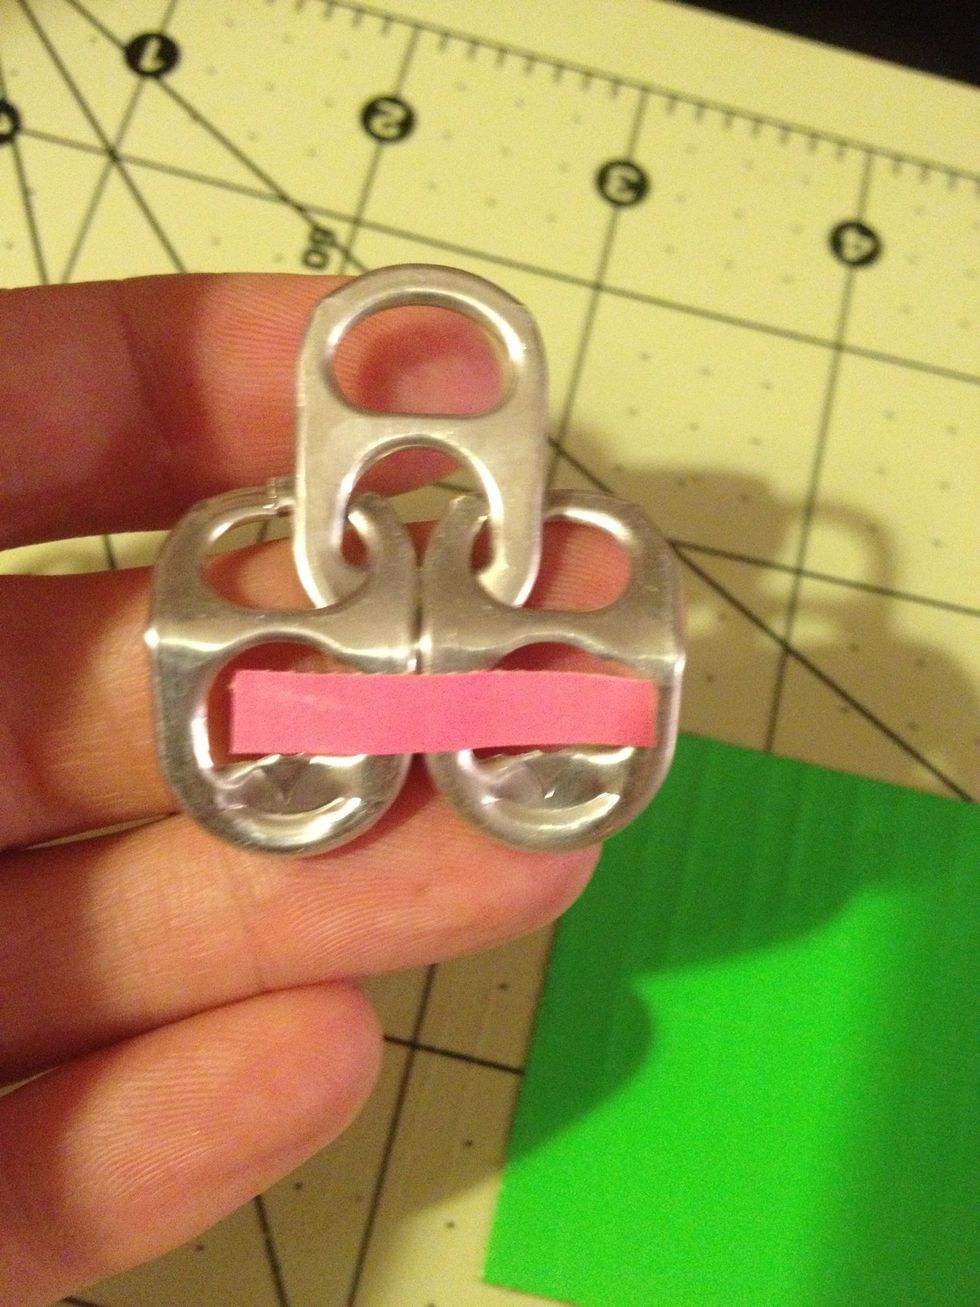
Put the strip of duct tape in between the two attached tabs. Turn it over.

Push the two ends through the holes and wrap them around the two tabs.
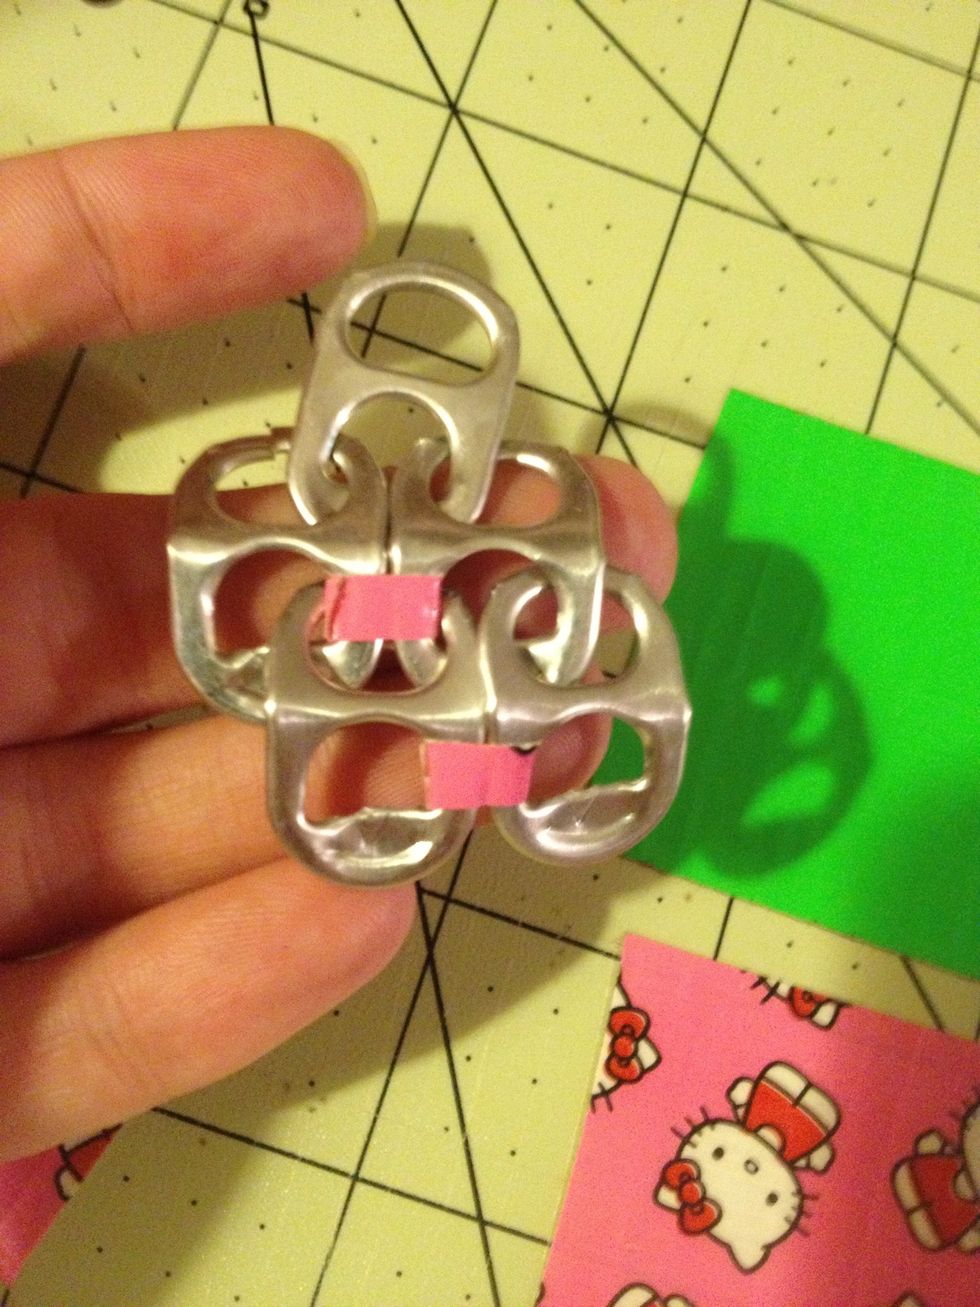
Attach the next two tabs in the same way as steps 7-9.
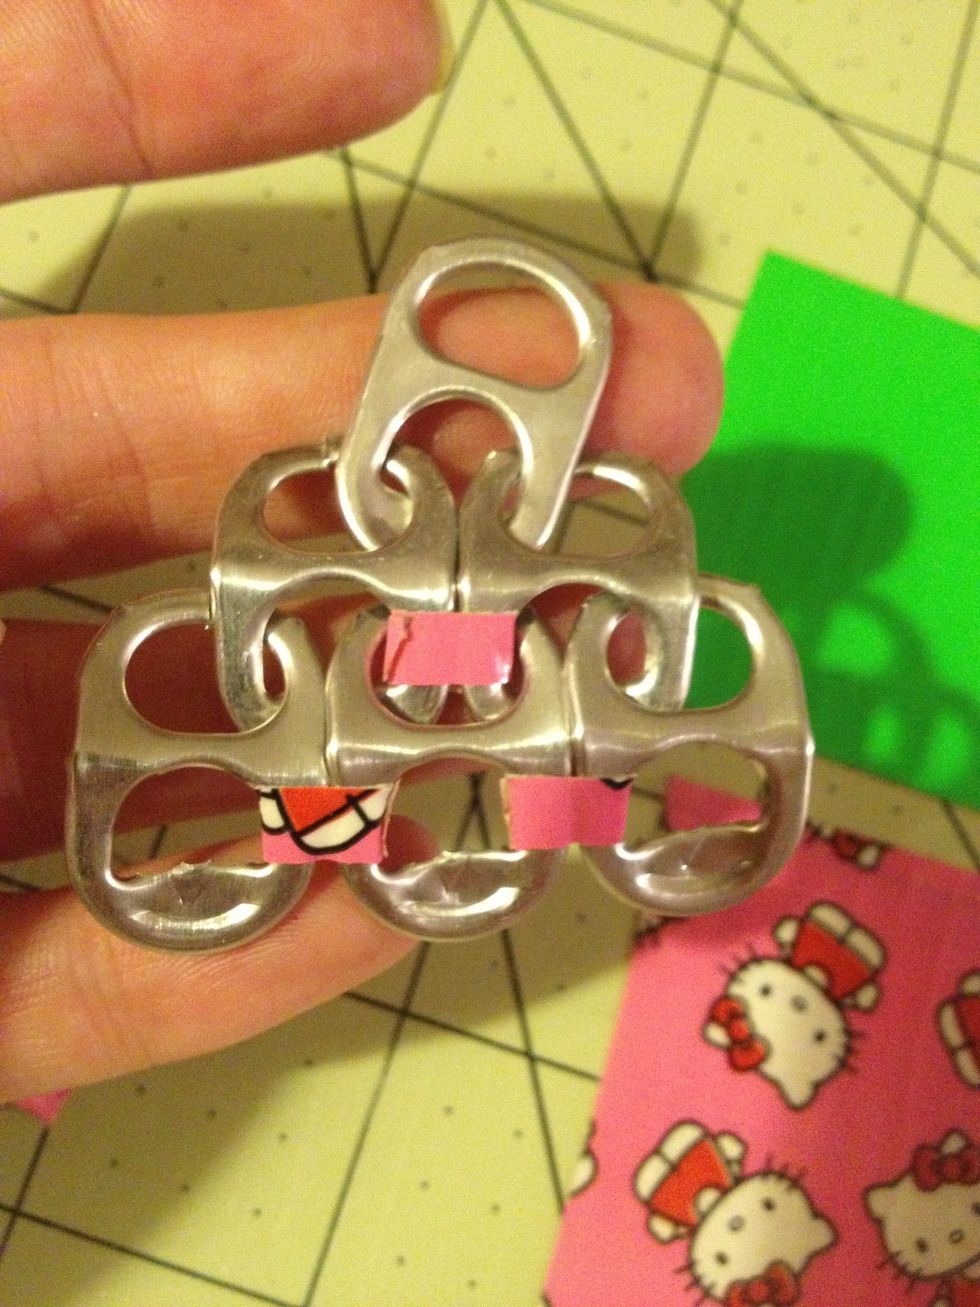
Attach the third tab to end this row.
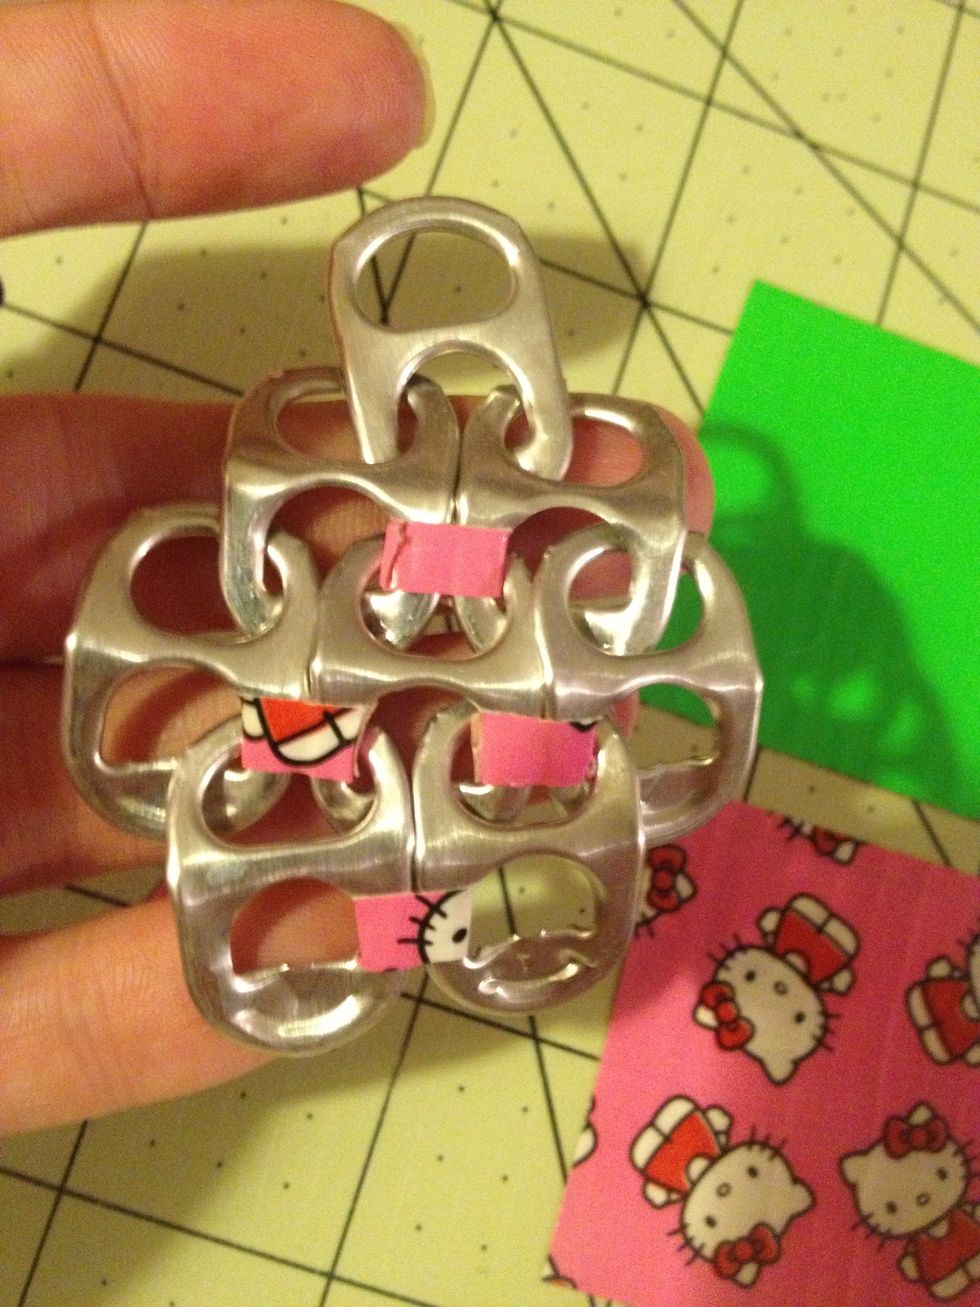
And two more tabs to the bottom like in steps 7-9.

And one more tab to complete the chandelier shape.
With the first earring done it's time to make the other earring :). Follow step 7-13 again.
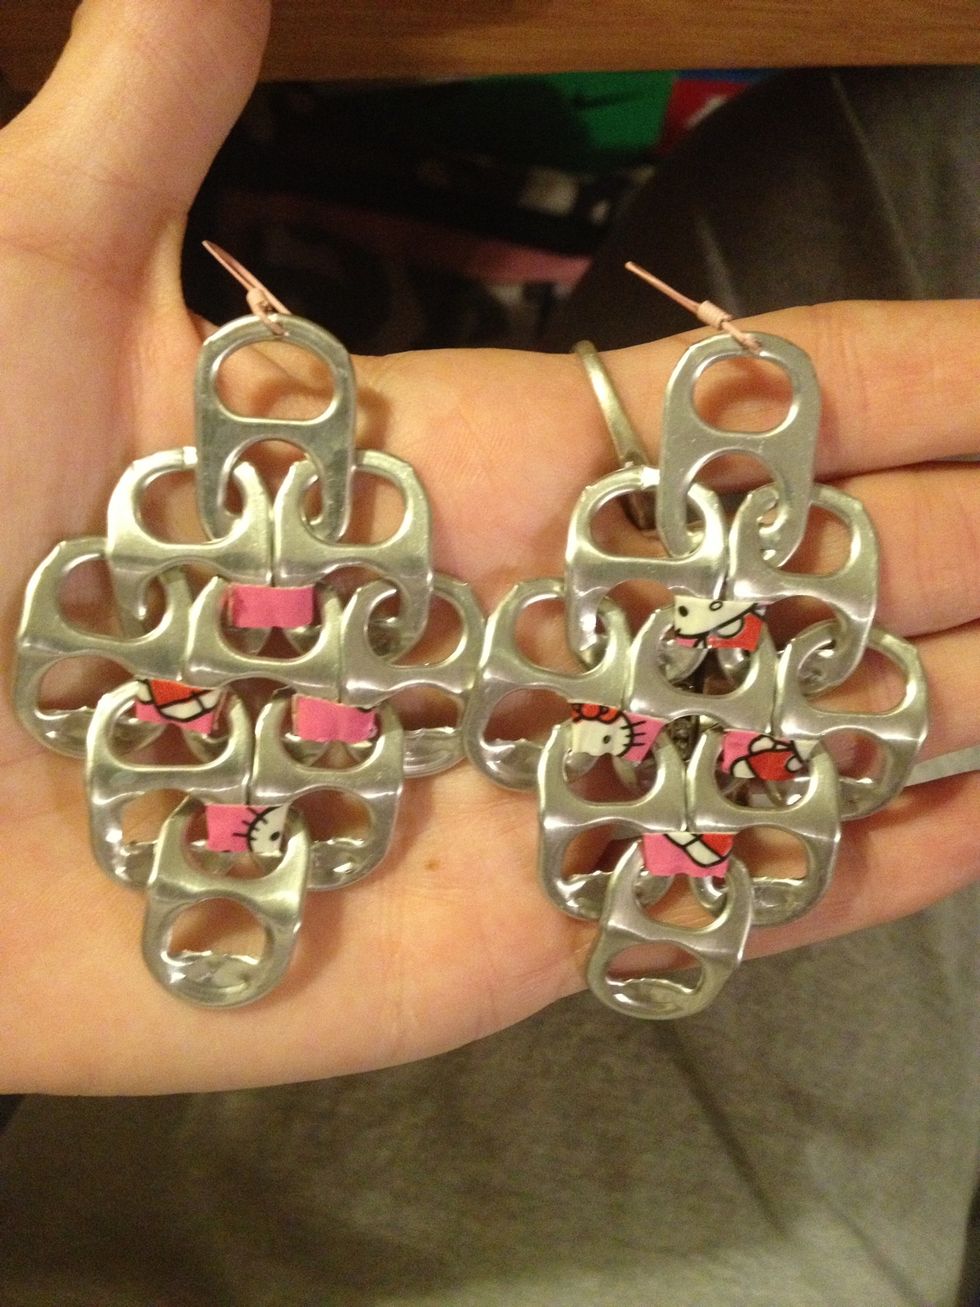
And with the second earring done all you have to do is attach the earring hooks to the flat tab. And them you have yourself a pair of chandelier soda tab earrings.
I hope you all enjoy this guide. I like using duct tape, it keeps the tab together more. You can use string and tie bows, or jump rings, or any other material/item that you would like to :).
- Soda tabs
- Nail clippers
- Stapler remover
- Duct tape
- 2 earring hooks
- Pliers
Tiffany Dahl
I am a mother of 3 and a crafter by nature. I love making bracelets, earrings and working this soda tabs!
Bay Area, California
The Conversation (0)
Sign Up