The Conversation (0)
Sign Up

So I will be instructing on how to develop your own jump rings for any future projects you may have.
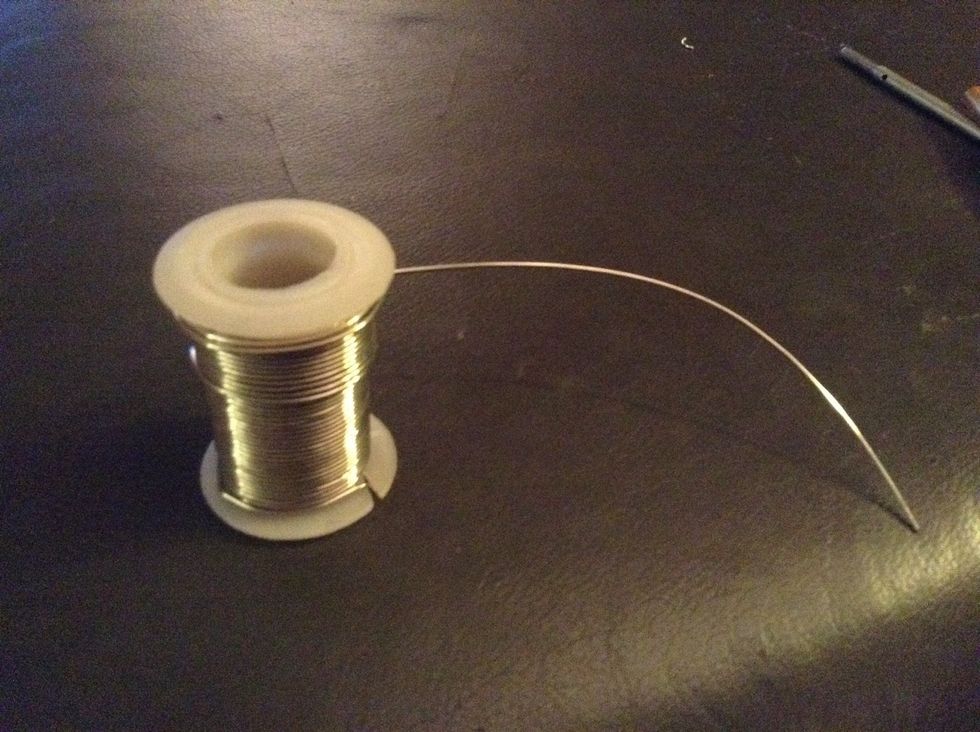
Choose a proper gauge wire for the project. Most jewelry will use a wire gauge anywhere from 22 to 16 and 14 to 18 for chain mail armor. The larger the number, the thinner the wire will be.
Miss Karen Karon, the author of Chain Maille Jewelry Workshop says " In chain mail size matters and each weave has an ideal size that holds the pattern while allowing for some flex and drape".
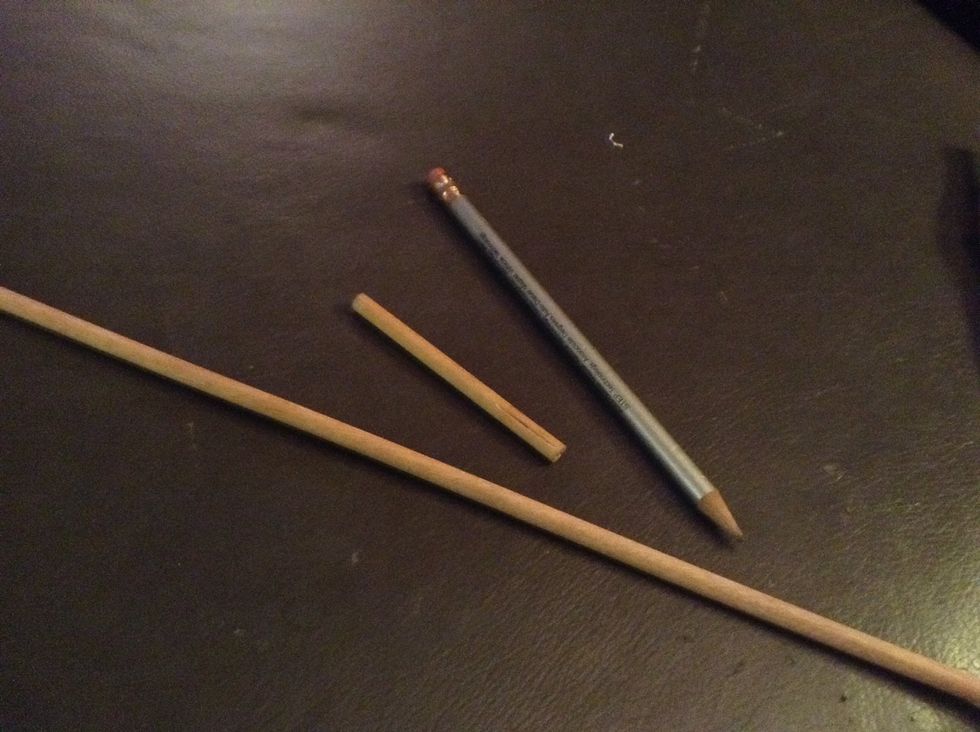
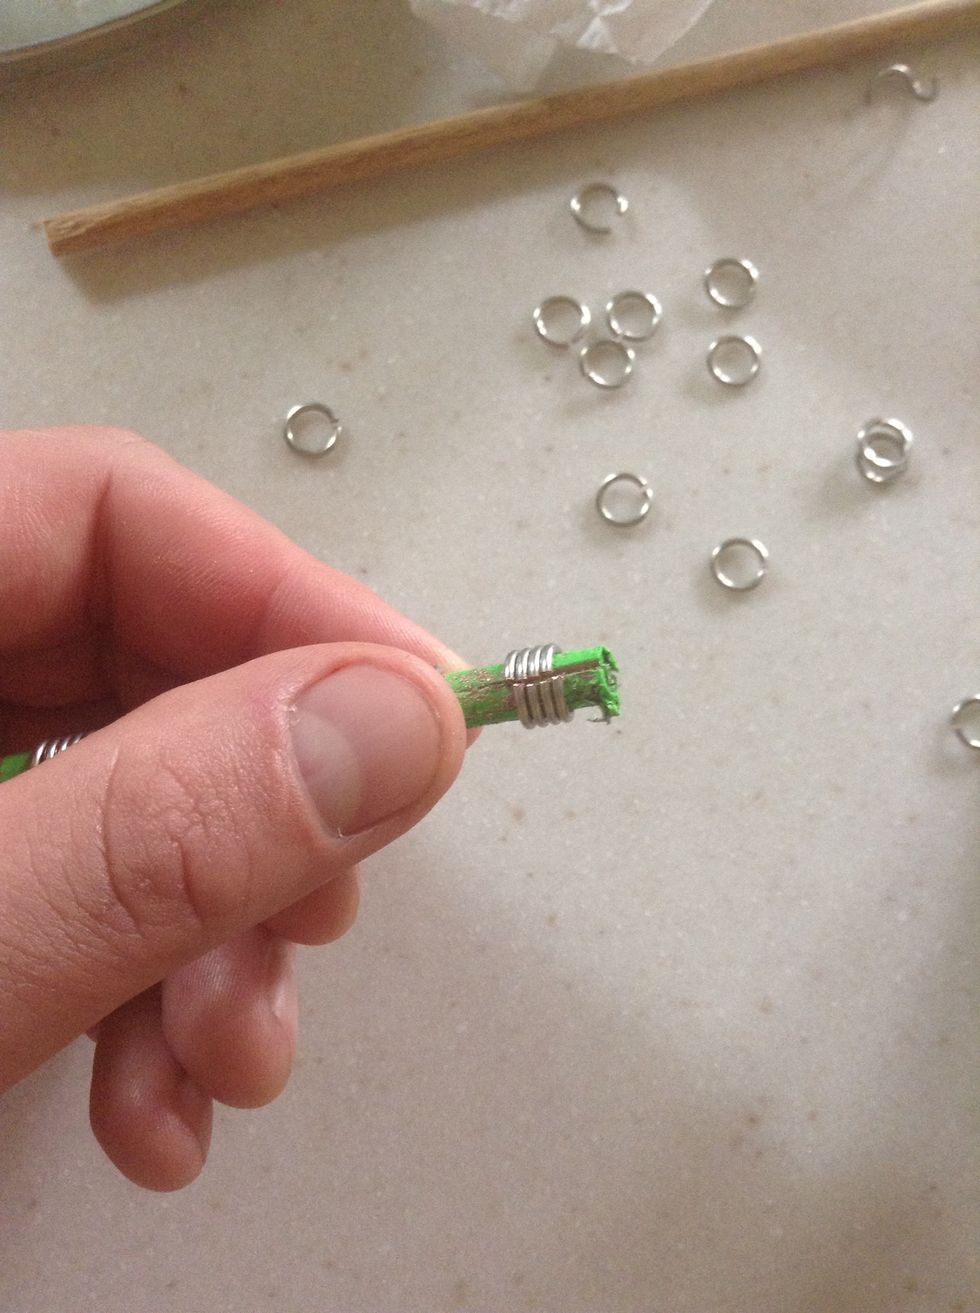
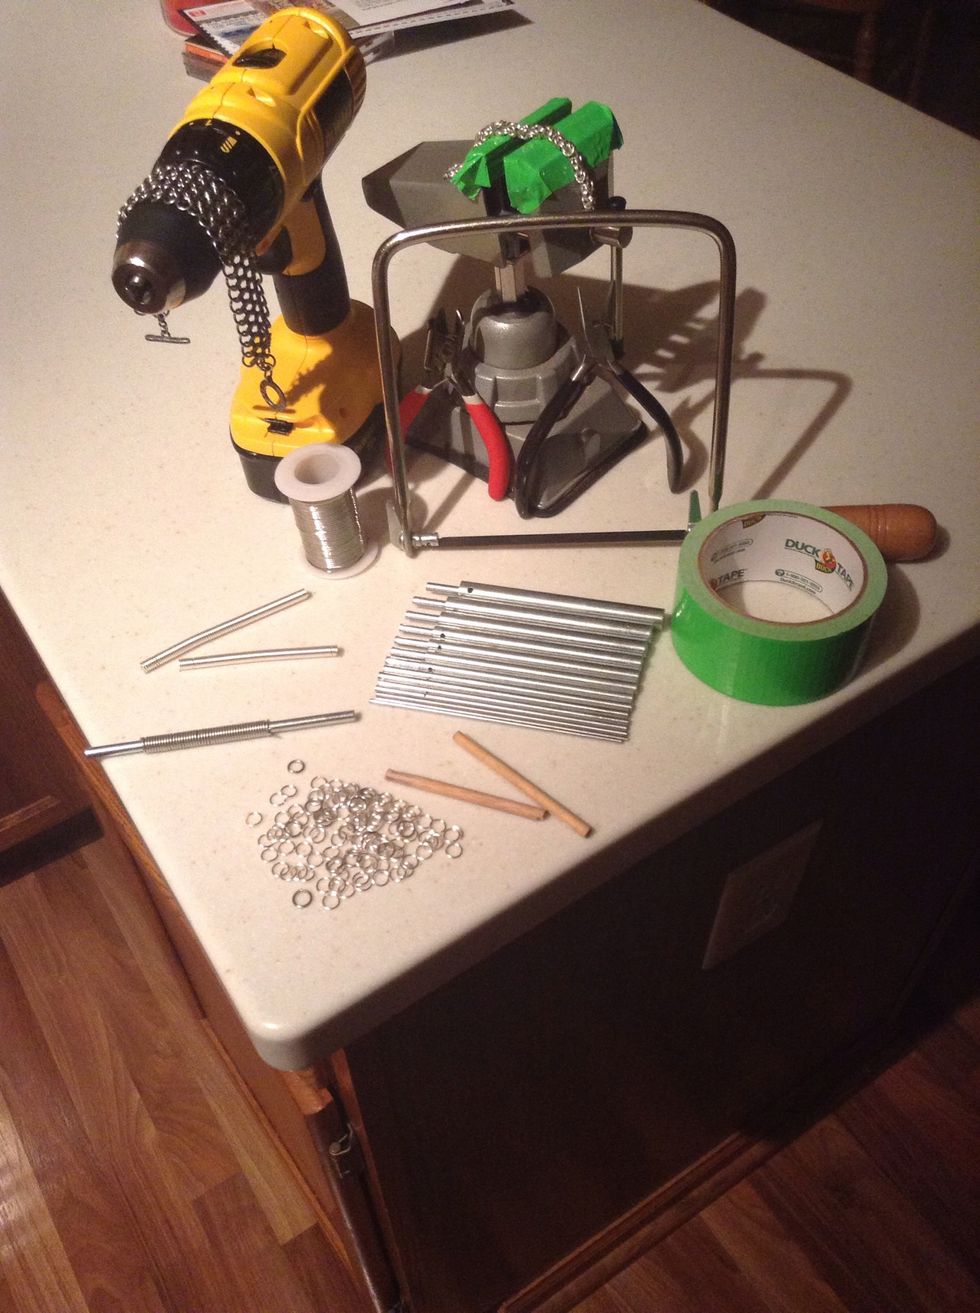
The single most important thing about jump ring development is what to wrap the wire around to create the coils. Avoid using wooden rods to avoid uneven ring sizes.
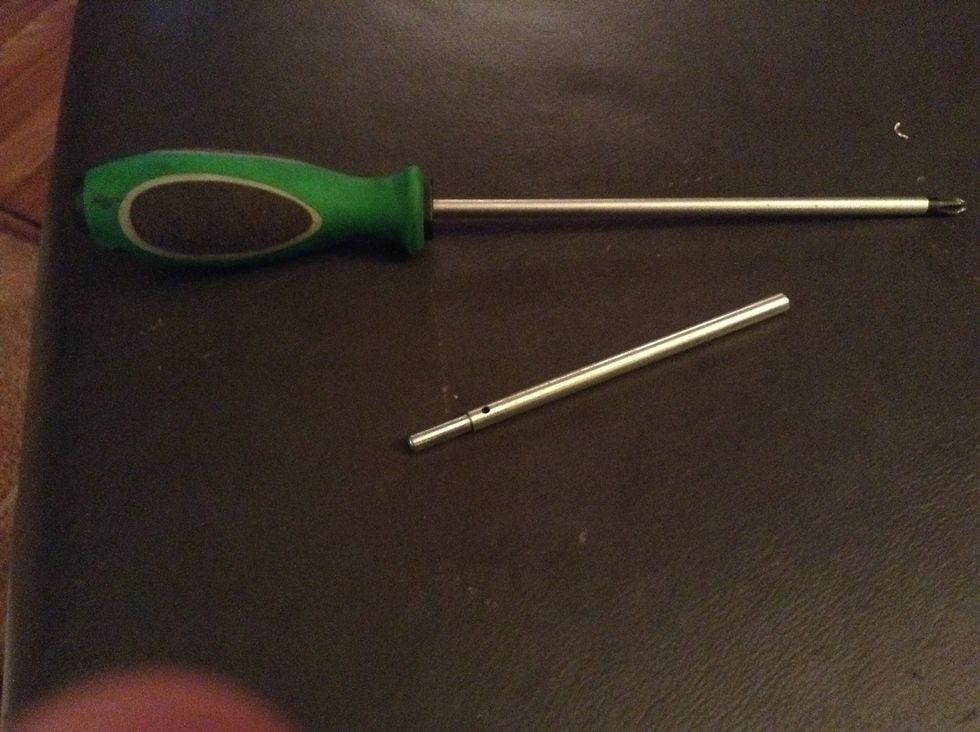
As mentioned in the web article on wikihow.com "Some items that can be used, can easily be acquired even in the garage such as a Philips screw driver or metal rods".
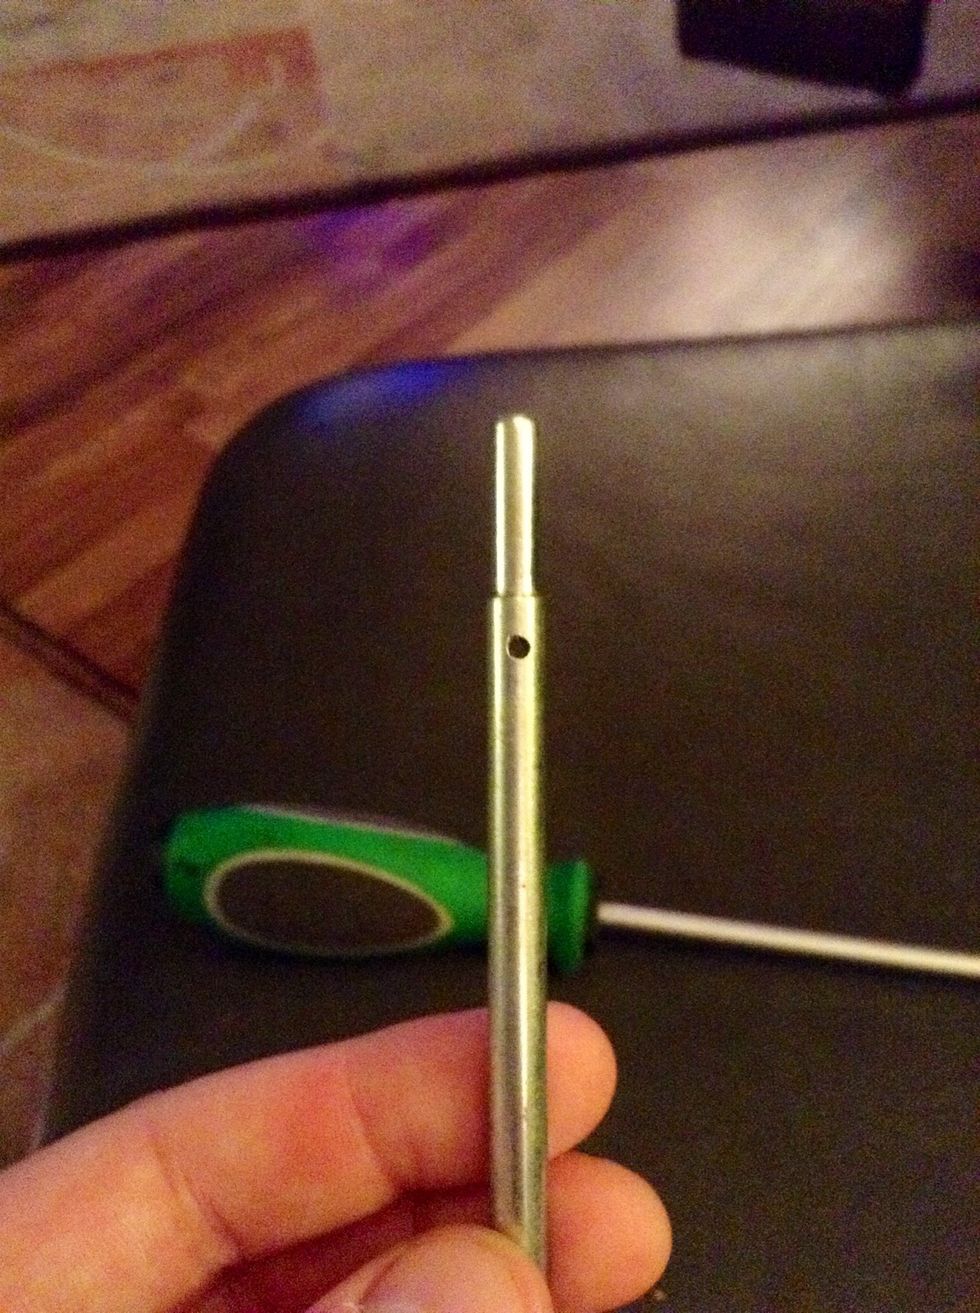
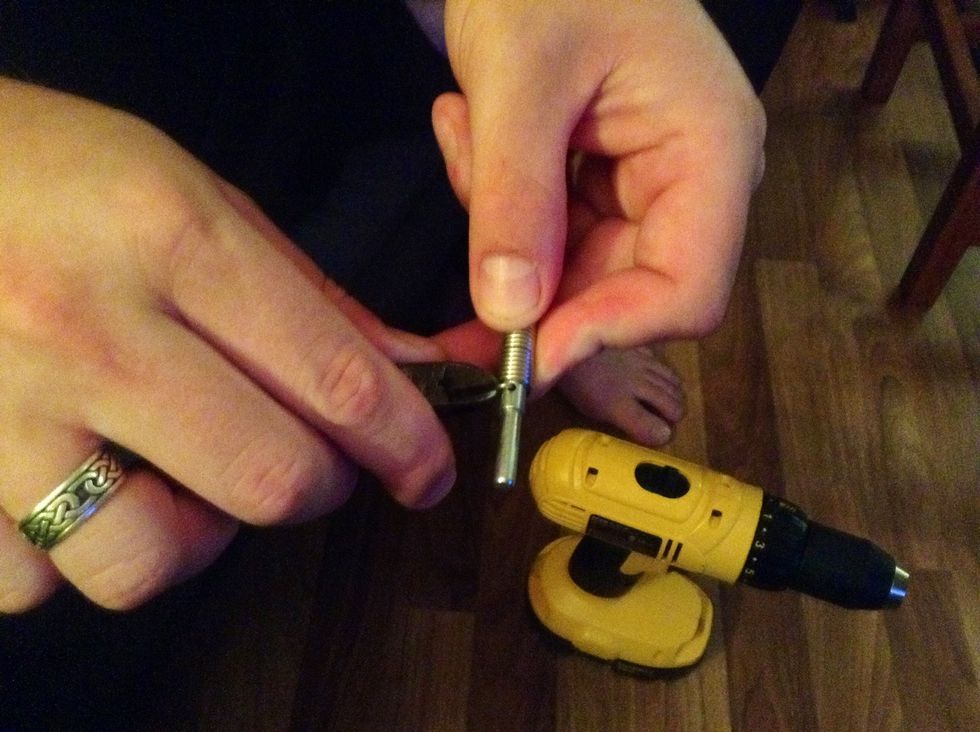
Some company's sell jump ring mandrels in sets that can be used on a drill. Ones with a hole in the shaft are more convenient because they help hold the wire on while it's coiling.
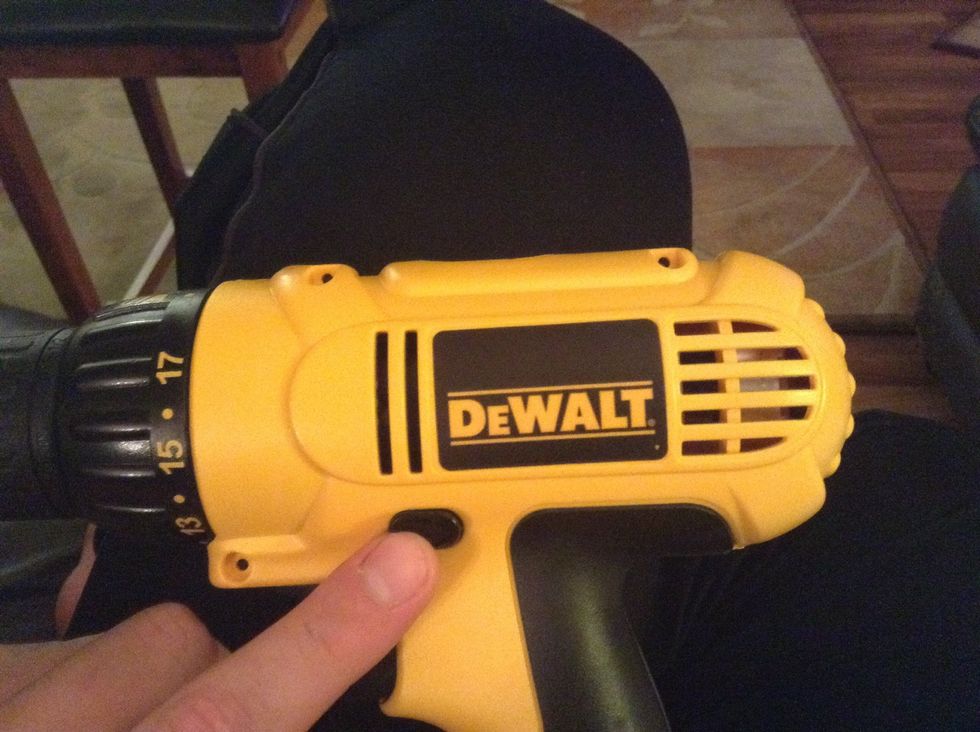
Some drills have a forward and reverse setting. Make sure the drill is set to forward or so that the drill rotates clockwise.
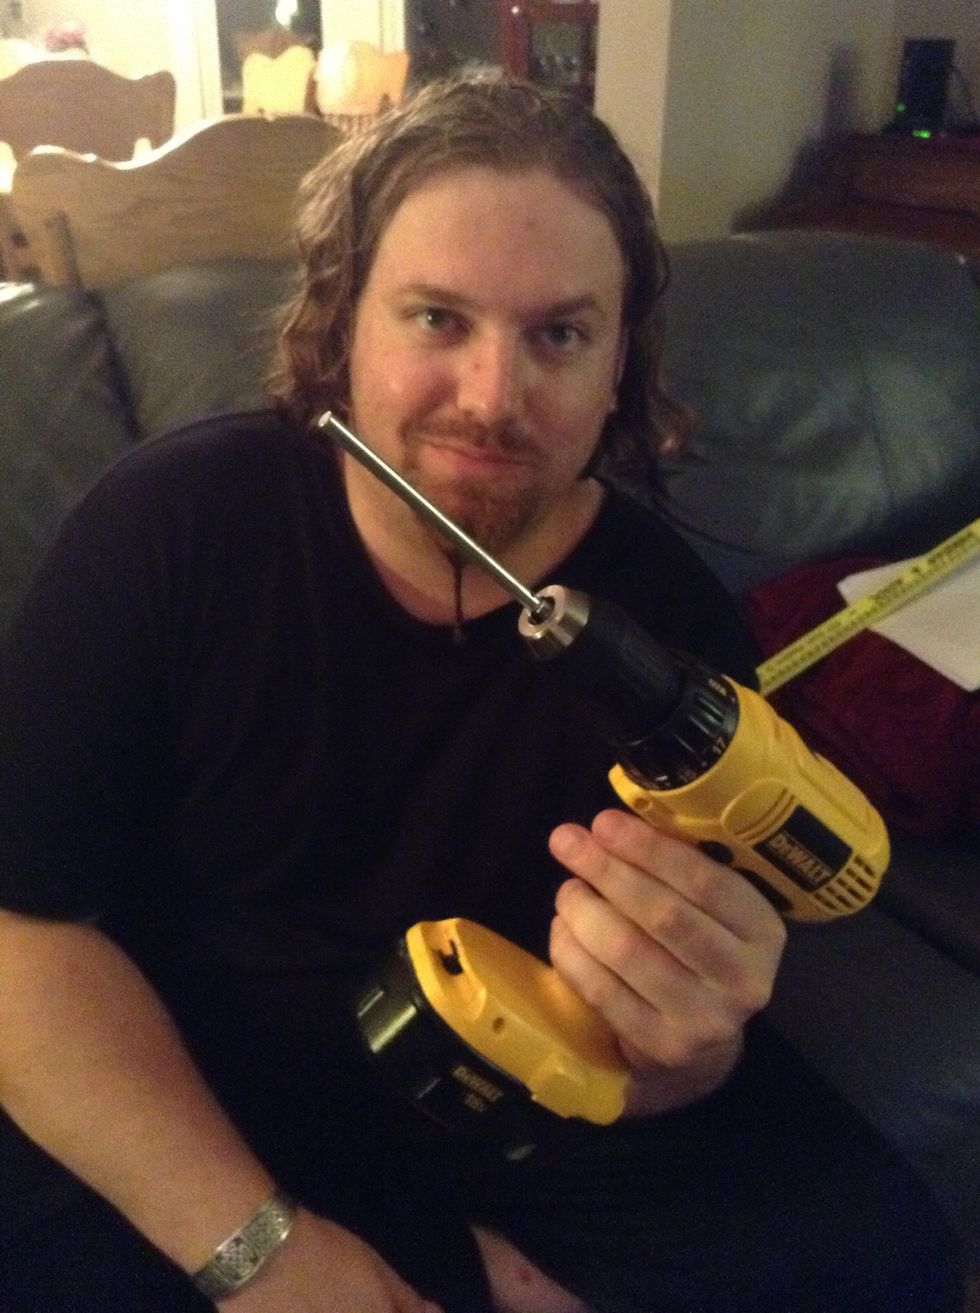
Apply the rear shank of the mandrel into the drill bit and twist the adjuster shut until the mandrel is firmly in place.
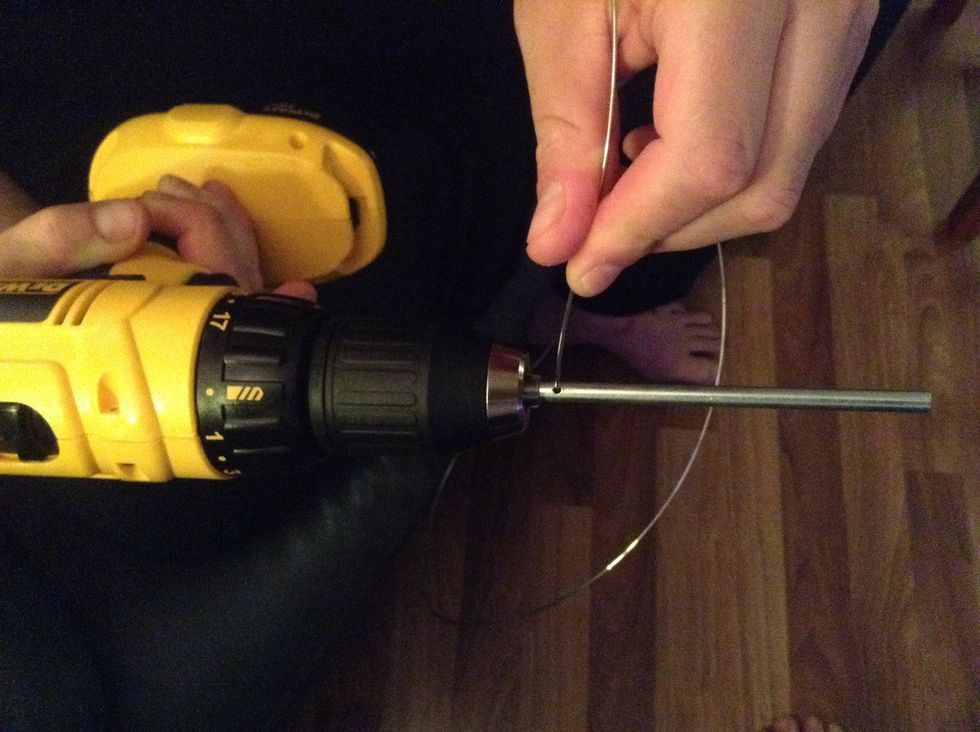
Unspool the wire and thread it into the hole in the rear shank or for those who don't have a rod with a hole in it, place the wire in between the jaws in the drill bit when tightening against the rod.
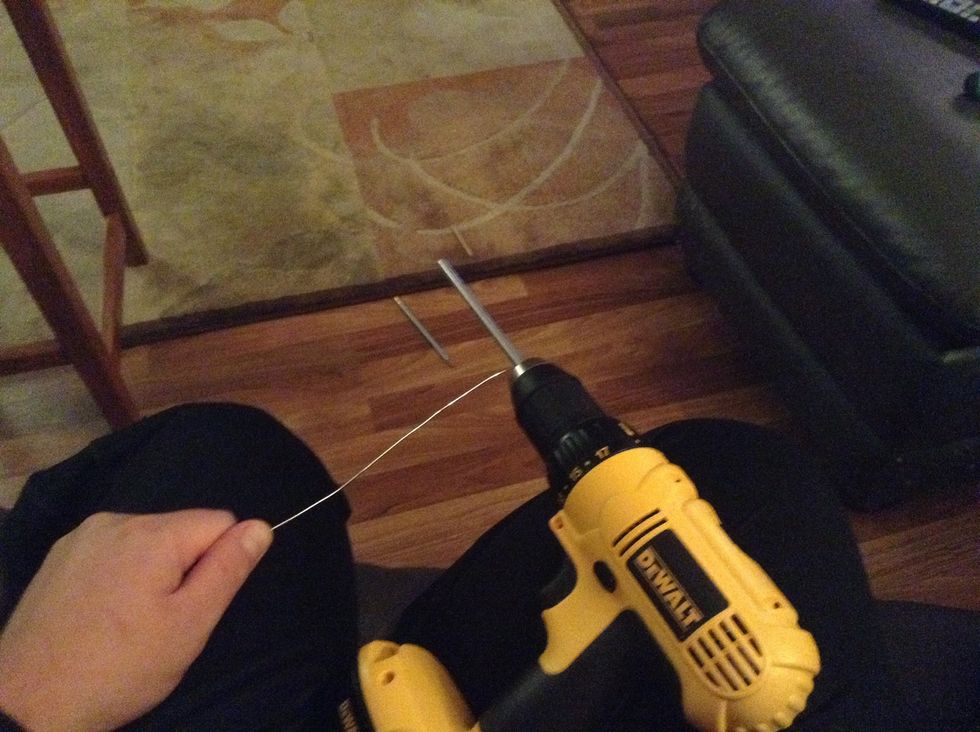
Hold the wire roughly A foot away from the drill and angle the wire diagonally towards a workbench or the floor. Pull the wire tight and slowly pull the trigger to begin the coiling process.

As the wire winds itself around the rod bring the hand closer to the rod with thumb on top of the wire. Keep the wire at a diagonal angle and follow the coil down the shaft.
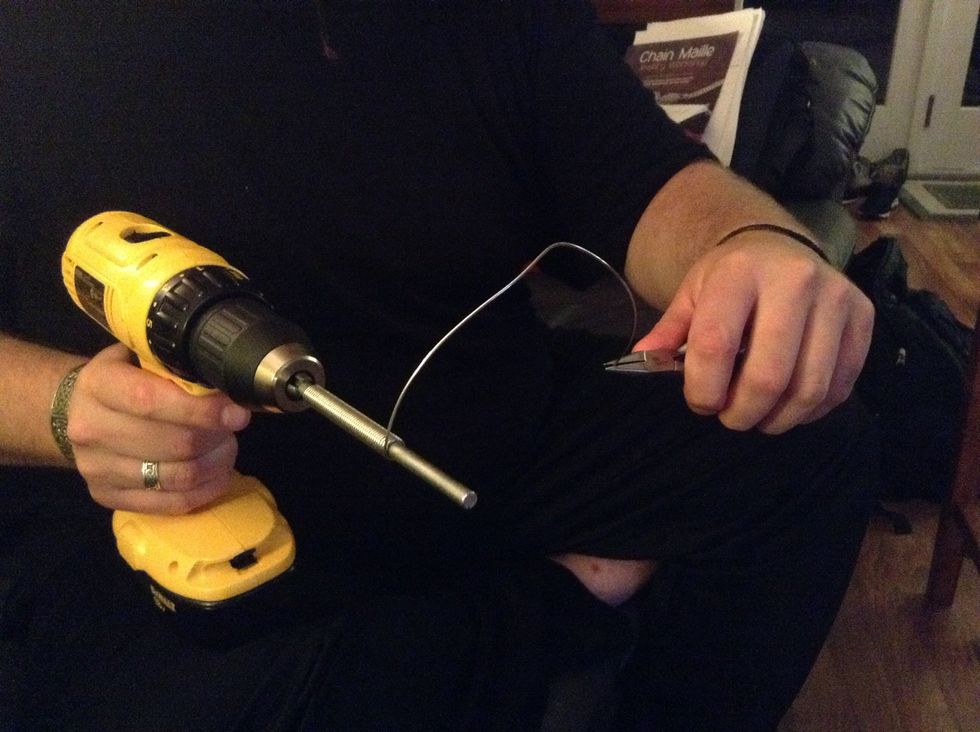
Towards the end of the wire stop the coiling process and grab the remaining wire with a pair of toothless pliers. Pull it tight diagonally and resume coiling the last of the wire.
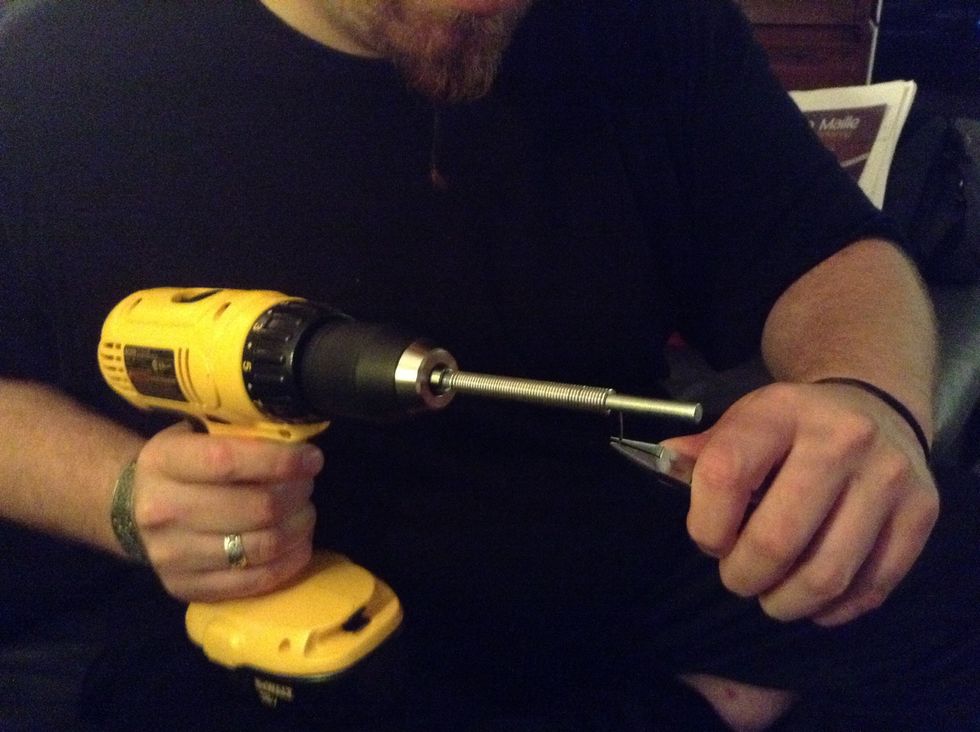
Once the wire has reached the end of the rod, release the trigger to stop the coiling process.
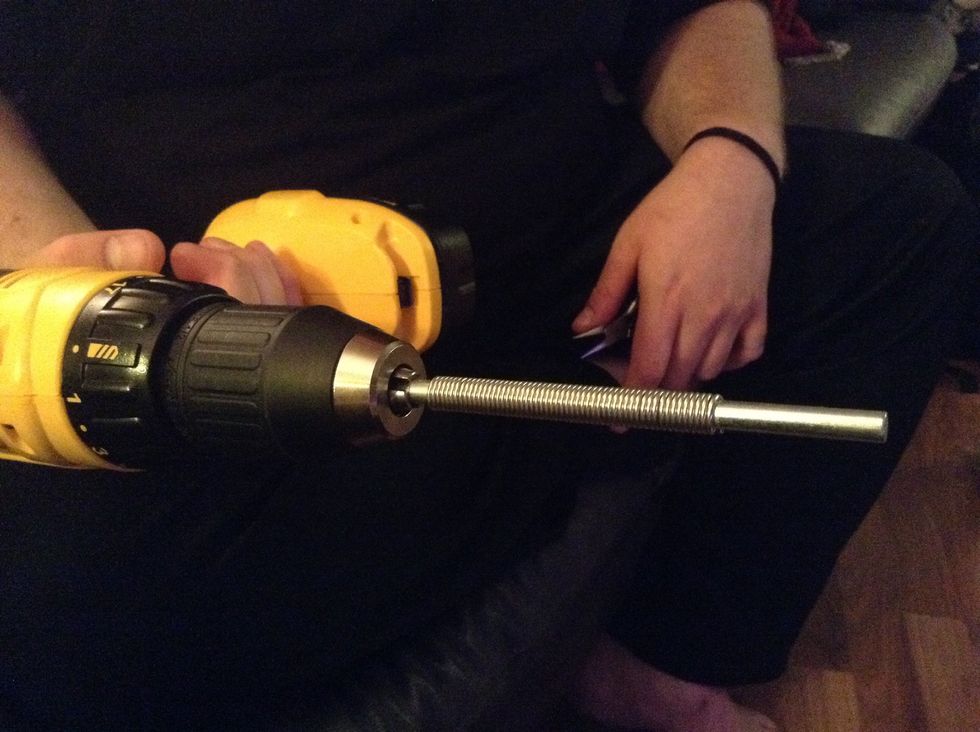
Remove the rod from the drill by twisting the drill bit adjuster and pulling out by the rod.
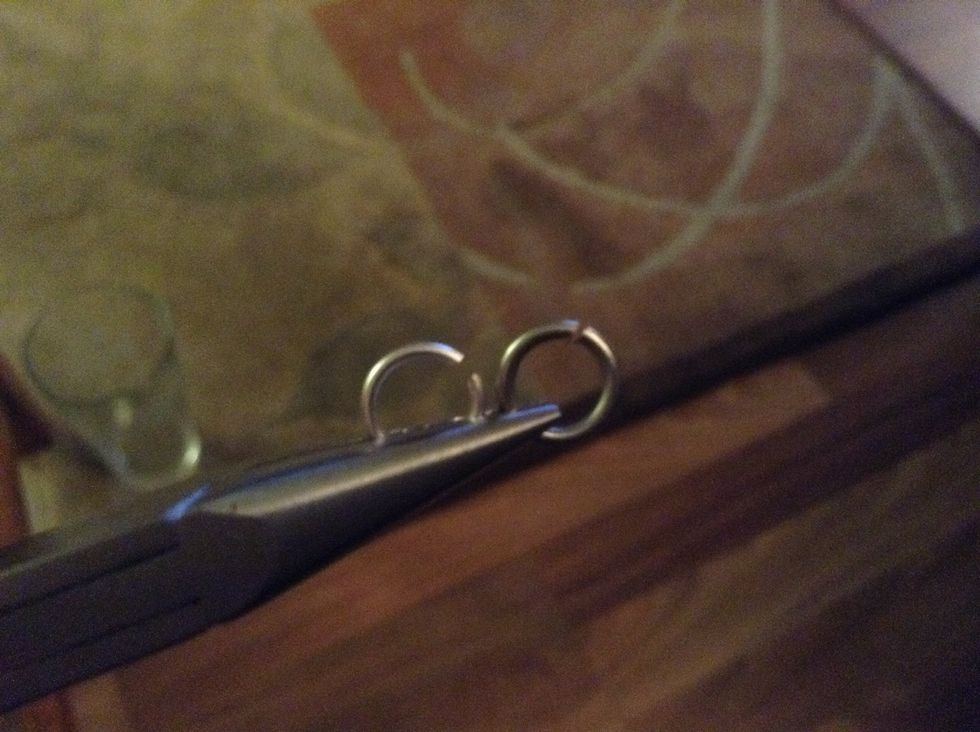
Grab the wire cutters and cut the wire where it was first introduced to the hole to release it from the rod.
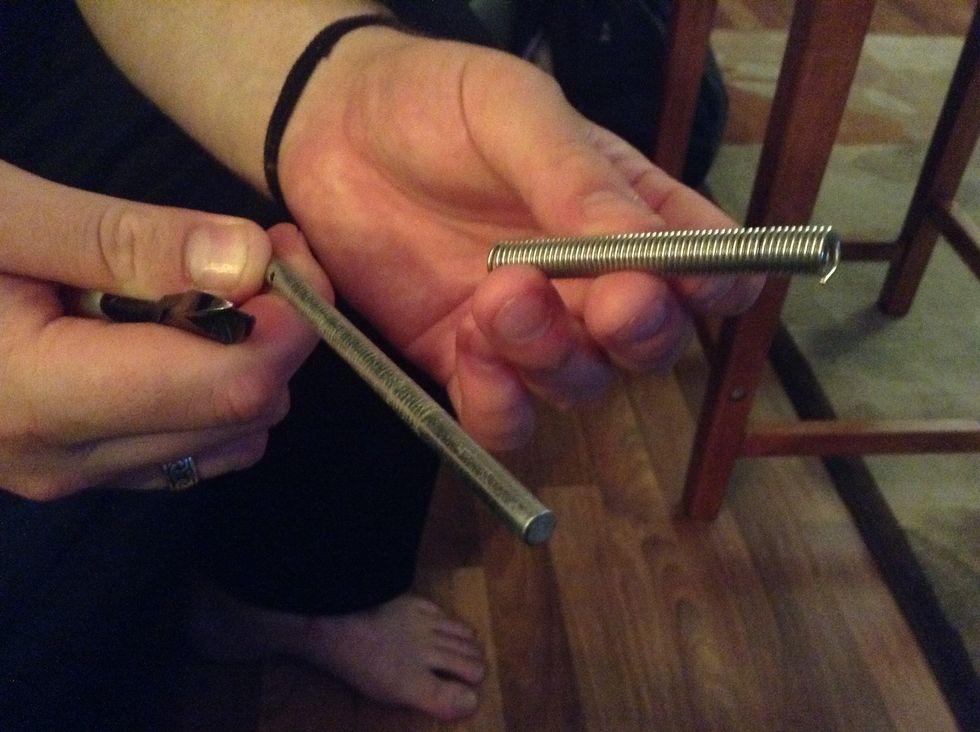
Pull the coil off the rod and admire the handy work.
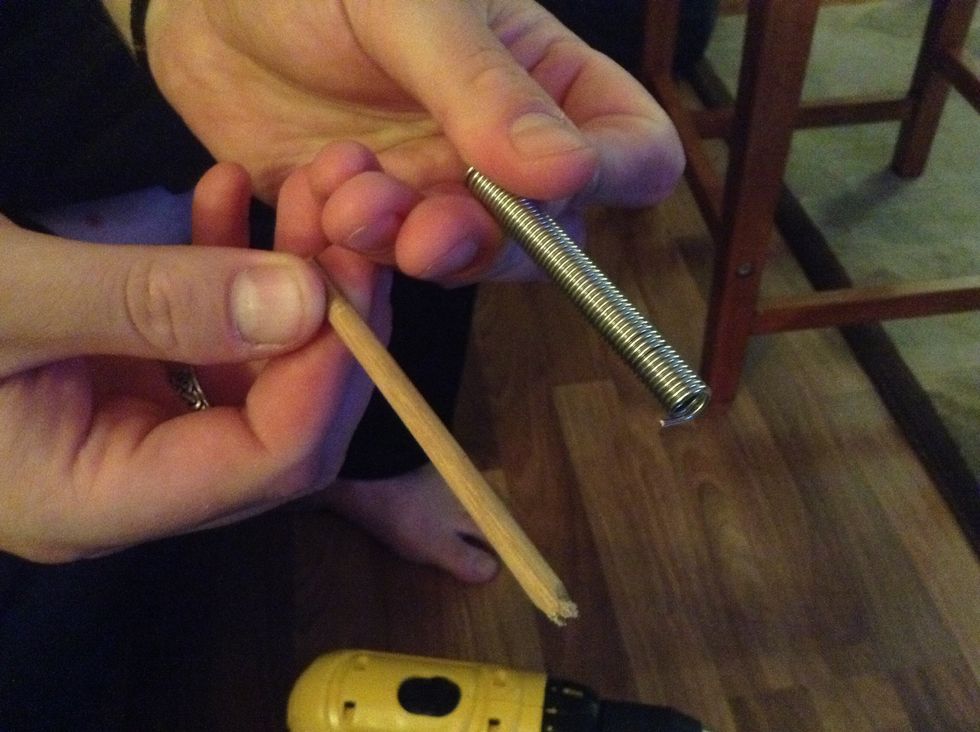
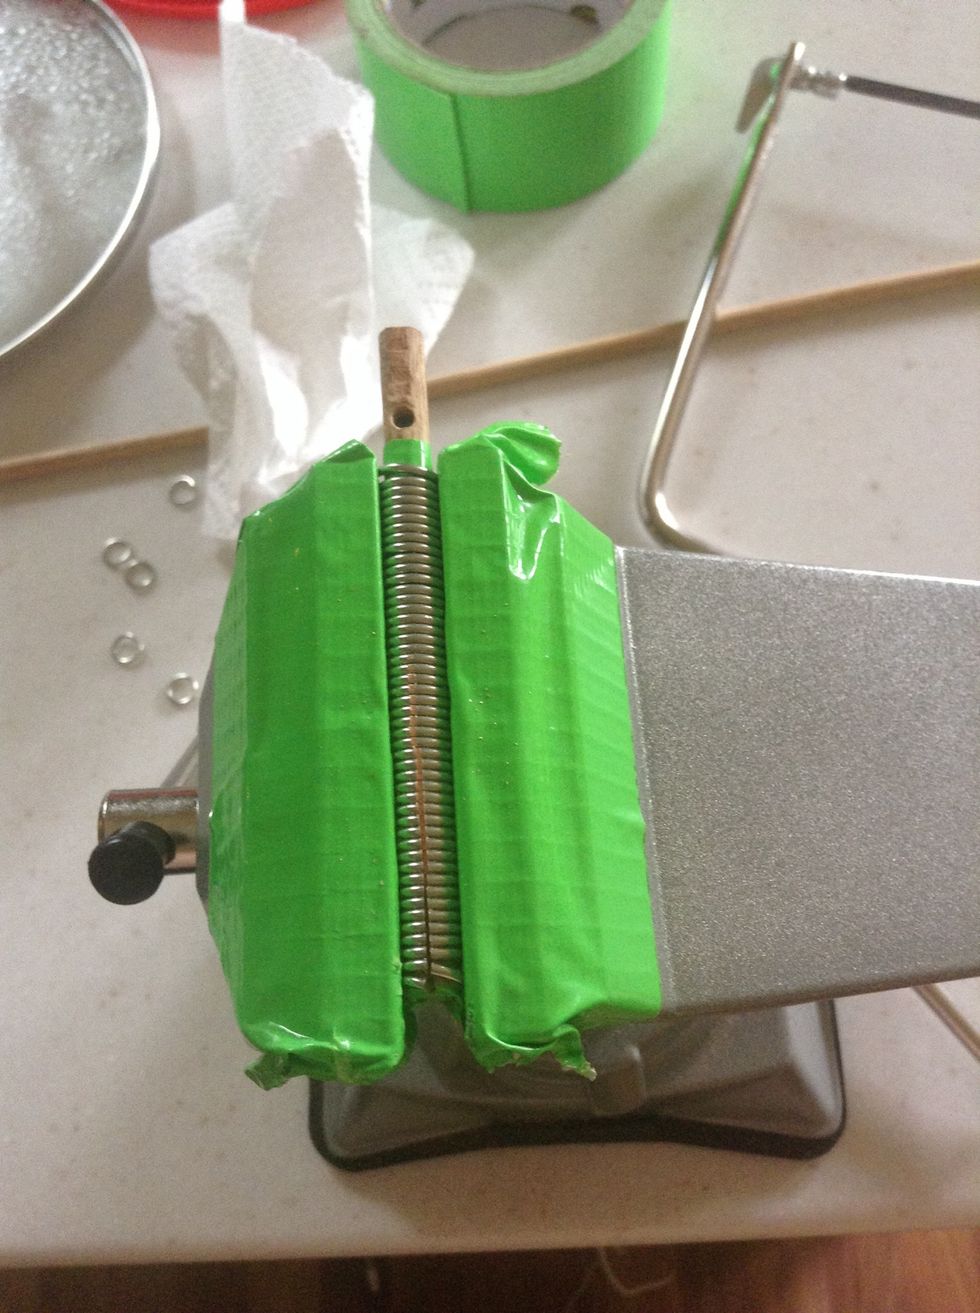
A wooden rod that fits snugly inside the coil will be needed before fitting the coil in the vise. Do not use purchased mandrels for this task to avoid ruining them for future use.

In the case the wooden rod does not fit perfectly, try improvising with one layer of duct tape. This method grants the same effect but cut 4 to 6 rings at a time.

Slip the rod into the coil or twist it in like a screw. The rod will keep the rings in place while they are being cut.
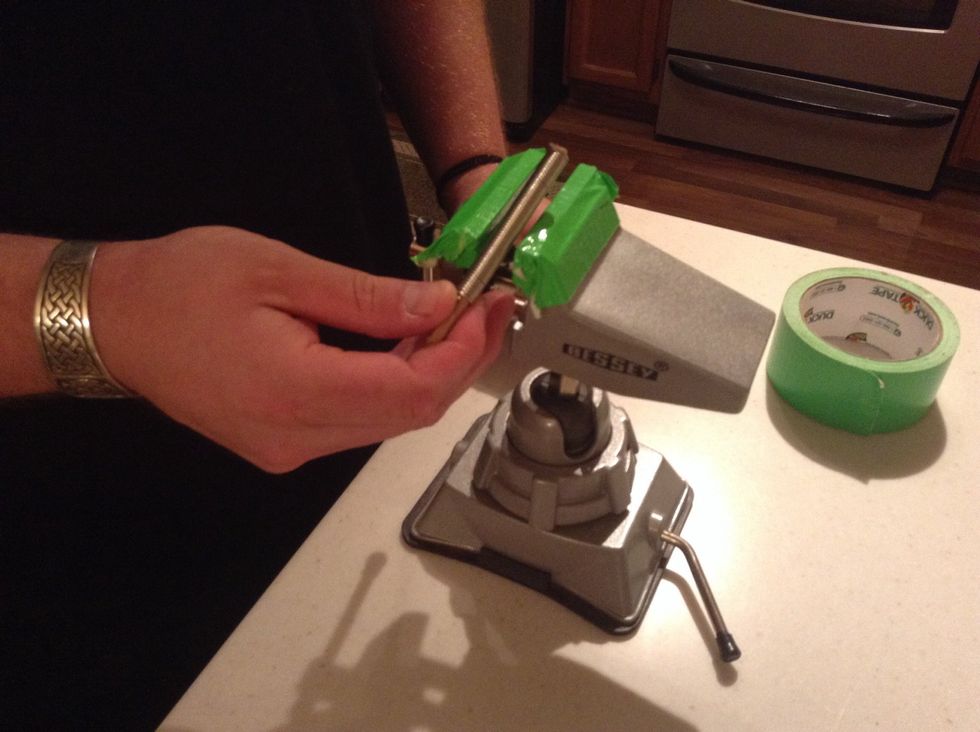
Use duct tape on the vise to prevent scratching the coil. The tape will also grip the coil and prevent it from sliding around while it's being cut.

Tighten the coil within the jaws of the vise so that the coil sits firmly in place. Give the coil a push on either side to make sure it won't move.
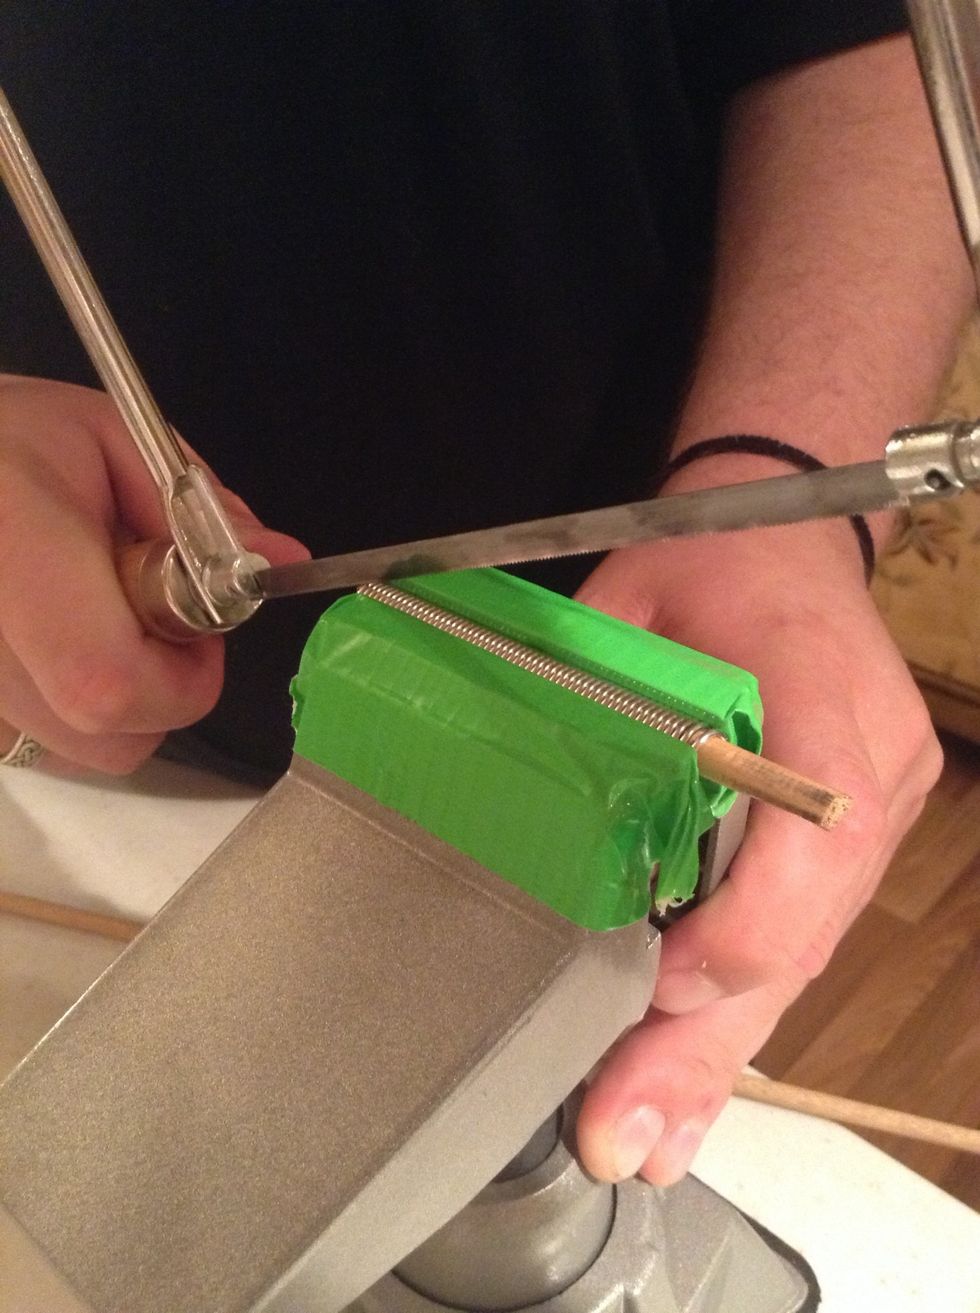
Begin cutting into the end of the wooden rod to create a guide into the first ring. Make sure to cut only one end of the coil and not to cut all the way through.
Once a good guide has been made even out the saw and very carefully start to cut 10 to 12 rings. Trying to cut them all at once can be tricky and usually leaves nicks in unwanted spots.
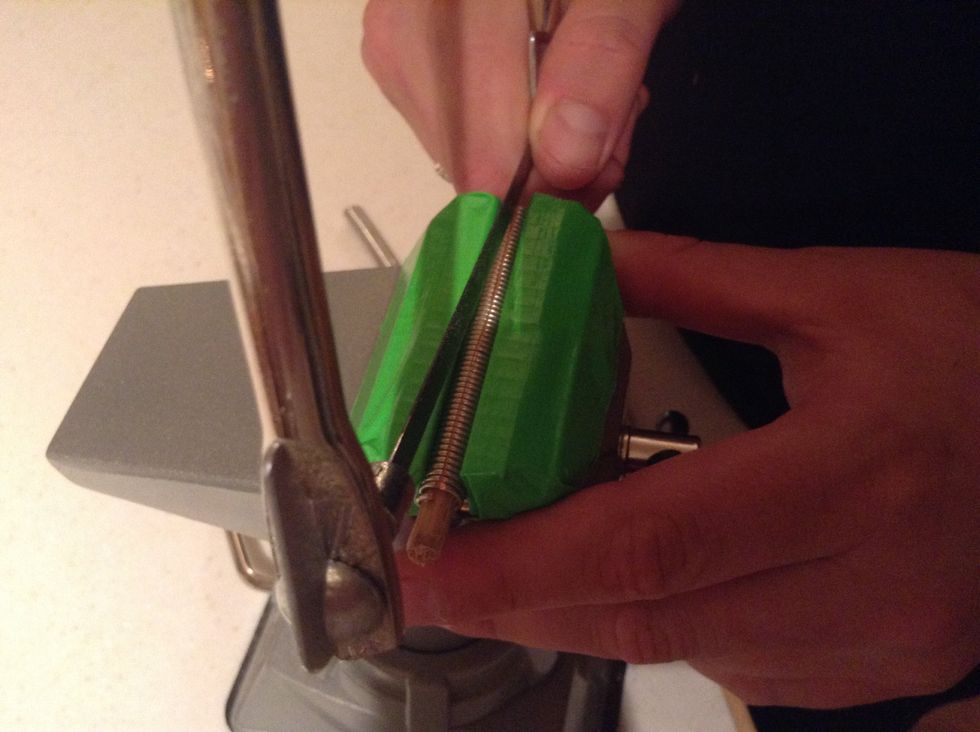
Once 4 to 6 rings have been cut, loosen the vise and pull the rod out from the jaws.
Take off all but 2 cut rings, this will prevent cutting through the rod and into the bottom of the rings. The 2 remaining rings will be the next guide into the uncut rings to finish cutting the coil.
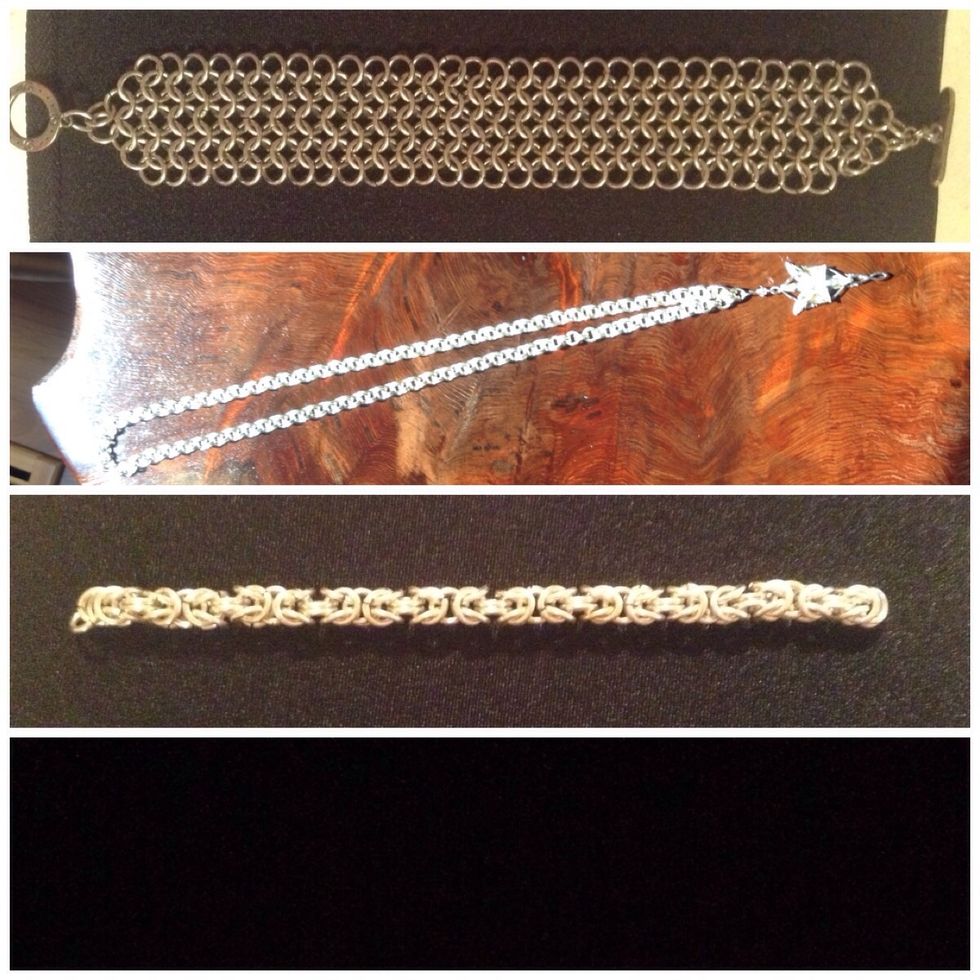
These are a few examples of what one can do with there finished product. The top picture is a 4 in 1 European weave. The middle one is a 2 by 2 chain and the last is the Byzantine weave.
These aren't just rings but works of art. The skill set for one who wants to make there own chain mail consists of nothing but a few house hold tools, some wire, and some time to kill.
Works Cited: Karon, Karen. Chain Maille Jewelry Workshop. Loveland: Interweave Press LLC, 2012. Print. Wikihow. Bob Robertson, Wikipedia, 23 June 2014, Web, 17 July 2014.