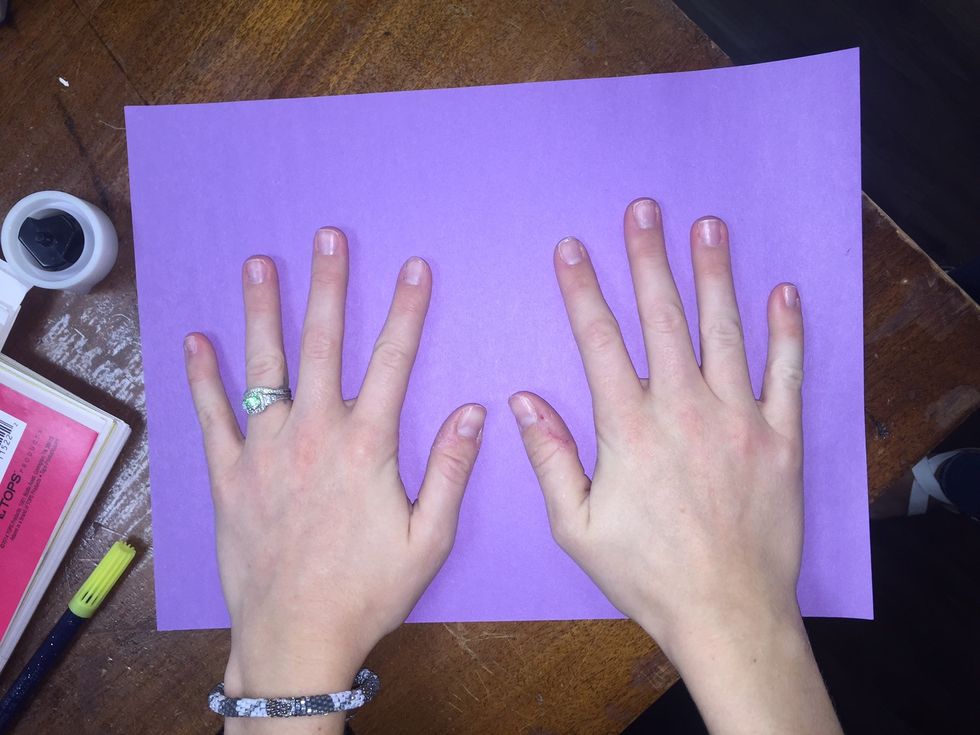
Place your child's hands on the piece of craft paper.

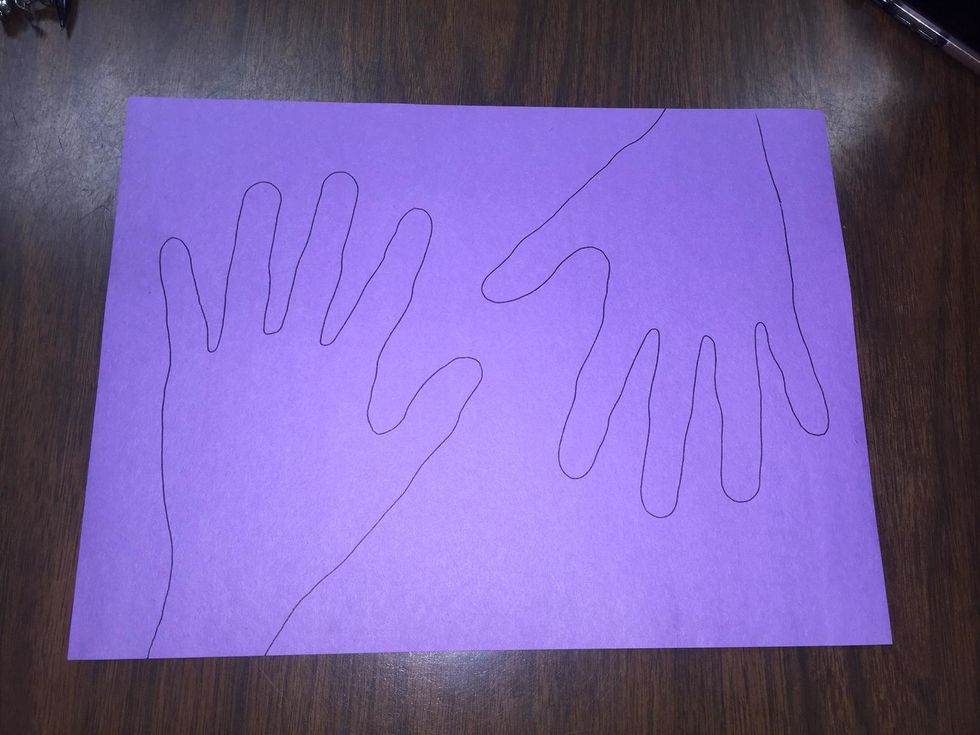
Trace their handprint with a sharpie or pen.

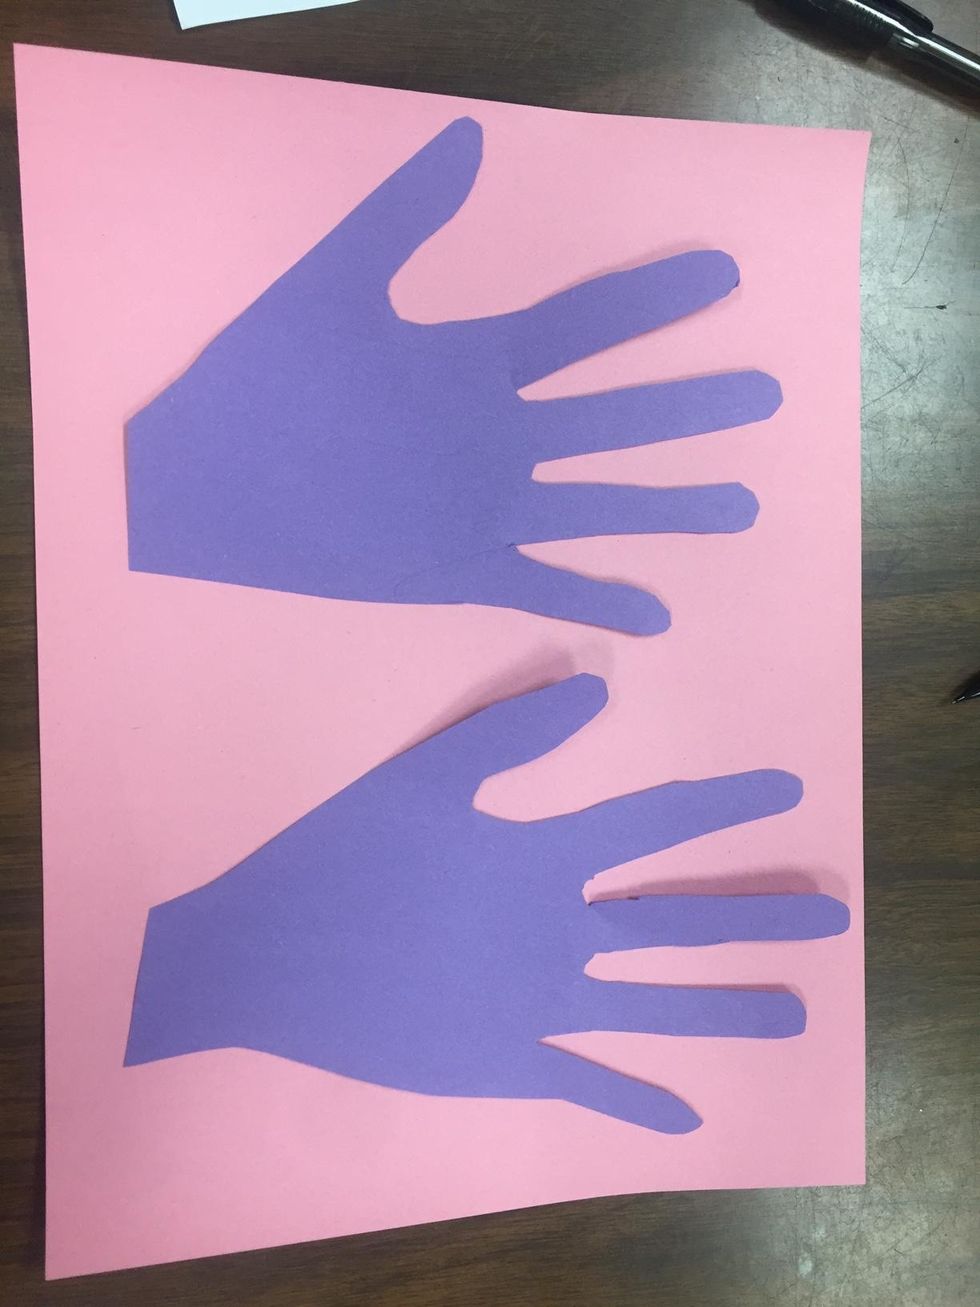
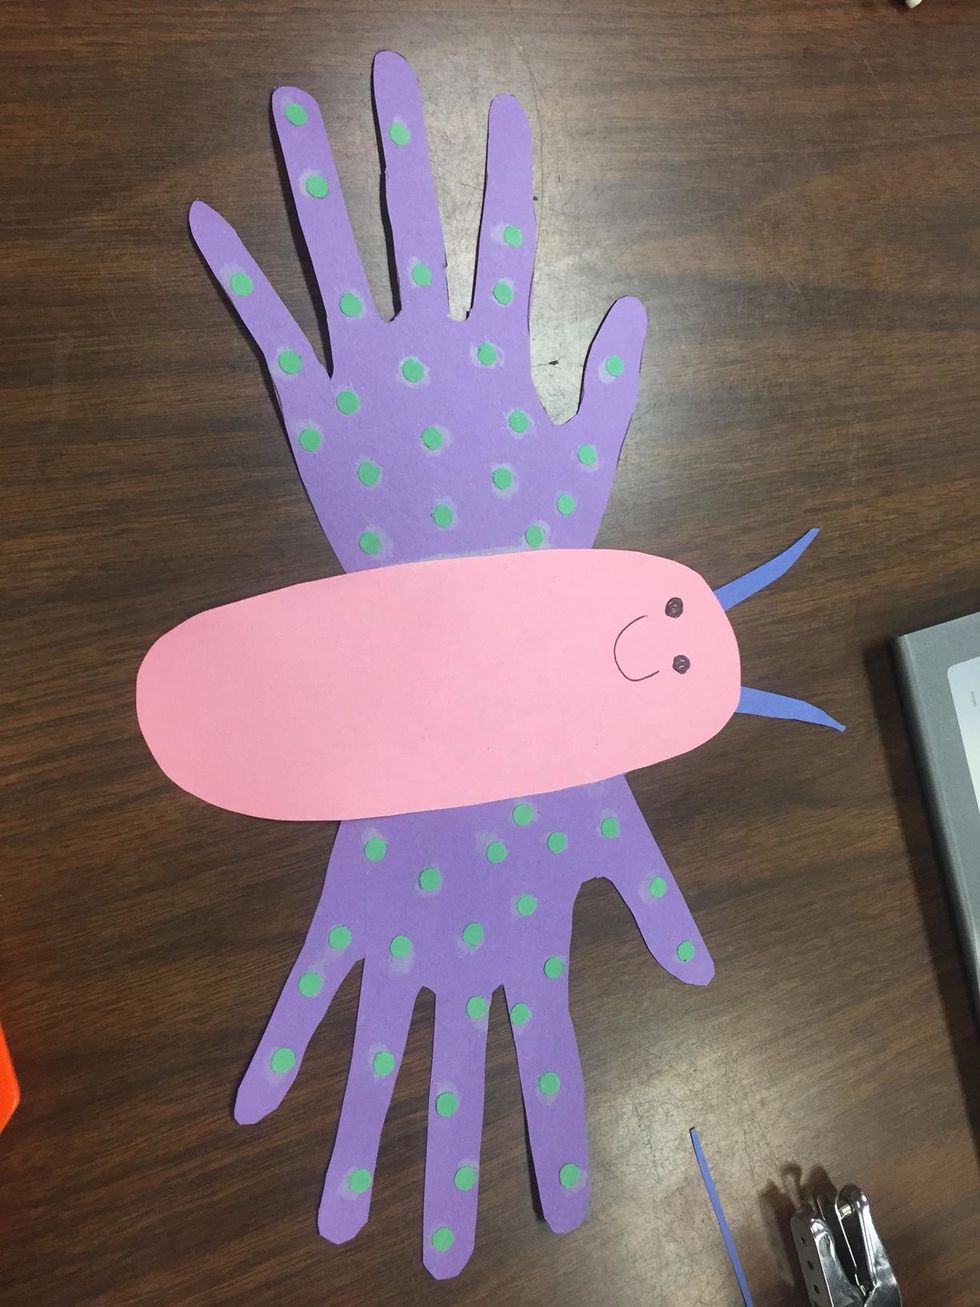
Cut out the hand print. These will be the wings.

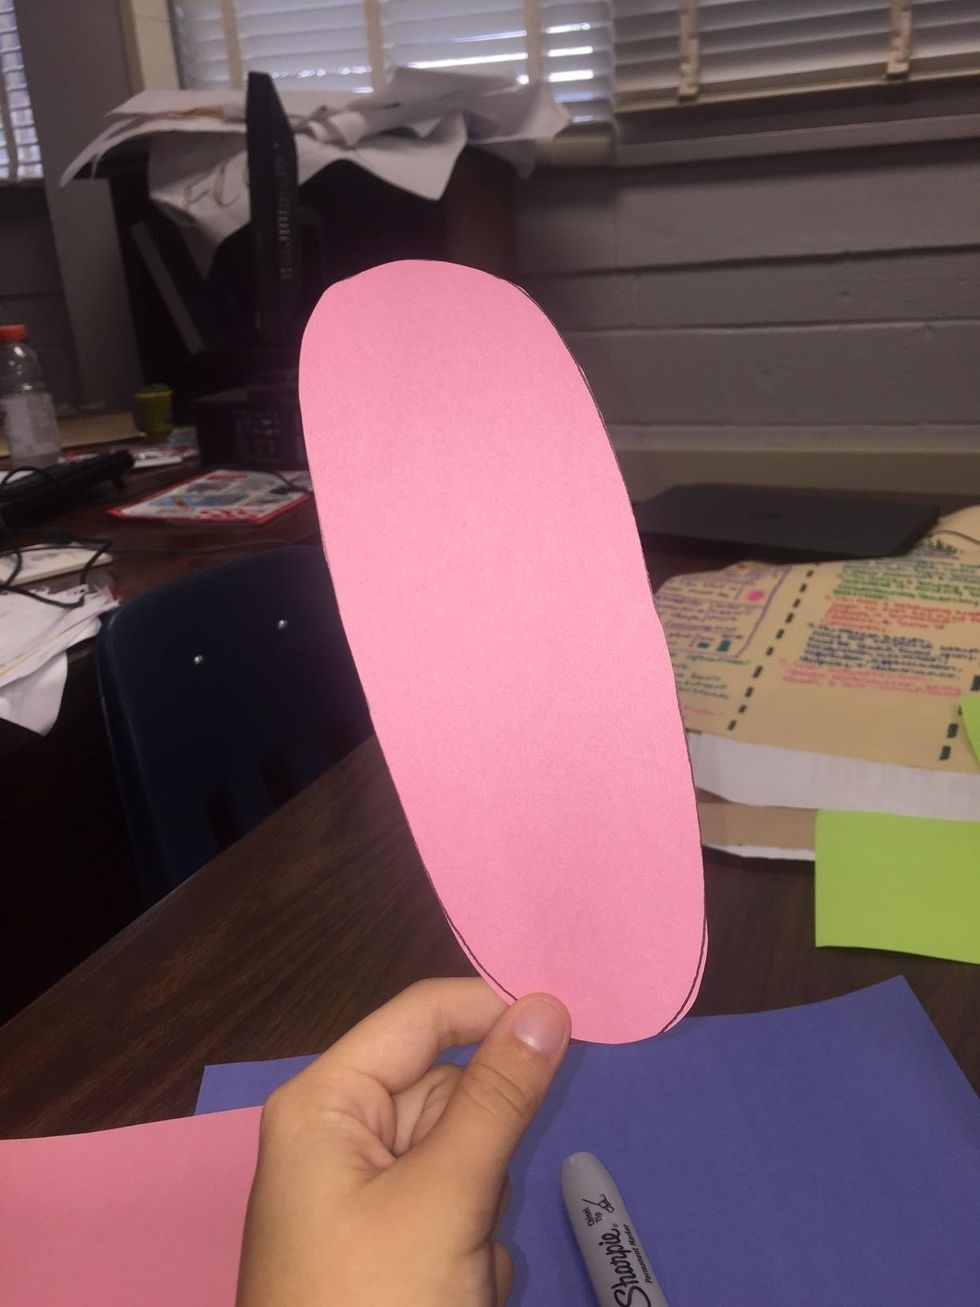
Cut out an oval shape out of another colored paper. This will be the butterfly's body.

Glue the hand cutouts to the backside of the 'body.'

Using the hole puncher, cut out a lot of little circles in a new color. These will serve as the polka-dots on the wings.

Glue the dots onto the wings.

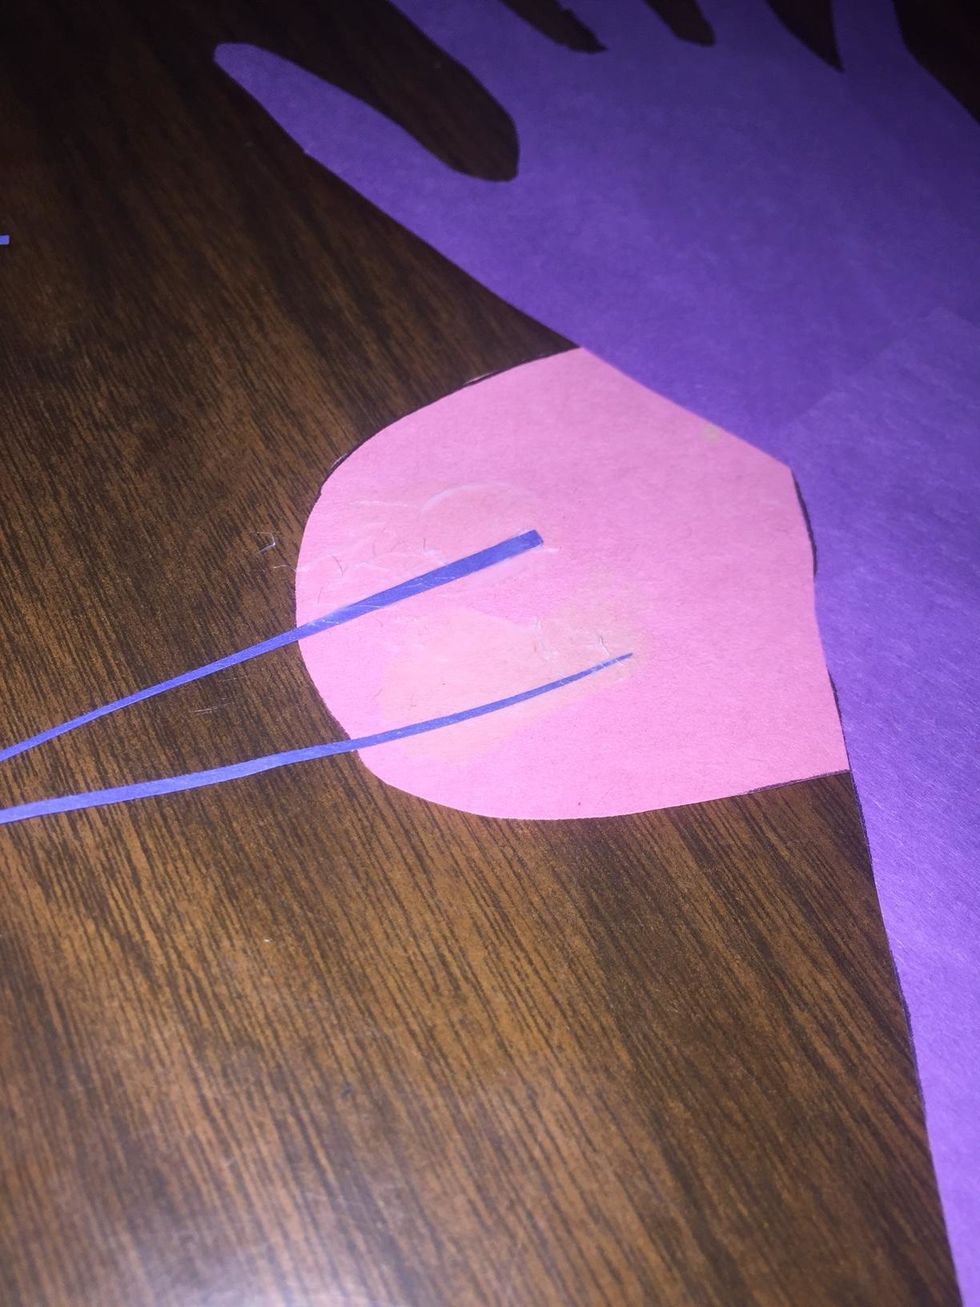
Using a new piece of paper, cut straight, thick lines to your preference. This will serve as the butterfly's antennas.

Glue the pieces of paper onto the backside of your butterfly.

Lastly, draw a smiley face onto your butterfly to finish this fun, fast project.

- 4.0 Assorted Craft Paper
- 1.0 Sharpie
- 1.0 Glue Stick/Squeezable Glue
- 1.0 Hole Puncher
- 1.0 Scissors
