STEPS
TOOLS

I found that individual dies work better than trying to use a strip of flowers on one die.
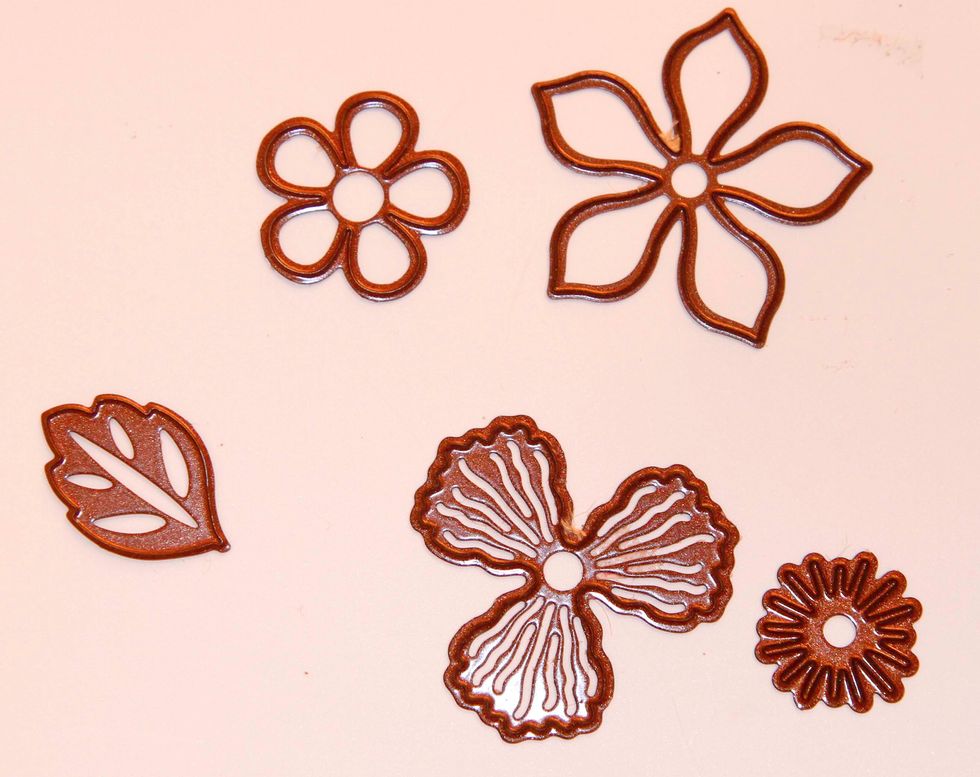
I will be using the Sue Wilson Flowers dies - Exquisite Poppy, Orange Blossom and Camellia Flowers.
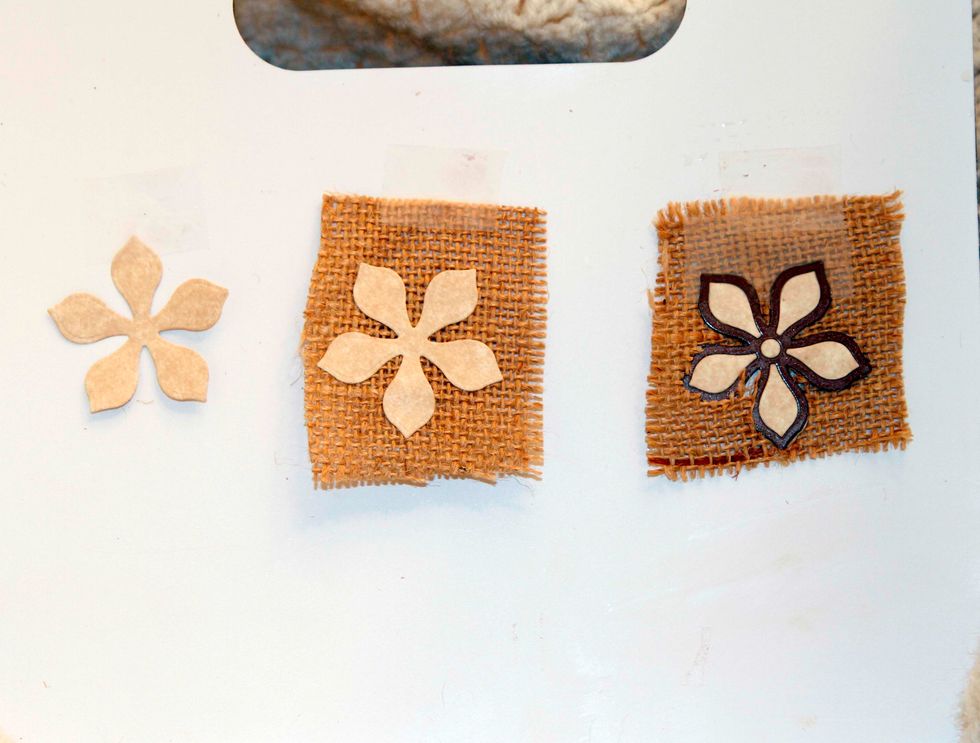
Using heavy card stock, cut out one Orange Blossom flower. Glue the flower onto the burlap. Place the die on the flower, use tape on the die and burlap, and then cut the die through your machine.
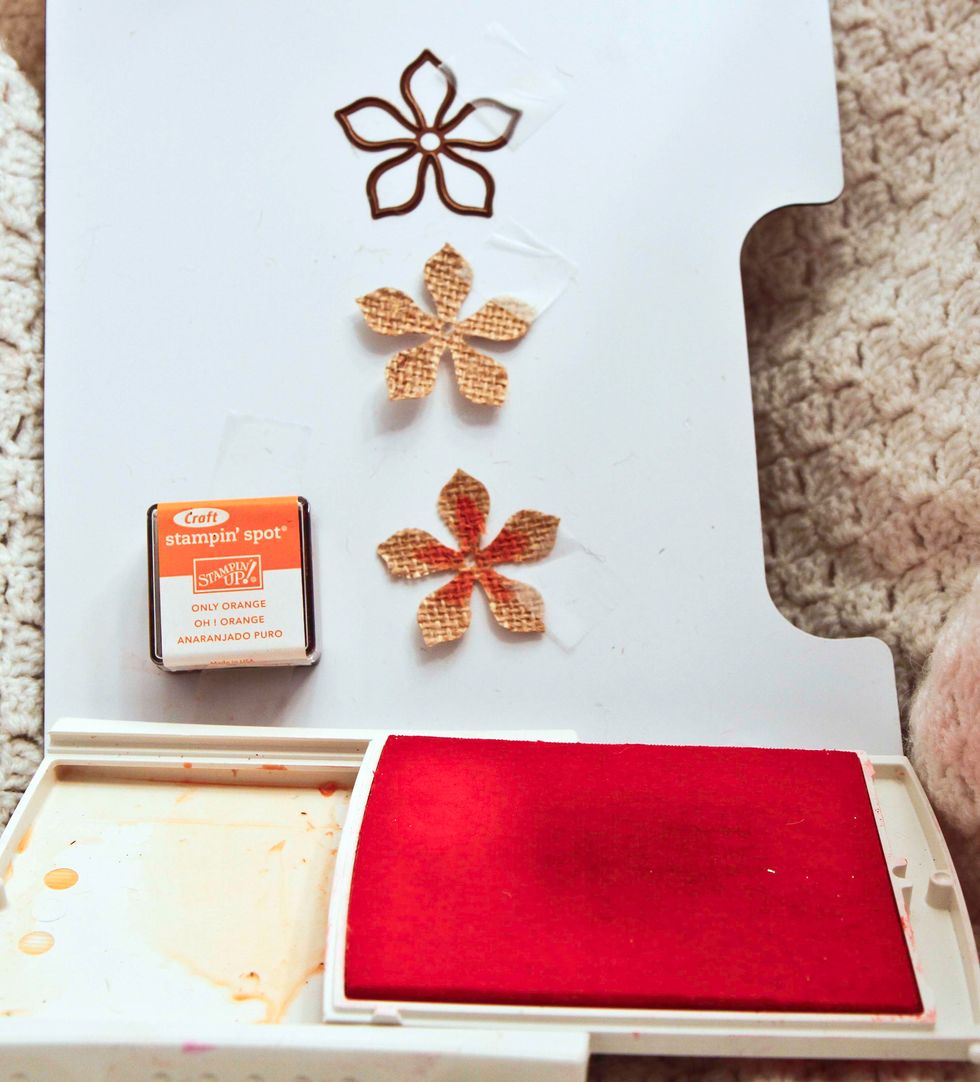
I punch the middle of the Orange Blossom first before coloring the flower. I use orange ink with a few drops of water on my brush and brush it on the burlap flower.
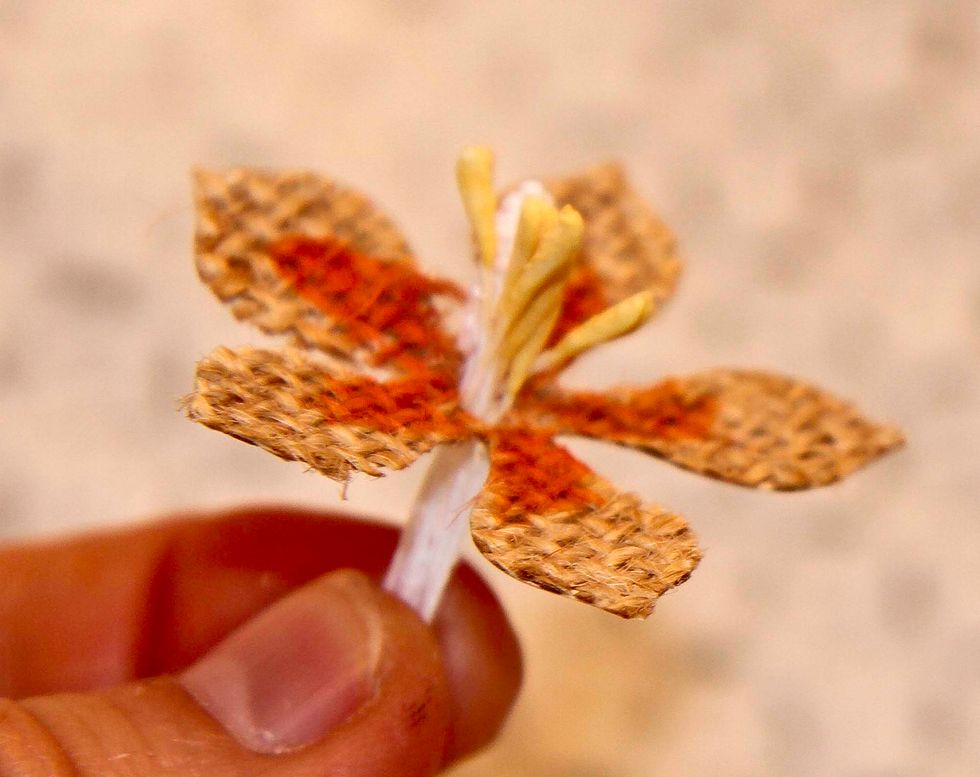
I bought the stamen in a craft store instead of making it this time. I have about six yellow and one white. Glue the stamen behind the flower and possibly some around the center of the flower.
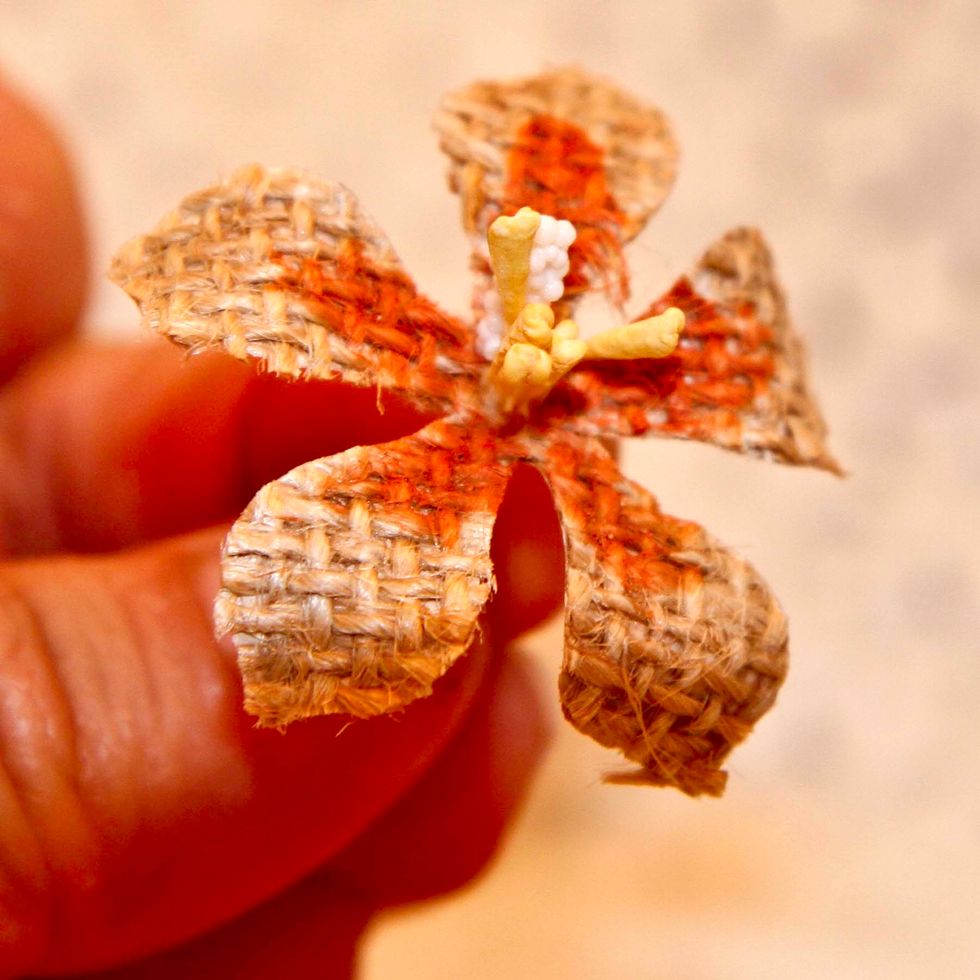
I will let the glue dry before curling the leaves and shaping the petals towards the center of the flower. Afterwards, cut the bottom of the stamen with wire cutters and now you have your flower.
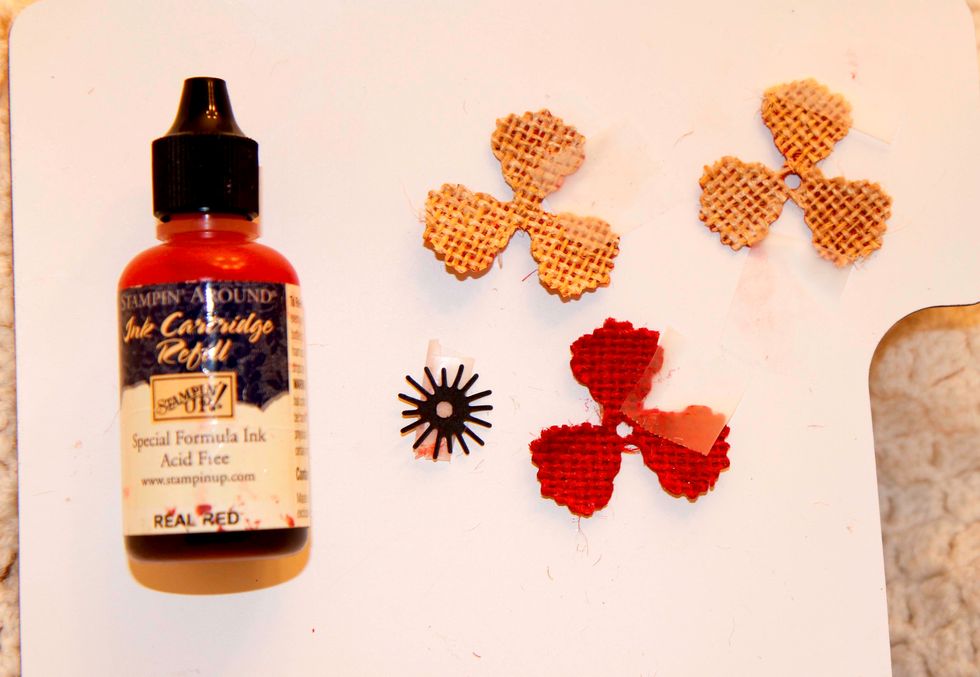
You will repeat the same steps but cut 3 poppies out of card stock, glue each one on the burlap, put the die on a poppy, tape it down and go through the cutting machine (Ex. Sizzix Big Shot).
If burlap on the die doesn't want to come out, just use the scissors to cut the string while the flower is still in the die. Punch a hole in the center and brush red ink on each petal. Let dry.
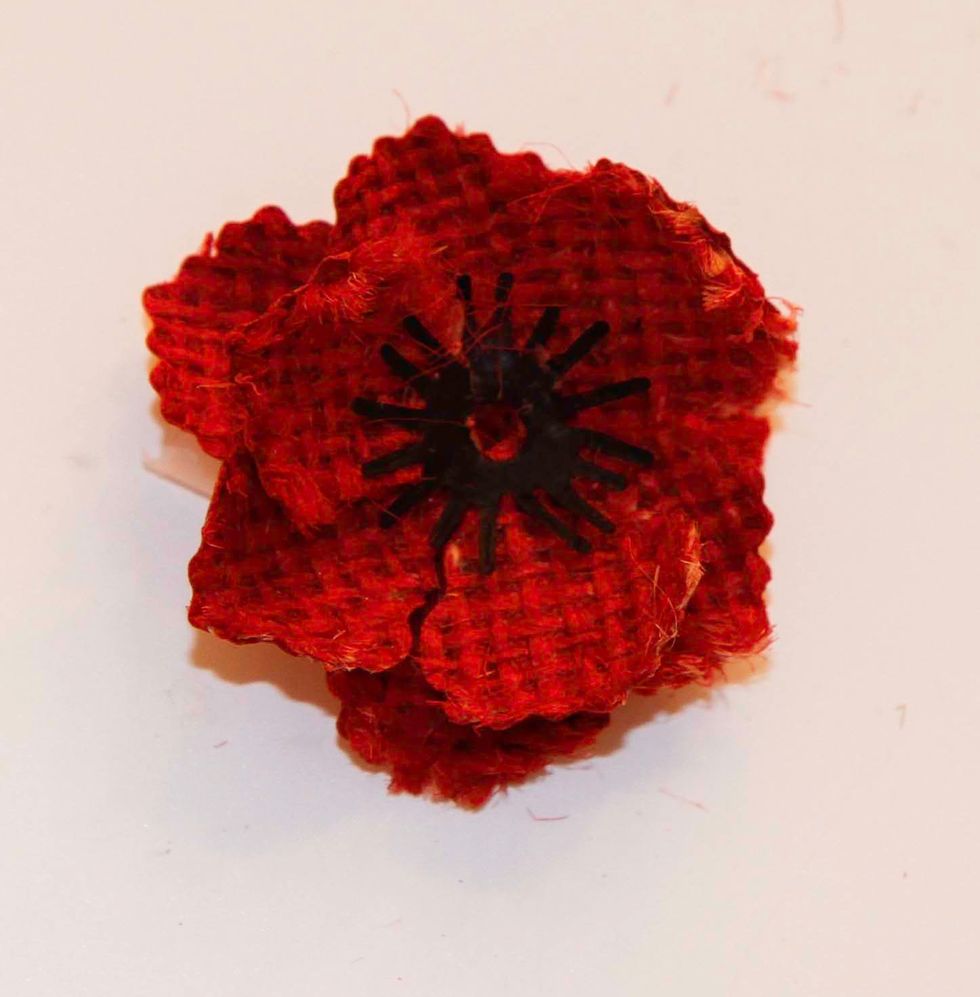
This is the poppy without adding the stamen. I glued the flower together and then the first layer of stamen.
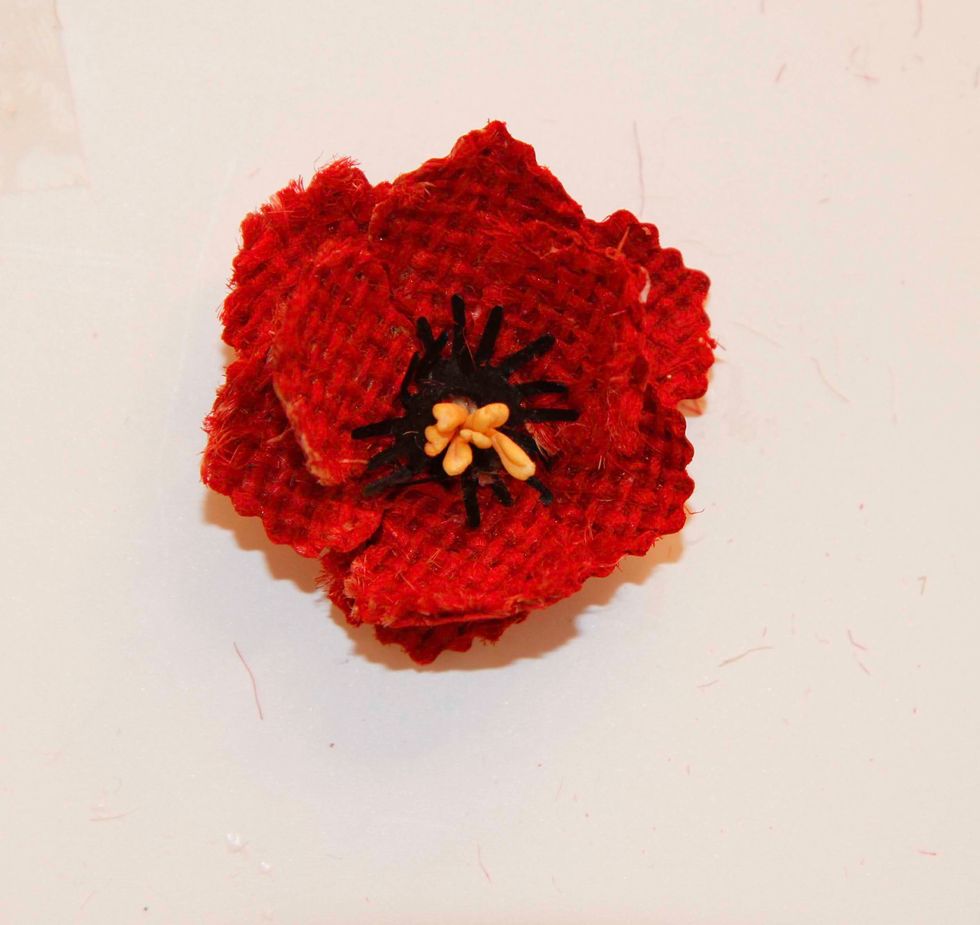
I pulled the stamen through the hole and glued the stamen underneath the flower. I was able to curl the end of each petal with the end of my painting brush towards the stamen.
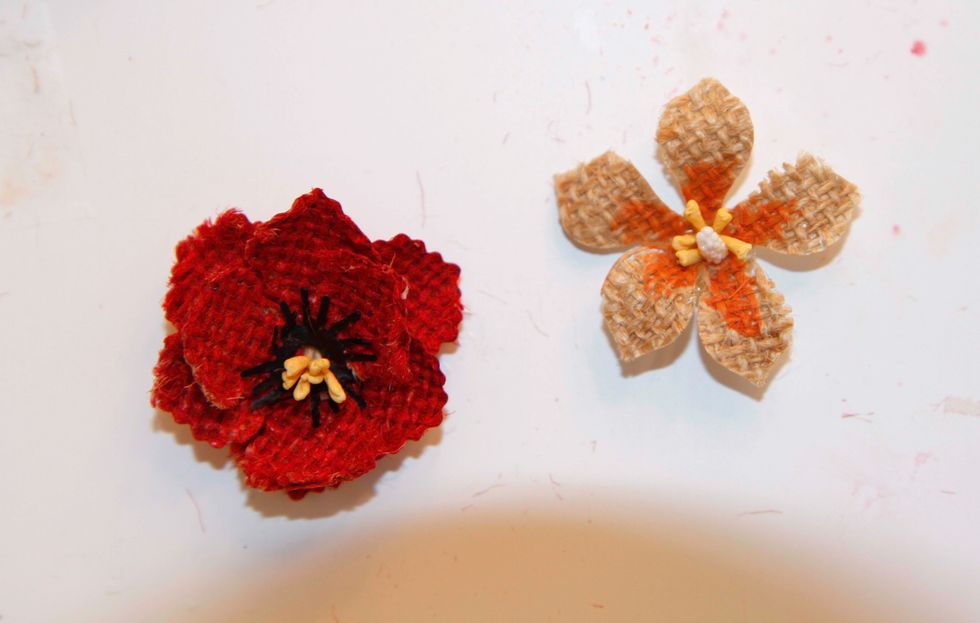
These are the finished flowers for your card or project.
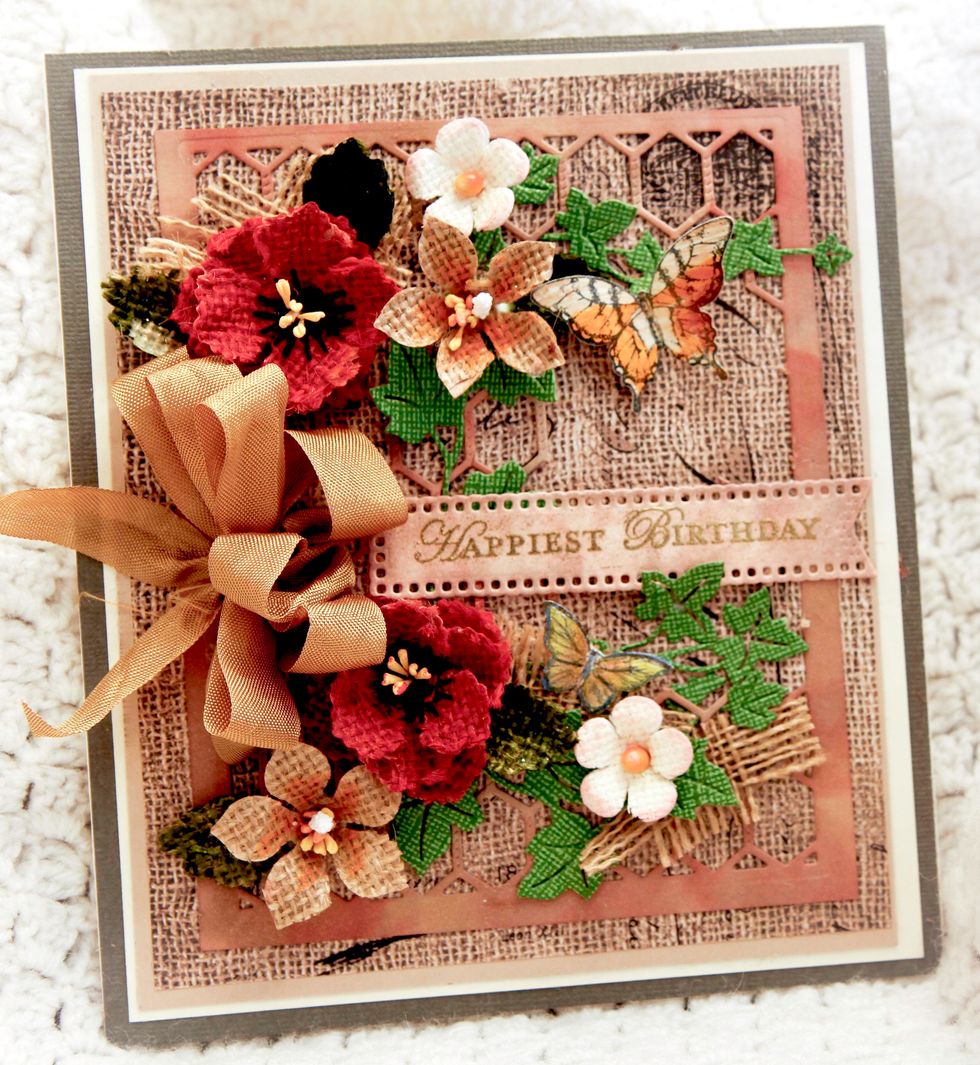
I made the burlap leaves using the same technique and colored each one with green stamping ink. I hope you are inspired to try this out. It was a lot of fun for me to do these flowers for my card.
- Burlap material or bag
- Thick and Fast tacky glue
- Possible stamens from flower making
- I am using the Sue Wilson Finishing TouchFlowers
- Heavy card stock
- Wire cutters
- colored ink for your flowers
- brush to apply ink
The Conversation (0)
Sign Up