The Conversation (0)
Sign Up
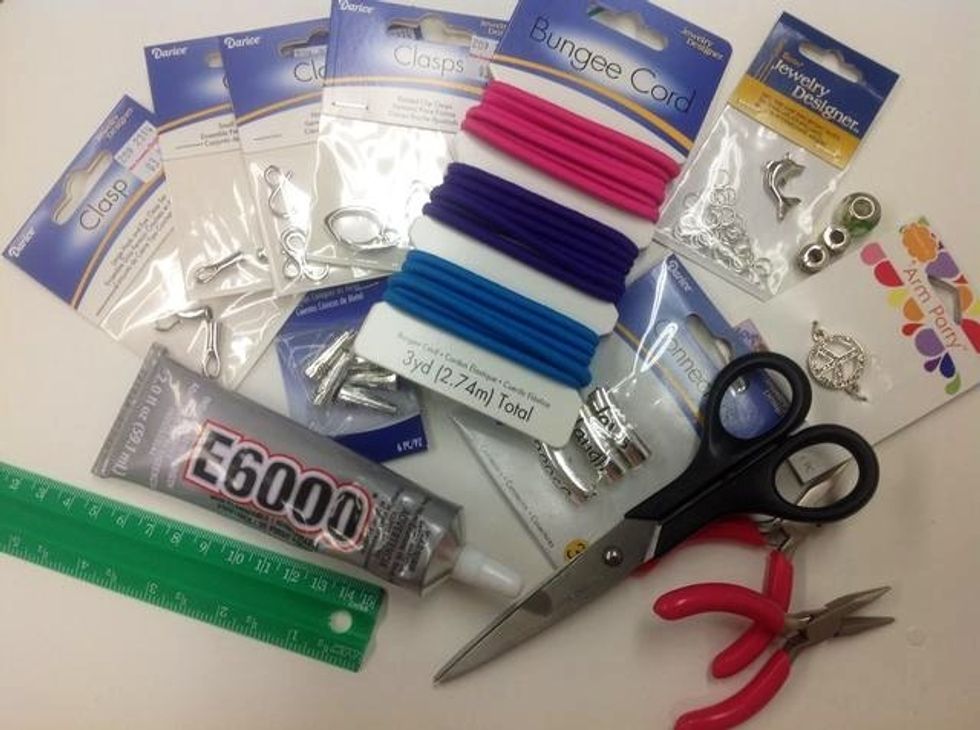
Here's a peek at the products we used....
....to make these fun bungee cord jewelry projects!
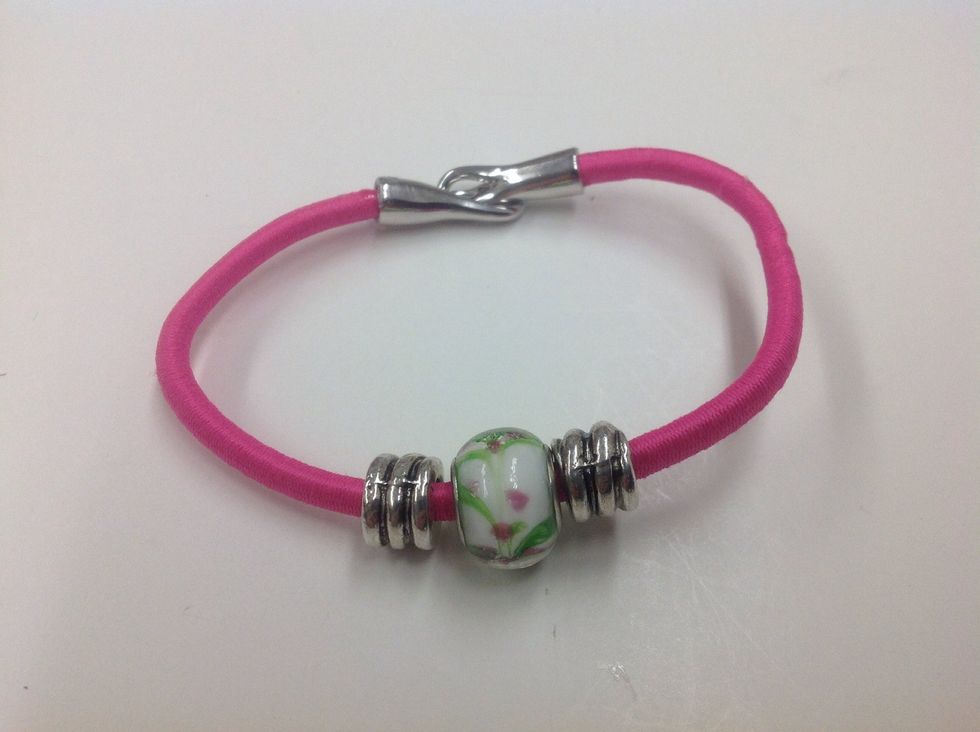
The pink beaded bracelet is the easiest bungee cord project in this collection.
Cut a piece of bungee cord to fit your wrist minus the width of your closure.
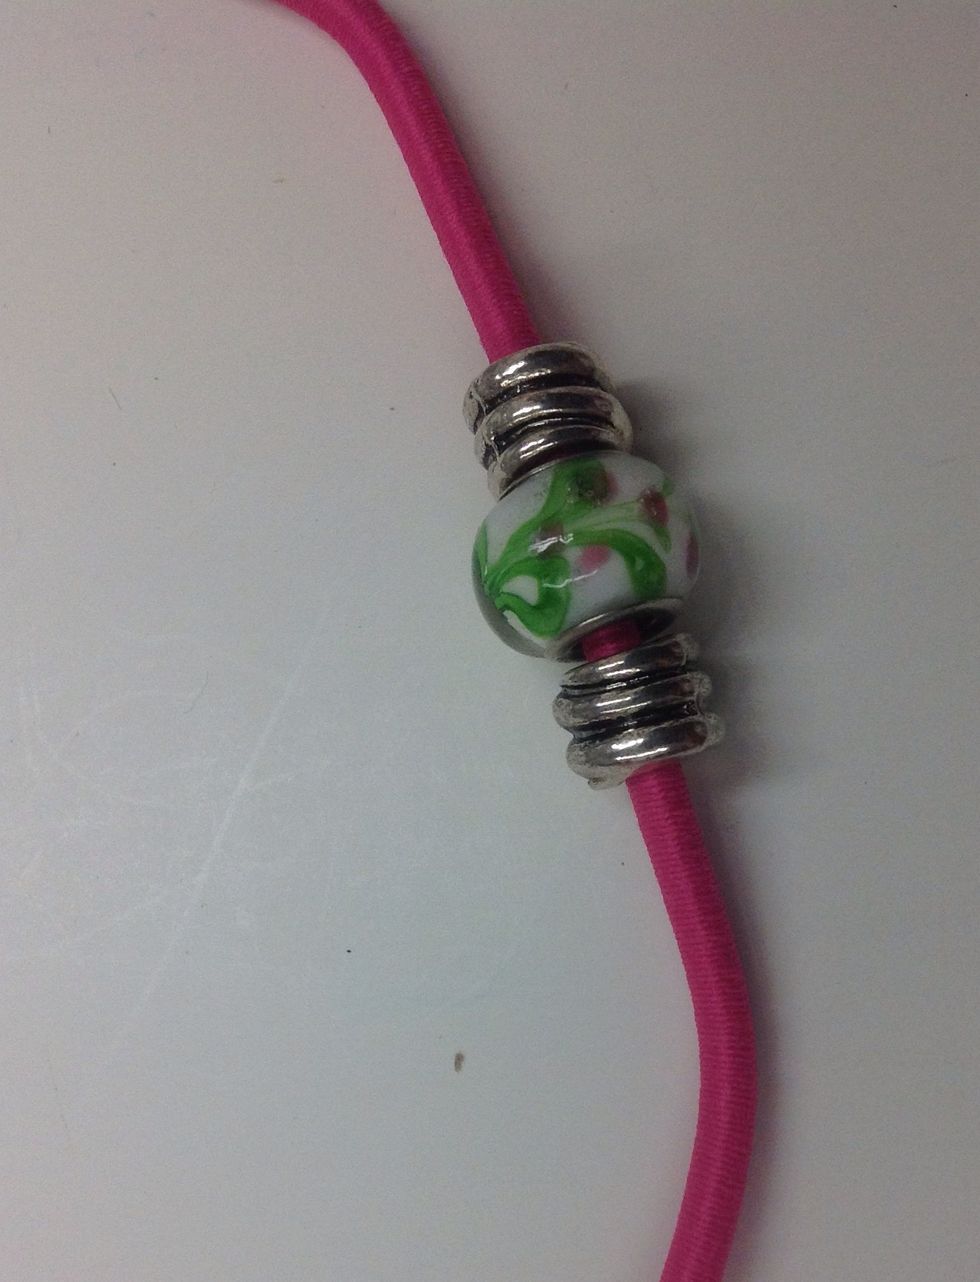
String the beads on the bungee cord in a pleasing arrangement. If necessary, use the t-pin to help feed the cord through the bead.
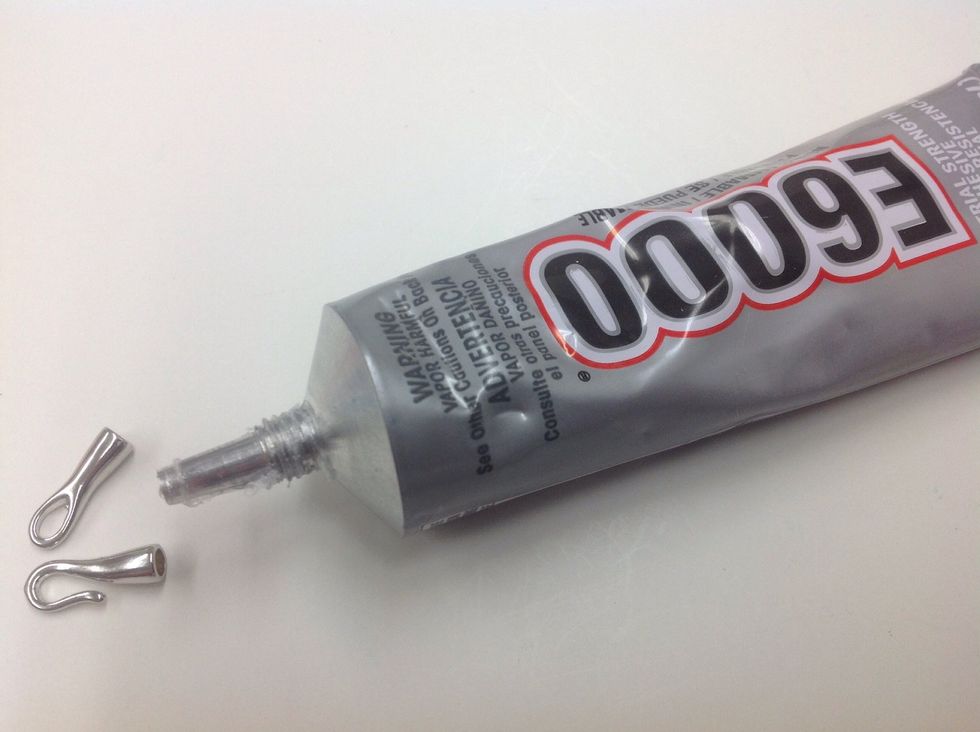
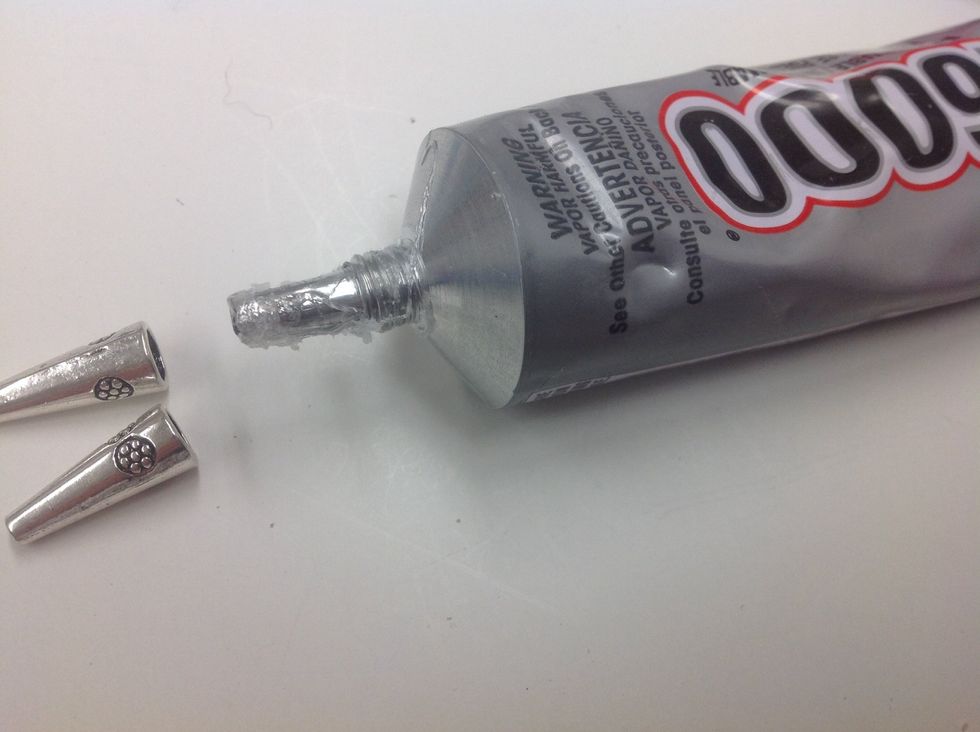
Fill the cups of your closure pieces about 1/2 with E6000 or similar industrial strength adhesive. Allow to cure for 2 minutes.
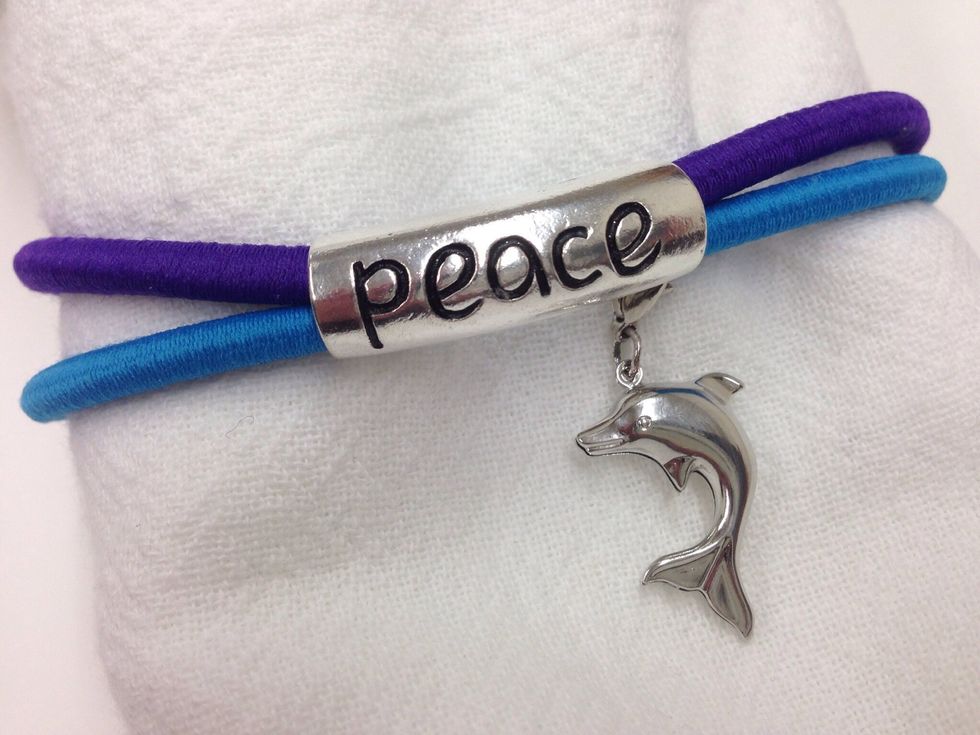
The Peace bracelet is a little more complicated than the pink bracelet...but has lots of room for customization! The interchangeable charm adds a little whimsy to the project.
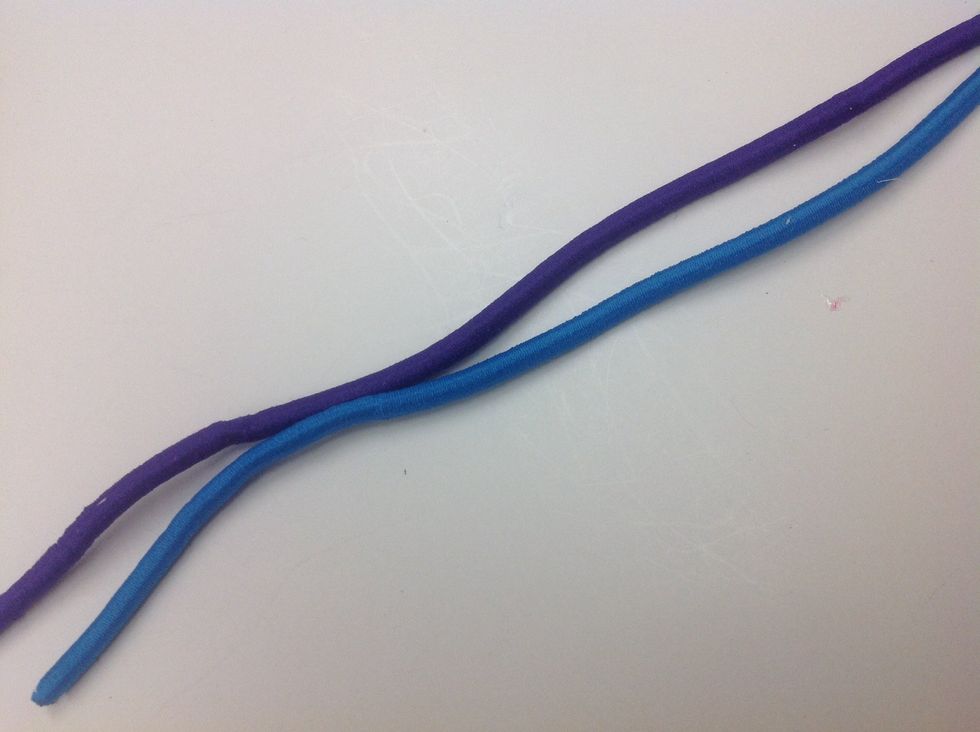
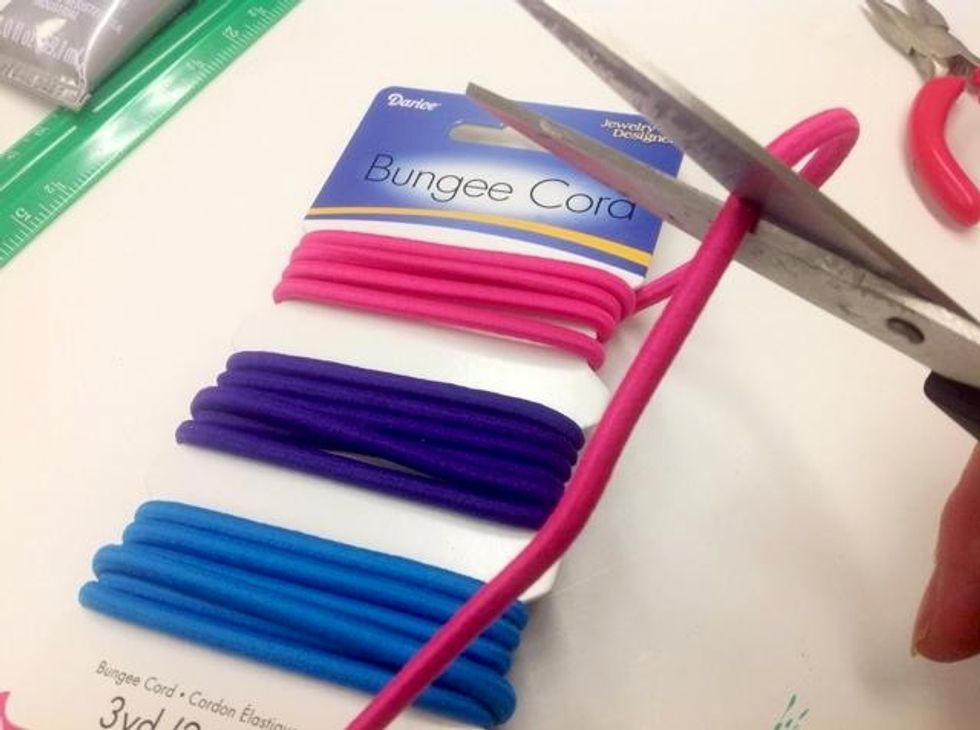
Cut 2 pieces of bungee cord to wrist measurement minus 2 inches to accommodate for length of bead cones and clasp.
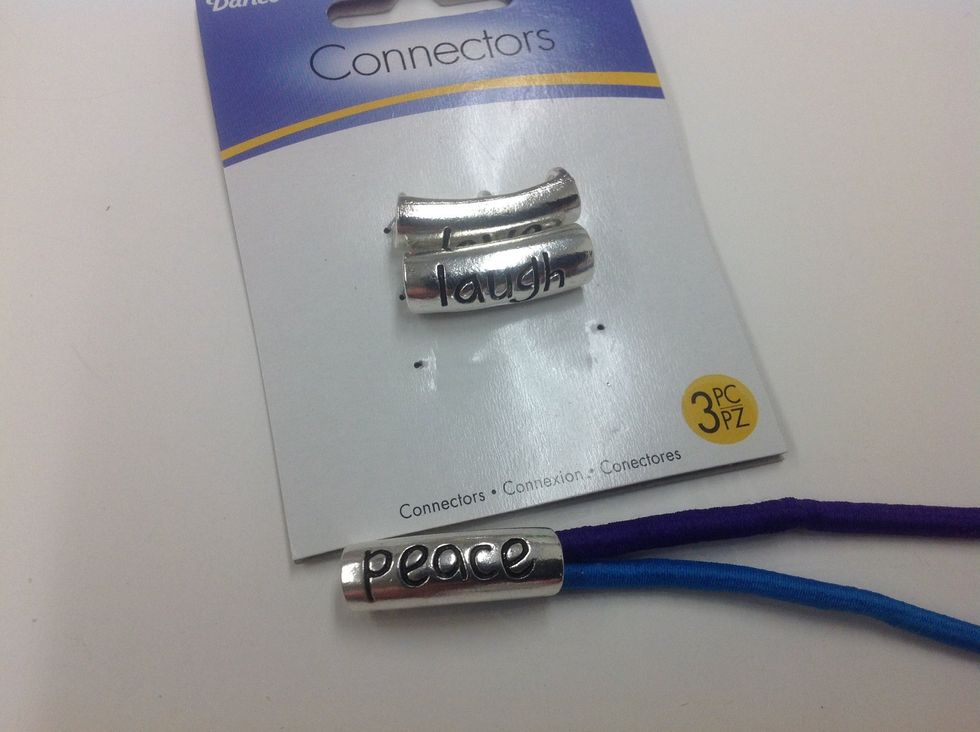
Insert both cords through a curved word tube. You will probably need to use the t-pin to help feed the cord through the tube.

Try to keep the cords side by side as they are fed through the tube so the finished bracelet lays nicely.
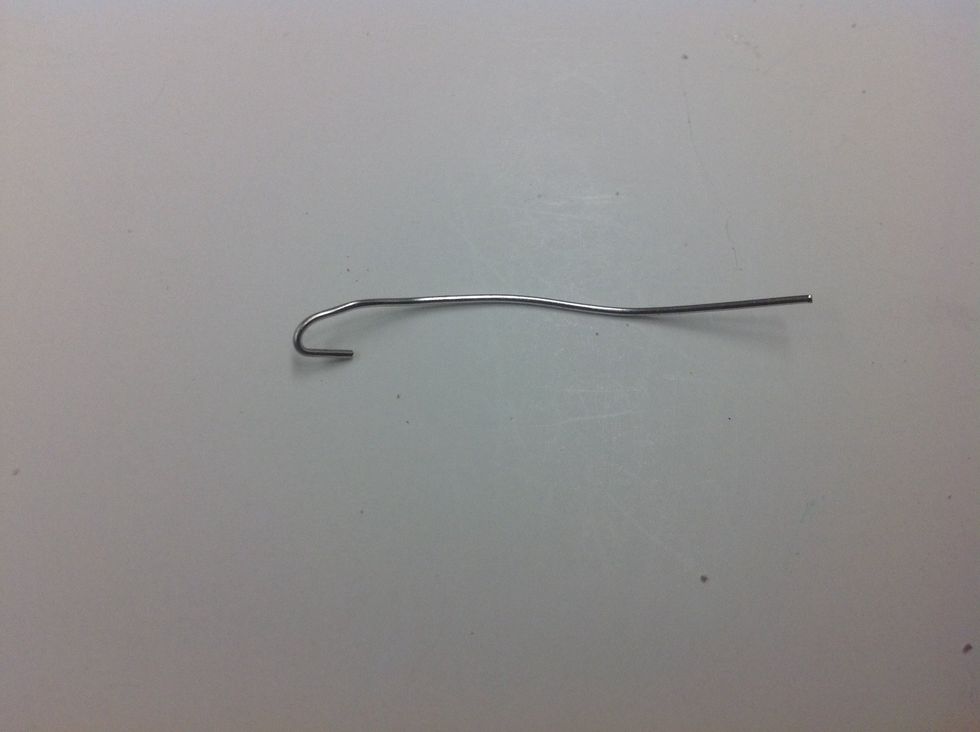
Cut the end off of your head pins. Use the pliers to form a small hook on one end.
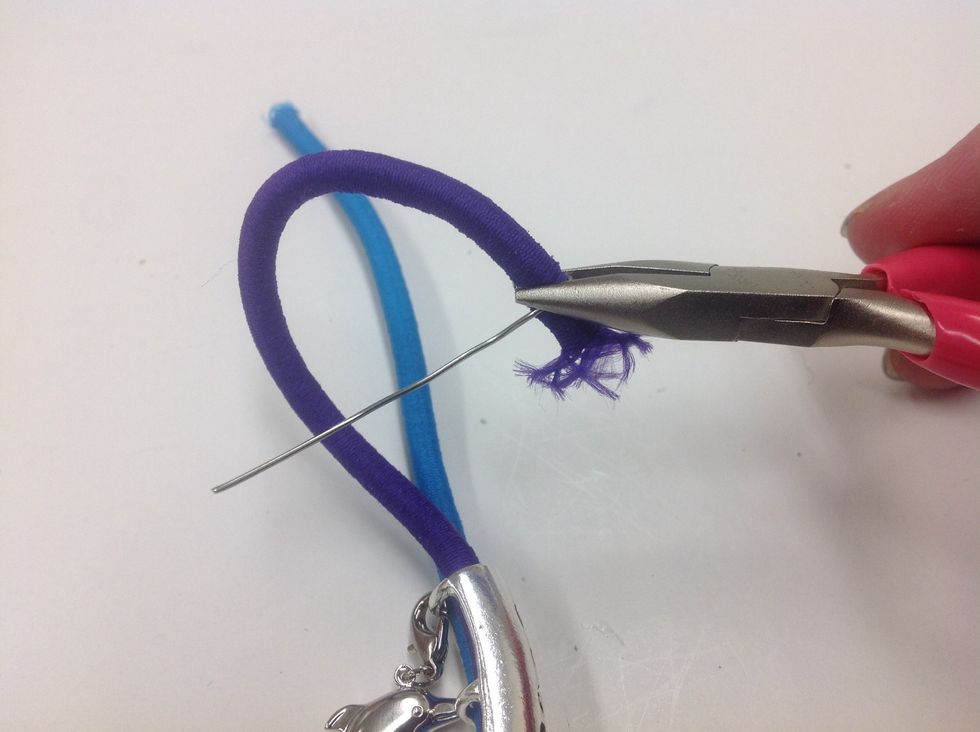
Place one of the cords inside the hook and firmly press closed with pliers.
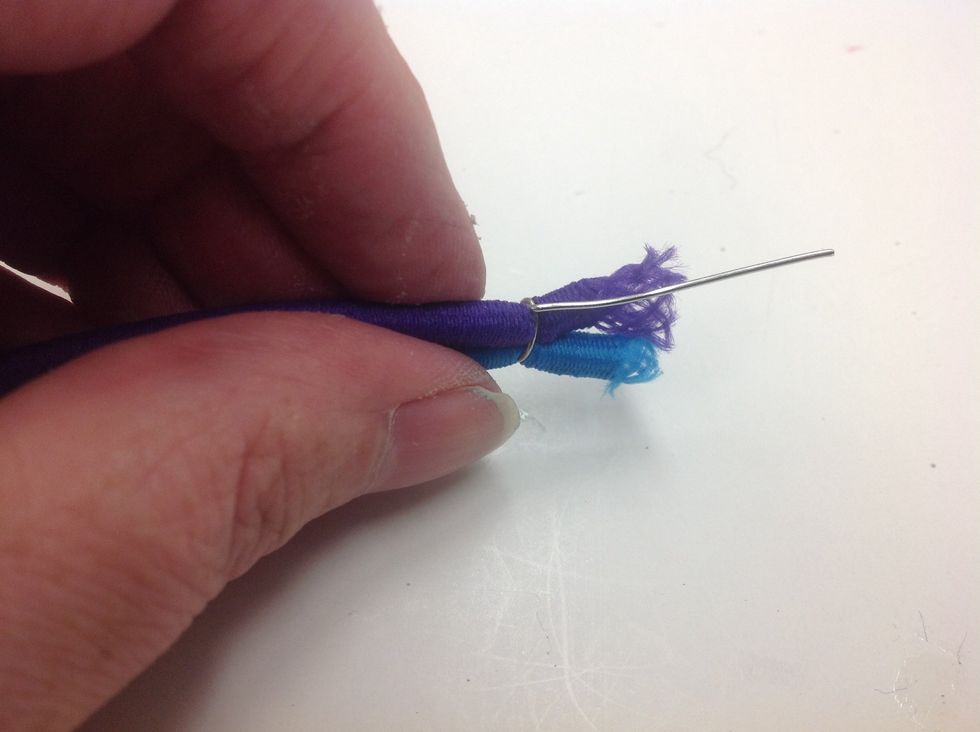
Lay the other cord in place and wrap the wire tightly around both cords.
Insert E6000 adhesive into bead cones and let cure for about 2 minutes.
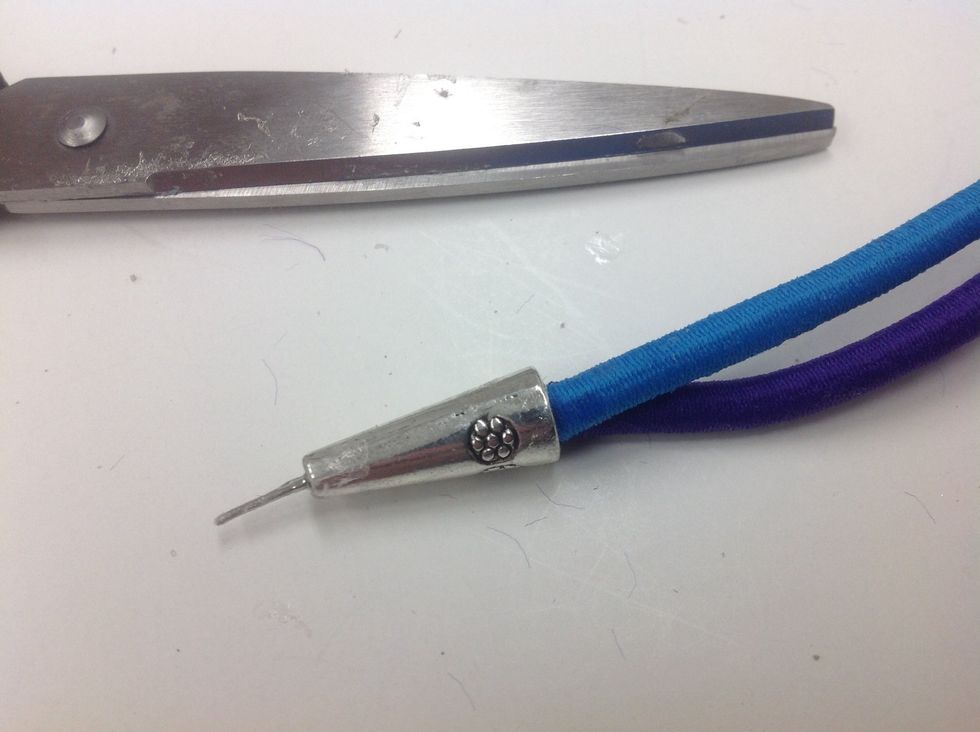
Insert the wrapped bungee cords into the bead cone, using a t-pin to help feed the cords all the way in. Have a paper towel ready to wipe away any glue that squeezes out.
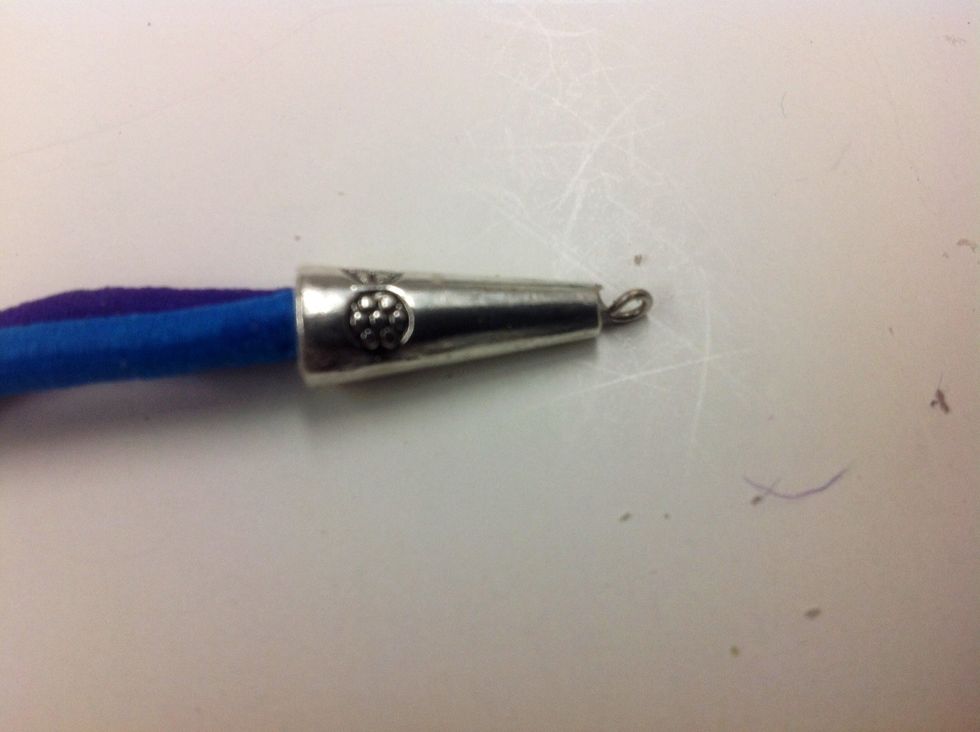
Use pliers to form a loop with the wire that protrudes from the bead cone.
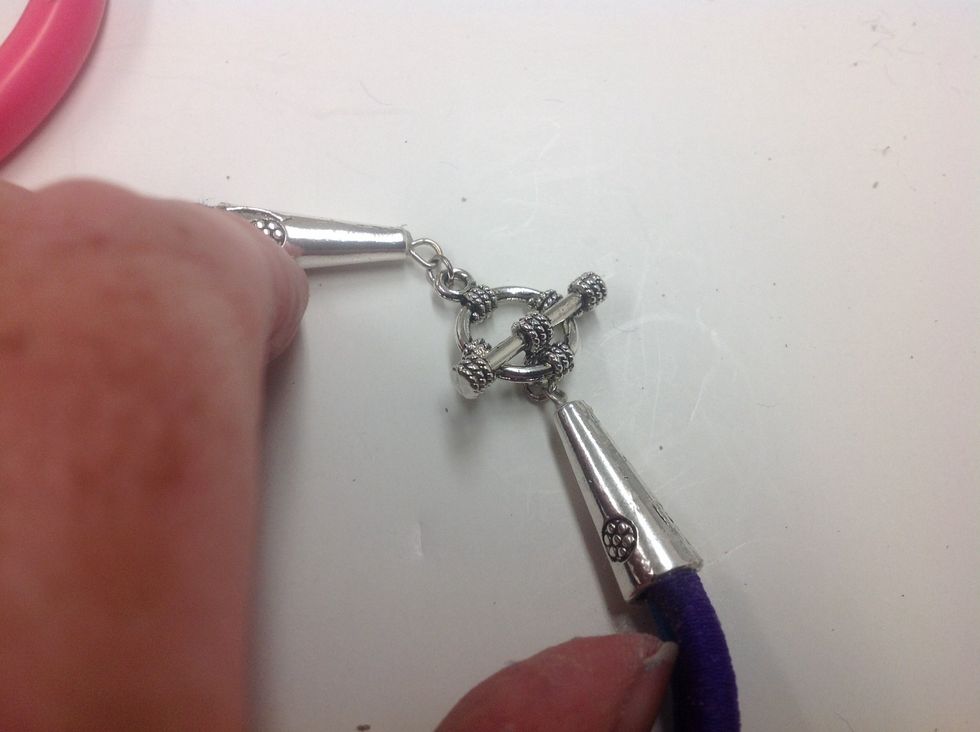
Use jump rings to fasten toggle ends to bead cones.
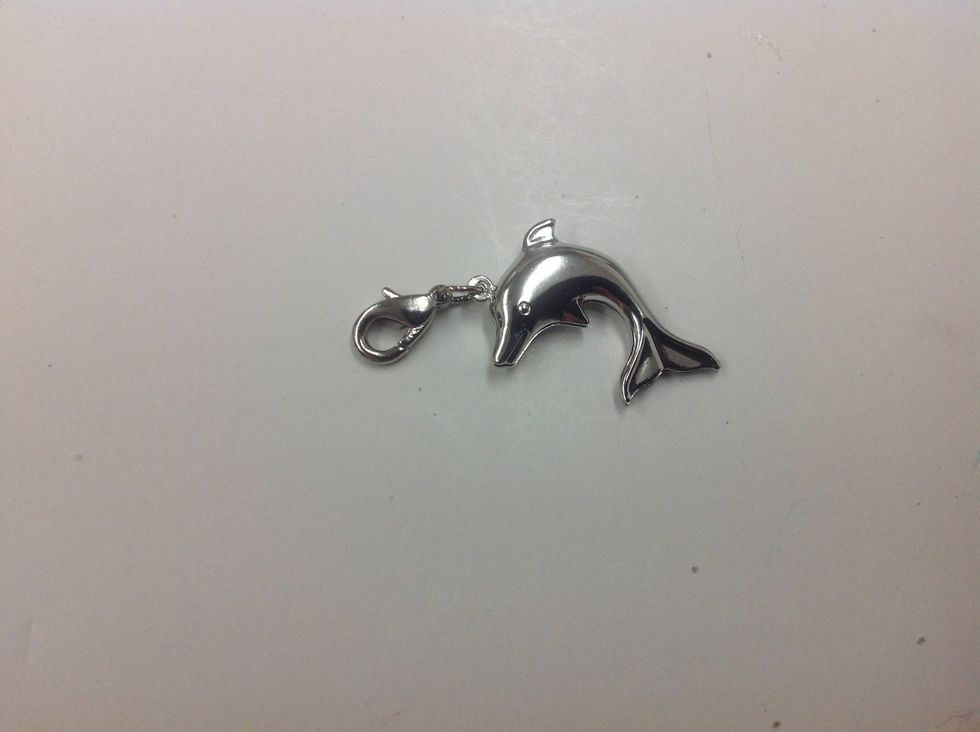
Create an interchangeable charm by adding a lobster clasp to the charm with a jump ring.
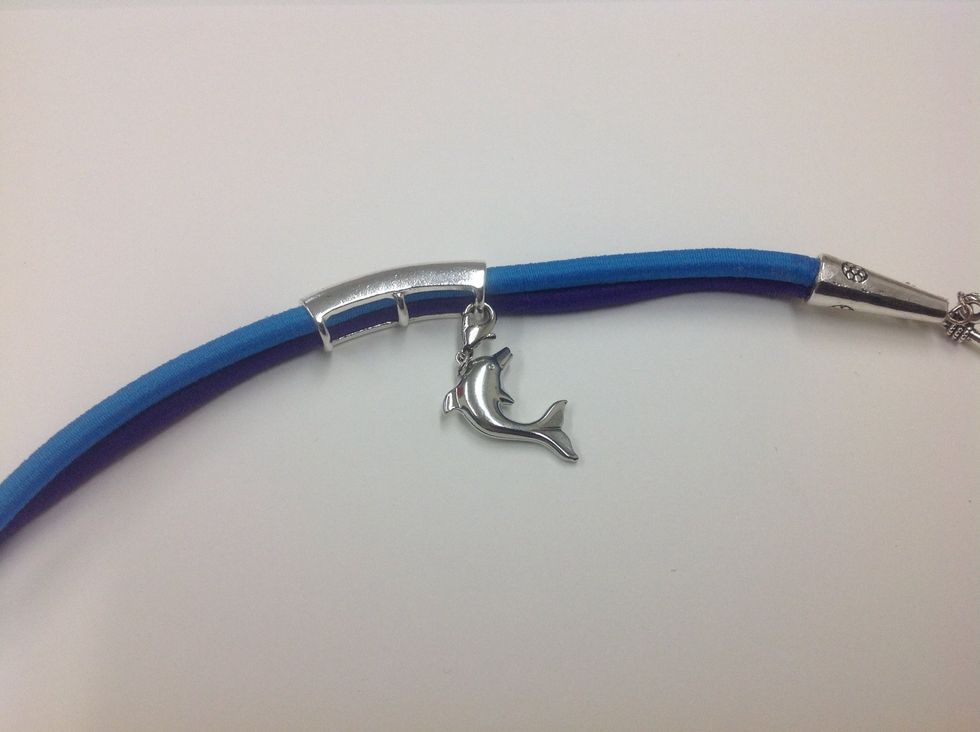
Clip the charm to one of the vertical bars on the back of the curved word tube.
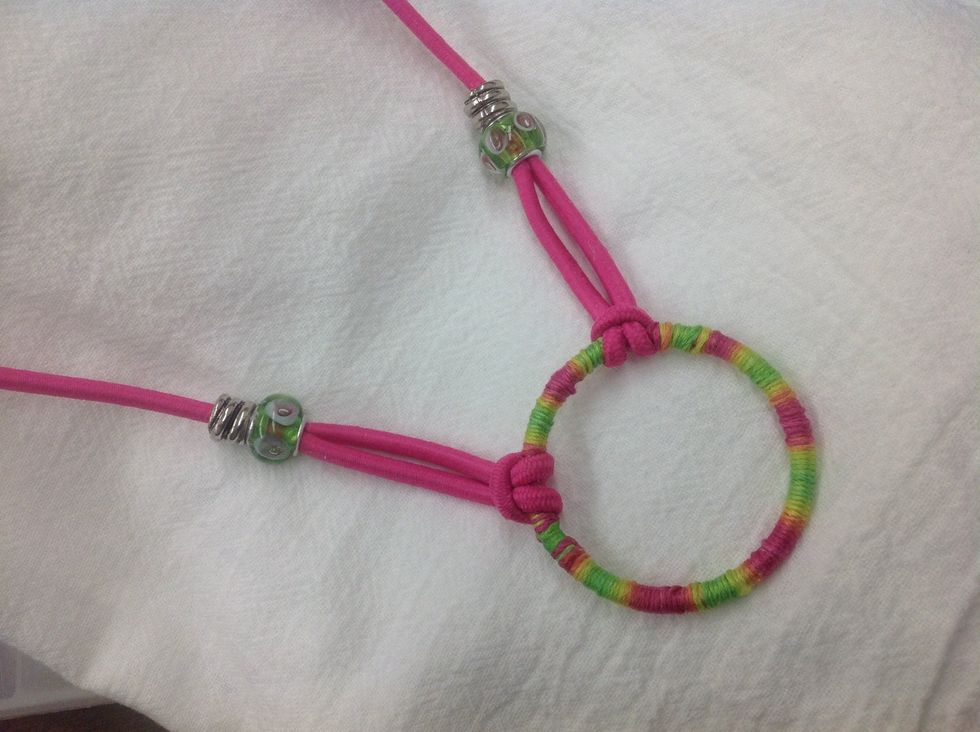
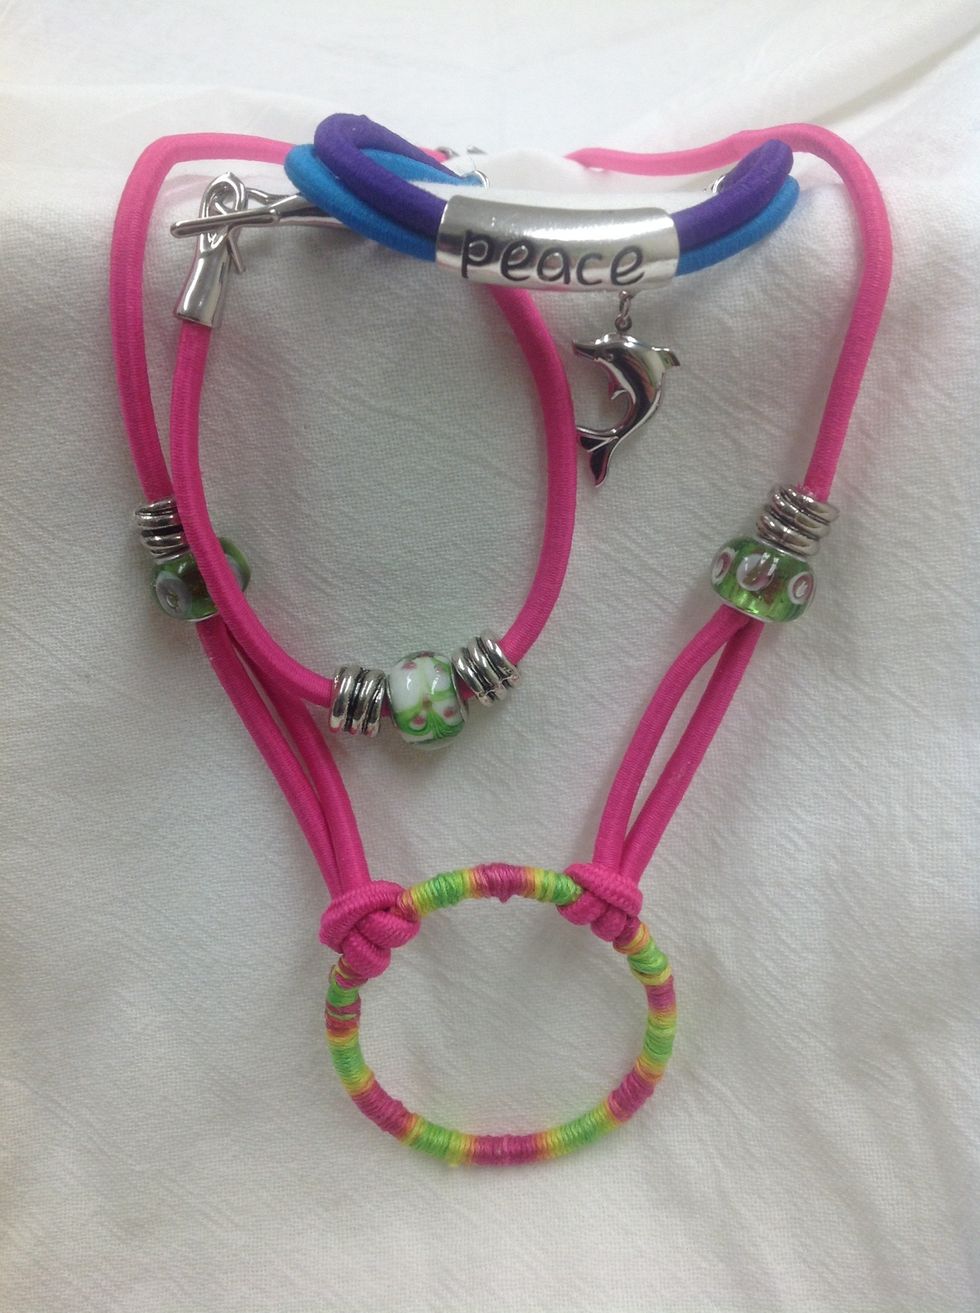
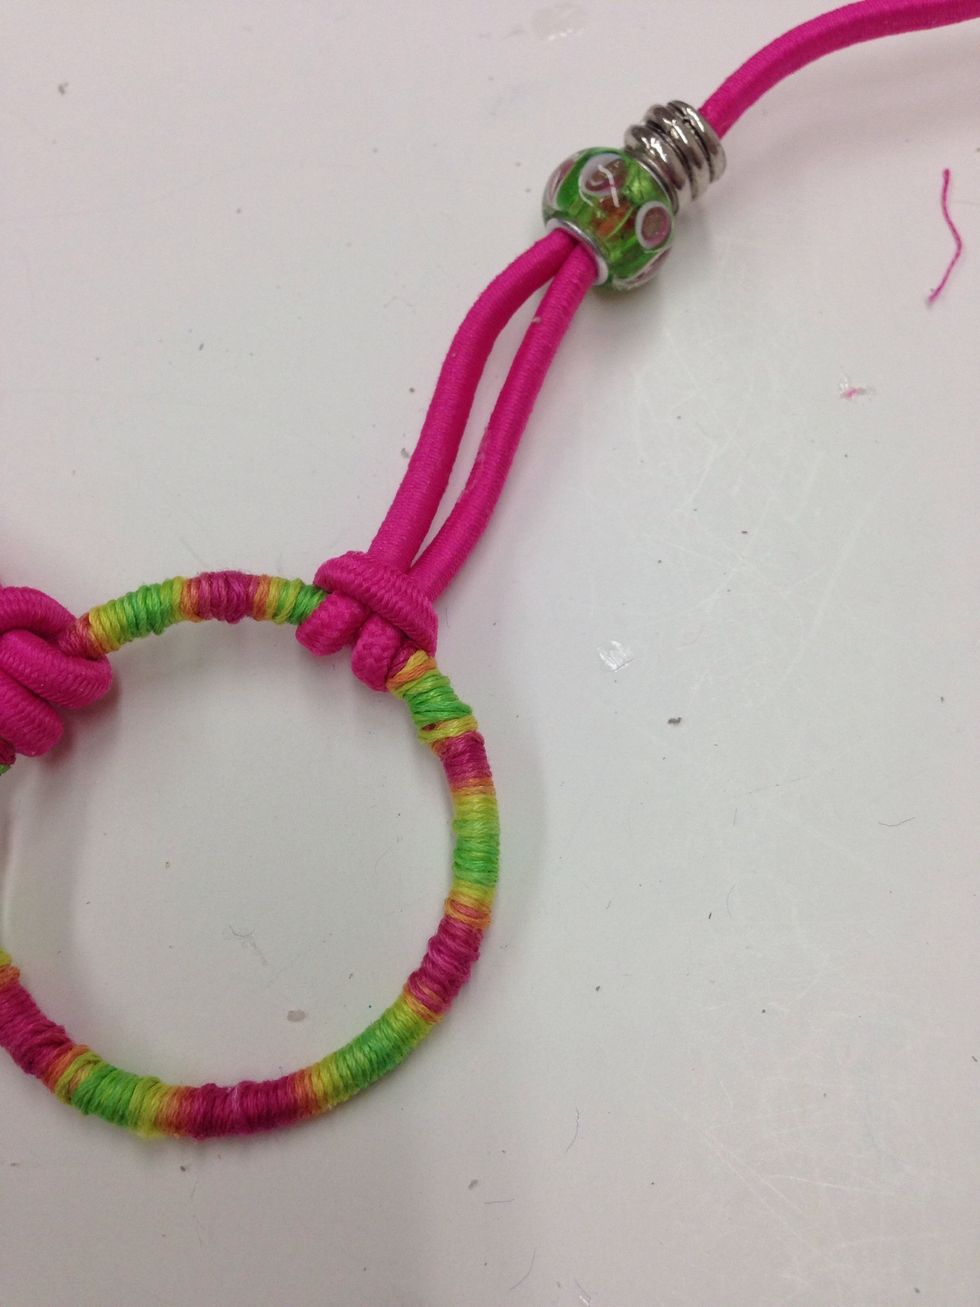
The pink necklace is a fun companion to the pink bracelet. It's not hard to make, but wrapping the central ring takes a little time. It's worth the effort for a unique focal point, though!

When finished wrapping, run the needle backward through several of the wraps to secure.
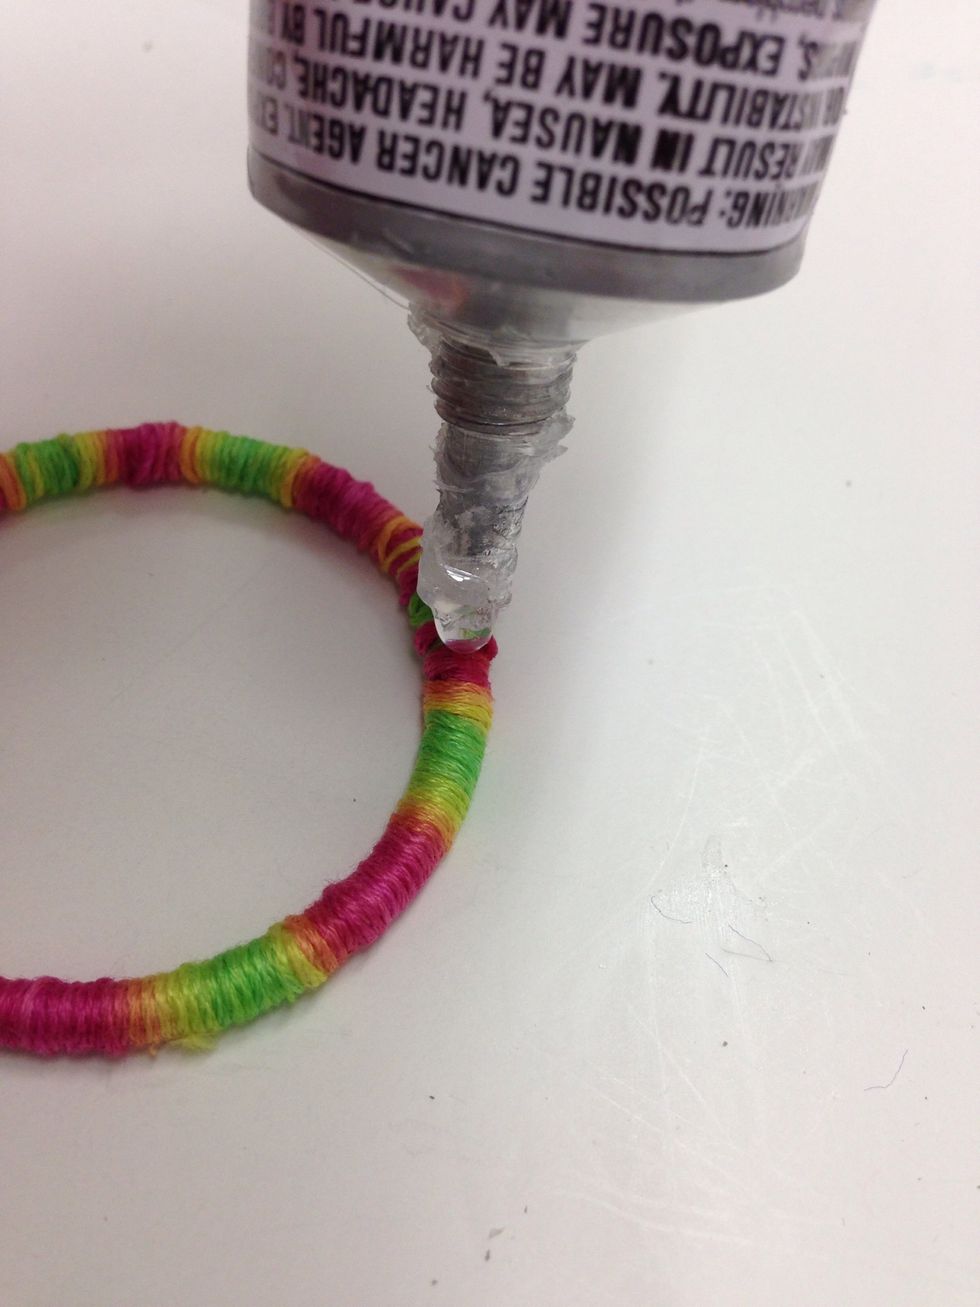
You may want to add a tiny bit of glue to prevent unraveling. Don't worry, you can hide this spot with your bungee cord loops.

Fold back approximately 4" on one end of one of your 15" bungee cords.
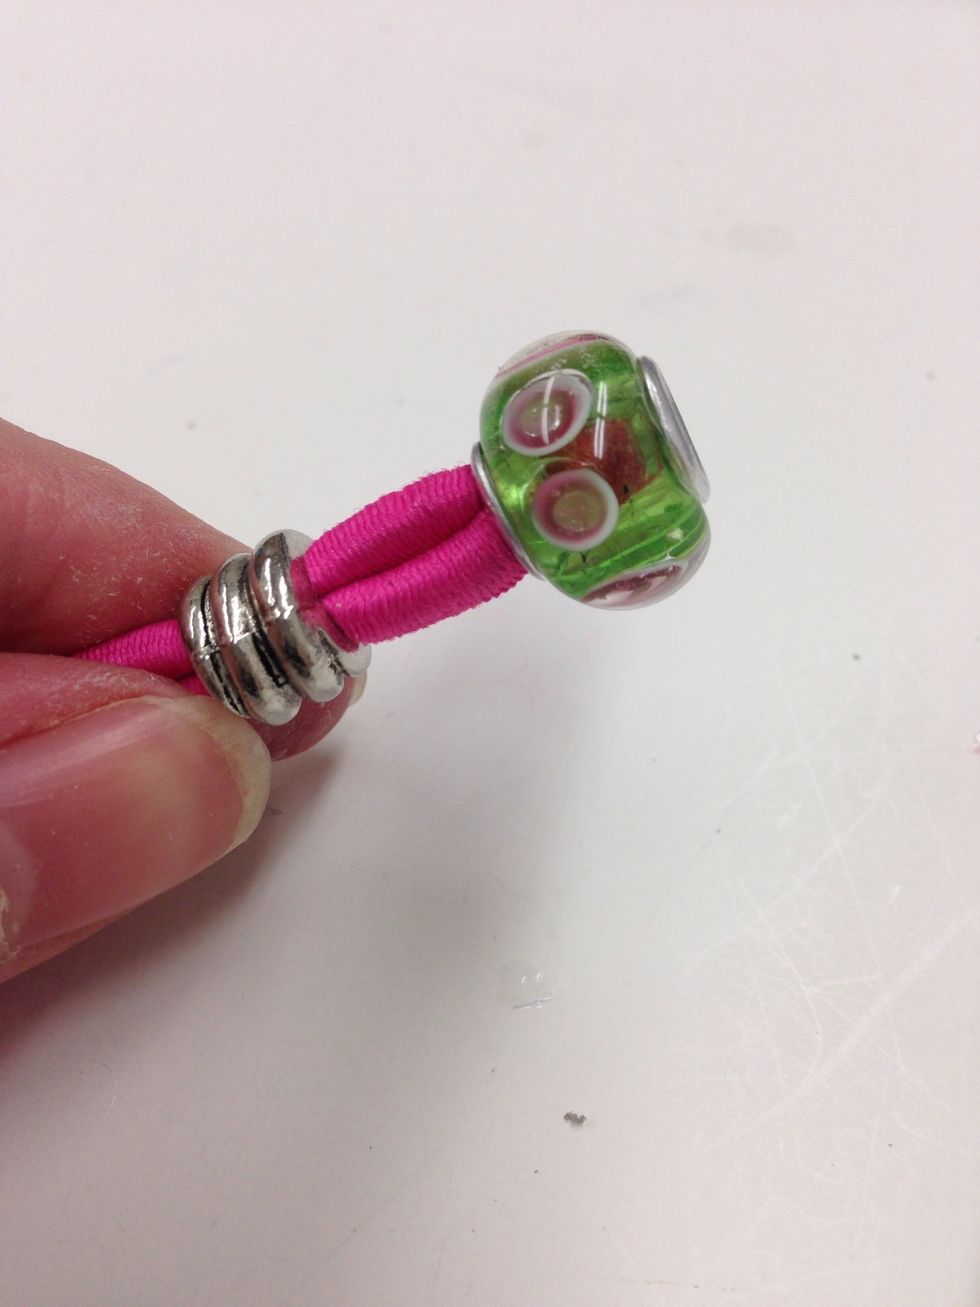
Insert 2 beads over the loop. You will need to twist the cord into the beads and use a t-pin to feed the cord through. Slide them up the cord until about 1/2" from the end of the looped piece.
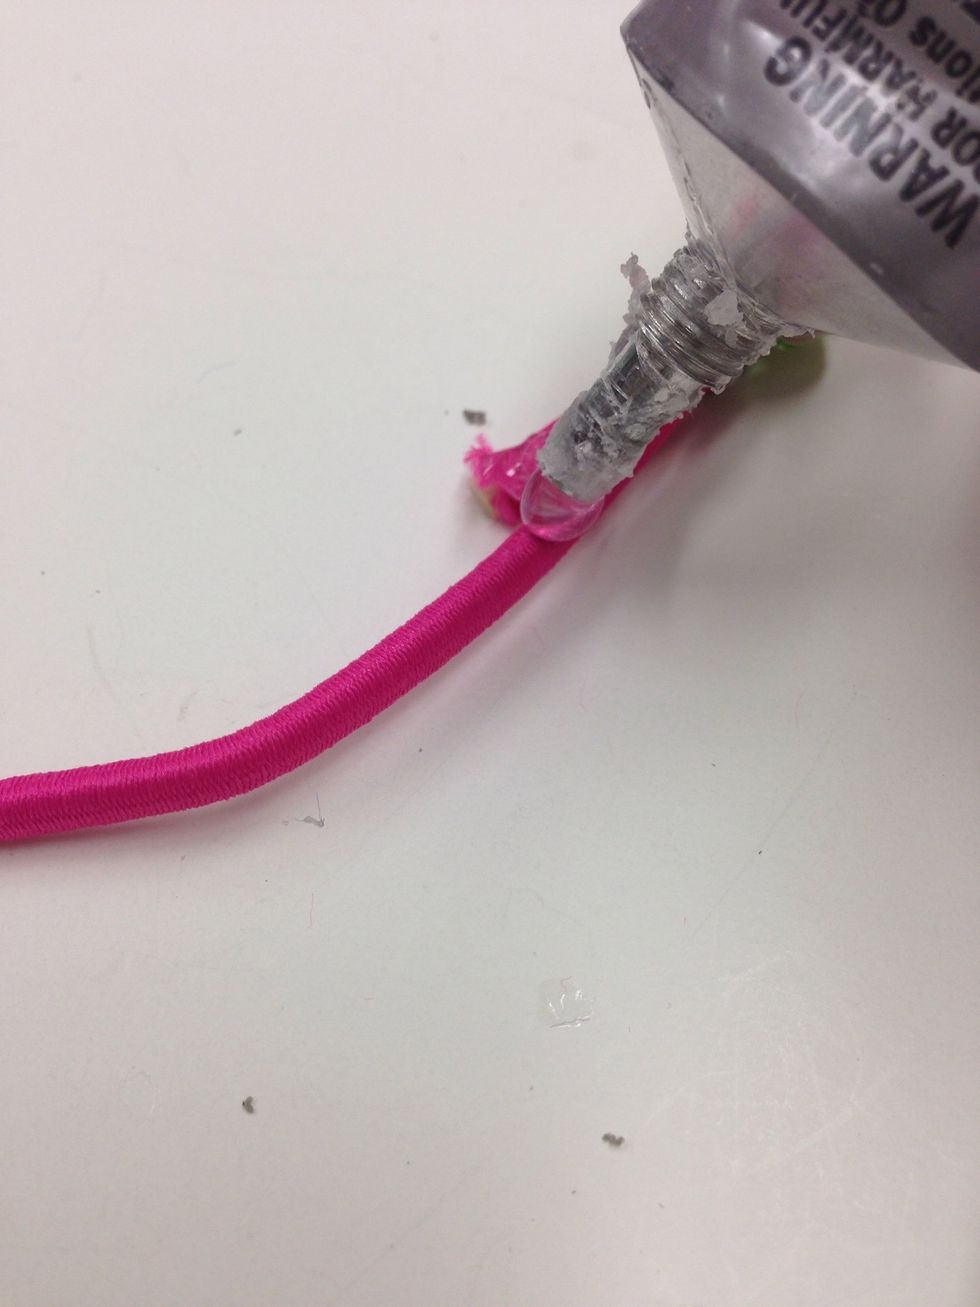
Add a small amount of E6000 as shown.
Slide the beads up gently until the first bead covers the glue and raw edge. BE CAREFUL AND GO SLOW! Because the cords stretch, it's easy to slide the beads too far.
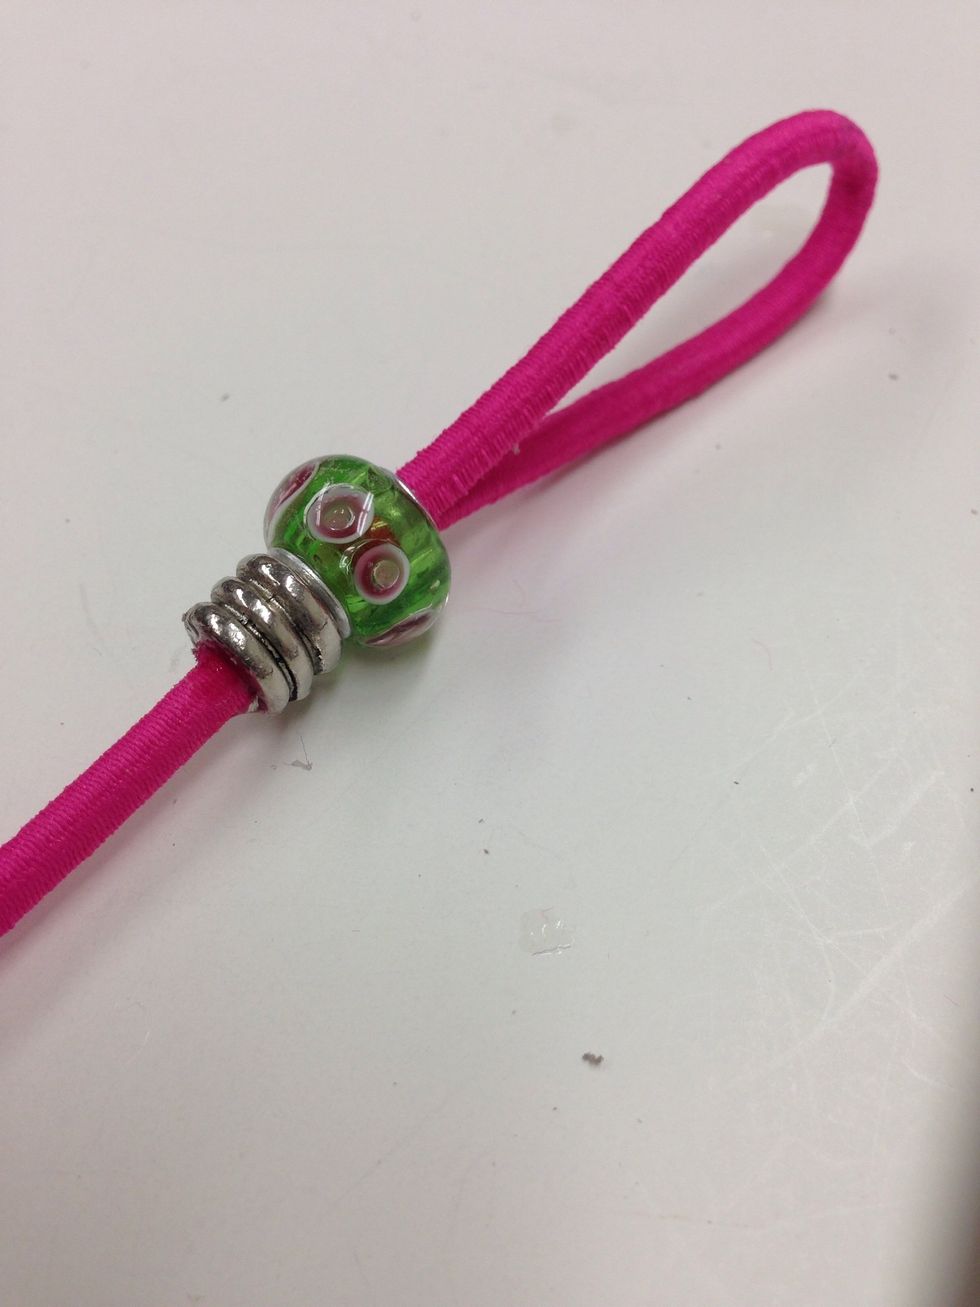
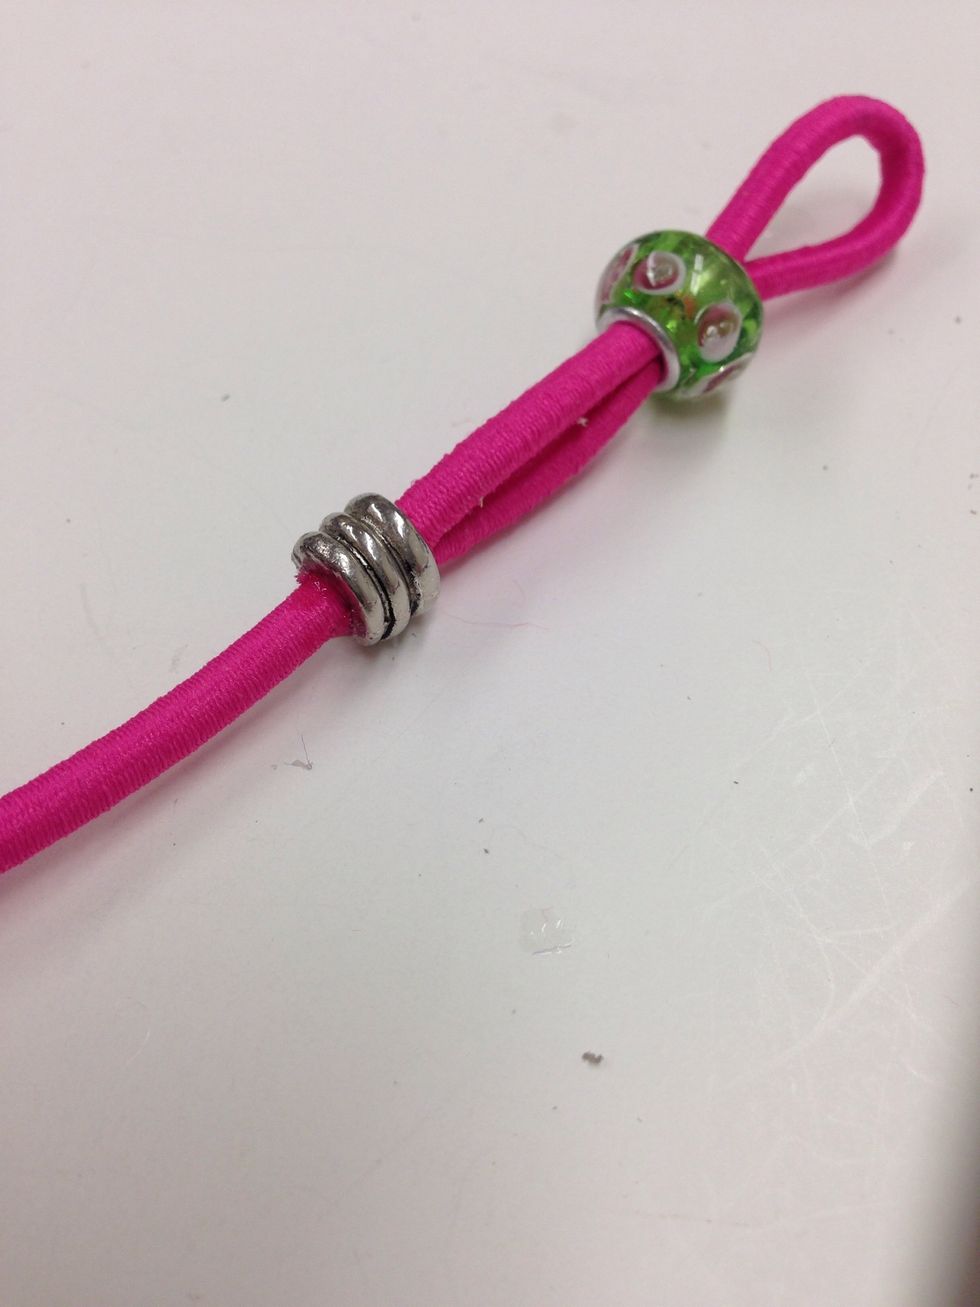
Slide the second bead into place under the first bead. Don't worry about gluing this bead. Friction will keep it in place. Repeat steps 24-28 for the second piece of bungee cord.
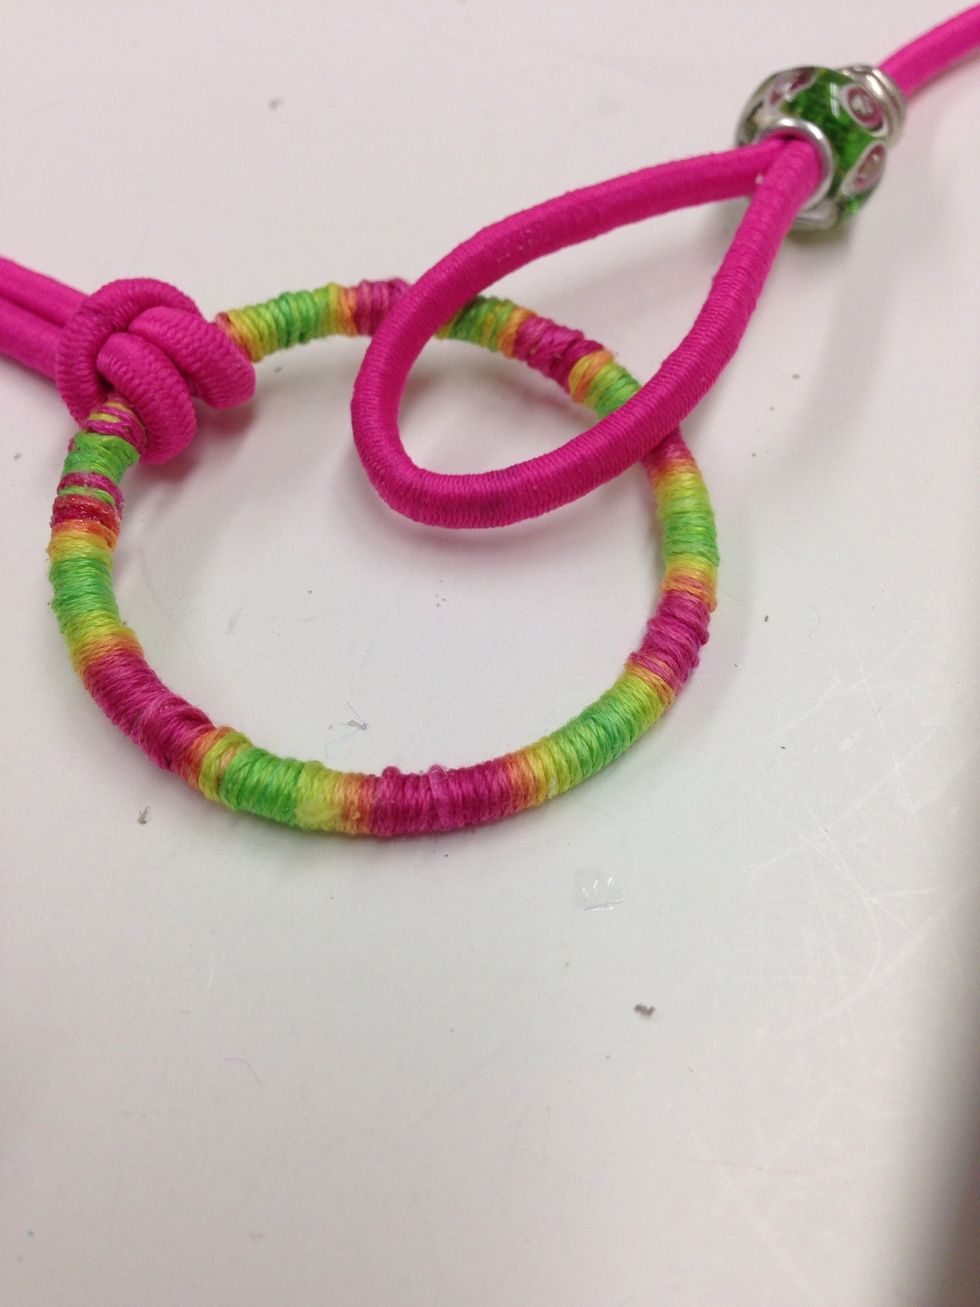
Lay a loop end on TOP of the wrapped ring.
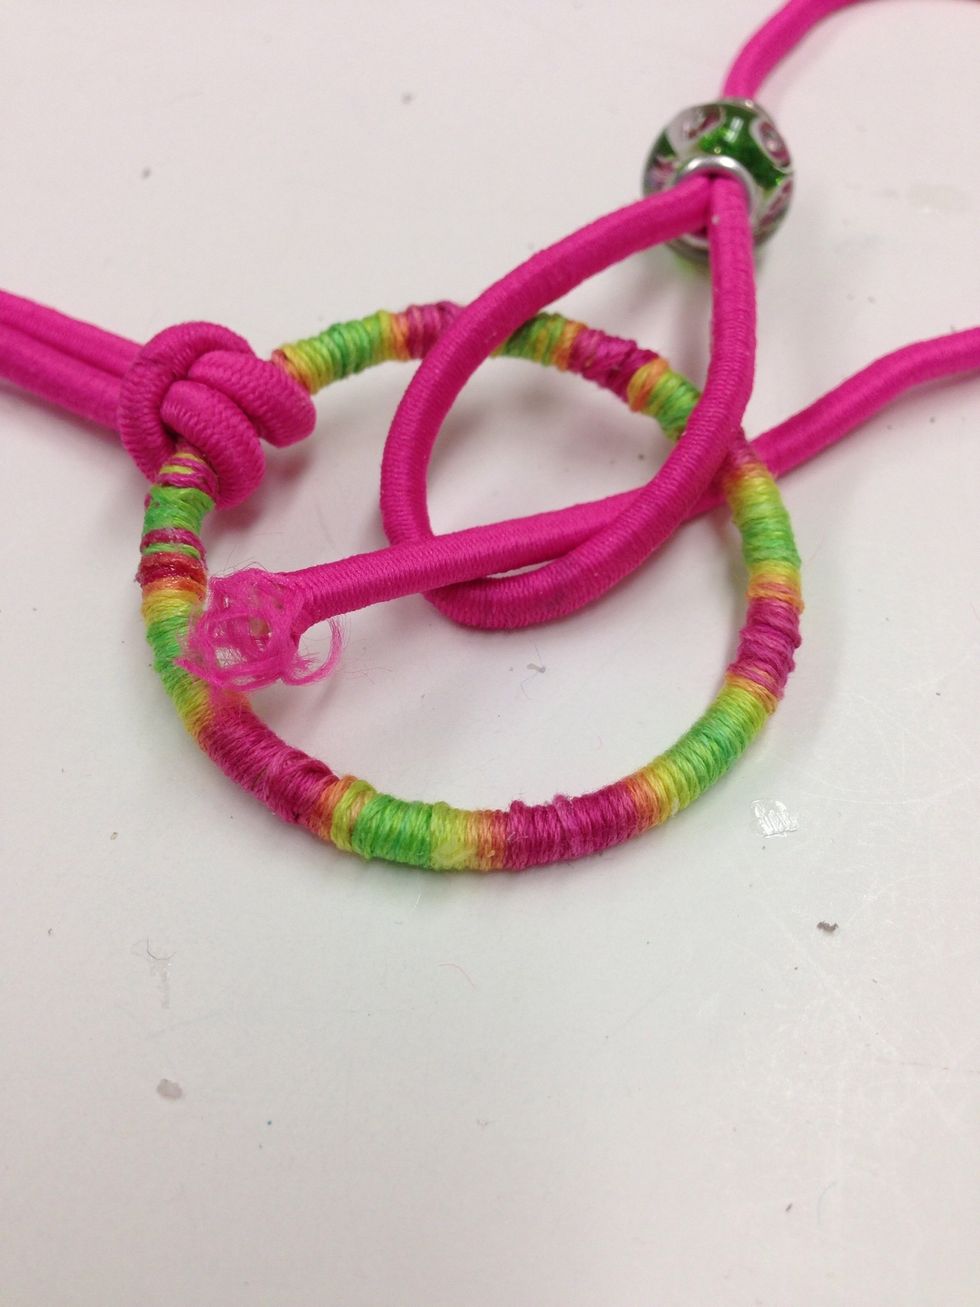
Insert the unfinished end of the cord under the ring and through the loop.

Pull gently to feed the rest of the cord through the loop.
Pull gently on the cord to snug the looped knot into place. Repeat steps 29-32 with the second cord.
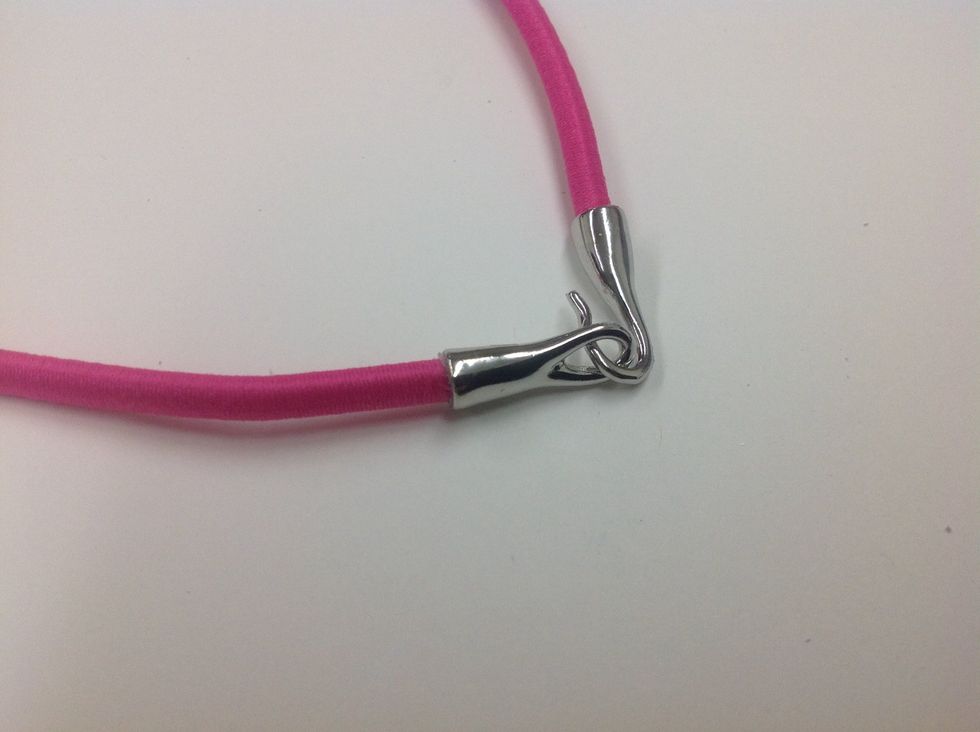
Follow steps 5 & 6 from the pink bracelet to adhere the clasp pieces to the ends of the bungee cord.
We hope you have lots of fun making this craft!