The Conversation (0)
Sign Up

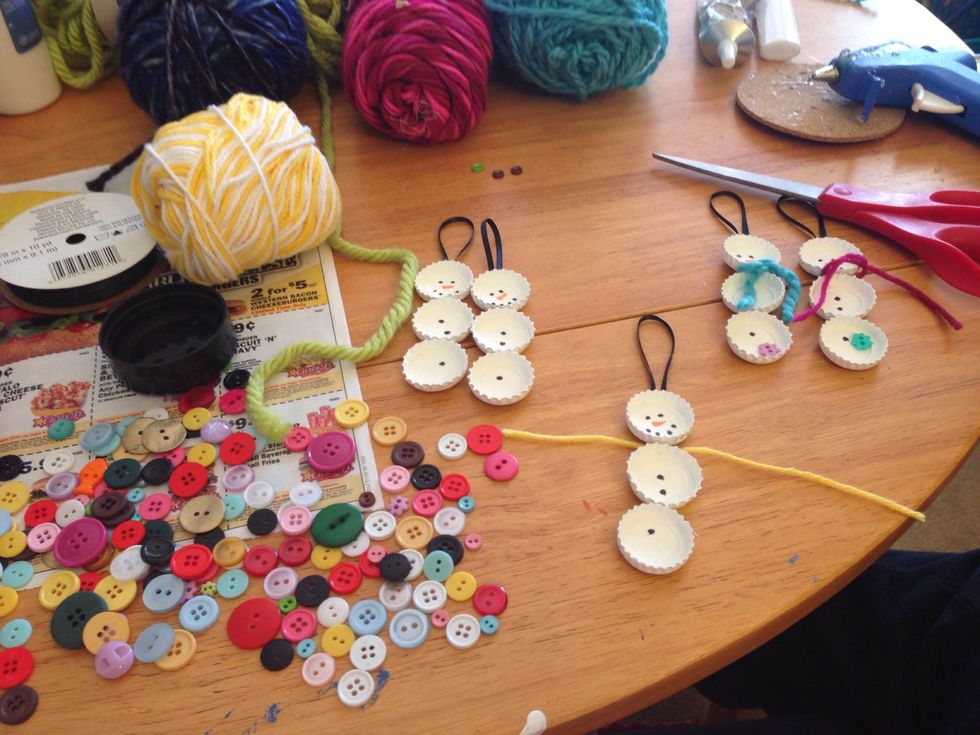
Wipe all caps down with rubbing alcohol to remove oils, beer, pop, etc. You can also heat you caps and remove the rubber ring on the inside. I didn't know how to do this until after this.
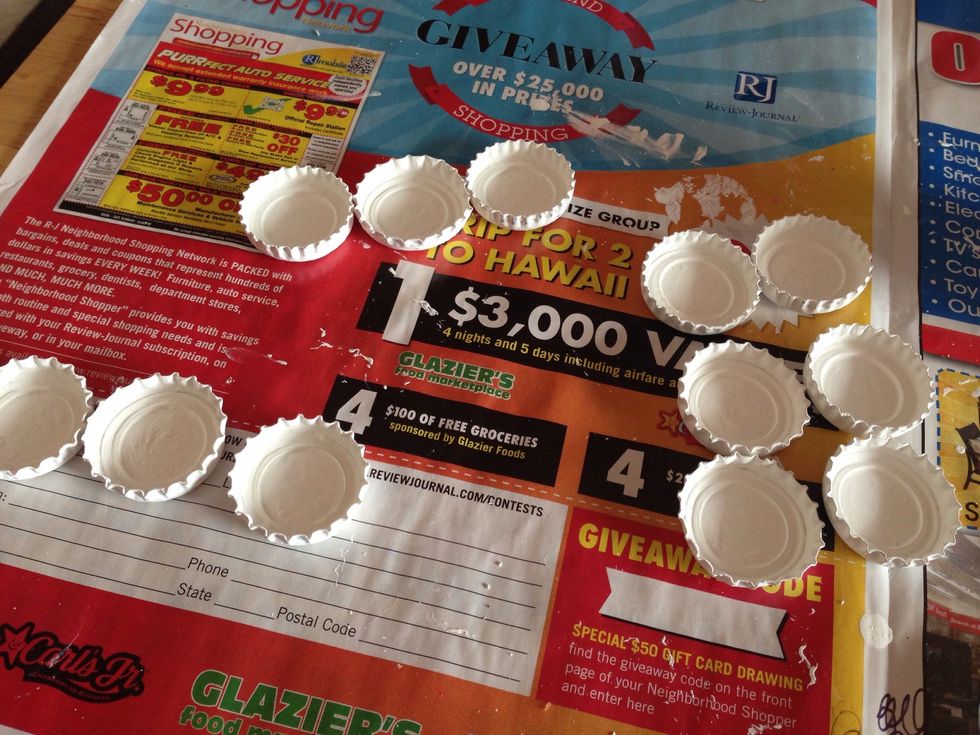
Paint caps, inside and out, with white acrylic paint. It should take about 2-3 coats. Don't forget the sides!
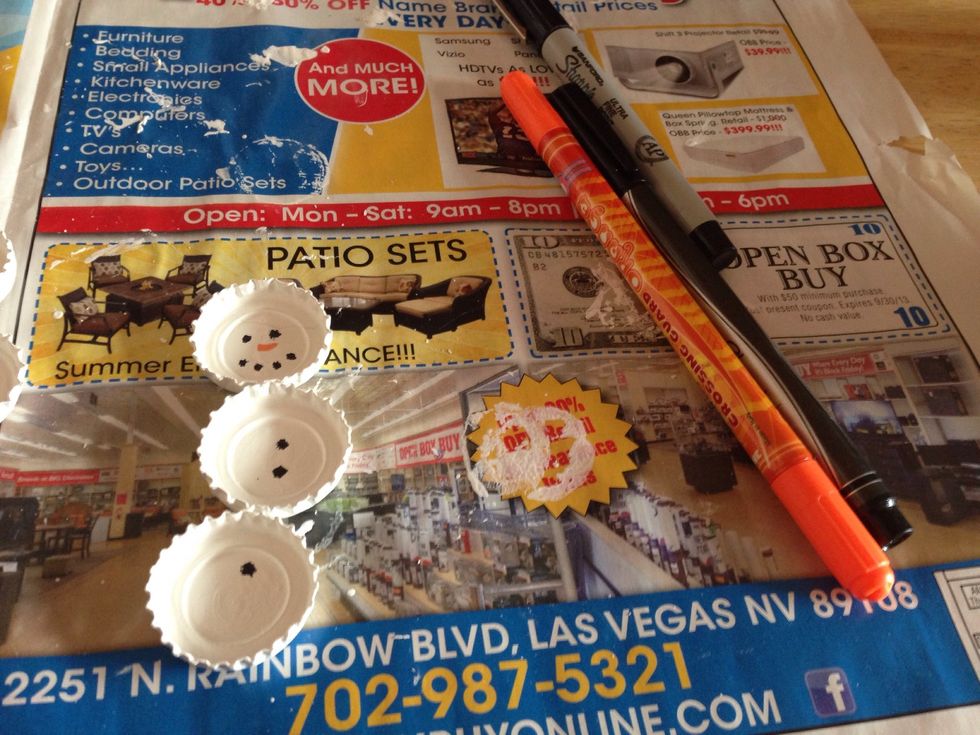
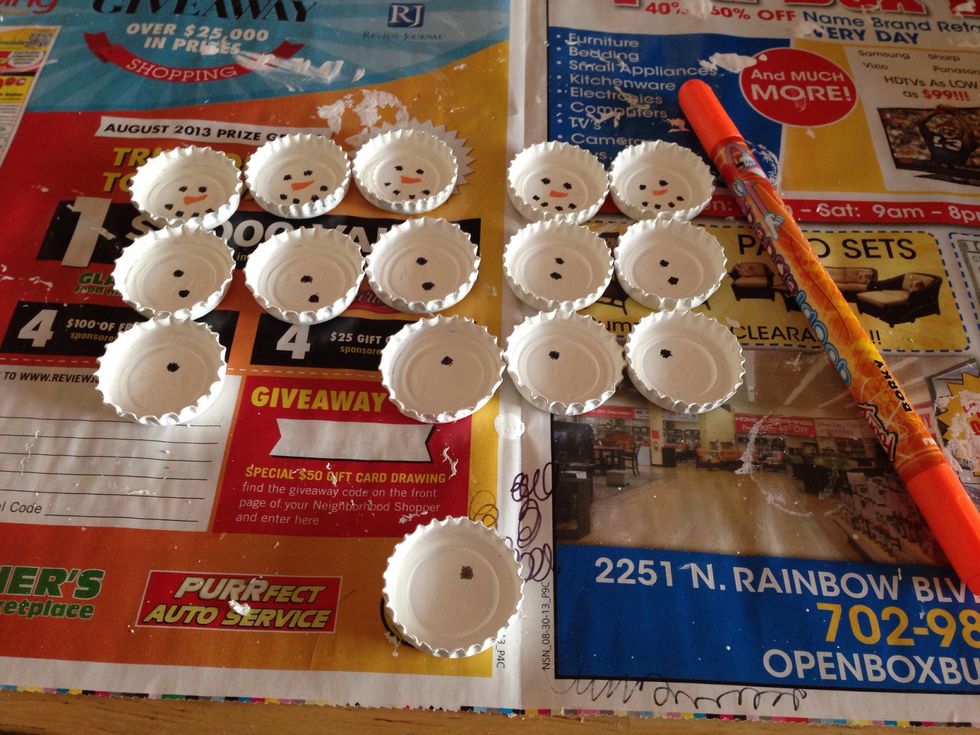
Once they are completely painted and dried, draw on a small orange triangle for the nose and the coal face and buttons. I found the best marker is the Papermate liquid Expesso-Med point.
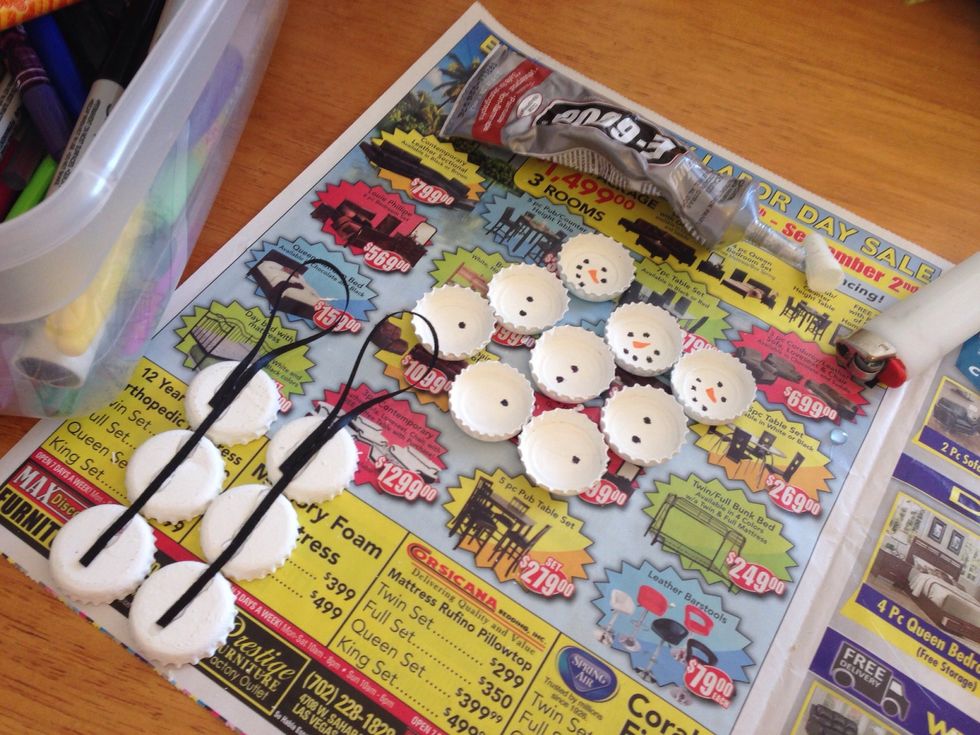
Now flip the little guys over and start putting them together. You can see how I have glued them together. I cut a piece of ribbon to the length I needed to attach each bottle cap plus enough for a...

hanger. I would not recommend hot glue as it just popped right off and took the paint with it. I used E-600 and it worked great. I eyeballed aligning the face and buttons to be straight.

Once the glue dried I took a black stamp pad and lightly rubbed the edges to give him some character. I decided to do this at the last minute so doing this before attaching the ribbon would...

be a little easier. I also took a little glitter and just rubbed the inside of each cap with a tiny bit of it. I didn't use glue, you know because little sticks to anything without assistance. ;)
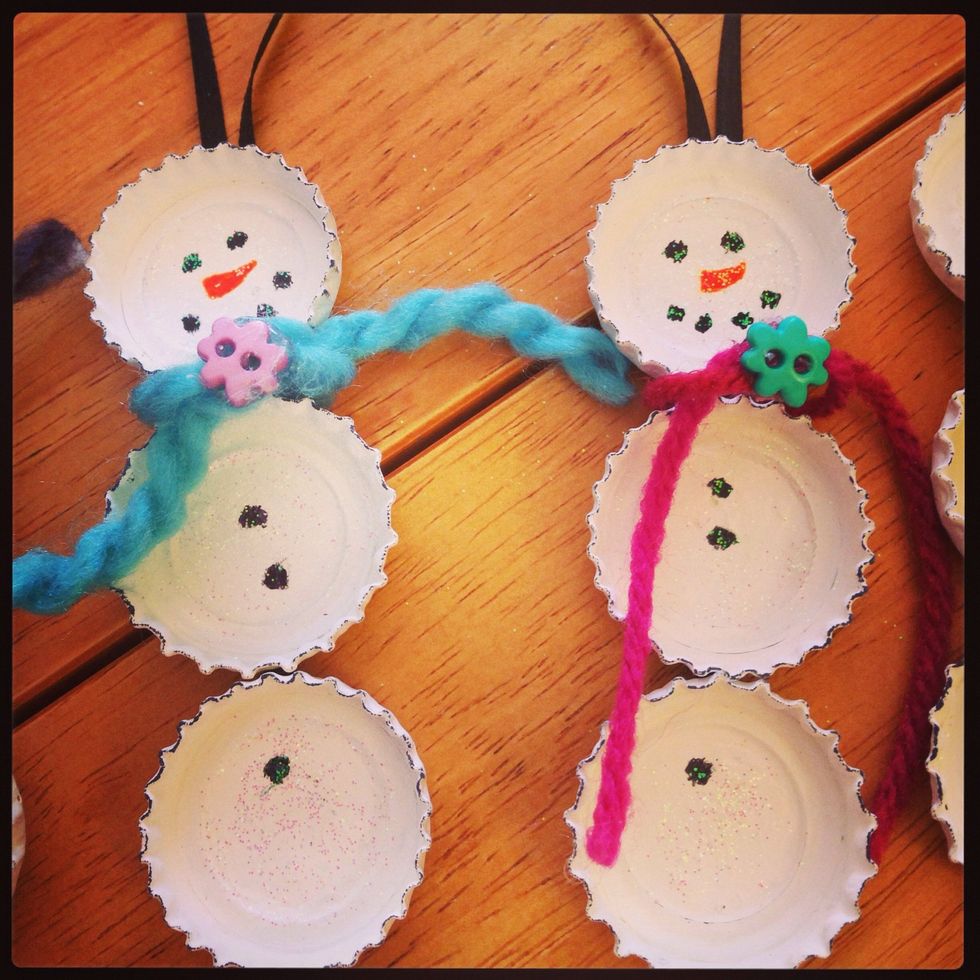
Now to dress him/her. I picked yarn that was nice and full and a matching tiny button. I tied the yarn once loosely around the "neck" and then glued the button at the knot.
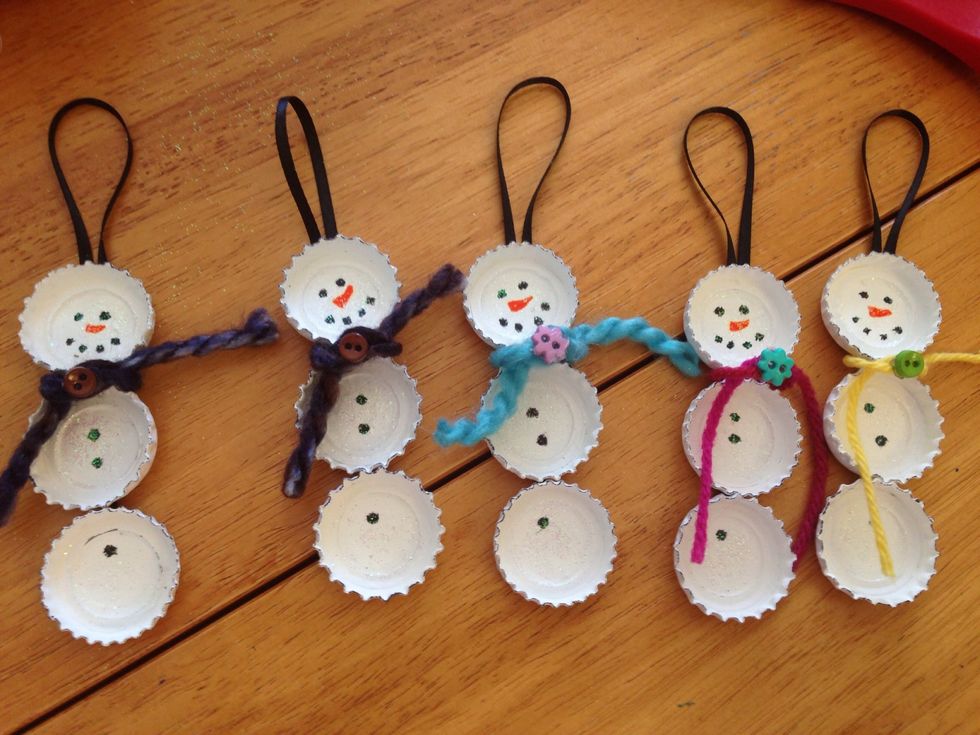
Tada!!
So cute and so easy!!