The Conversation (0)
Sign Up
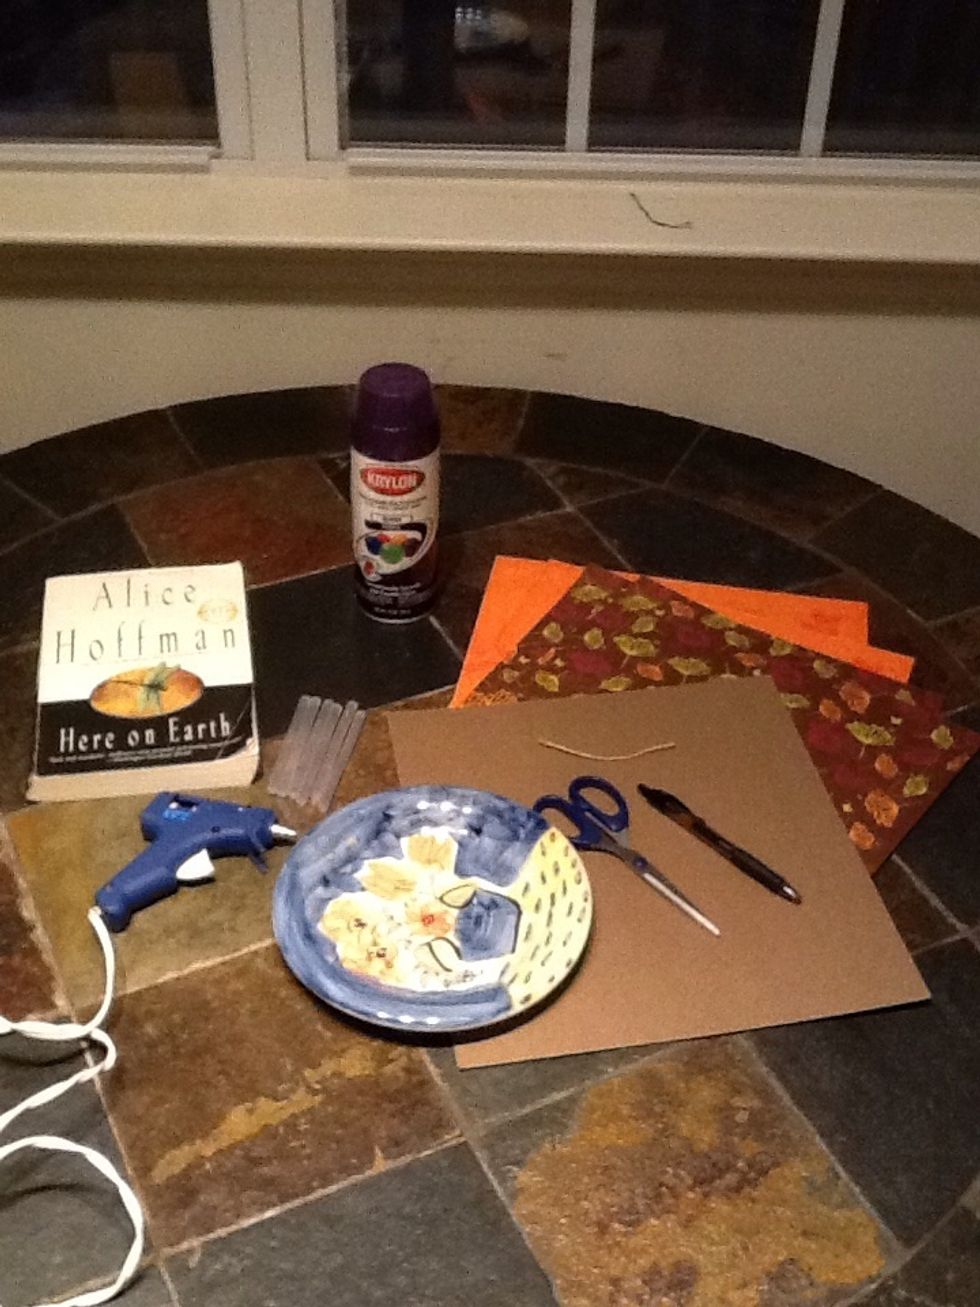
Gather all your supplies on a generously sized work area
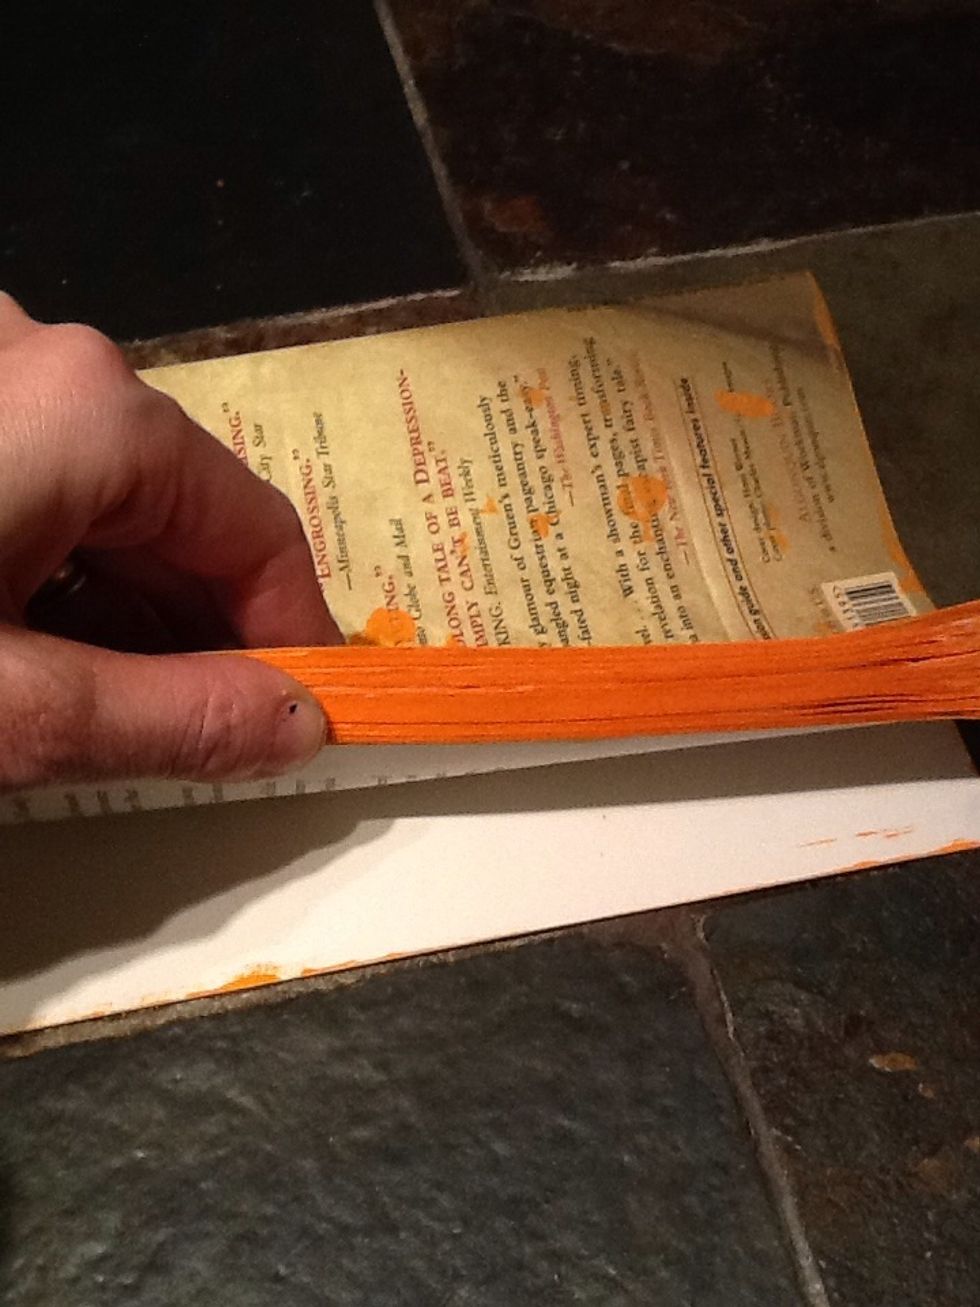
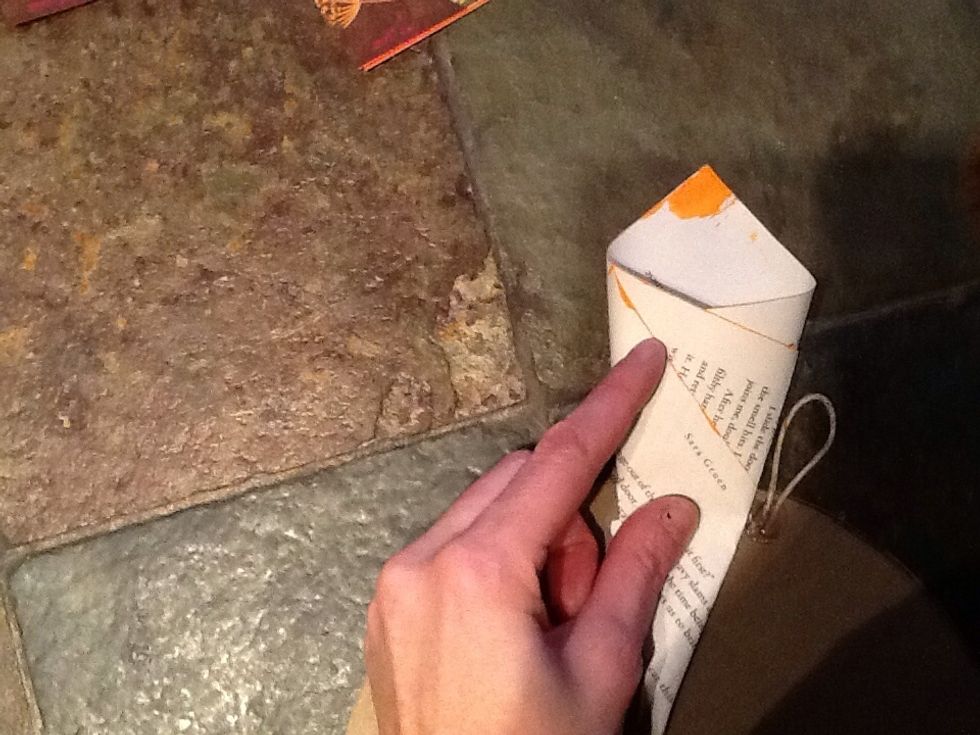
Lay newspaper underneath book in a ventilated area. I actually spray painted the outer edges of the book prior to starting this guide, outside on my back porch.
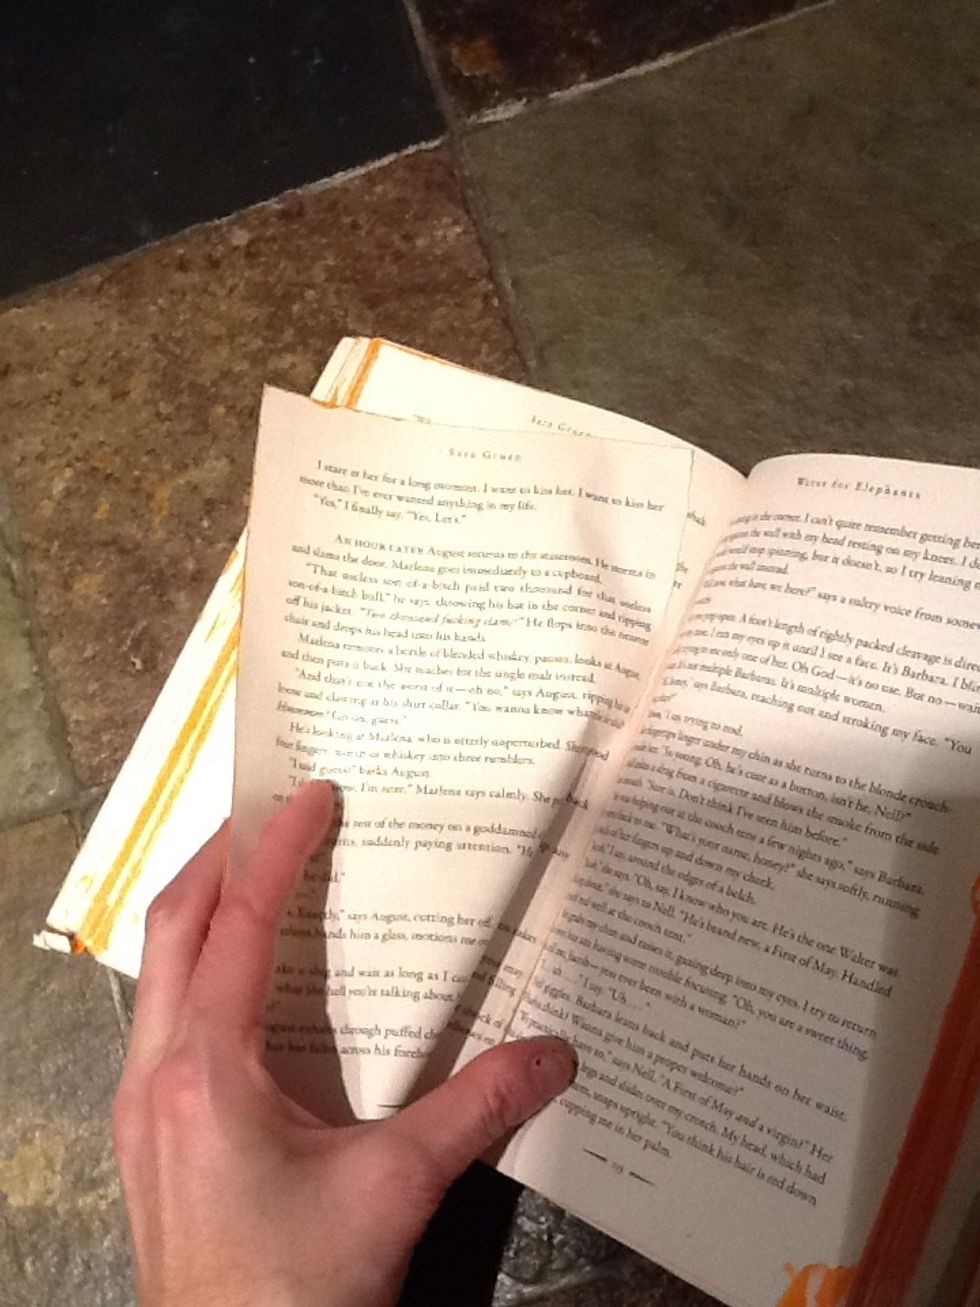
Once the pages are dry, tear them out of the book and make a stack. This is a fun thing to get your kids to help with. You will appreciate the help as this is a little time consuming :)
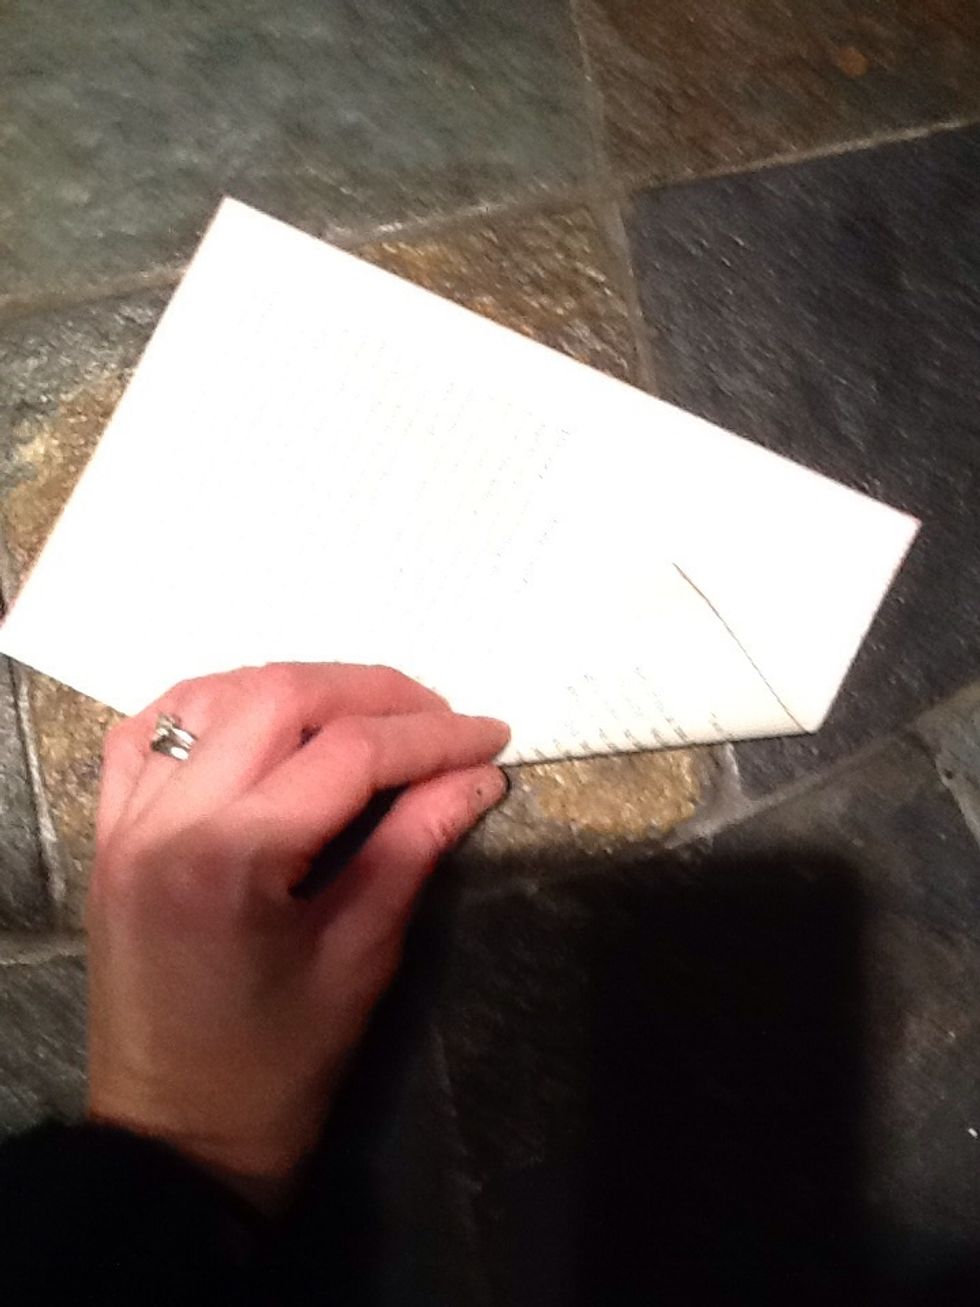
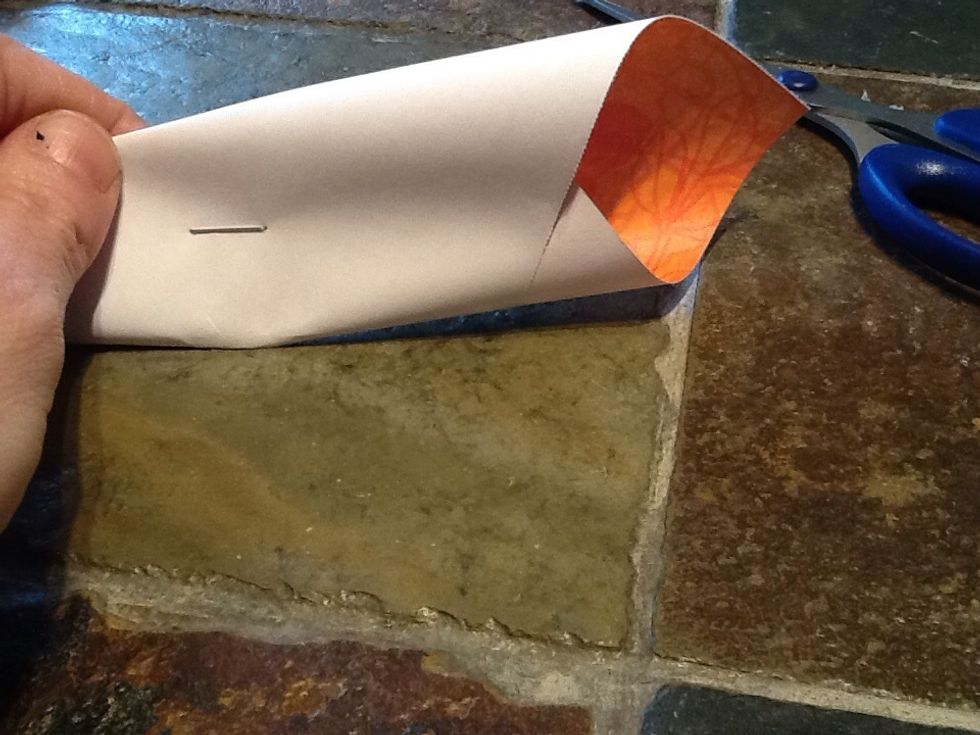
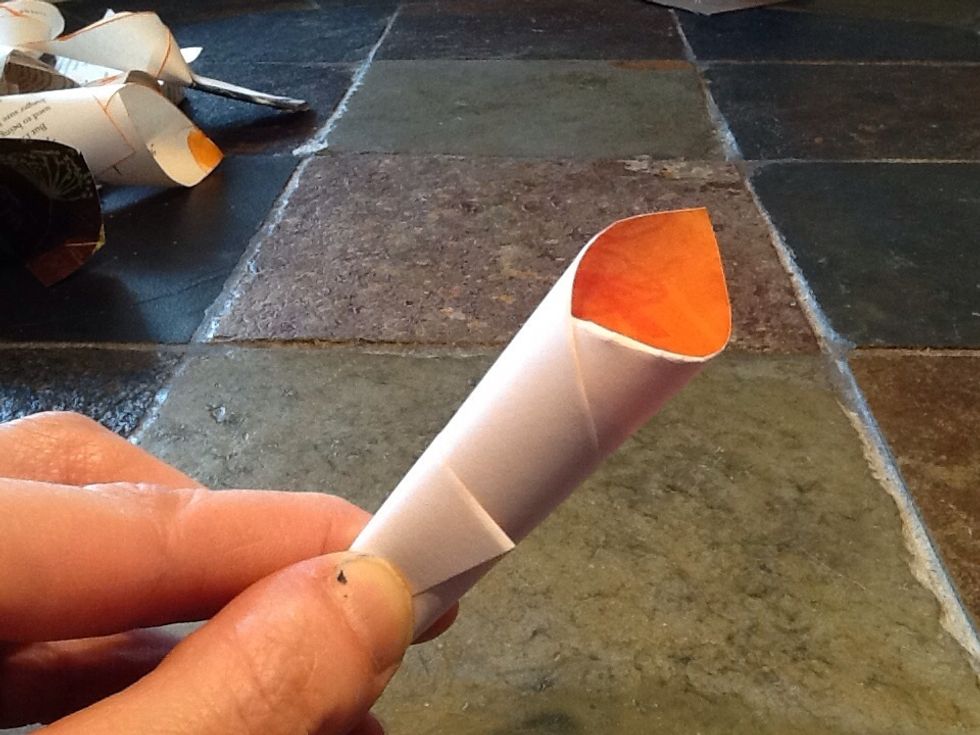
Roll the book page into a cone/petal shape
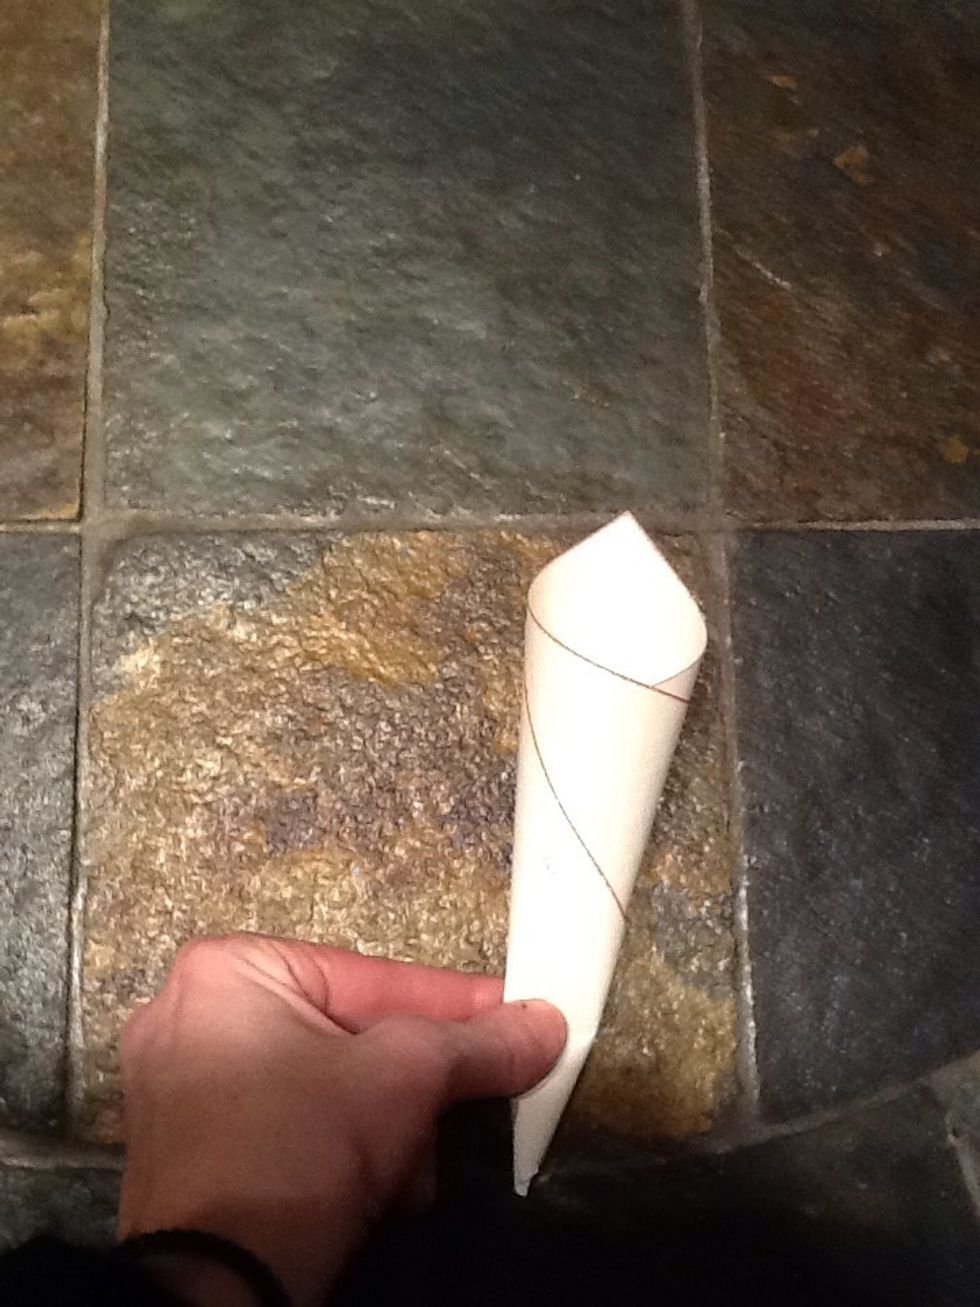
Like this. You will want to roll different size cones. Some bigger for base petals and then gradually smaller ones for middle and inner rings of petals.
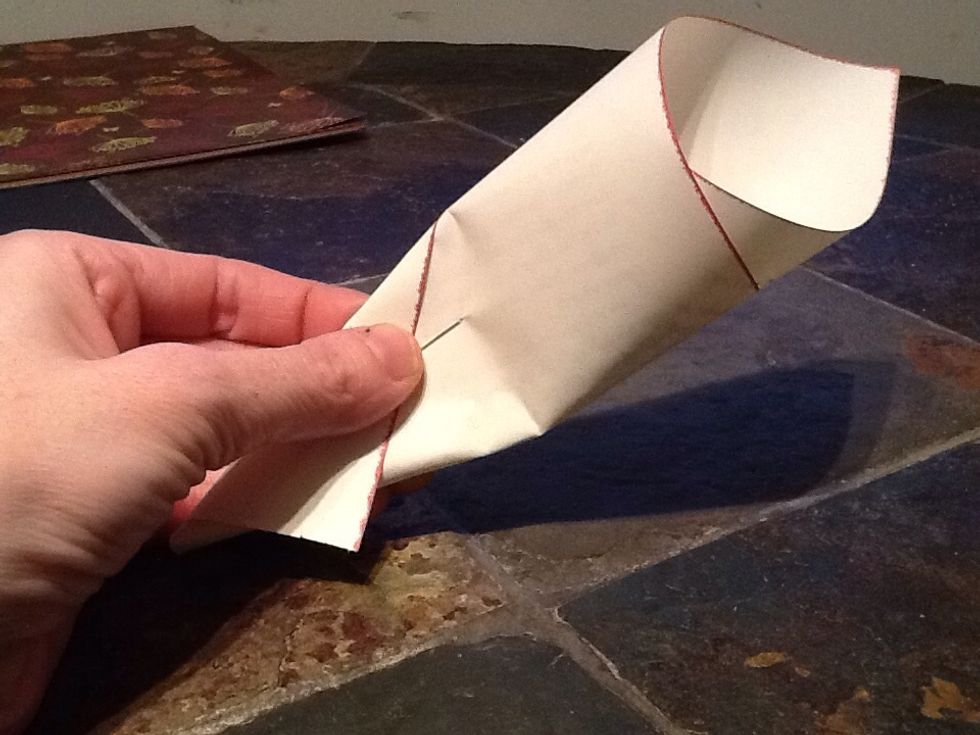
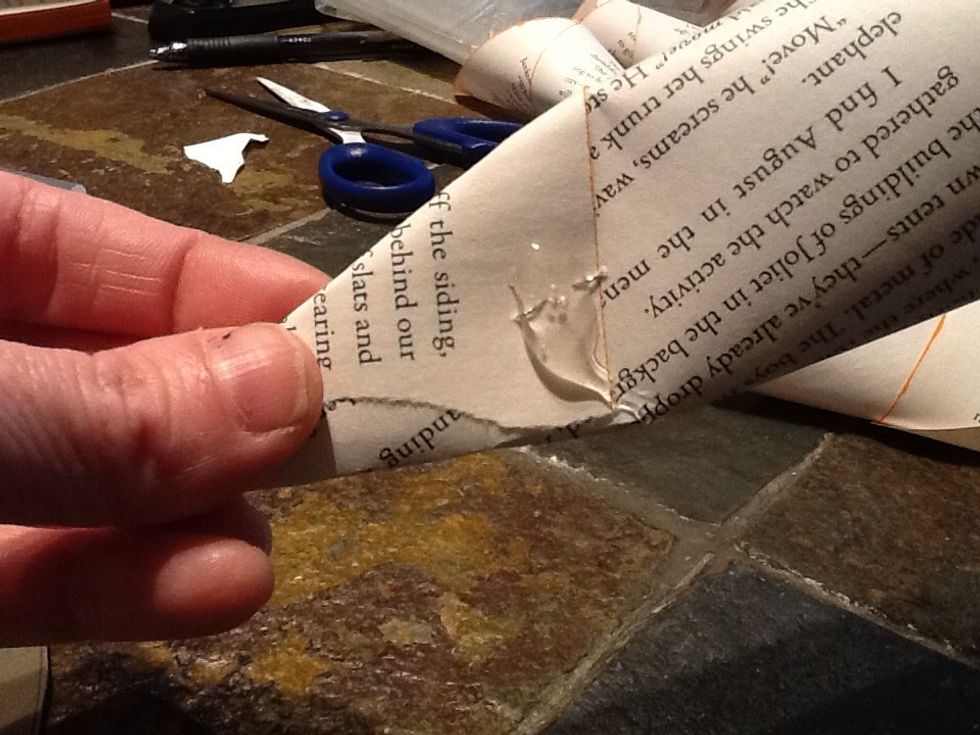
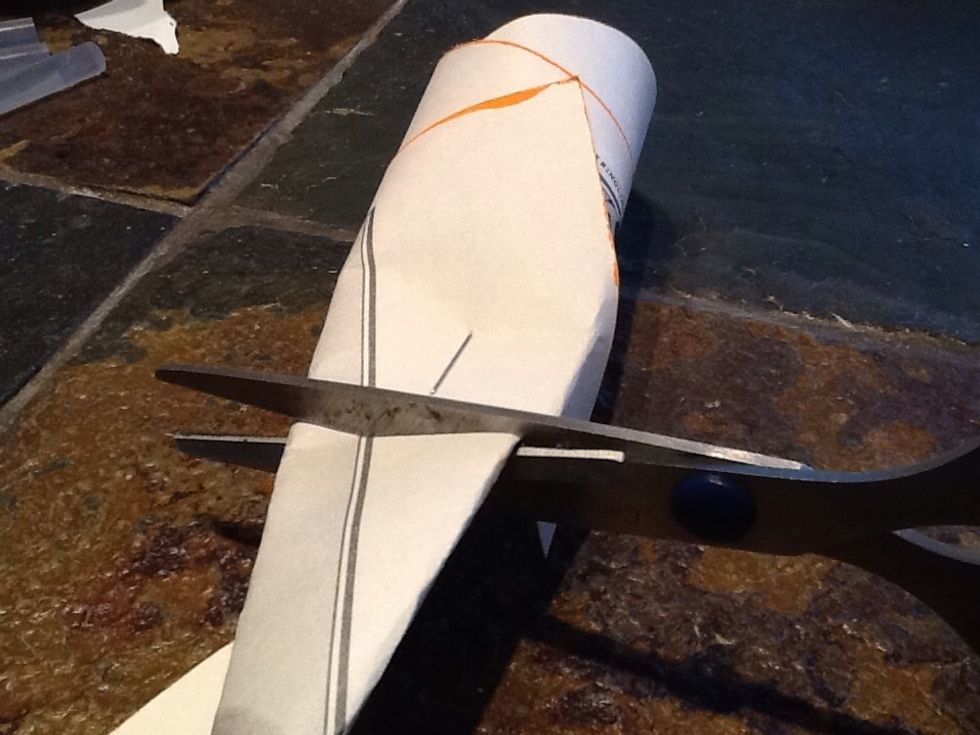
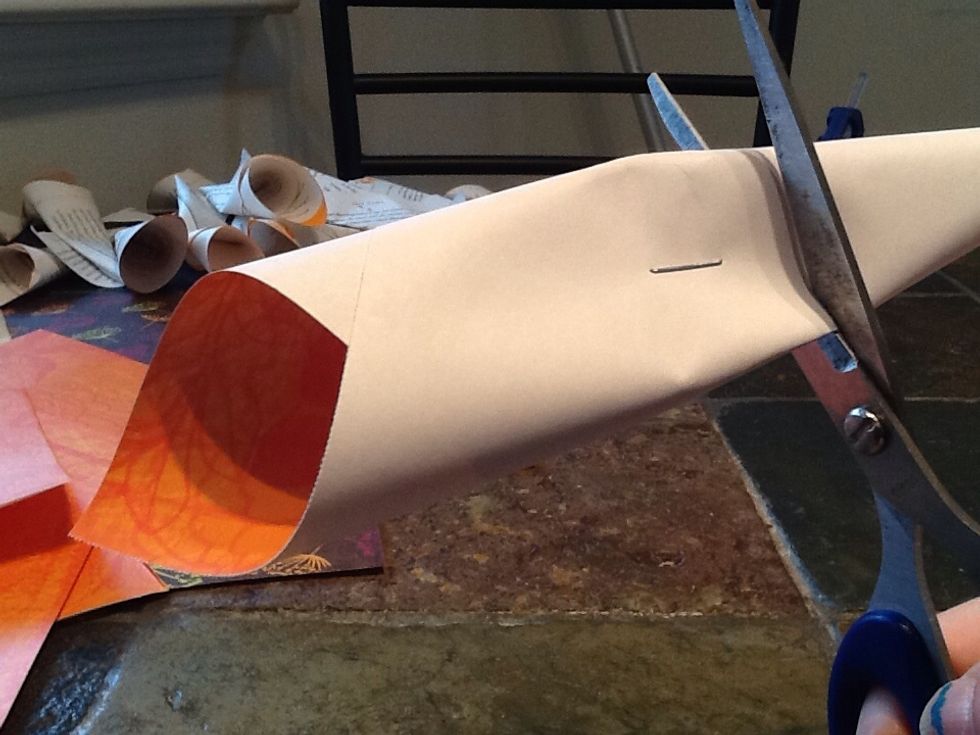
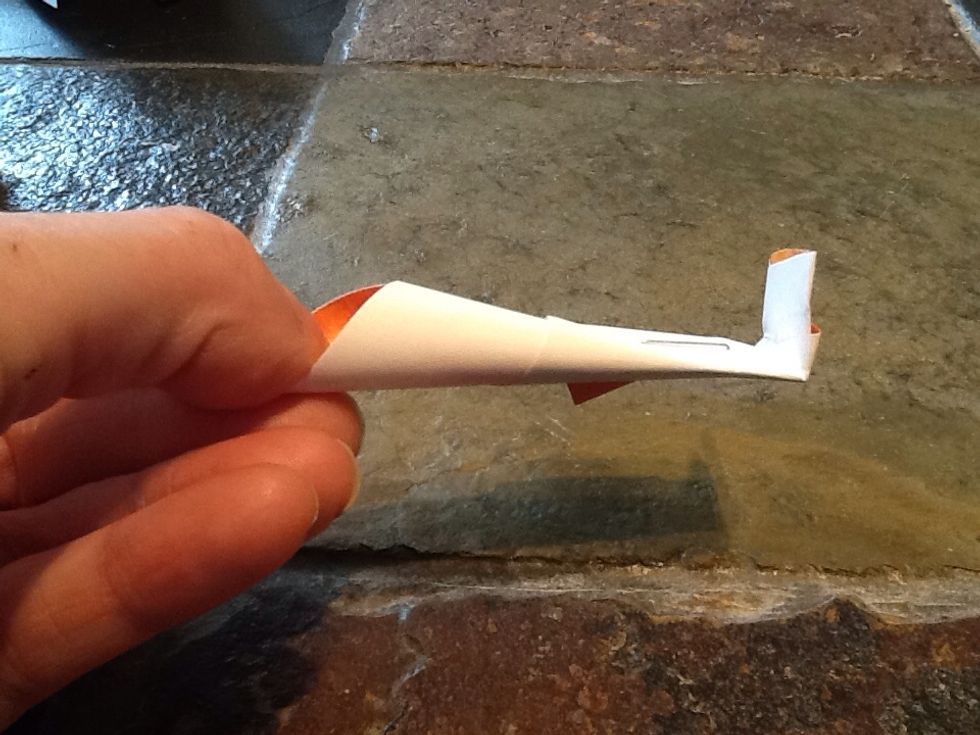
To hold the petals closed. Staple them.
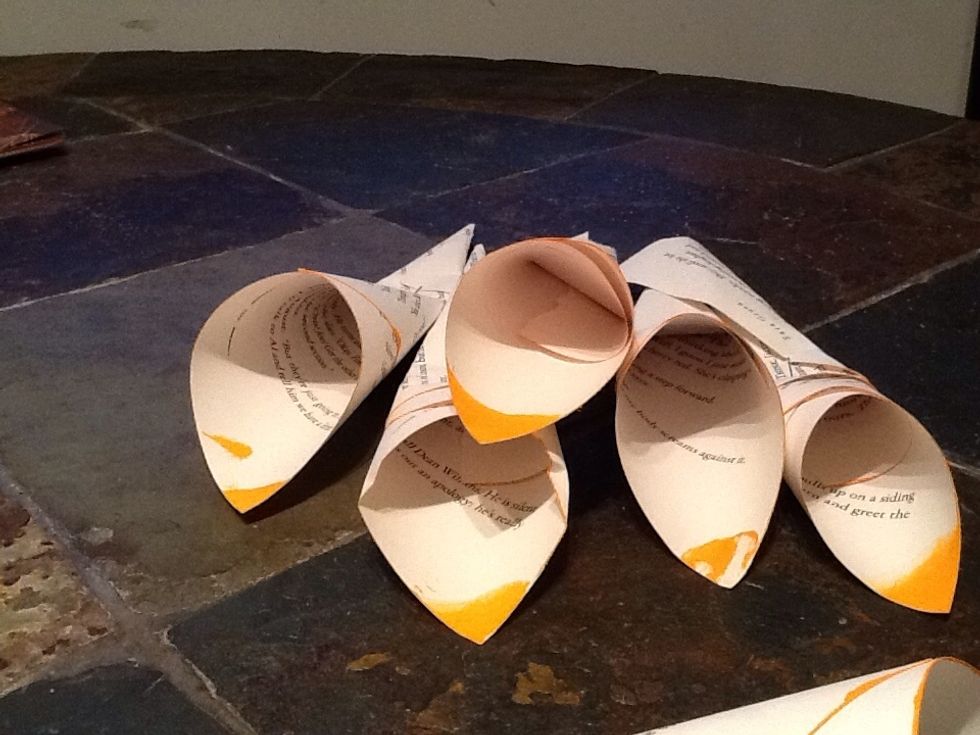
Keep doing this until you have a healthy stack of petals to make your flower. Also want to add here that I finger-painted the corner of each page as well, but this step is all up to artistic taste :)
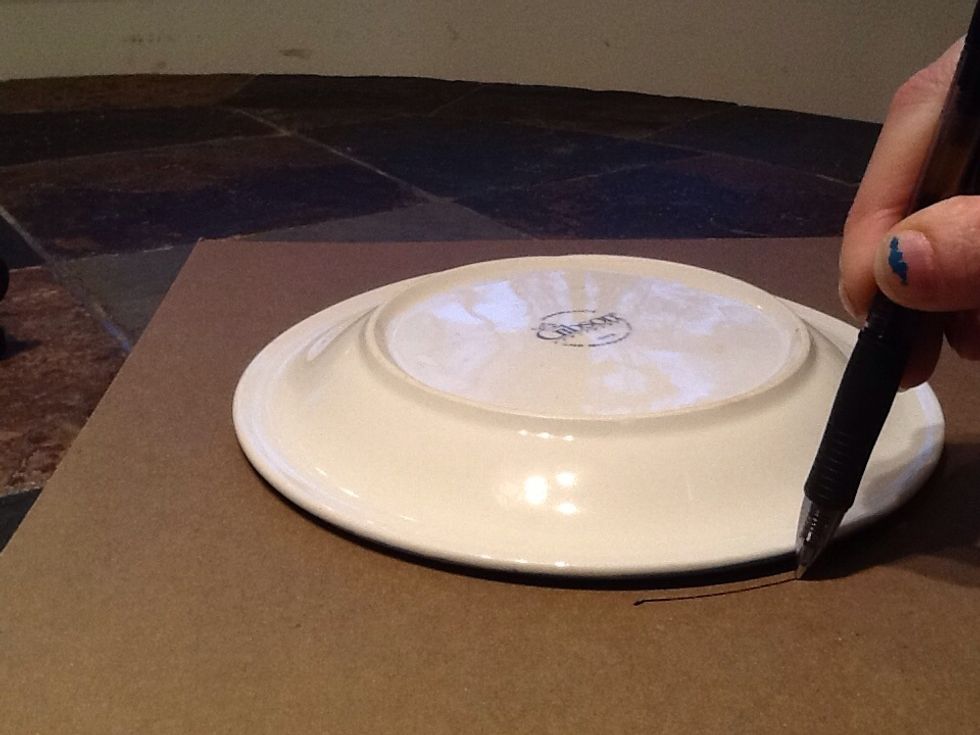
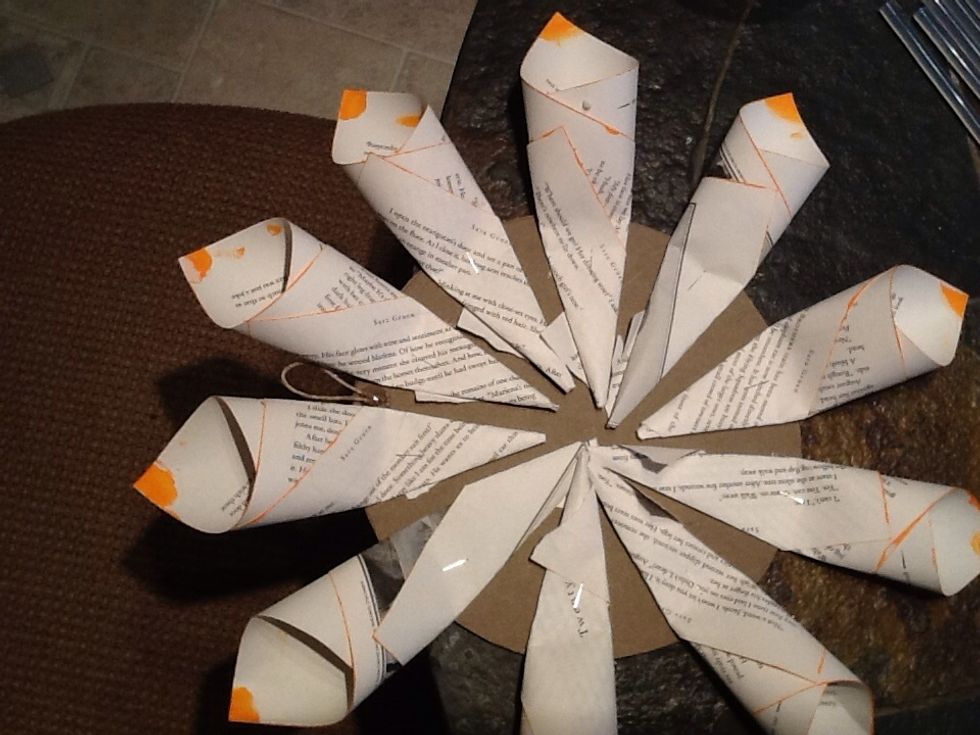
Lay your plate on the cardboard to trace your circle to cut out the base of your flower. I used a small sized salad plate here.
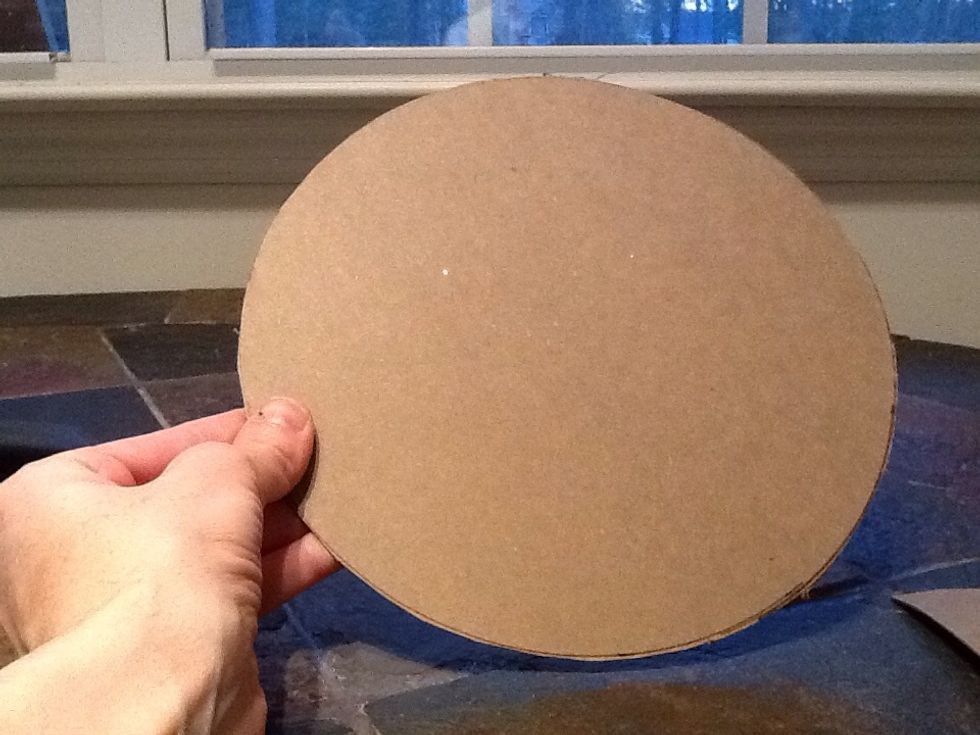
Cut out your cardboard circle base.
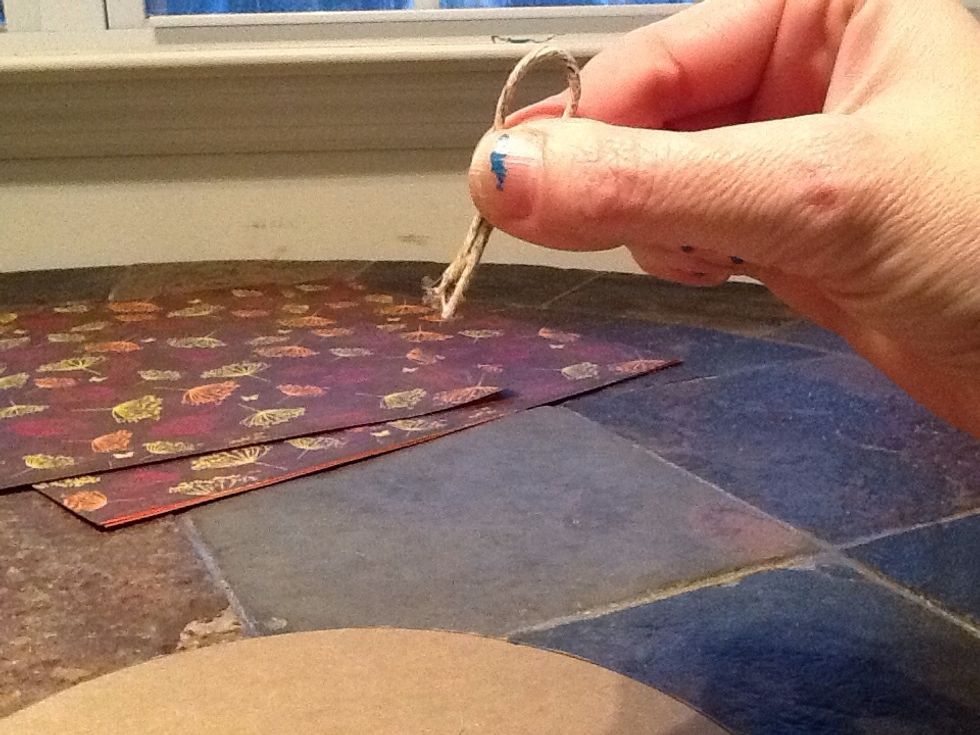
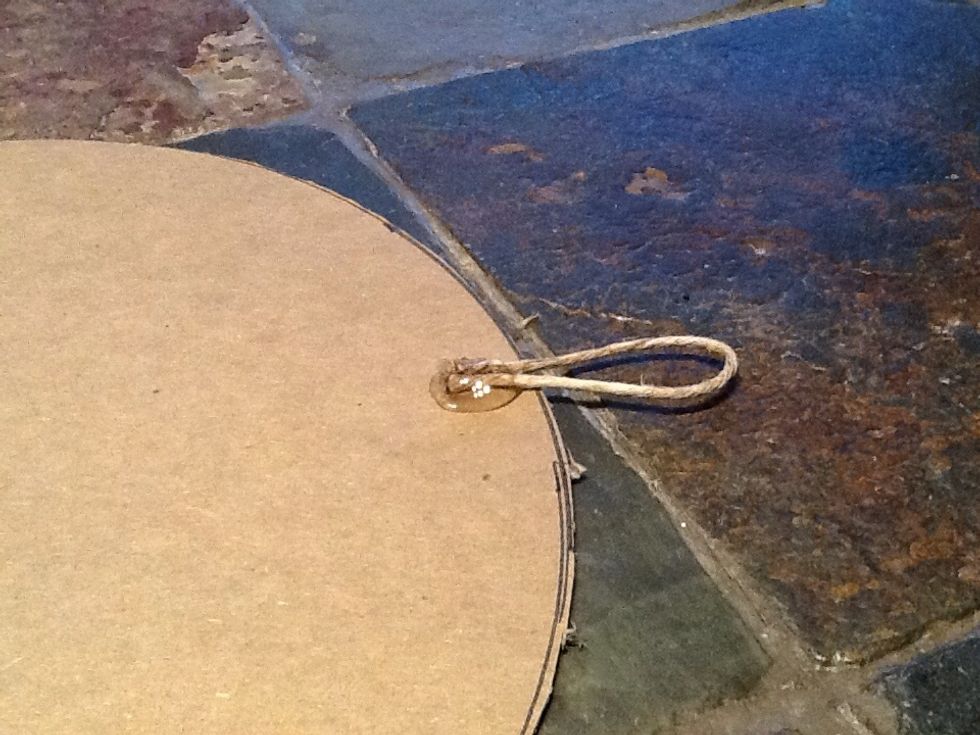
Using your 4" piece of twine or ribbon, hot glue a loop for hanging to your cardboard base.

Glue two of your largest size petals on each side of hanger loop.
Continue to glue base petals around the circle, leaving about a finger's width space between them.
For your second layer of petals, glue them in the space between the base petals.

Continue to glue around until your second layer if petals is complete.
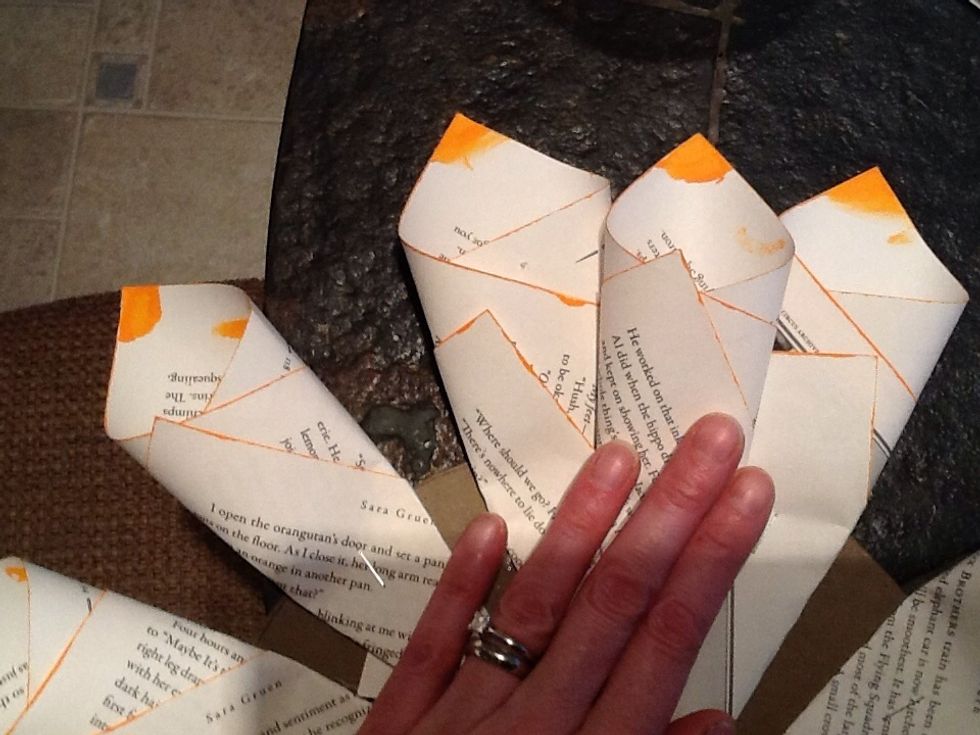
Once you get multiple layers down, you will need to start trimming the tails off your petals before you glue them, as it gets crowded quickly.

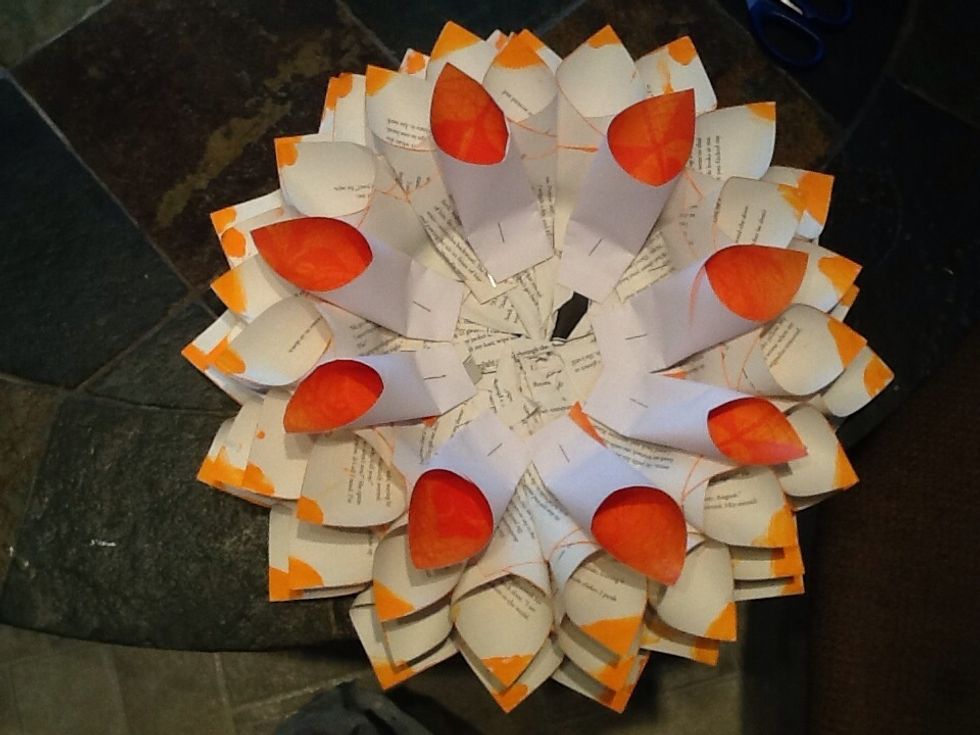
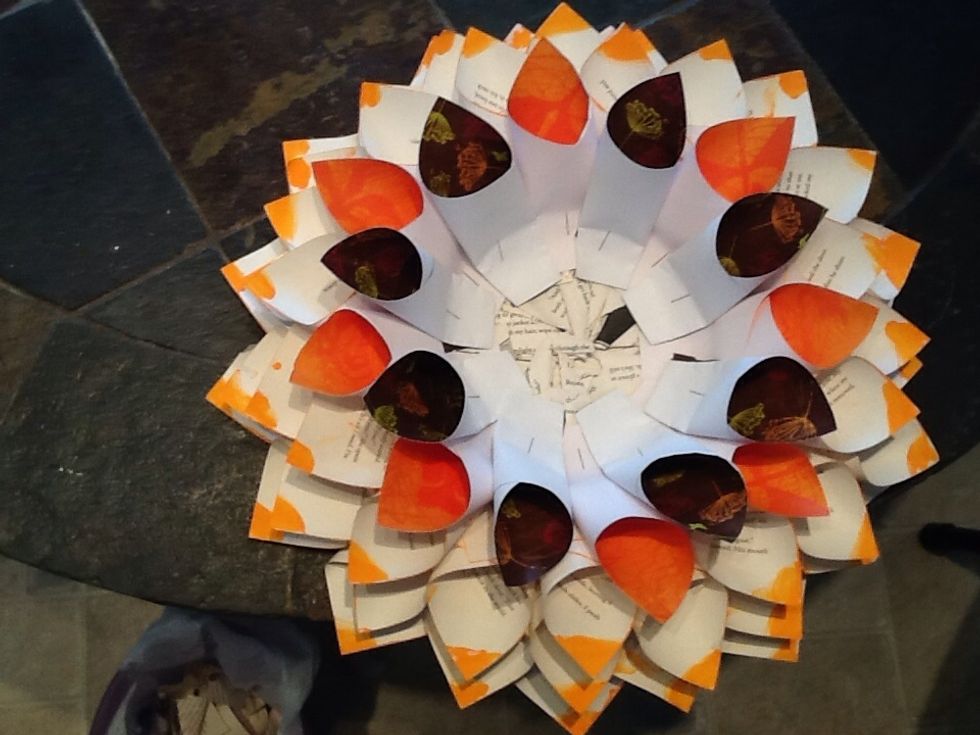
Once you have about three rings of book page petals glued. You are ready to start adding your colored scrapbook pages.
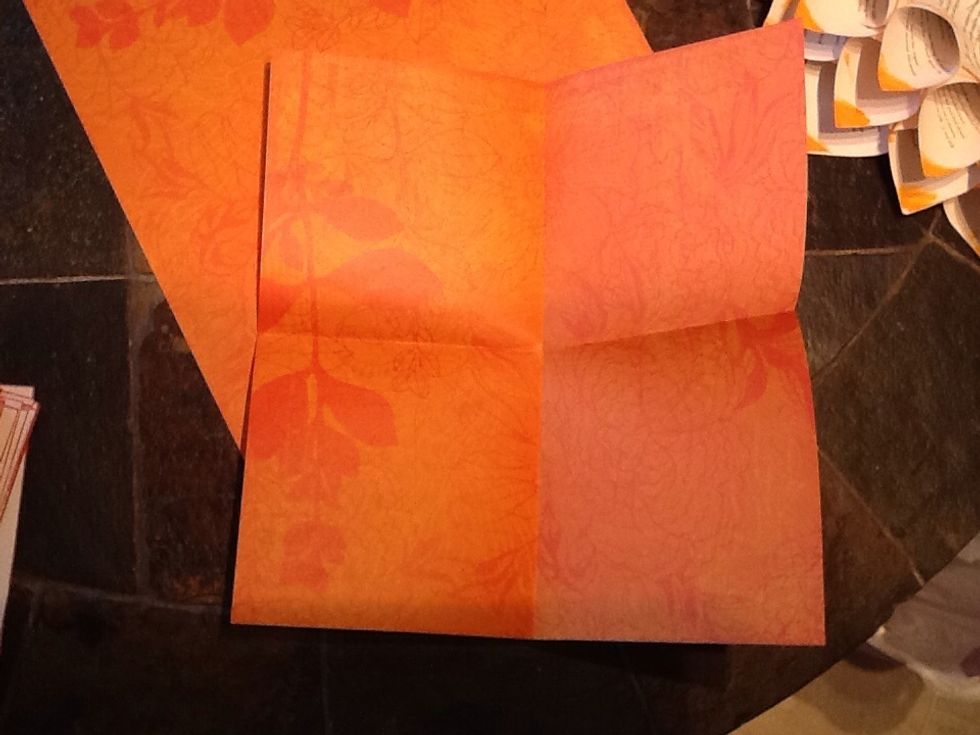
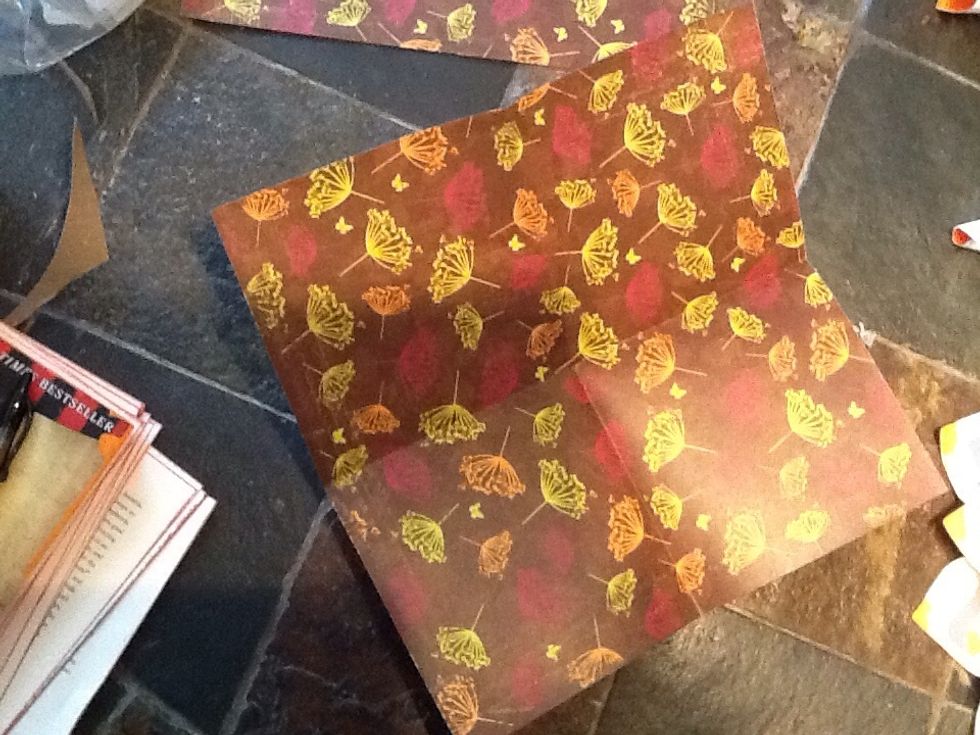
Fold scrapbook pages as shown and cut 4 squares out of each page.
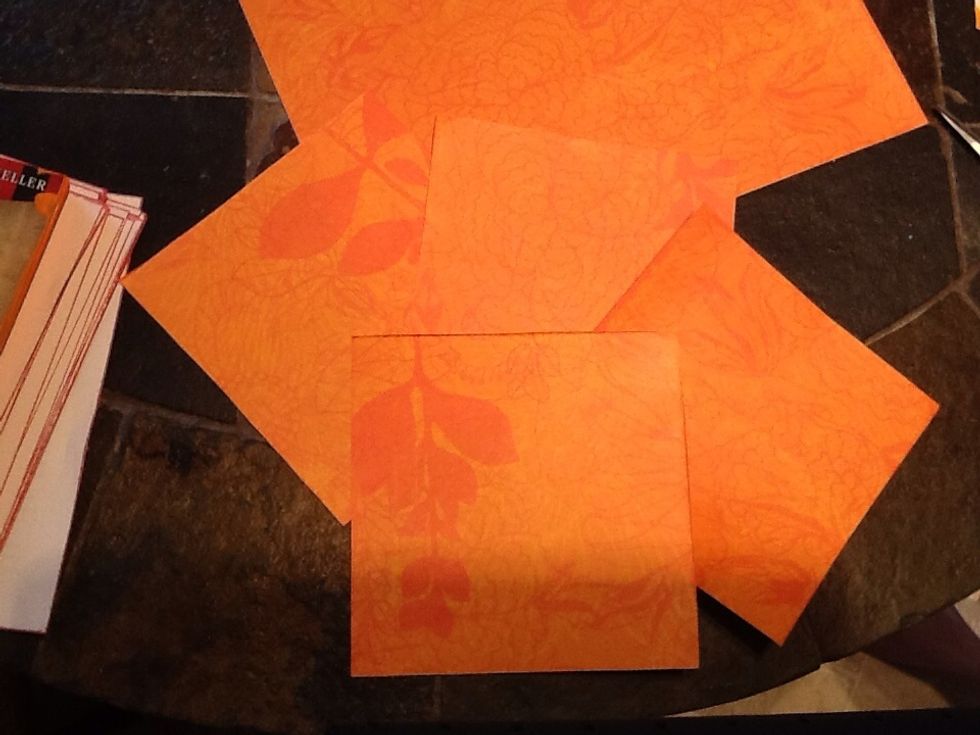
Finished cut squares :)
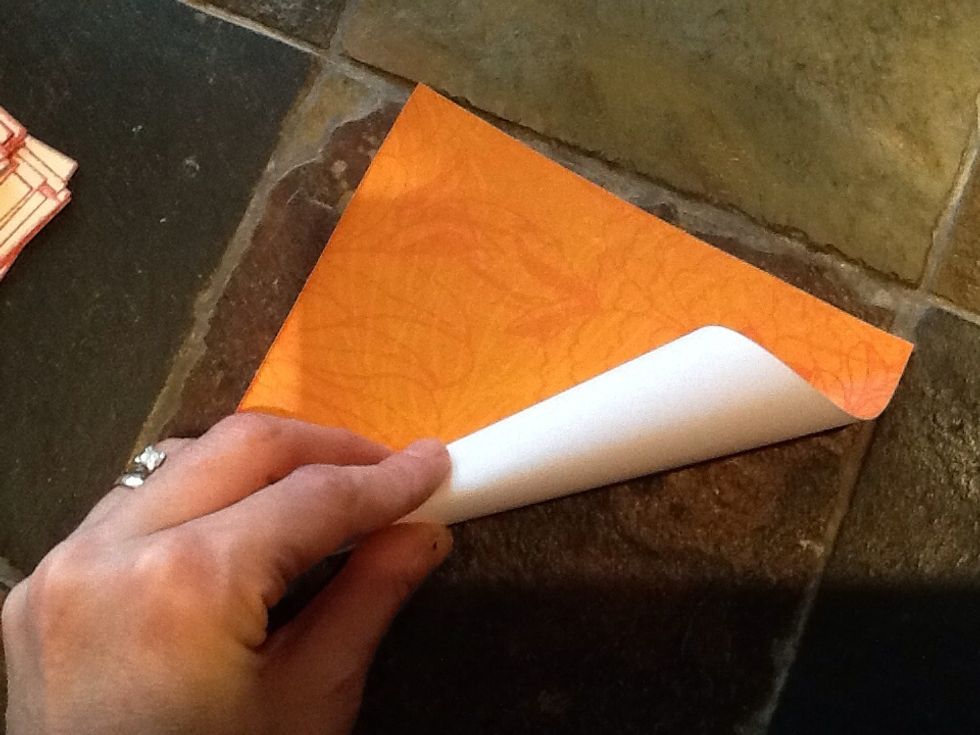
Roll your scrapbook petals :)
Staple as you did your book page petals and trim the tails. Make sure to save the trimmed tails, we will use them later ;)

Begin to glue your colored scrapbook page petals.
Finished ring of colored petals :)
Fold, cut, staple and glue another set of darker or accent colored scrapbook page petals. This is the fun part because any color combo works. Be creative, and don't forget to save any trimmed tails :)
Glue your second color petal ring down.
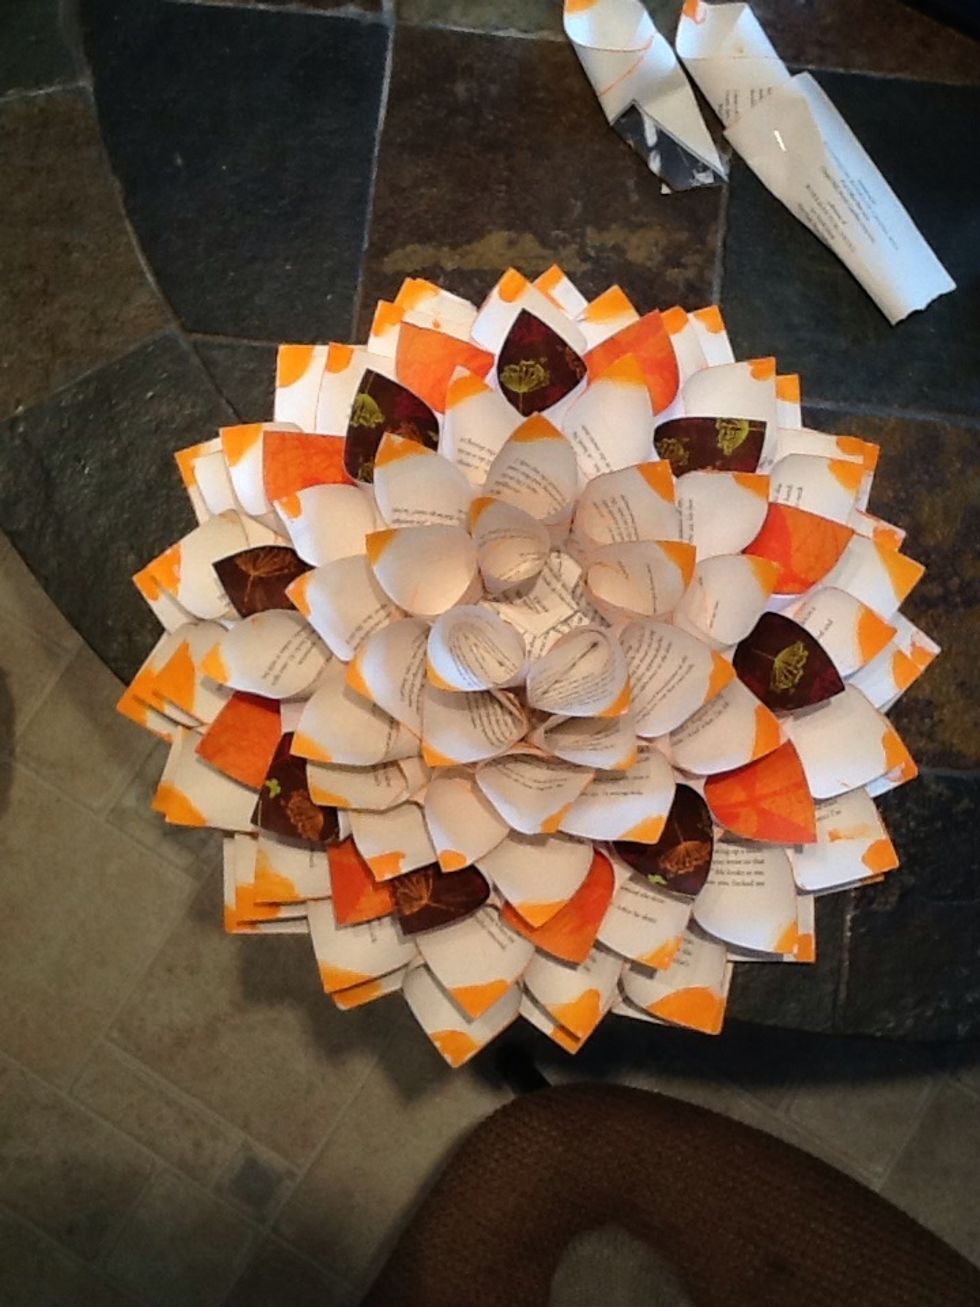
Go back to glueing book page petals, selecting smaller circumference petals as you work your way to the middle of the flower.
Time to use those tails you saved! Make really small inner petals out of your tails.
As you get towards the very middle of the flower, it works best to fold a little tab up just below your staple. This way the inner petals stand up and are easier to place in that tight middle space.
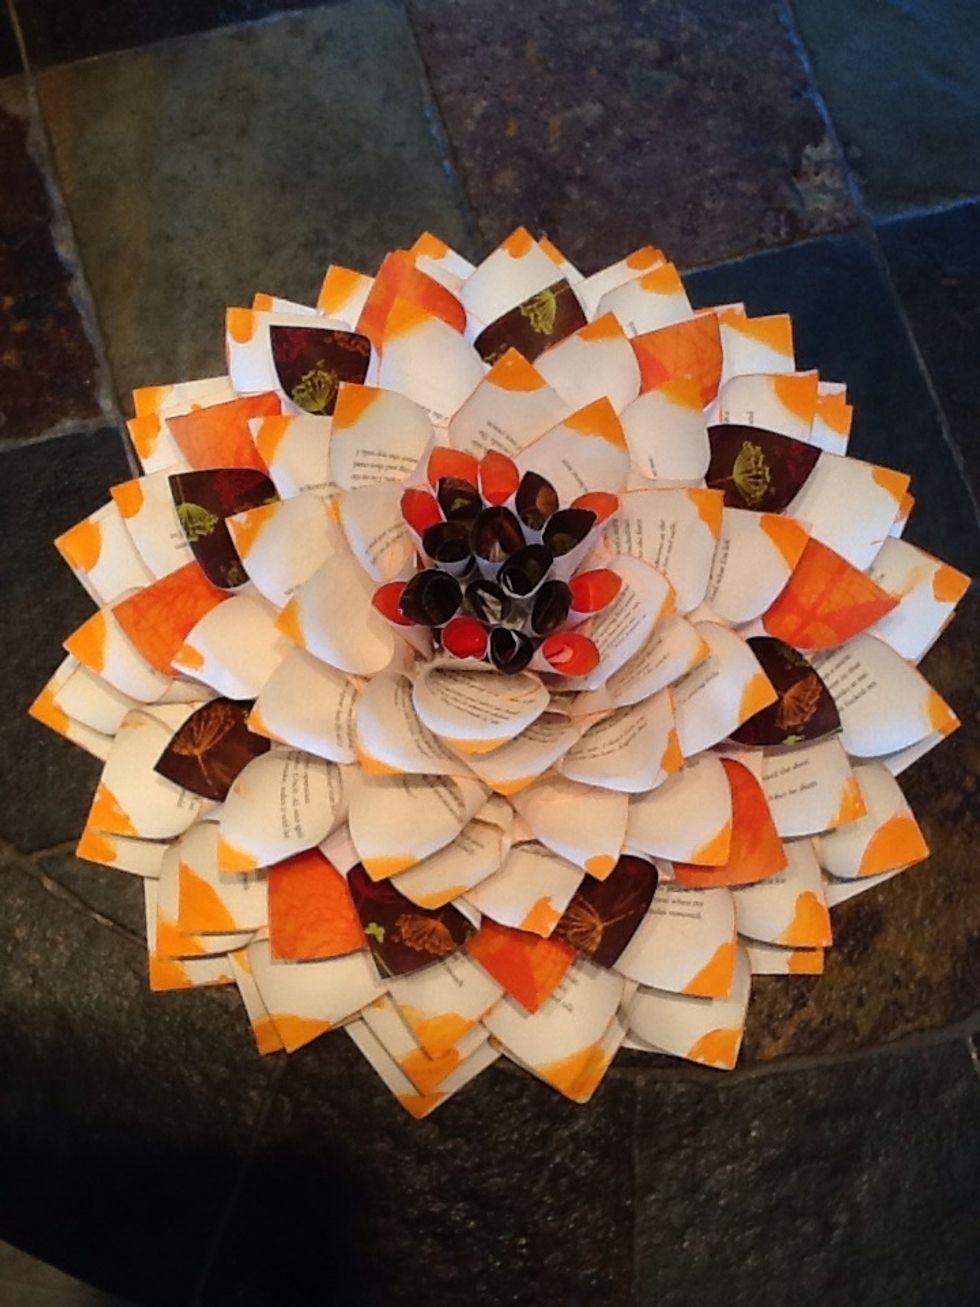
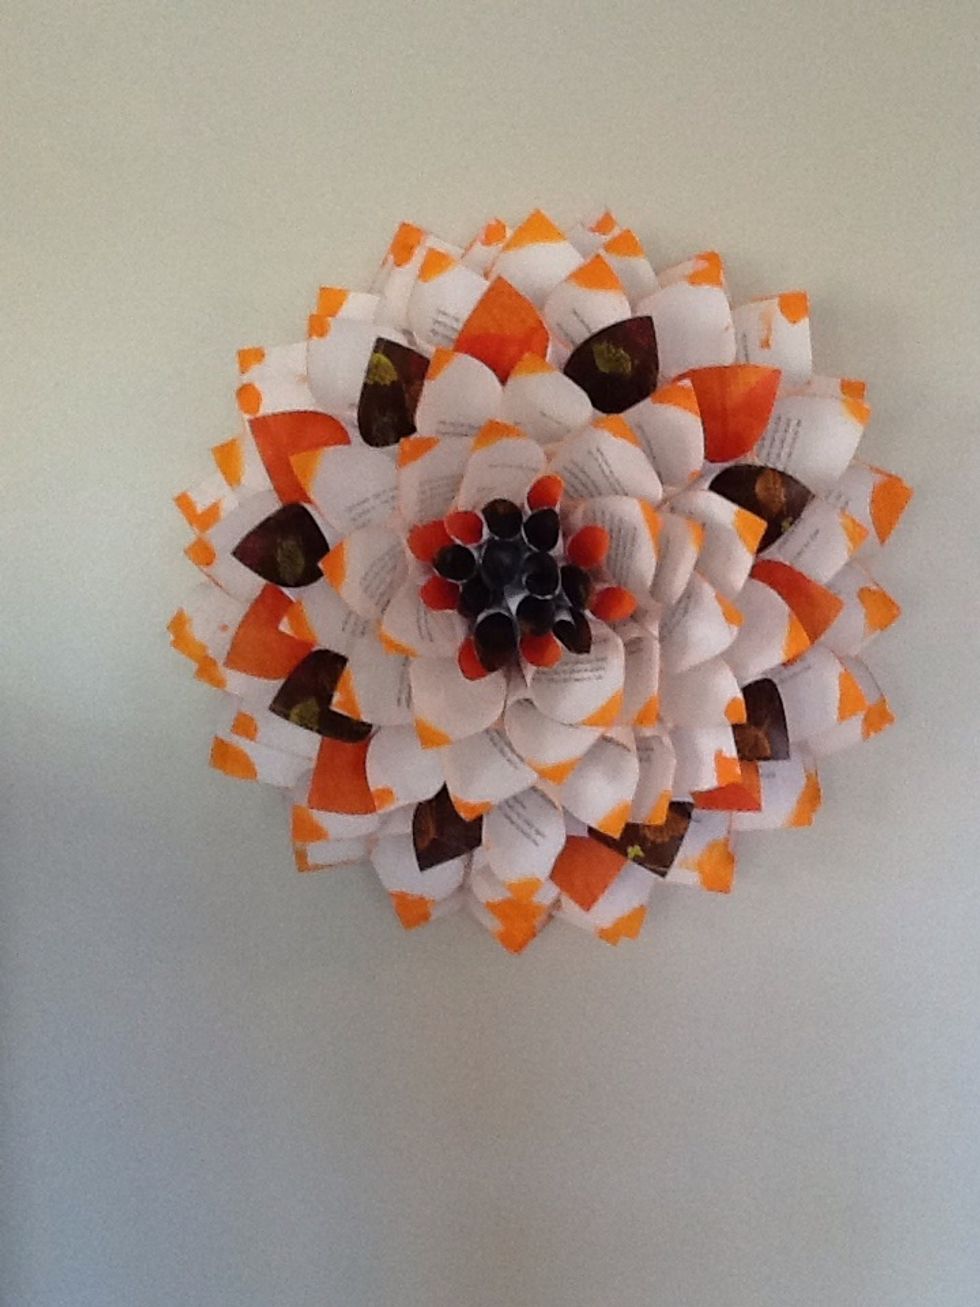
Viola! A pretty, and fun craft, and great addition to any room. I have made these for my office/craft room, and one for my daughter's room using a book that she loved as a little girl :)