The Conversation (0)
Sign Up
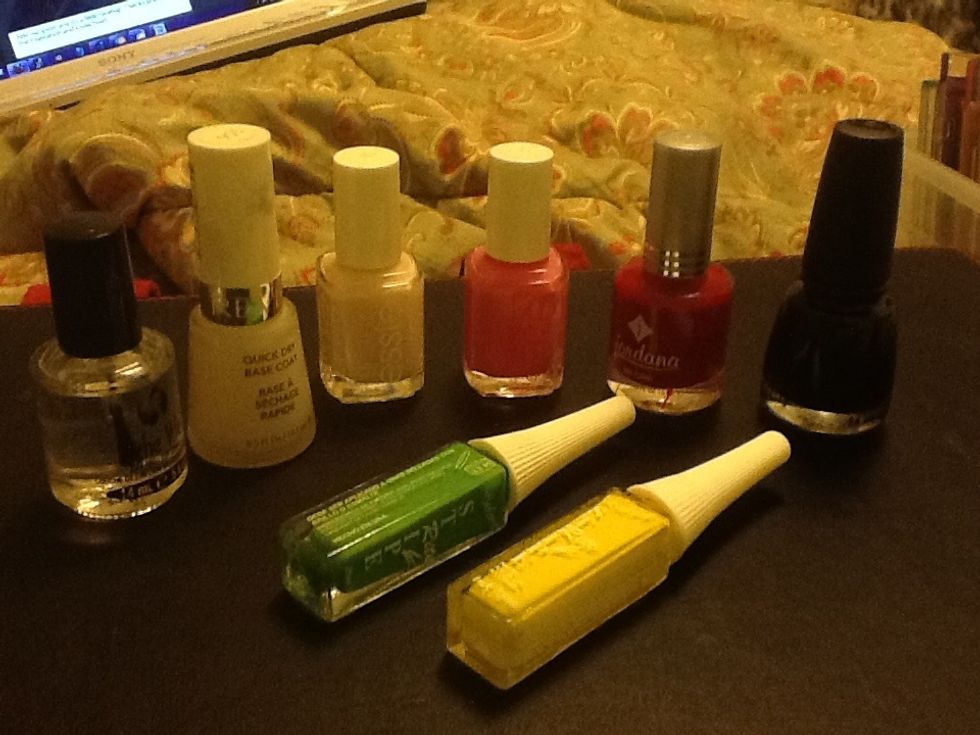
Get your supplies ready.
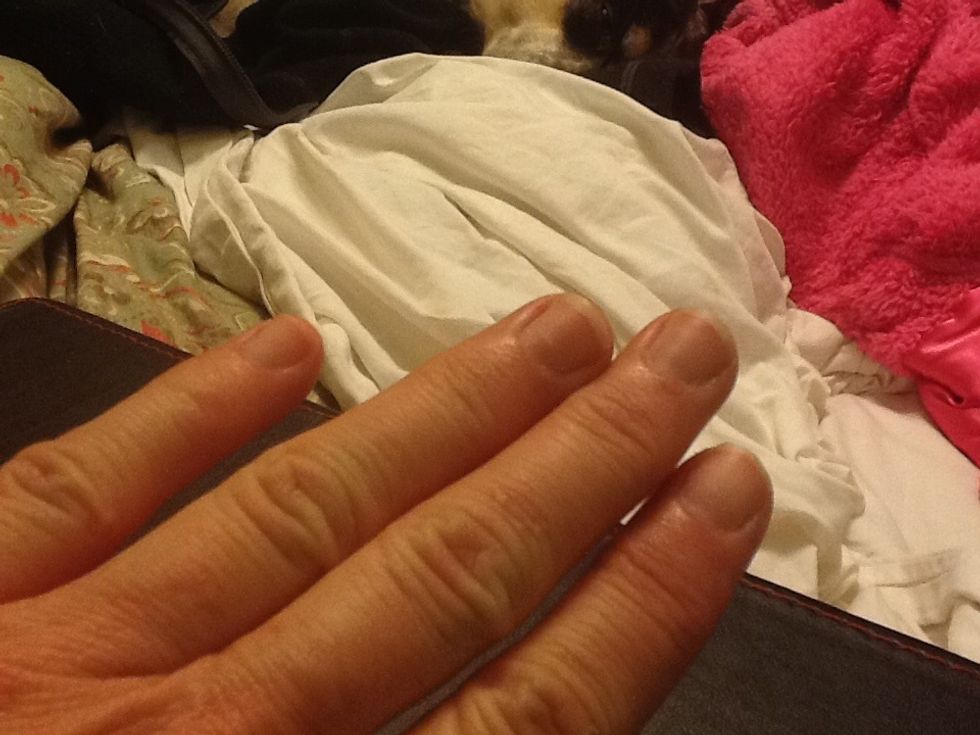
Prime your cuticles and nail bed to make a prettier finish. I have another guide that shows this.
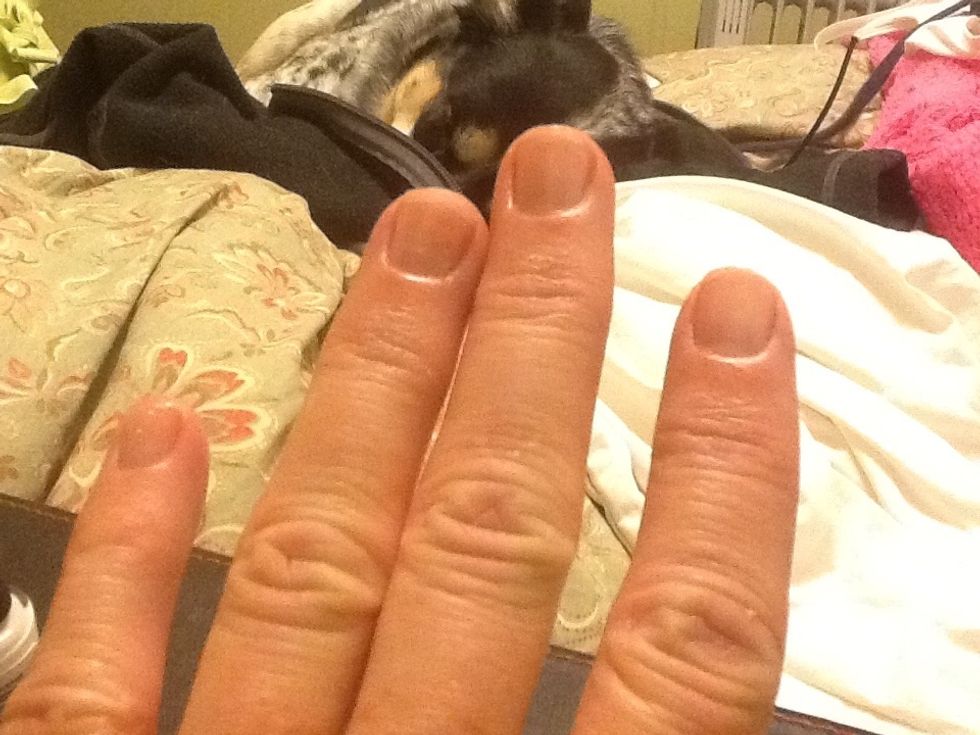
Apply your basecoat. Completely optional, but it always feels like the polish adheres better when I do this and I get less chipping. I usually just use a thin layer. Allow it to dry really well.
Apply 2 sloppy coats of black (thin coats work best for me). Allow to dry forever. Do some cleanup with polish remover before taking the 'after' photo.

There. That's about as good as it gets right now. Wish I were a better painter. If I were, I would probably have a different job.
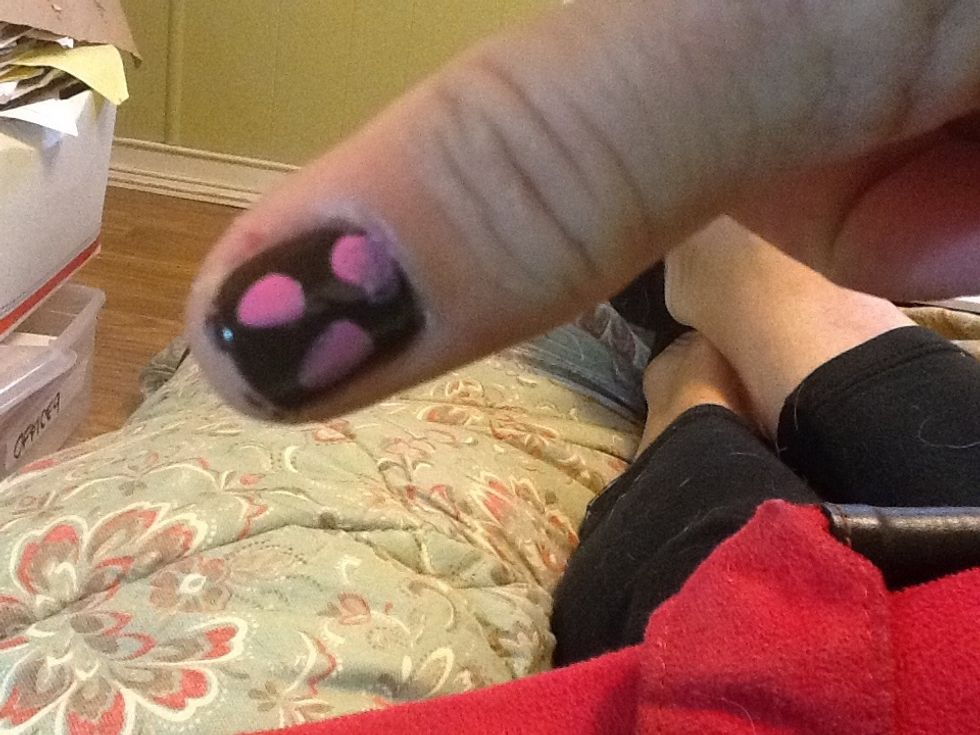
Mash in a few medium-sized pink blobs. Not really supposed to be perfect circles. I should really probably get off my bed and get some paint brushes. Too lazy.
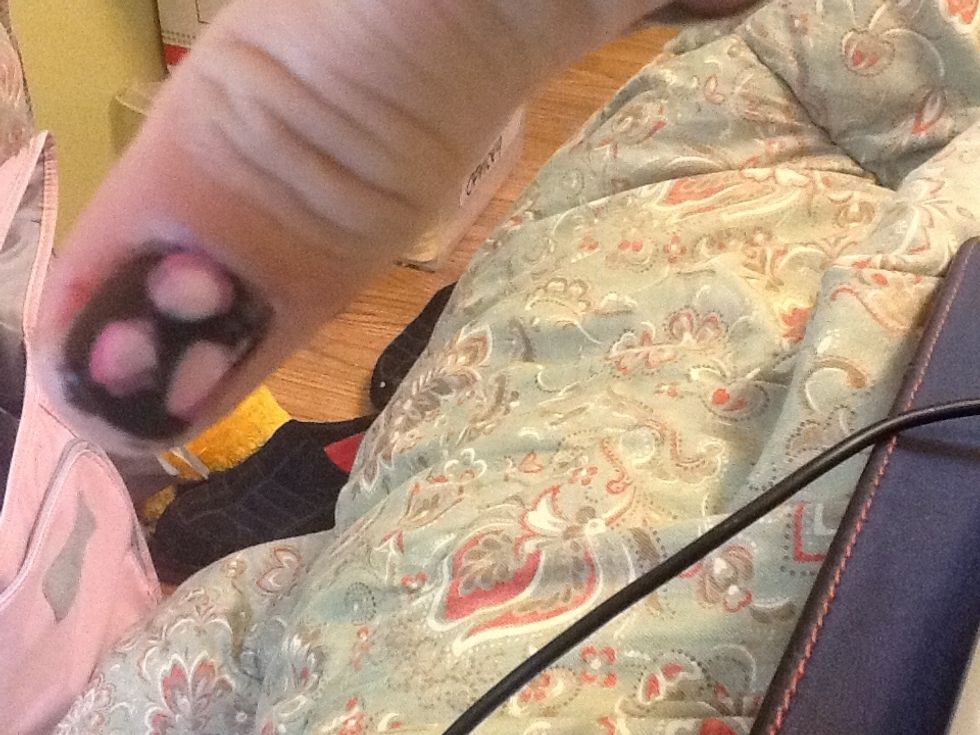
Add an inner blob of a light color. I used a french tip color--sort of a creme for the middle. Fuzzy photo sorry. I made the blobs just slightly smaller than the pink blobs.
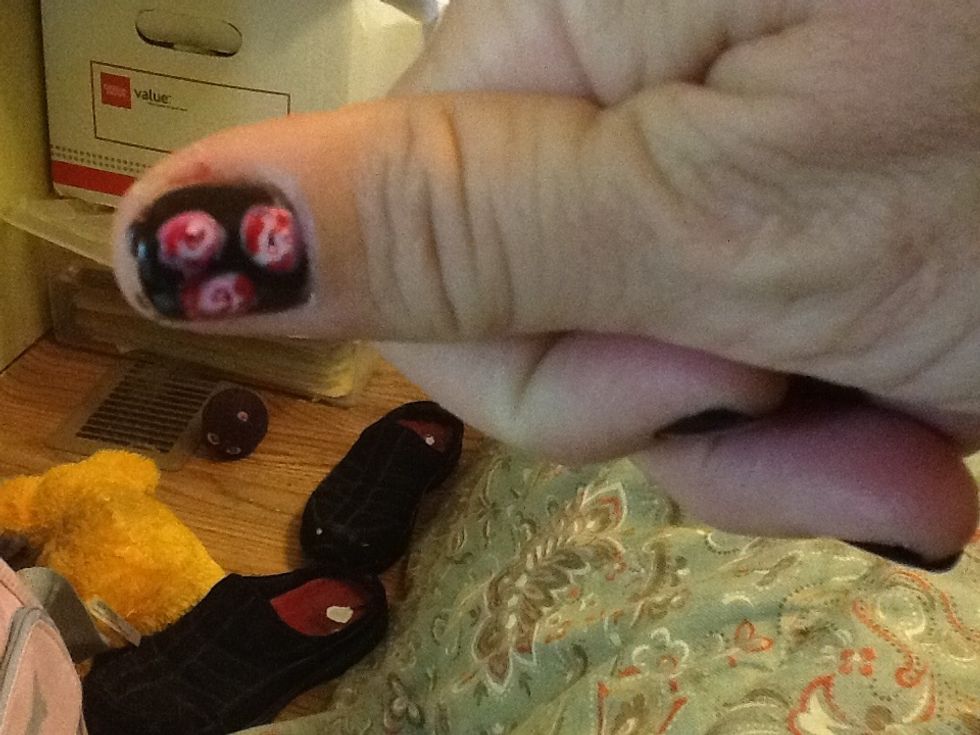
Jessica used a fine paintbrush for her detail. All I had was a pin. I dabbed a pin tip (pointy end) into red polish and made a tiny "U" shape in the middle and the little rough half circles.
Jessica of FabuloCity has a better closeup than I do of this step. Check out her Vintage Rose tutorial. Mine is an experiment based on hers since I love a black background.
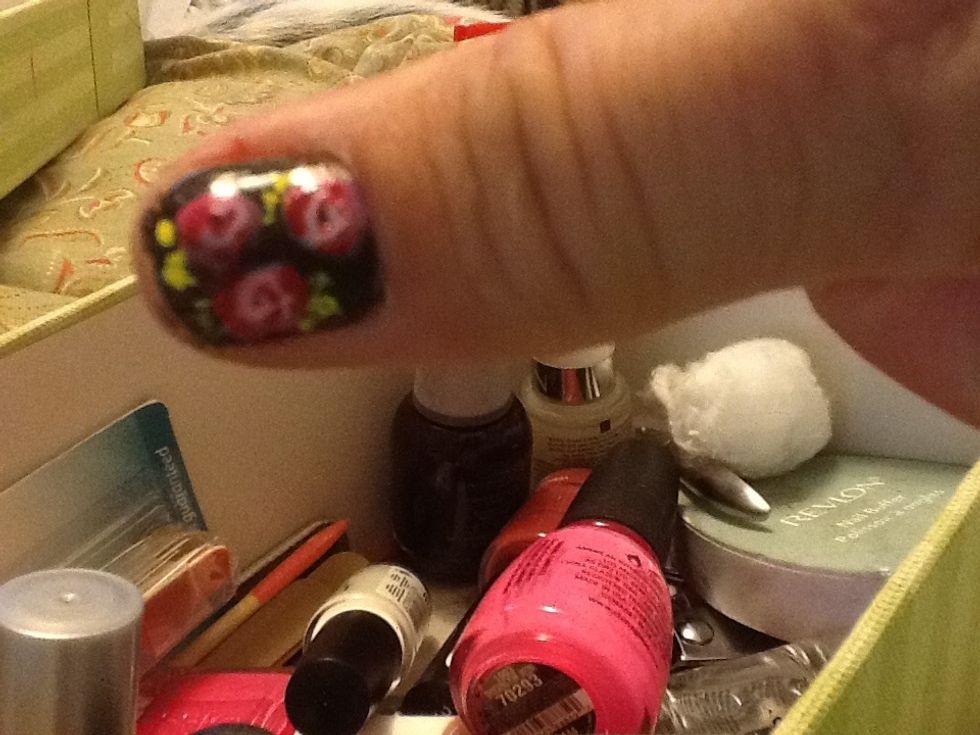
Try adding some little yellow squiggles around the flowers. This is a nail art polish that has a skinny brush. Nothing special, just some jiggly squiggles.
Add a couple of green dashes for detail. (Used a green nail art polish with skinny brush). The green had a hard time showing on top of the black. I re-did it a couple of times.
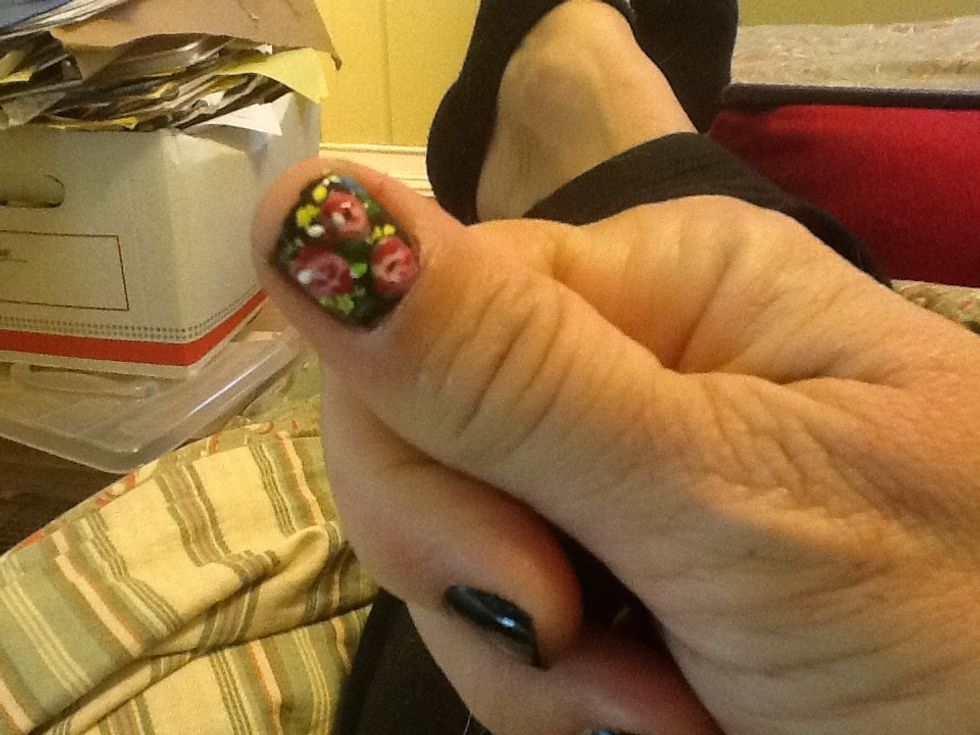
Add a couple of little teensy weensy white dots because...why not? and Voila. A sort of flowers on black vintage nail. Pretty.
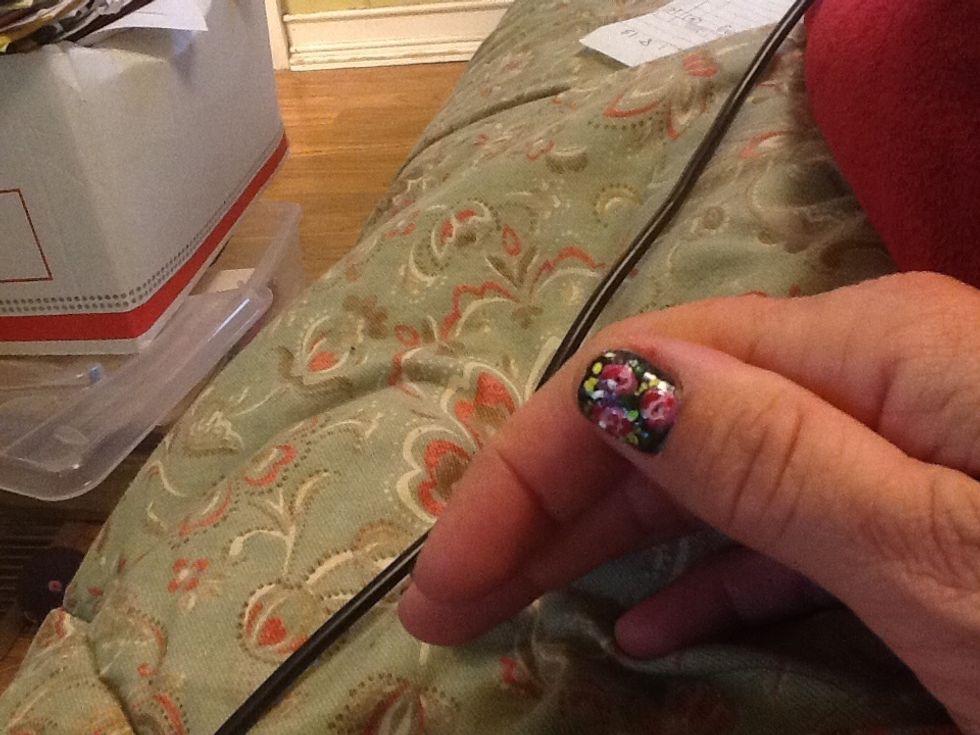
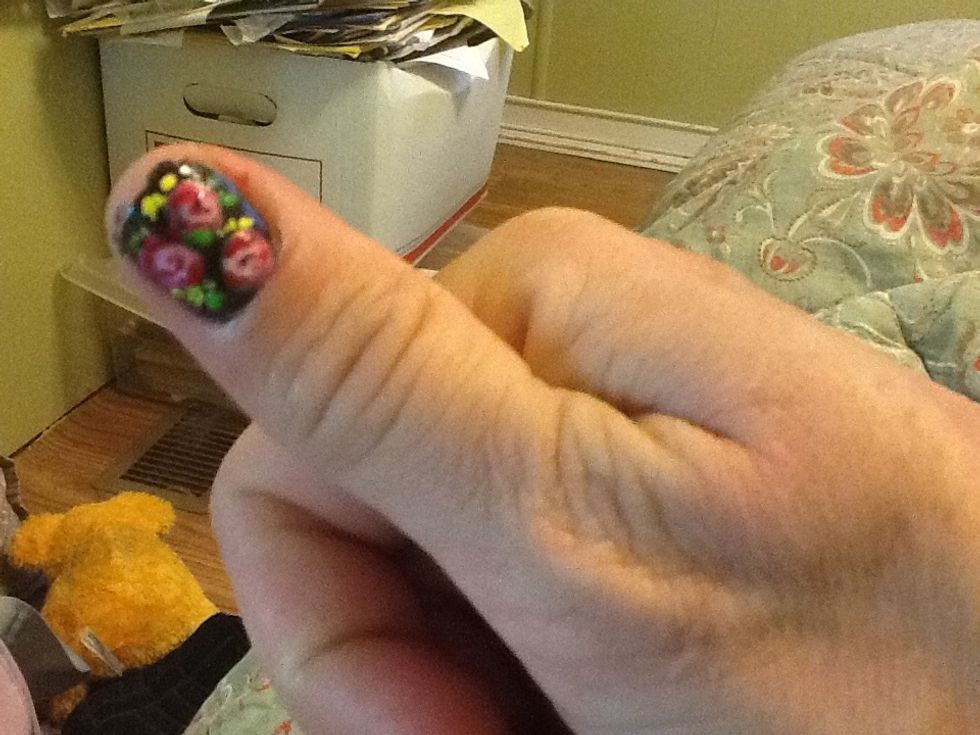
Add top gloss and do a little cleanup. Thanks Jessica for the inspiration and know how!