The Conversation (0)
Sign Up
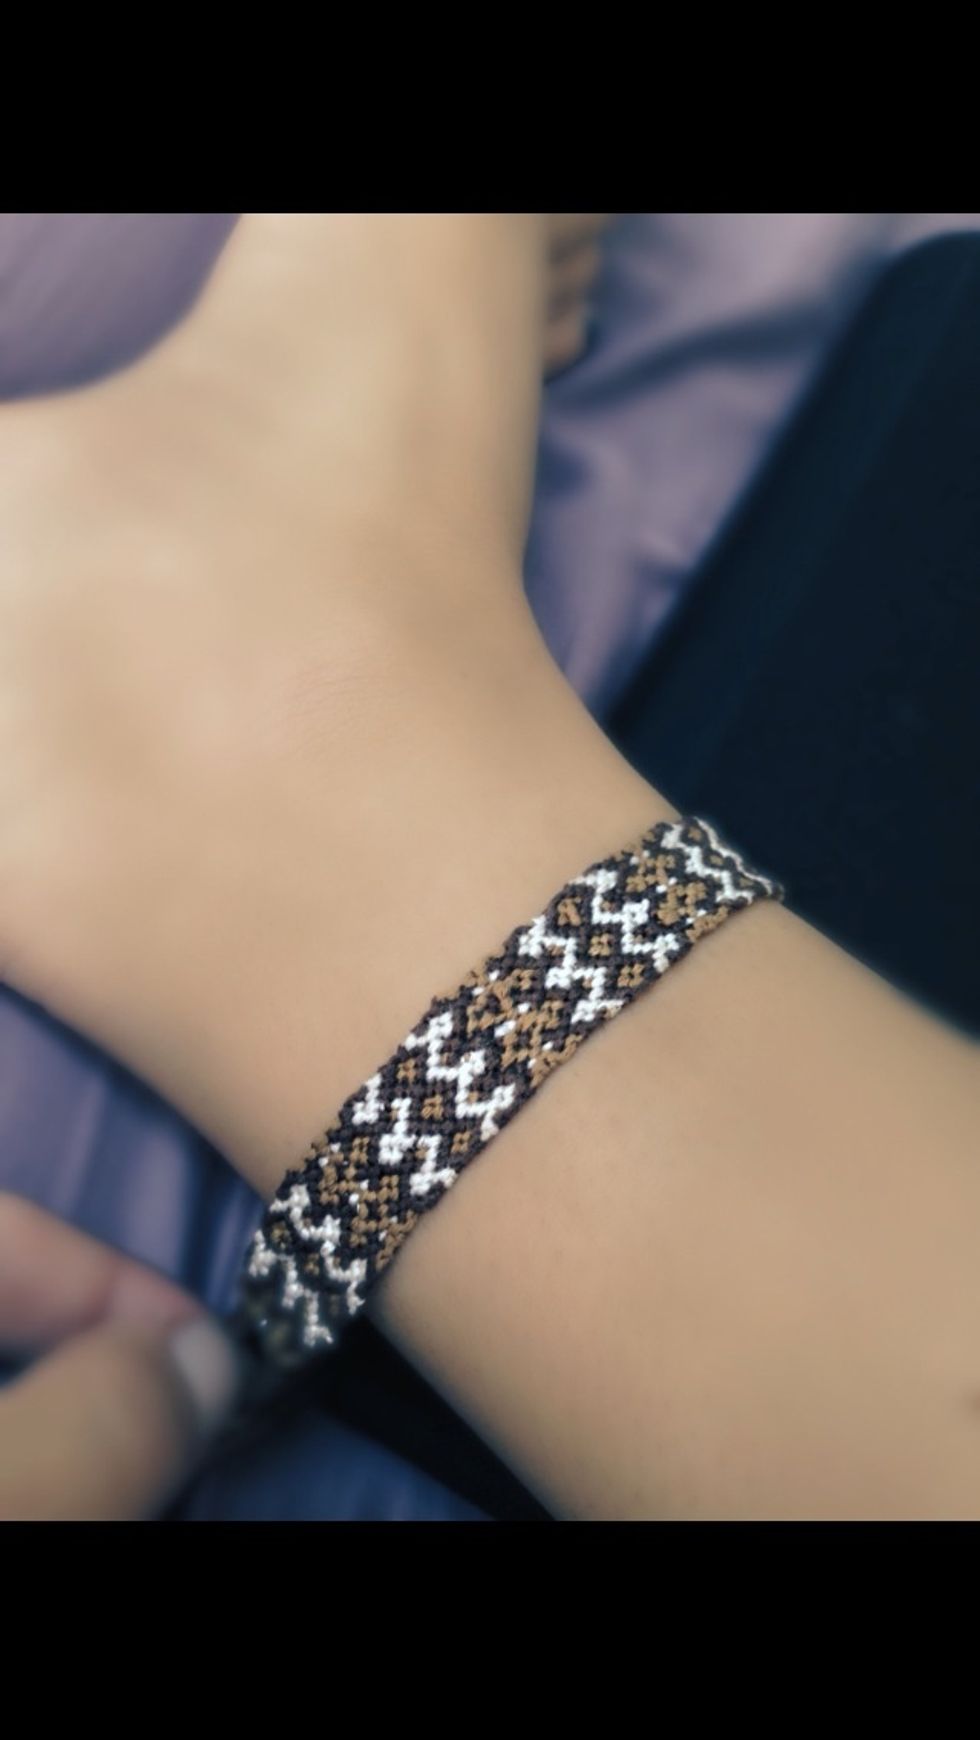
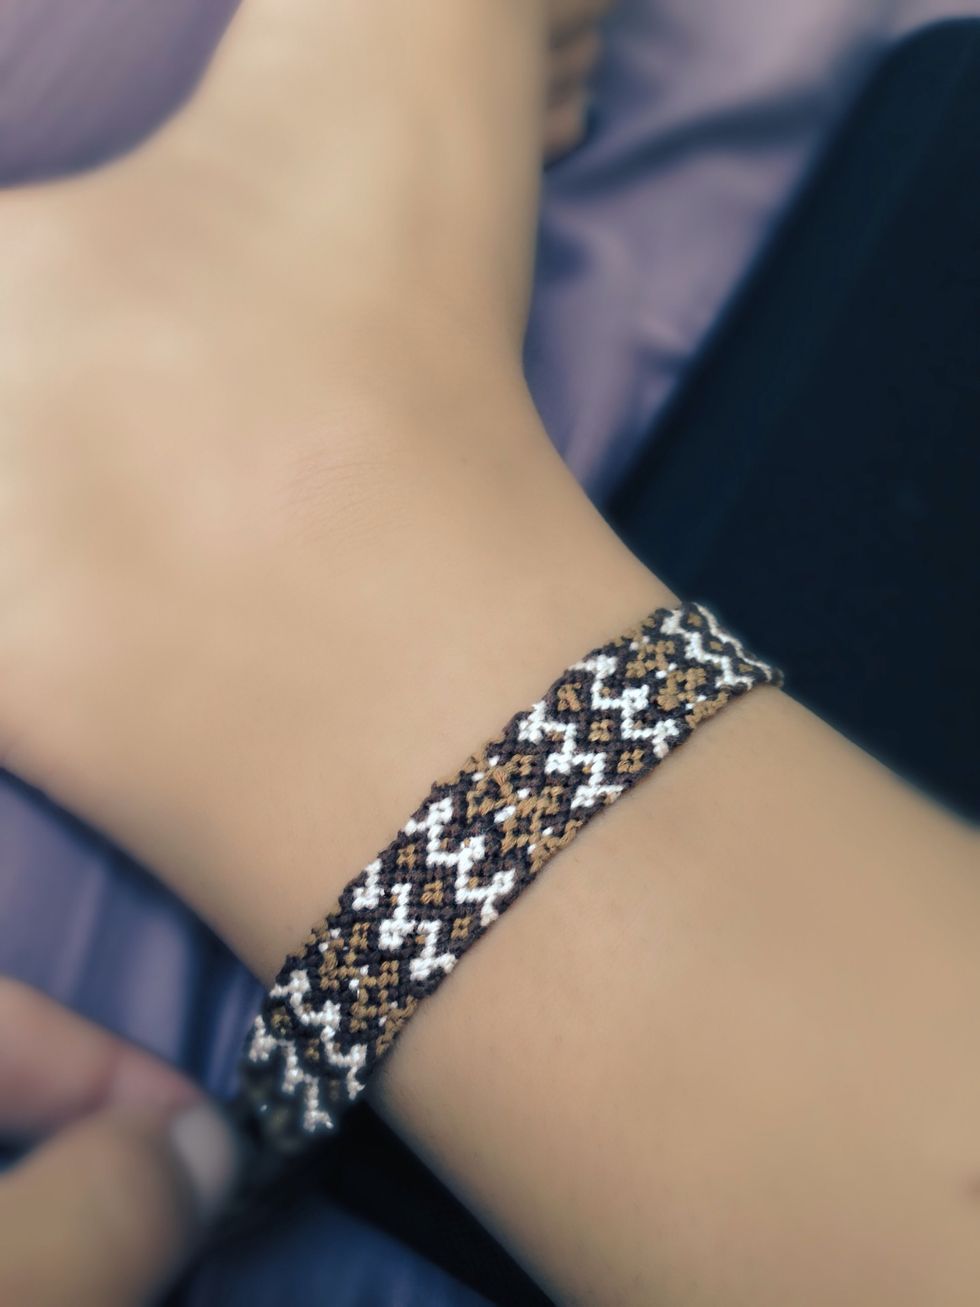
Bracelet preview :)
Welcome to the guide! I'll show you step by step how to make the bracelets but if you've never made a simple bracelet before I really suggest trying to make one, using my other bracelet tutorial. :)
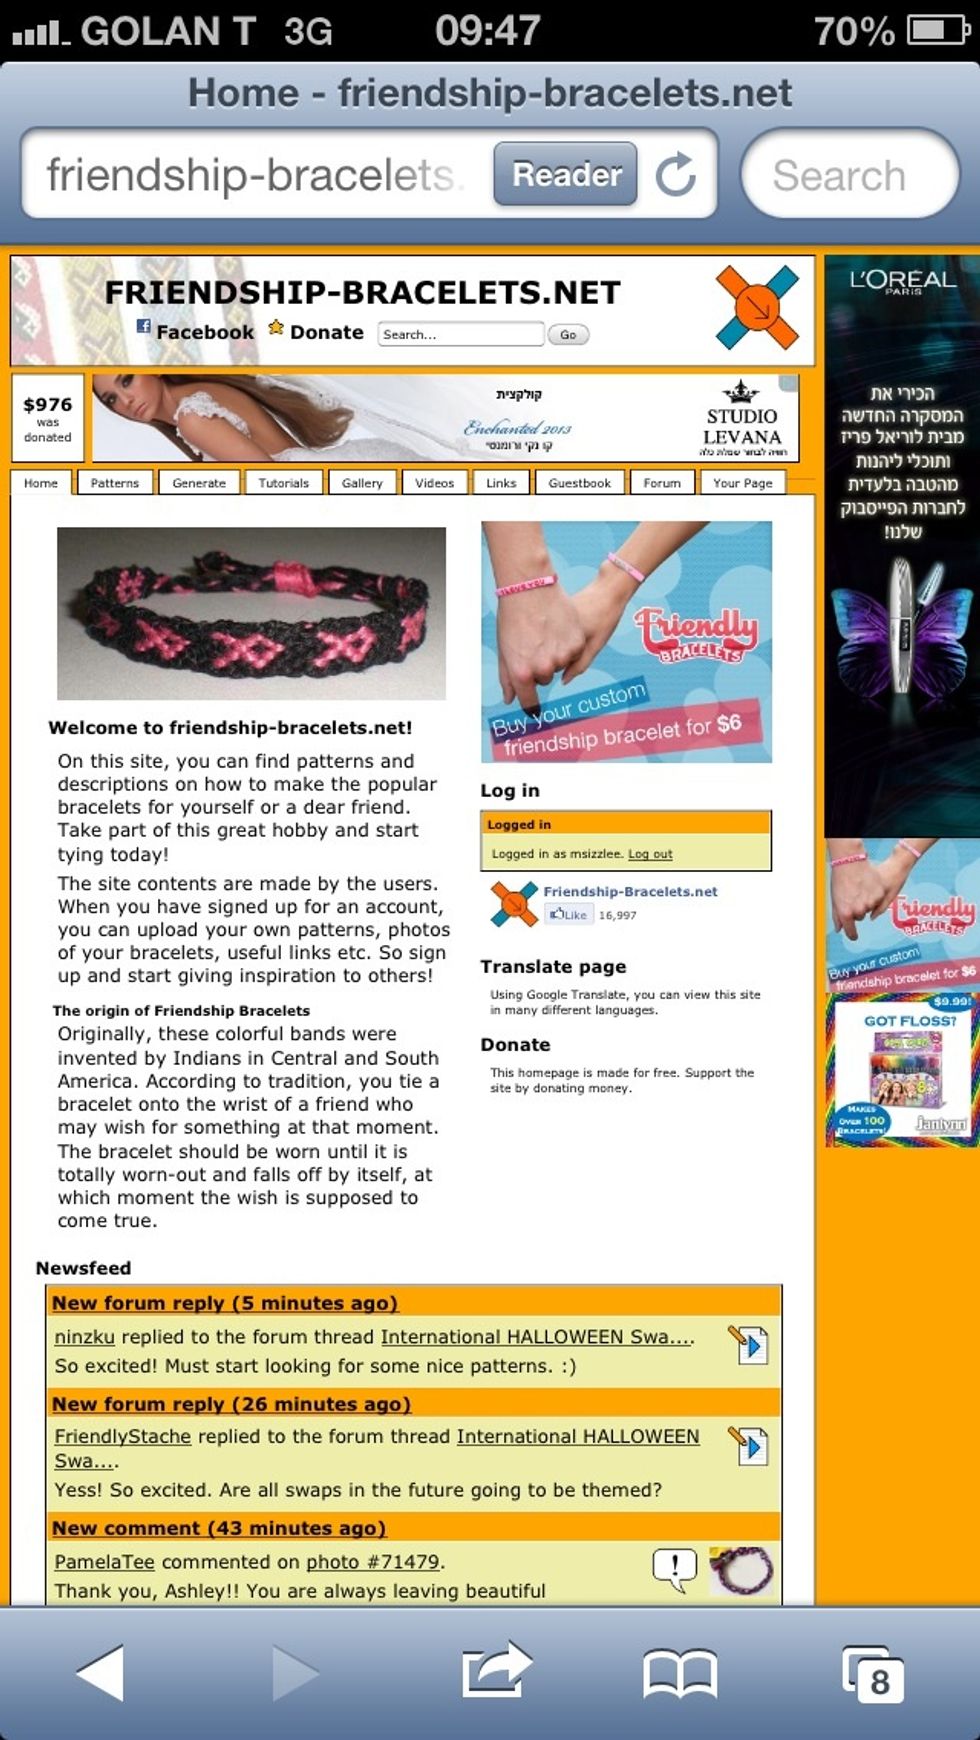
First of all, meet your new best friend, friendship-bracelets.net This is where we're going to pick a pattern for the bracelet. (Search "friendship bracelet patterns on google - first result)
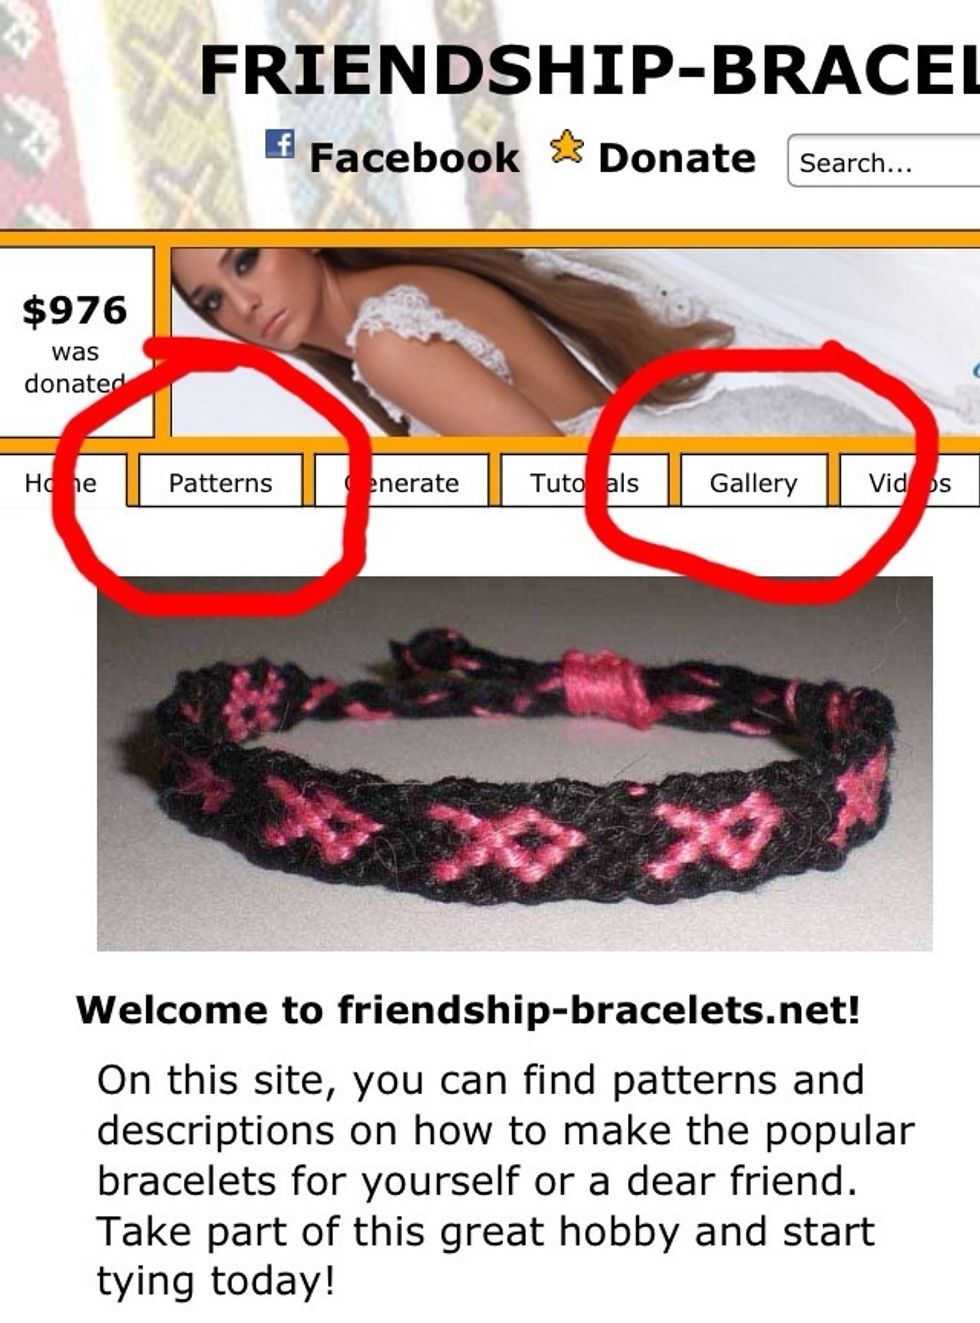
There are two main tabs that we're going to want to use on this site: the patterns tab and the gallery tab.
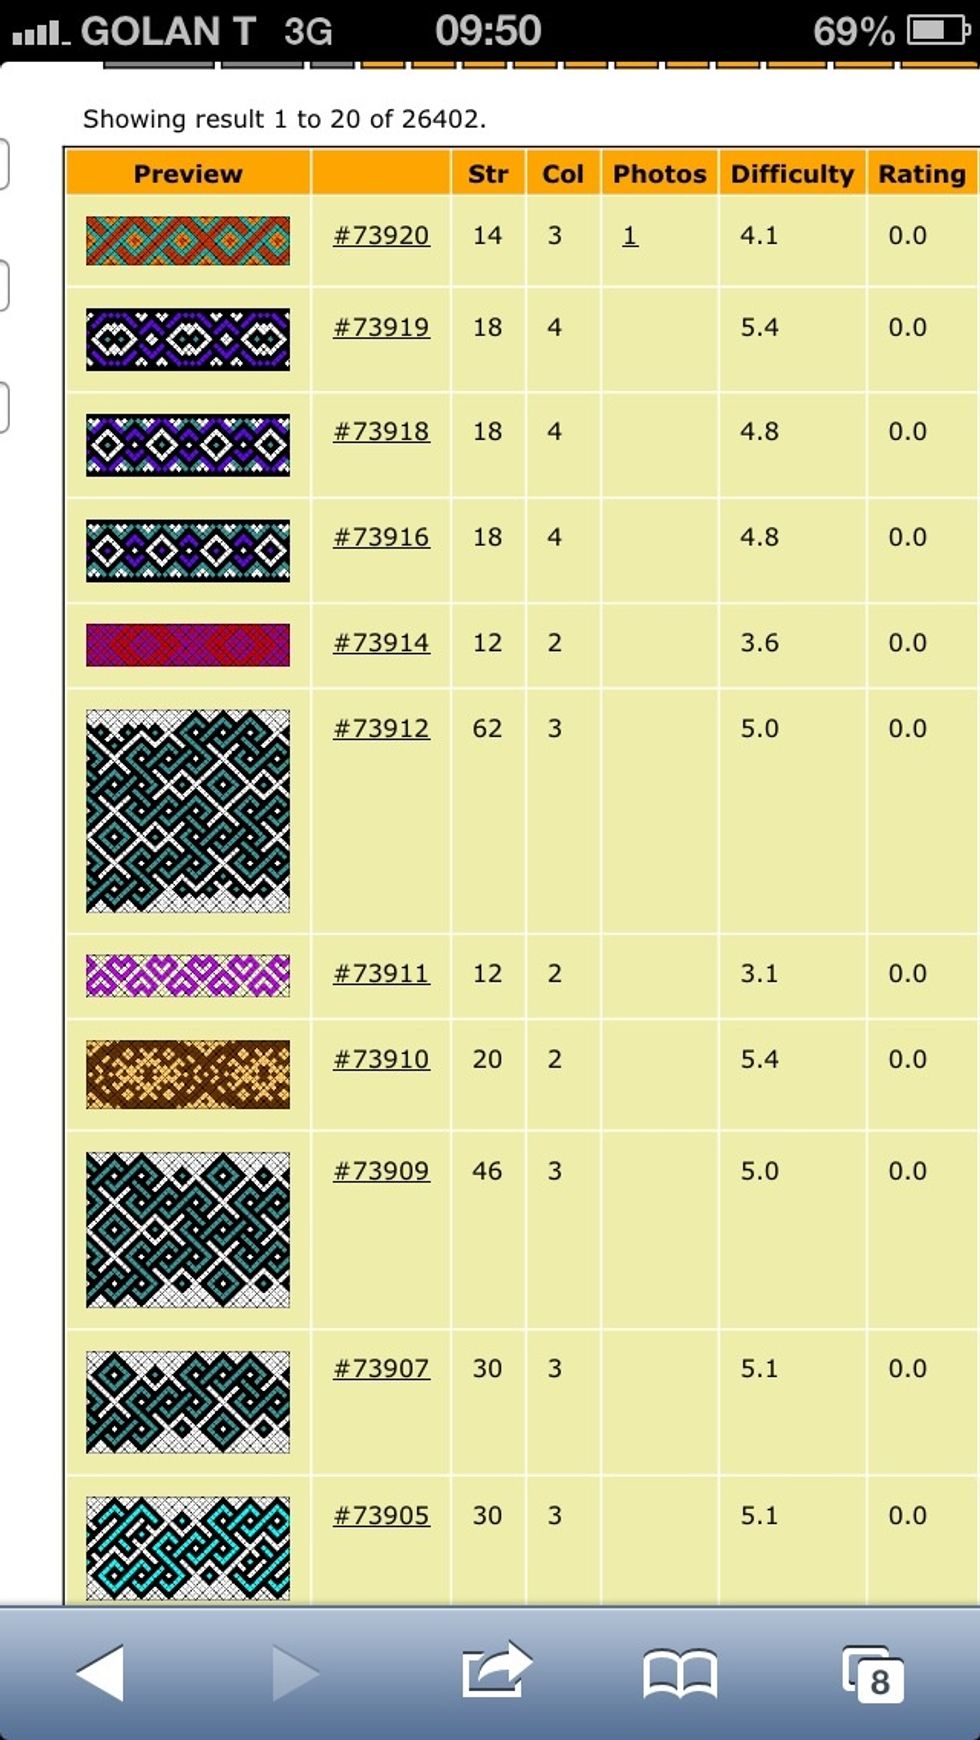
In the "Pattern" tab, you can flip through pages of patterns that you like, and click on one that you decide you want to do. You can search for patterns and customize what you're looking for.
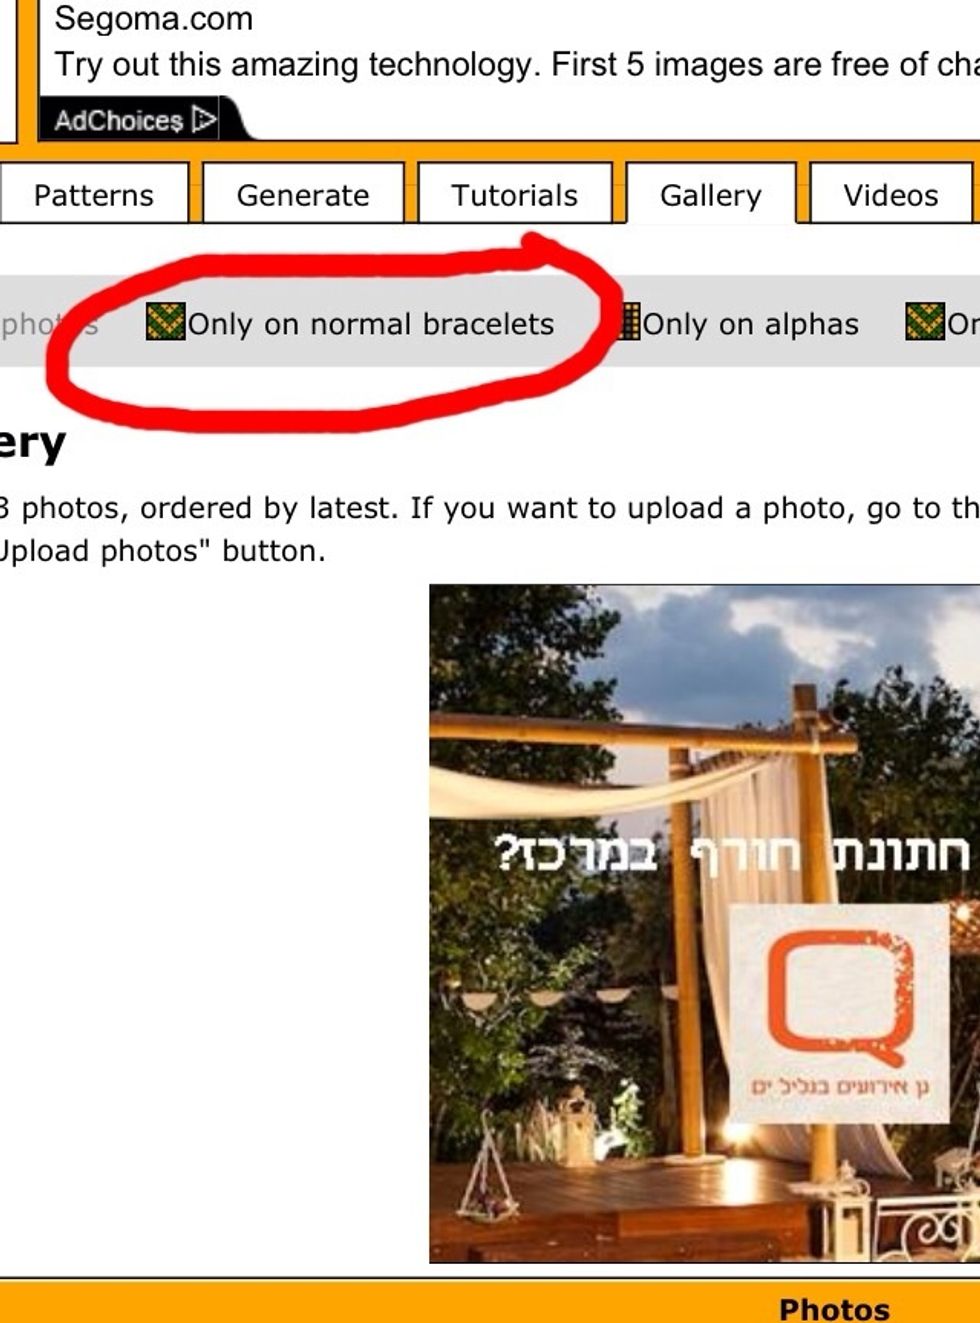
This is the gallery tab. First thing is to press "Only normal bracelets", or else it will show you other types of bracelets that are made differently from what we're doing in this guide.
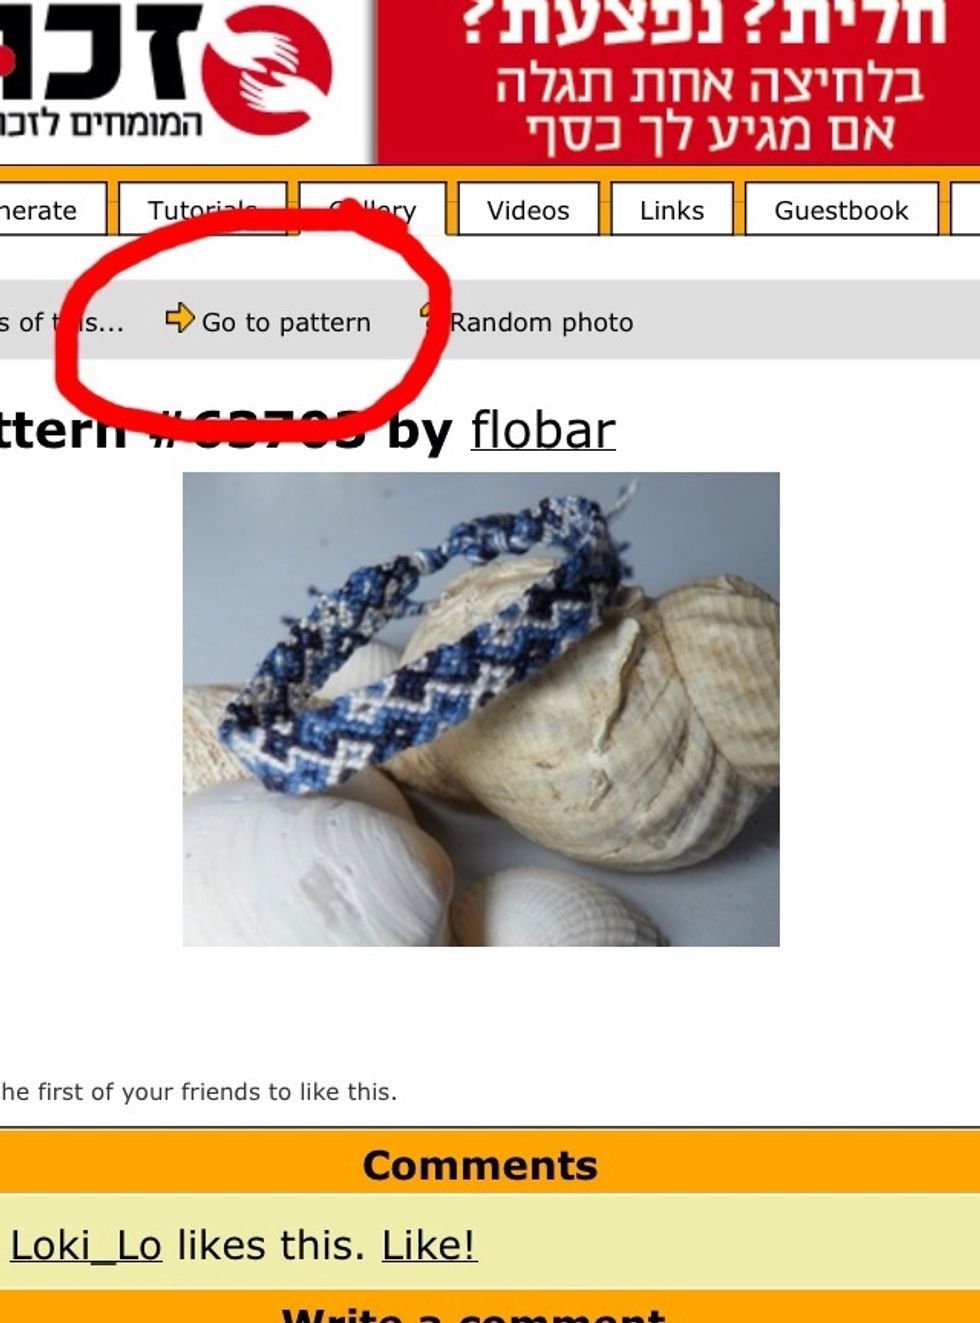
Once you find a photo in the gallery that you like, click on its picture, and then "Go to pattern", and it will take you to the pattern of the same bracelet.
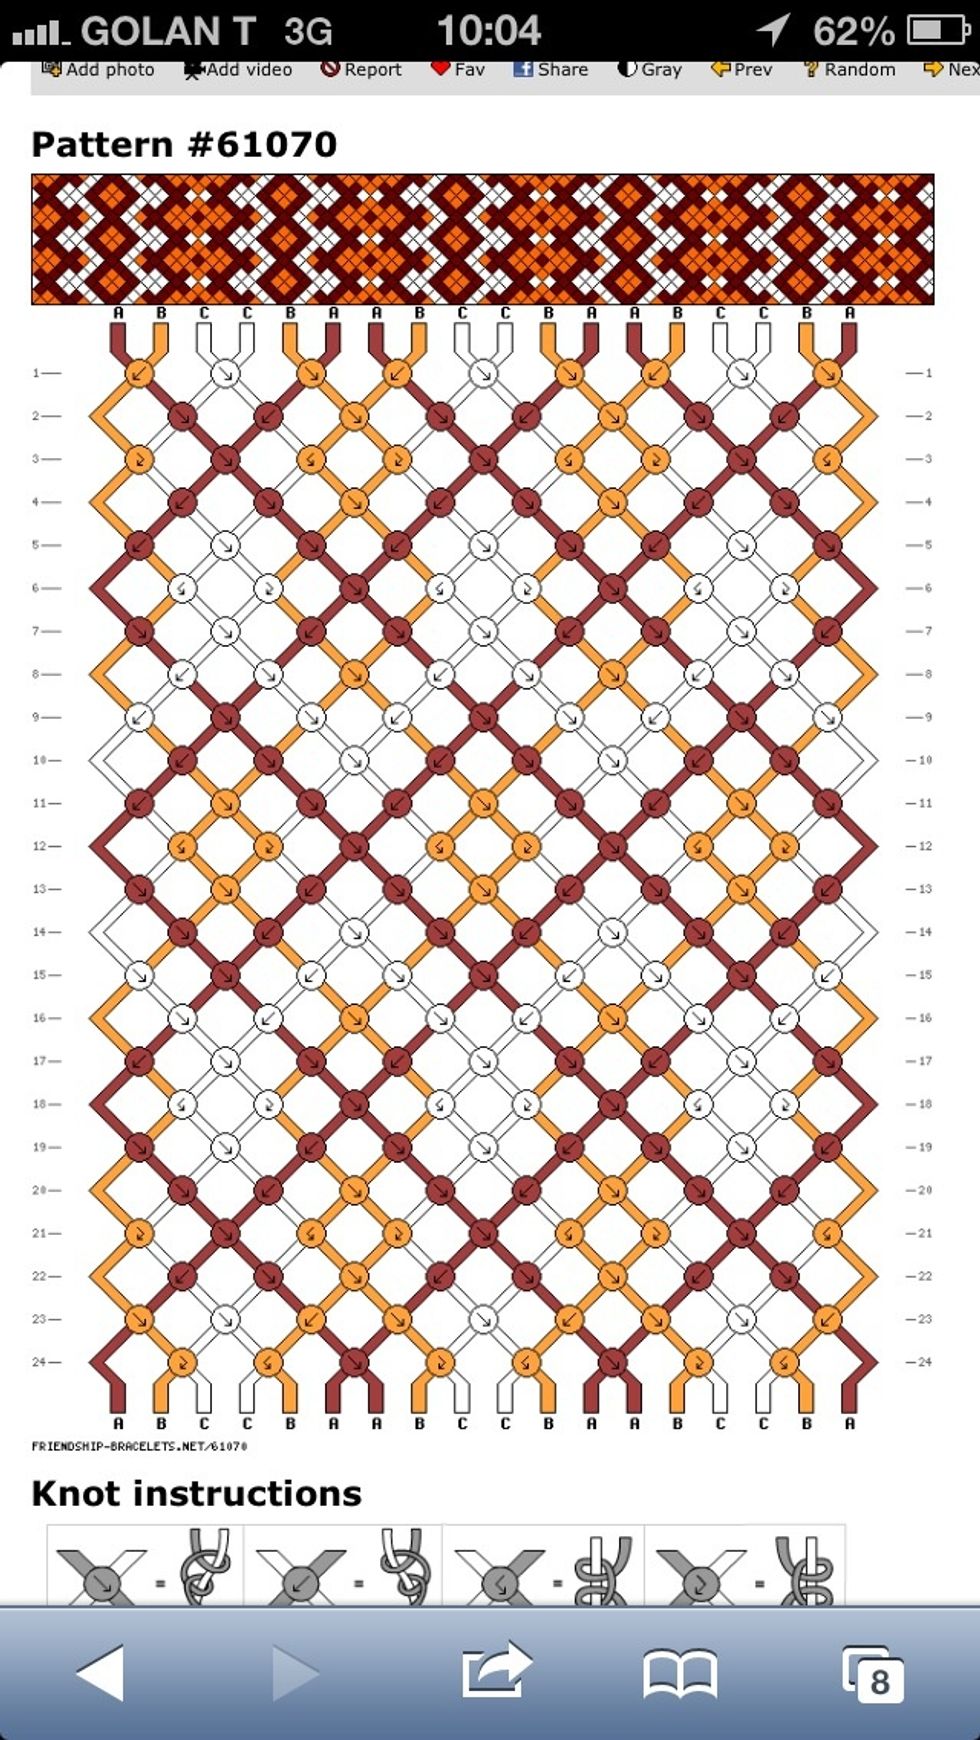
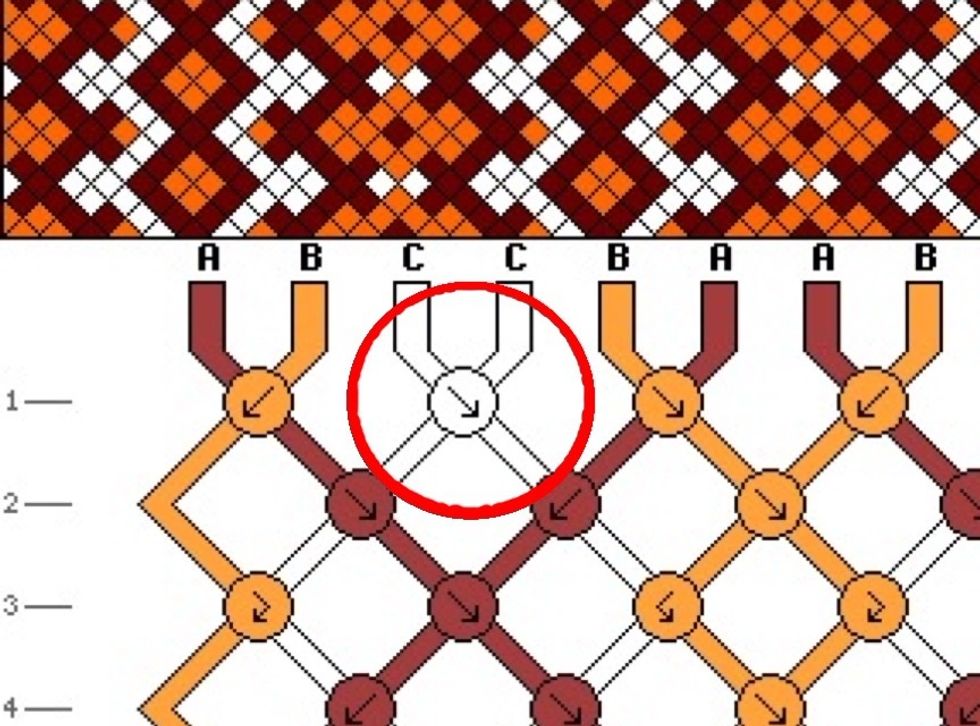
This is the pattern I picked. DON'T BE OVERWHELMED! Its simpler than it looks :) You can see at the top a preview of how the bracelet is going to look.
Remember! You don't have to use the same colors as in the pattern! Mix and match your own colors, just remember when making the bracelet what color you switched out for what.
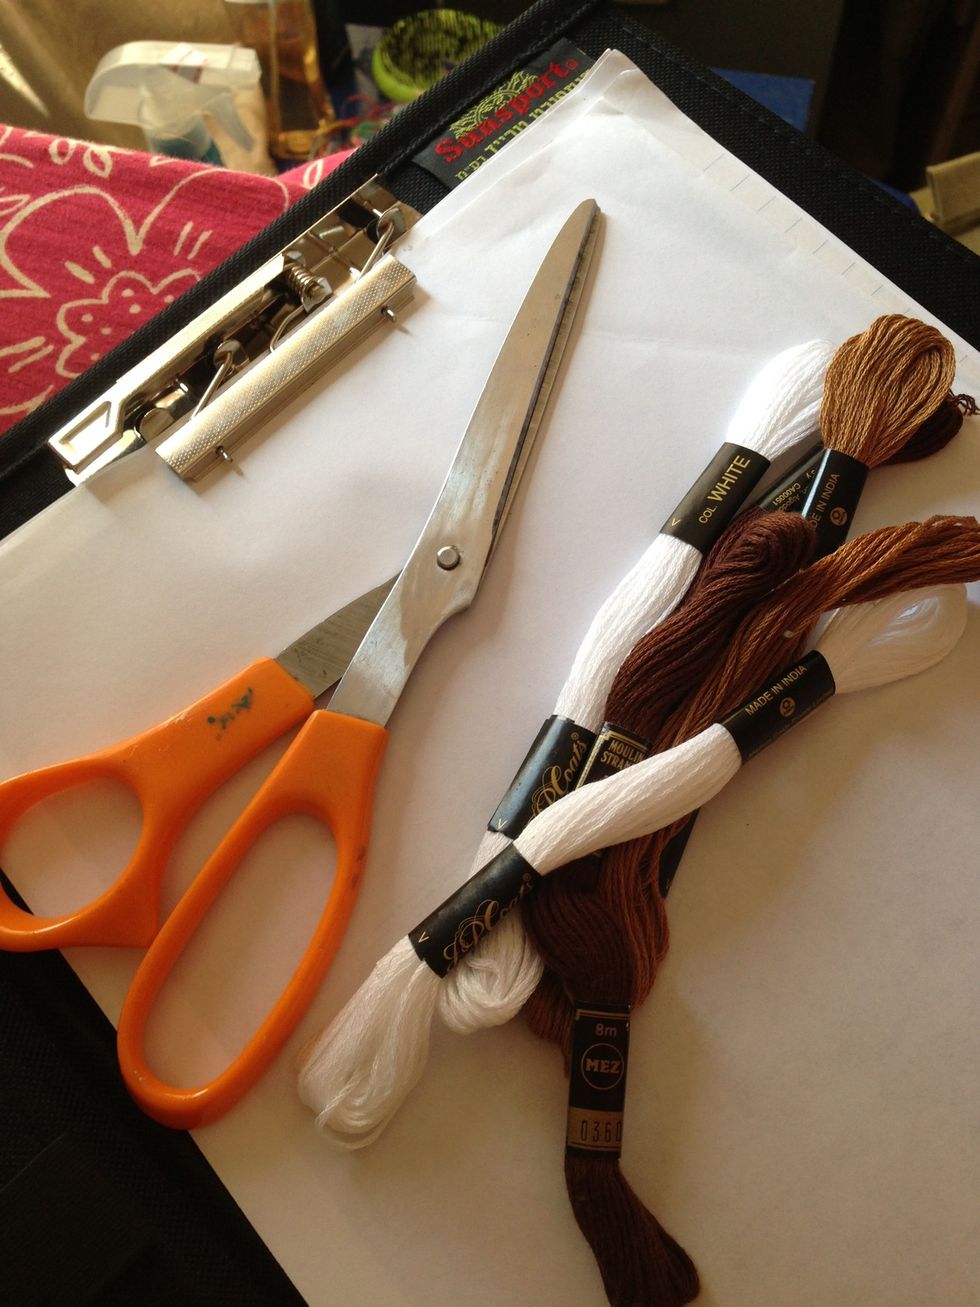
Now we need to start setting up and cutting our strings. Focus on the very top of the pattern, where the colored lines are. These indicate how the strings should be lined up when you start with.
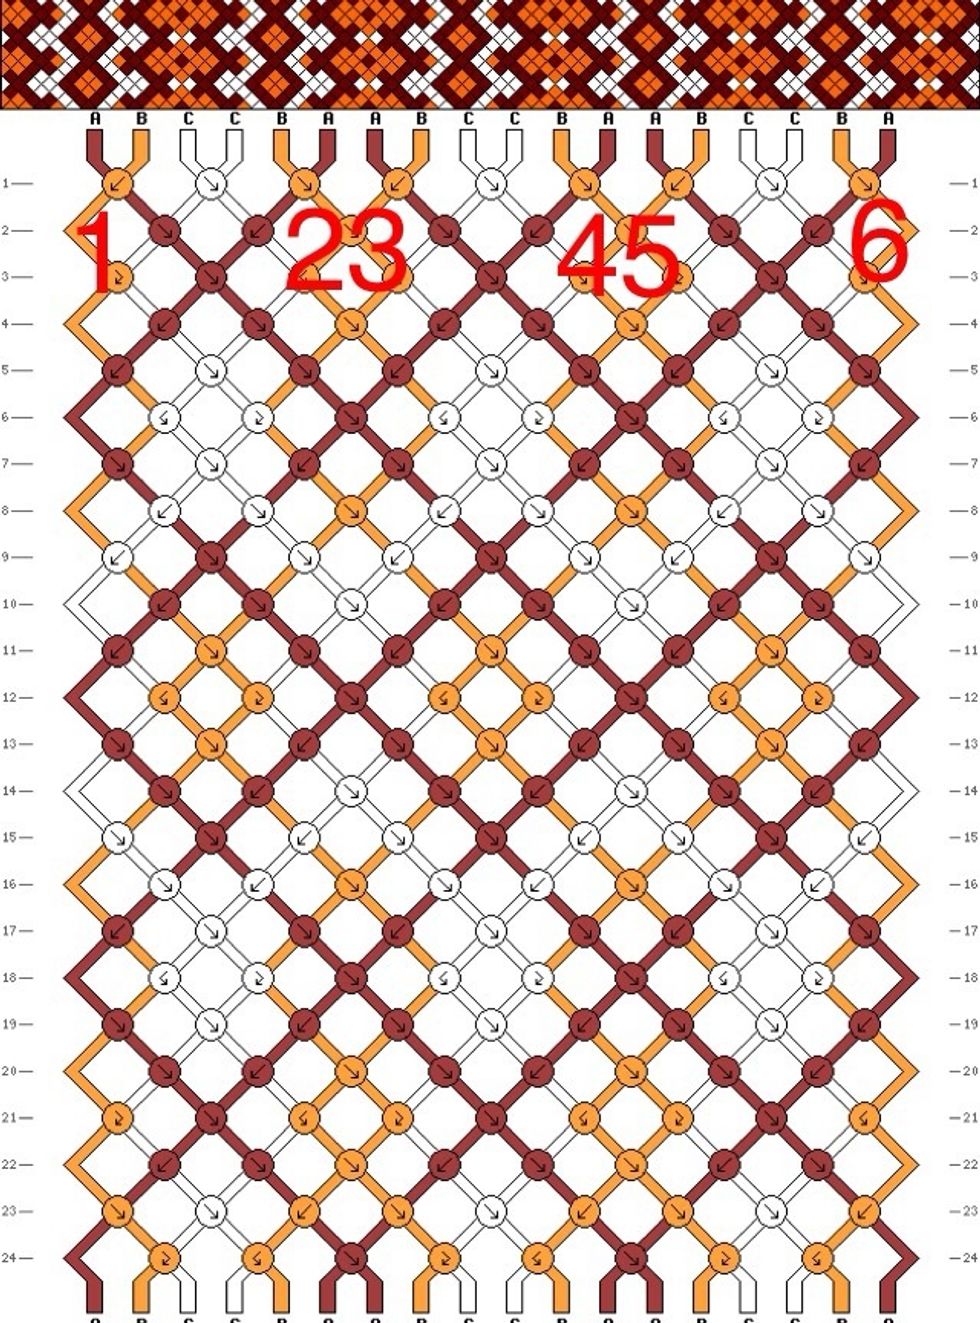
I'm cutting my strings color by color, so first I count how many of the dark brown string I need. (6... all the ones with an "A" above them are the ones I'm counting.)
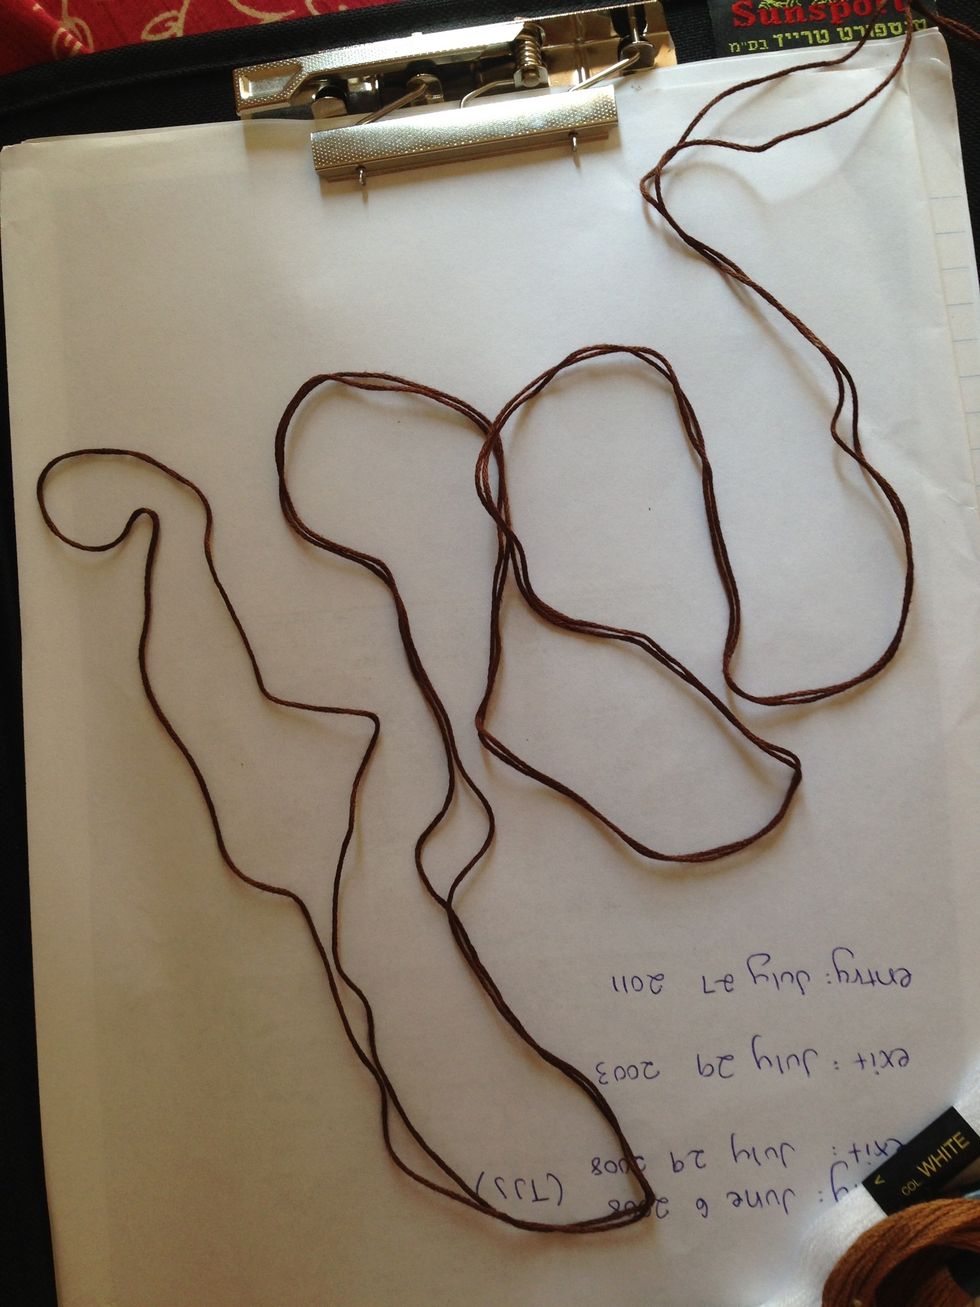
Eyeball the length of the string, but I would say each string is about 4-5 ft long. The fatter the bracelet, the longer your strings need to be! It's better to have excess string than not enough!
If you have an even number of strings of a certain color, I suggest cutting a string twice the size (8-10 ft) and folding it in half. This way we can make our buckle at the beginning.
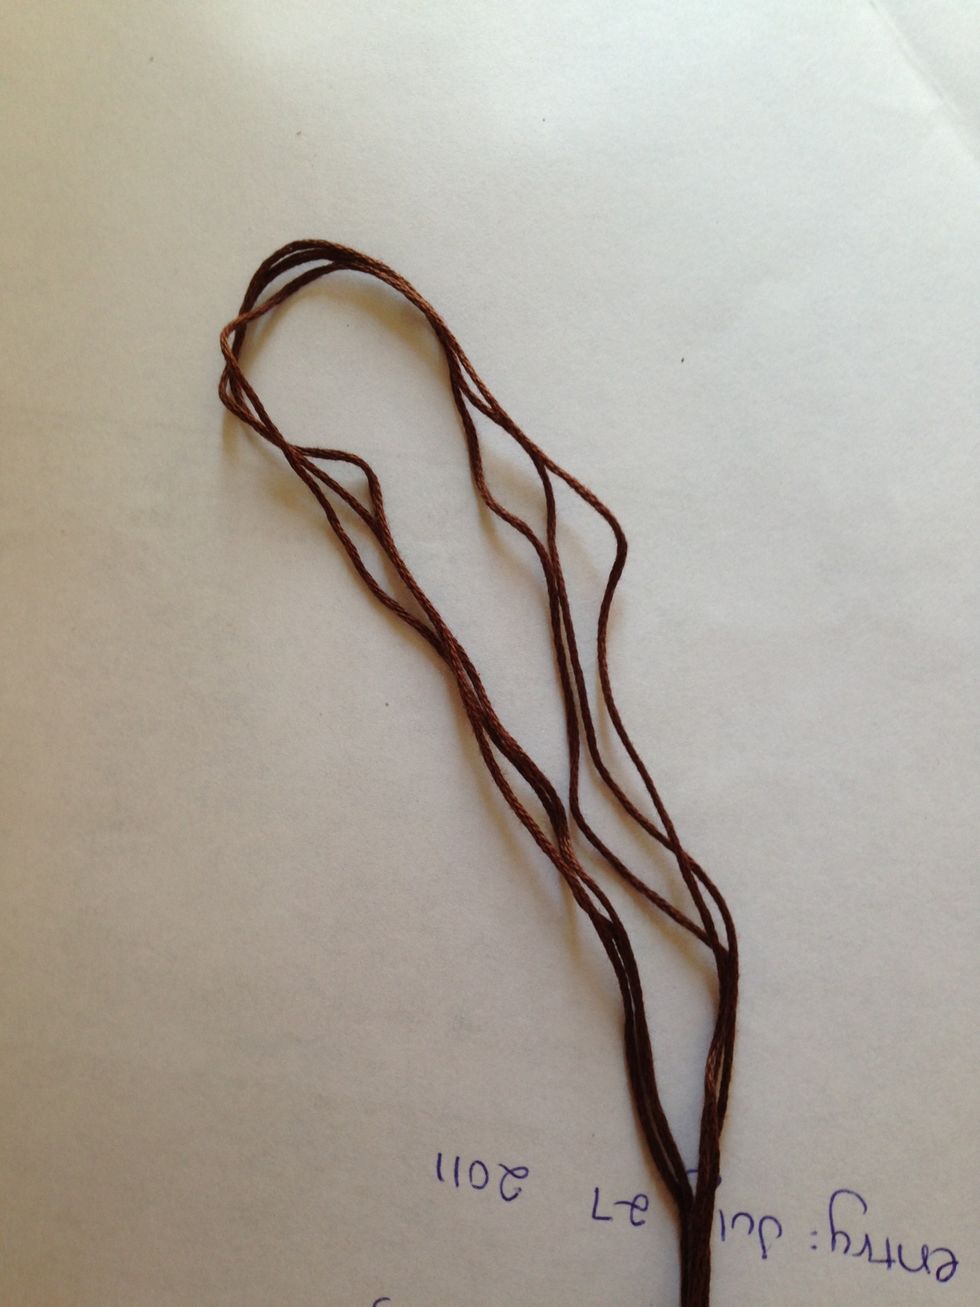
So here are all my dark brown strings, 3 double-length strings folded in half to make 6 strings.
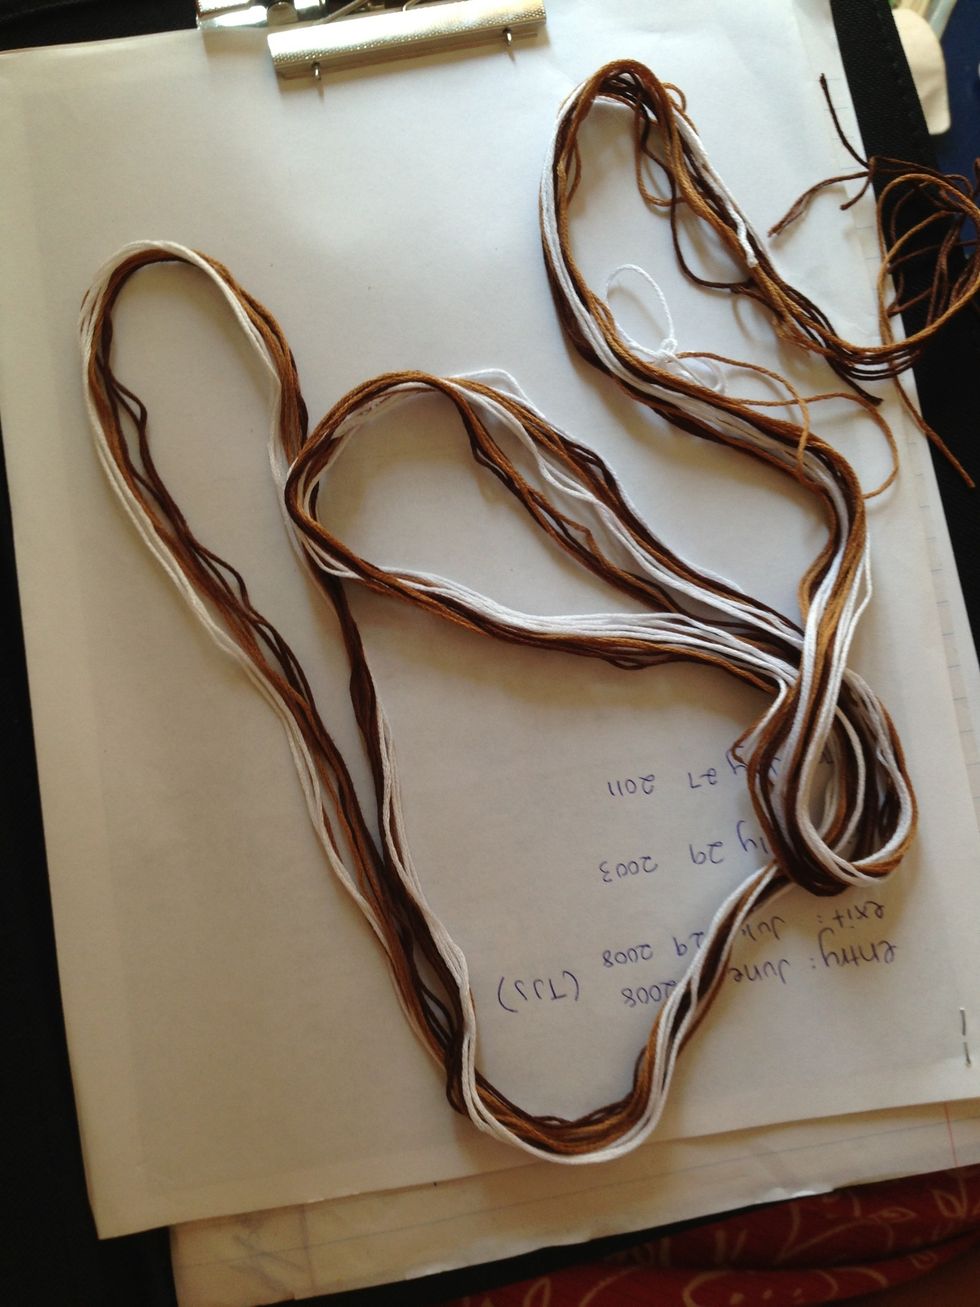
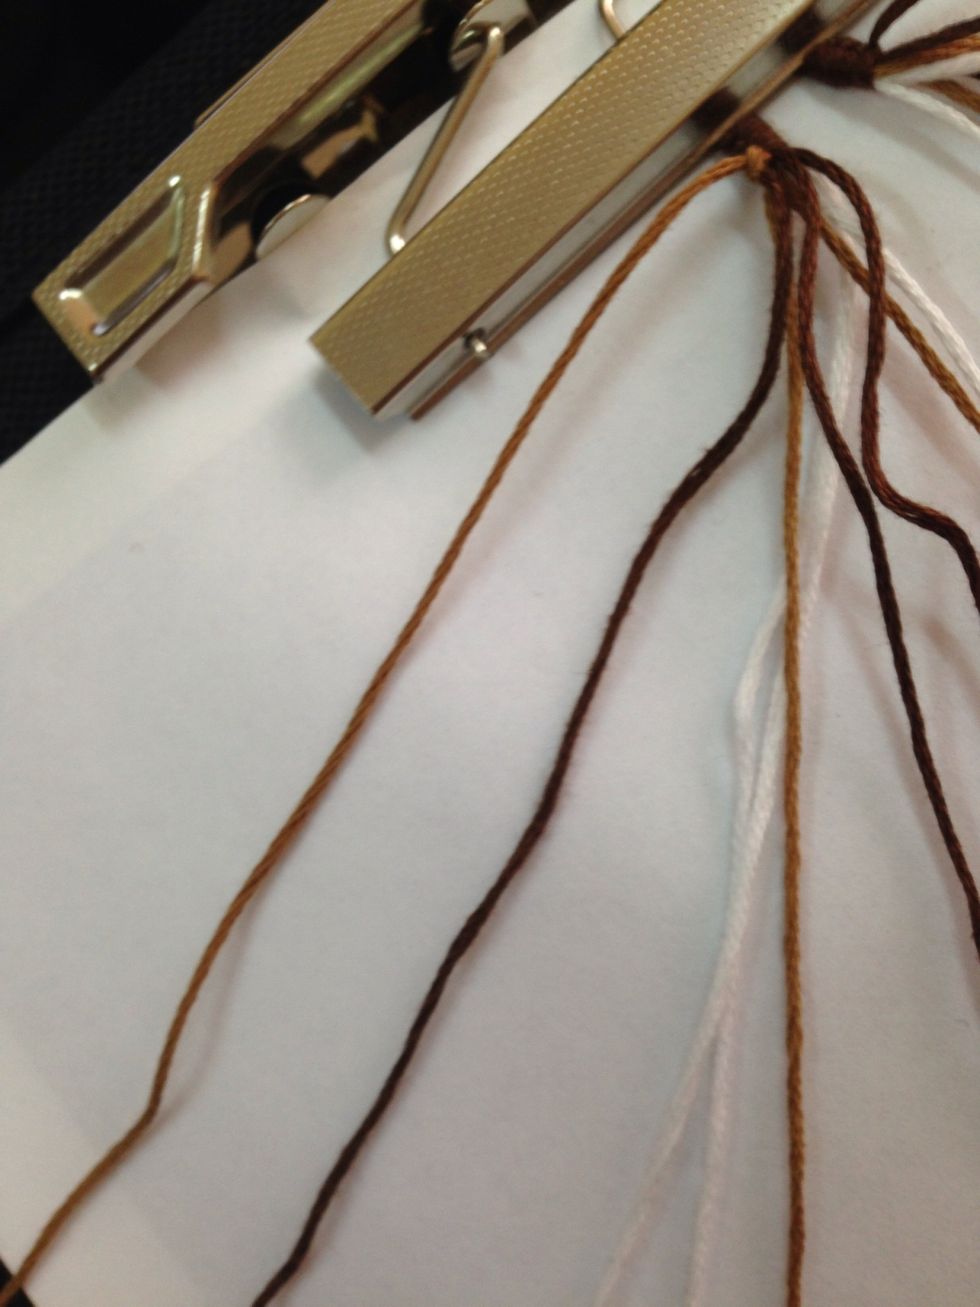
All of my colors cut out! Not everything has to be perfectly even :) But do connect all your loops together. Lets begin!

Separate one loop that you want to be the color of your buckle. If you can't decide, pick the one with the most excess string at the end. Skip to step 26 if you don't want to make a buckle.
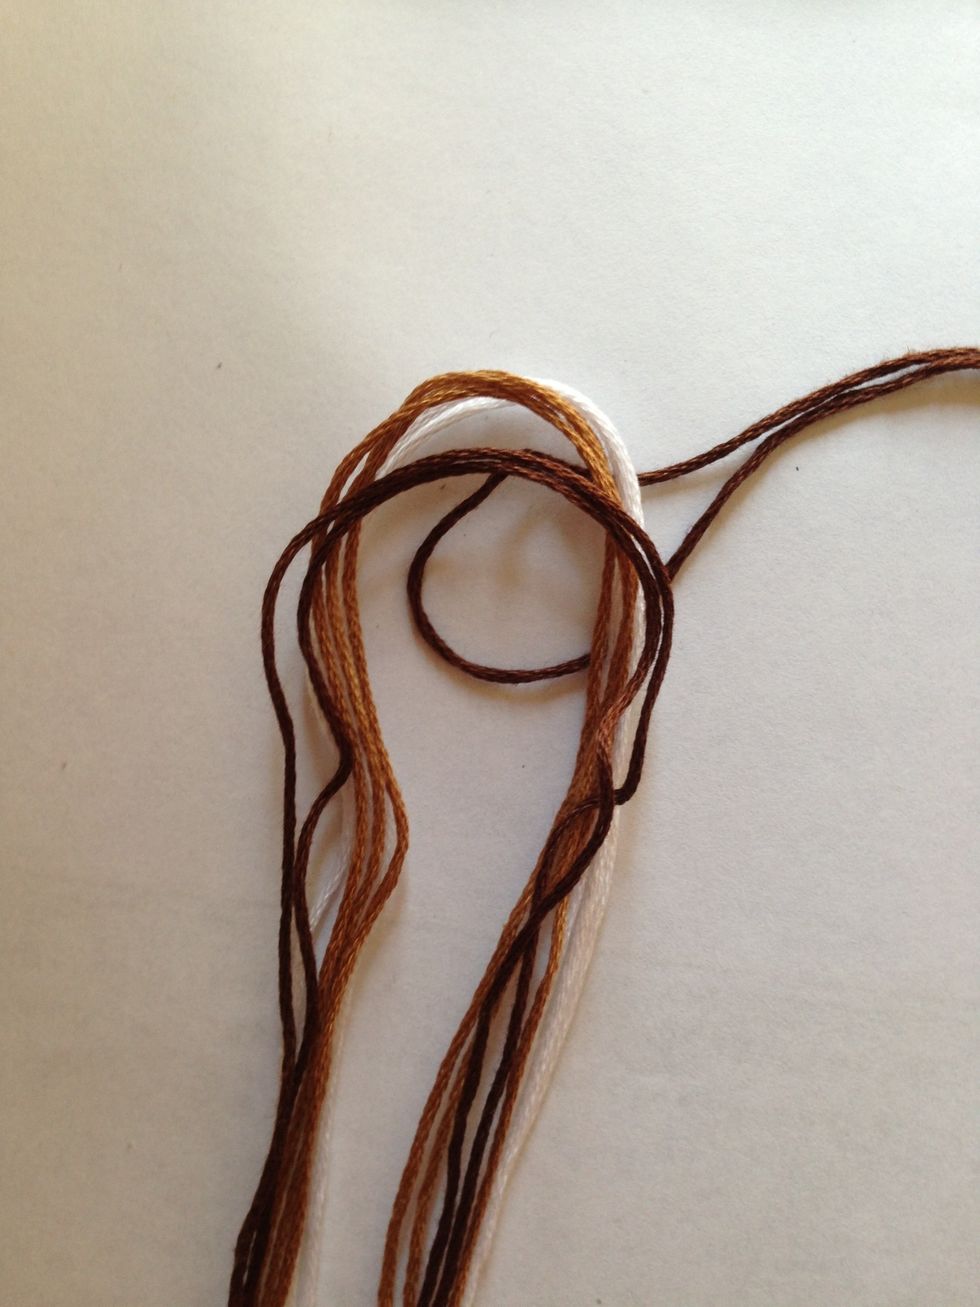
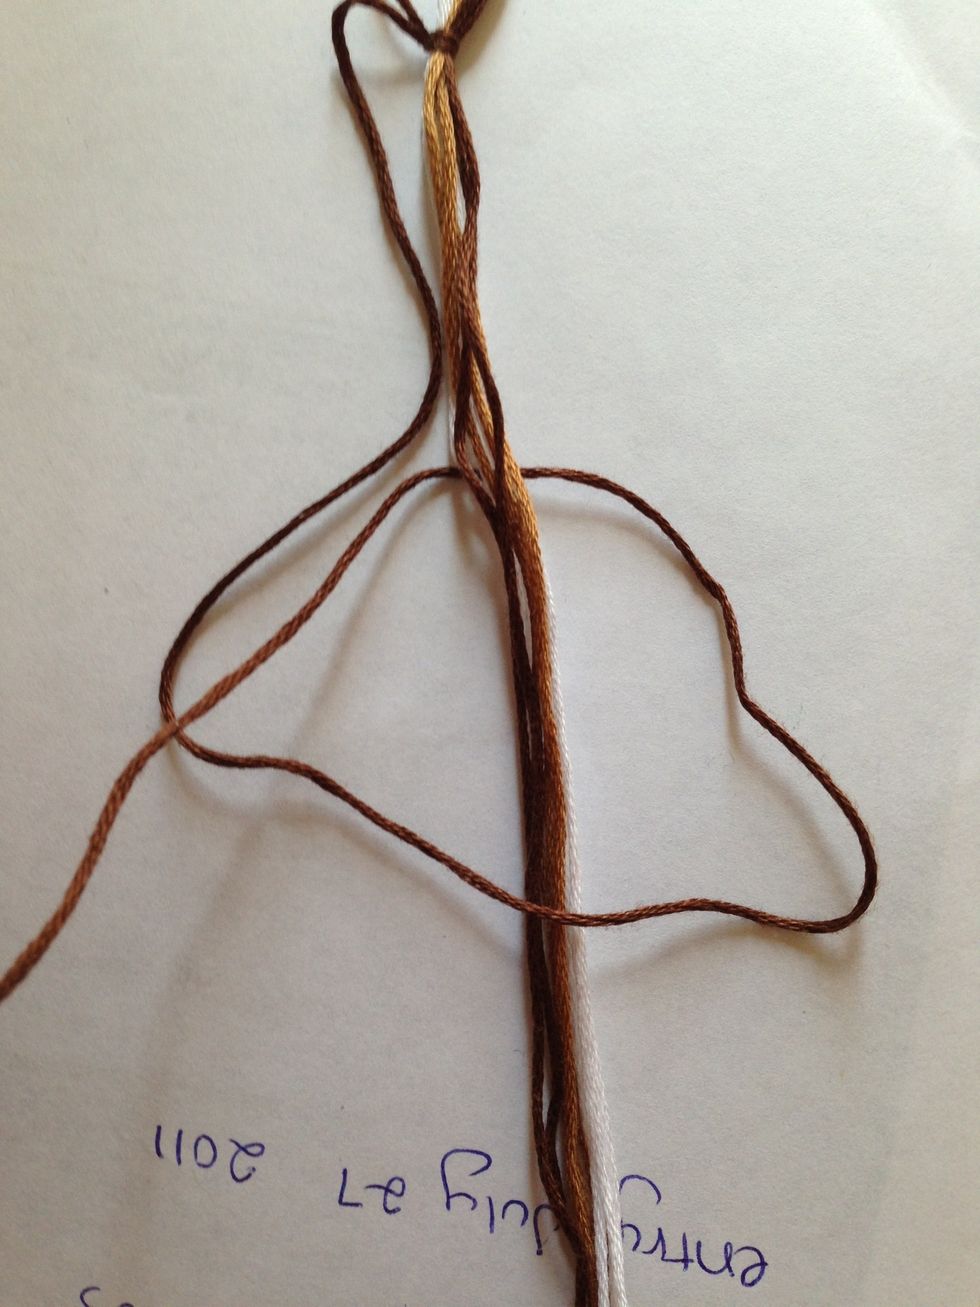
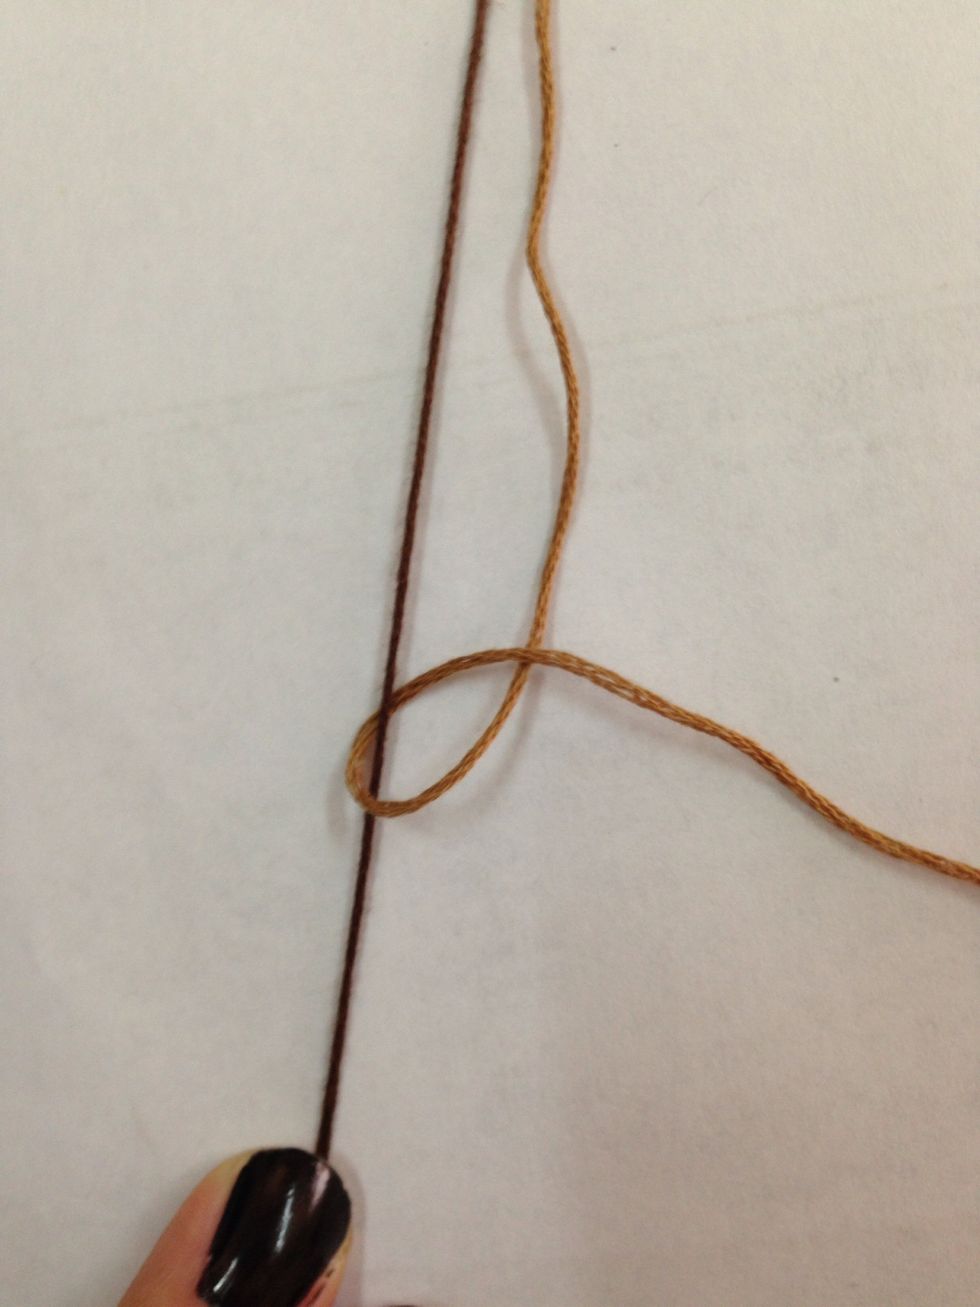
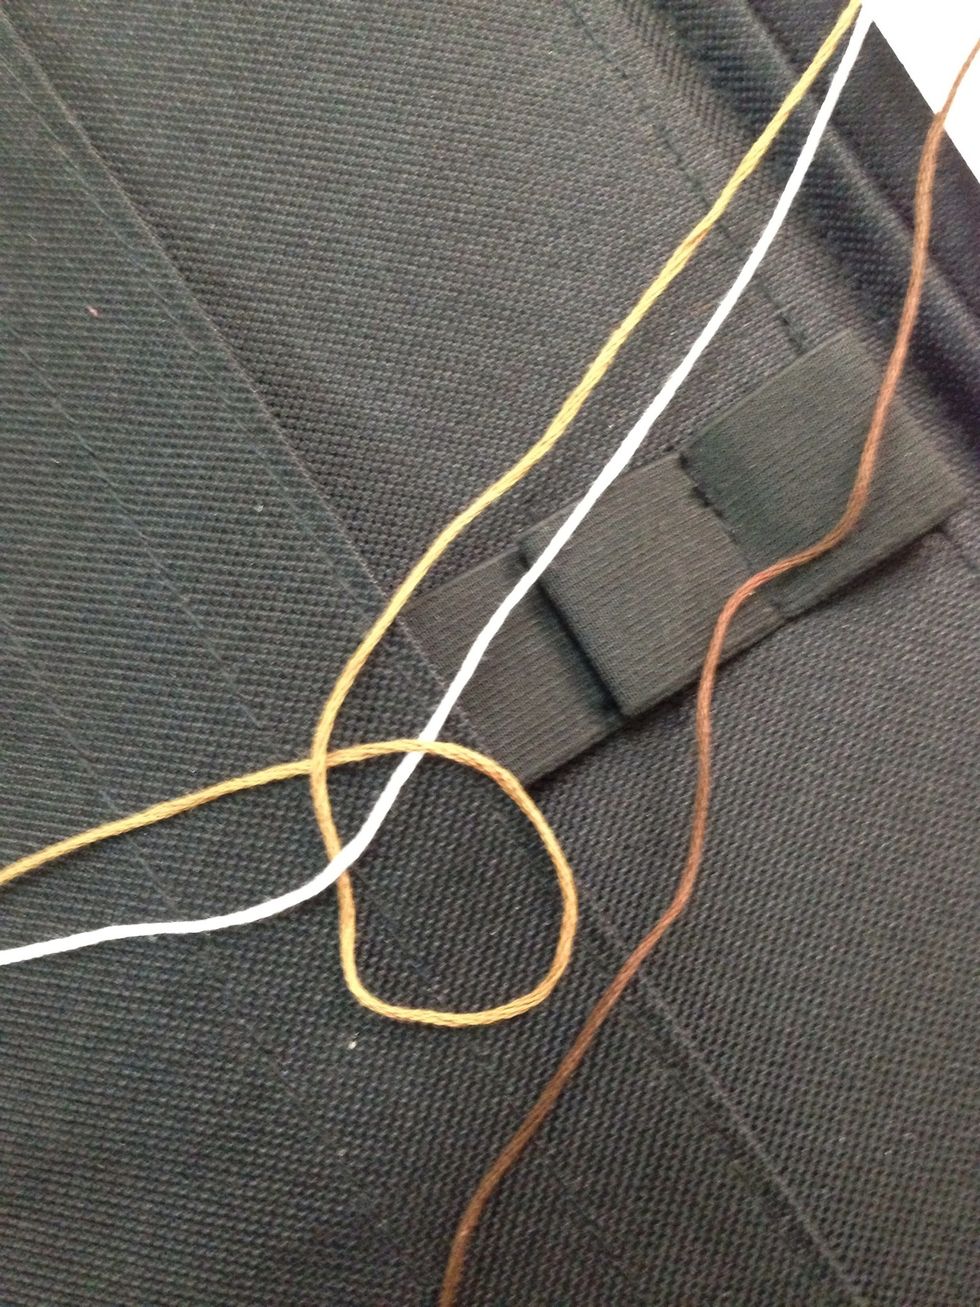
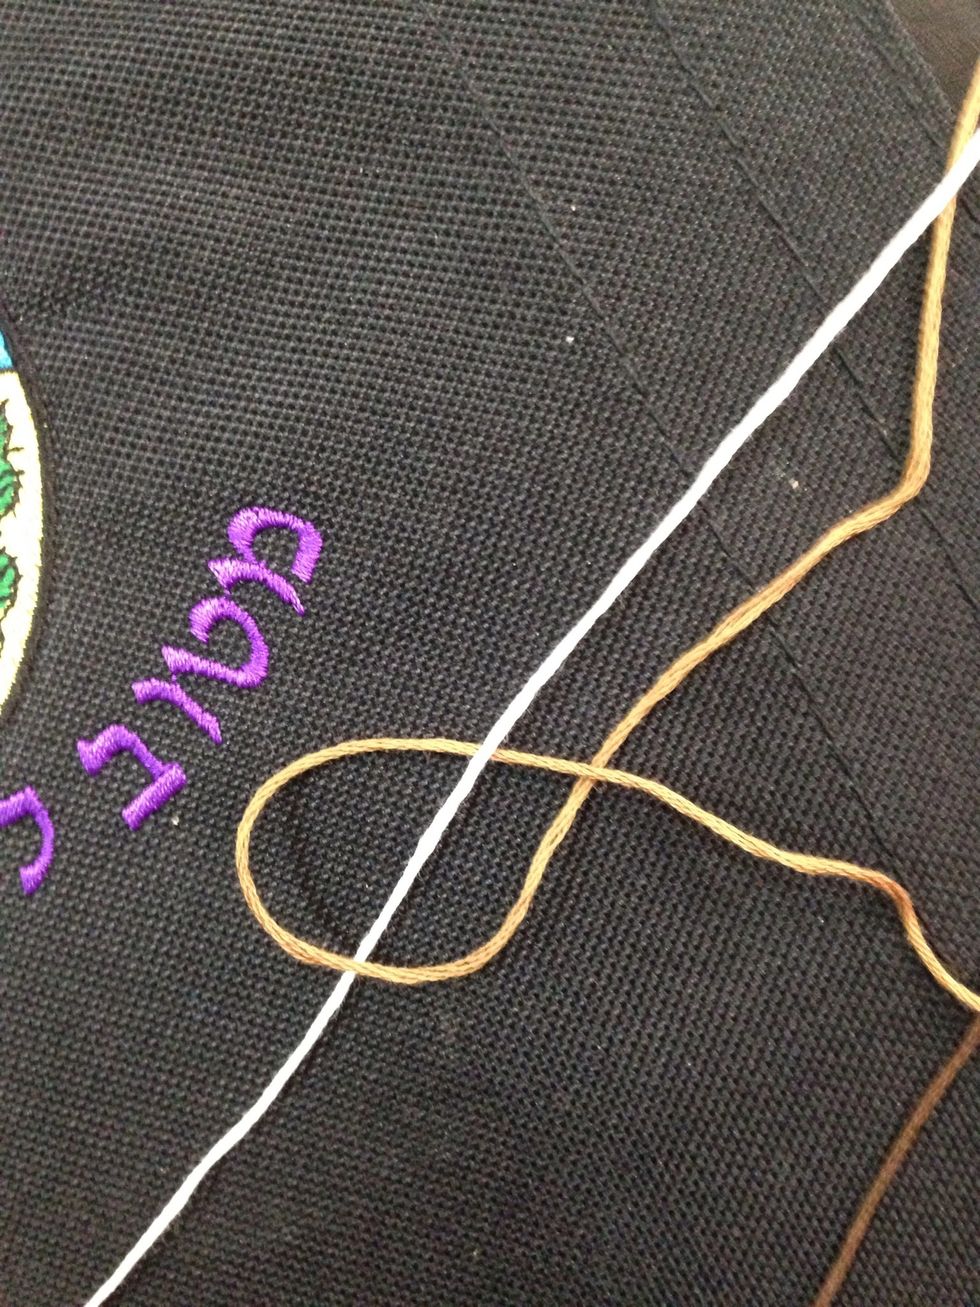
We're going to make a larks head knot at the center of the folds of the string. Place your loop under the fold...
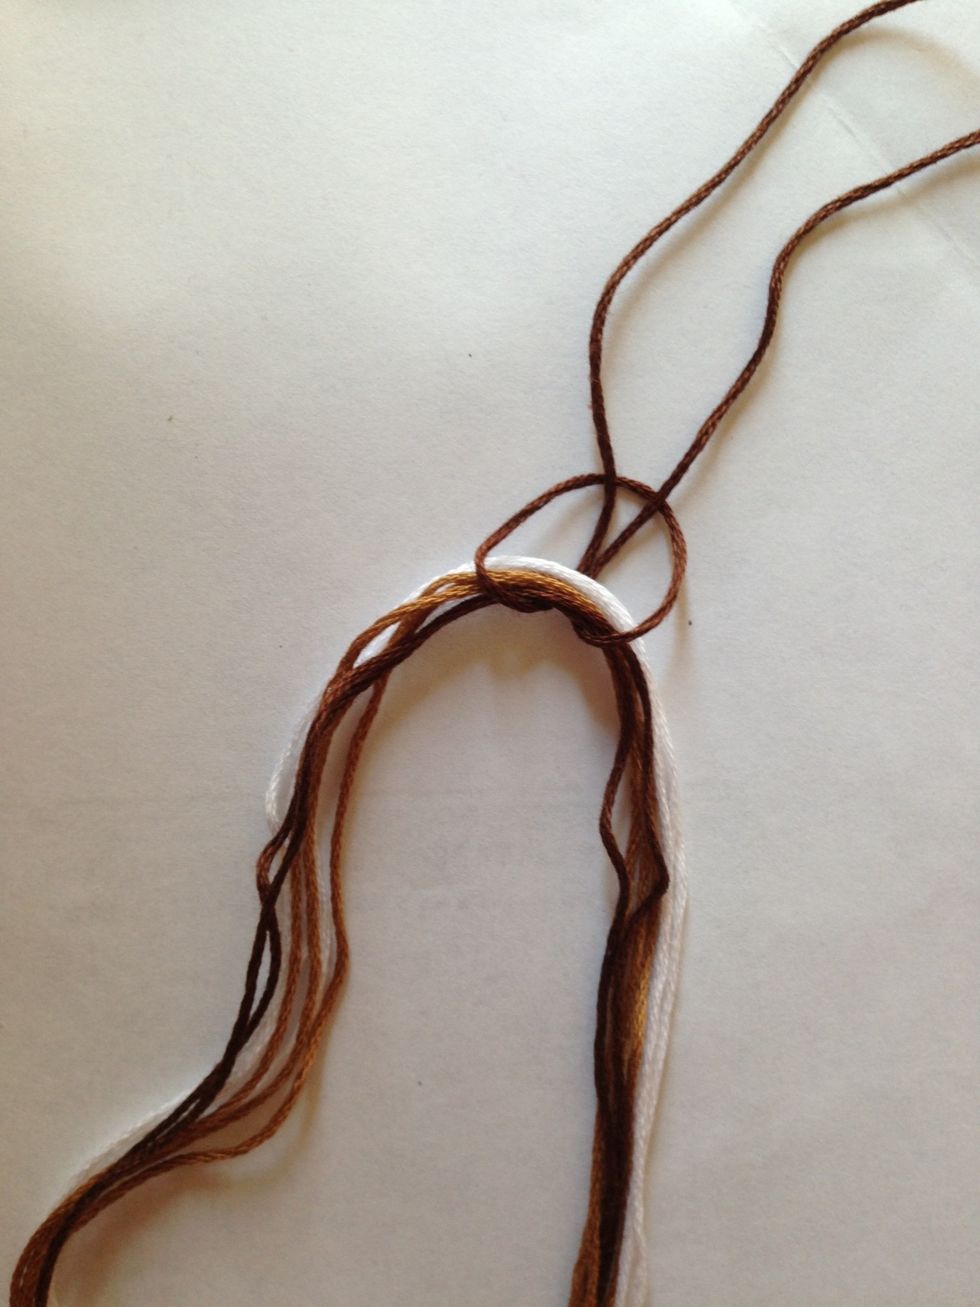
... and pull the two strings through it.
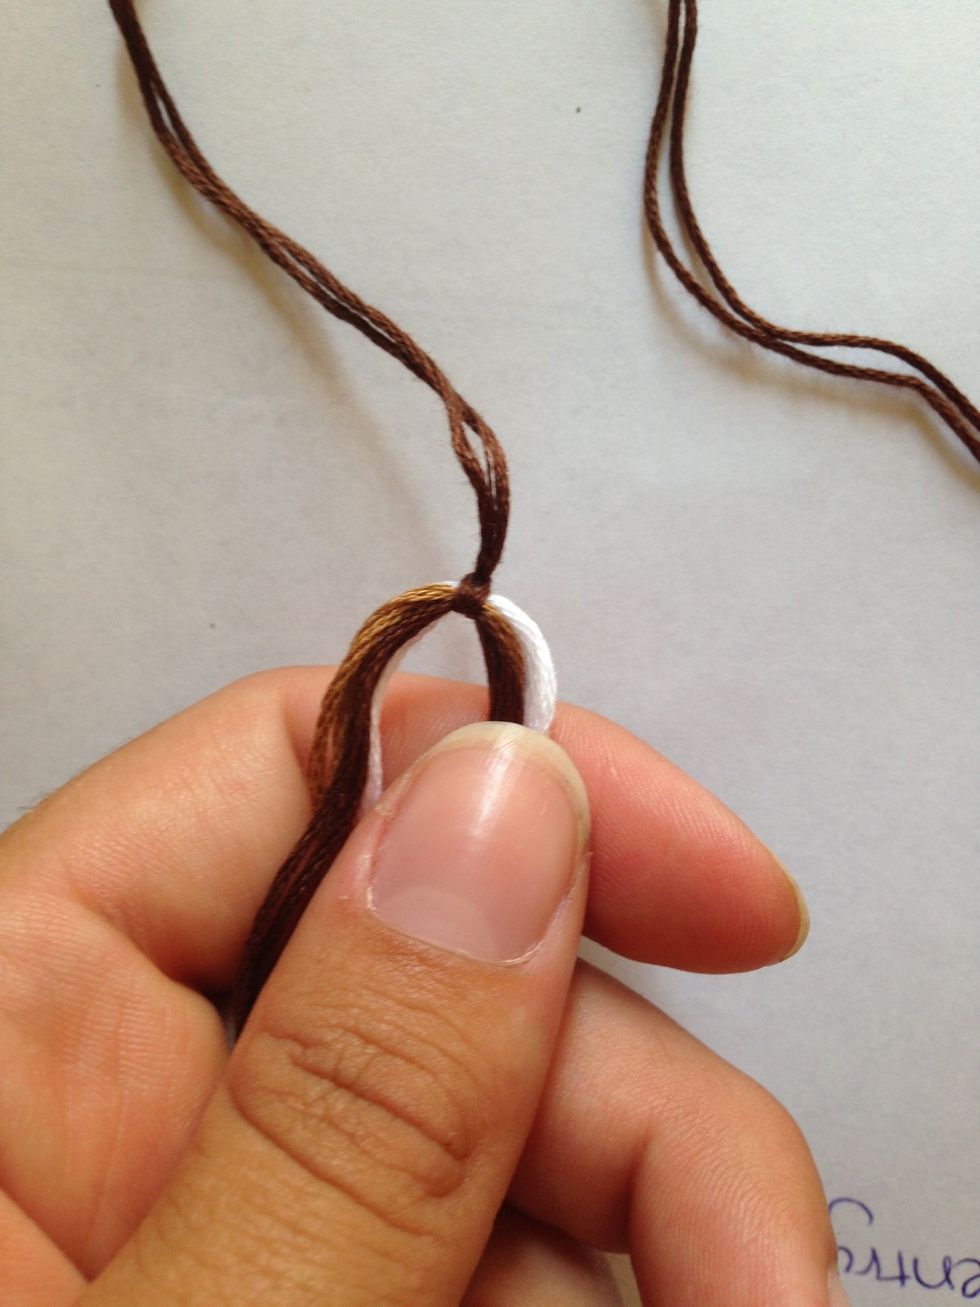
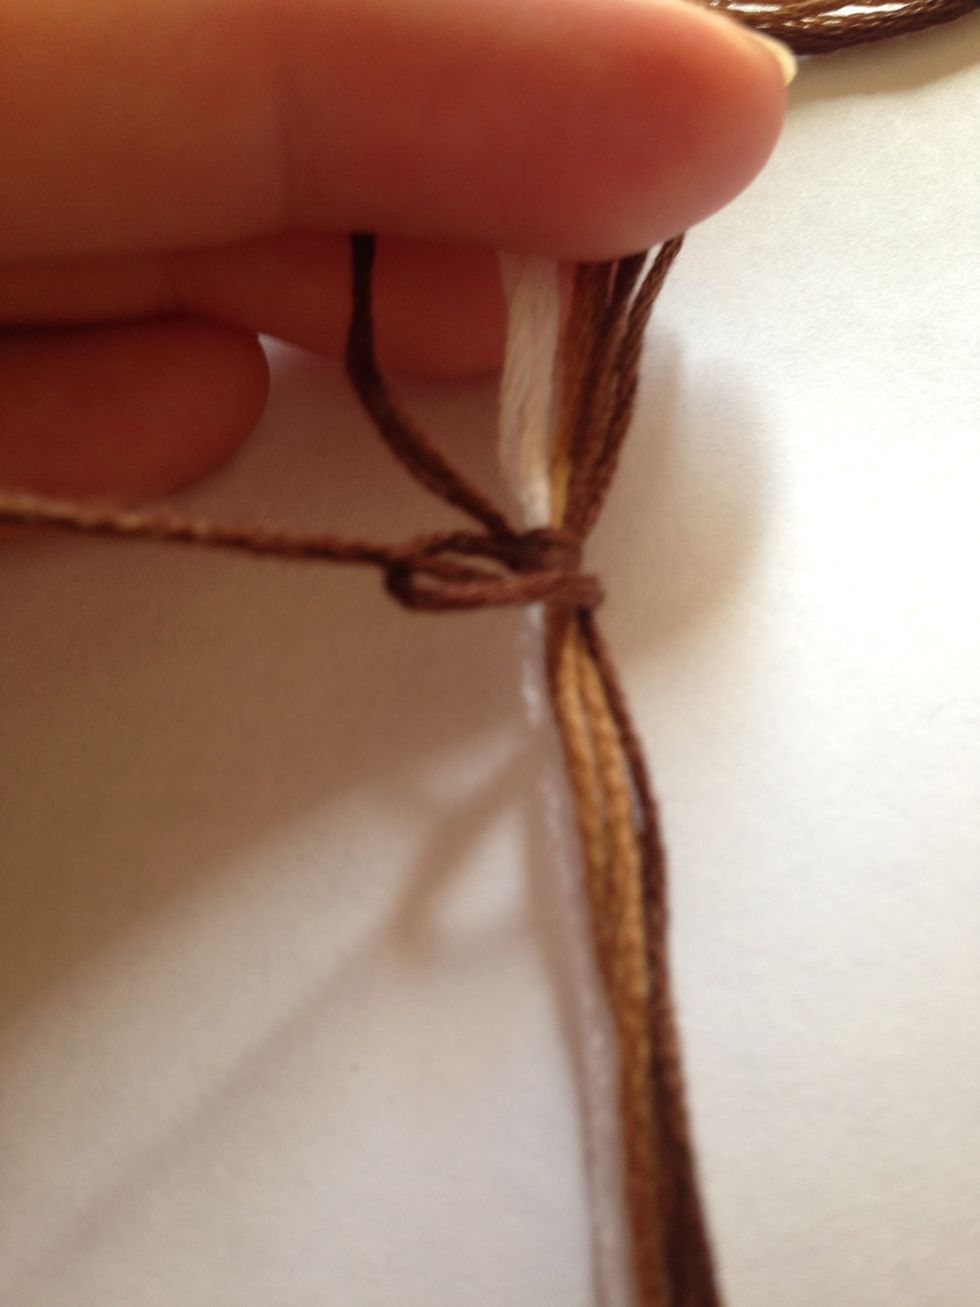
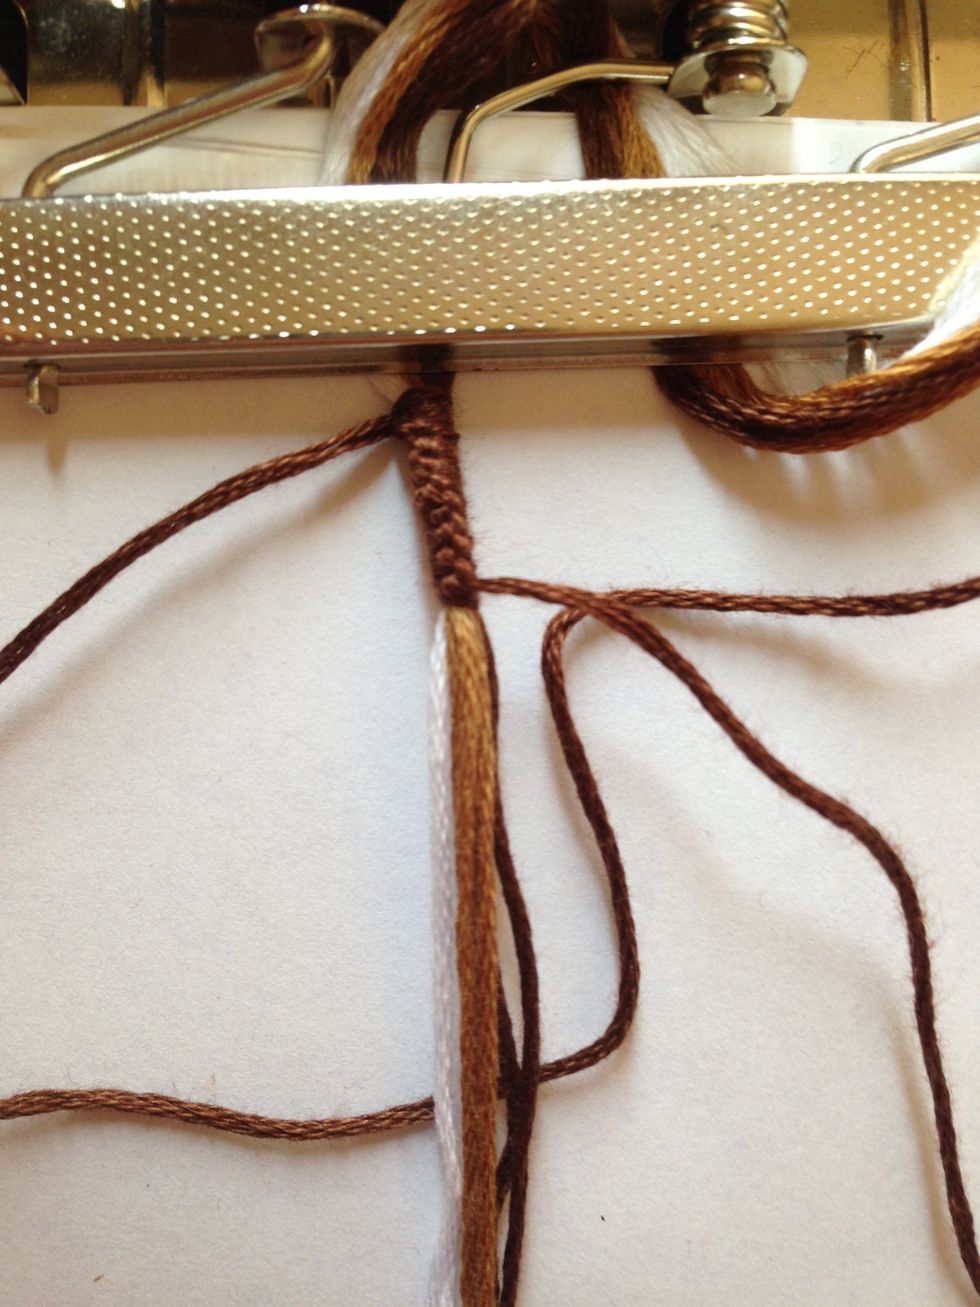
Tighten! Pick a side to start tying with. This is going to be good practice to get out basic knots down, for those of you who are beginners!
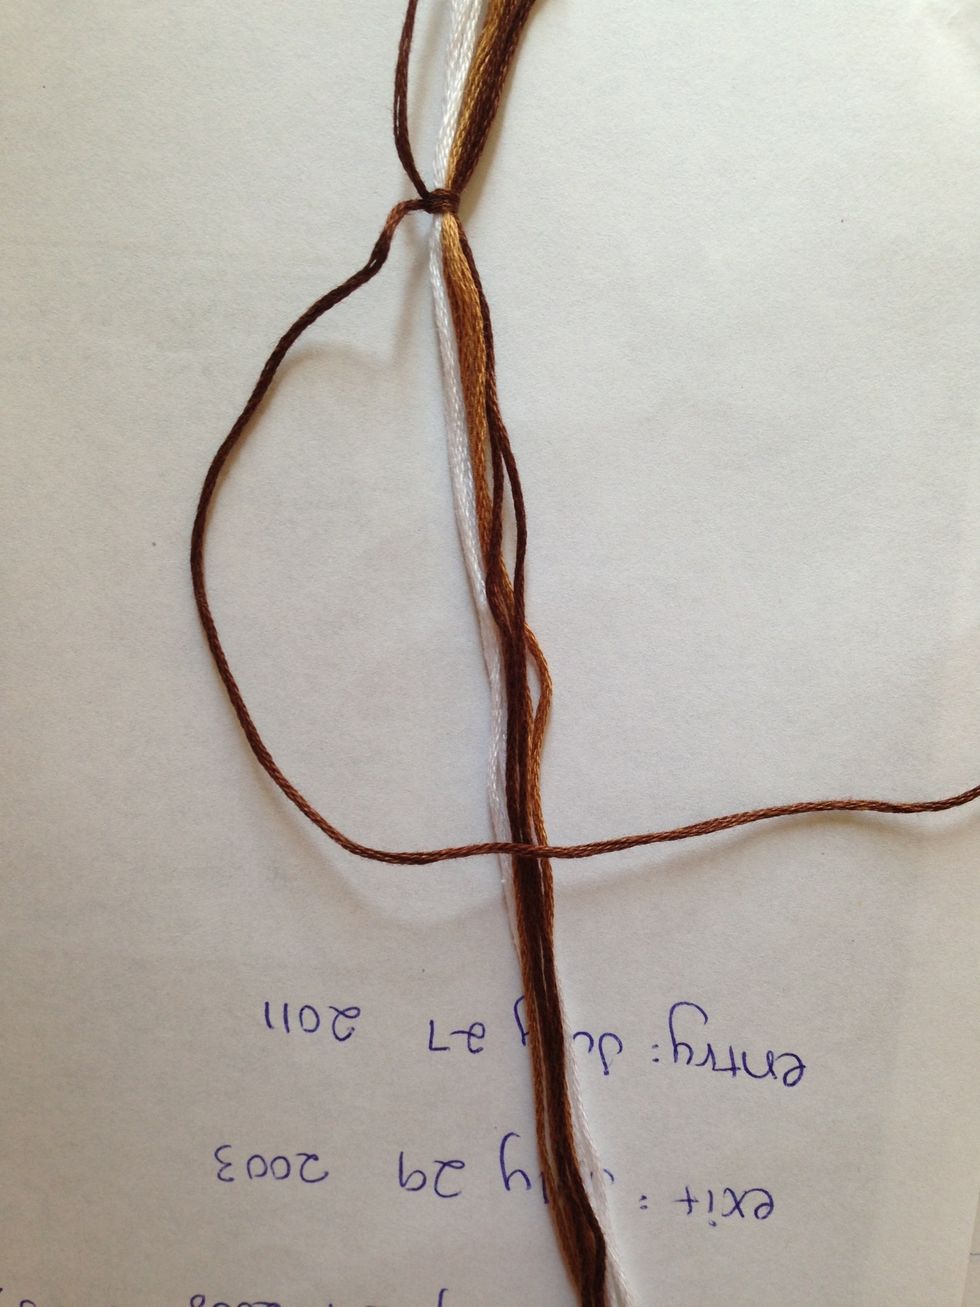
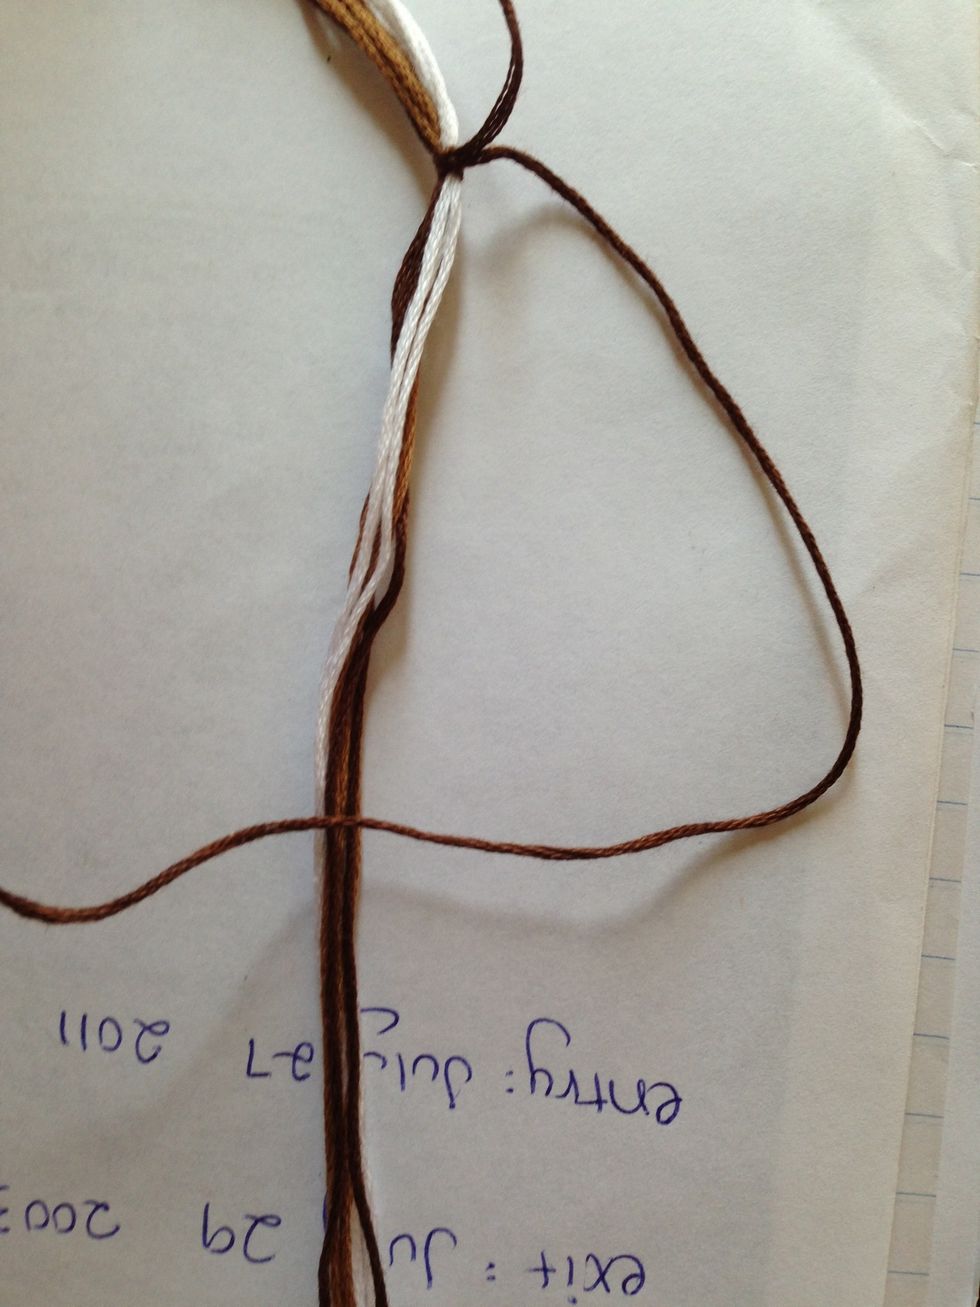
This is a simple knot, going from left to right. Using the brown dominant string, we cross it over the other strings (making sure to keep them straight), making a "4" shape...
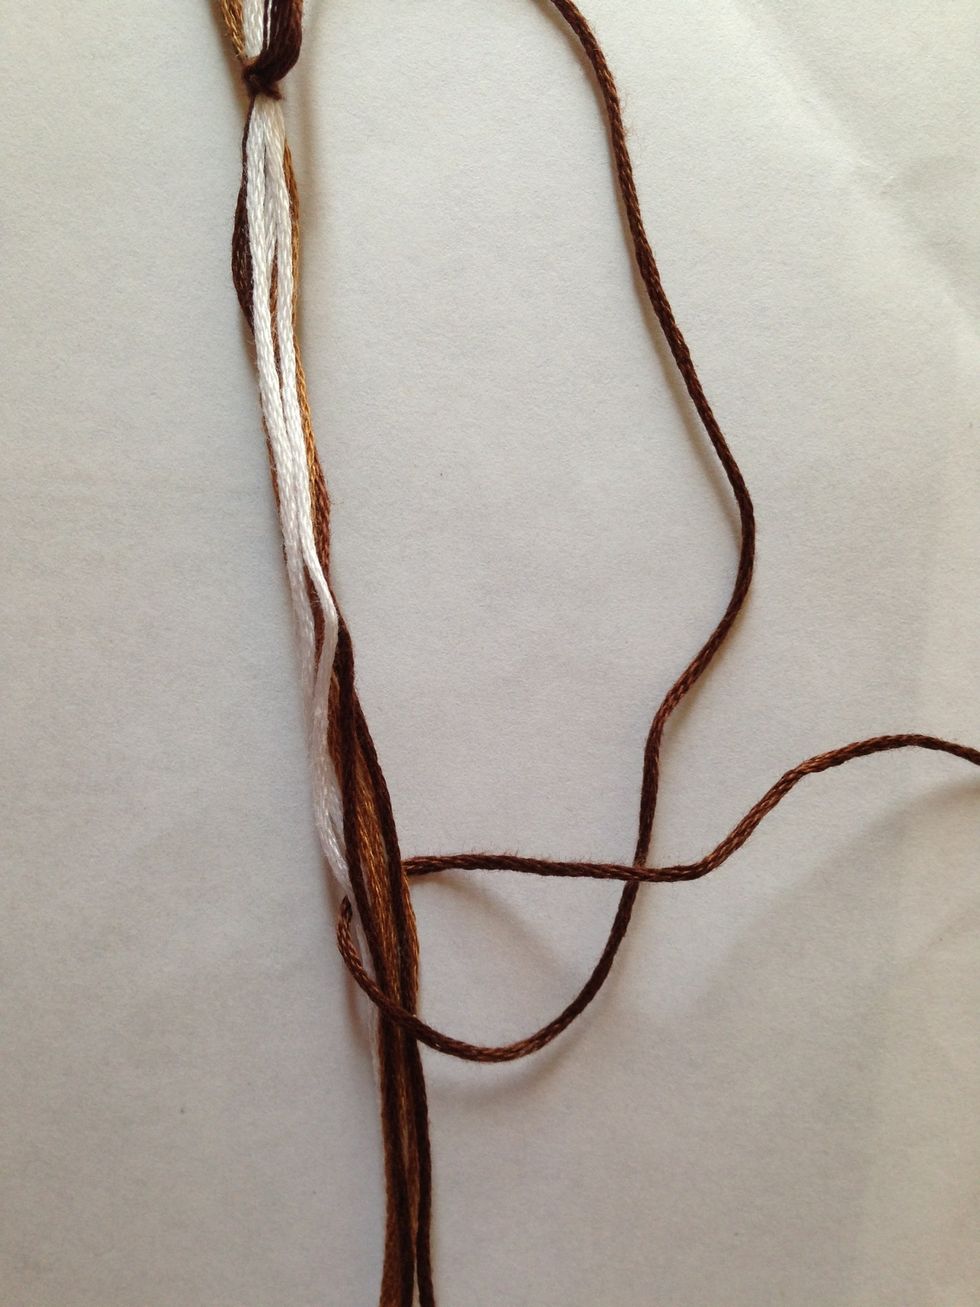
.... cross it back under the rest of the strings, and pulling it up...
... pull and tighten the string back up to the original knot.
Now we do the same knot, but opposite. So we start with an opposite "4" shape, with the dominant string over the other strings...
... cross it back under and pull up, and tighten.
Keep alternating knots like this until you get to half the length of the buckle that you want. Then flip it to the other side and tie the same way, alternating knots...
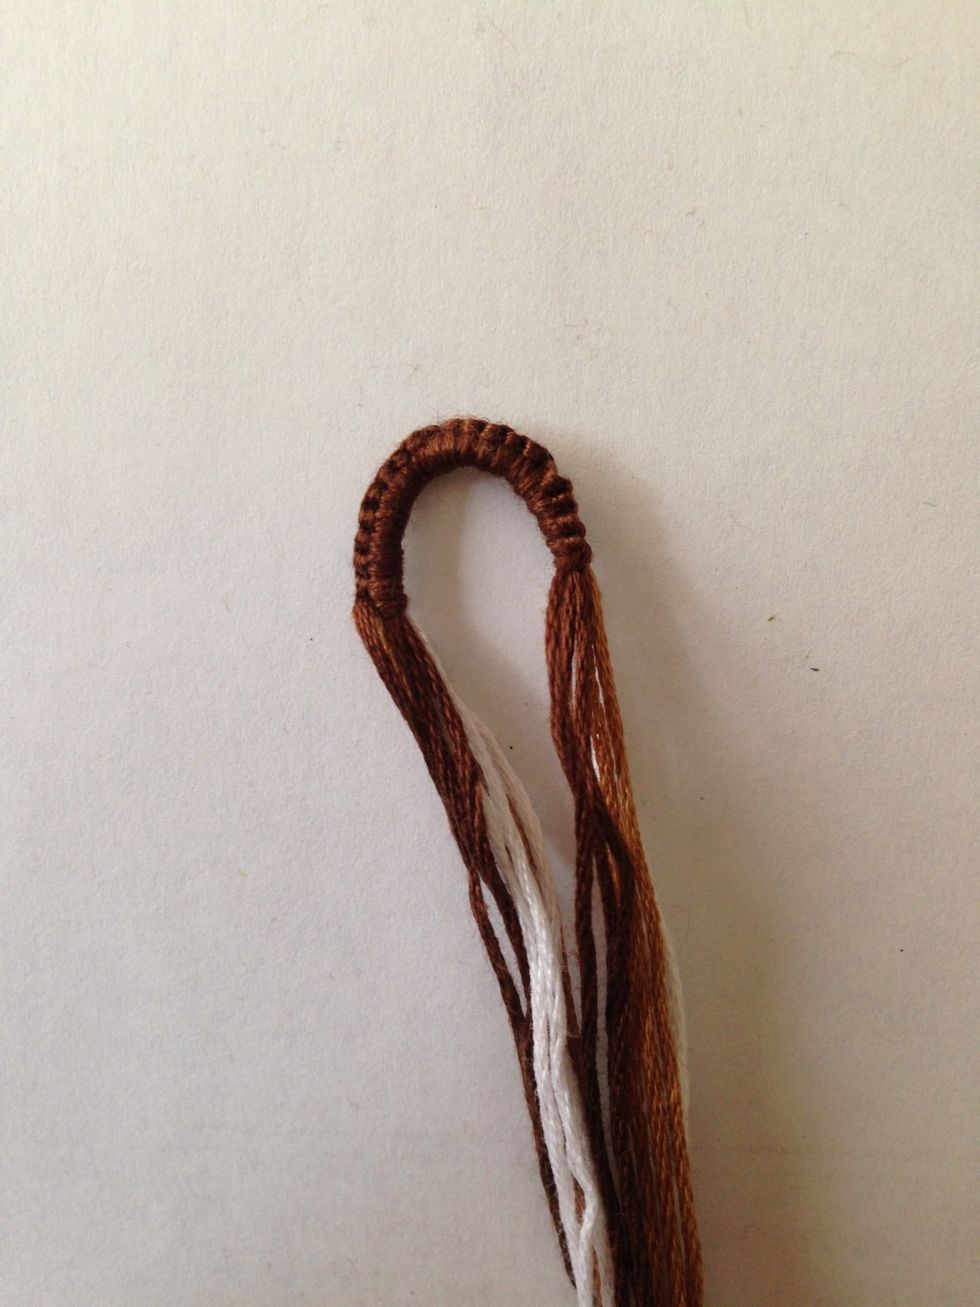
There's the buckle! Now we'll start the bracelet itself..
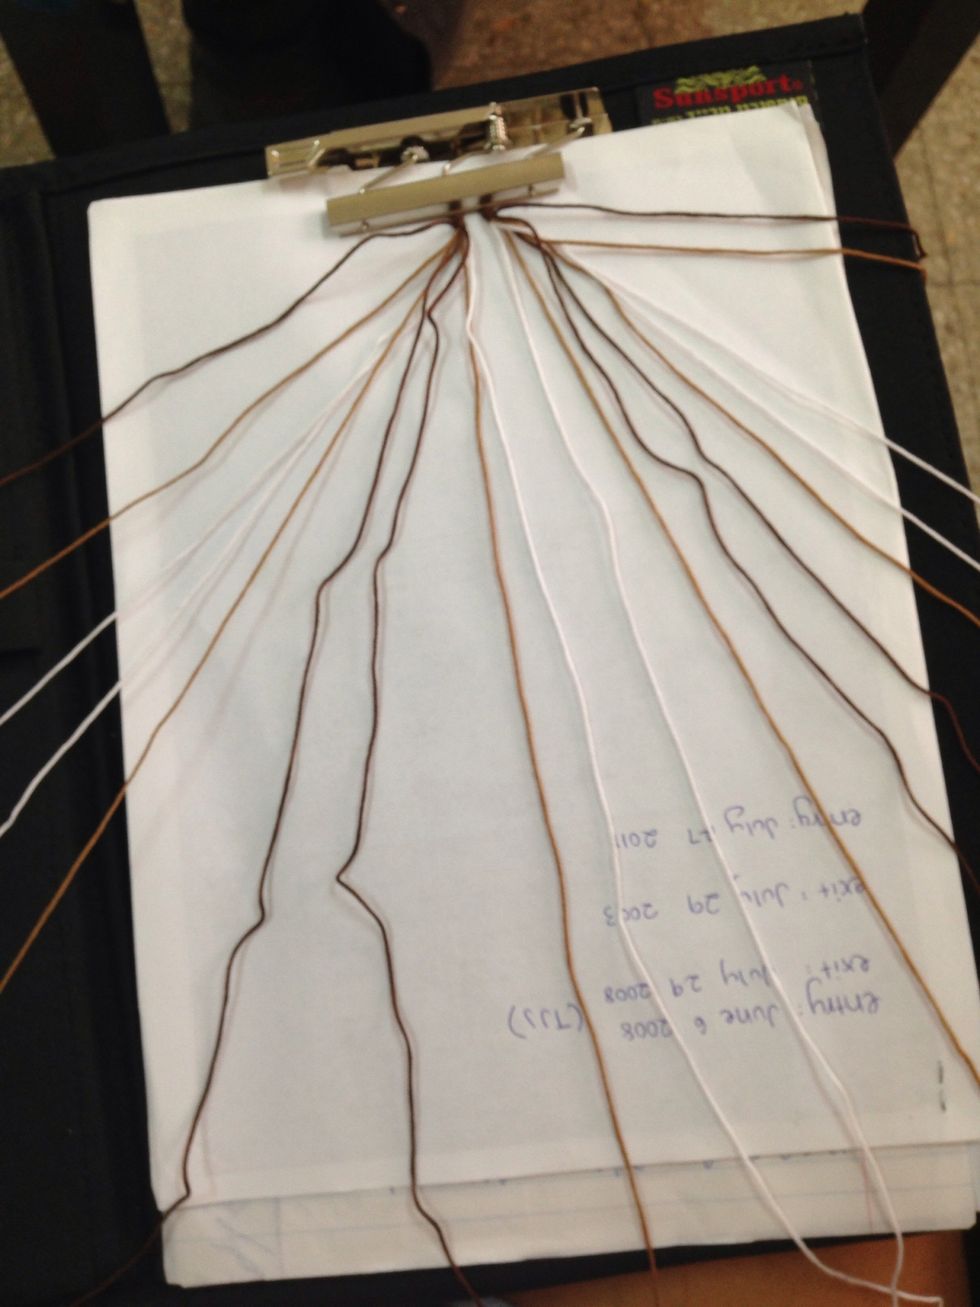
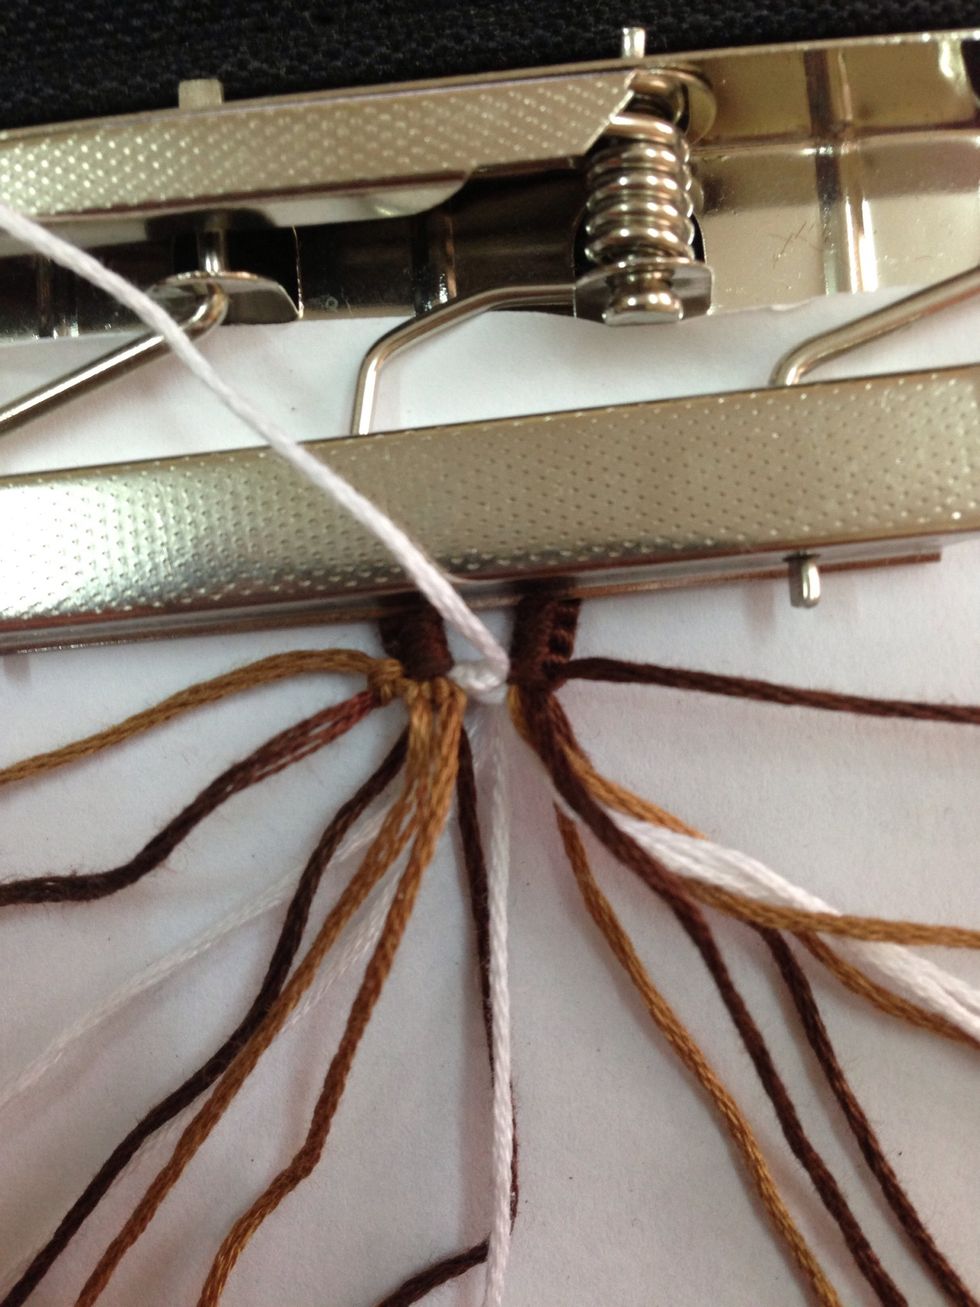
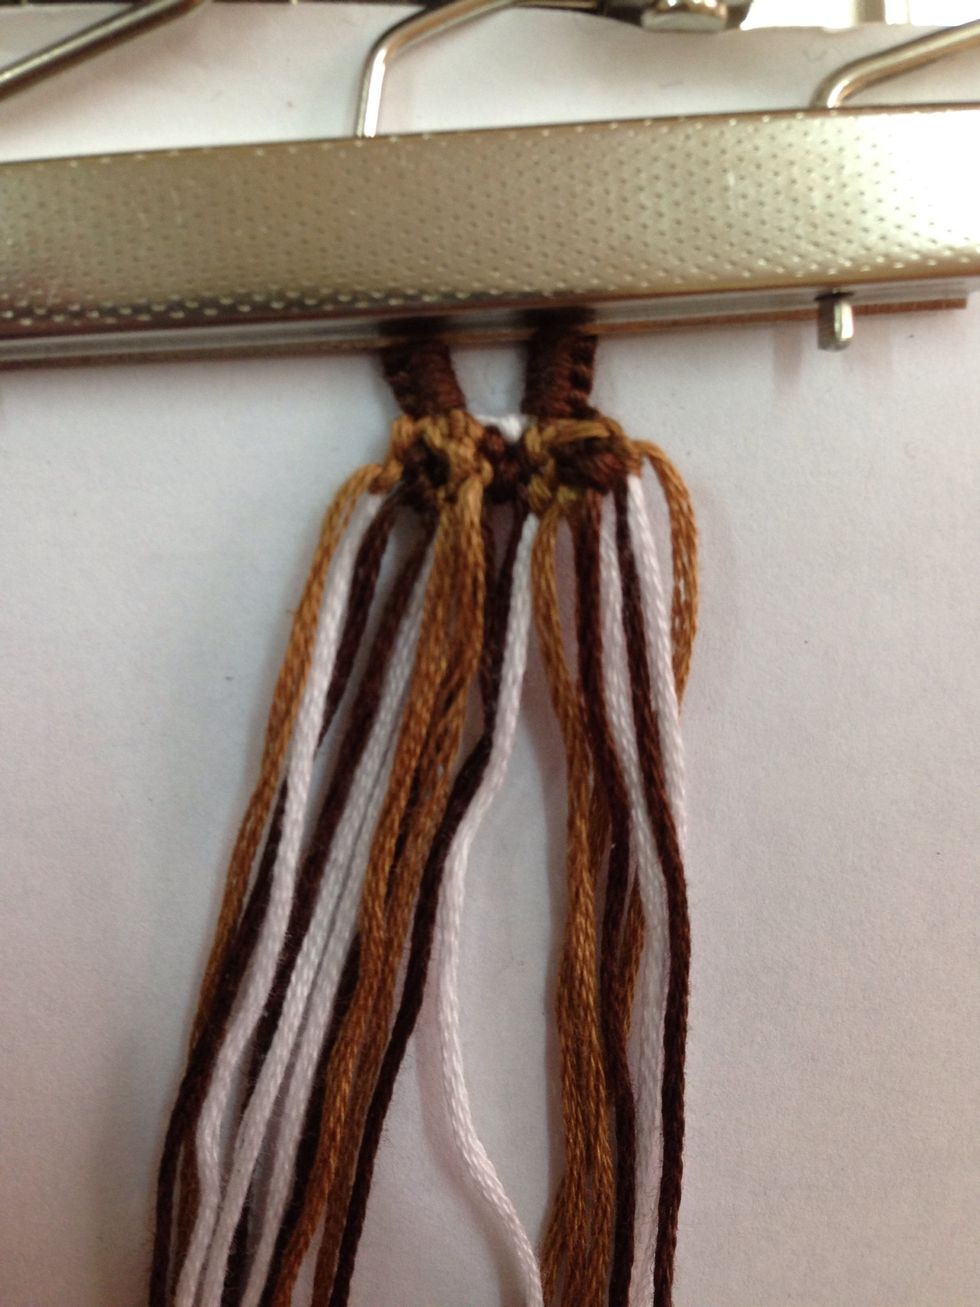
Clip your bracelet and spread the strings out in the order that the pattern shows. For the first 3 ROWS we're going to keep it spread out and annoying like this, and make sure you keep it organized!!
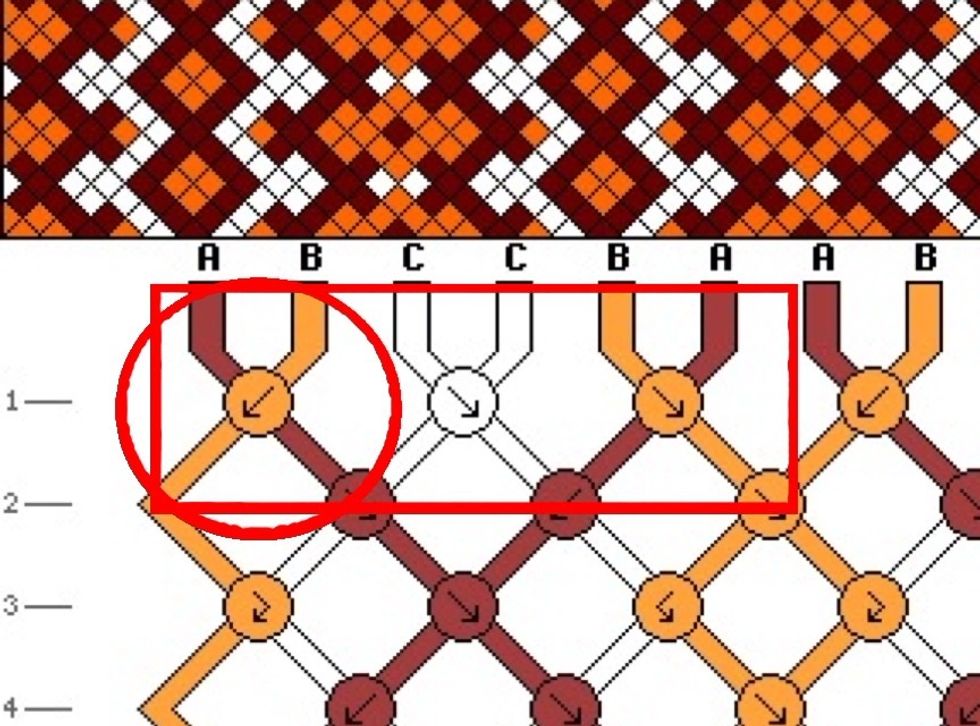
We follow the pattern left to right, row by row. You can see that the rows are indicated on the side by numbers. We'll start with the first knot, which shows tying the right string over the left.
So we do a right-to-left knot (backwards 4).

Tighten it to the top! Now do the exact same knot again. Same strings, same tie! Each knot we do, we're going to tie it twice. Cool? Cool.
Now notice that because we tied from right to left, the light brown string that started on the right moved over to the left and it stays there till we tie it again!
The next knot is white over white, from left to right.
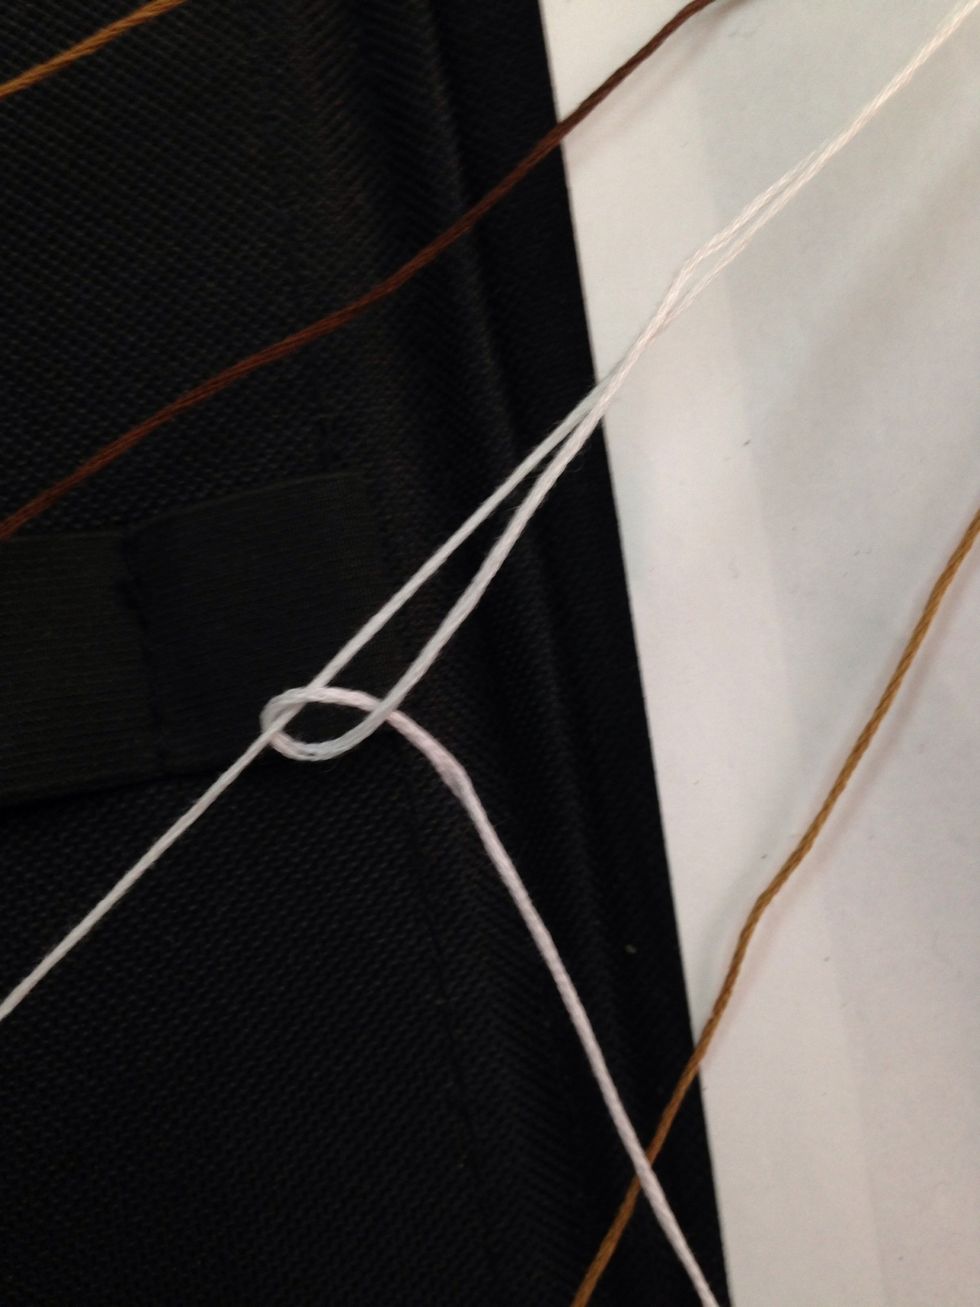
Remember to tie twice!
The knot connecting the two sides... a little tough but tie it right and you'll be fine!
Once you finish the first row, start the second one! Left to right or right to left.. doesn't matter.
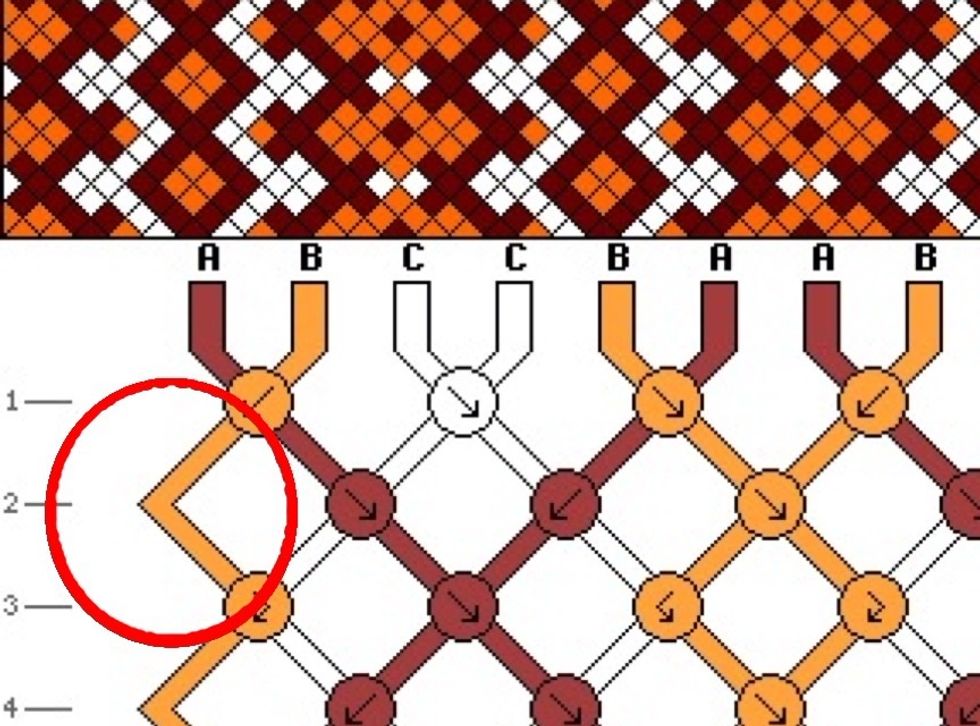
A corner like this means that in that row, you don't use that string, it's off to the side and comes back into play in the next row.
When you see a zig zag arrow like this, it means that the first knot is left to right, and the second is left to right. Vice versa if the zig zag arrow is opposite.
Example: tie to the left...
Second tie to the right. Remember to continue the first three rows in an organized and spread out manner.
3 rows in, you can see that you can group them together now and it stays in order. Pretty soon it'll really start taking shape and you'll be able to see the pattern nicely.
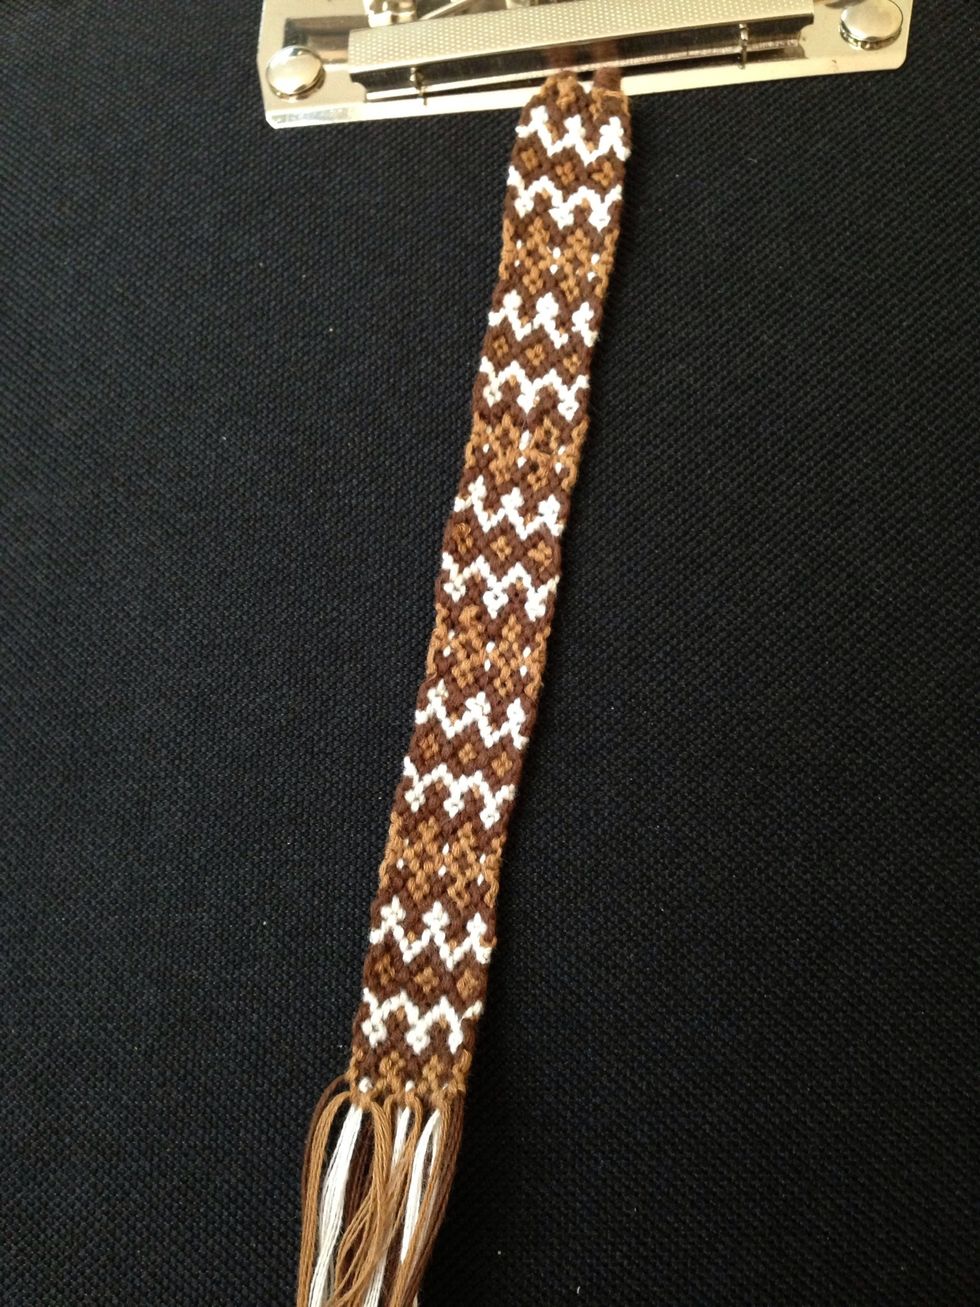
Here's my finished product! tie it off at the end, or braid the strings at the end and tie it off, and cut the excess strings.
Voila! feel free to ask questions :)