The Conversation (0)
Sign Up
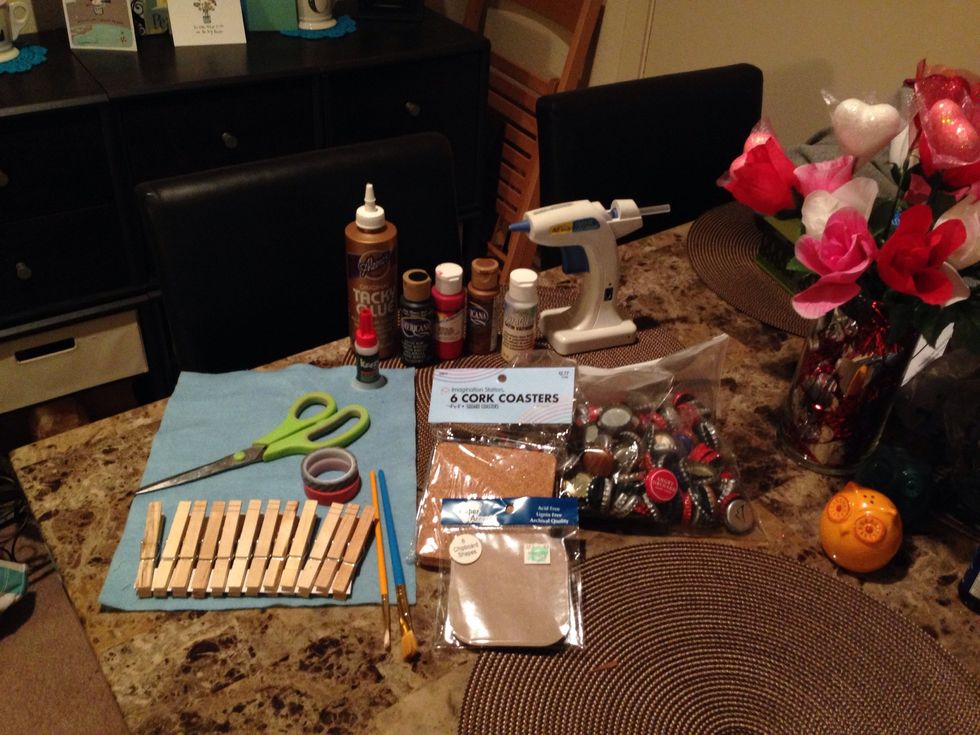
Gather your supplies! A lot of them are optional because they were used for the box the coasters sit in.
Pick out 9 bottle caps for each coaster
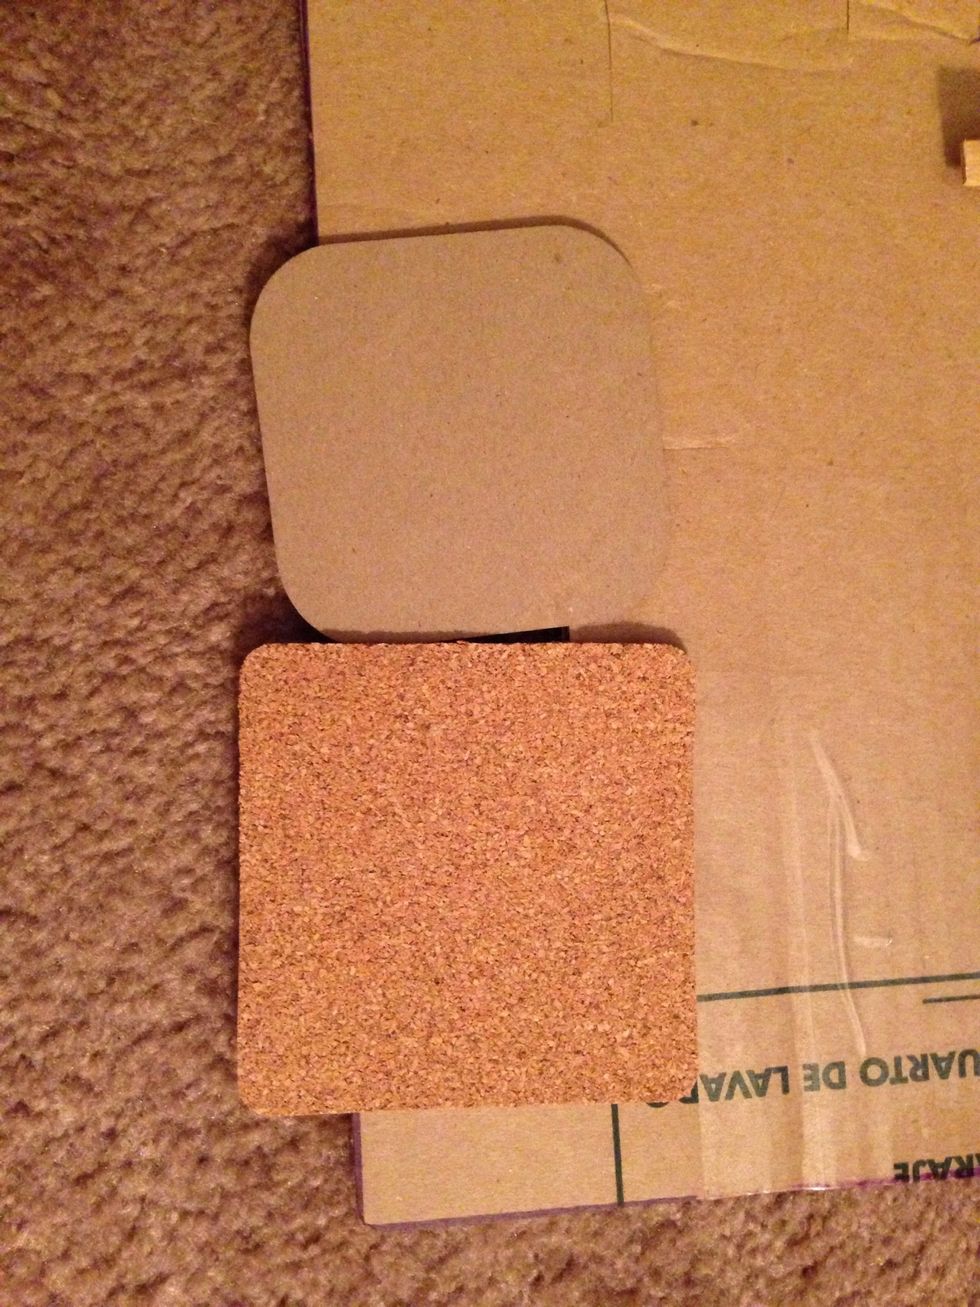
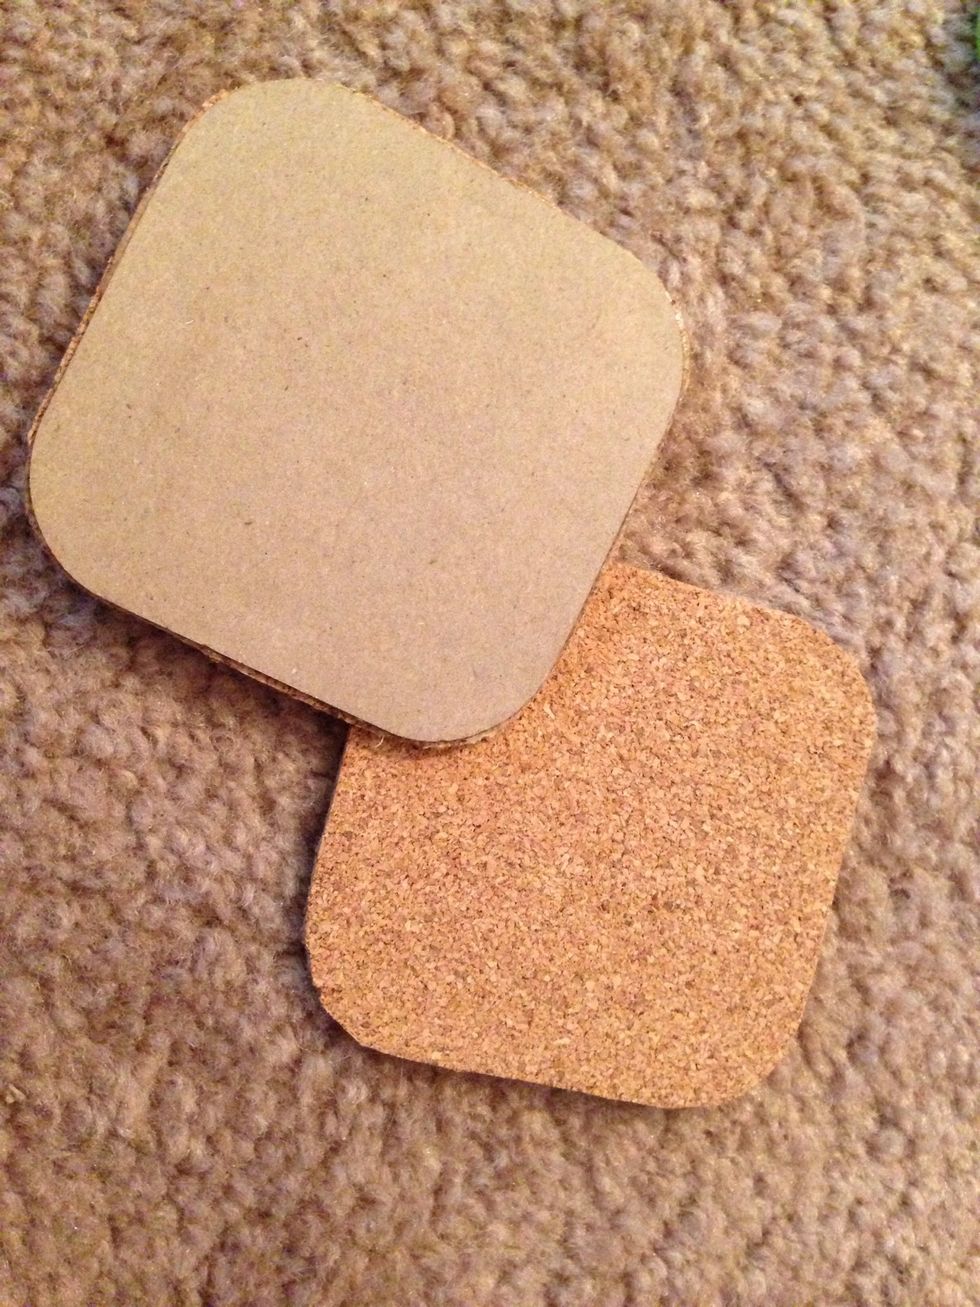
Take one cork coaster and one chipboard piece...
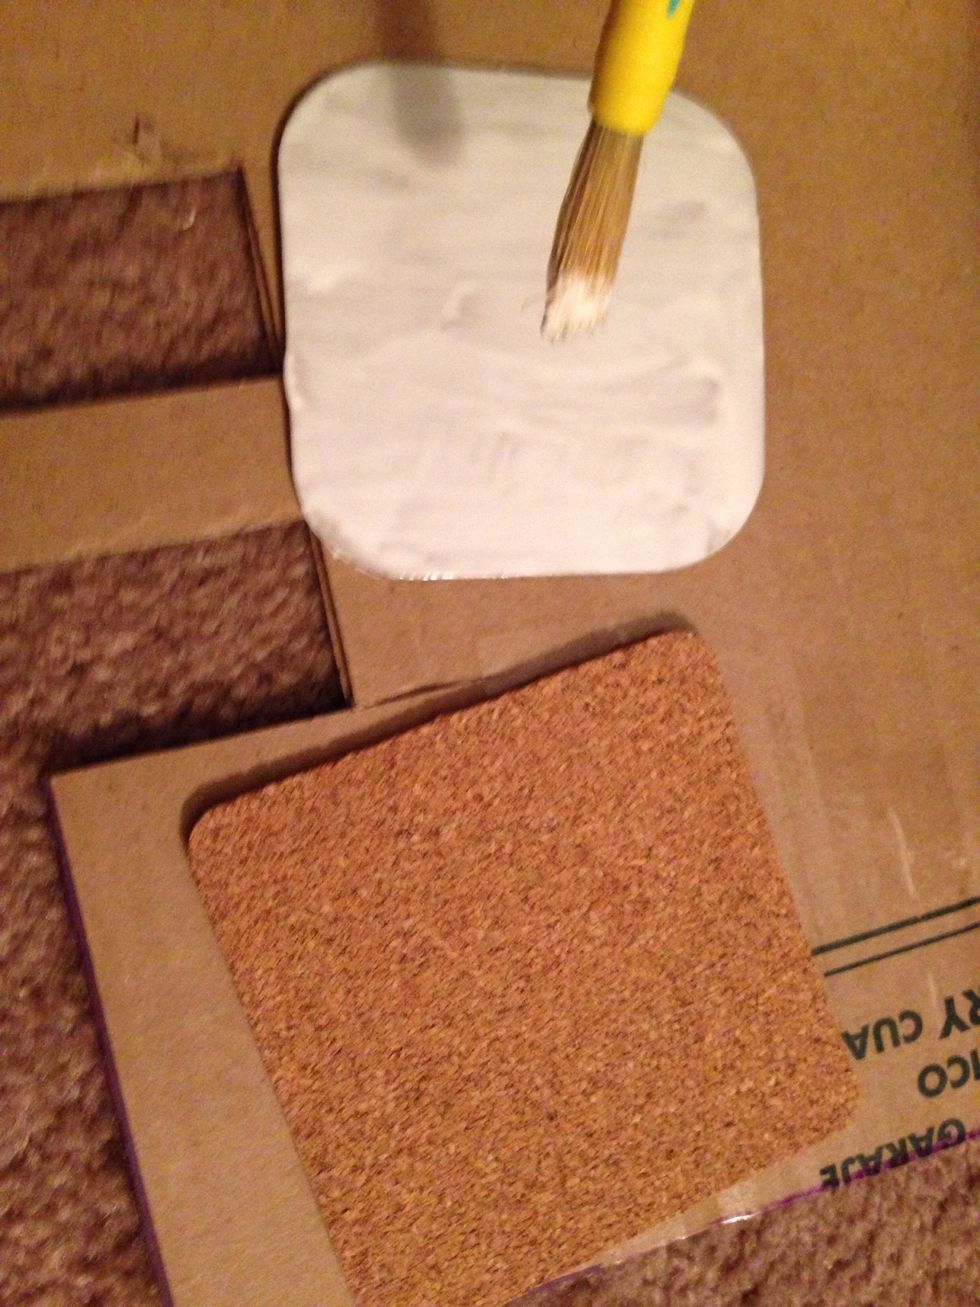
And brush a good amount of tacky glue all over the chipboard
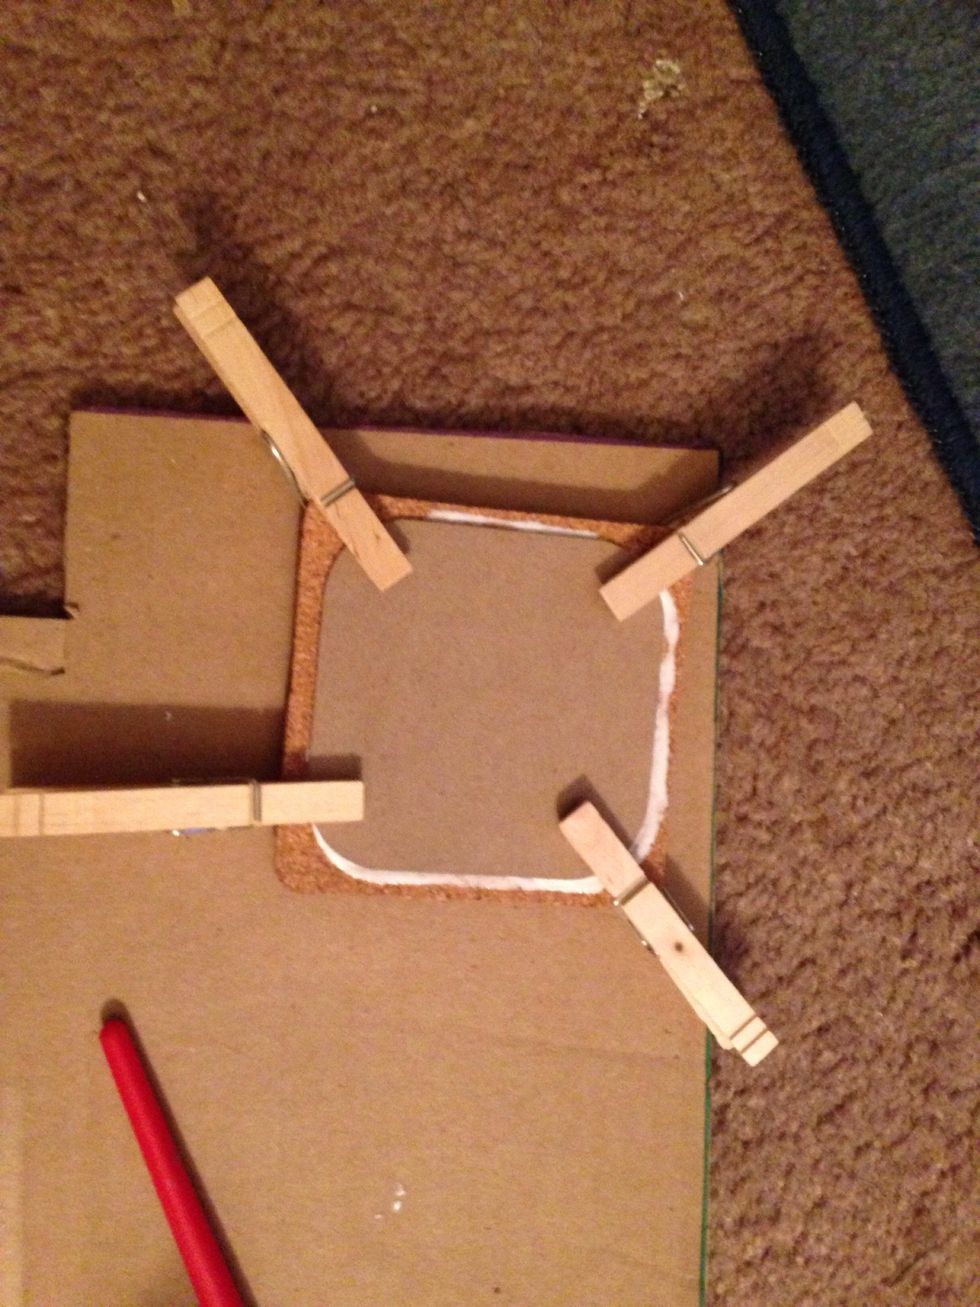
Then press the chipboard in the center of the coaster and secure with clothespins.
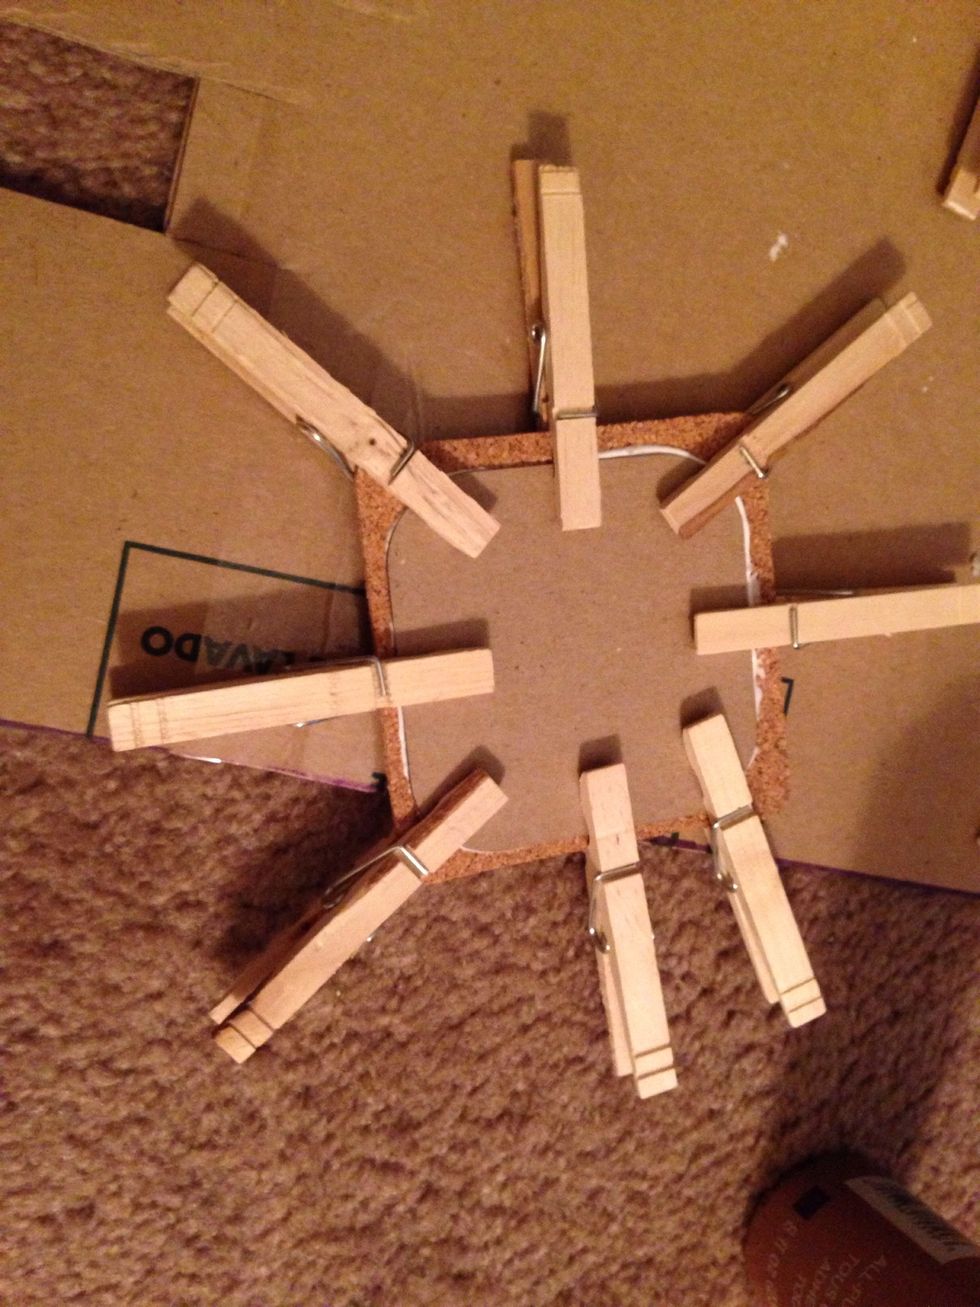
I added even more clothespins to securely seal the cork to chipboard.
You can use clamps, books, or whatever else you have laying around the house. I had clothespins so that's what I used
VERY IMPORTANT: let them dry for AT LEAST and hour or else they will peel apart in the next step
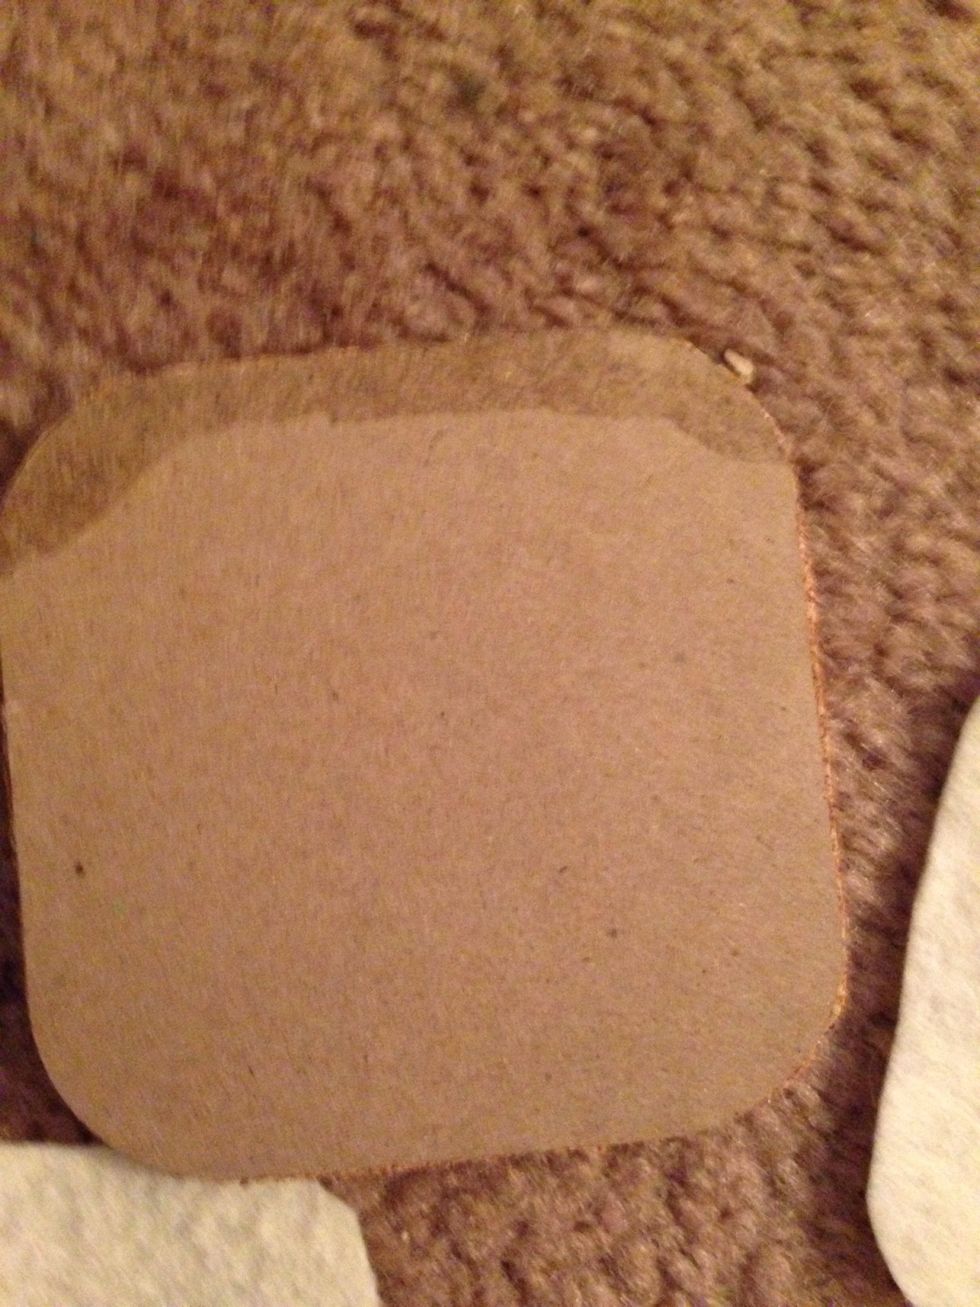
CAREFULLY trim the excess cork with scissors
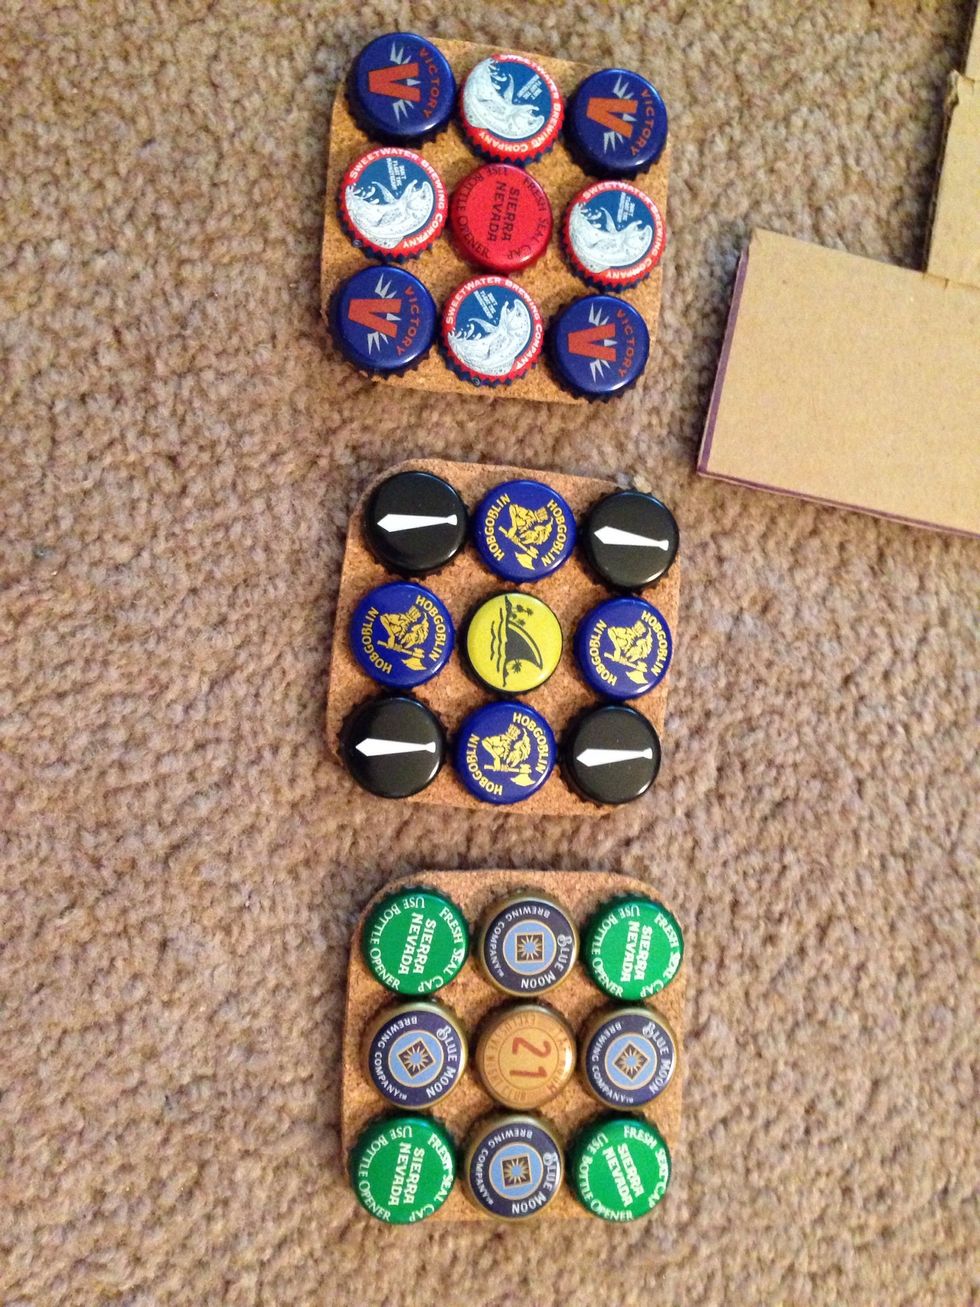
Lay out your caps in different patterns on the coasters until you like the way they look. Take a picture so you don't forget and use it as reference when gluing them down.
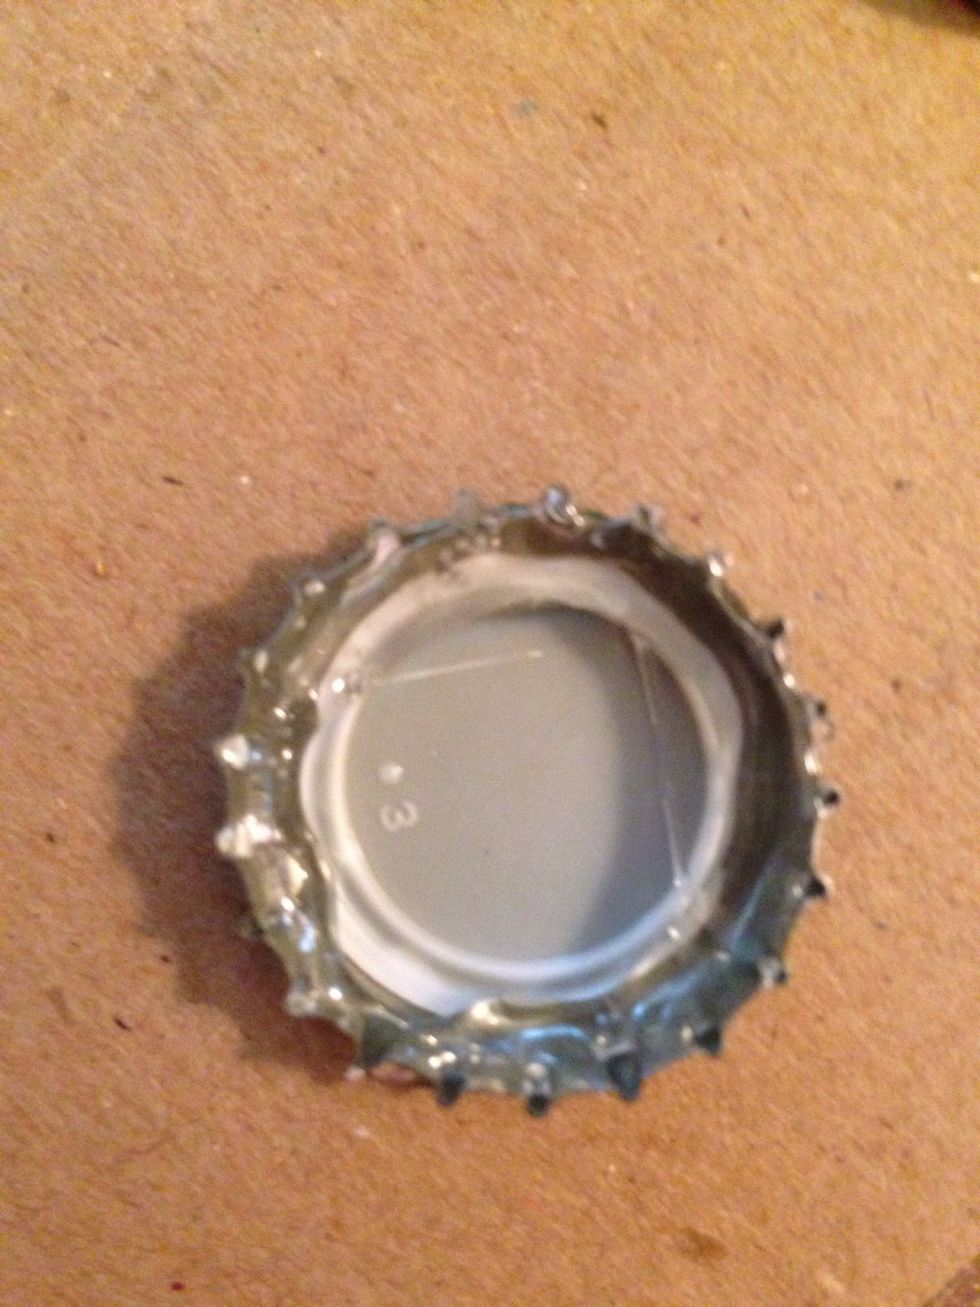
Clear off your coaster, heat up that glue gun and carefully squeeze glue around the INSIDE of the cap. The cap will get hot so be careful!
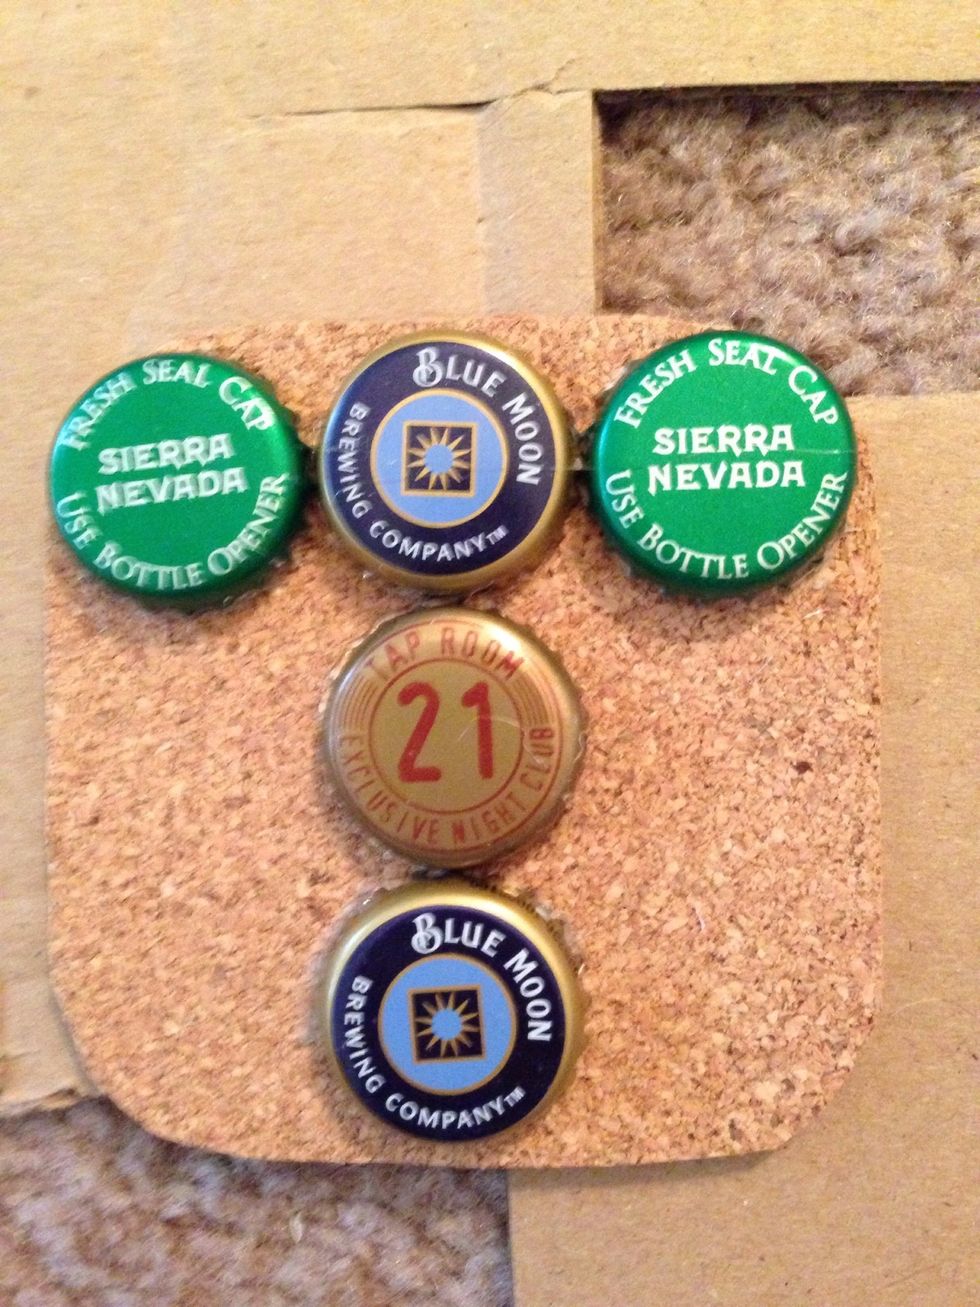
Begin placing caps on coasters. I found it easiest to place the center cap first, then the other caps around it.
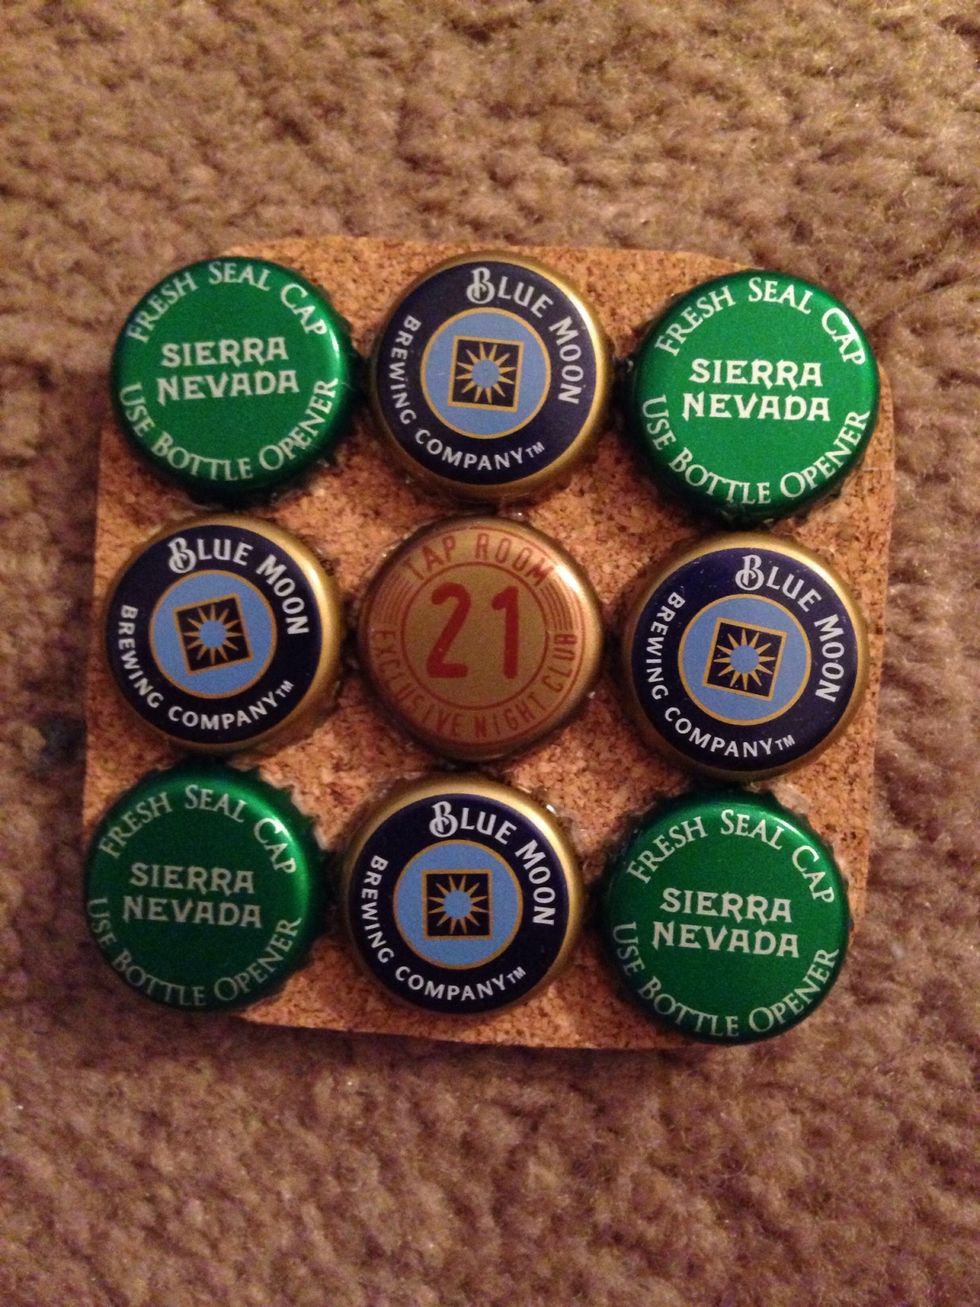
All glued down. If a part of a cap sticks off the edge just take pliers and carefully push in the part sticking out under its own cap.
Repeat steps 11-13 for all coasters
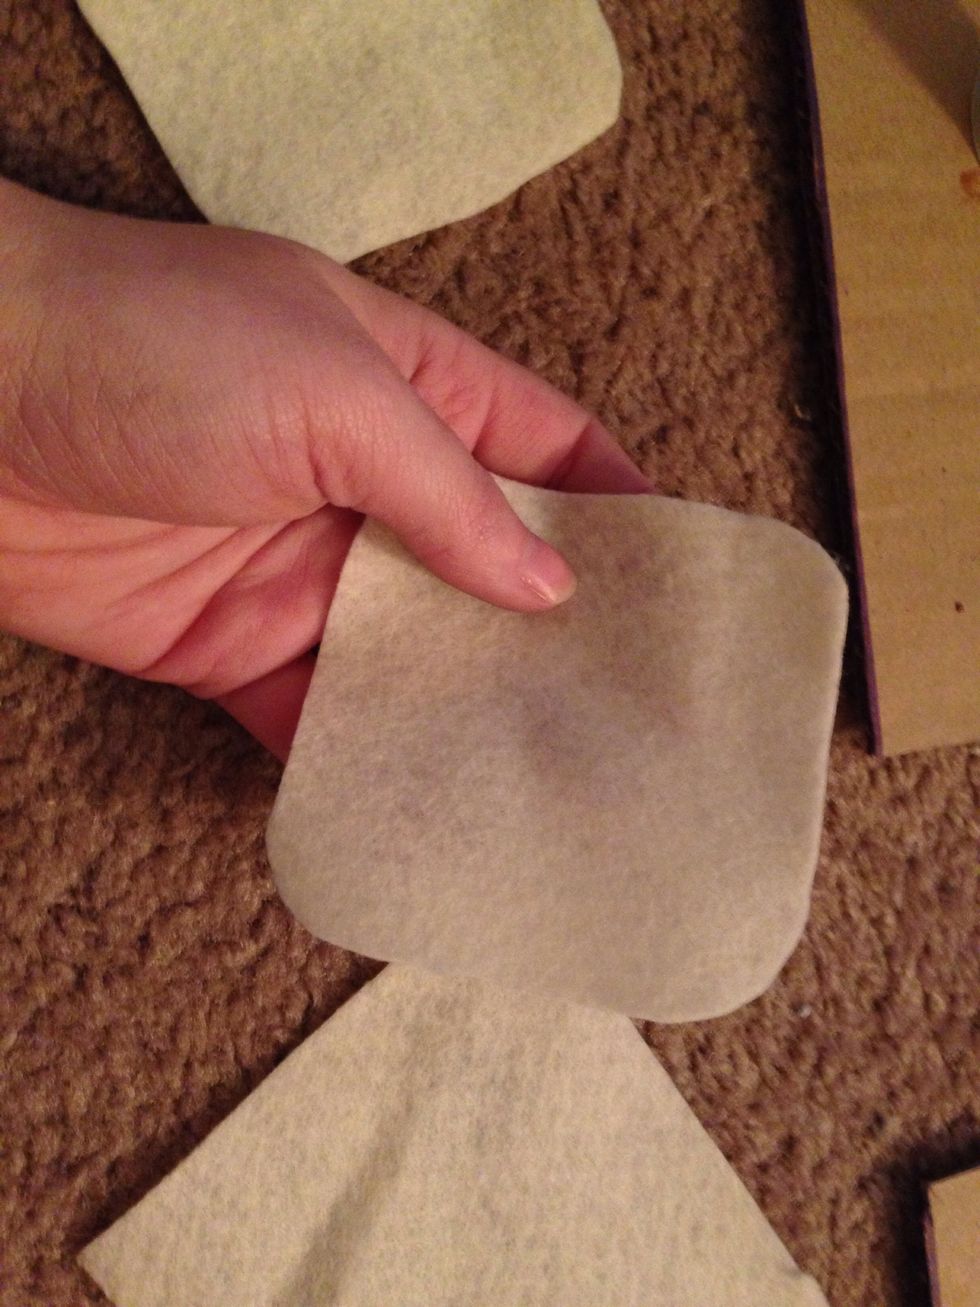
Take an extra chipboard square and trace it onto the felt sheet (one for each coaster) then cut them out. (I decided on a different color felt than pictured on the supplies step FYI)
Turn coaster over and place superglue (or hot glue or tacky glue) around edges. I found that superglue holds the felt the best without making it bumpy.
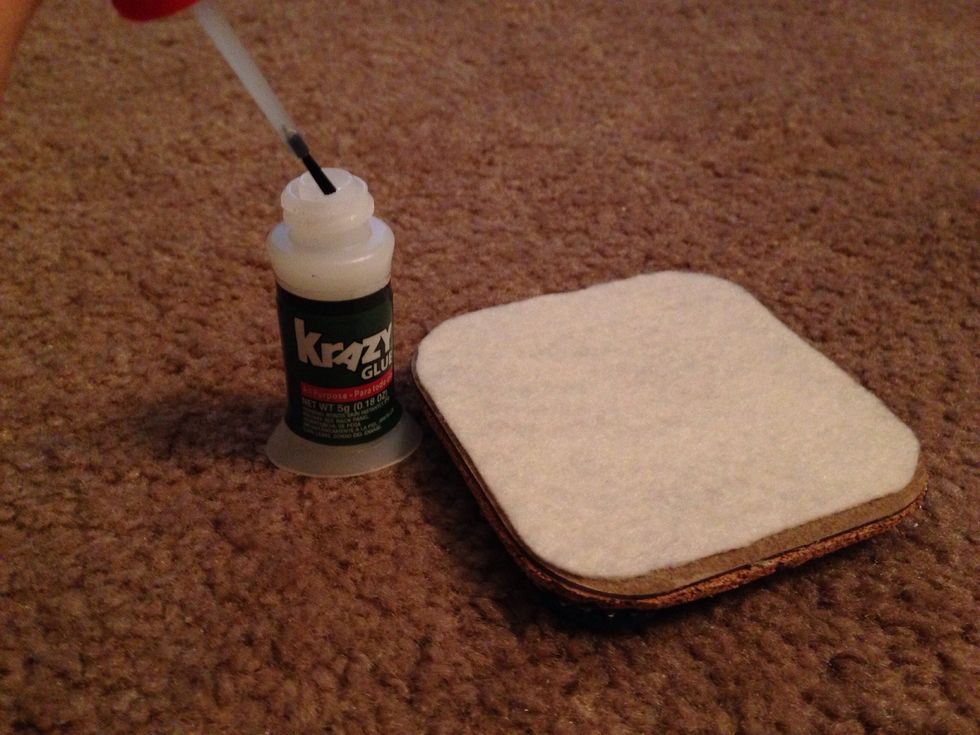
Place felt onto bottom of coaster.
Repeat steps 16 and 17 for each coaster

Here's where a lot of the optional supplies come into play. I painted a small crate and added a satin finish. Then I cut a small piece of cardboard for the bottom and covered it with washi tape
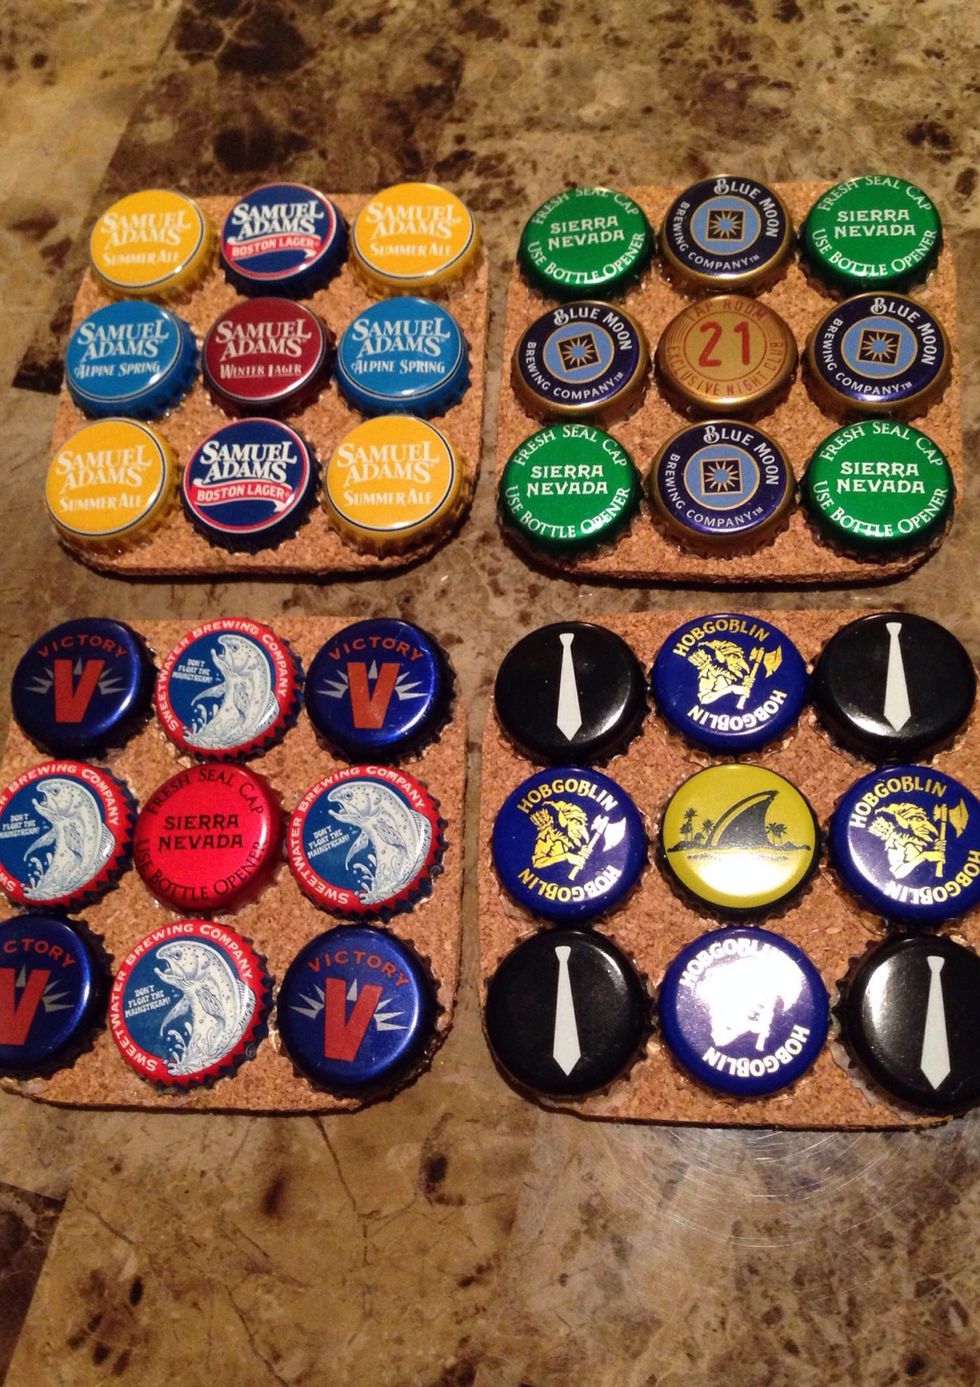
All the coasters
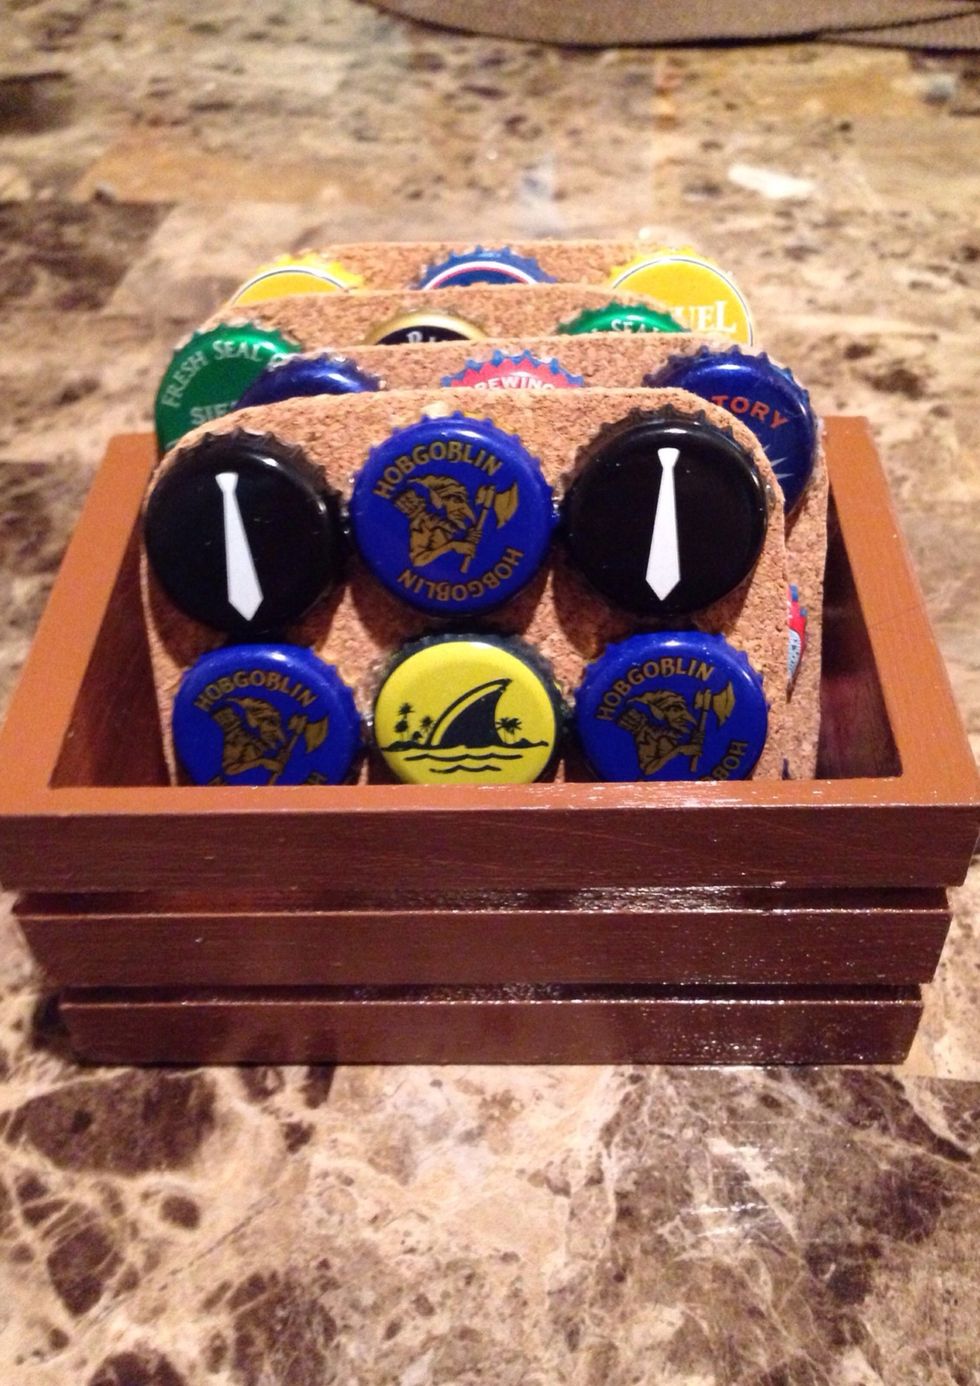
Coaster set ready to be given as a gift