The Conversation (0)
Sign Up
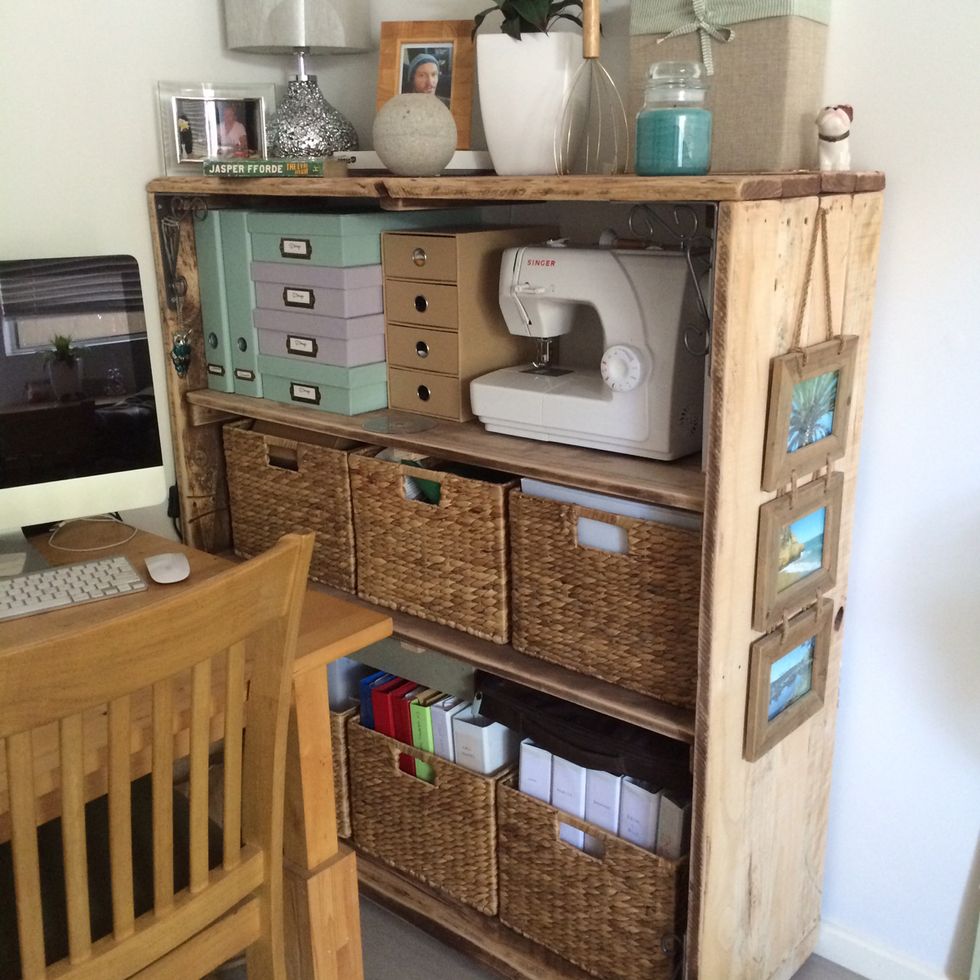
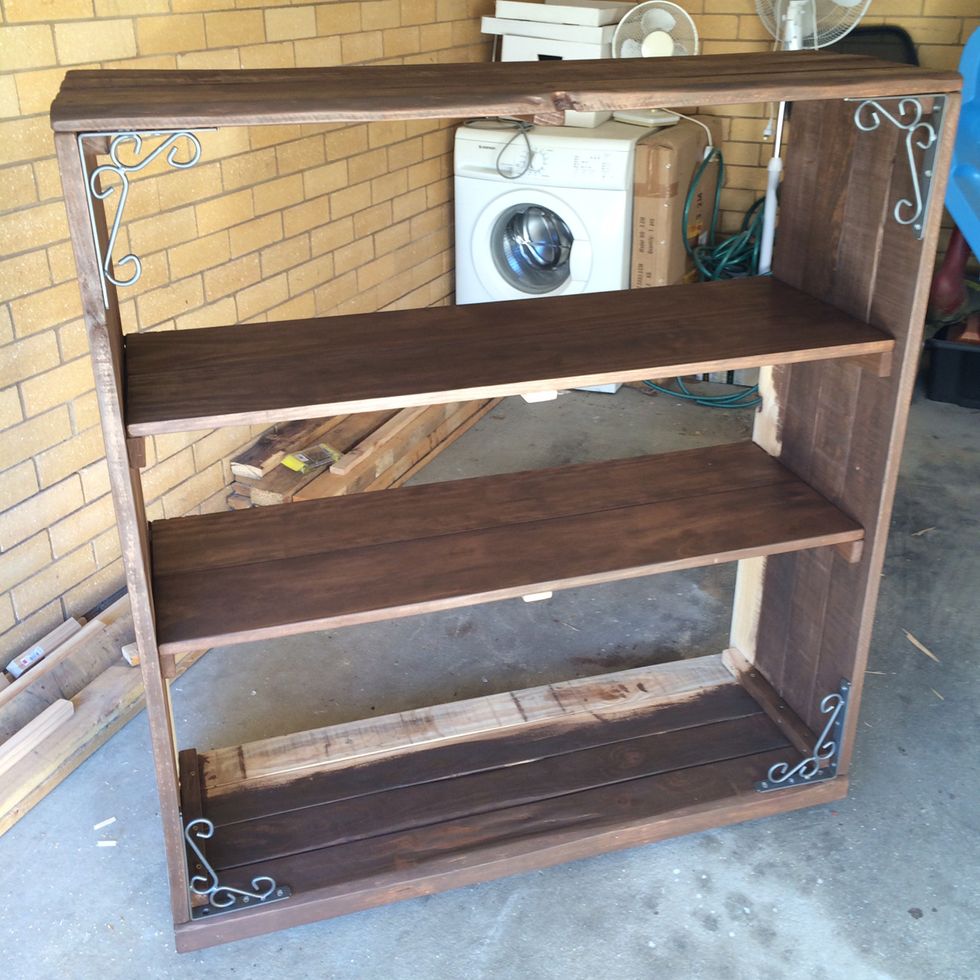
This gorgeous storage unit is a very simple build using minimal cutting and know-how. Joints are simply batons screwed together, and some shelf brackets for strength. Precision not necessary!
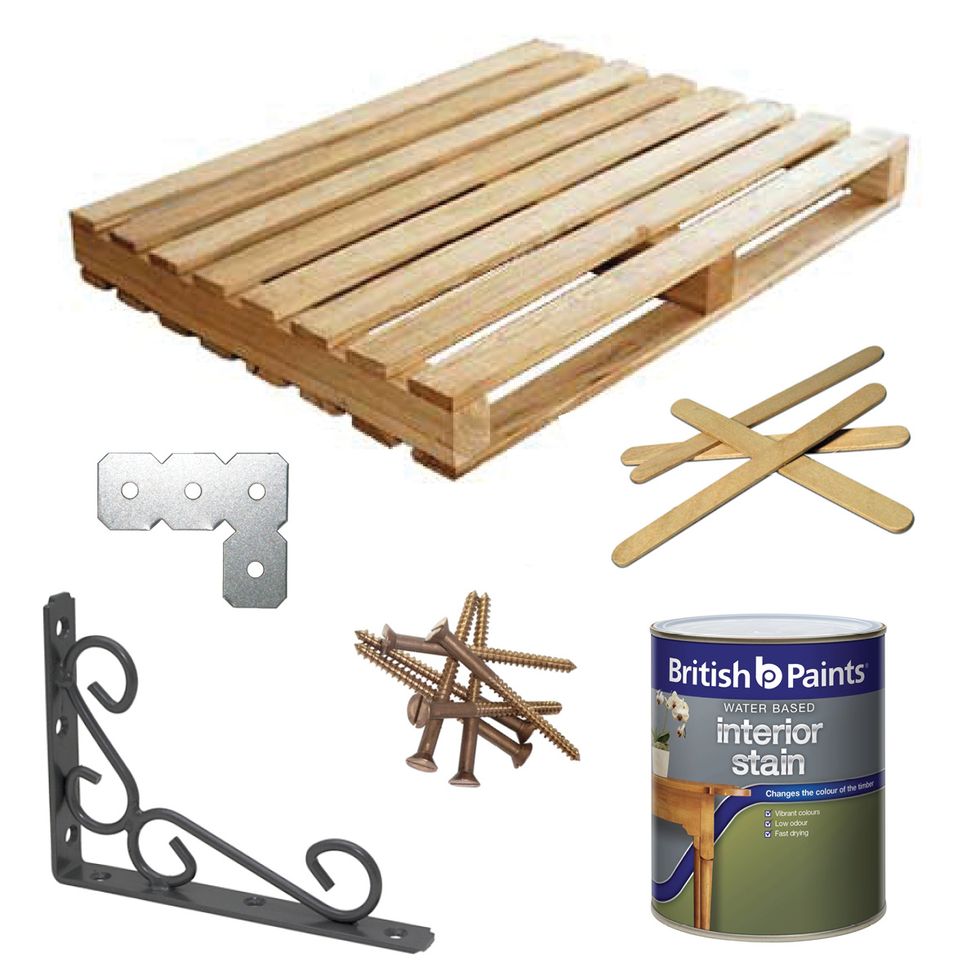
2 dismantled palettes, pine batons (see instructions for photos), wooden lolly sticks, 8 mending plates, wood screws, 4 decorative shelf brackets, stain / lacquer / finish of your choice.

Measuring tape, drill driver, circular saw, hand-held sander.
Some design points to think about before you begin: Shape edges as you sand, creating wany edges with a natural, irregular shape. Create interest by sanding deeper in random areas.
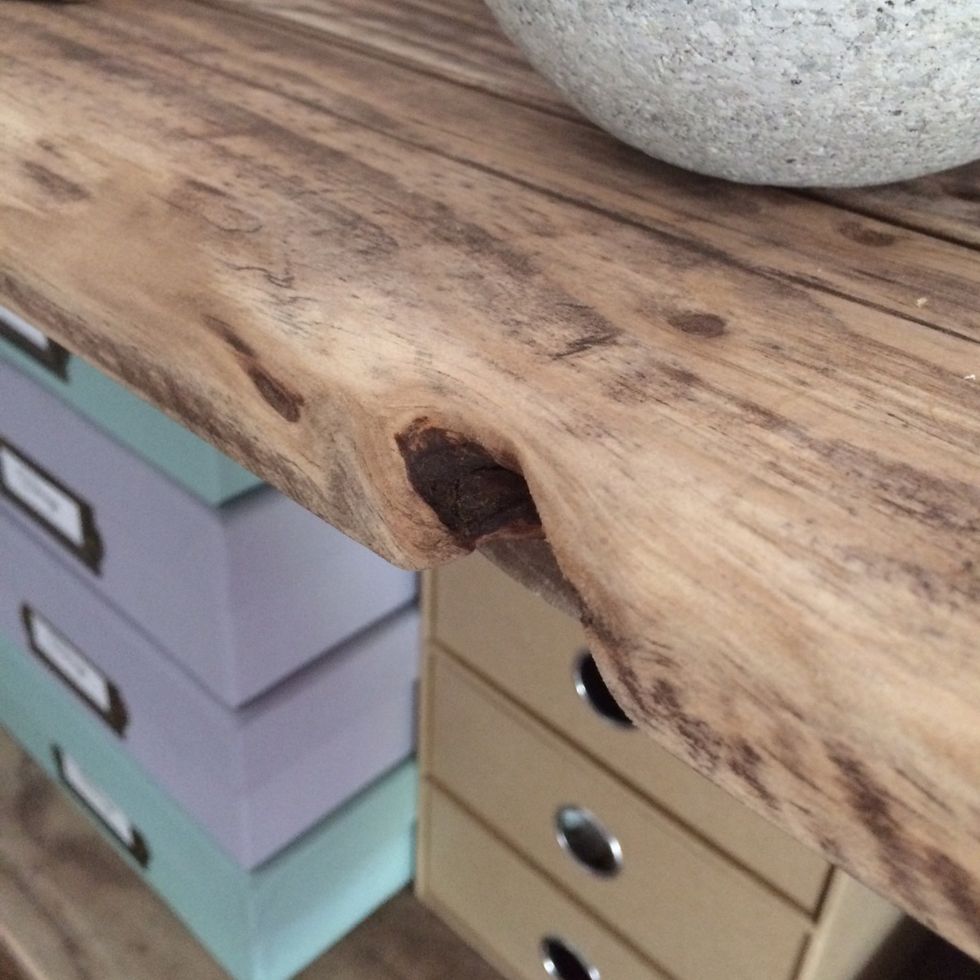
Make the most of knots and other natural features in the wood. Sand them smooth so all splinters are removed. Position the planks so features and defects are visible for a beautiful rustic look.
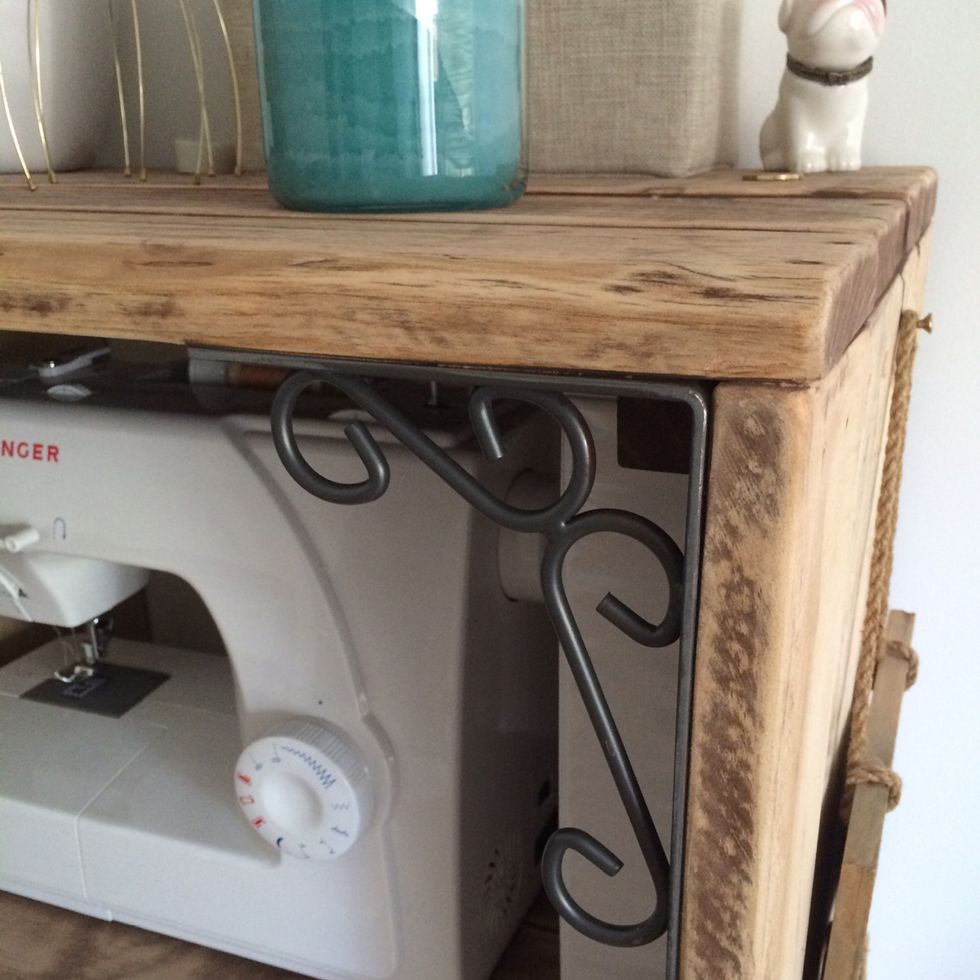
Add metal accessories. The shelf brackets used here are a key strengthening feature, essential for keeping the unit square and strong. They just happen to fit the look perfectly.
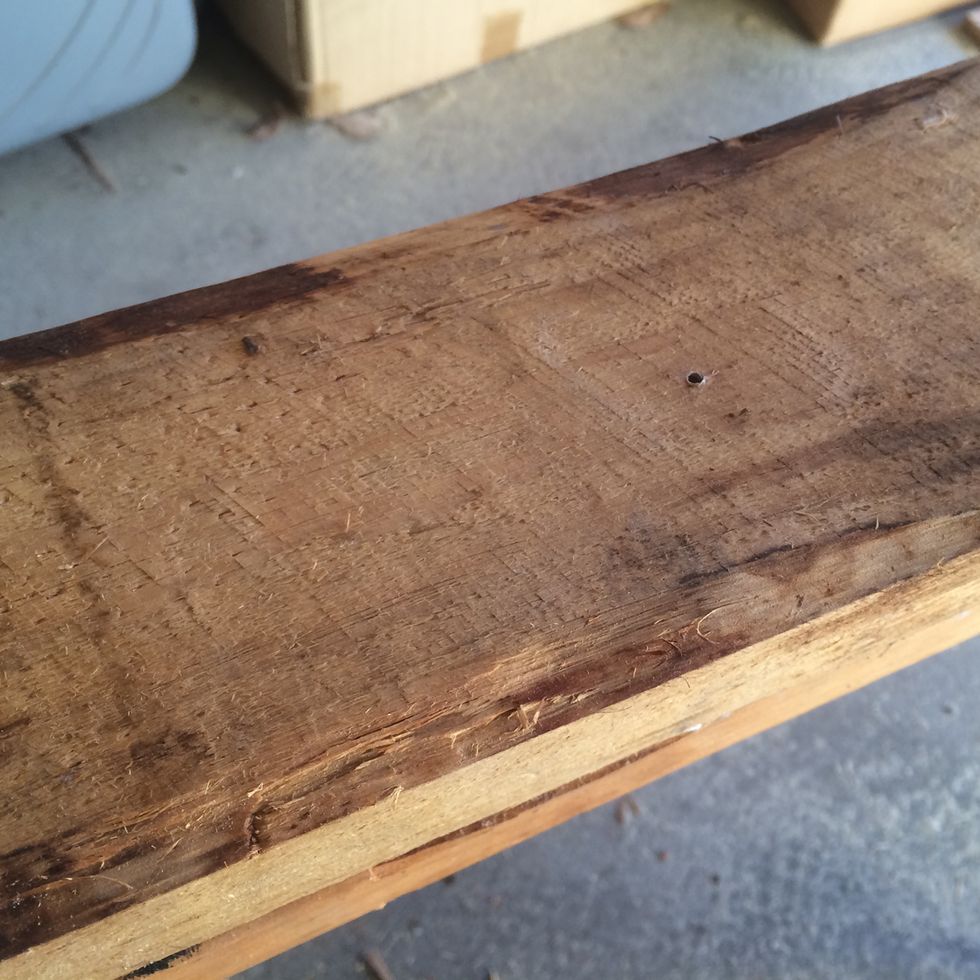
The raw palette wood is rough and splintery and probably dirty. Get in there with your sander and free the gorgeous piece of timber inside! Enhance rather than remove knots, dents and nail holes.
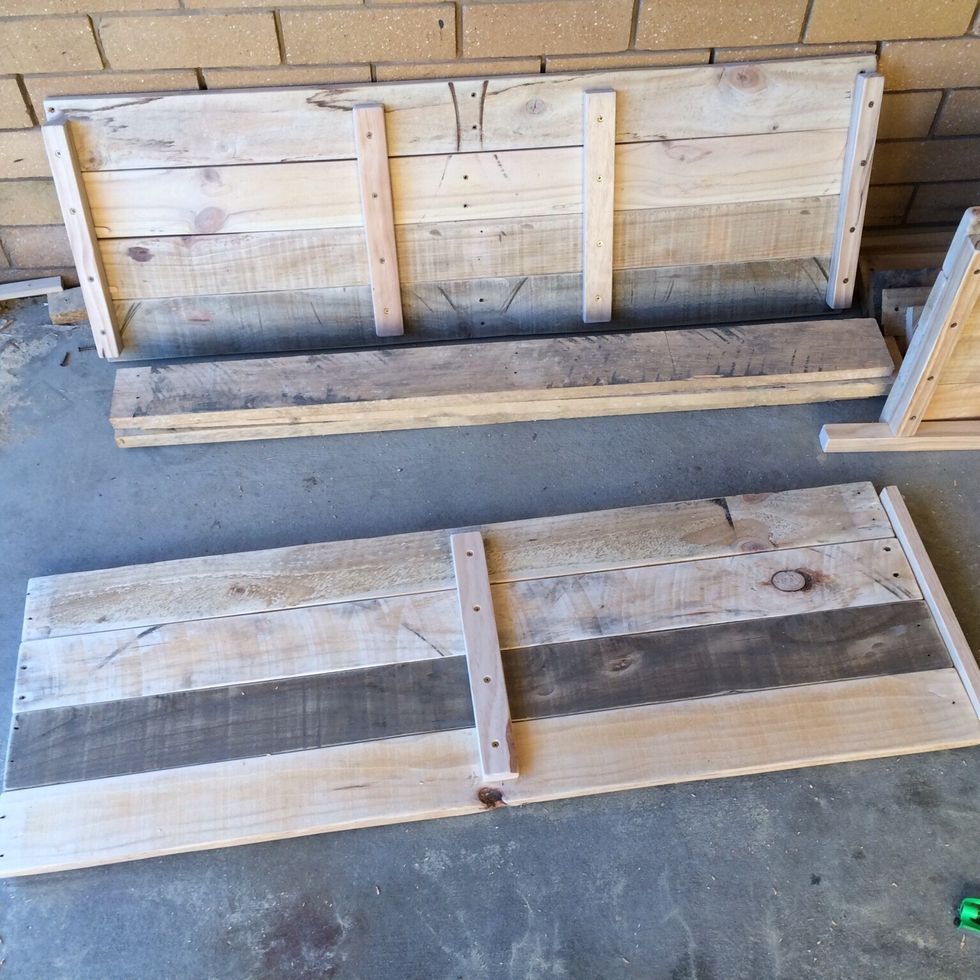
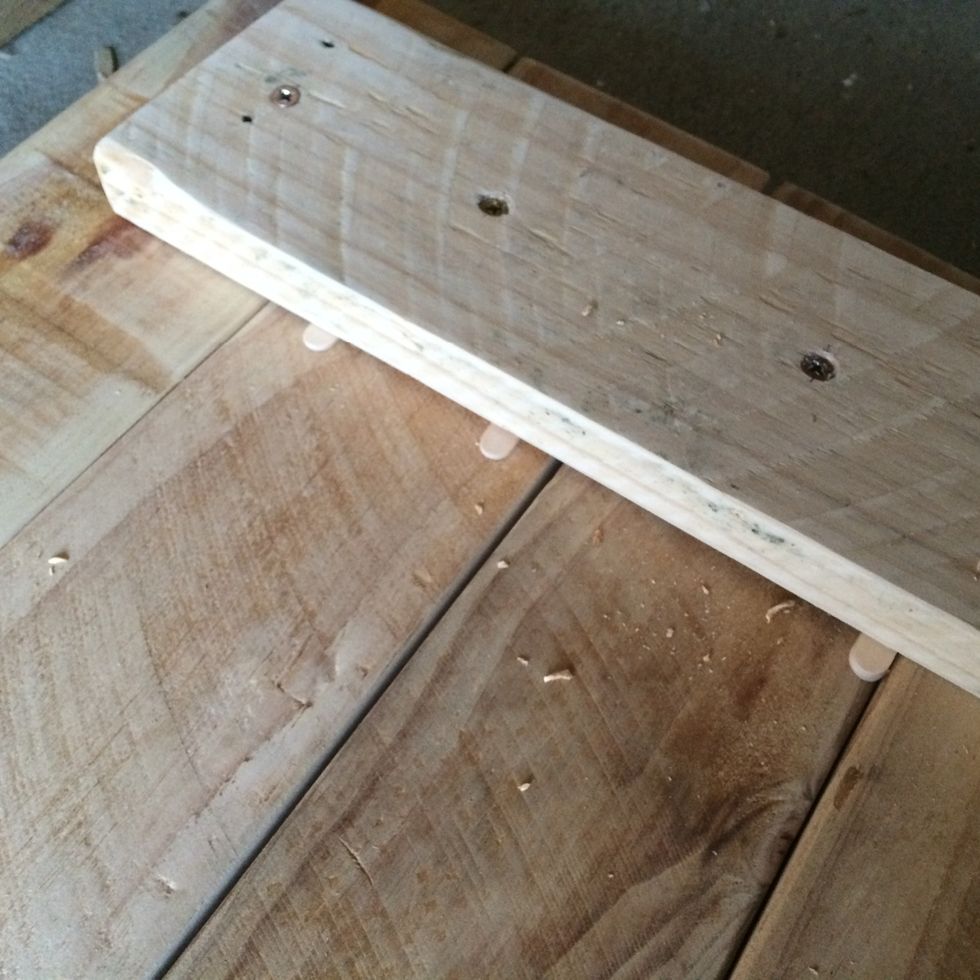
Arrange planks on a flat surface, face down. Position a baton and screw in place to hold them all together.
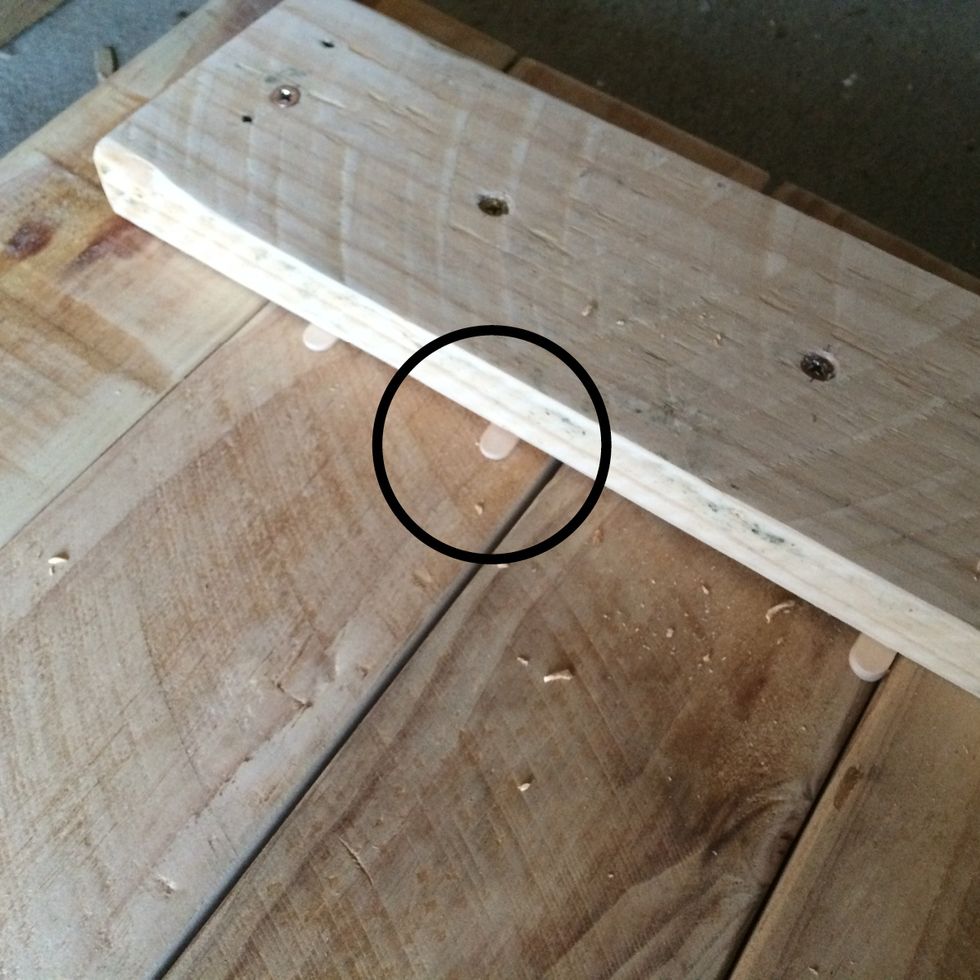
Where planks are different thicknesses, use wooden lolly sticks to fill gaps beneath the baton before screwing tight. This keeps the other side of the planks flatter and gives more even shelf tops.
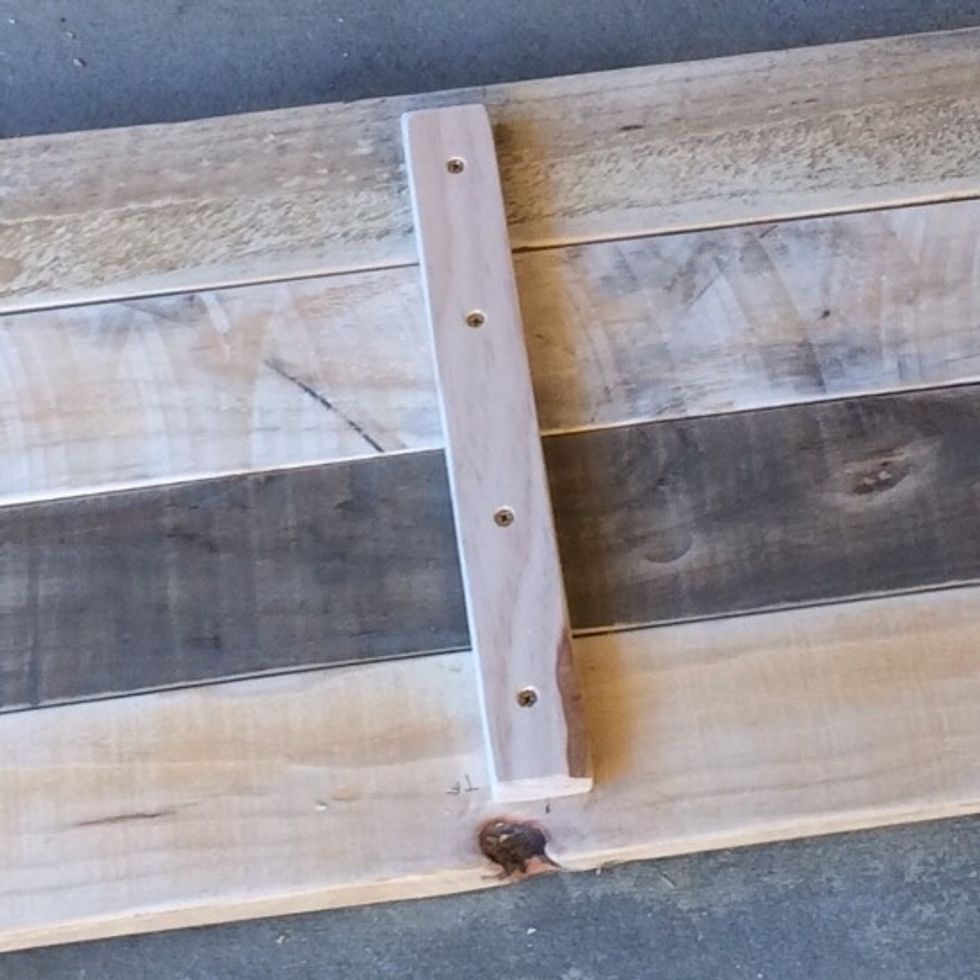
Make sure you screw the baton to every plank so they're all fixed in place.
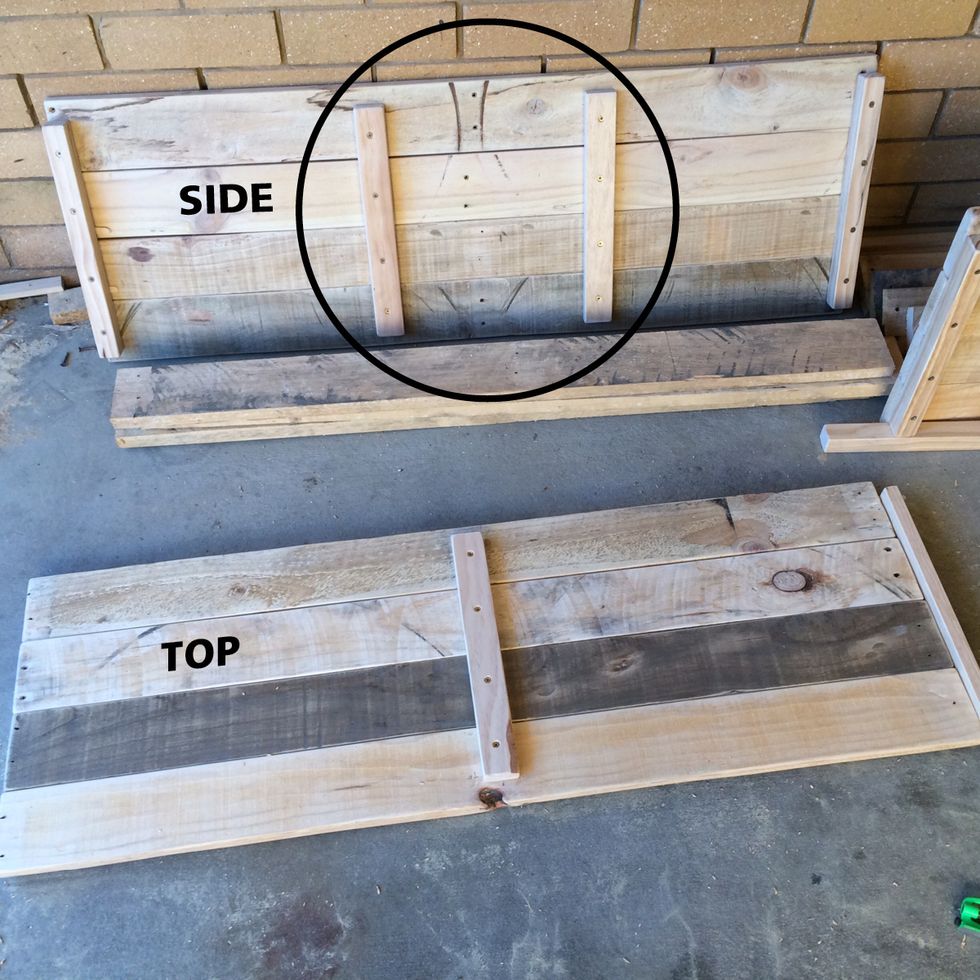
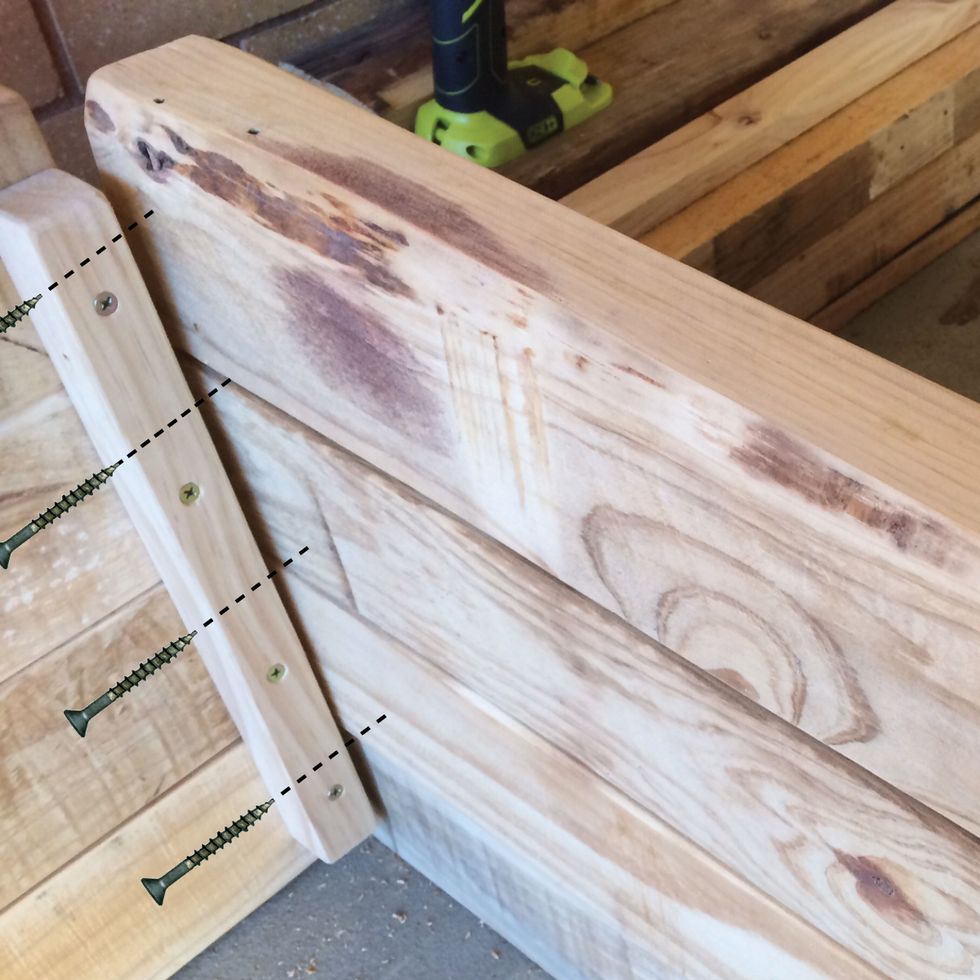
Side panels are joined with a baton at each end, and two batons in the middle - these are the shelf supports. Make sure they're at a height you're happy with for your shelves, and level on both sides.
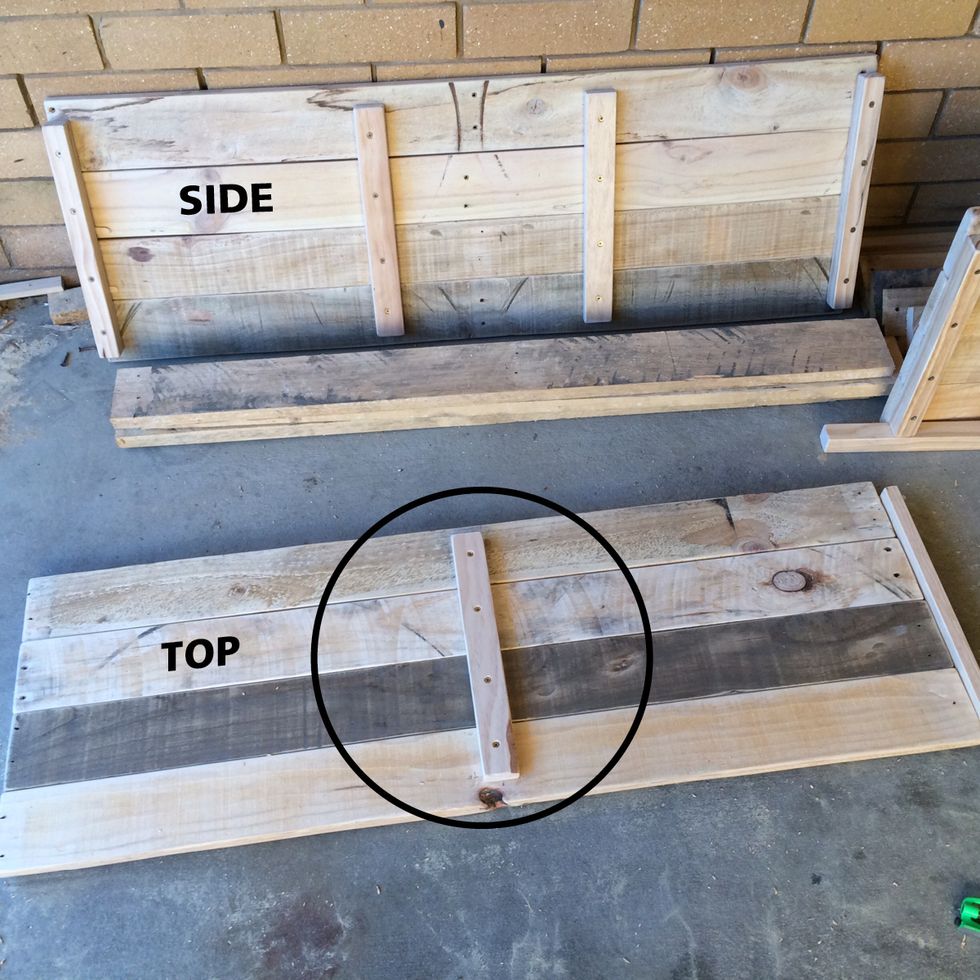
Top panel planks are joined with one baton in the centre. The end batons are currently on the side panels, and will be screwed to the top when forming the unit.
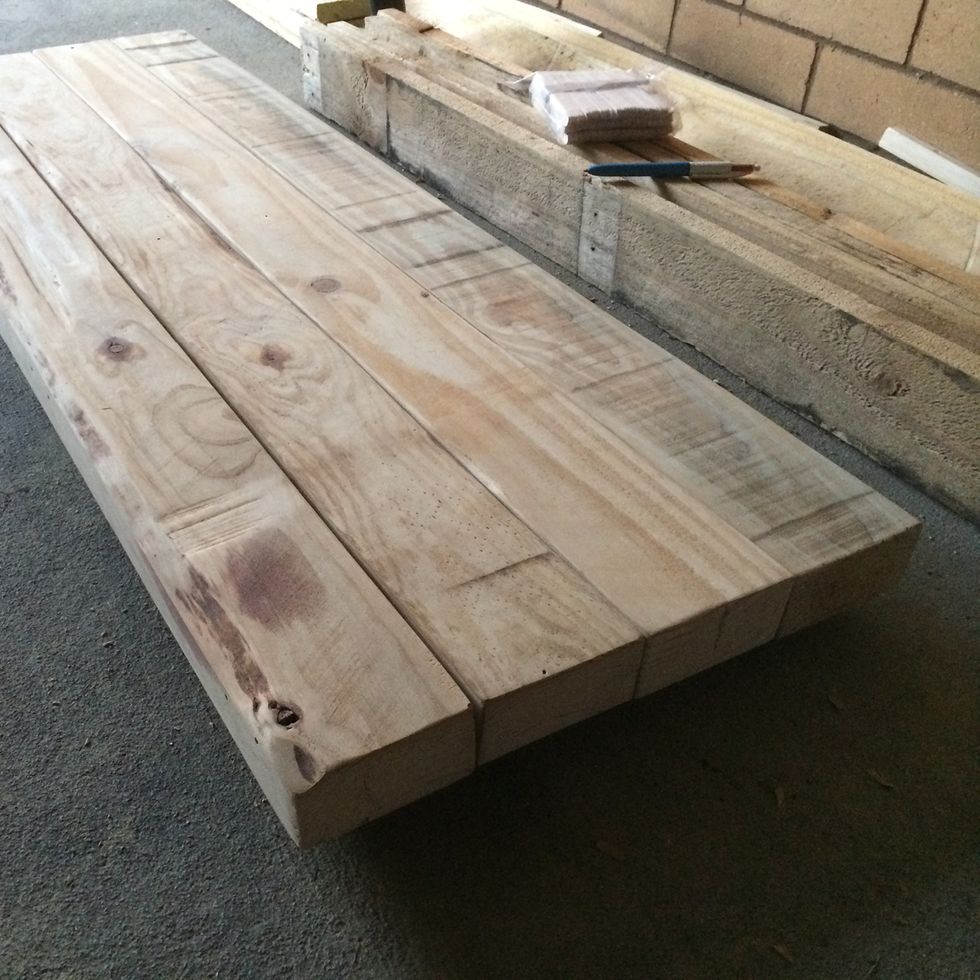
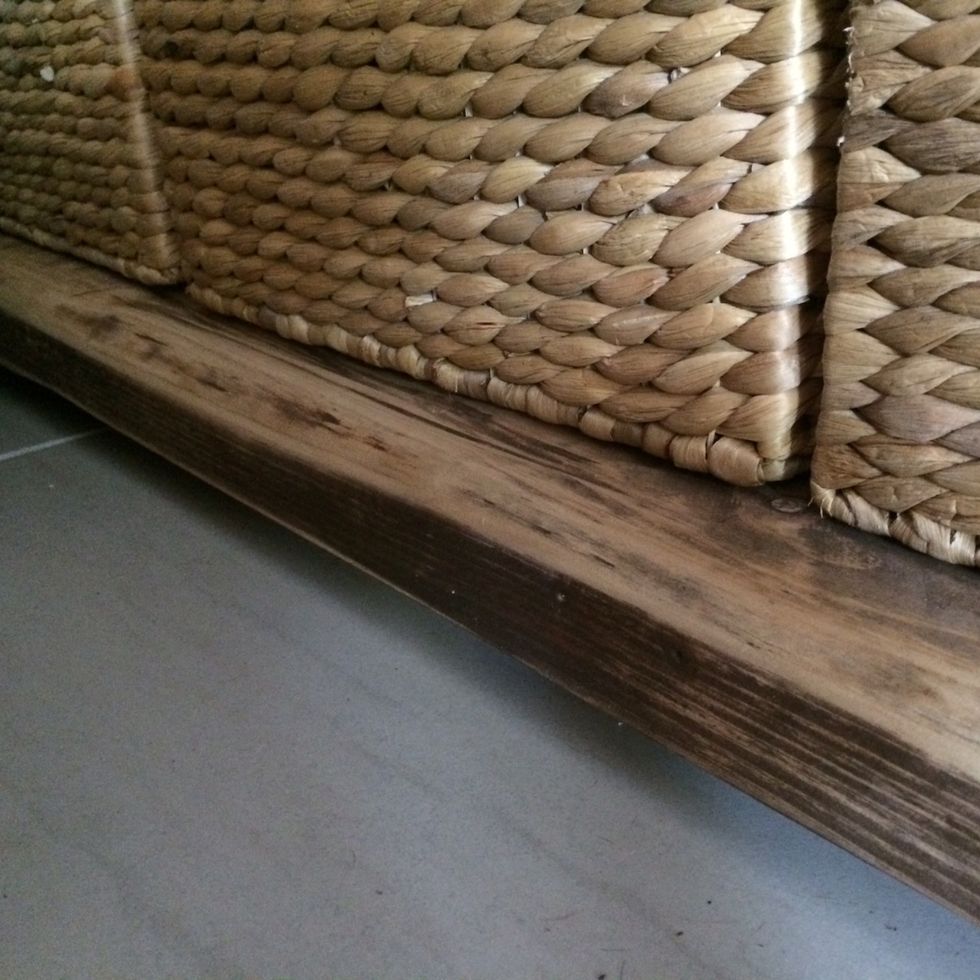
The base of the unit is made from the 'struts' or 'stretchers' - the thicker pieces of the palette. This gives you a gorgeously chunky, heavy base.
The base planks are not joined with batons, but with extra plank timber. These double as feet, so make sure the screws are sunk into the wood and can't scratch your floor.

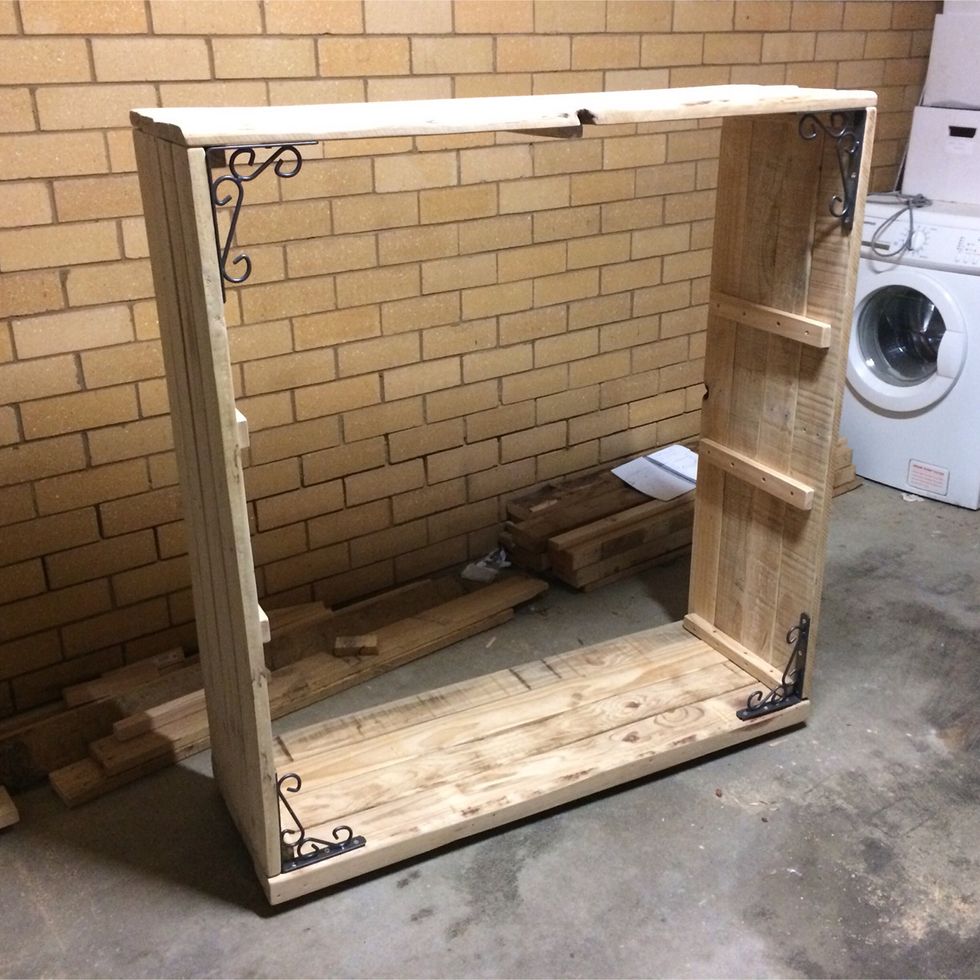
Working on the ground, join the sides to the base with batons in the corners. Attach the top panel in the same way.
Screw through the baton into the base panel on every individual plank. Same for the top panel.

At this stage you'll need to add strength to the corners to keep everything solid. This is a simple build so won't be strong or safe without suitable brackets. Once secured you can stand it up.
And there it is, standing tall for the first time! Now for the most important part...
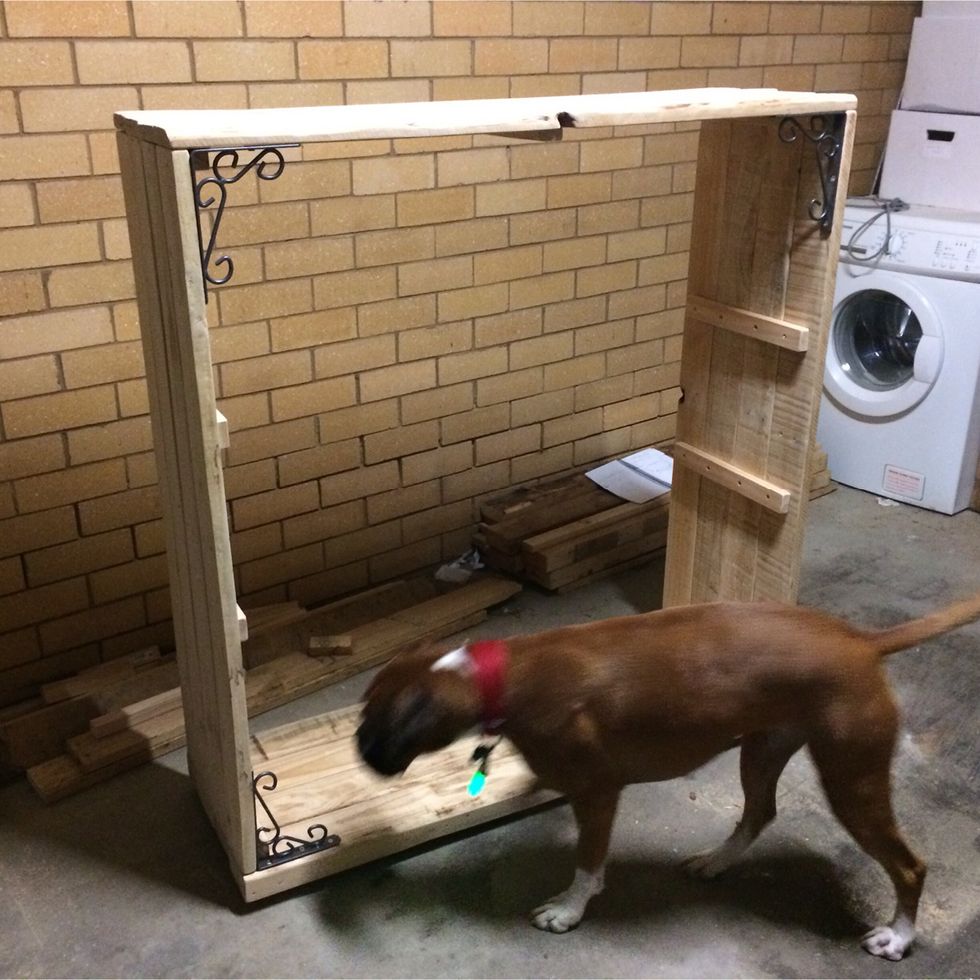
Inspection - Check that the boss is happy with the way work is progressing.
Cut your shelf planks slightly shorter than your top and base planks - ie. top length, minus the thickness of two side panels - so the shelf sits snugly on the batons you placed earlier.
Shelf planks are joined with one baton in the centre, just like the top panel. Rest shelves onto the batons in the side panels. Fix with mending plates at the back...
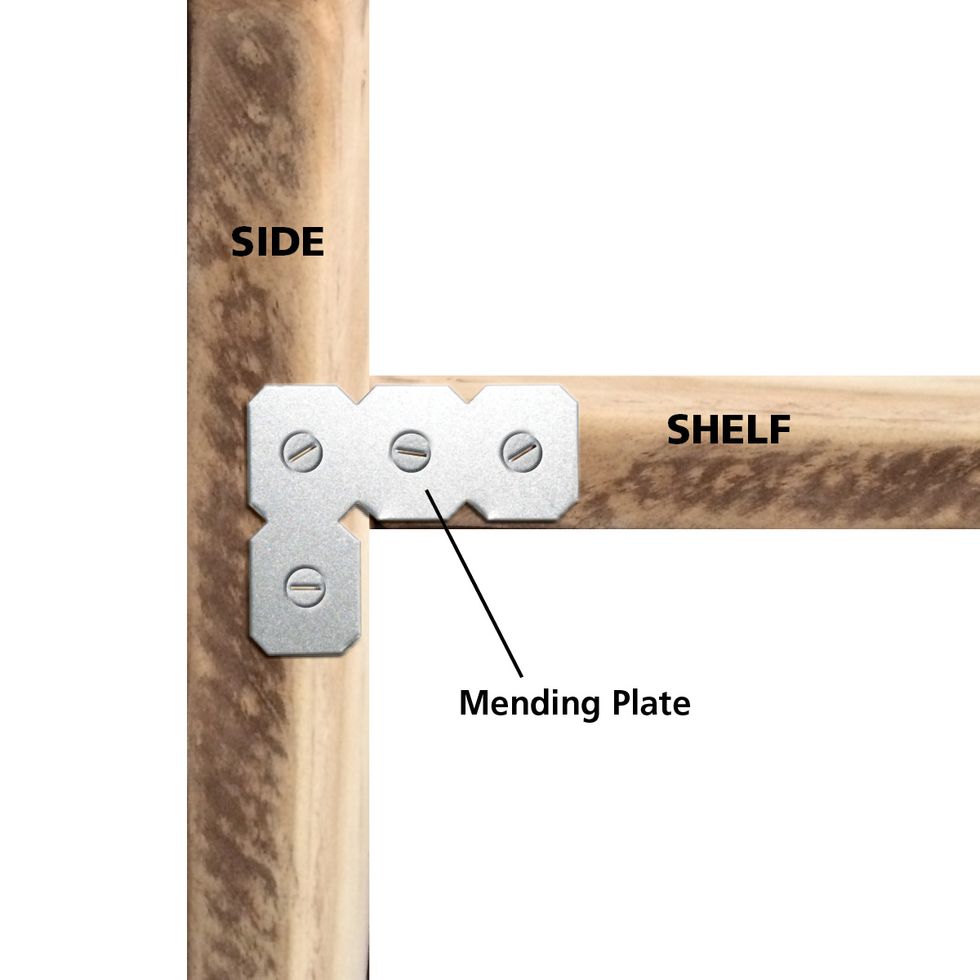
At the back of the unit use mending plates to reinforce each joint - all four corners and both ends of each shelf. This stops the shelves shifting backwards and forwards when you move the contents.
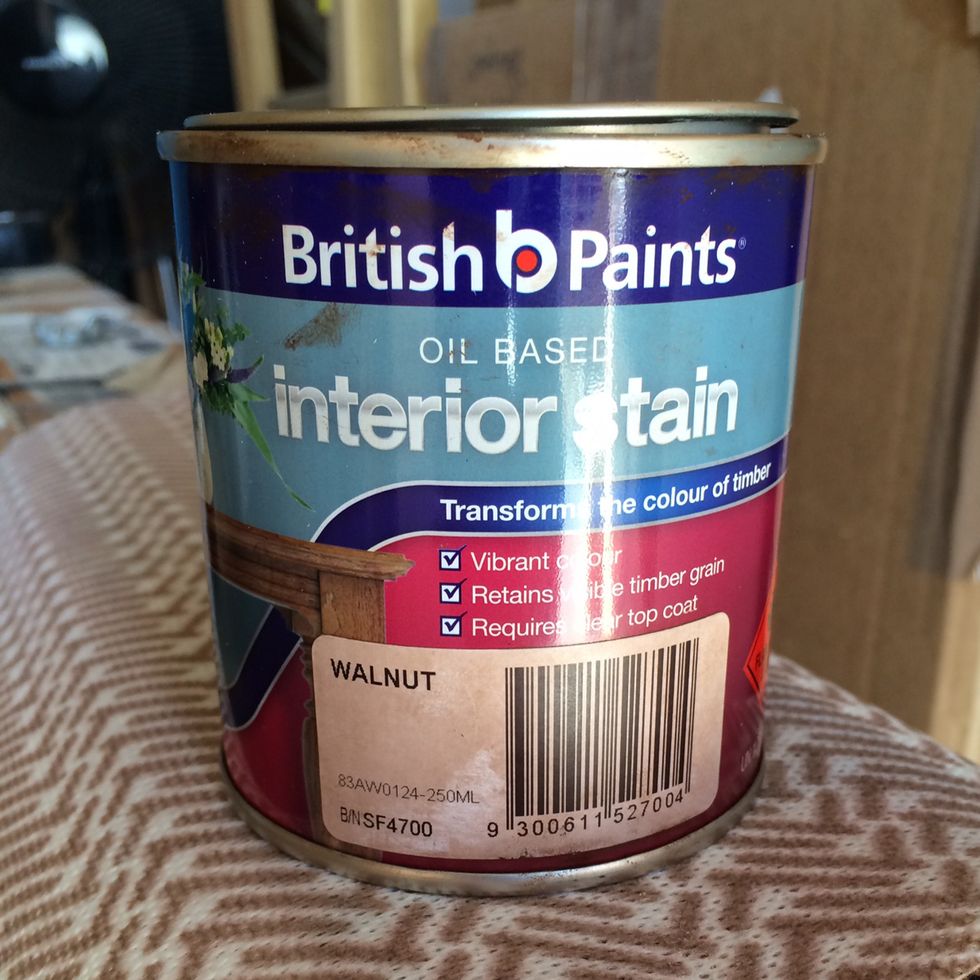
To finish this unit I used Walnut stain and applied with a brush which took a lot of sanding back. Try wiping stain on with a rag for lighter coverage. Sand back lightly until you like the result.
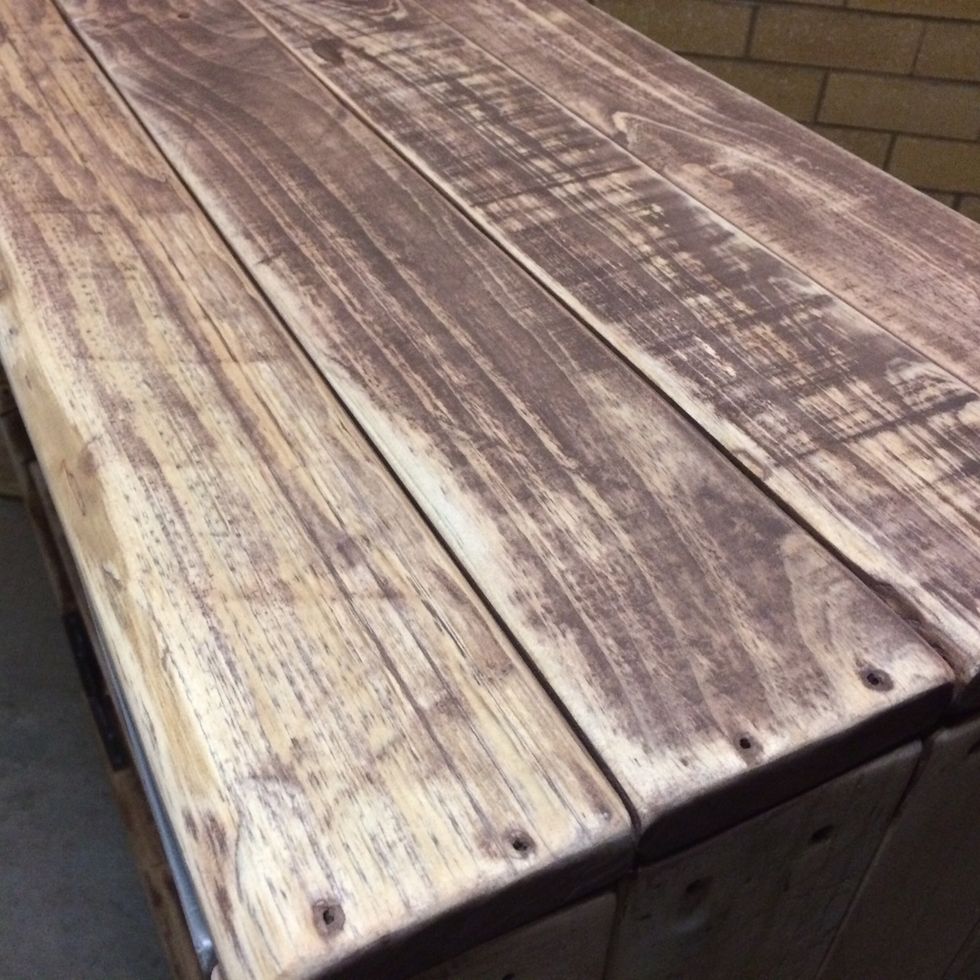
The Walnut stain is sanded back to give an aged and rustic look. Again, any imperfections or variations in stain density only add to this lovely forgiving style.
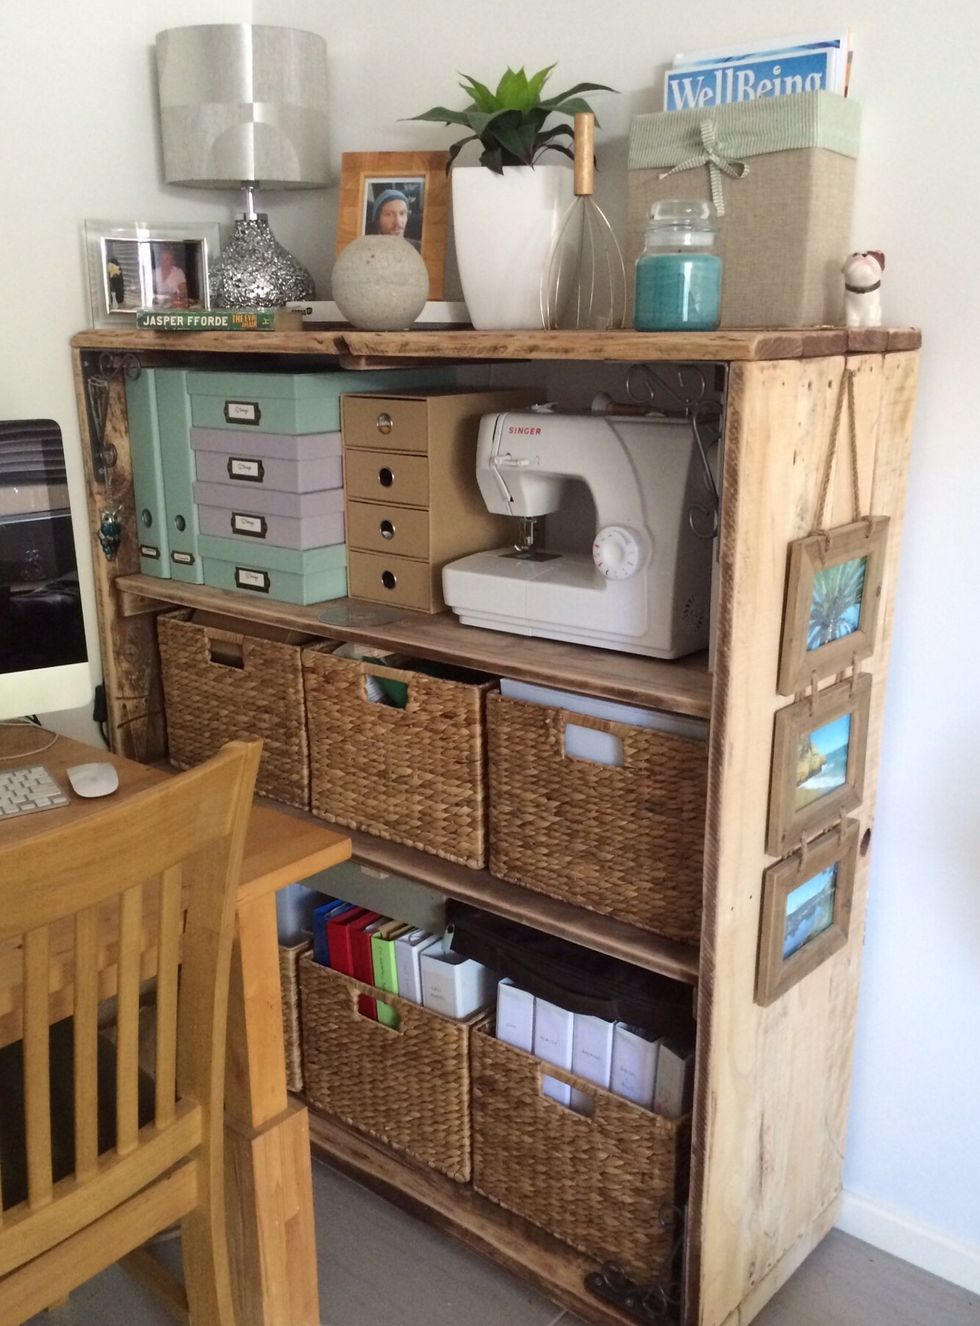
To complete your beautifully rustic storage, use woven or canvas baskets to hide your clutter, and organise home office items. Folders, drawers, boxes; you can never have too many storage solutions...
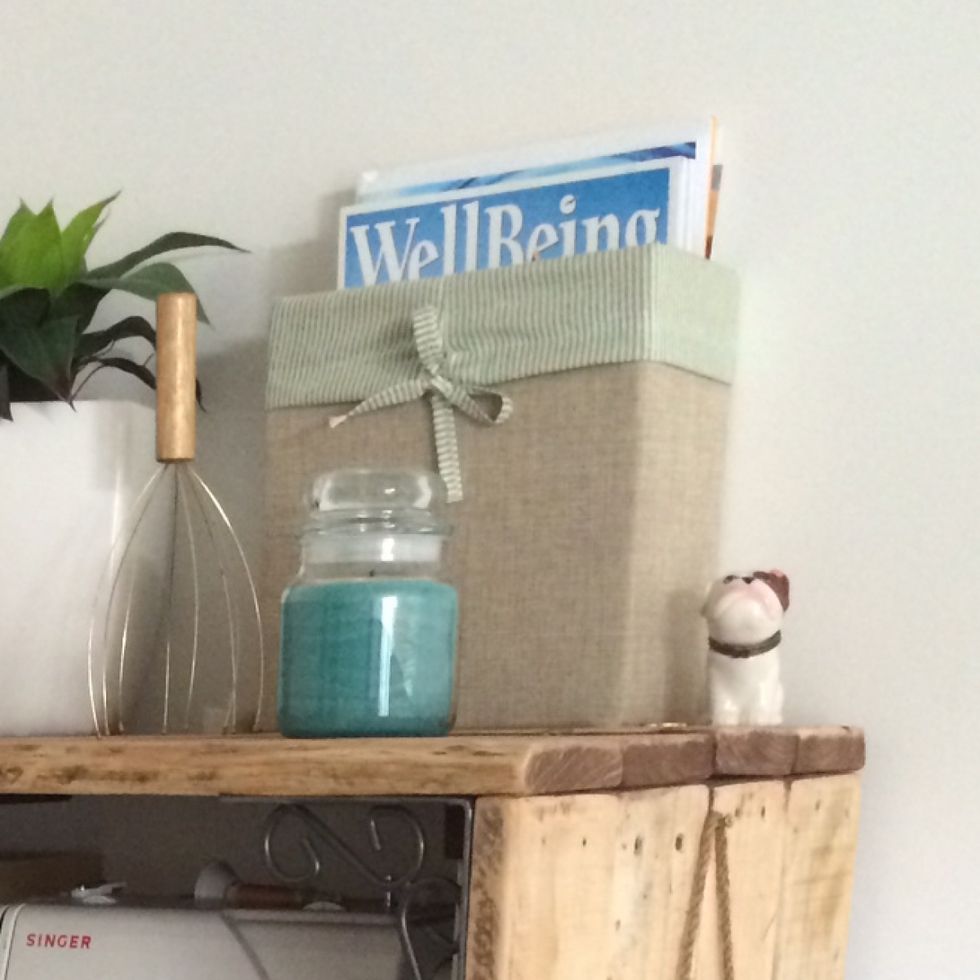
For example, this magazine holder is super useful and accessible but looks homely and hides my mess! Its made from a salad bowl box, burlap and linen leftovers… but that's another Snap Guide! ;-)