The Conversation (0)
Sign Up
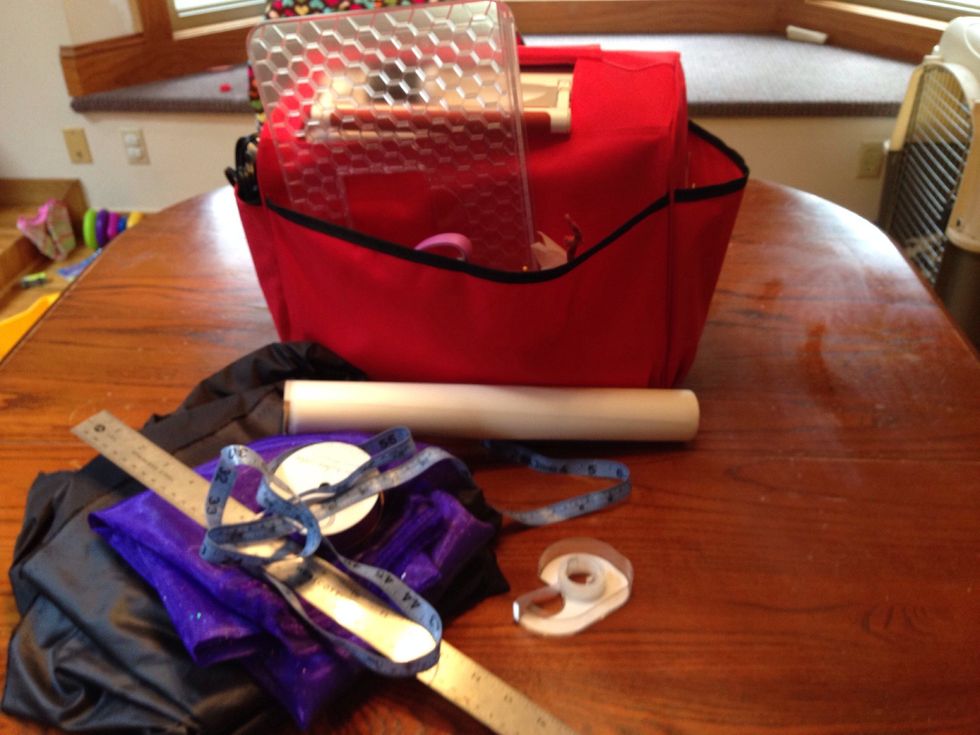
The wings for my daughter took a yard of fabric in each color. The black fabric is a synthetic material and the purple fabric is a sheer fabric.
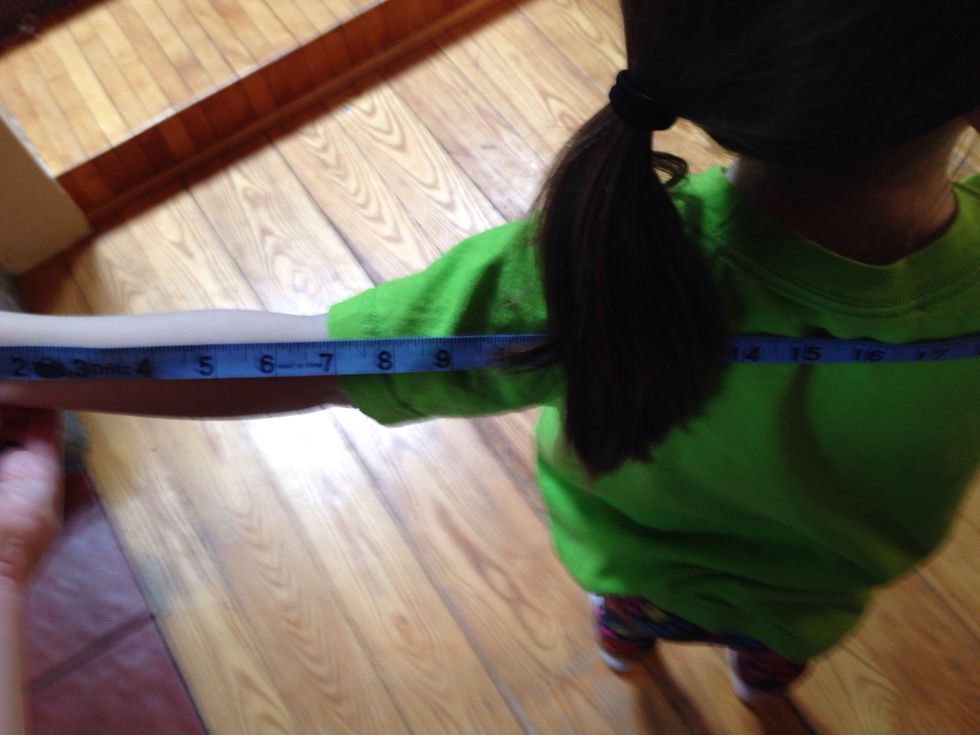
I measured my daughter from wrist to wrist then divided by 2.
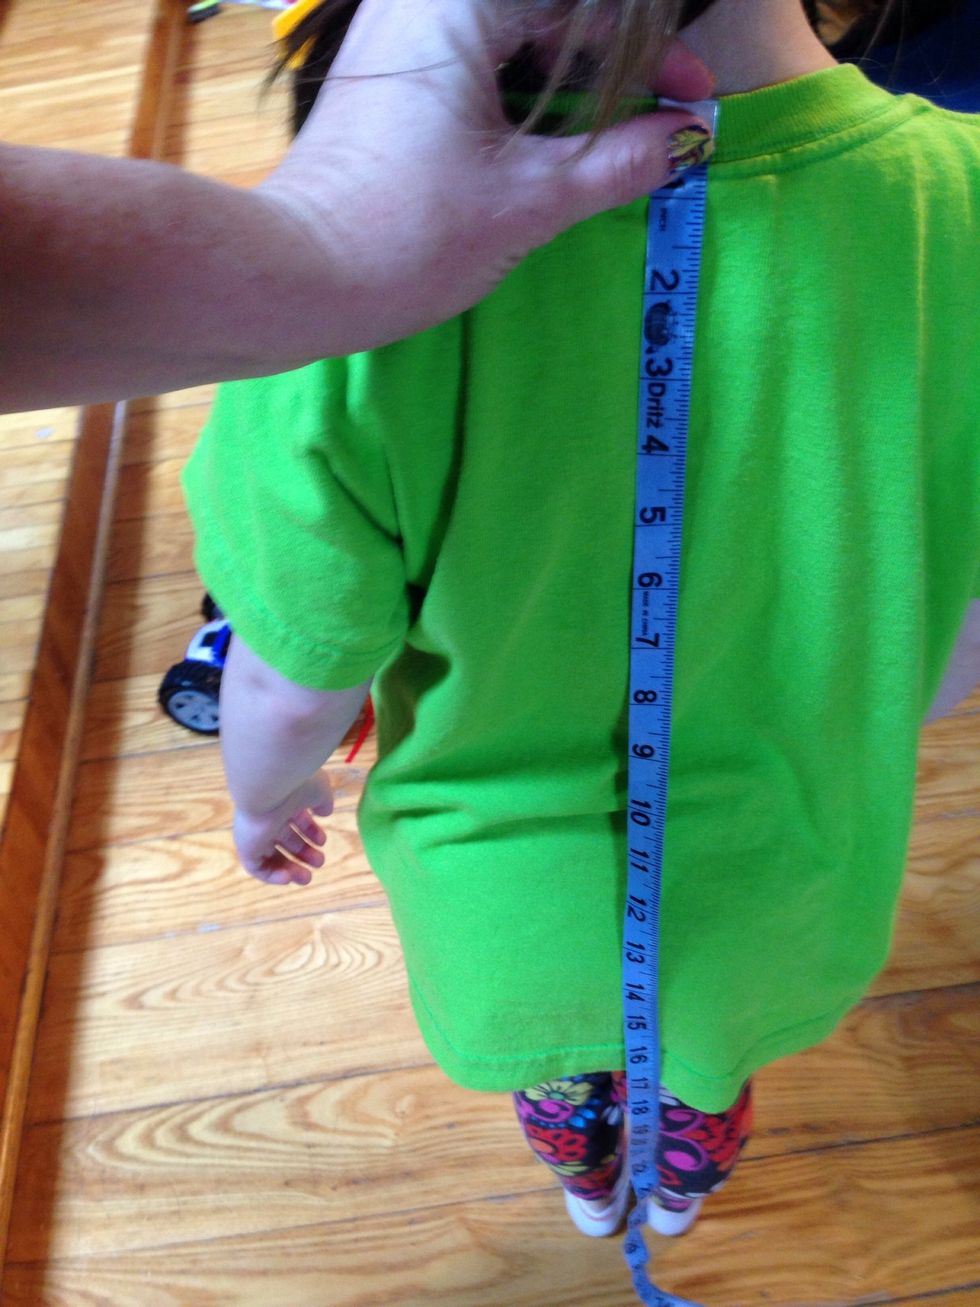
After dividing by 2 I checked to see how far down her back that would be then added 5 inches.
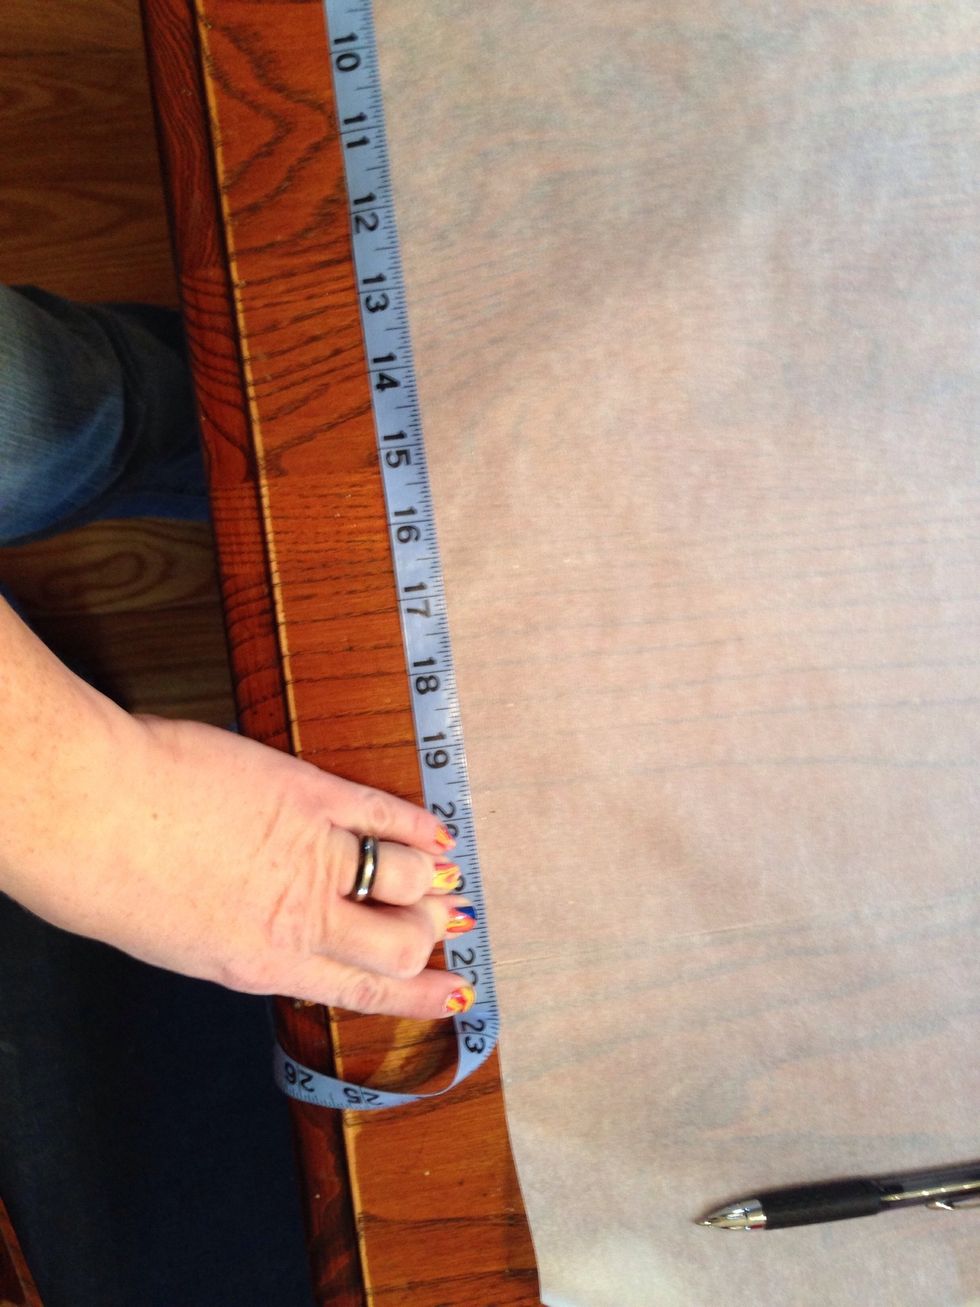
I then took my tracing paper and laid out enough to make a quarter of a circle pattern. I taped sheets together for the pattern. I measured out 22 inches and marked it on the paper.
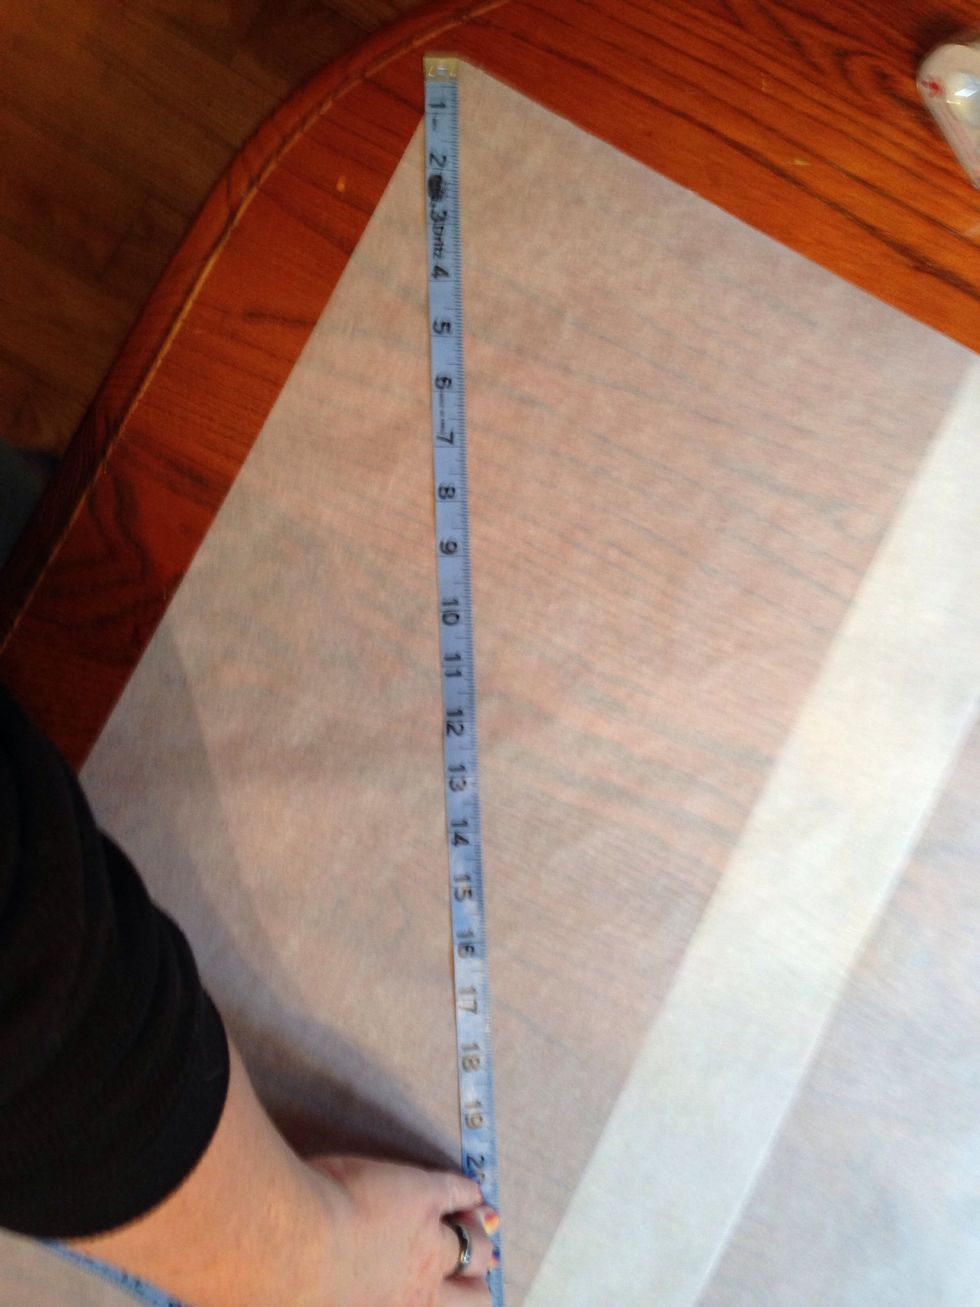
I then continued up the tracing paper measuring 22 inches at small intervals to make a quarter of a circle pattern.
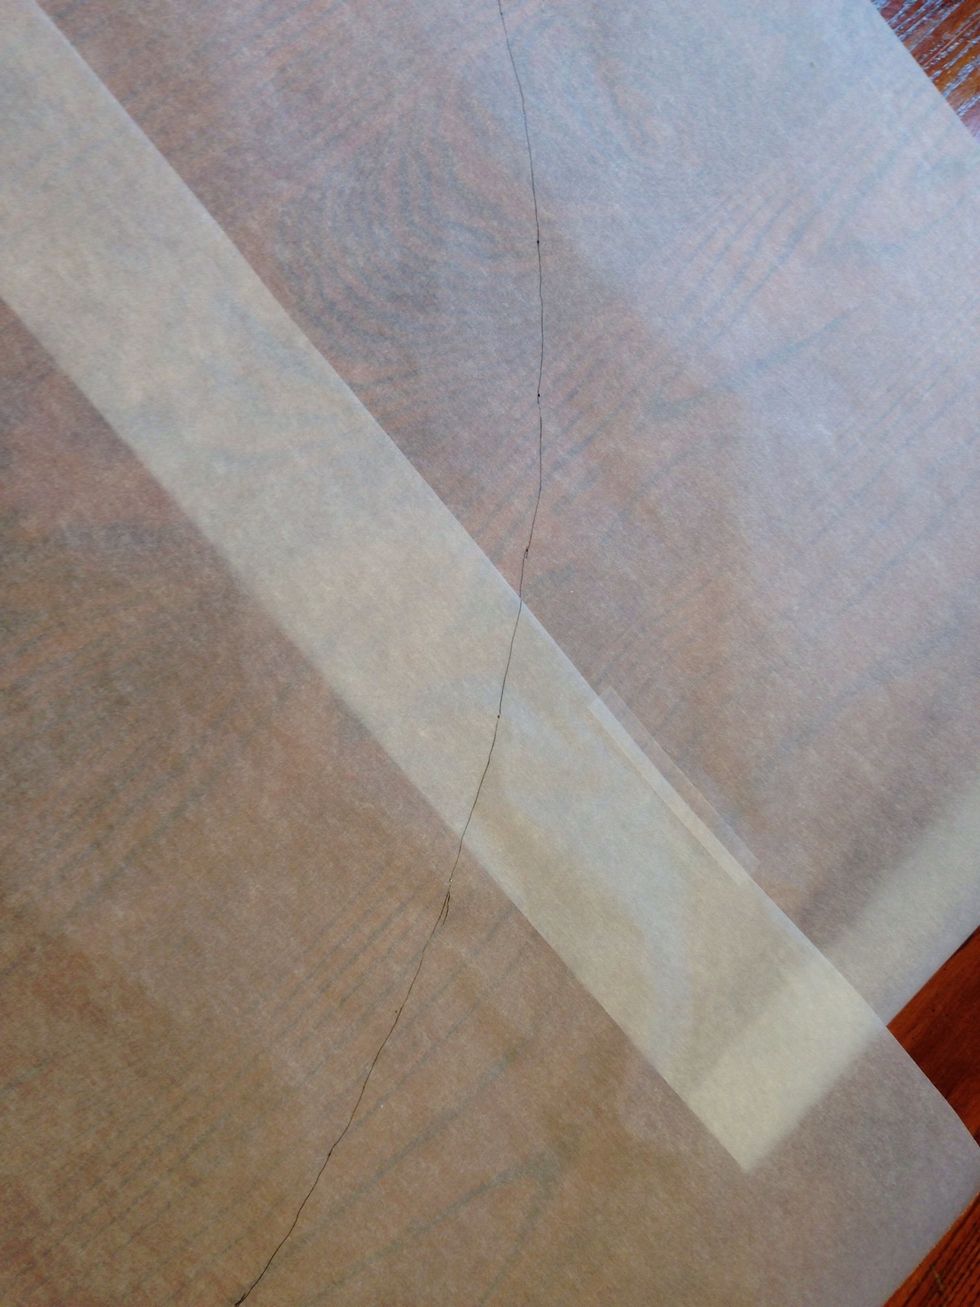
I connected my marks on the tracing paper to make my pattern.

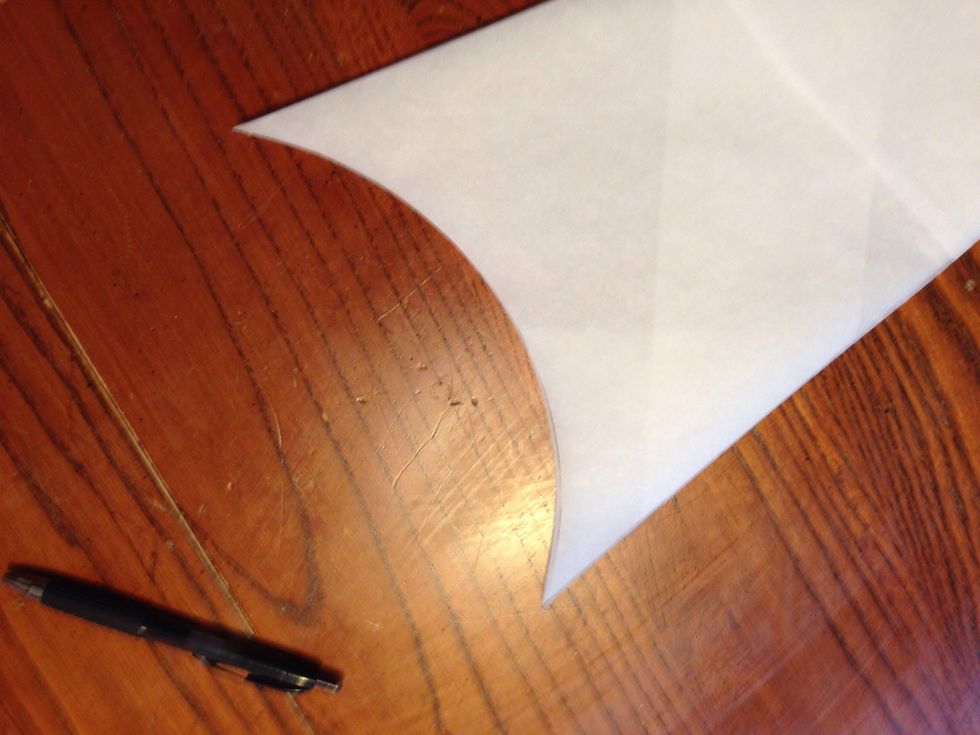
Then cut out the pattern.

This is optional. You only need to do these next few steps on the pattern if you want a scalloped look. Fold the pattern in half.

Optional step. Fold the top end over in half again.
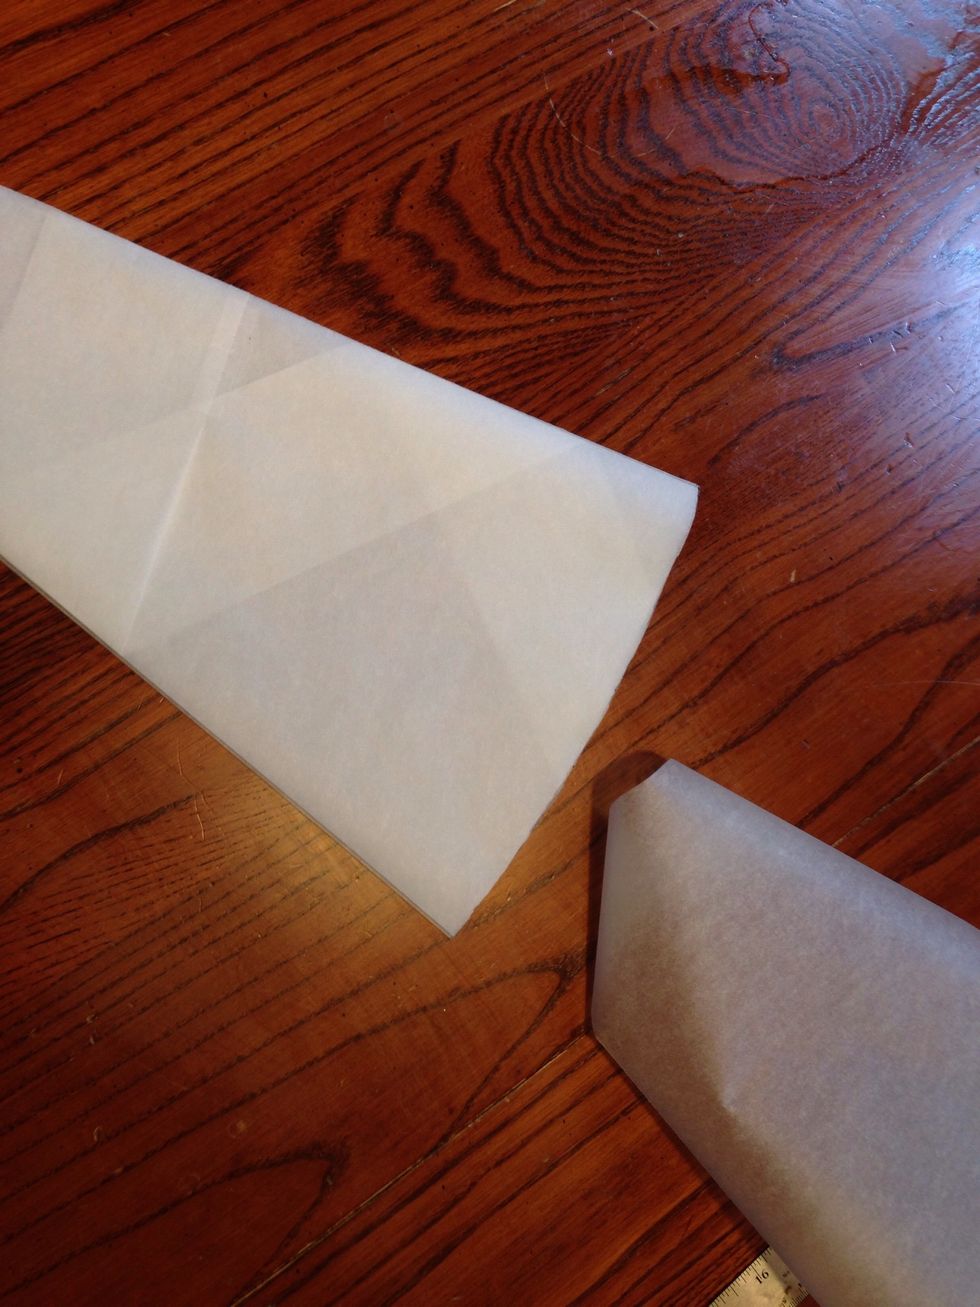
Optional step. Flip the pattern over and fold the other side in half.
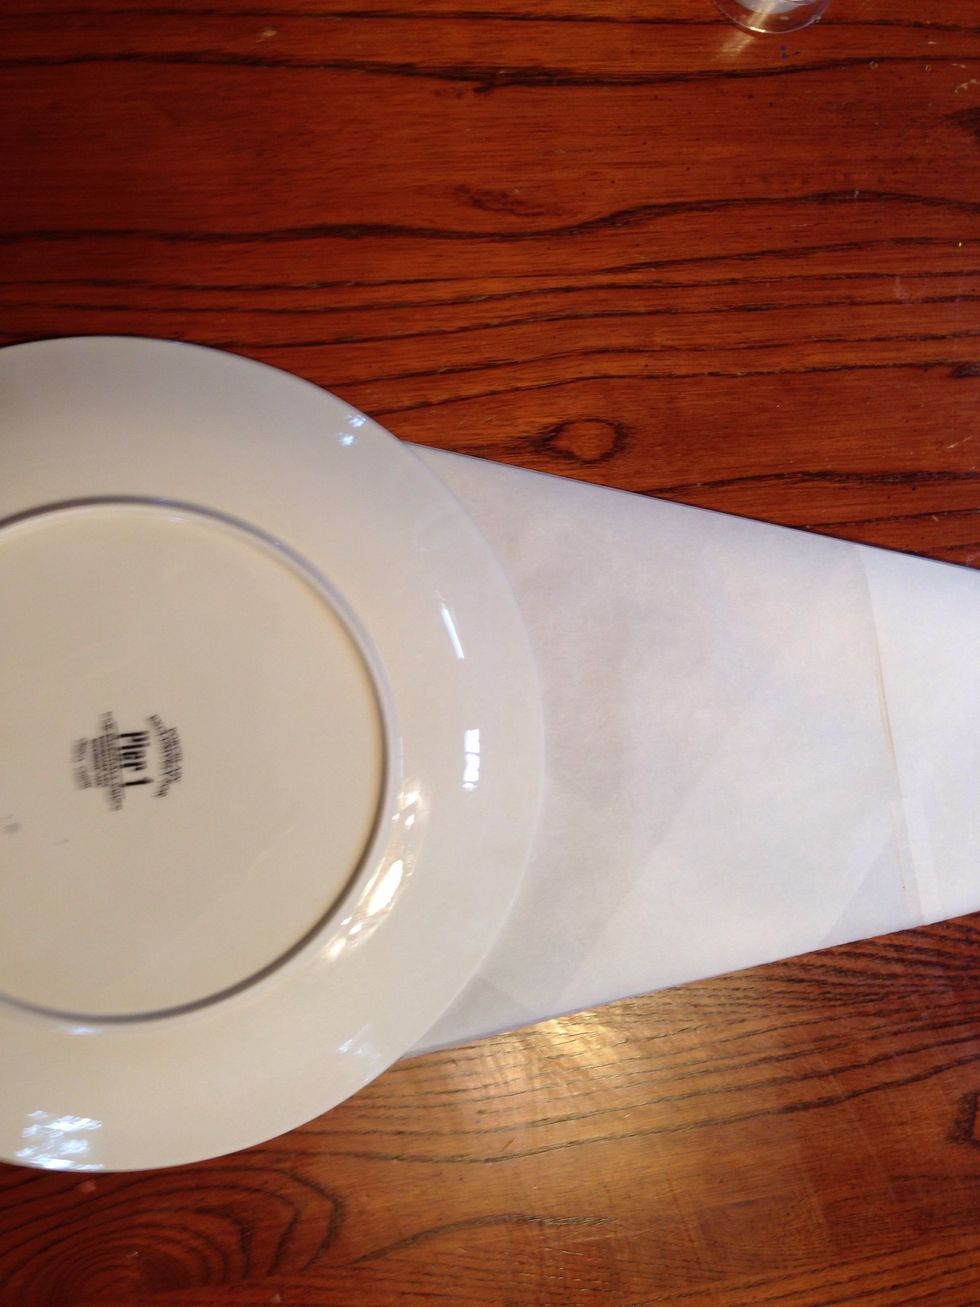
Optional step. I used a large plate to make the scallop. Trace the arc.
Optional step. Cut out the arc.

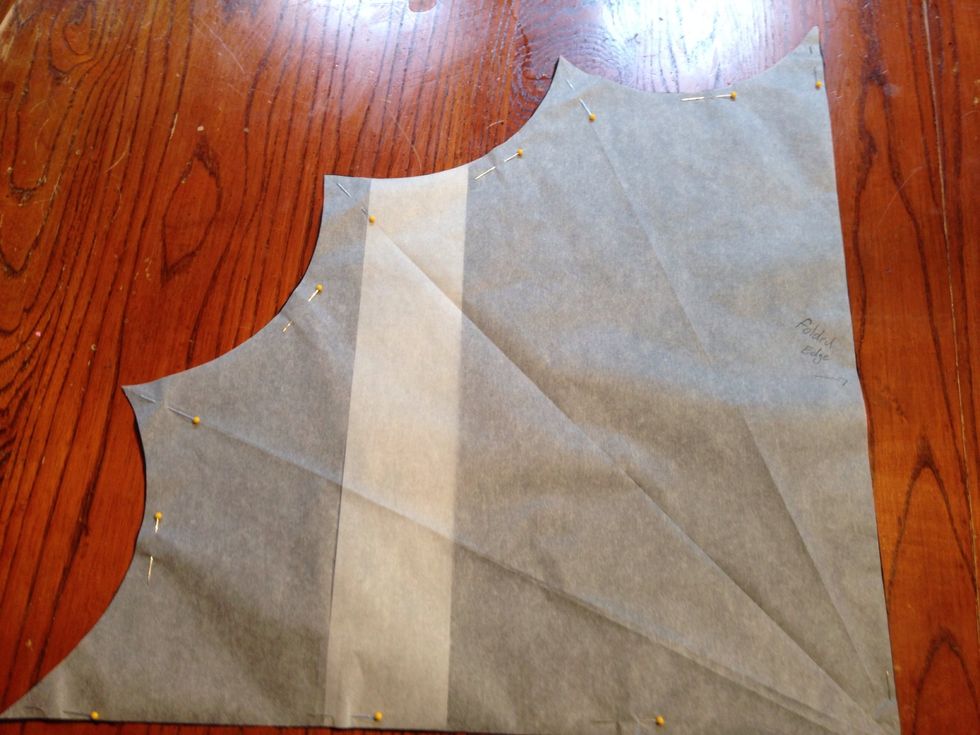
This is the pattern for the wings.
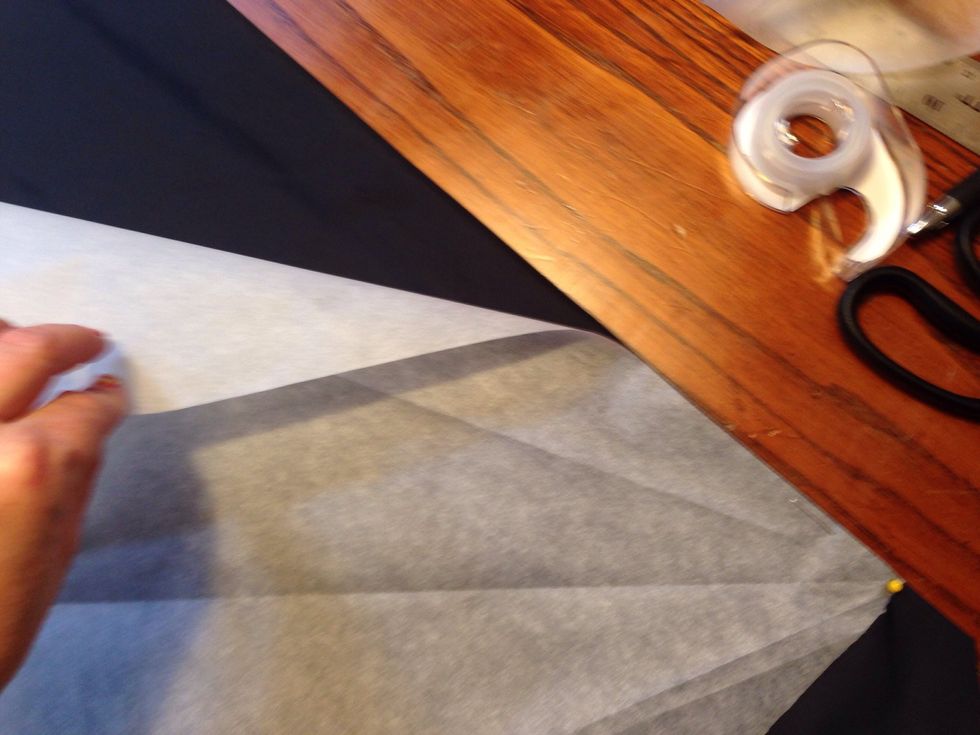
Place the pattern on the black fabric.
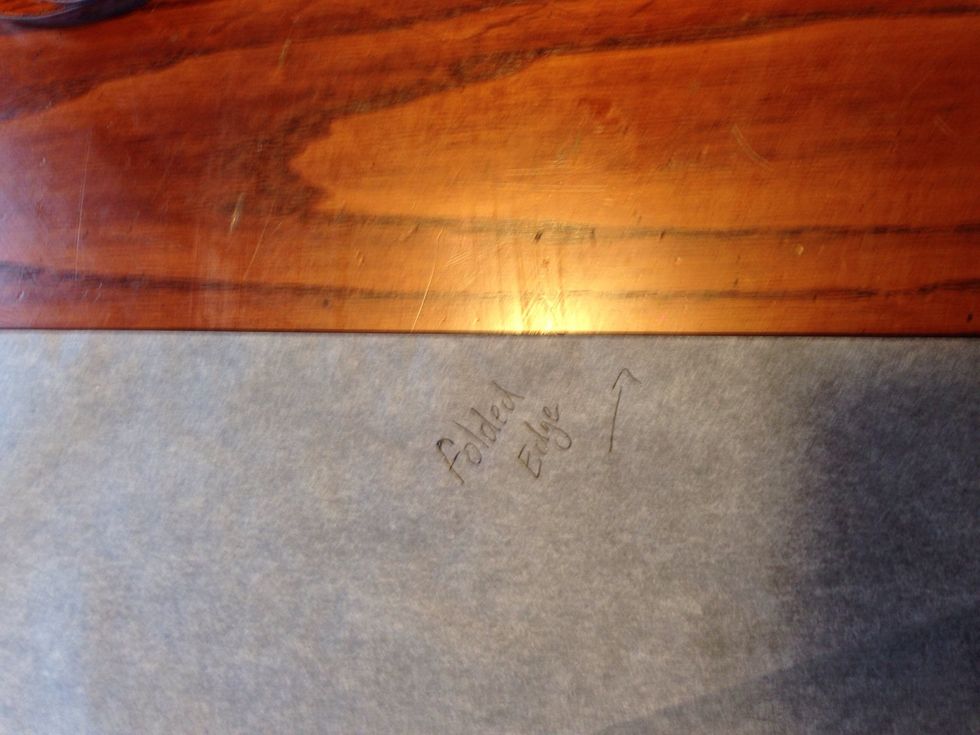
Make sure one of the pattern's edges is along the fold of the fabric.
Pin the pattern to the fabric.
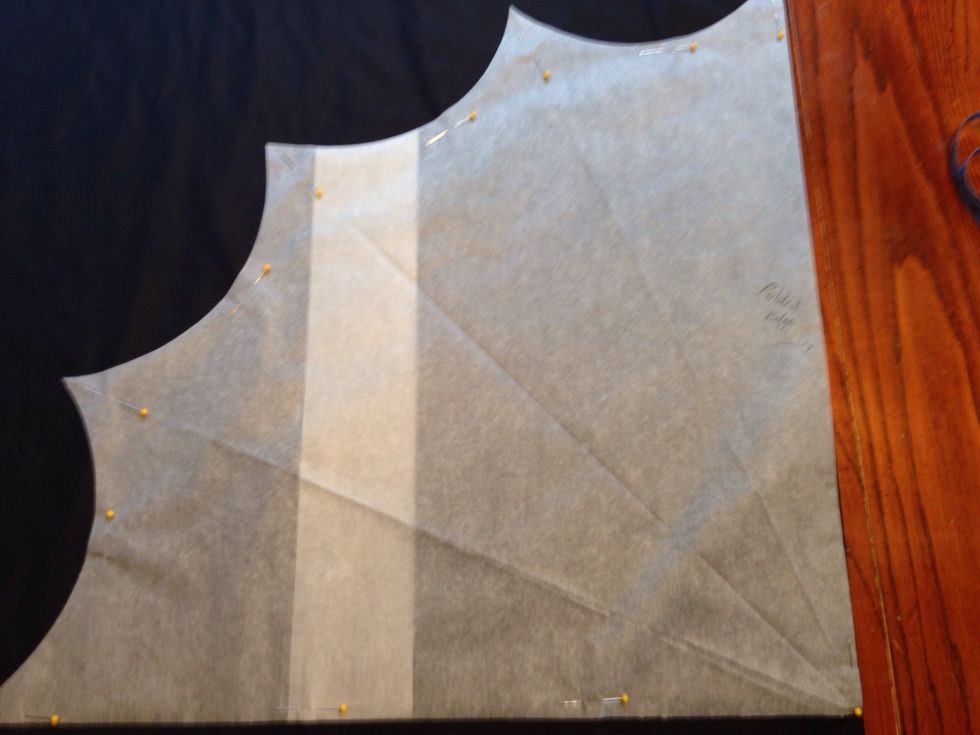
Cut the fabric along the pattern.
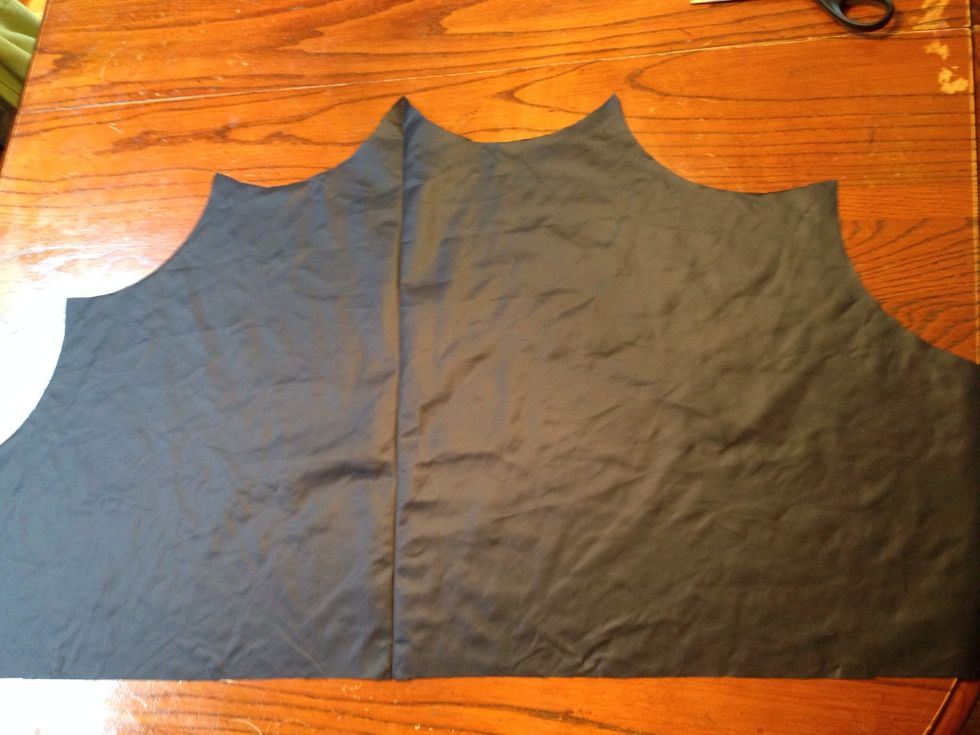
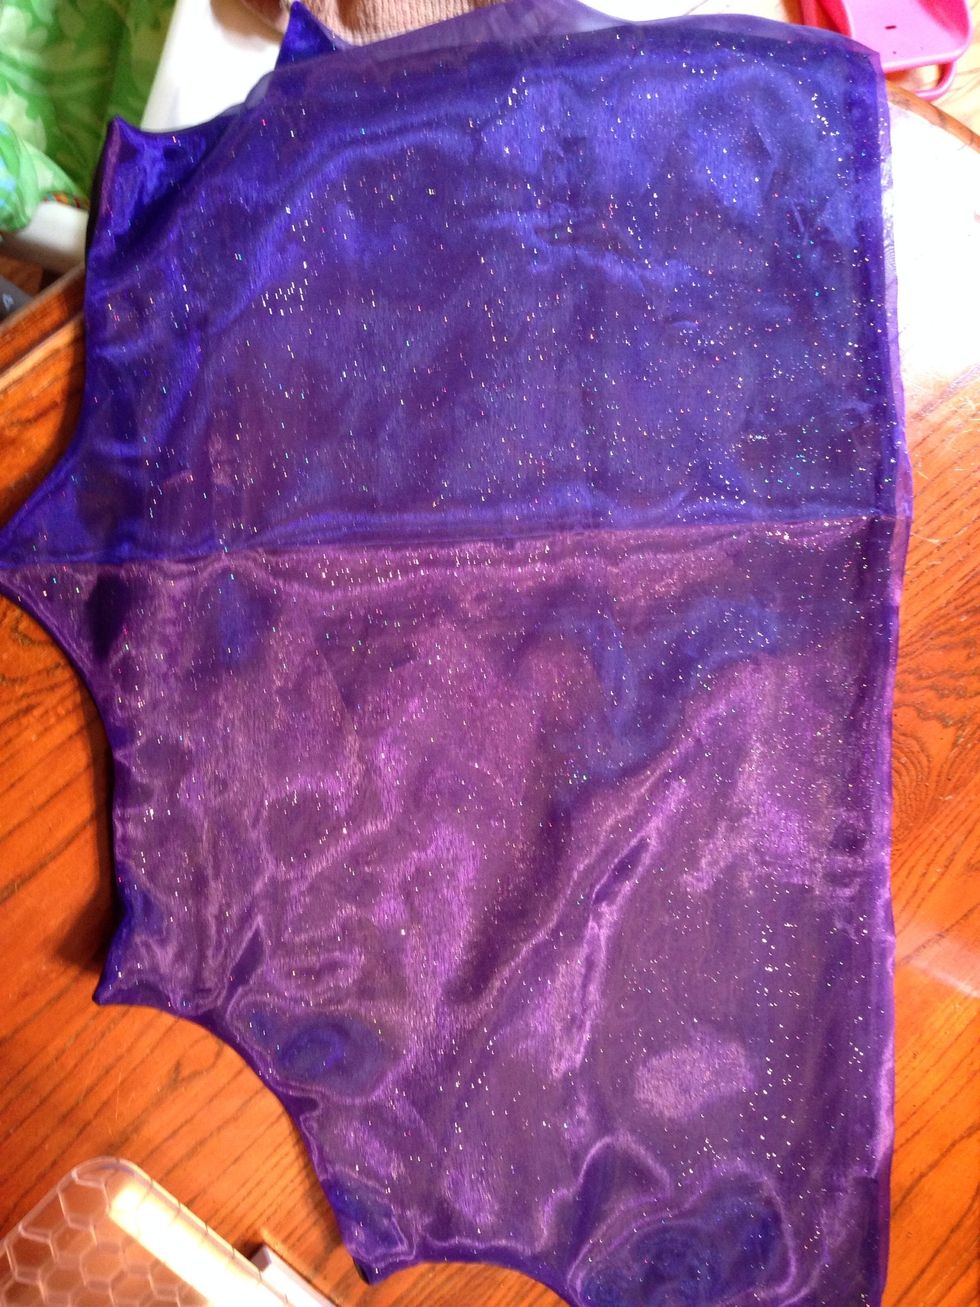
This is what the fabric should look like laid out flat. It is very important that the pattern is along the folded edge.

Follow the same steps for the colored fabric.
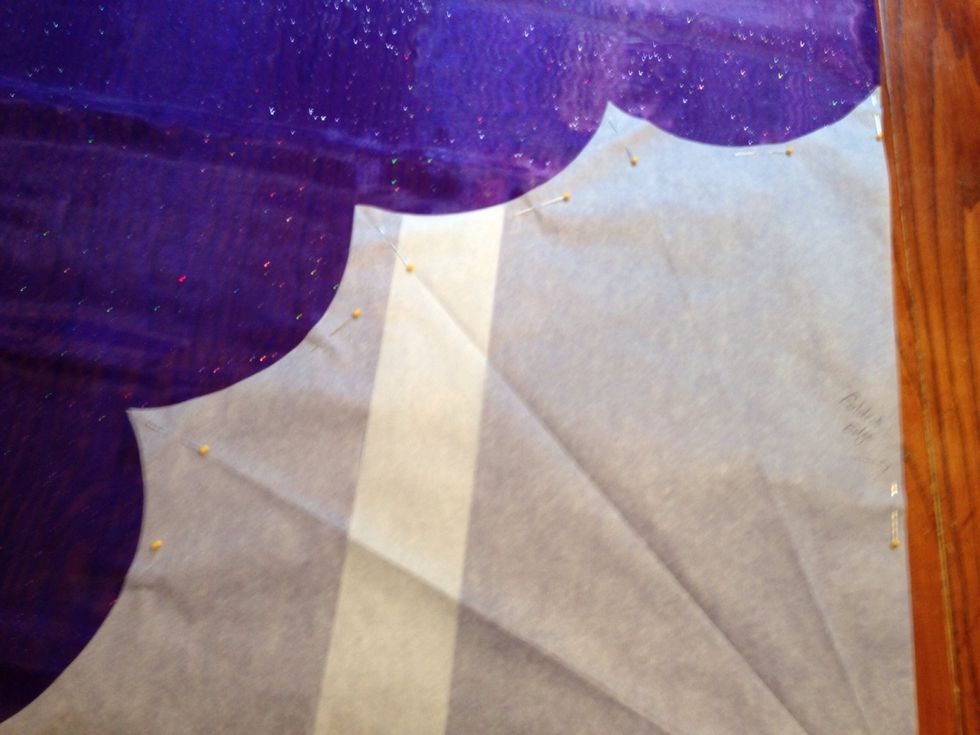
Pin the pattern to the fabric and cut it out.
Pin the black fabric and the colored fabric together. I pinned the fabrics together with the sides that would be facing out next to each other.
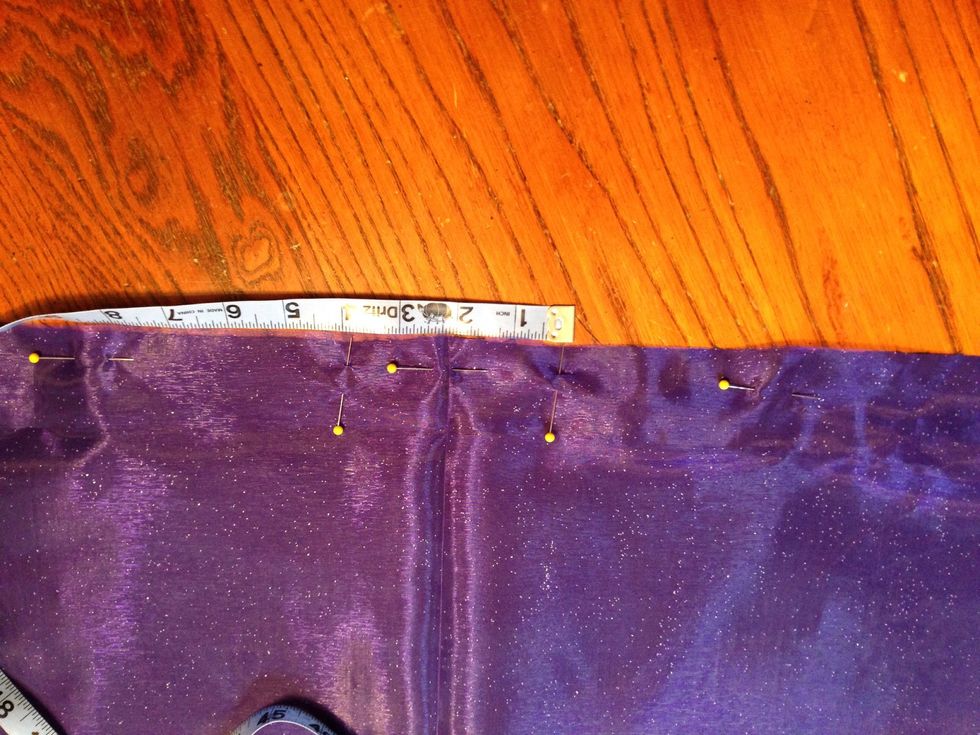
Along the straight side I marked about 4 inches where I wanted to leave it open. Do not sew this area. I placed the opening in the center of the wings.
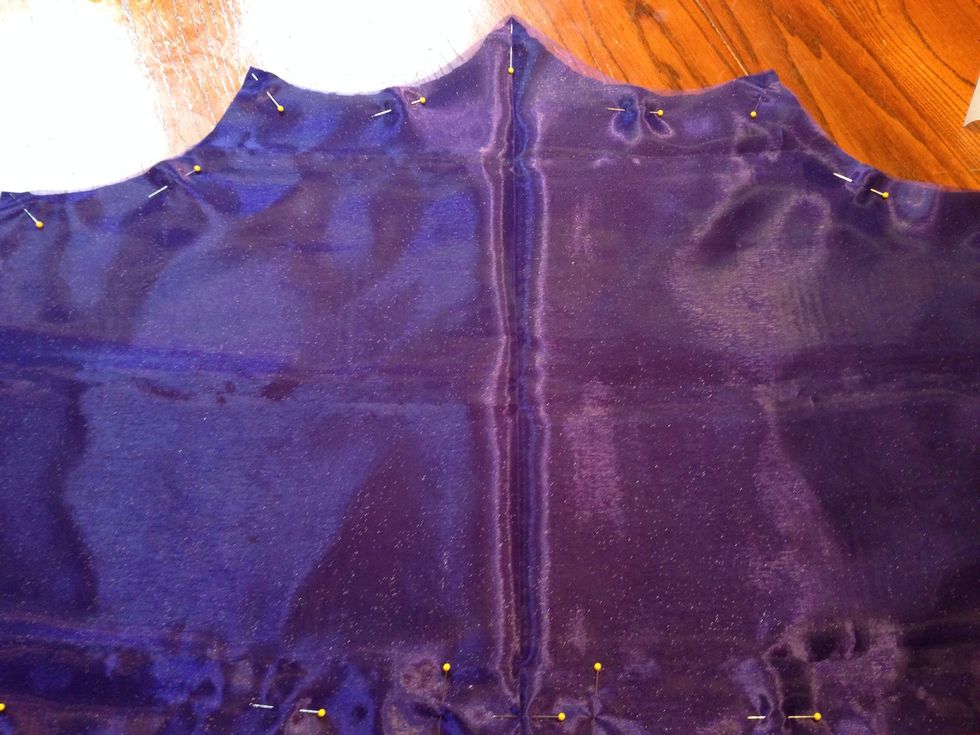
The fabrics are now pinned together and ready to be sewn.
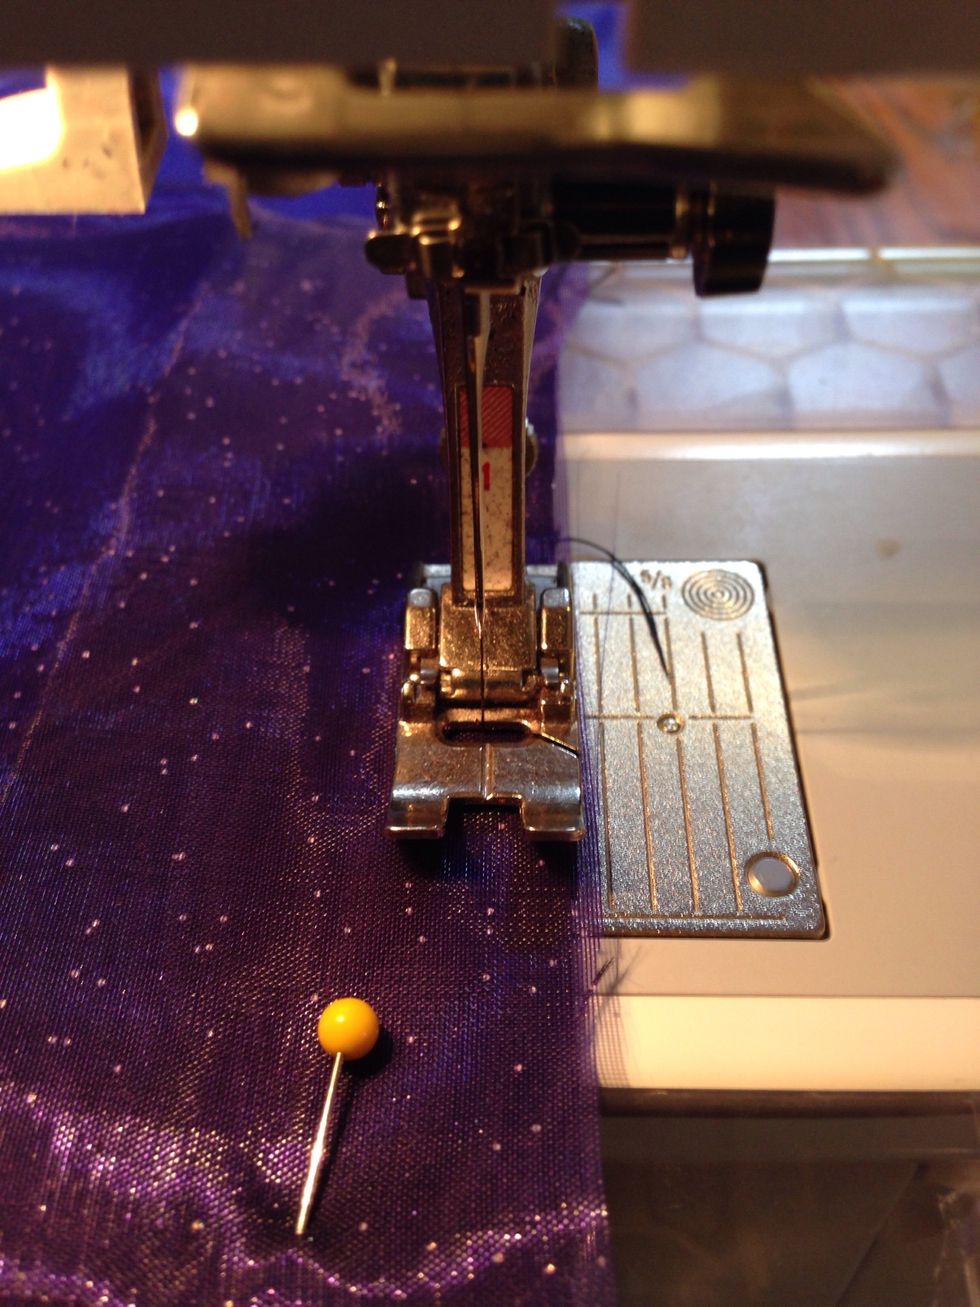
I sewed 1/4 inch seam all the way around.
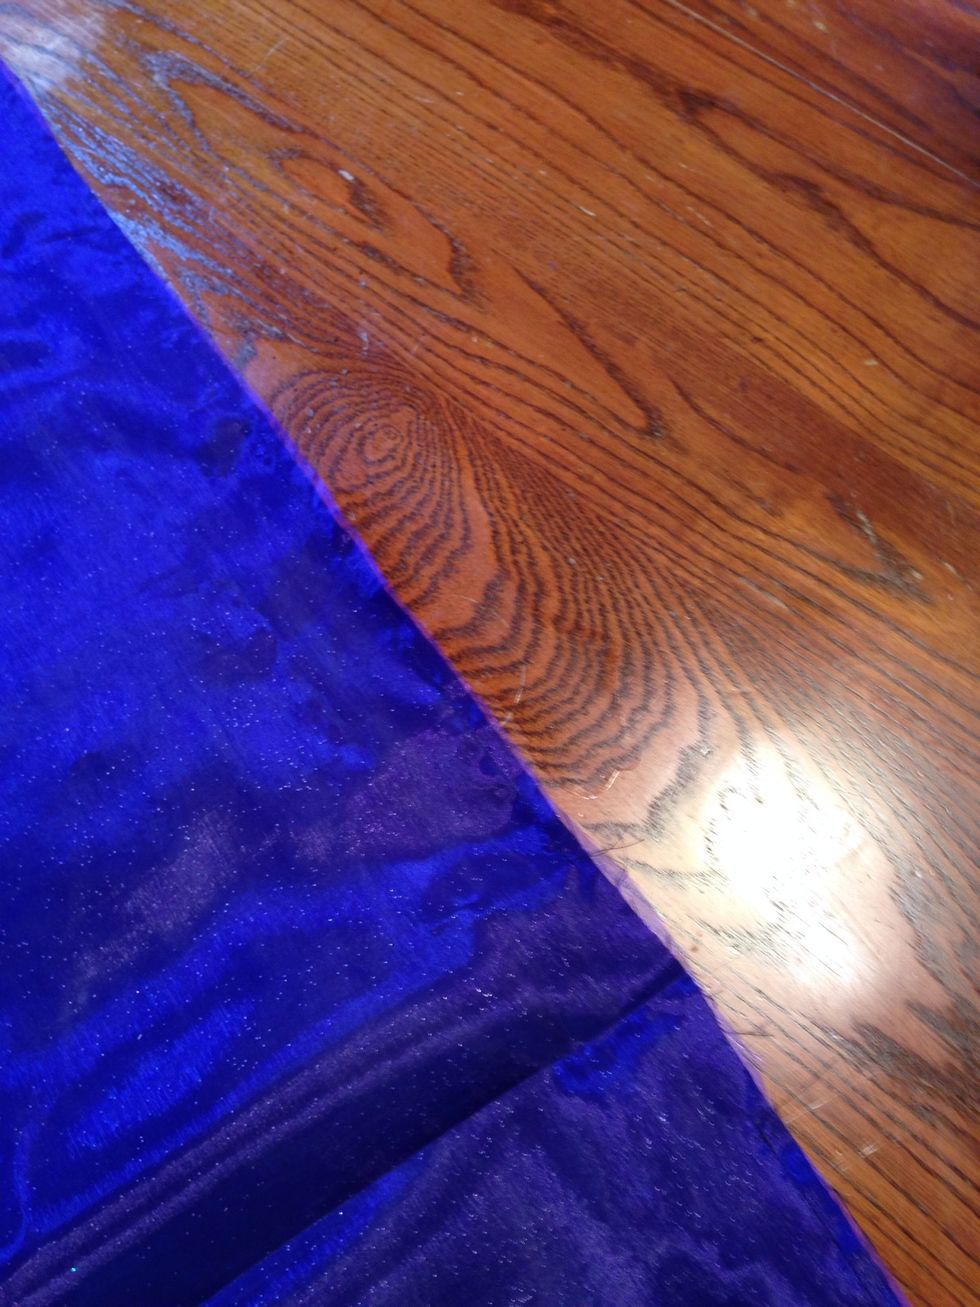
Sewn together except for the 4 inches.
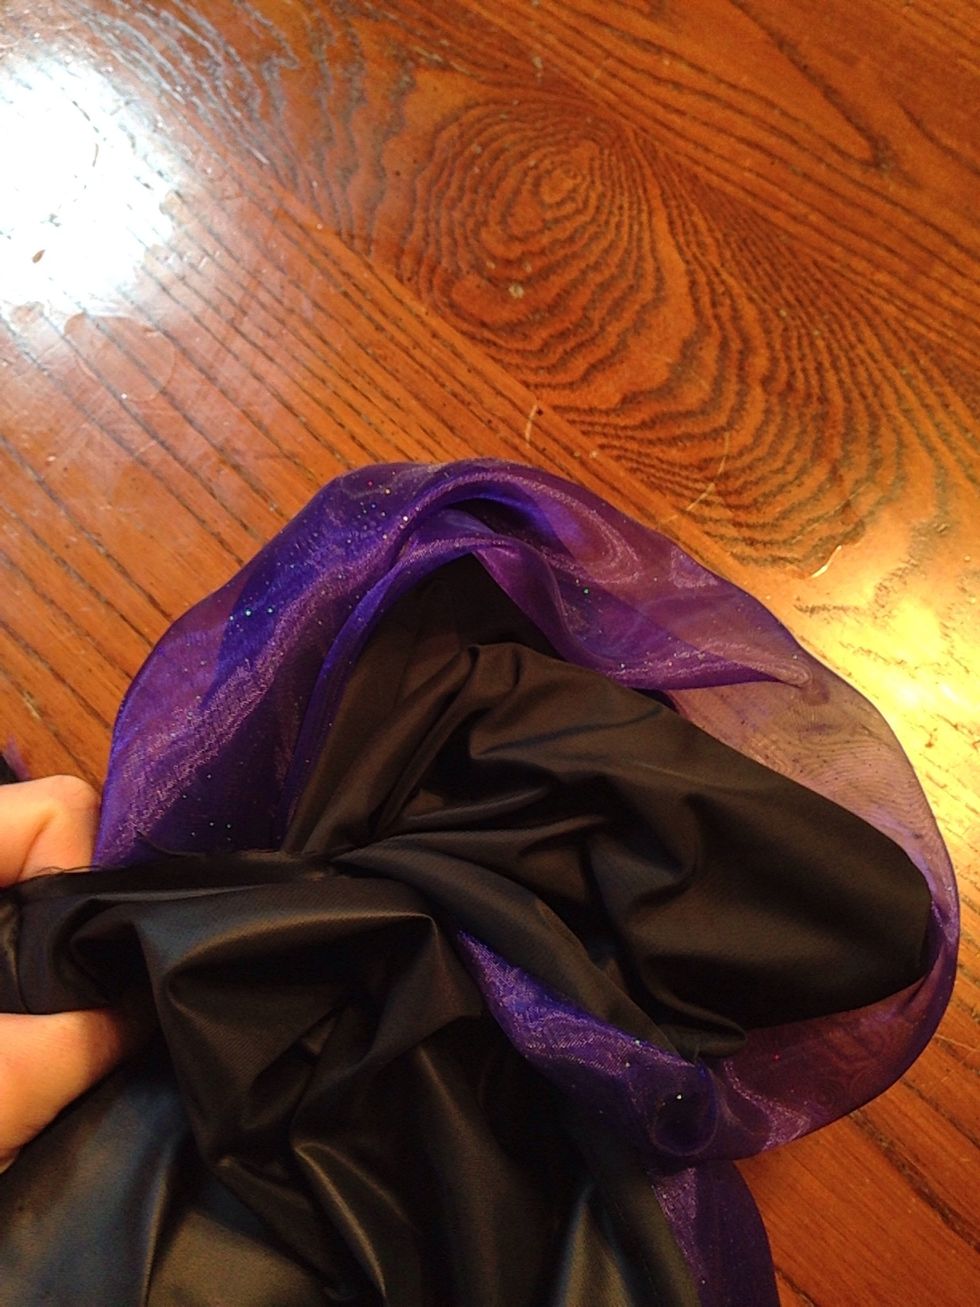
Start to turn it inside out.
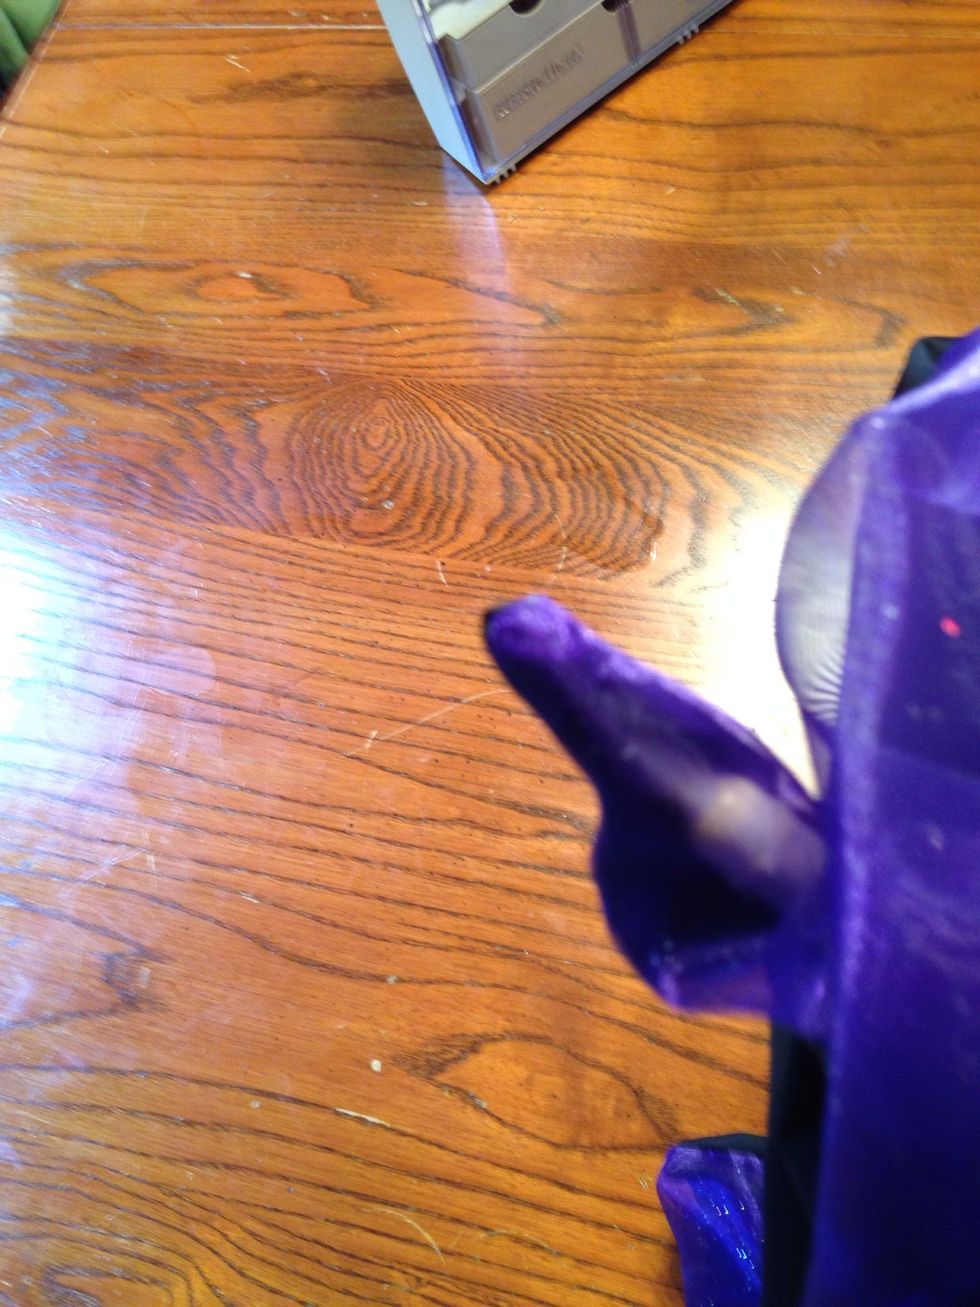
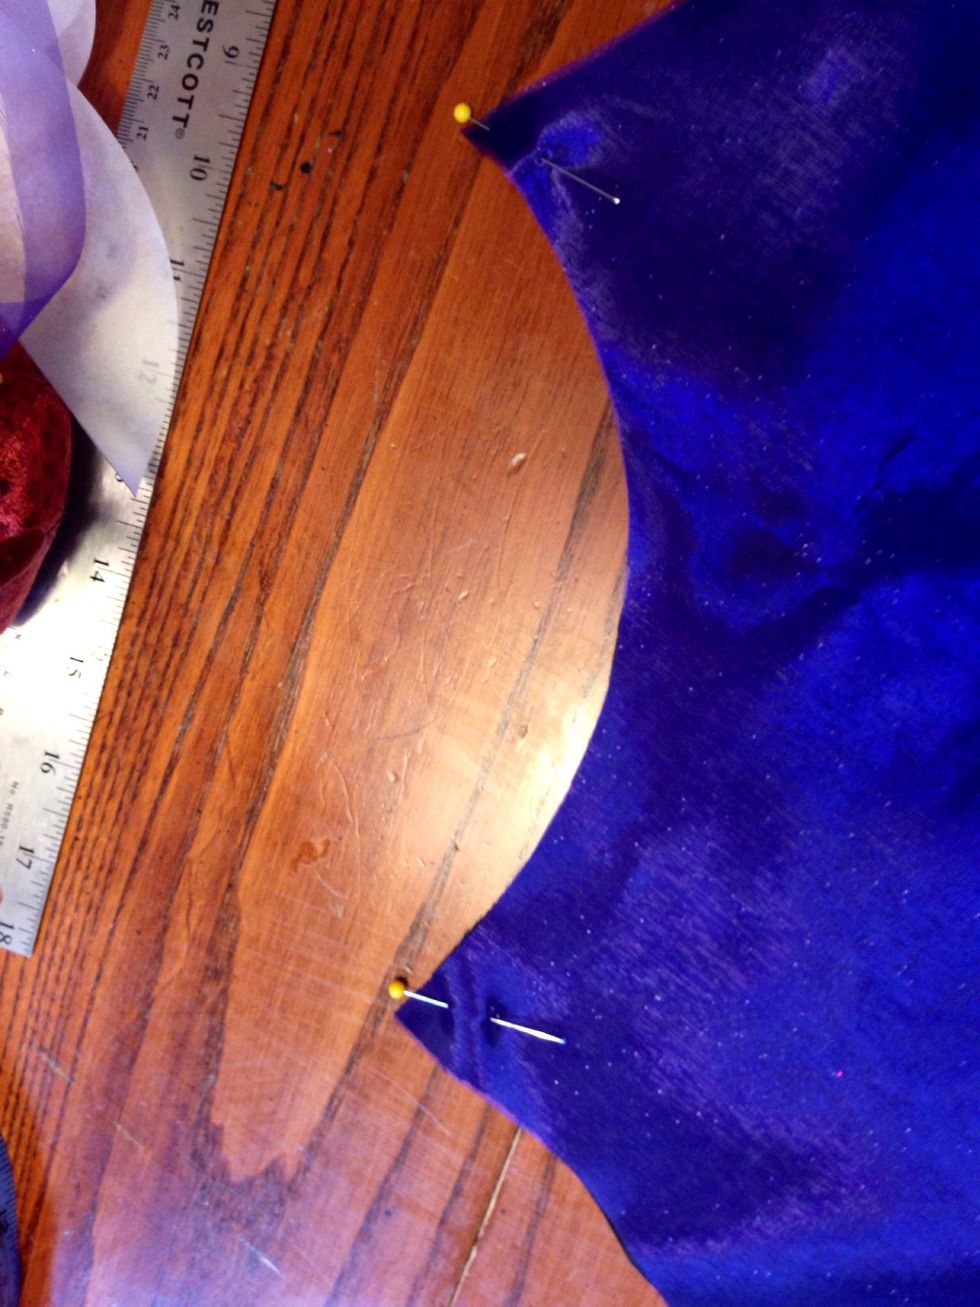
Once the wings are turned inside out work on the points of the scallops if you made them.
This is what the wings looked like after pulling the points out.

I marked the 4 inch opening with pins so I would know where to sew the ribbon for the neck.
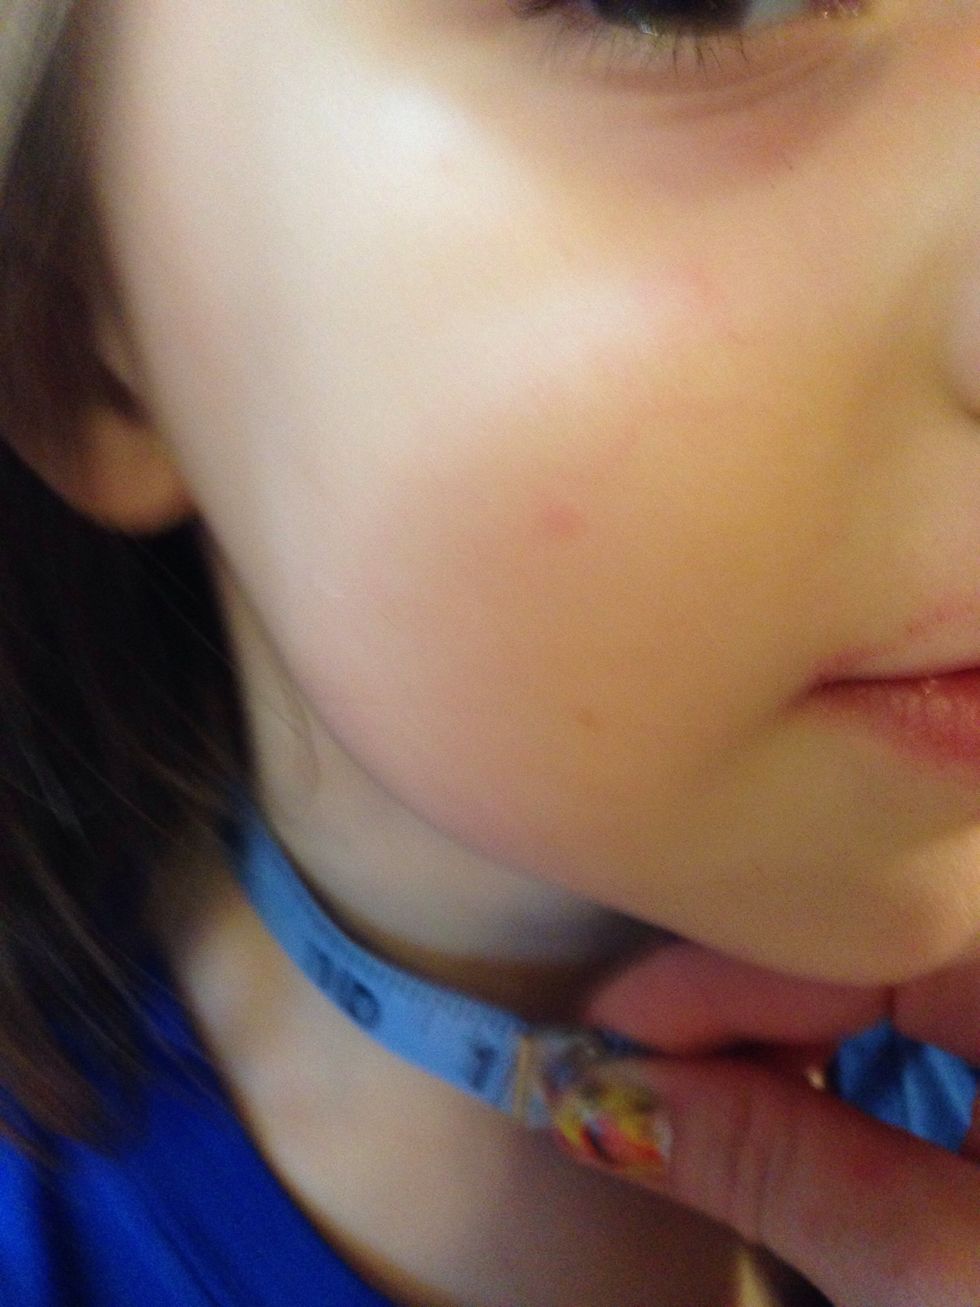
I measured my daughters neck.
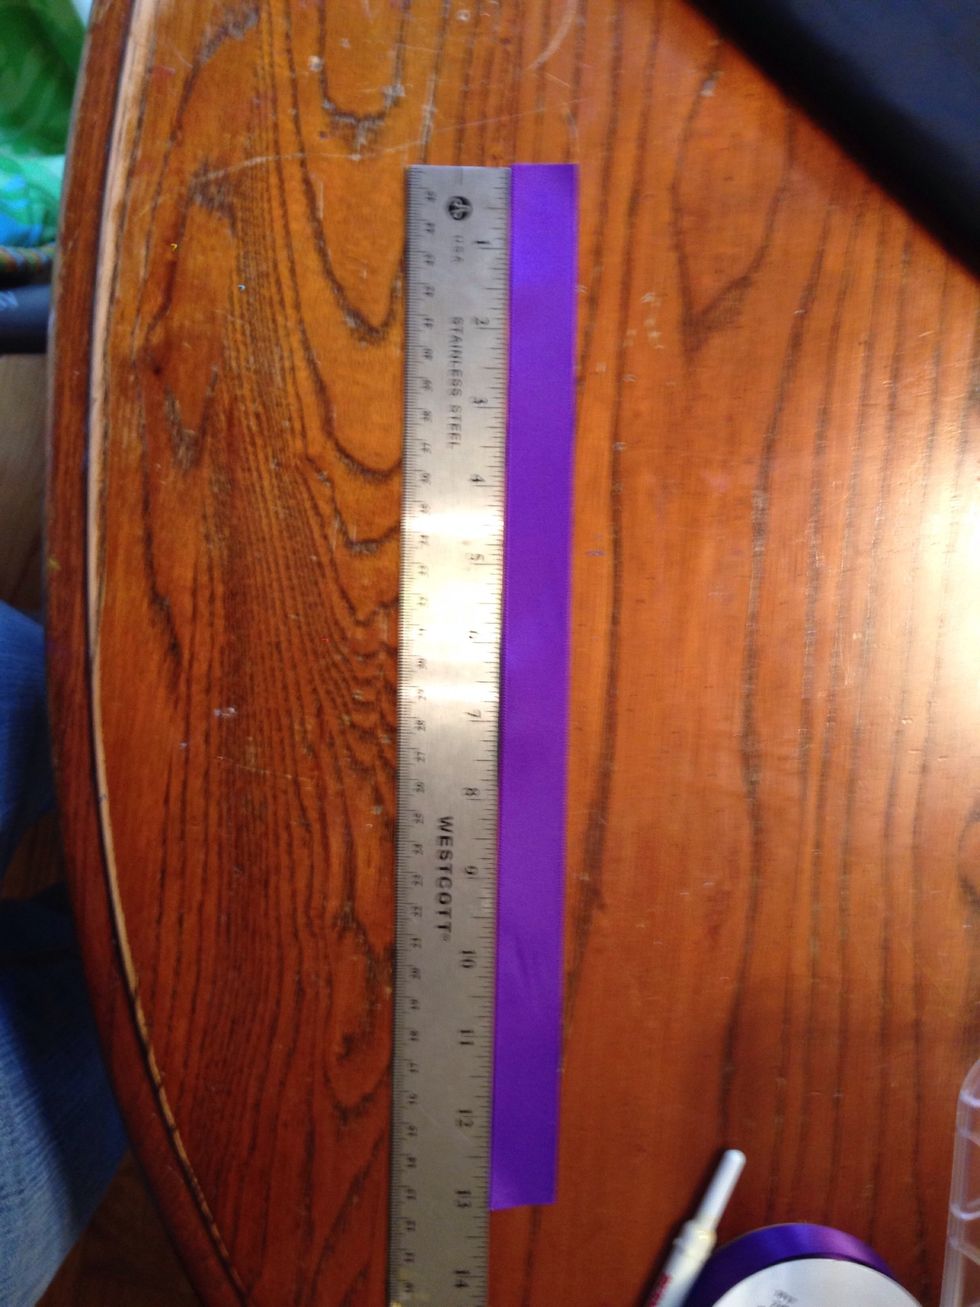
I then cut the ribbon a couple of inches bigger then her neck measurement.

I folded the ends of the ribbon over and sewed them so they wouldn't fray.

I then sewed the ribbon onto the wings across the 4 inch opening.
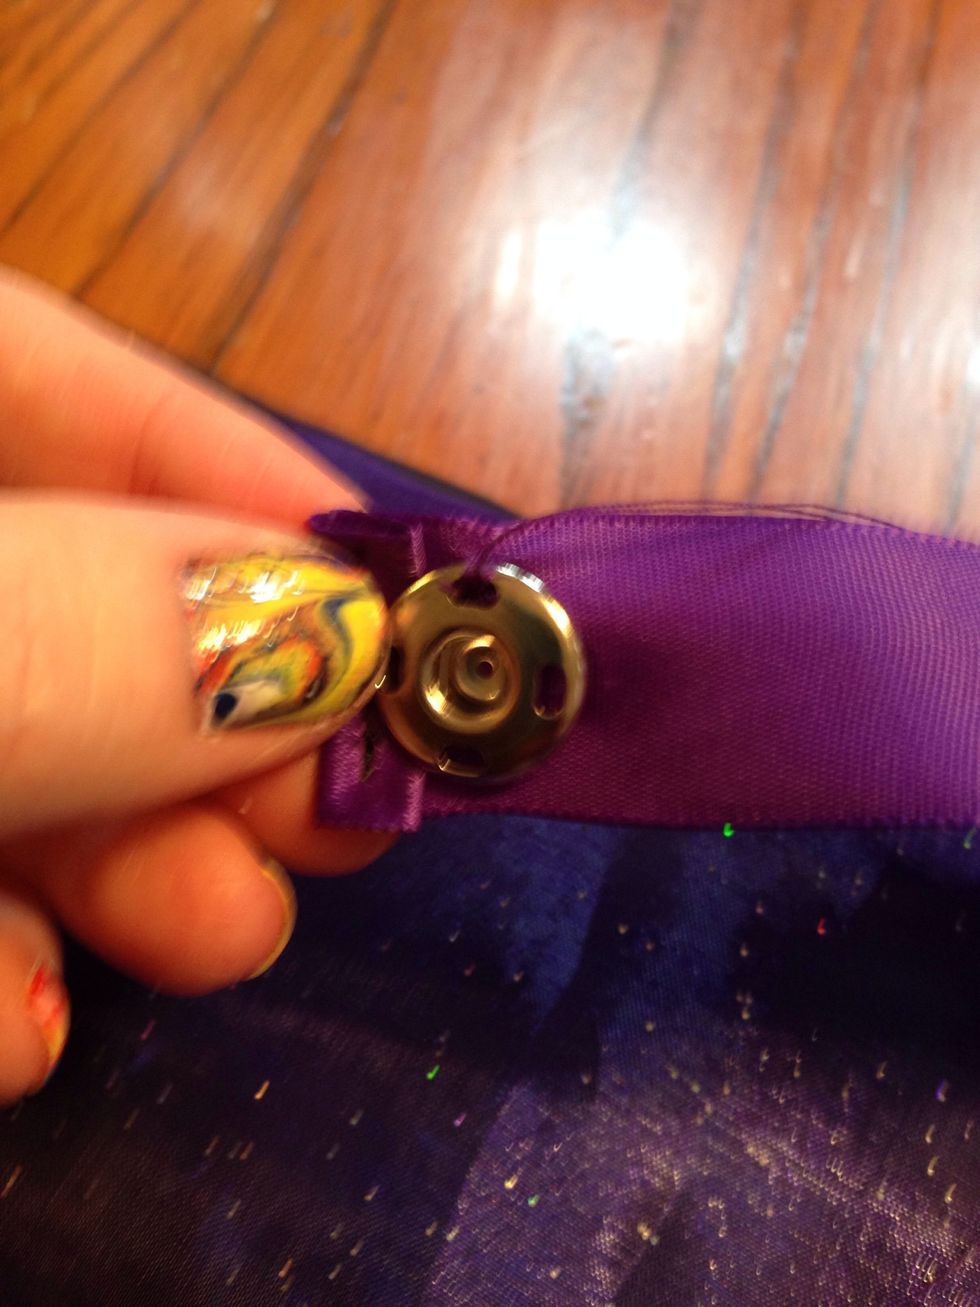
I then sewed a snap in place on both ends of the ribbon.
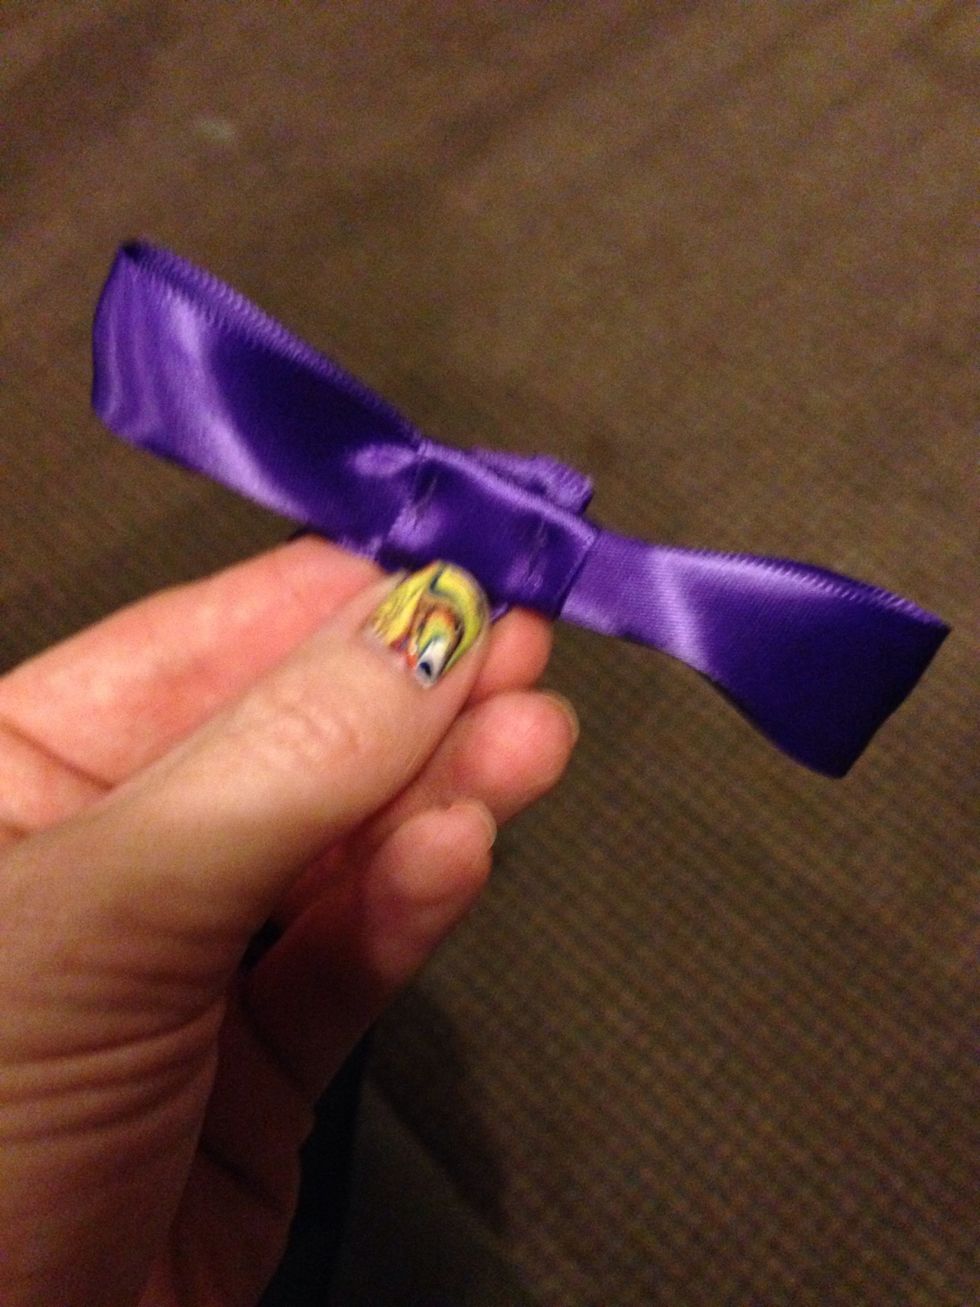
You can add any type of embellishment to cover of the snaps.

For the wrists I cut long pieces of ribbon to tie on the wrist.
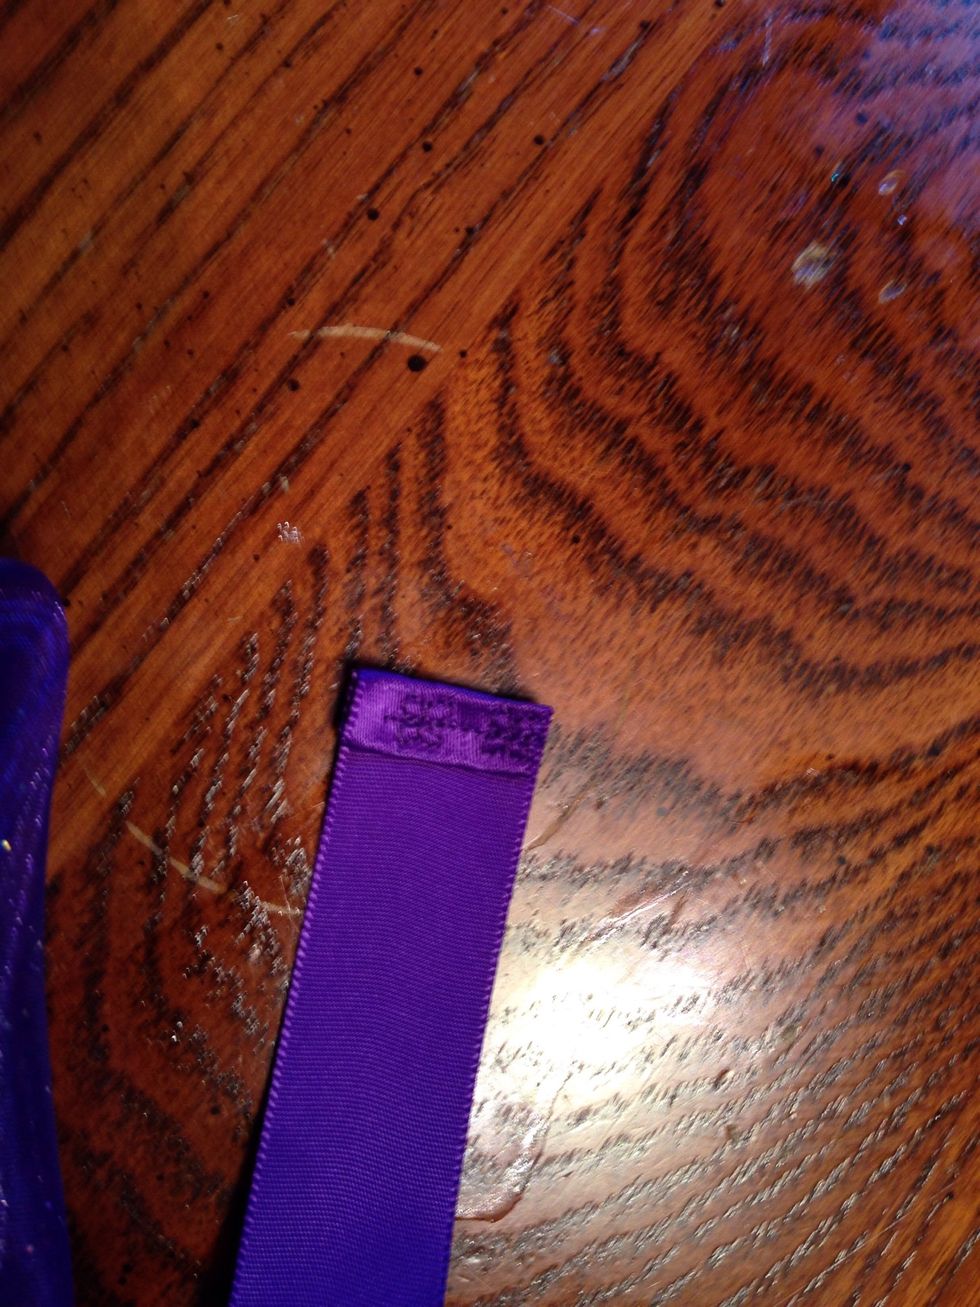
I folded and sewed a flower pattern onto the edges to keep from fraying.

I then sewed them to the wings.
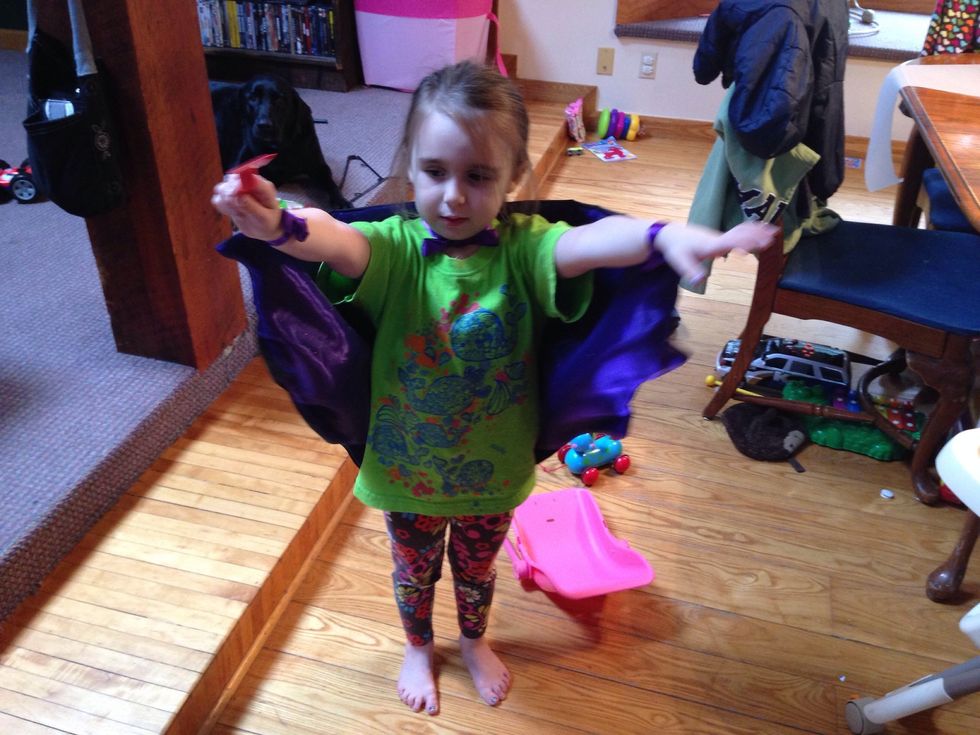
The wings take a little time to make but are easy to do.

Happy Halloween.