The Conversation (0)
Sign Up
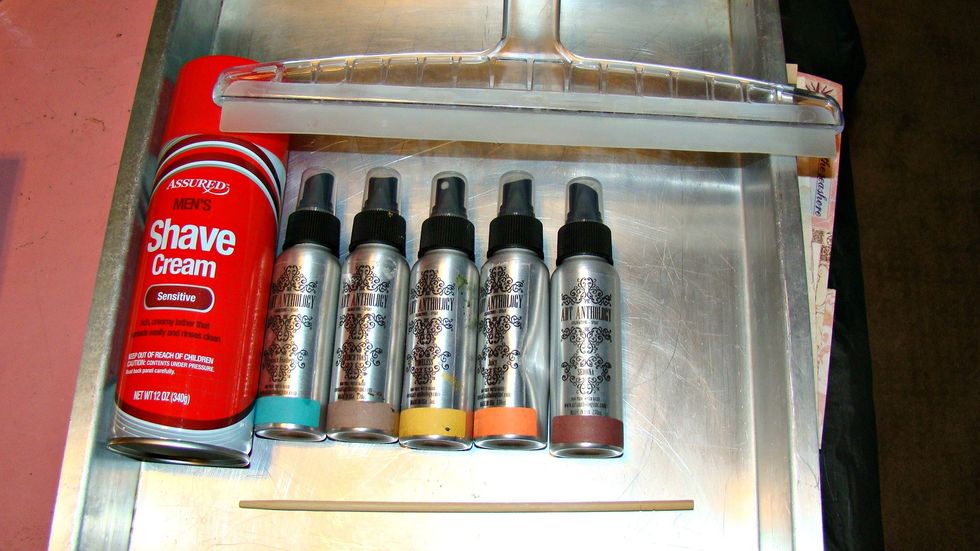
Gather a pan, shaving creme, sprays or inks, stick or straw to mix the inks and squeegy.
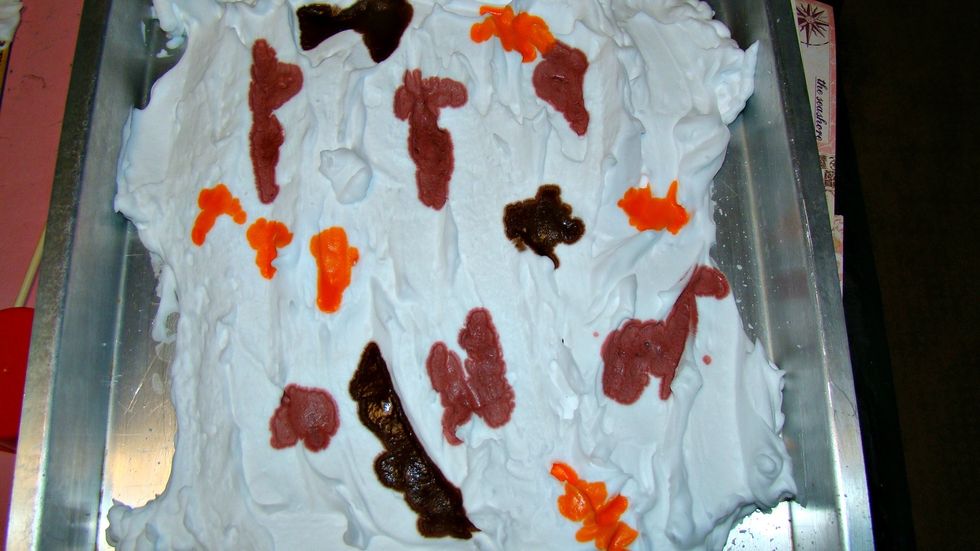
Spray some of your creme in the pan and randomly drops some inks in where you like.

Take your stick and start swirling, or making streaks. This is the fun part because everytime it comes out different.
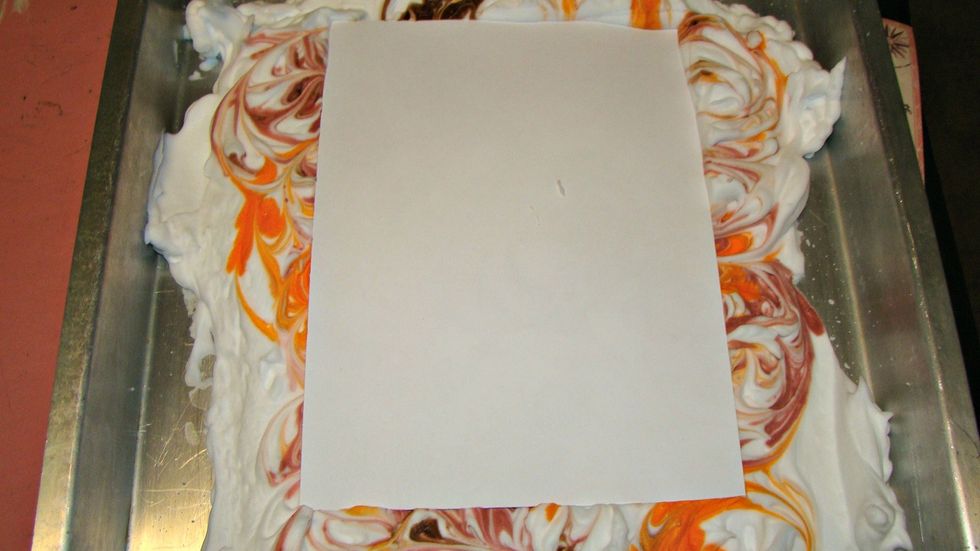
Lay your paper on top of the cream and press lightly down and then pick up and lay aside.
Oh Oh you say, that looks like a mess.....take that squeegy and remove the cream.
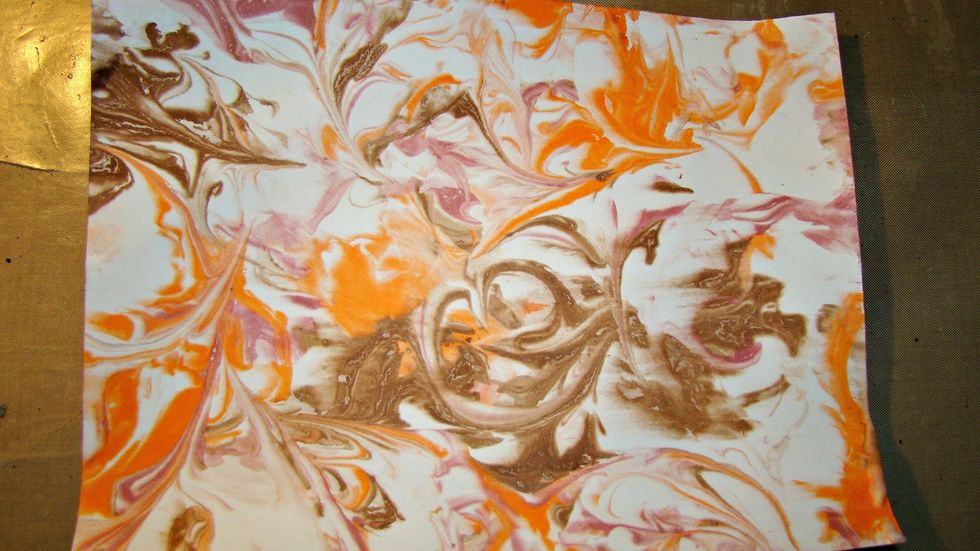
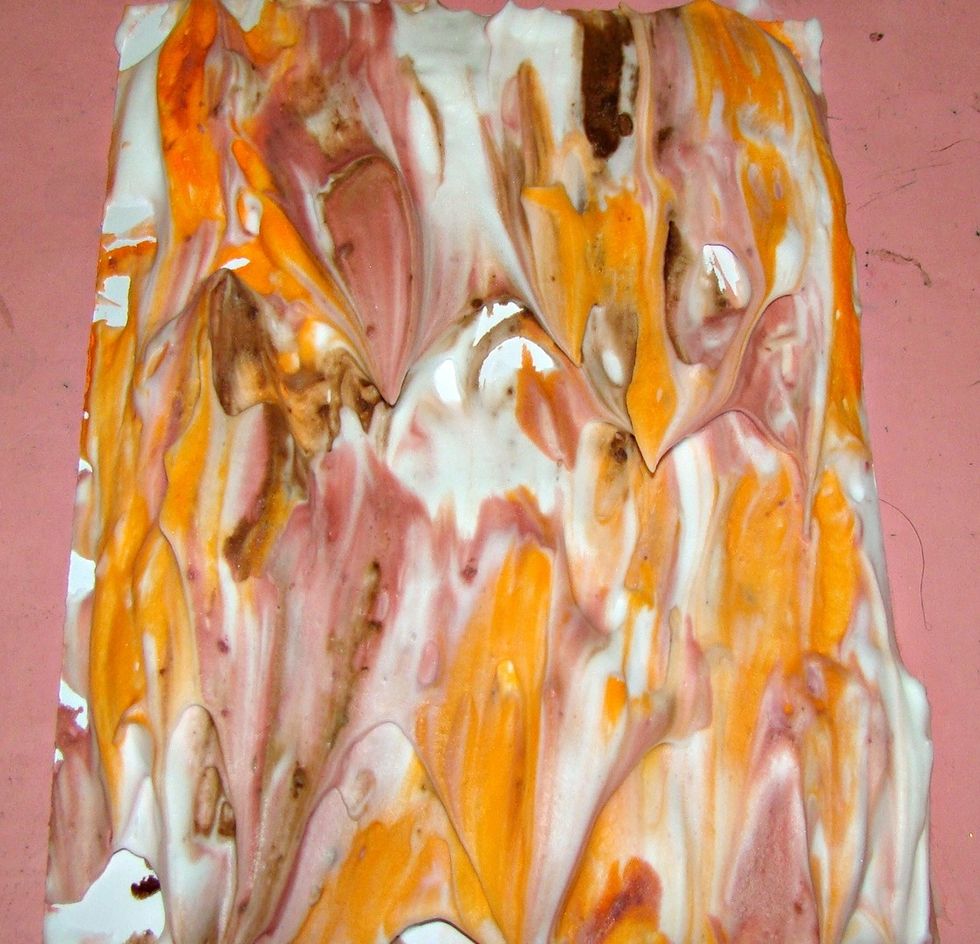
Tah dah !!!! How pretty is that.....
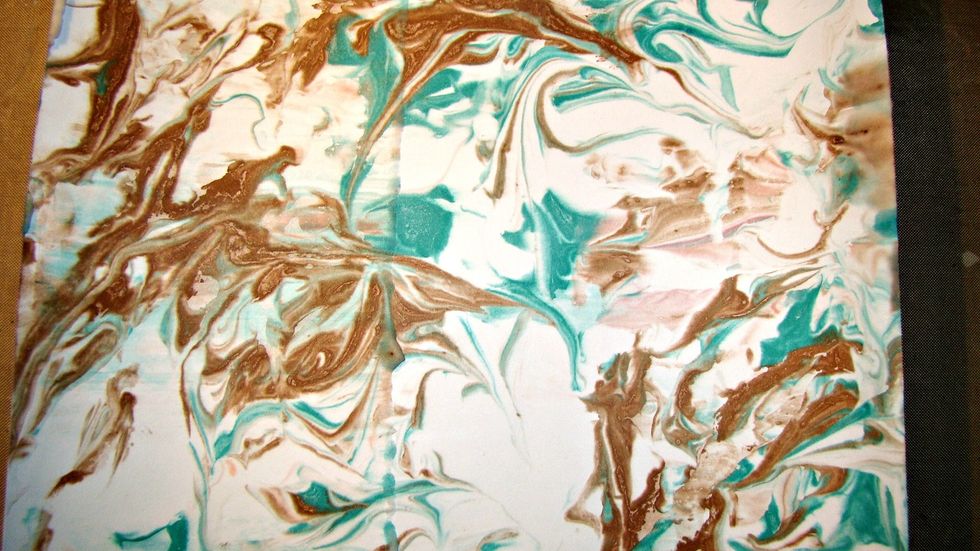
This is another background made.

And here is one more.
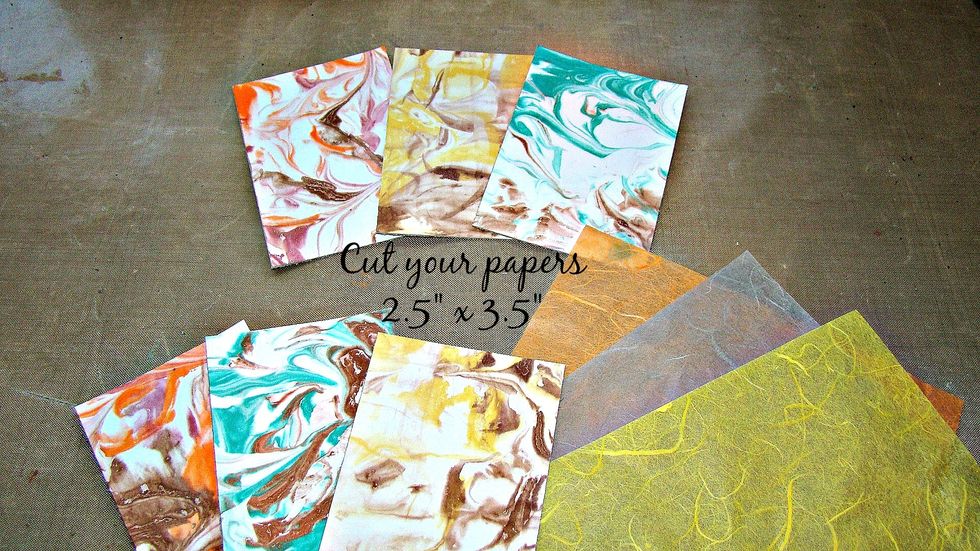
I took my papers and adhered them on chipboard to provide a bit more durability. Cut to ATC size.

Let's add a bit of texture by running some texture paste through a stencil, then allow to dry.
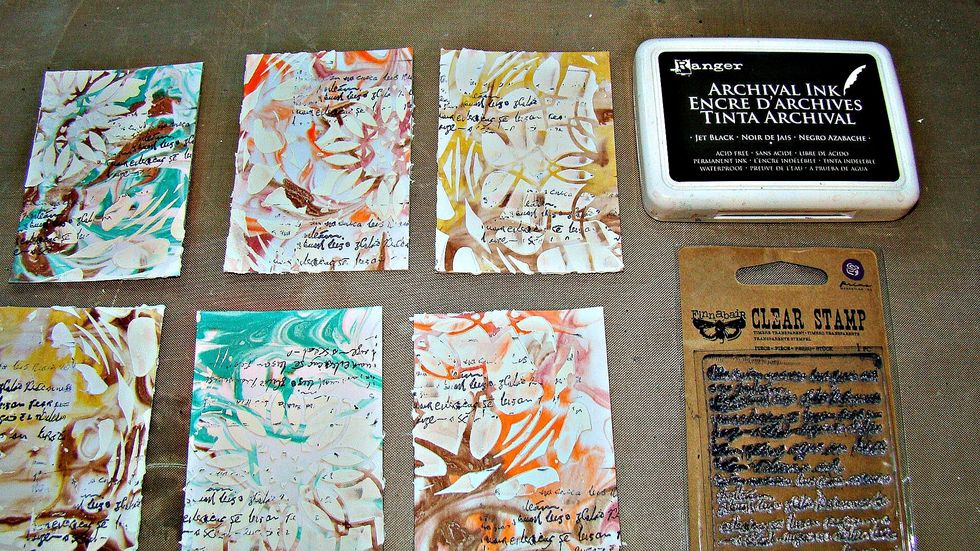
Using black archival ink I stamped some wording here and there.
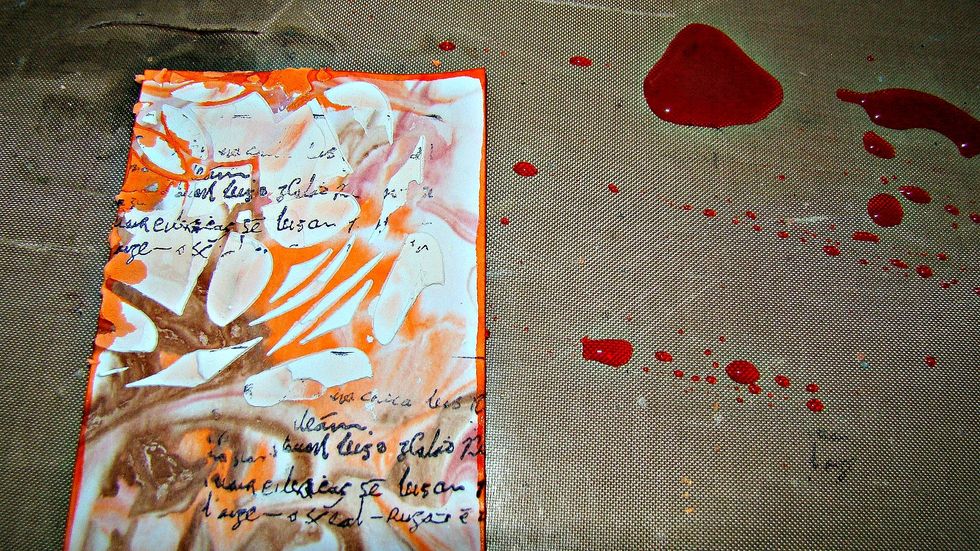
Spray some of your inks and run the edges of your ATC card through the ink.
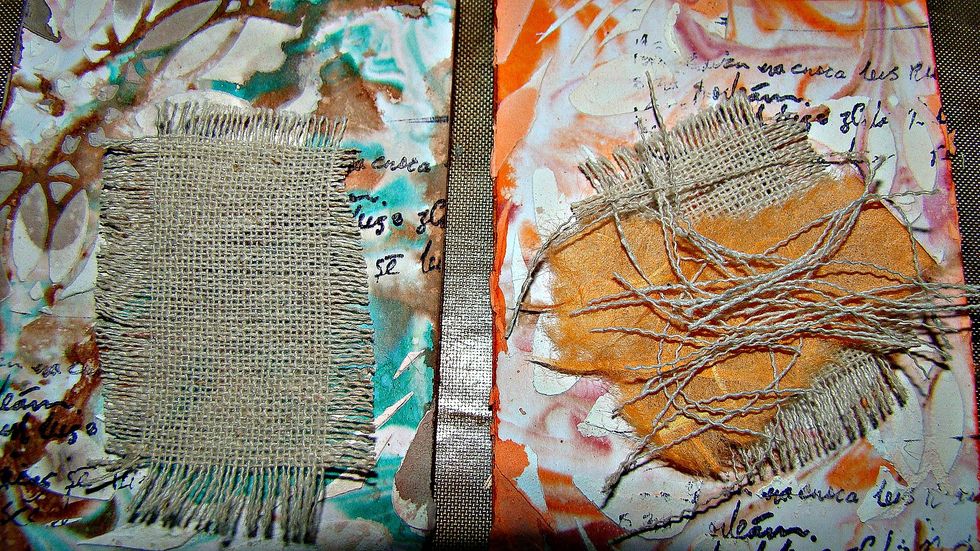
More texture is needed so I cut pieces of muslin and frayed it using the frayed pieces also, adhered this using 3D Gloss Gel. Also, ripped a piece of handmade paper to the top.

Emboss the edges of the ATC's with gold embossing powder for a pretty vintage look.
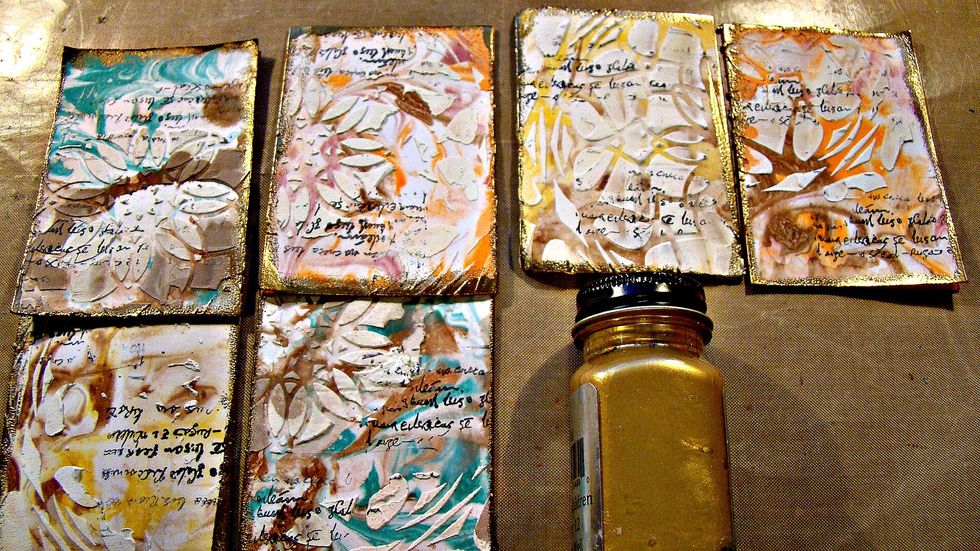
Water down some gold paint and splatter on the top of the ATC's.
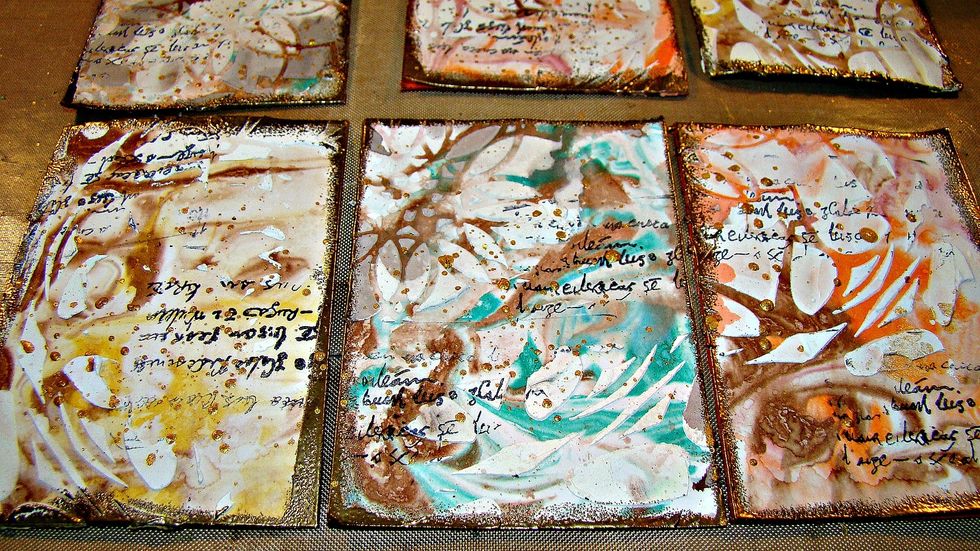
Looking good ....

Add your fibers and handmade papers.
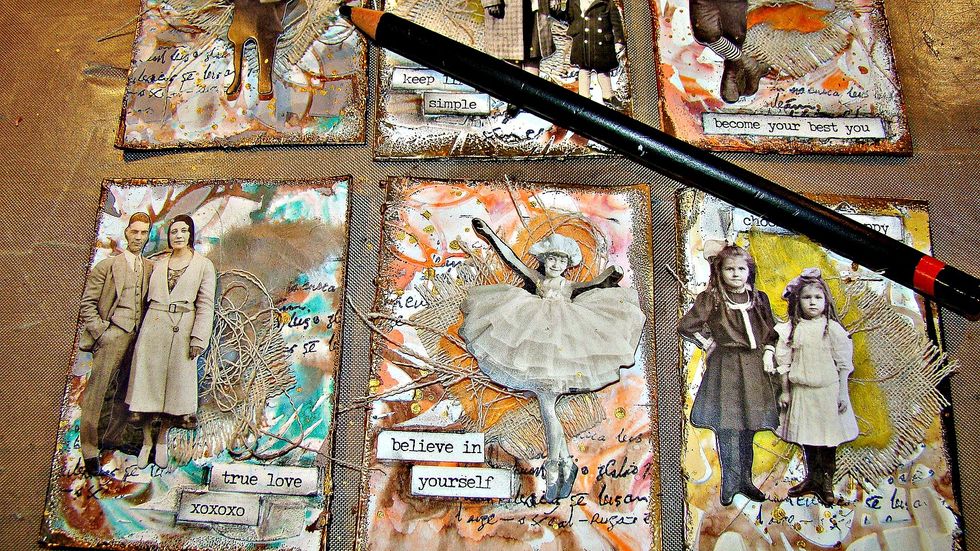
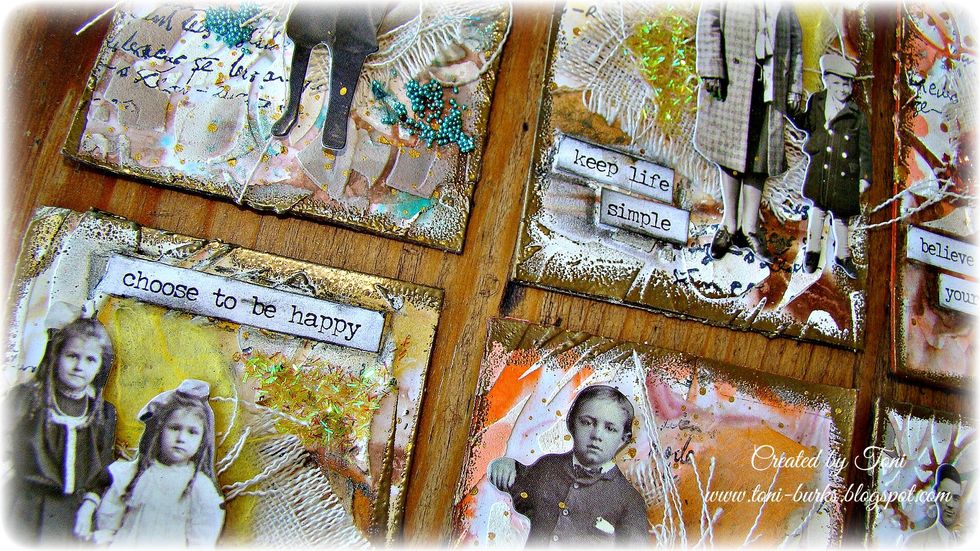
Using charcoal pencil to outline your titles for shadows. Tim Holtz Vintage Paper Dolls were used for the figurines. I used 3D foam squares to attach.
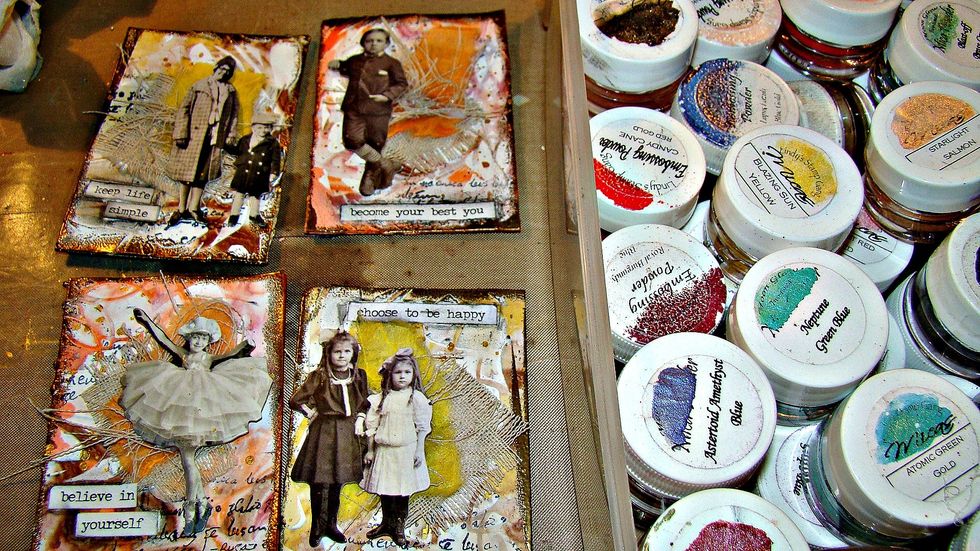
Let's add some mica here and there around your little paper dolls for some nice highlights and shadows.

Now for more texture, seed beads and glitter shards.
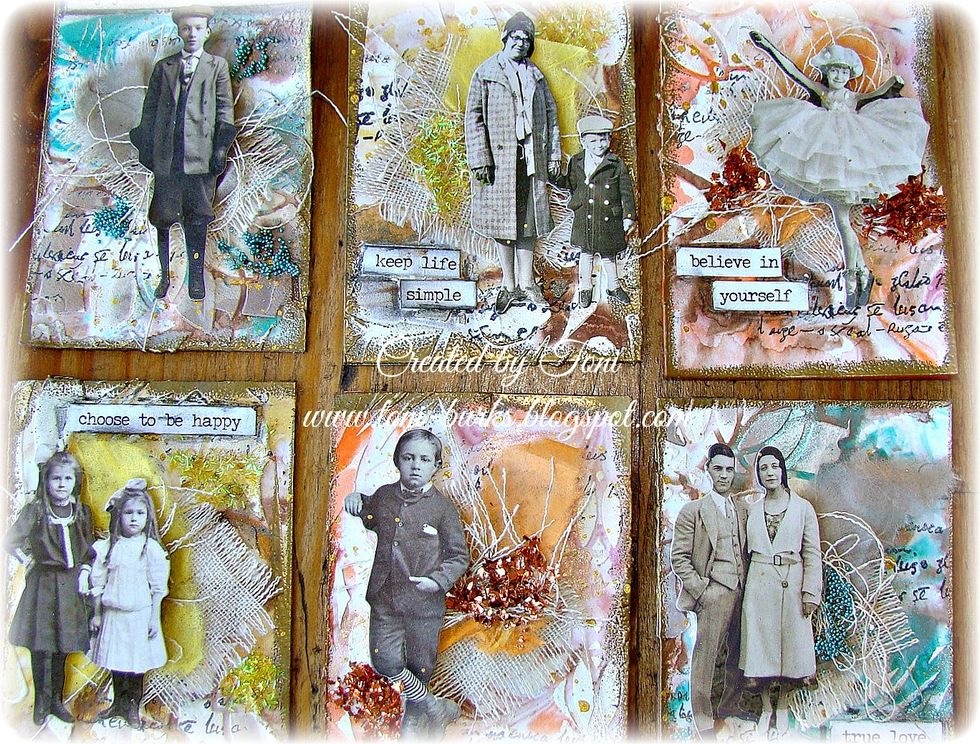
And there we have it... hope you enjoyed this process. Give this marbeling technique a try and have fun creating.

For more inspiration, please follow me on my blog @ http://toni-burks.blogspot.com/ https://www.pinterest.com/tonilburks/ https://www.facebook.com/toni.burksgrijalva

The supplies that have * in front of them are from Art Anthology and can be purchased here: https://www.artanthology.net/
Wishing you a wonderfully creative month !
