The Conversation (0)
Sign Up

Get your embroidery floss ready, we about to make some bitchin bracelets! Pick your favorite colors. The more colors, the wider your bracelet.
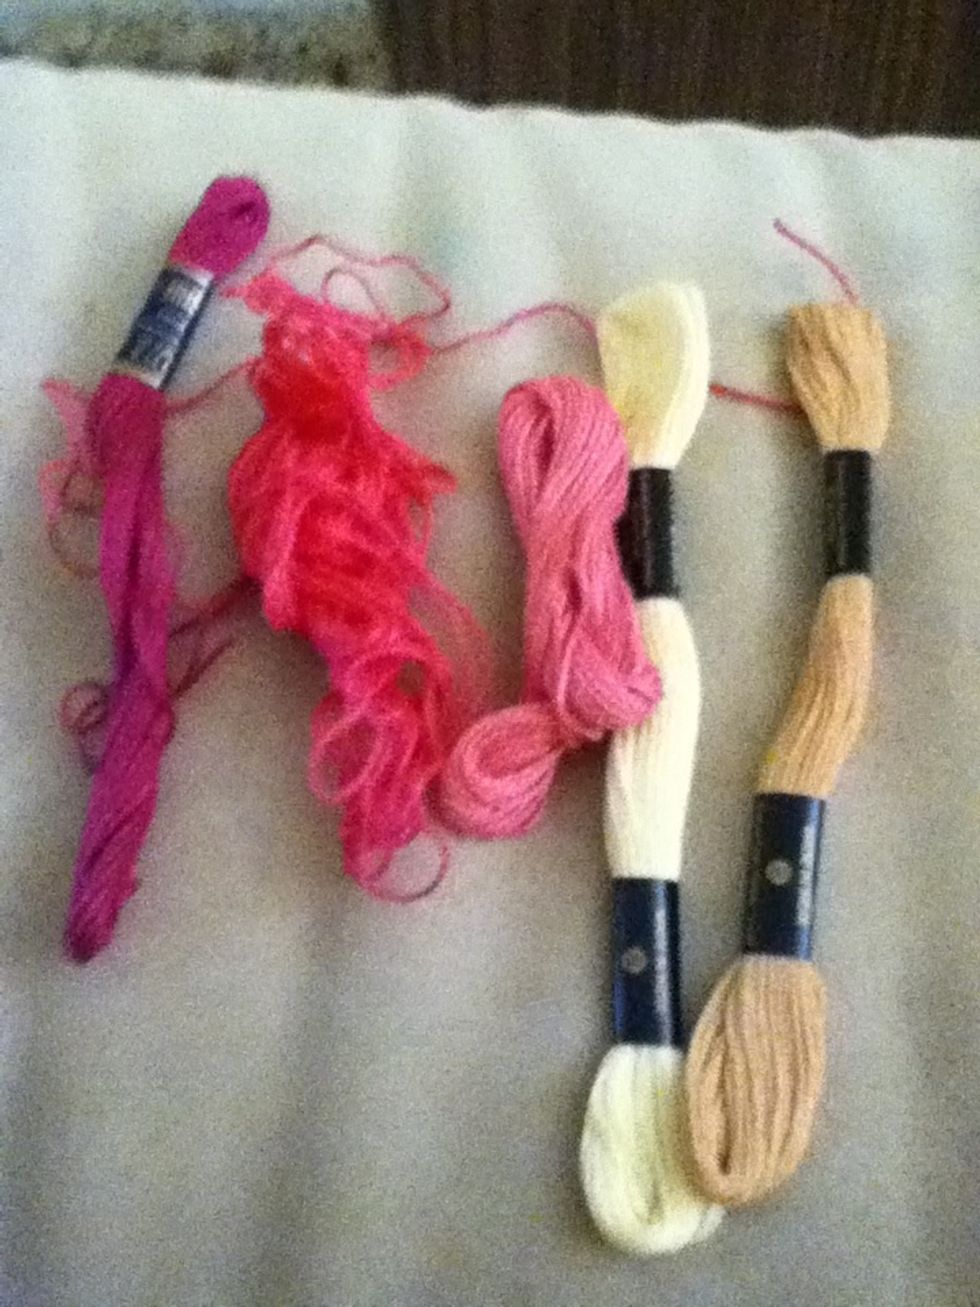
I picked 5 colors, you can pick more or less. I suggest using 4 or more, but if you only want two then you can just double up on the strings, so it's okay.
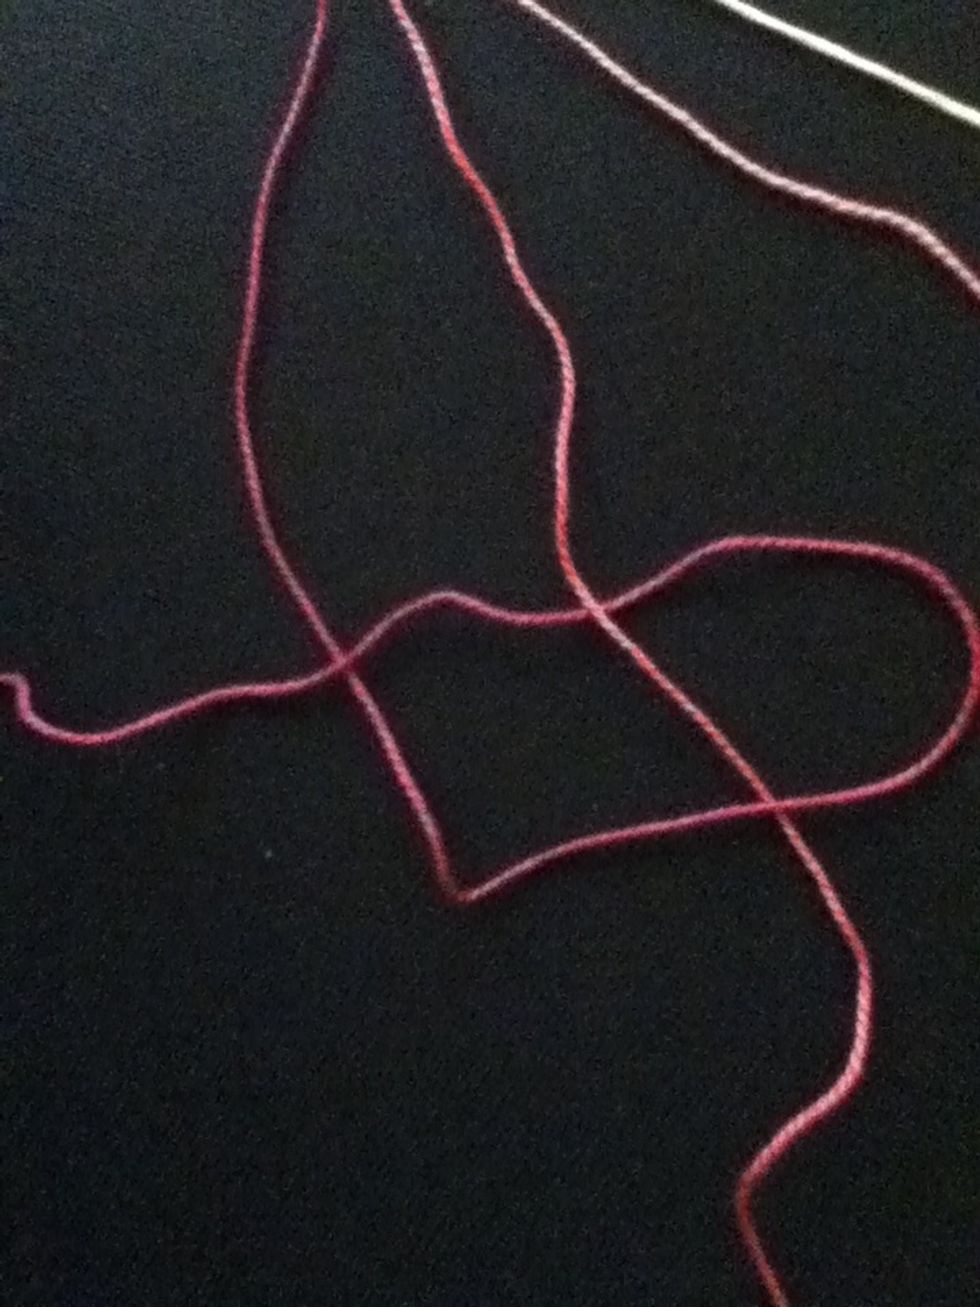
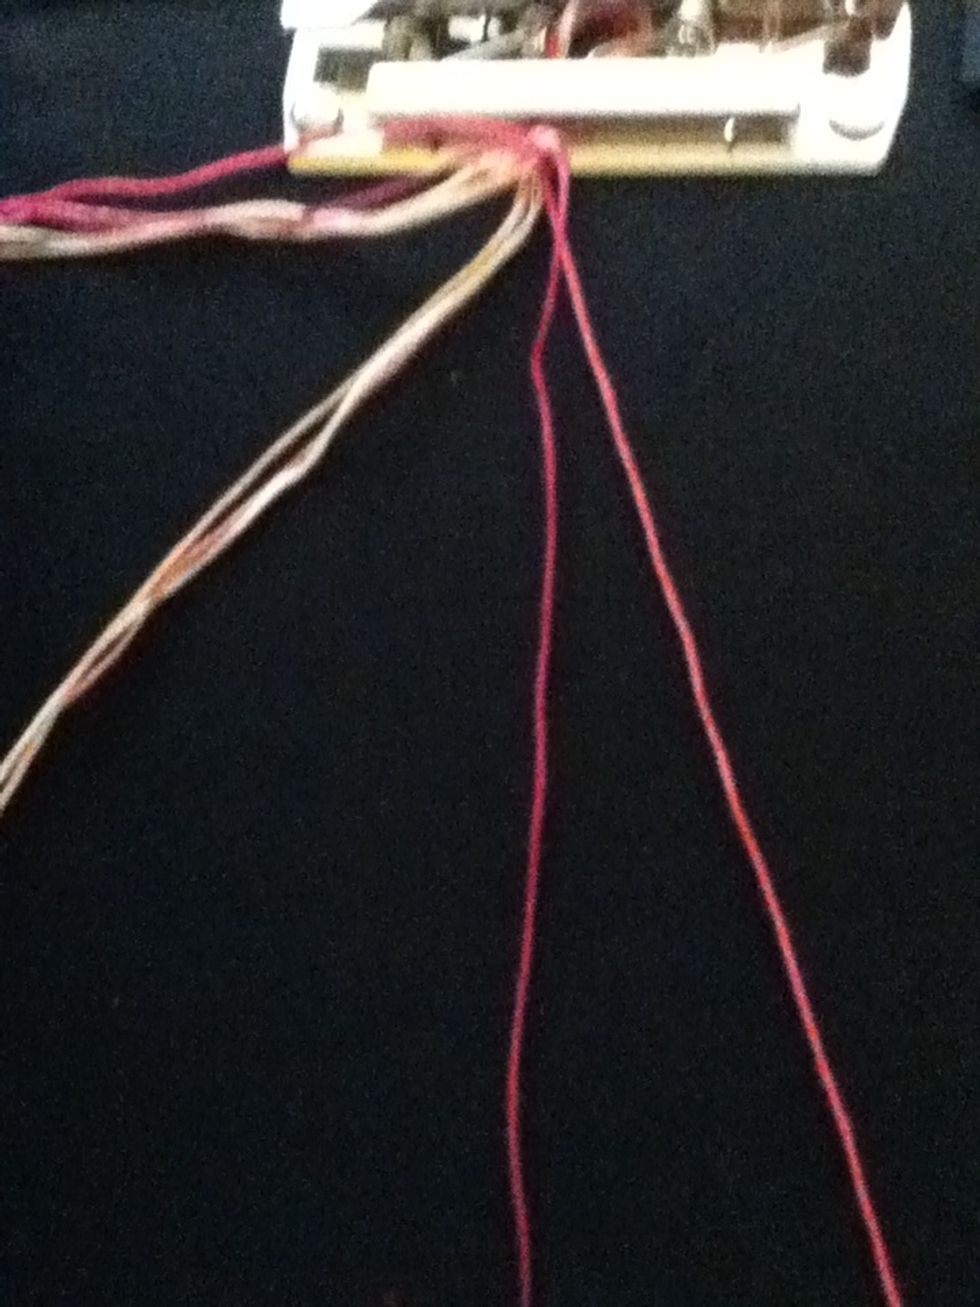
You're going to need to cut off two strings from each color. Each string should be about 2 1/2 feet long, maybe a bit longer if you're making an anklet. I usually just eyeball it and it works fine...
... I suggest just cutting 2 yards of each string and folding it in half, and I'll show you why.
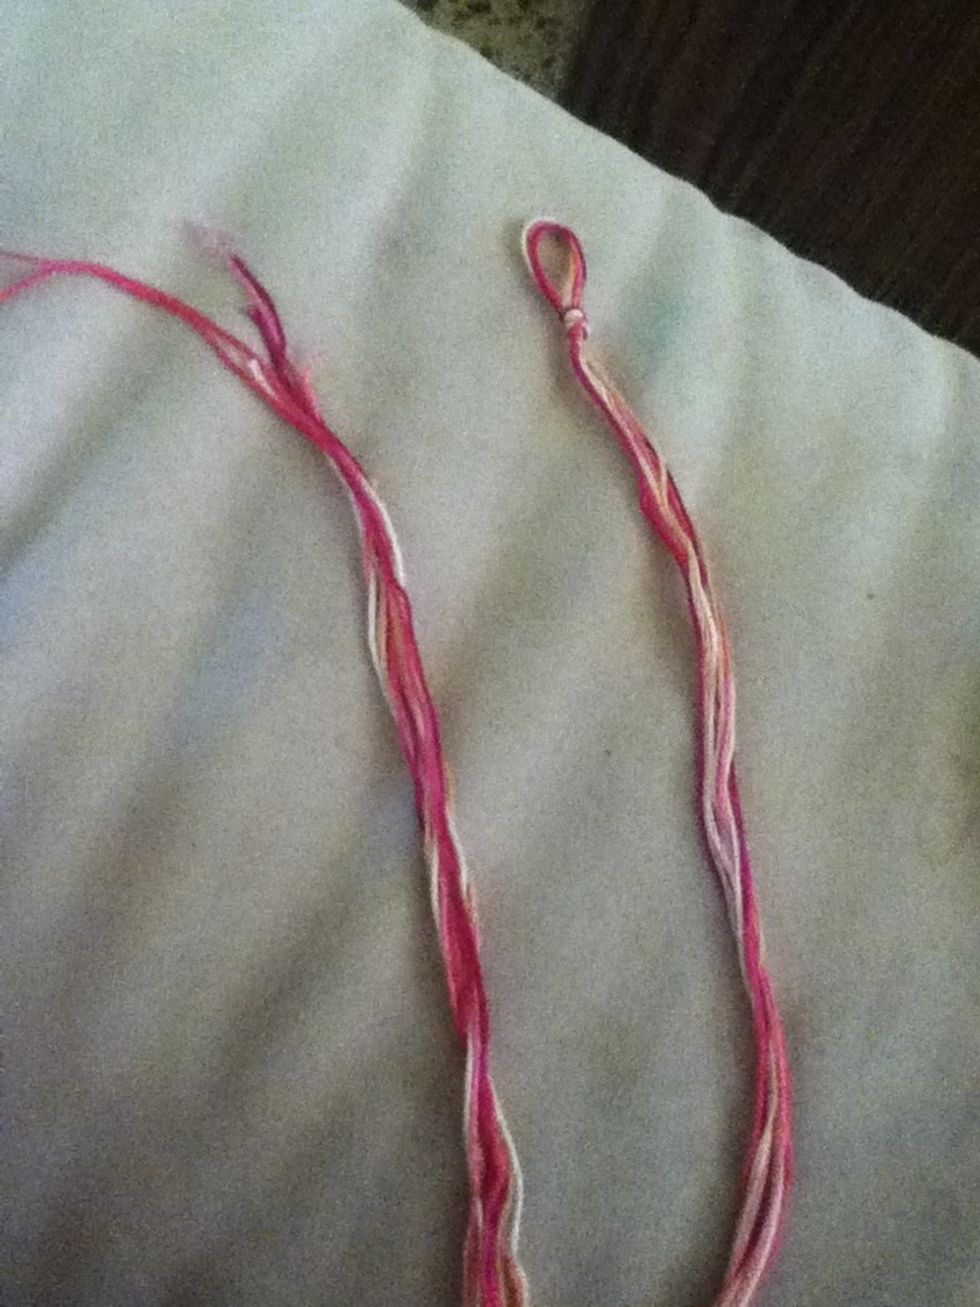
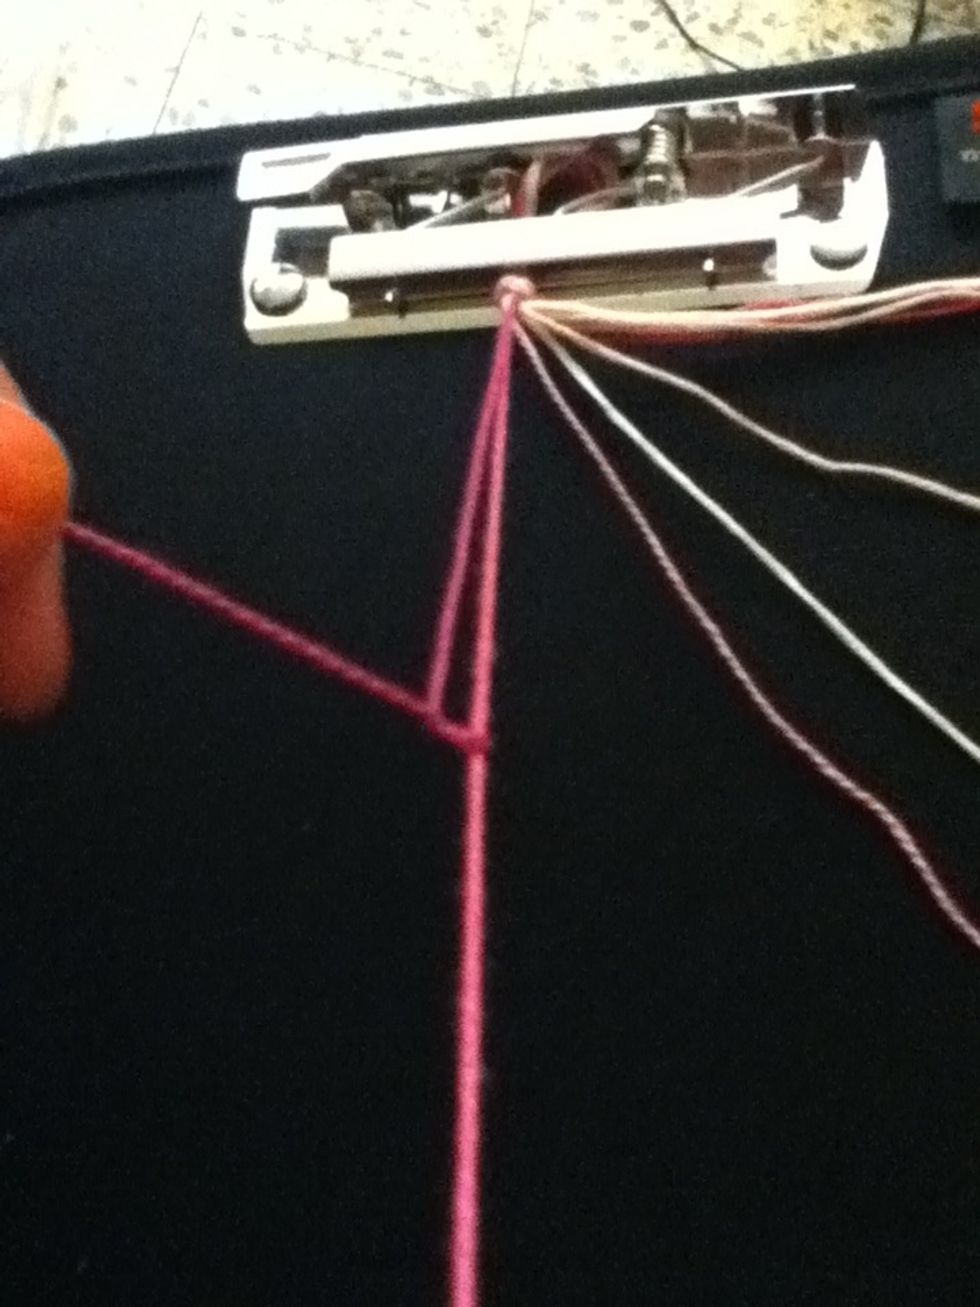
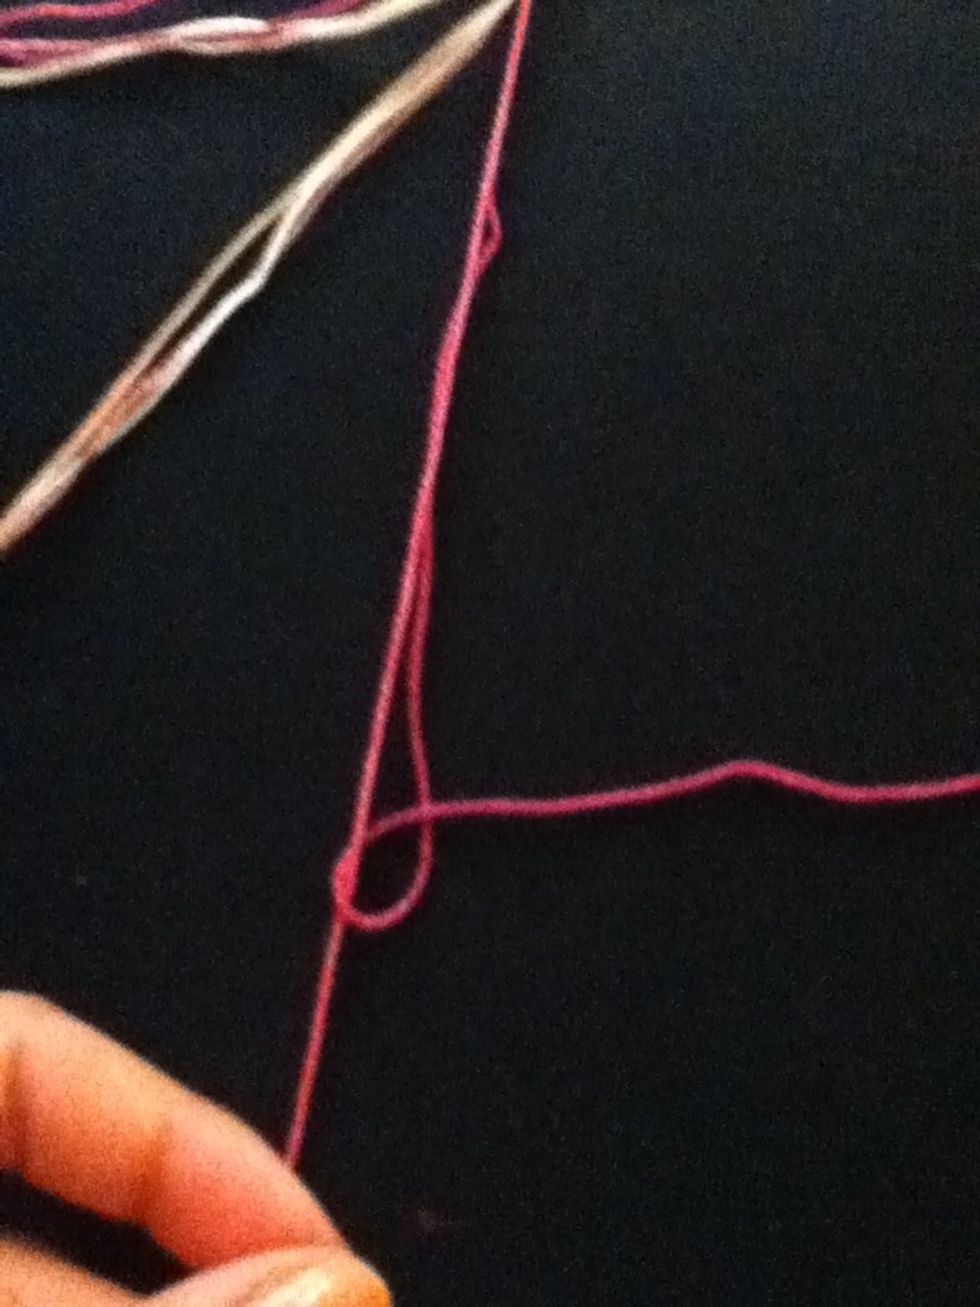
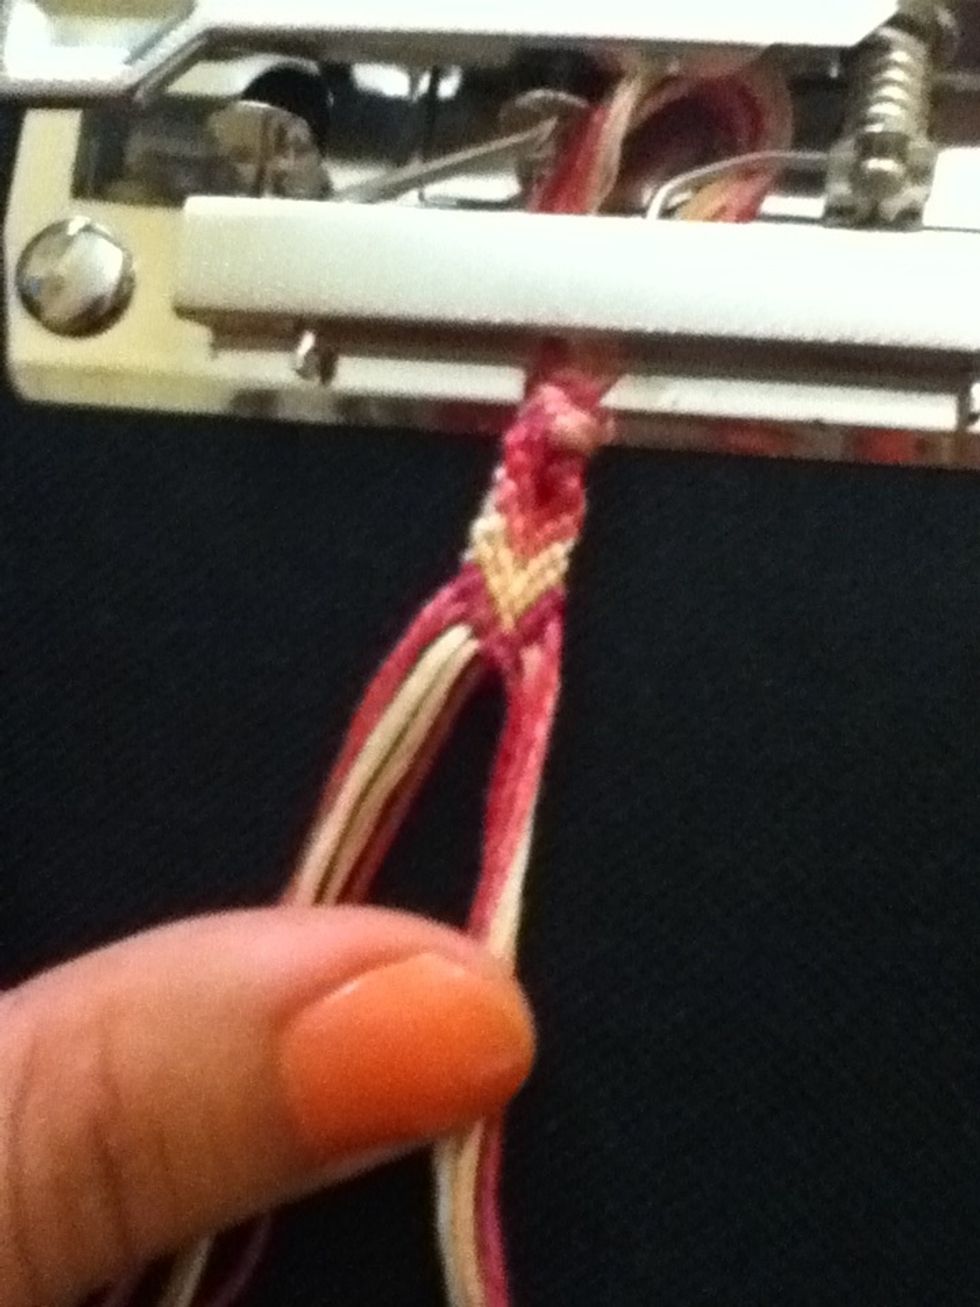
Here's what my strings look like, tied with a loop at the top (because I folded each string in two). If you're doing 5 colors like me, then you should have 10 strings hanging down.
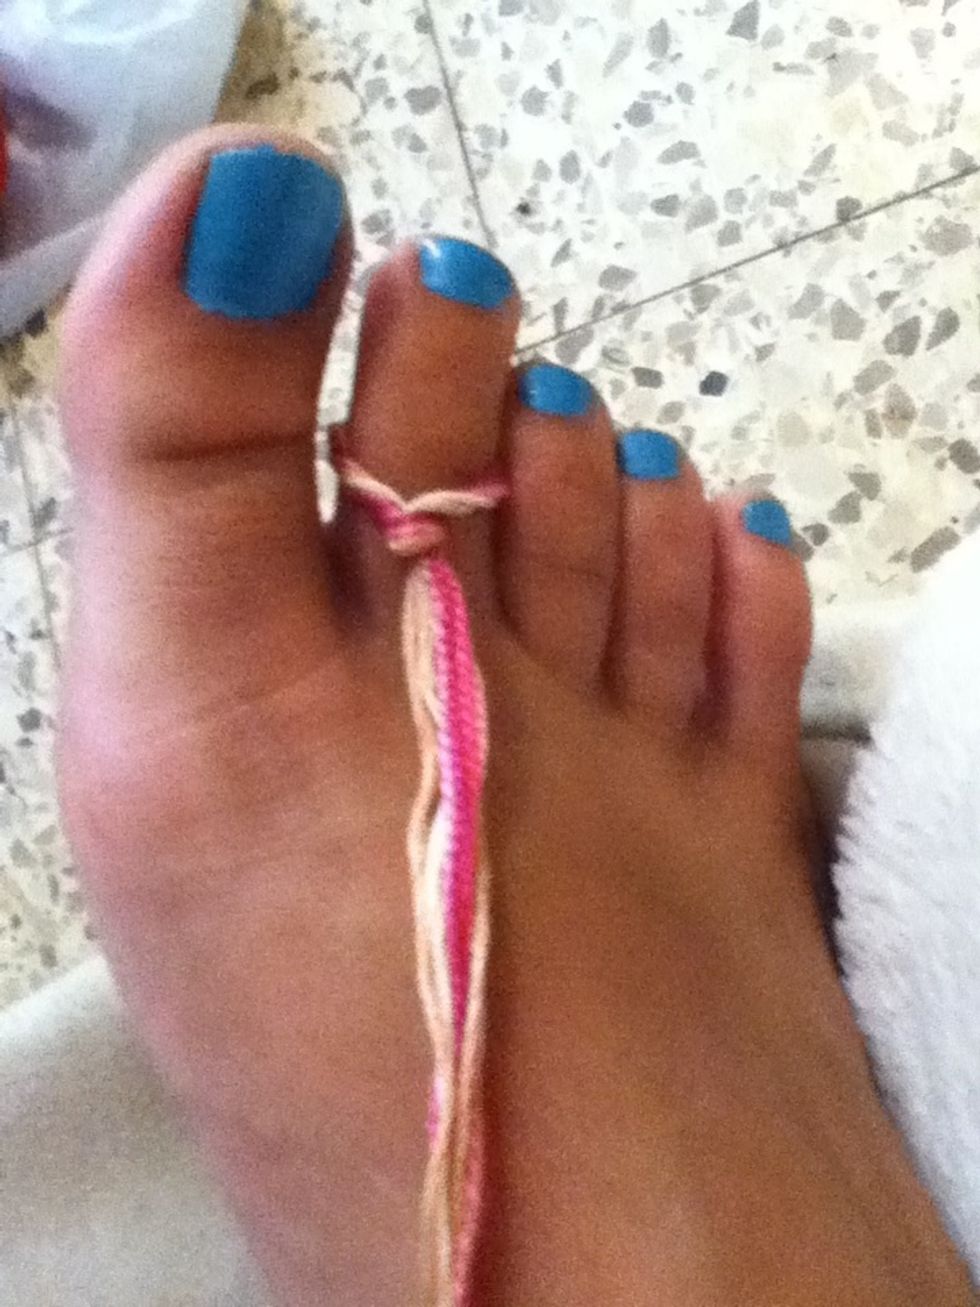
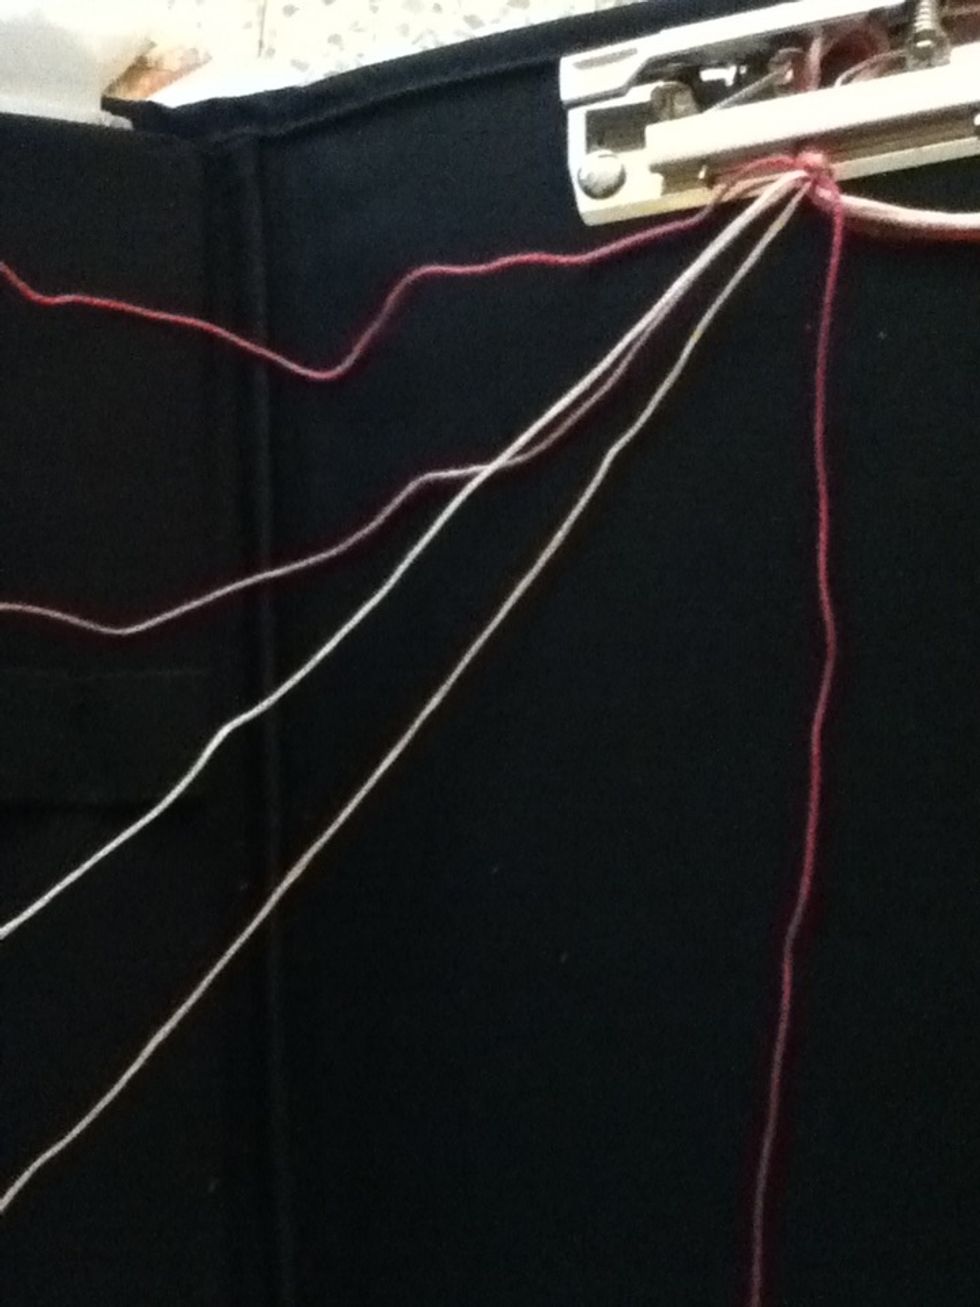
The next step is to anchor your bracelet somehow. I like the loop because I can just wear it on my toe and and anchor it that way, but you can also safety pin it to your jeans or use a clipboard.
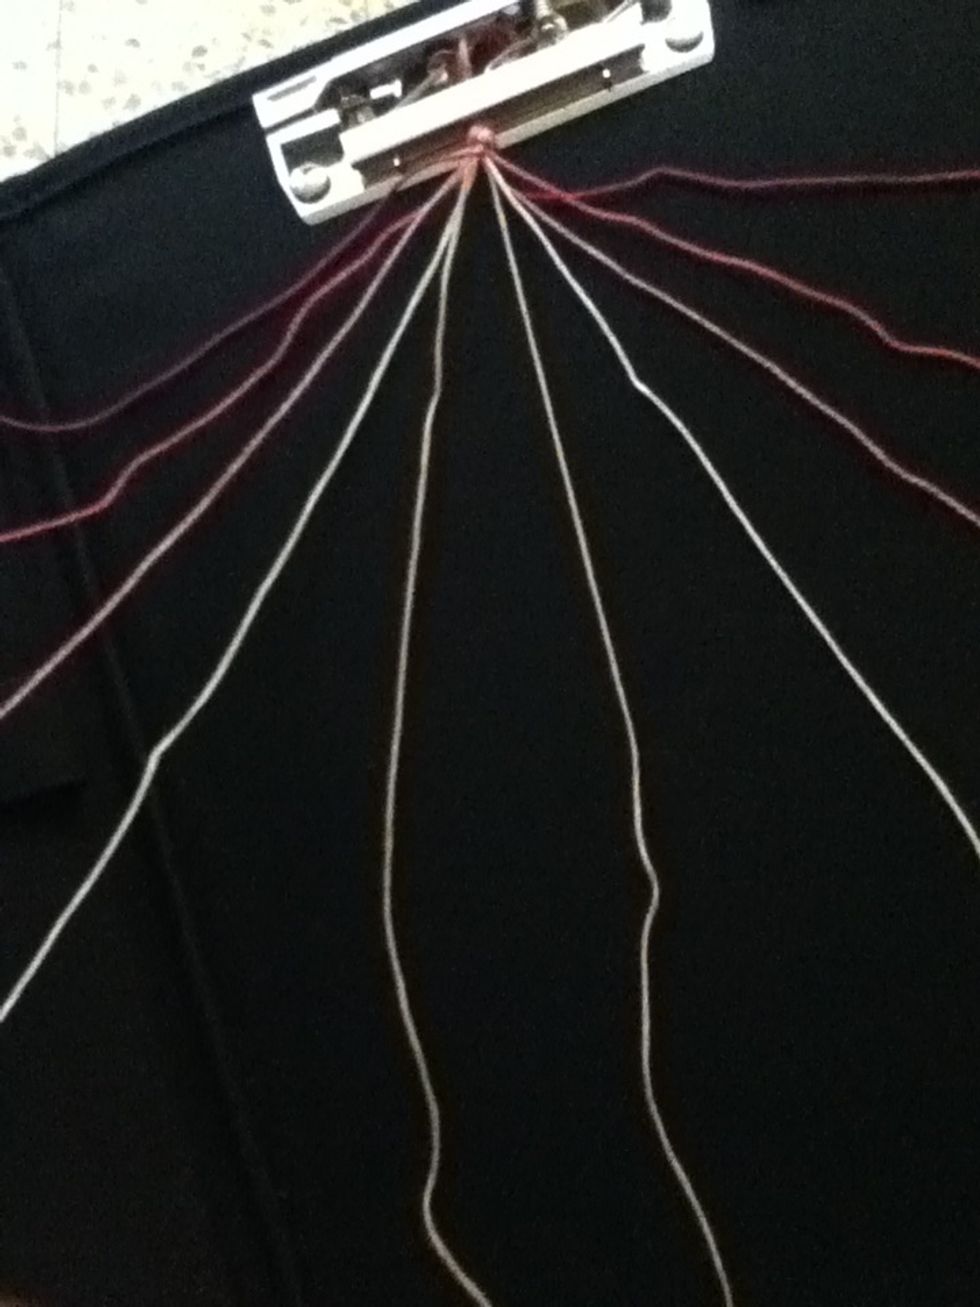
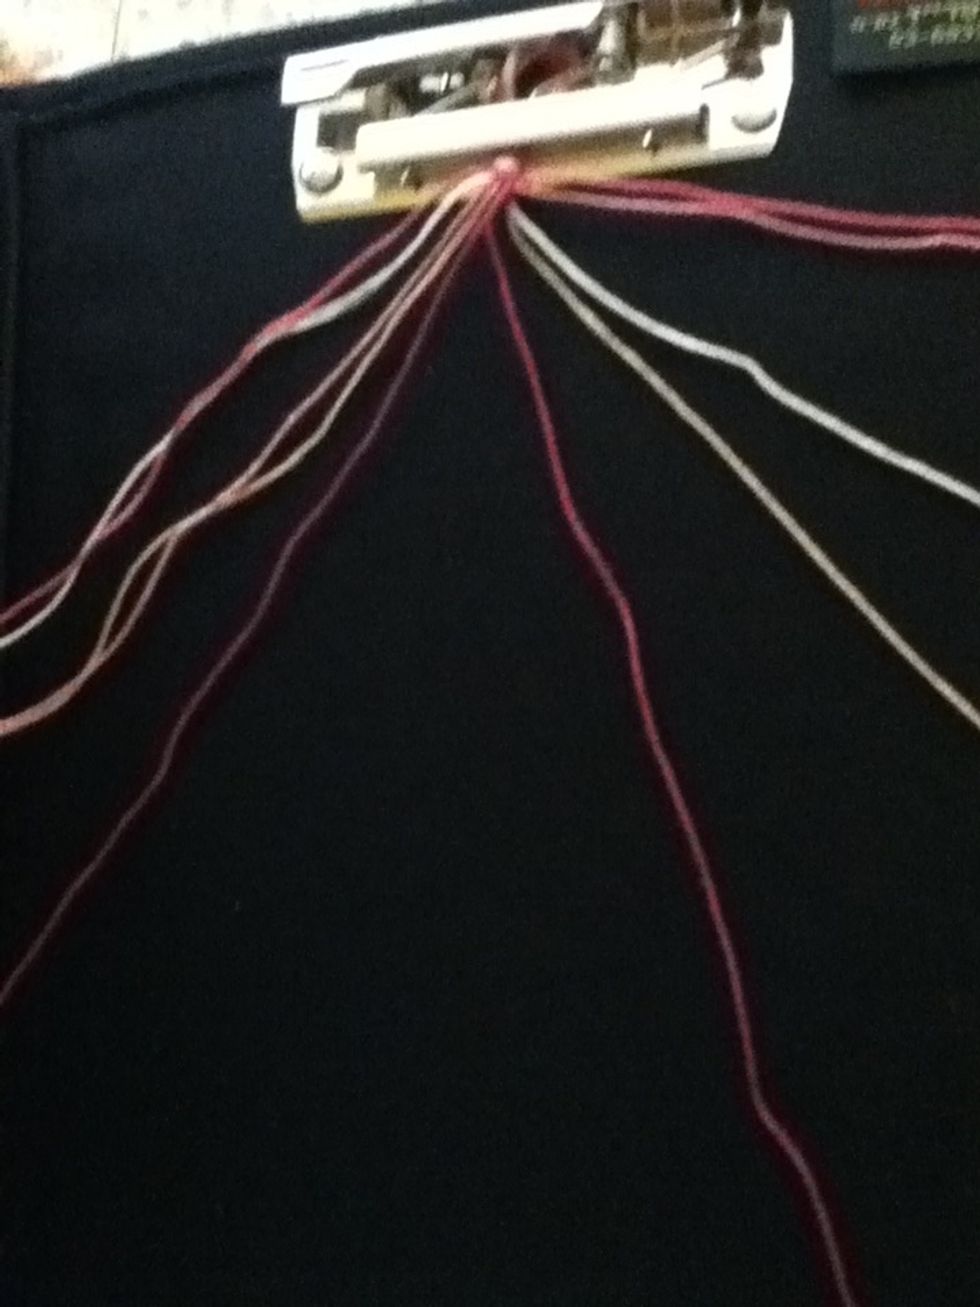
On opposite sides, spread your strings out in the order that you're going to want them in the bracelet, starting with the outermost strings.

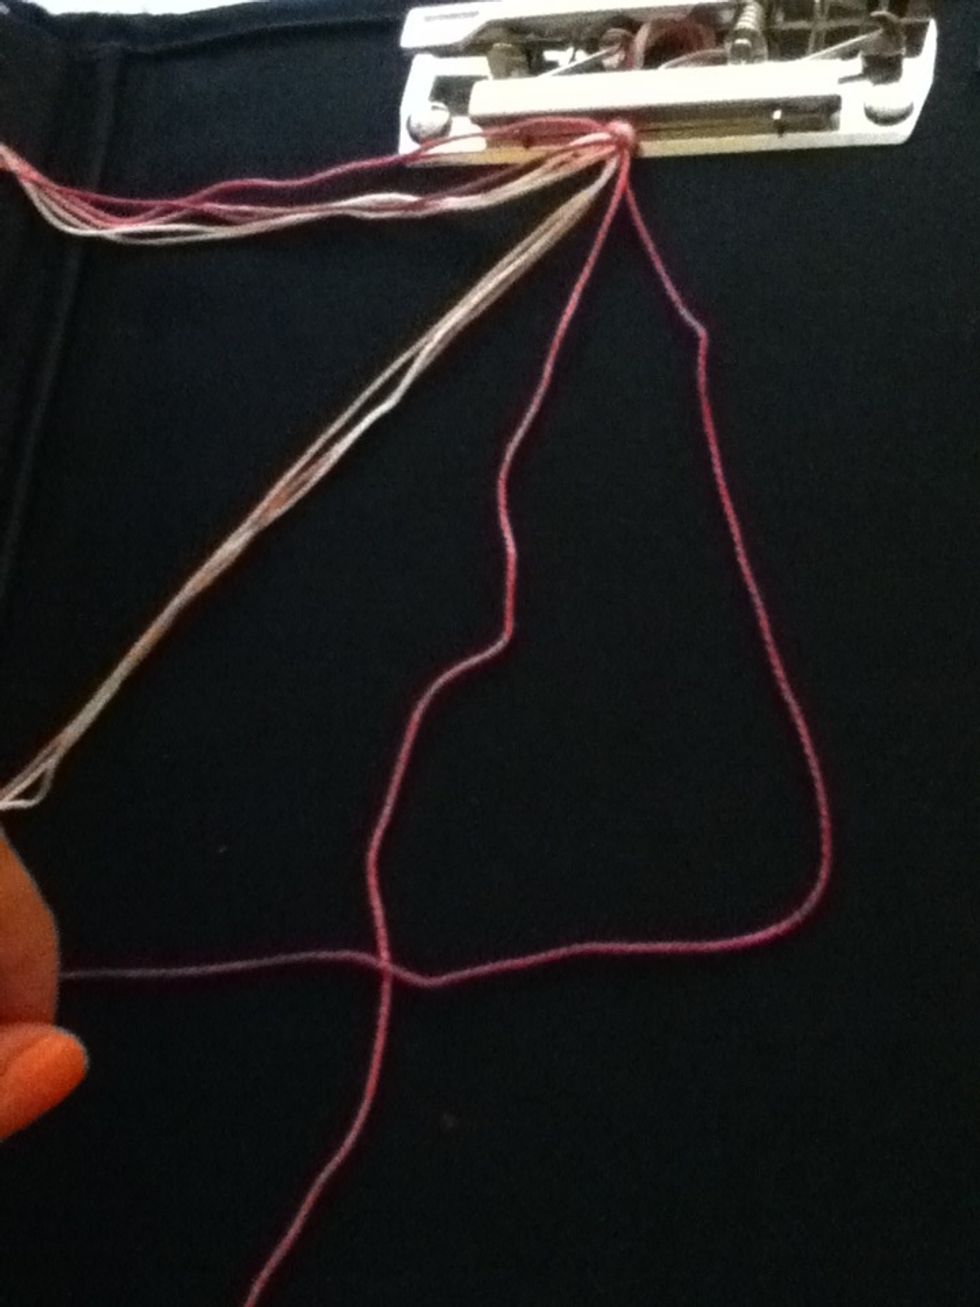
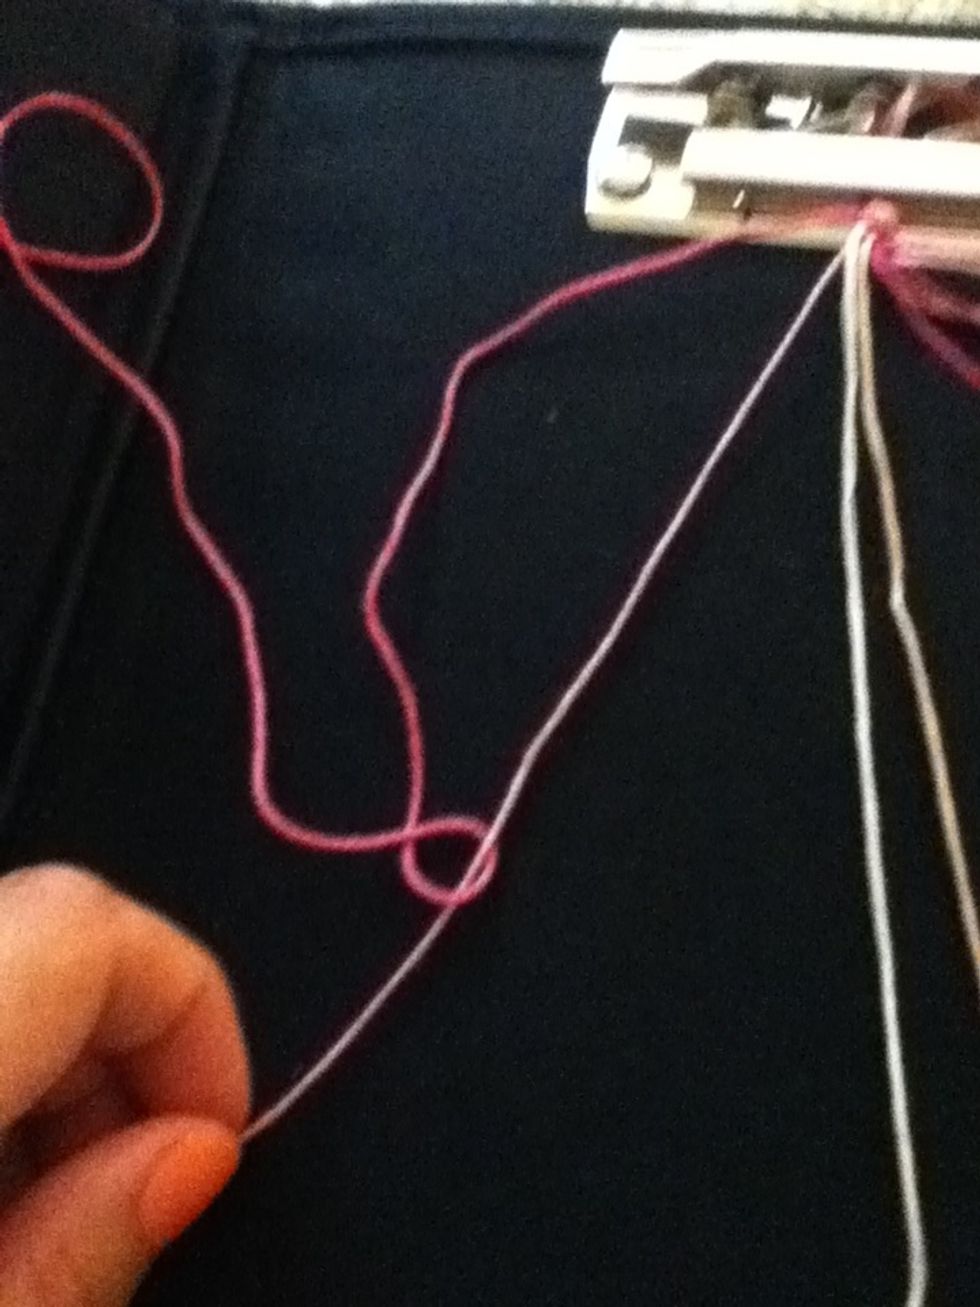
To start, we're going to work only with our left side strings. Let's number them 1-5. Start out with your first two strings (1 & 2). Sorry that these strings have similar colors here..

What we're going to be doing is making knots with string 1 over strings 2-5. Start with laying string one over string 2.
Bring string 1 under string 2, then over itself, pretty much forming a basic knot.
With one hand, tighten/straighten string 2, while holding string one and pulling it up to the top. Tighten.

Now you're going to end up with string 1 being on the right side of string 2. Put string 2 aside, we're going to work with string 1 and string 3 now.
At the end, your string order is 2, 3, 4, 5, 1.

Put those 5 strings (the five on the left) to the side. Now we're going to be tying the right side strings. We'll number them 1-5 as well, from RIGHT TO LEFT.

Starting with strings 1 & 2 again.
We're tying now in the opposite direction. Place string 1 over string 2
Bring it under the string and back up again, like we've been doing, and make sure you do it twice on each string!
Now string 1 is to the LEFT of string 2.
Continue tying string 1 onto strings 3, 4, and 5, until string 1 is far left. Now spread your left strings out as well.

Now you're going to take string 1 from the left side and string 1 from the right side, and tie them together (two knots!). It doesn't matter if you tie to the right side or to the left.
That's it! Now start on the left side and do it all over again - tie string 2 onto strings 3, 4, 5, and 1. Do the same on the left side. Then tie both string 2's together!
Your bracelet might not look like much at first, but pretty soon it'll start to take shape. Dont give up! When it's as long as you want it, tie it and cut off the excess string.
Here's what it will look like after a few rows.

Here's how it's looking about half way through. You can see how I tried some funky things towards the end. Play around with it!
Hope this wasn't too confusing :) leave comments/questions/concerns!

Part 2 coming soon... Making bossier bracelets!