The Conversation (0)
Sign Up
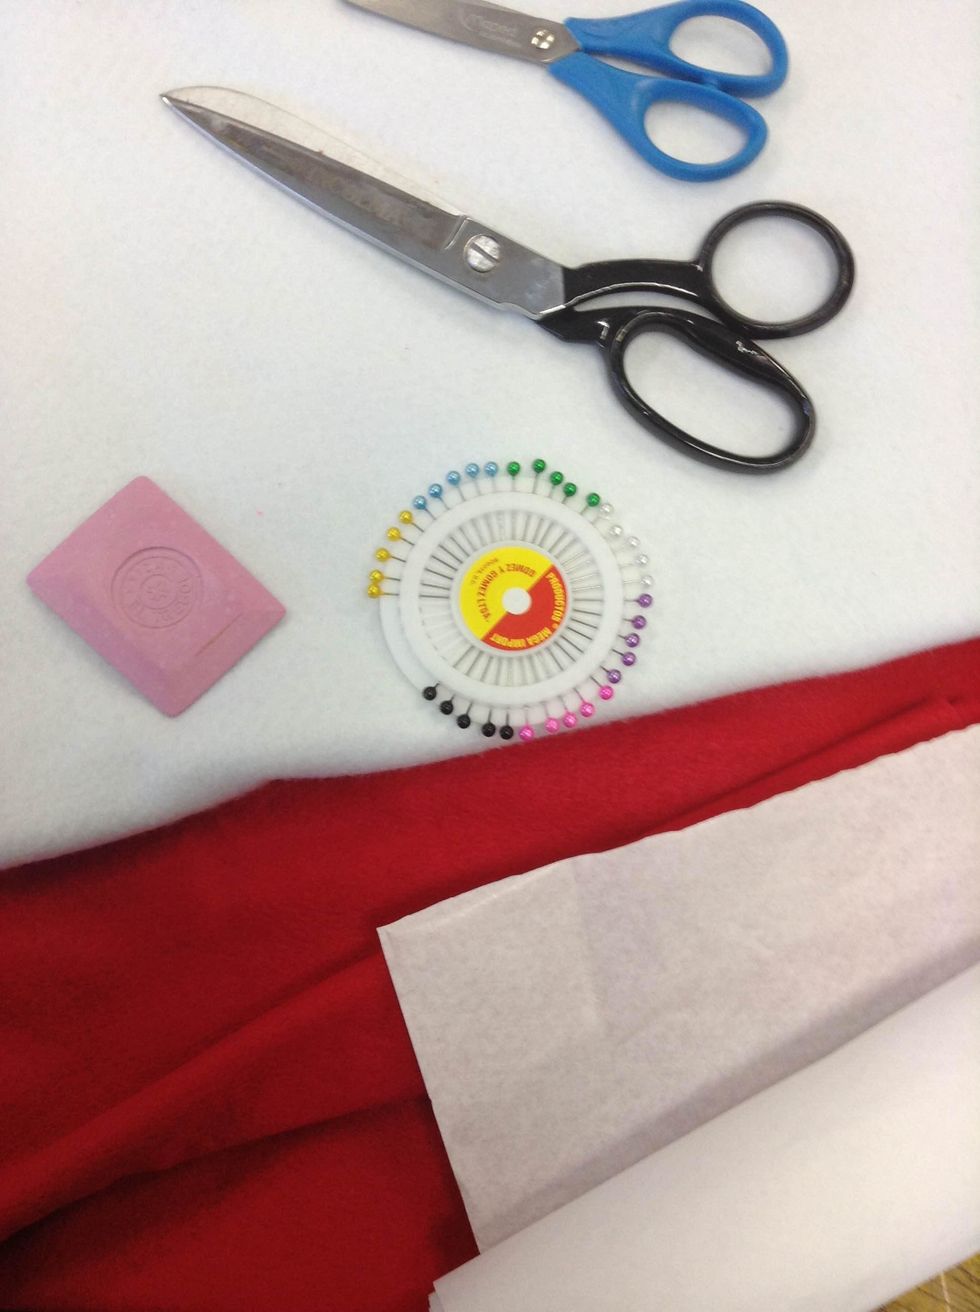
Collect all the materials: Felt, thread, needles, pins, sewing machine, chalk, undoer, pencil, manifold paper, paper scissors, fabric scissors, filling.

Draw a Rectangle of the size you want the body of the monster to be.

Draw the shape of the monster on manifold paper (inside the square).

Draw the seam allowance 1cm out of the drawing of the body of the monster.

Cut the shape of the body of the monster with paper scissors though the line of the seam allowance.
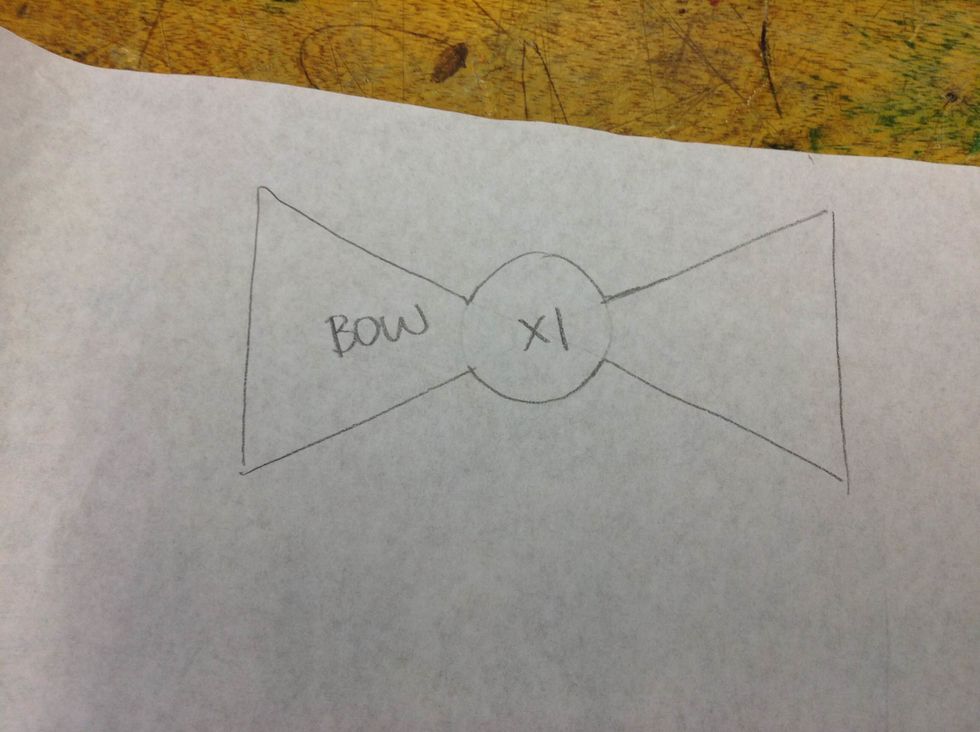
Draw the accessories of the monster on the manifold paper WITHOUT seam allowance. The seam allowance is necessary only if your accessories are going to be fluffy.
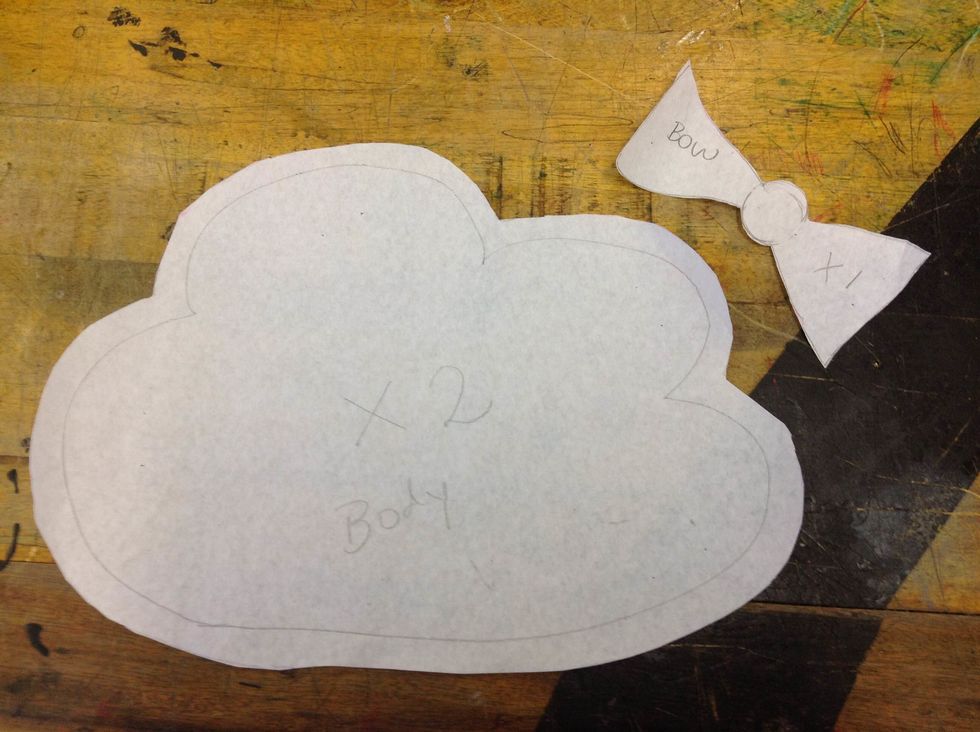
Remember to mark your patters. The X will determine how many pieces of the patter you will need to cut in fabric.

Pin the manifold shape of the body of the monster on two layers of felt. The felt must be of the color of your monster.
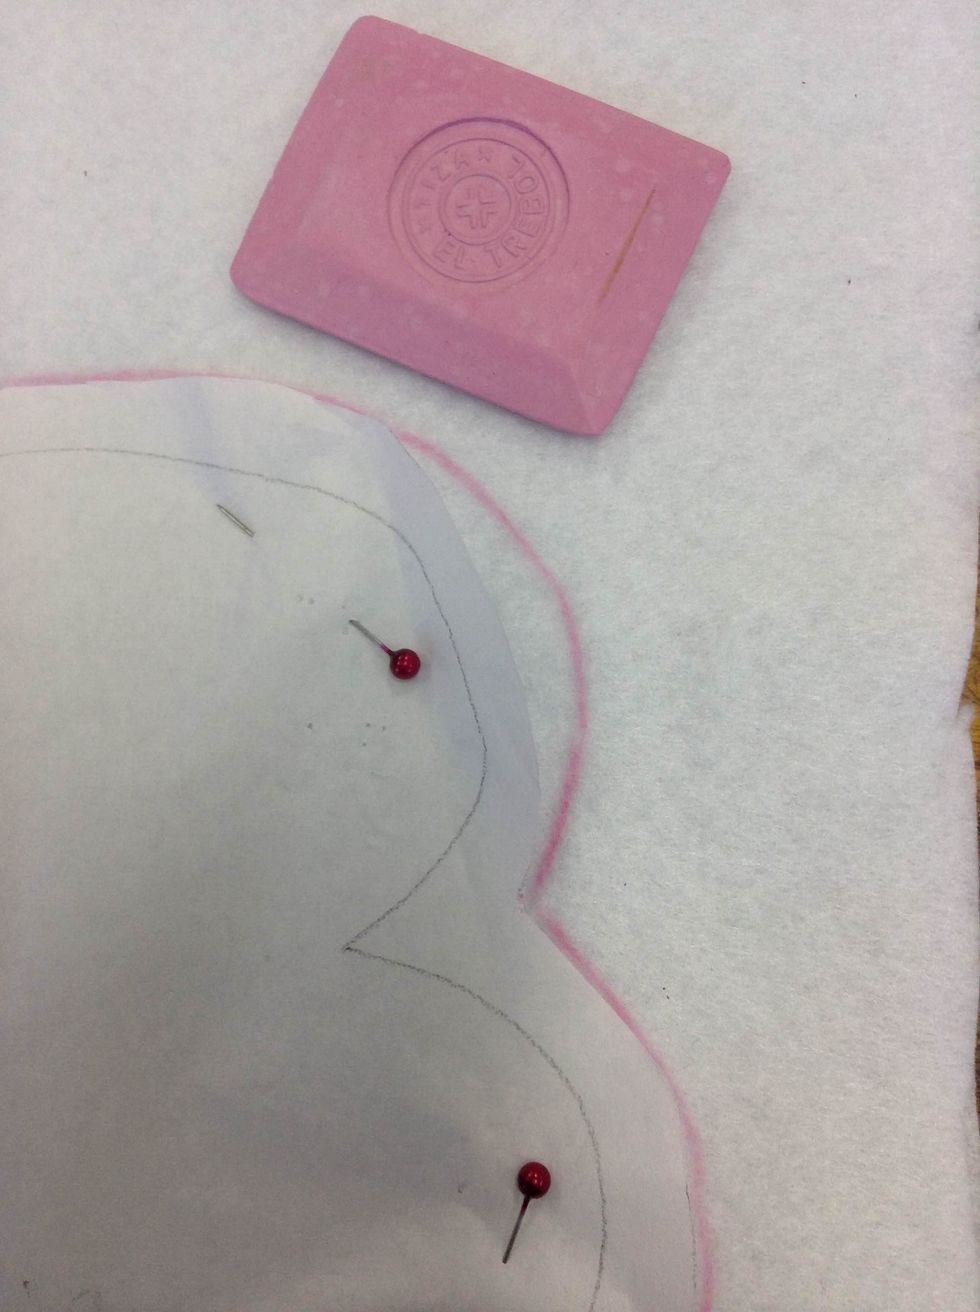
Trace the shape of the monster onto the felt with chalk.

Remove the manifold paper but leave the two layers of felt pinned together.
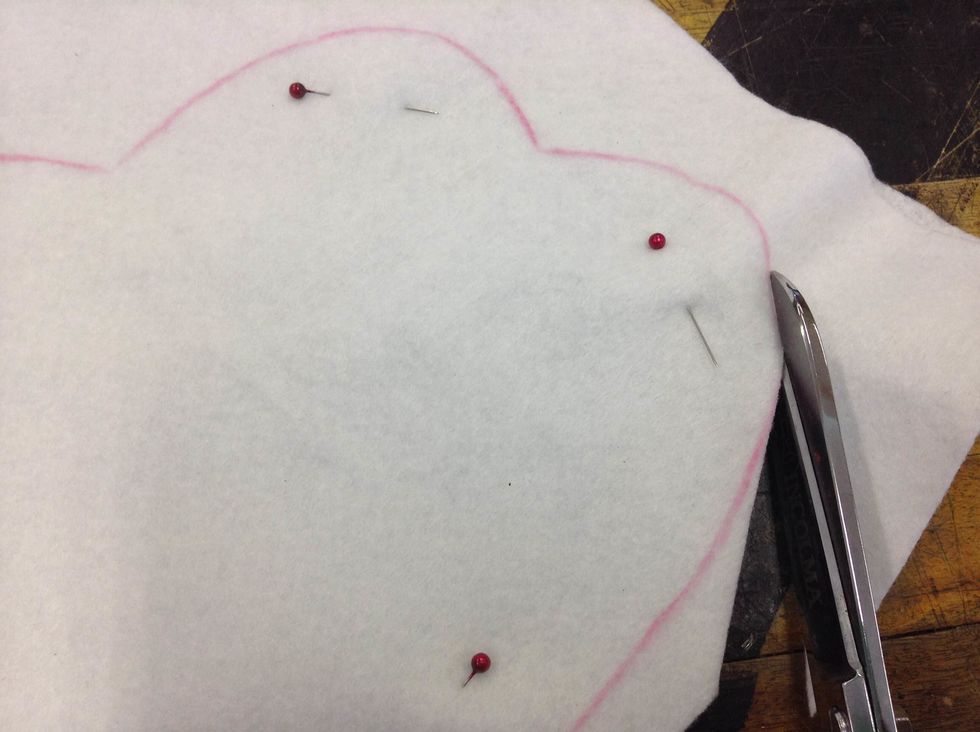
Cut the two layers of felt together using fabric scissors.
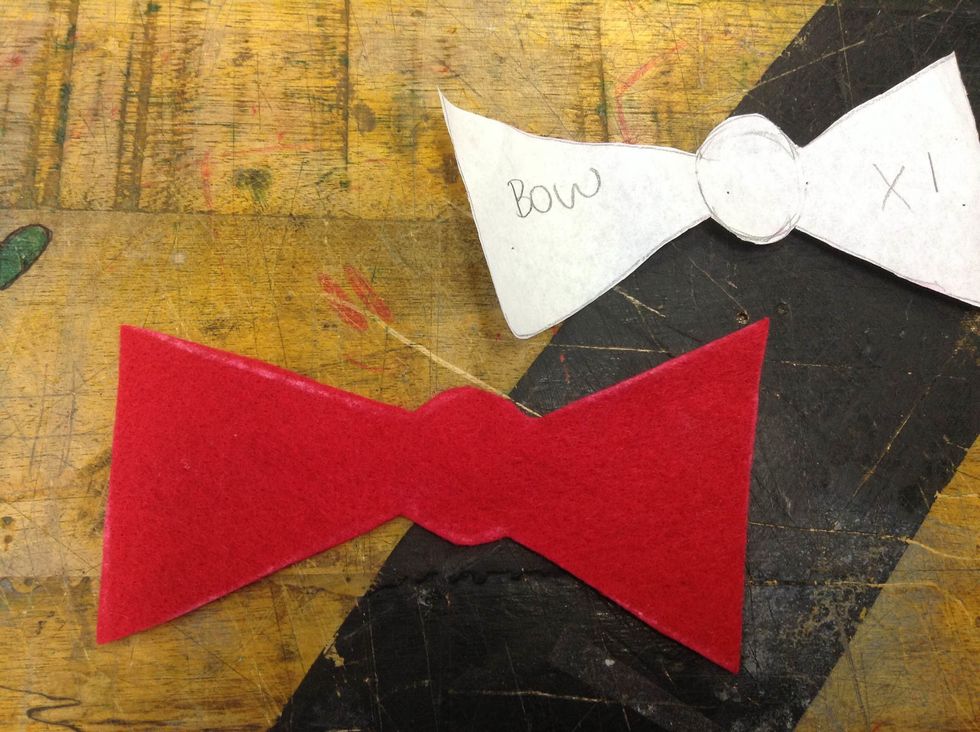
Pin the patterns of the accessories of your monster onto the felt (only one). Trace the shape with chalk. Remove the manifold paper. Cut the accessories in felt with fabric scissors.
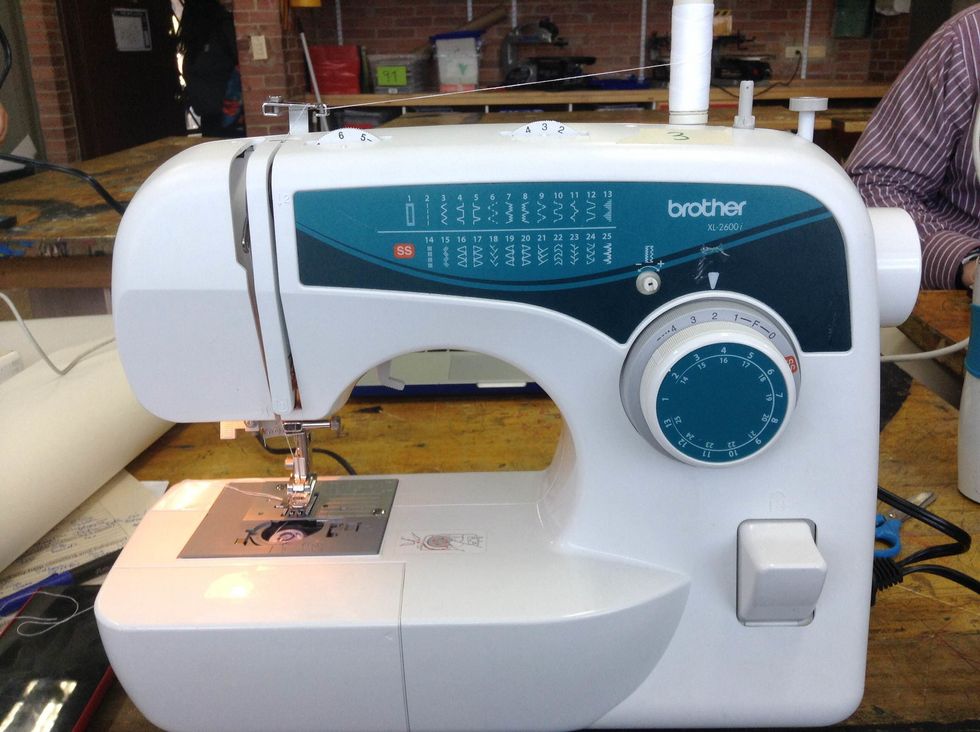
Thread the sewing machine (top and bobbin). If you don't know how you can refer to the next tutorial. https://youtu.be/i4wL18OG8NA This tutorial is specific for the Brother xl2600 sewing machine.

Insert the side of the monster to start sewing. Remember to bring the footer down to press the fabric.
Make a first straight stitch and then press the BACK stitch button for another stitch. This will help you hold the thread acting as "a knot".
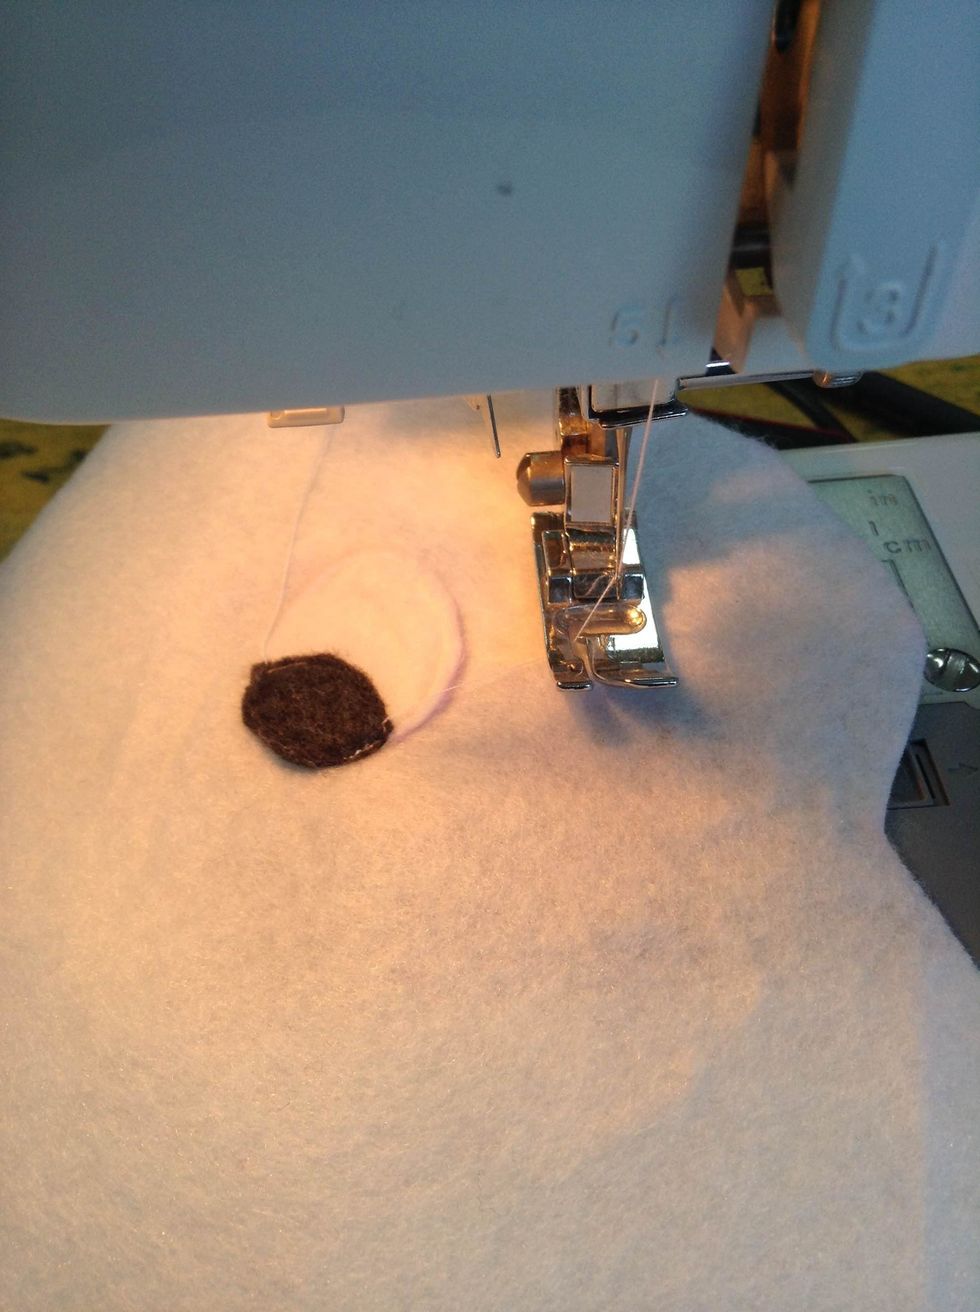
Sew the accessories on the front and back of the monster’s body.
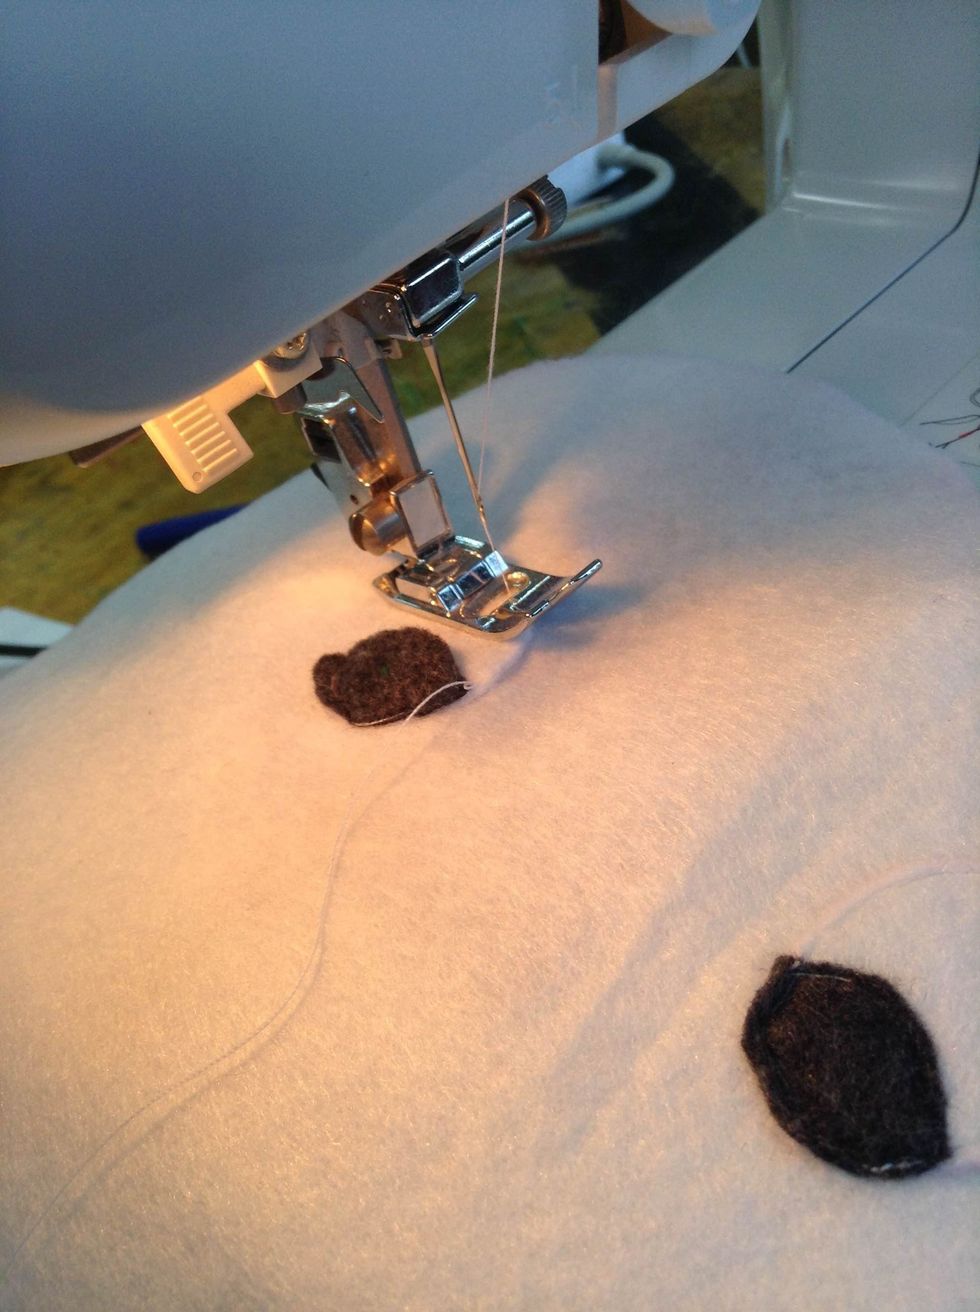
We make this step before attaching the two parts of the body together so all of the stitches are even (made in a sewing machine). At the end the finishes of your monster will be perfect.
Cut the leftover threads
Pin the front and back of the monster’s body with the accessories looking inwards.

If you don't feel very confortable sewing without a guide you can mark the seam allowance with the chalk.
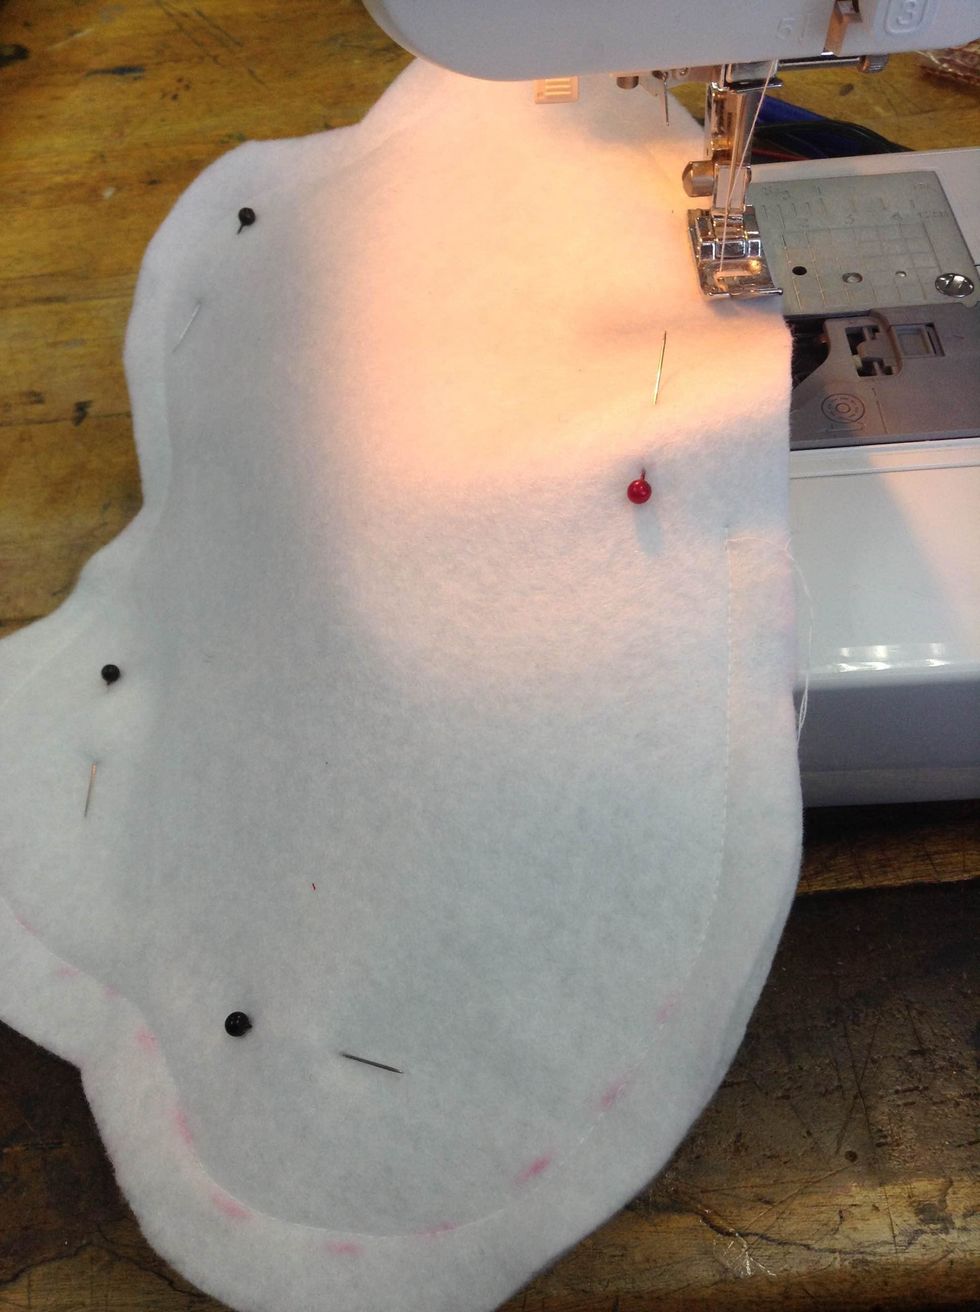
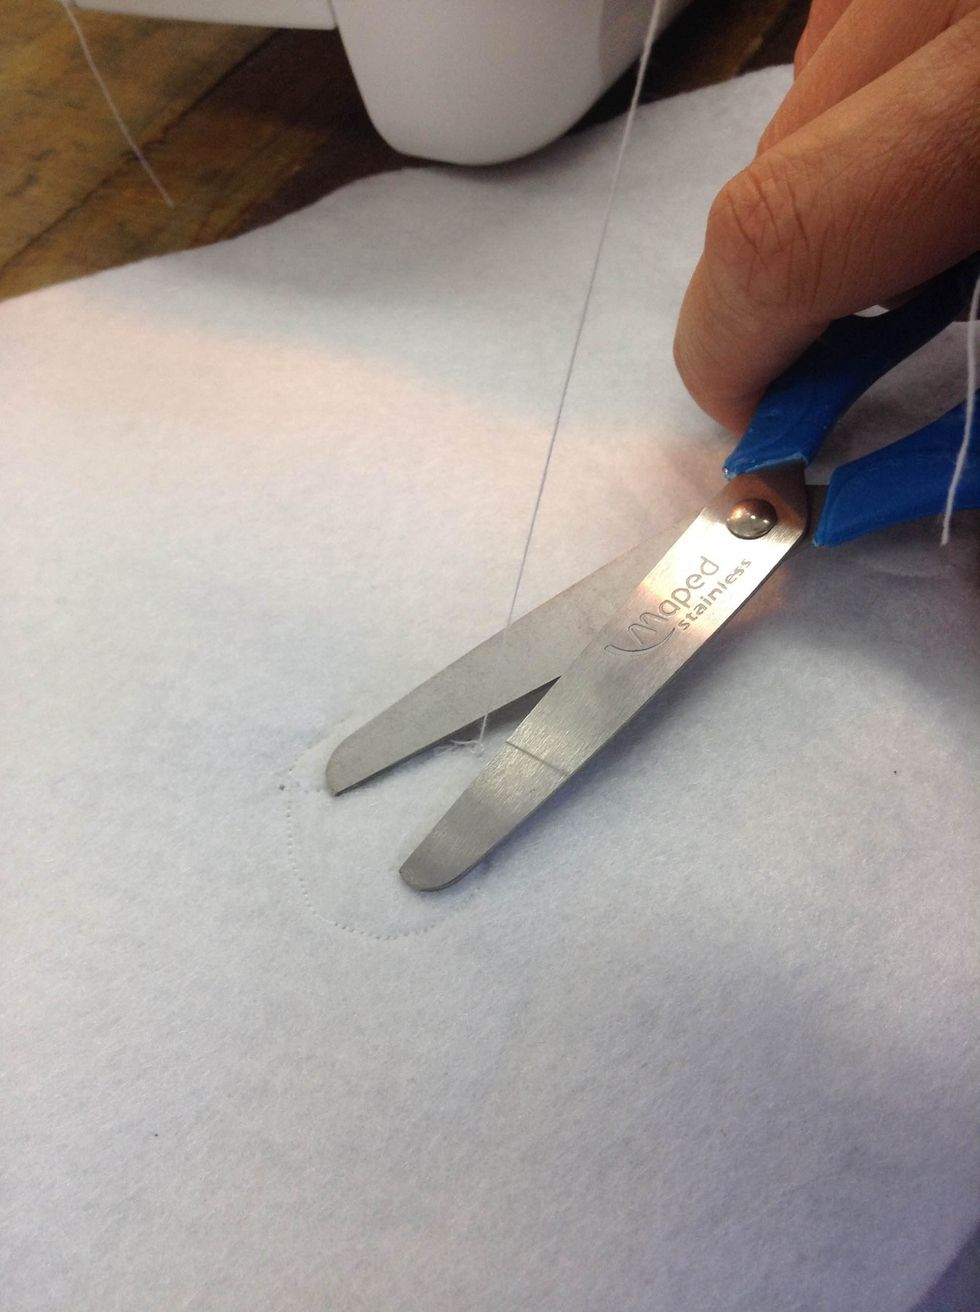
Sew all around your monster but leave a space/hole for inserting the filling. Remove the pins and cut the left over threads.
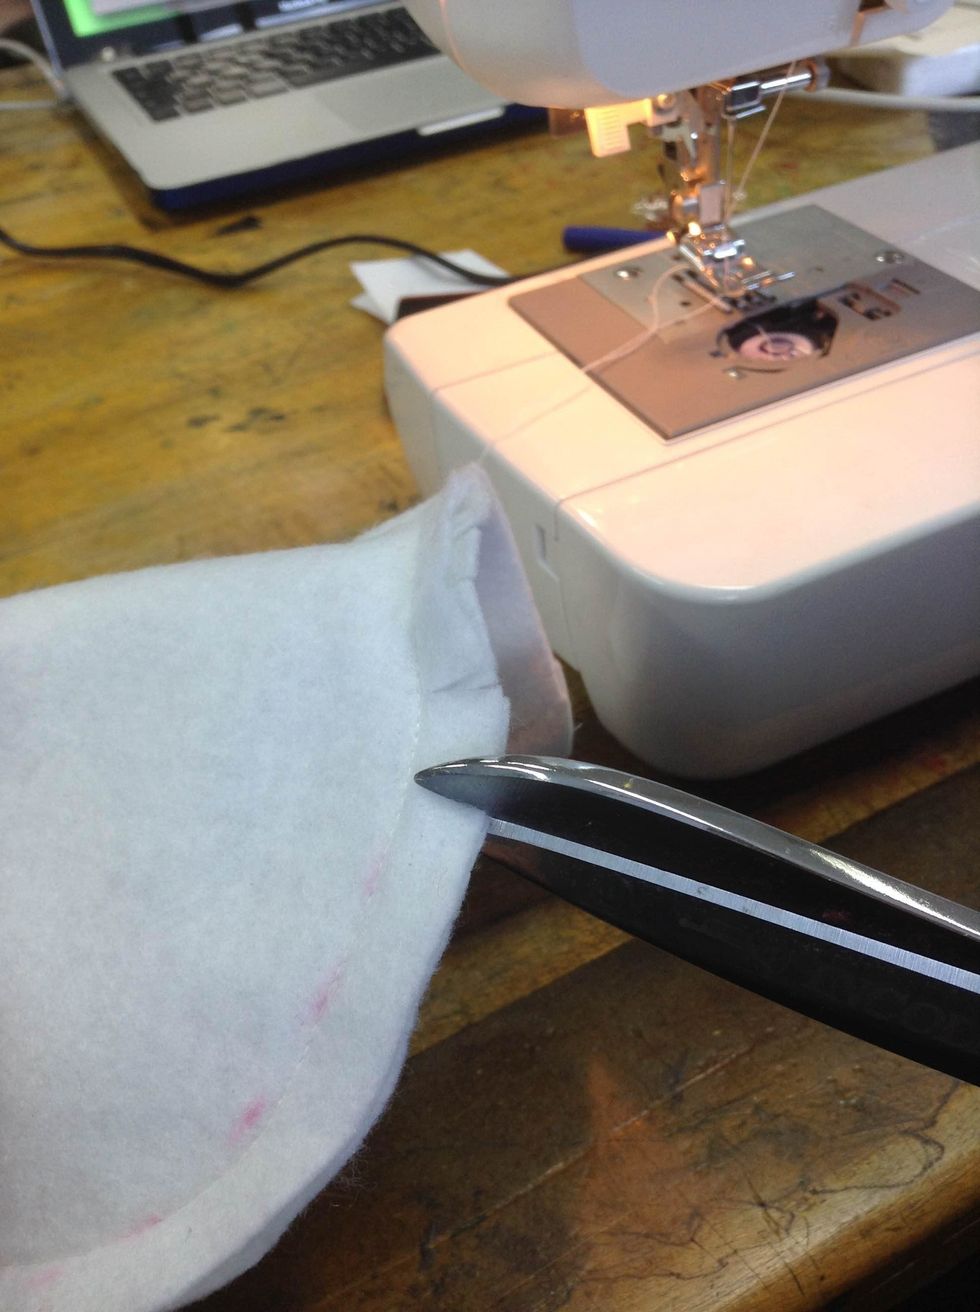
Snap the seam allowance all around the monster after stitching. This will help you to have sharp edges once you turn inside out your monster. Be careful and don't snap your stitches.

Turn the monster inside out

Fill the monster with the filling.
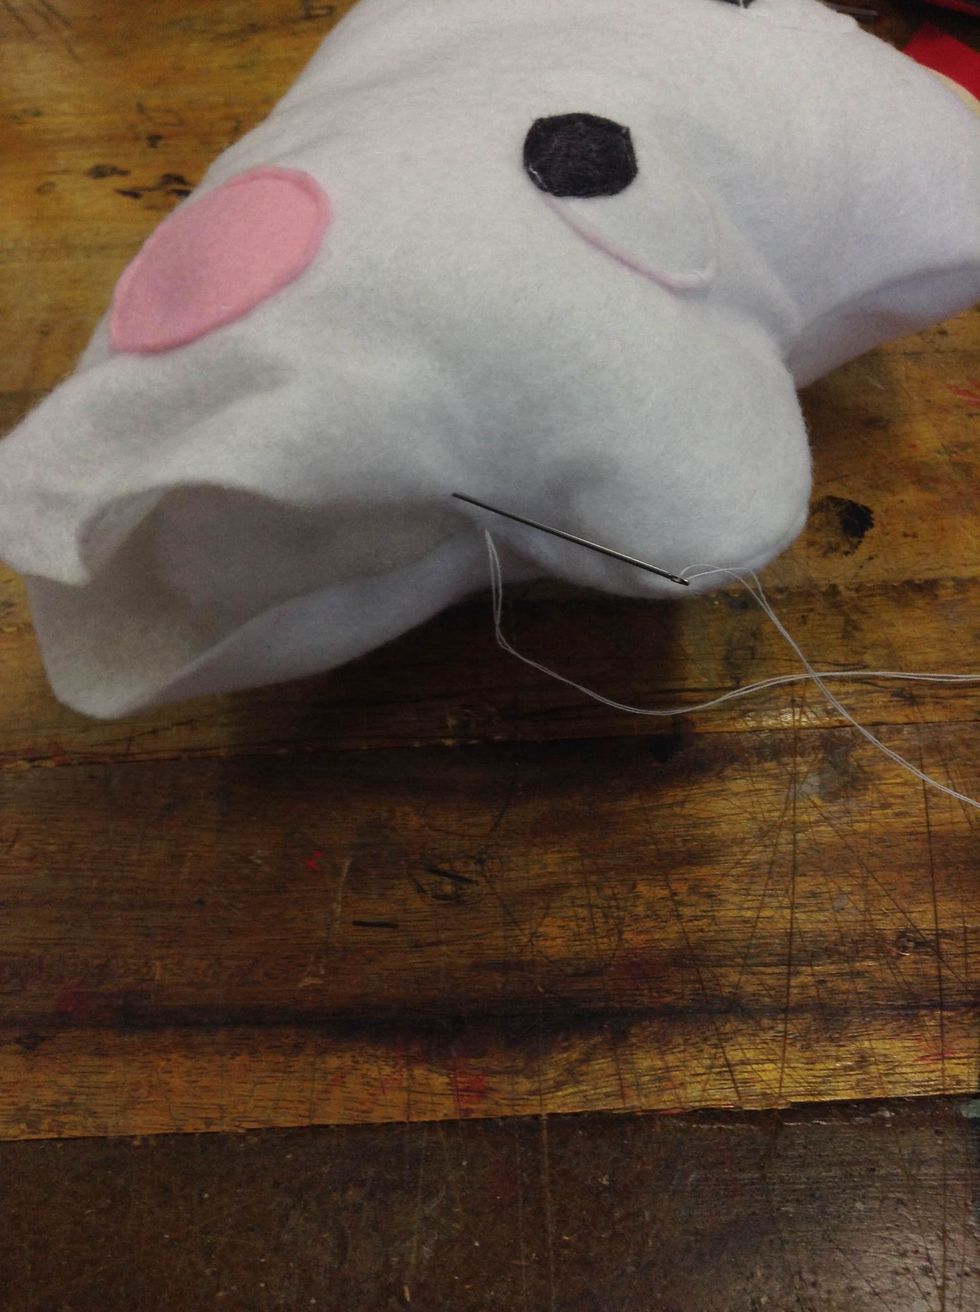
Sew the hole by hand. You will need an invisible stitch for better finishes. refer to the next tutorial https://youtu.be/WbE5hXt27uU
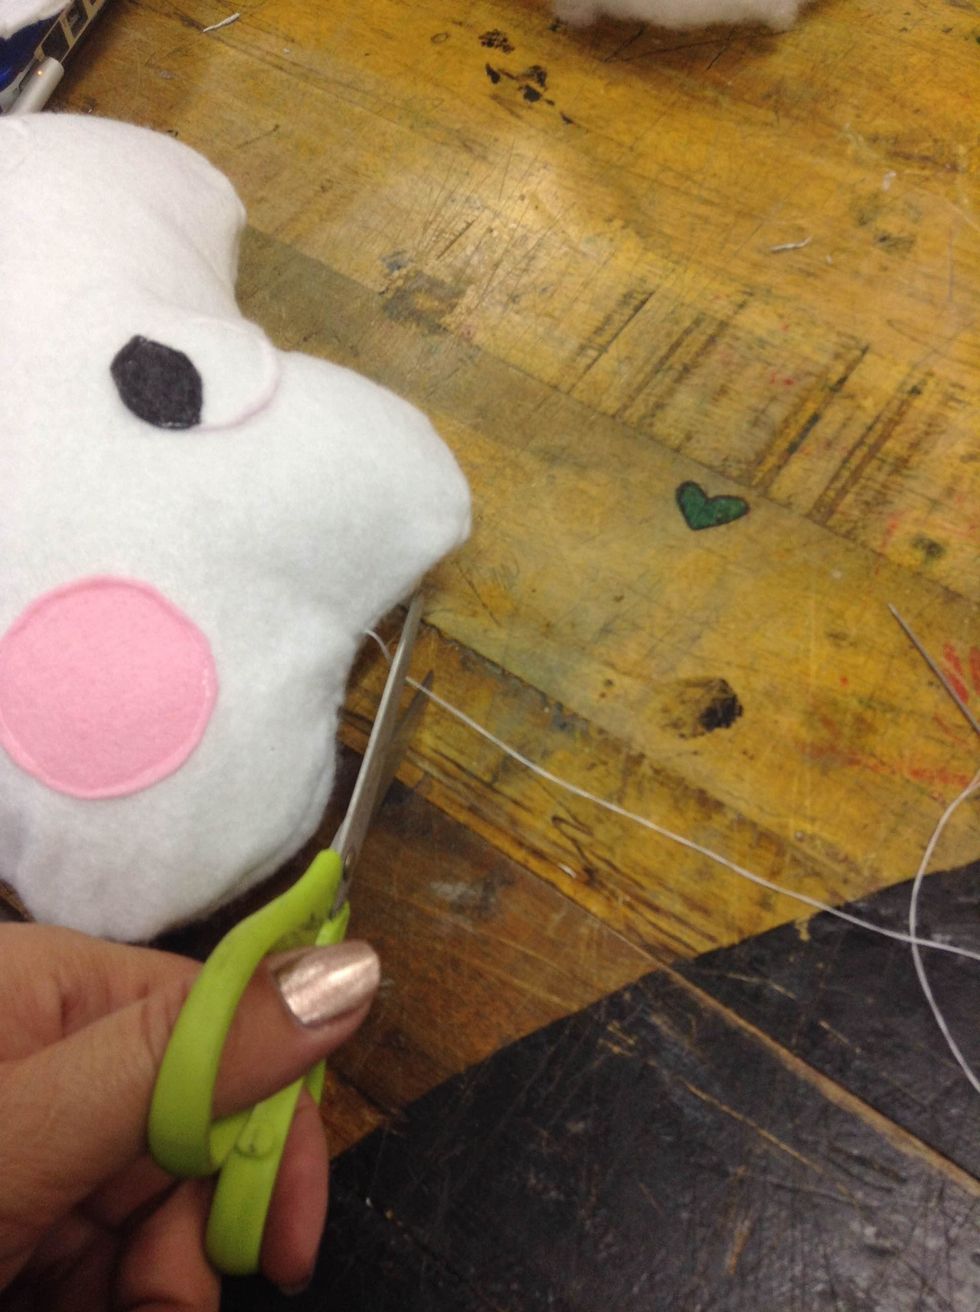
Cut any leftover threads
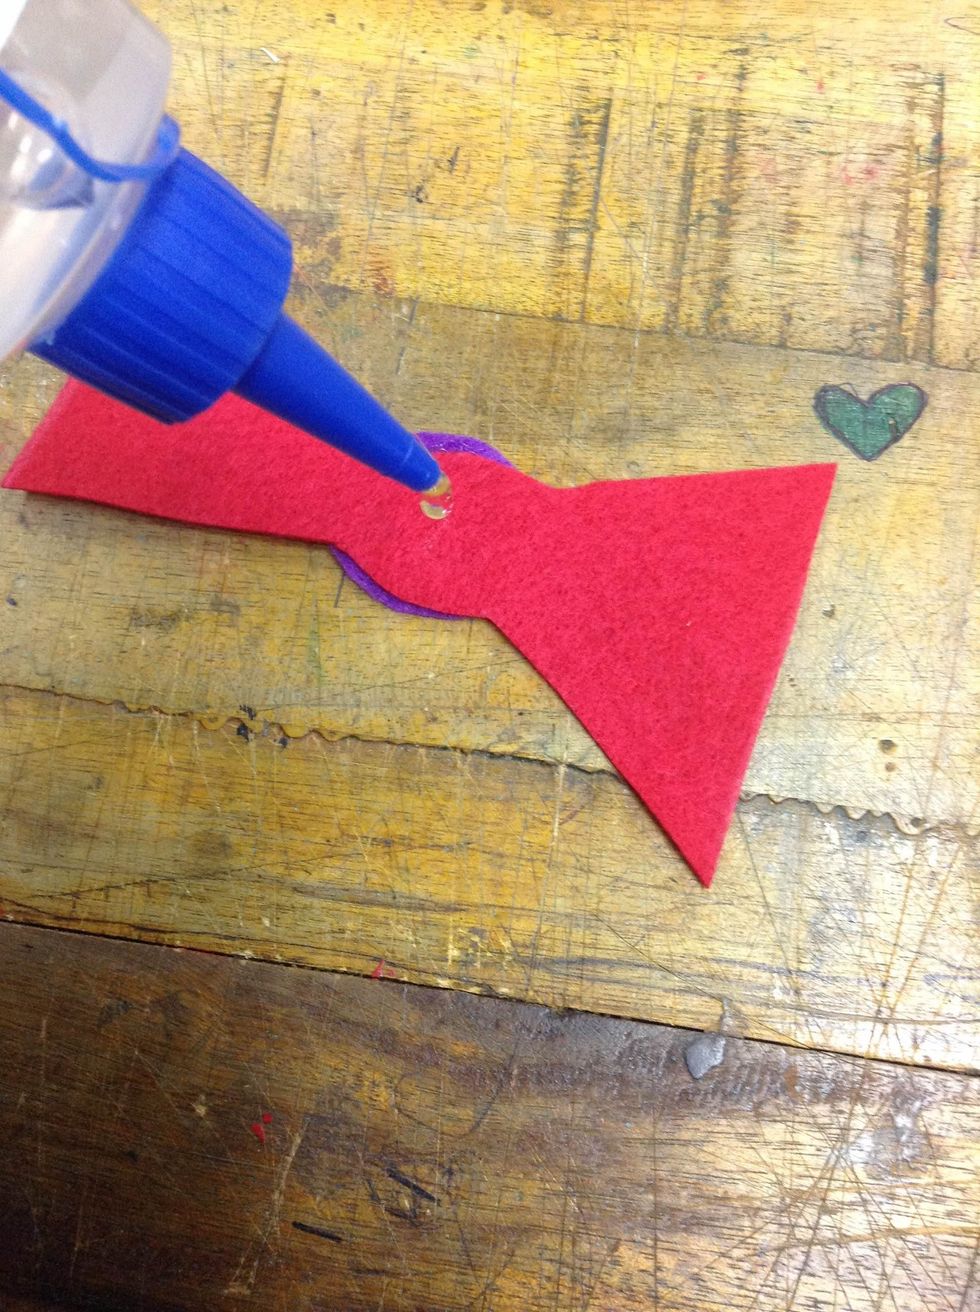
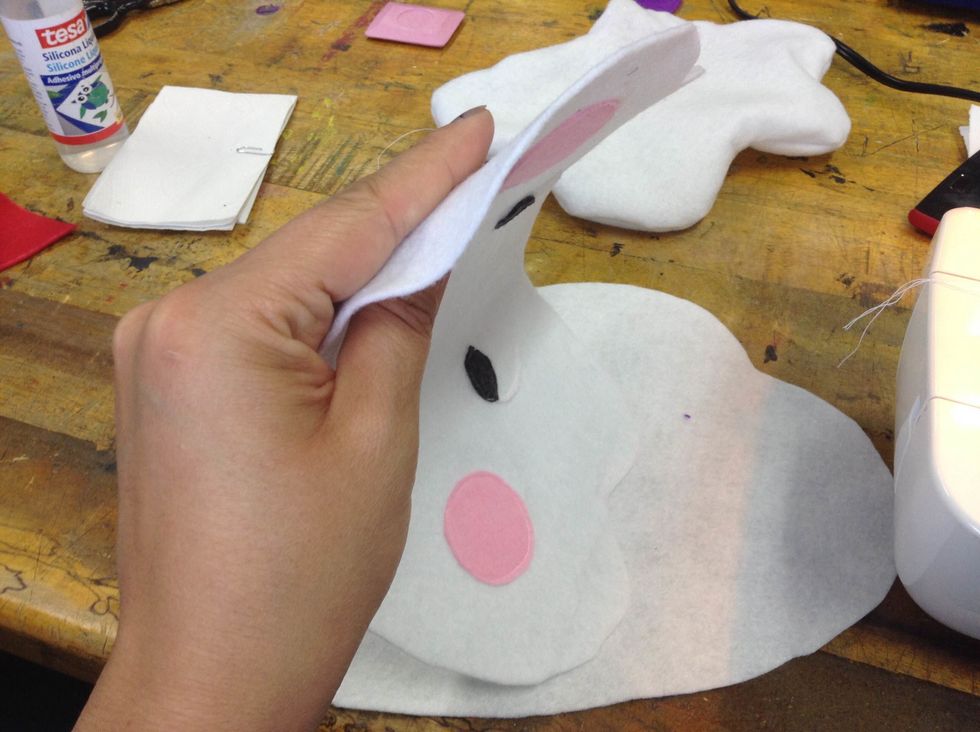
Glue any other accessories to the monster. You can use a hot glue gun or regular liquid glue.

Paint any features that are missing.
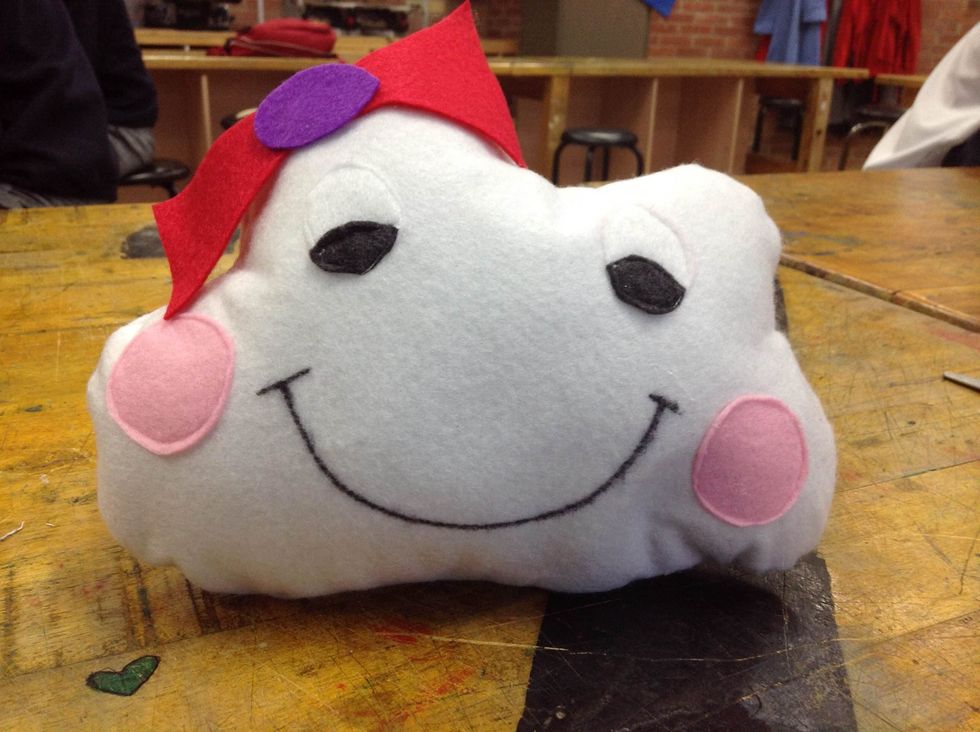
YOU ARE DONE!!! ☺