STEPS
TOOLS
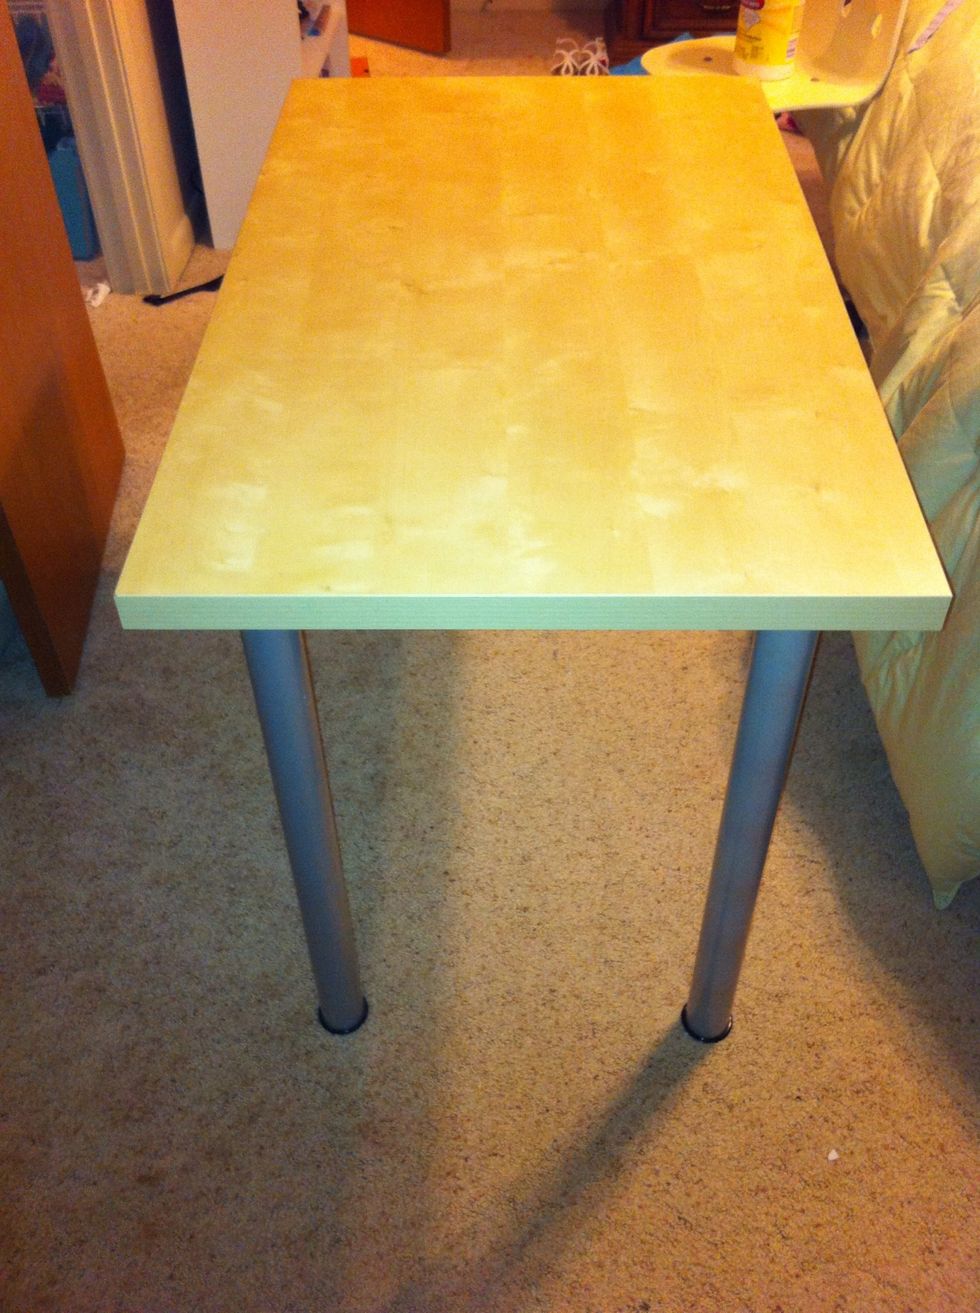
Start with a boring desk.
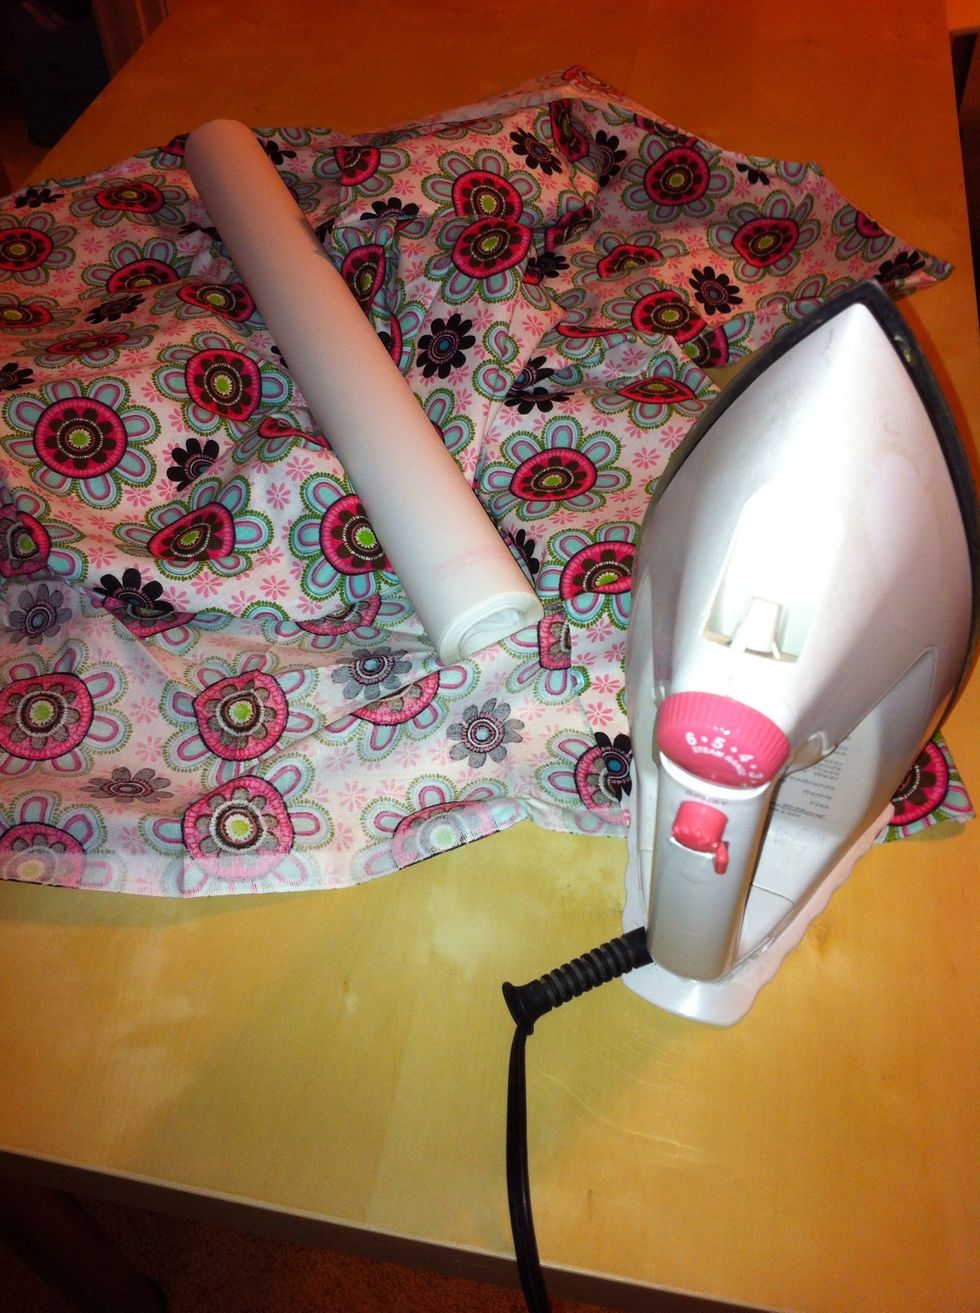
Supplies. The size of this desk top was the perfect size for one yard of fabric.

Iron on the adhesive. Cover the entire piece of fabric.

We used the desk as an ironing board. It's much easier because of the larger work surface. Just put a towel between the fabric and the desk.
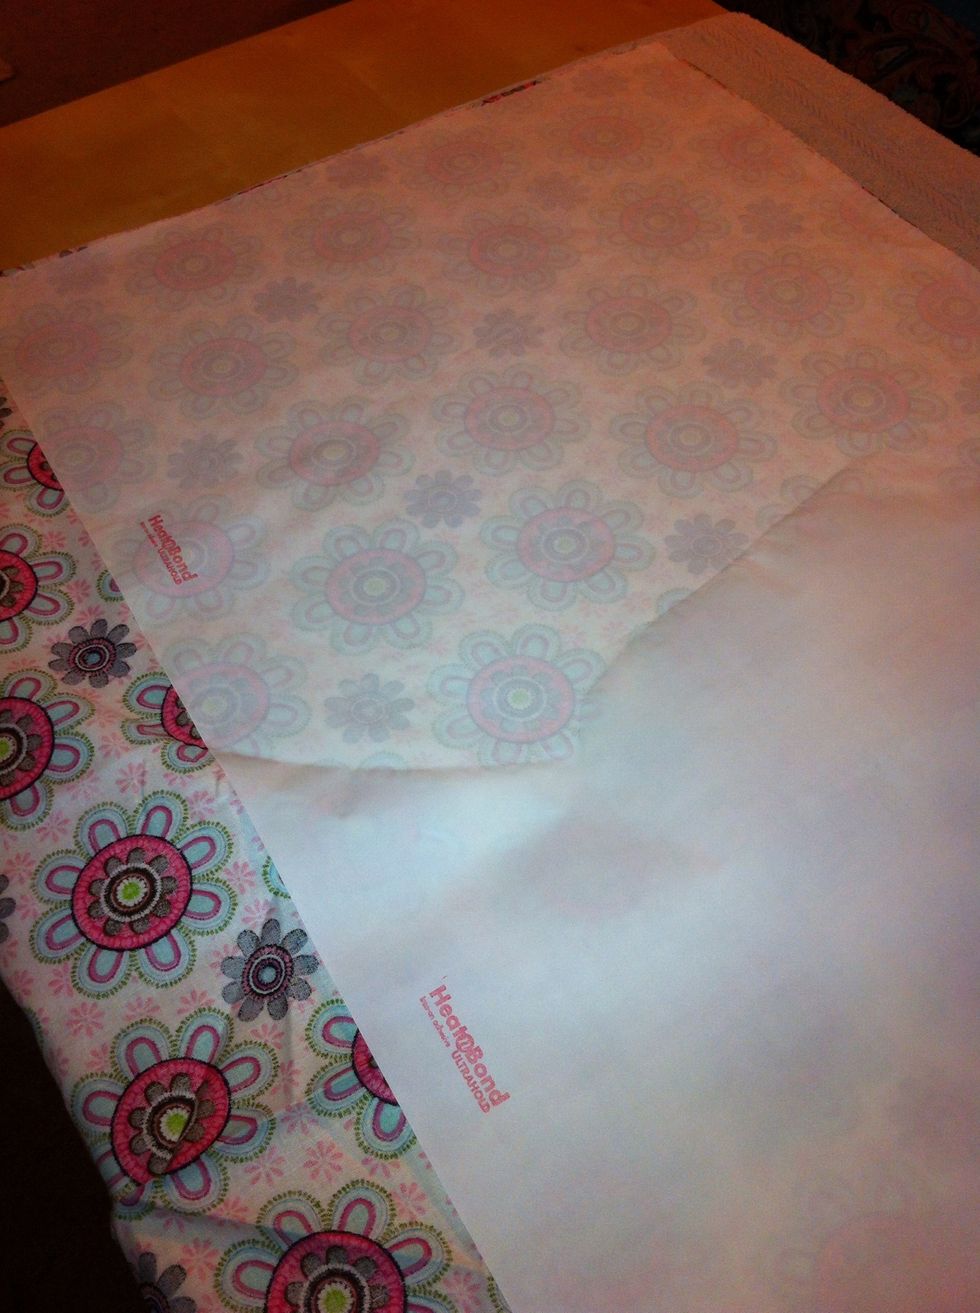
See the difference. When ironed properly, the material is easily seen thru the backer.
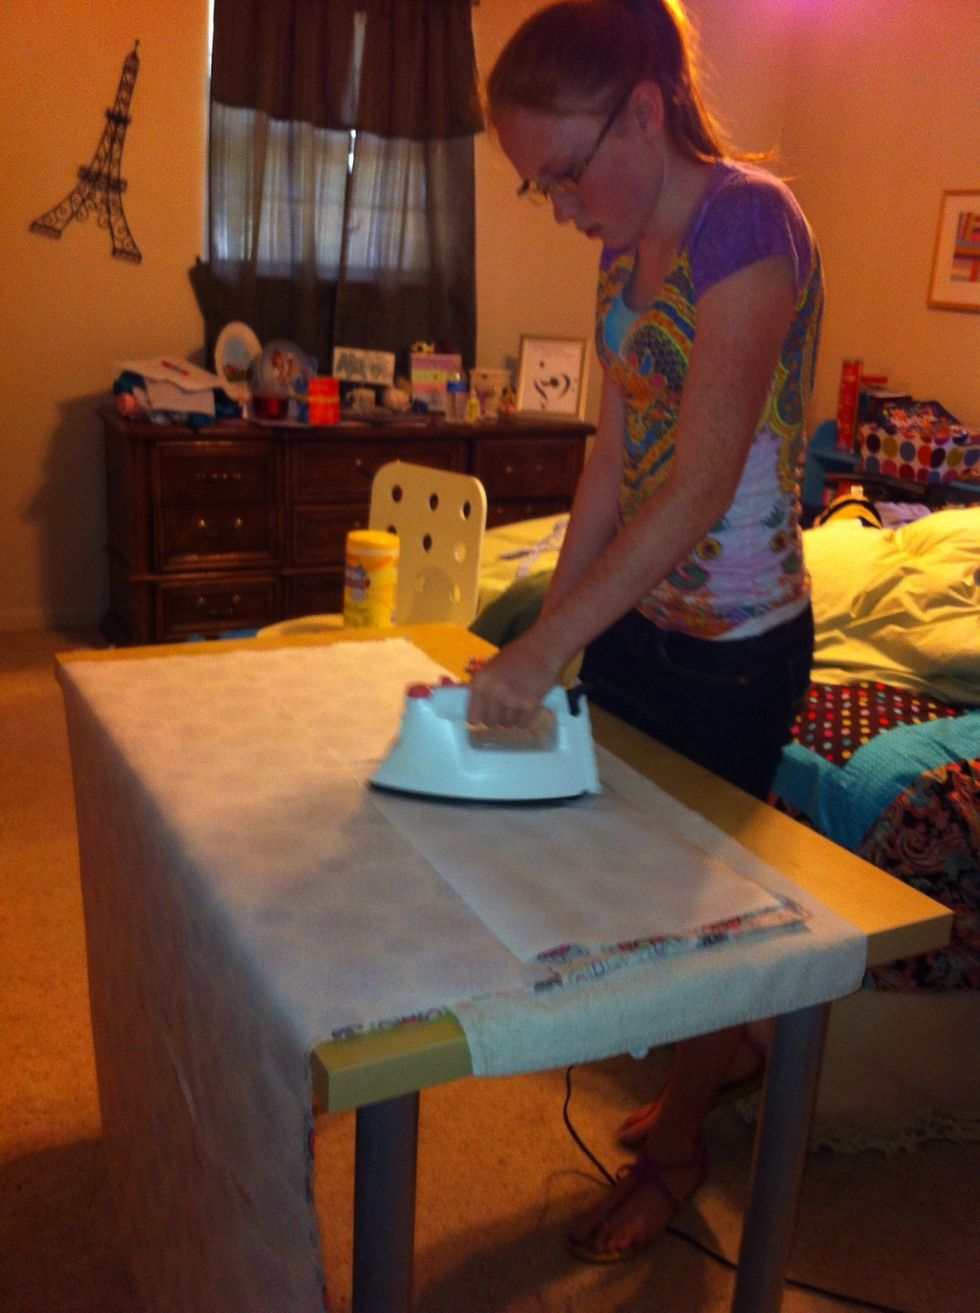
Here you can see how simple it is to iron on the adhesive. It took 3 strips on the last row. But no fuss or mess. You can cut the adhesive or just tear it!
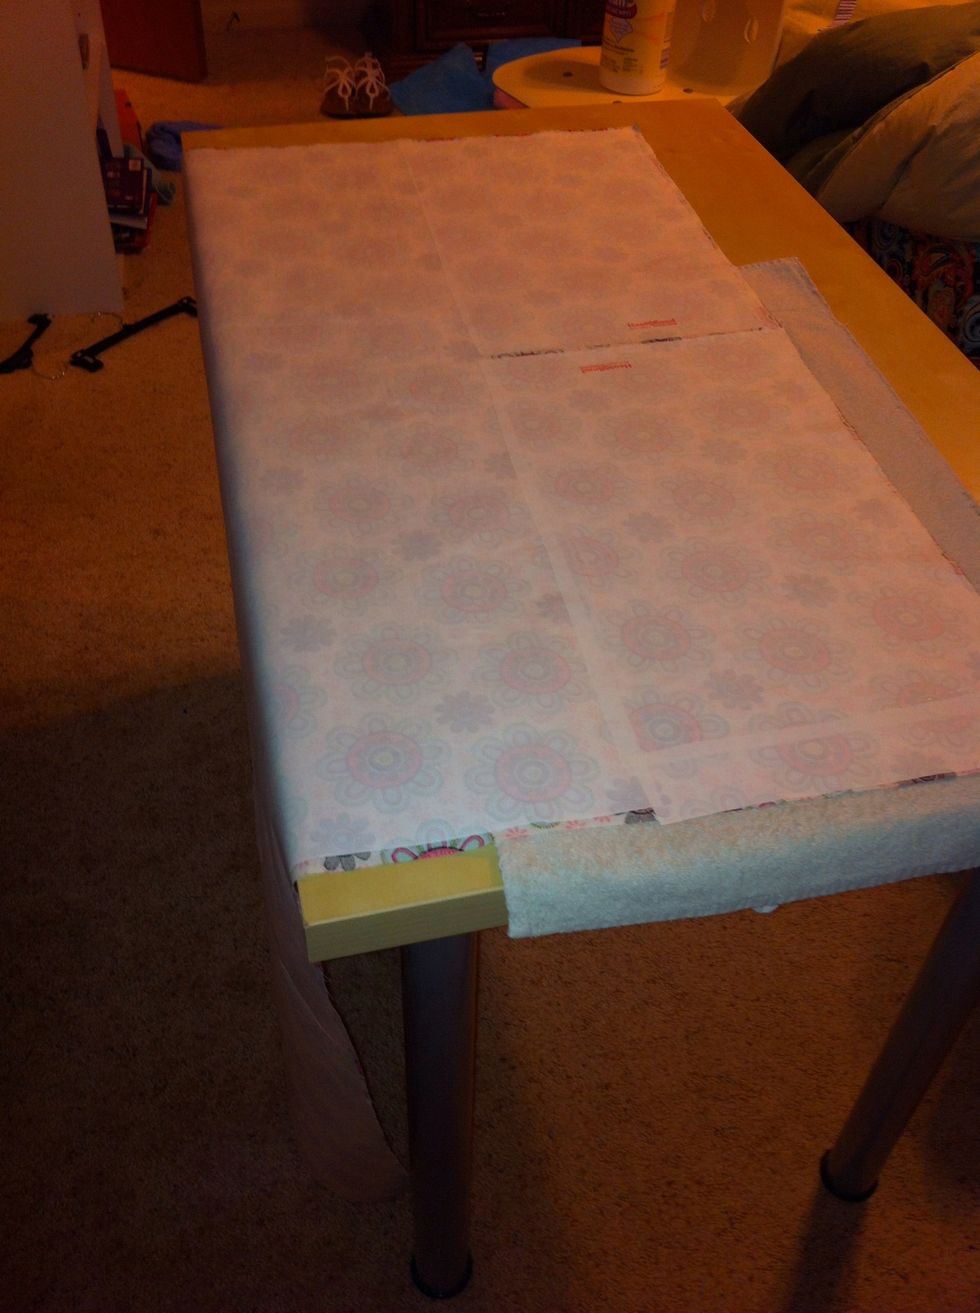
Done.
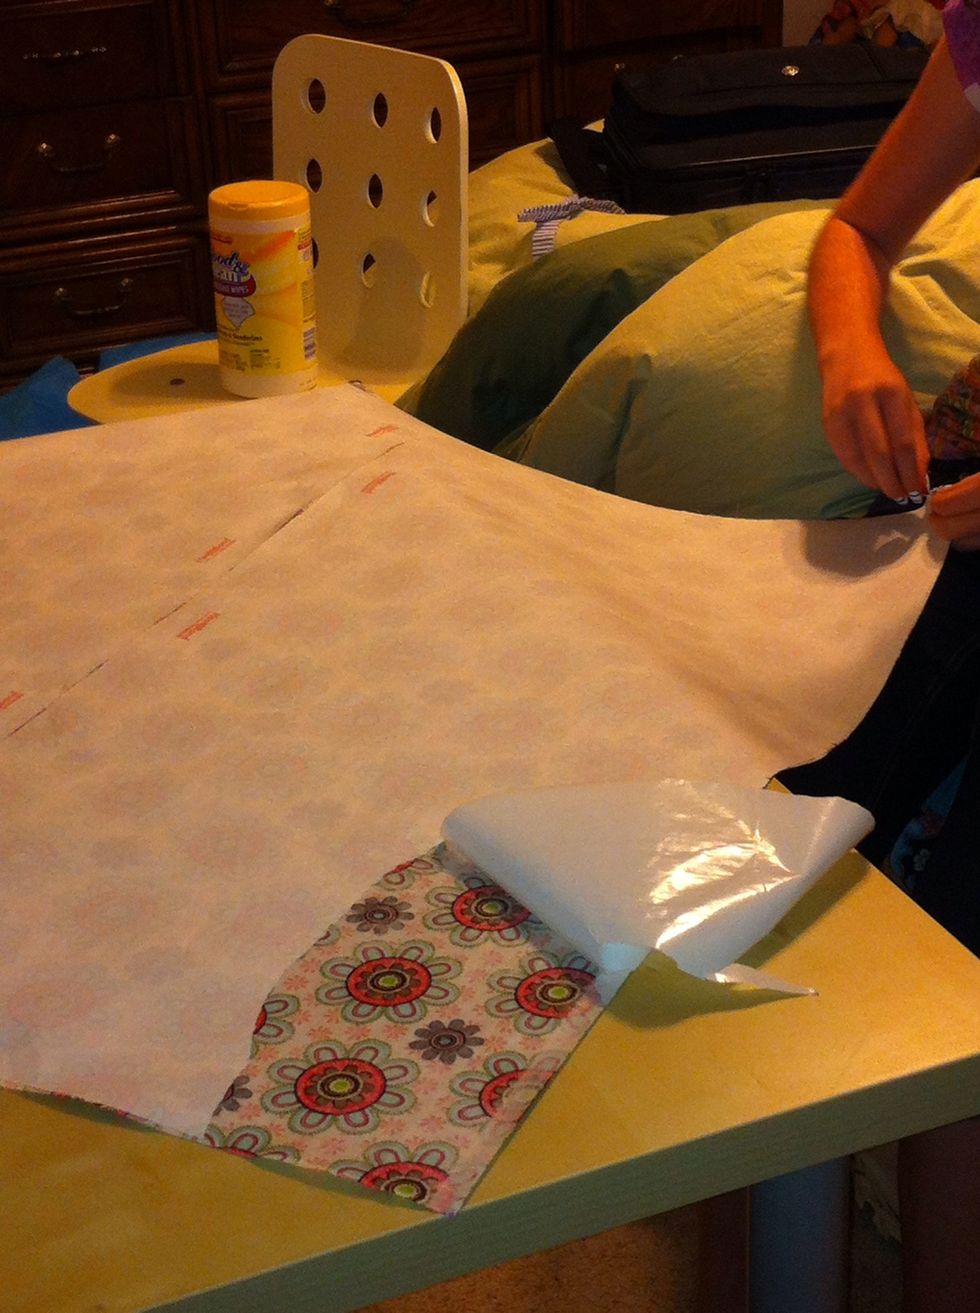
Now peel the backer off. This leaves a shiny film on the fabric.

Peeling the backer.

Now flip the fabric over and position it where you want it. Make sure all corners are covered before you start ironing! And start ironing on the side with the least amount if fabric!
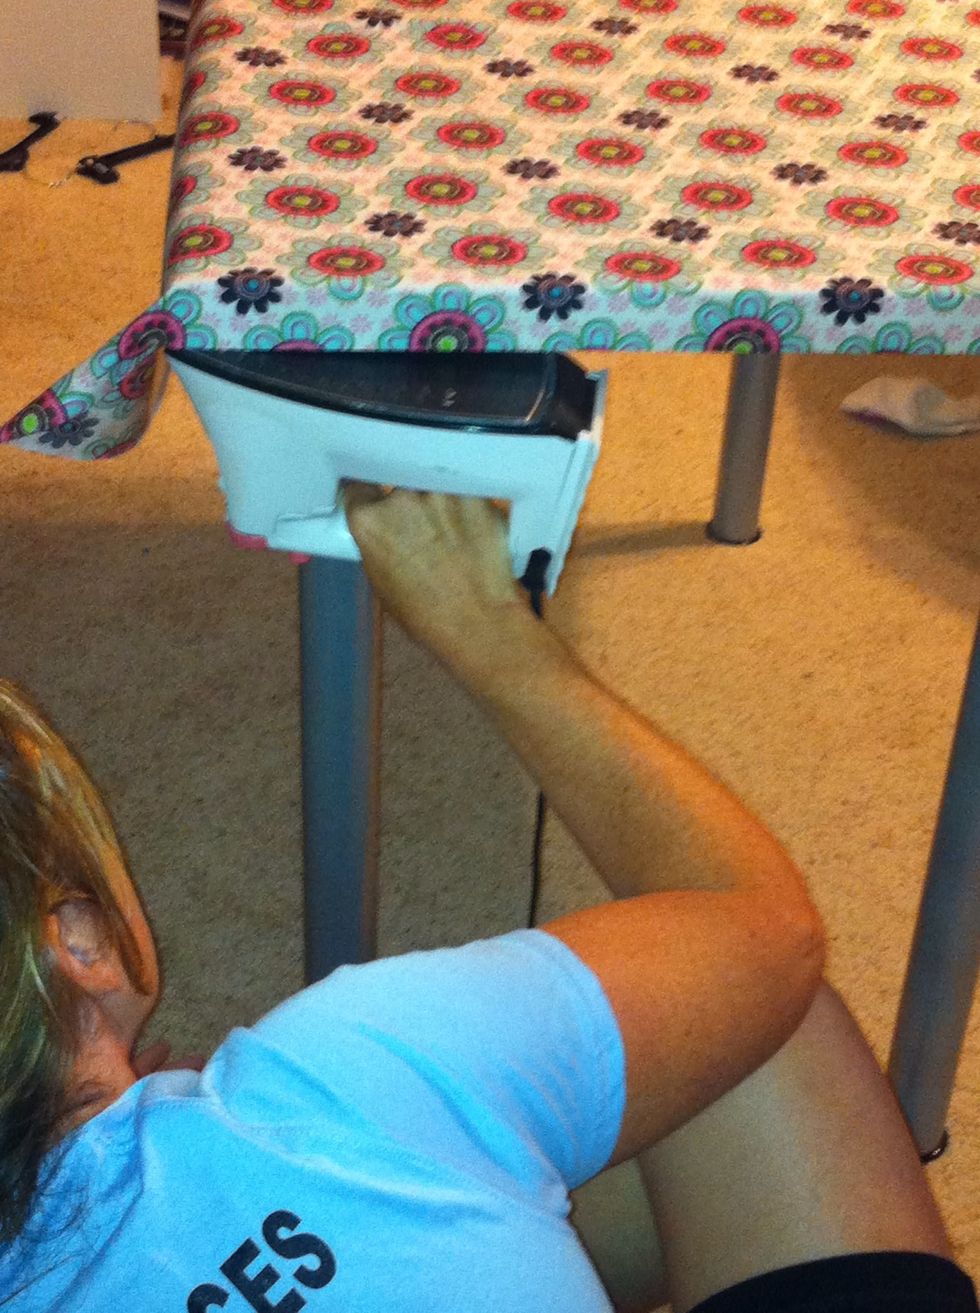
I ironed the short sides first and left the corners for last!
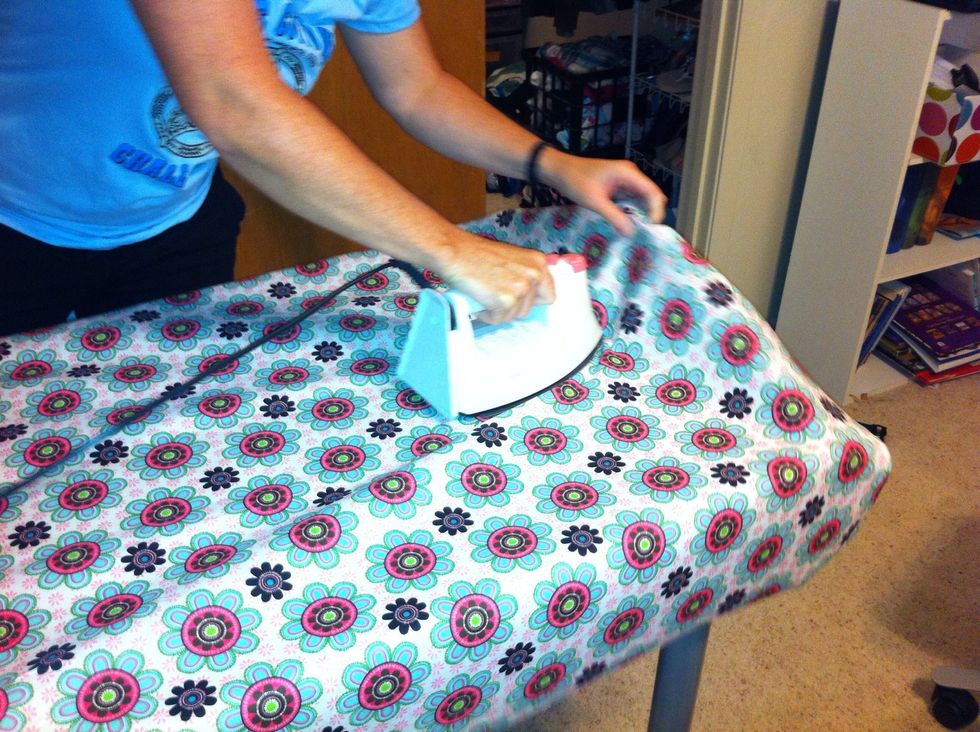
Once one end is ironed in place, ironed the top down. Make sure to pull the fabric as you iron so you don't have bubbles in your fabric. If you do get a bad spot, just yank it up & smooth it out.
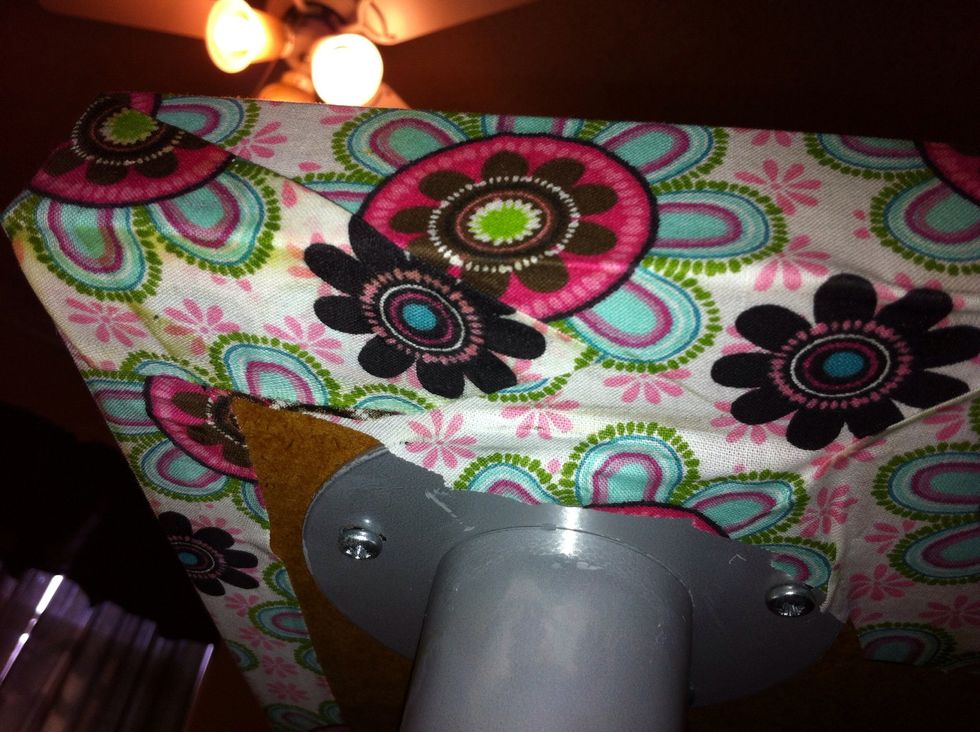
The corner. Yes, the adhesive sticks to metal! And if you need to reposition a corner, just test off some more adhesive and iron another layer in!

30 minutes from start to finish and FINISHED!
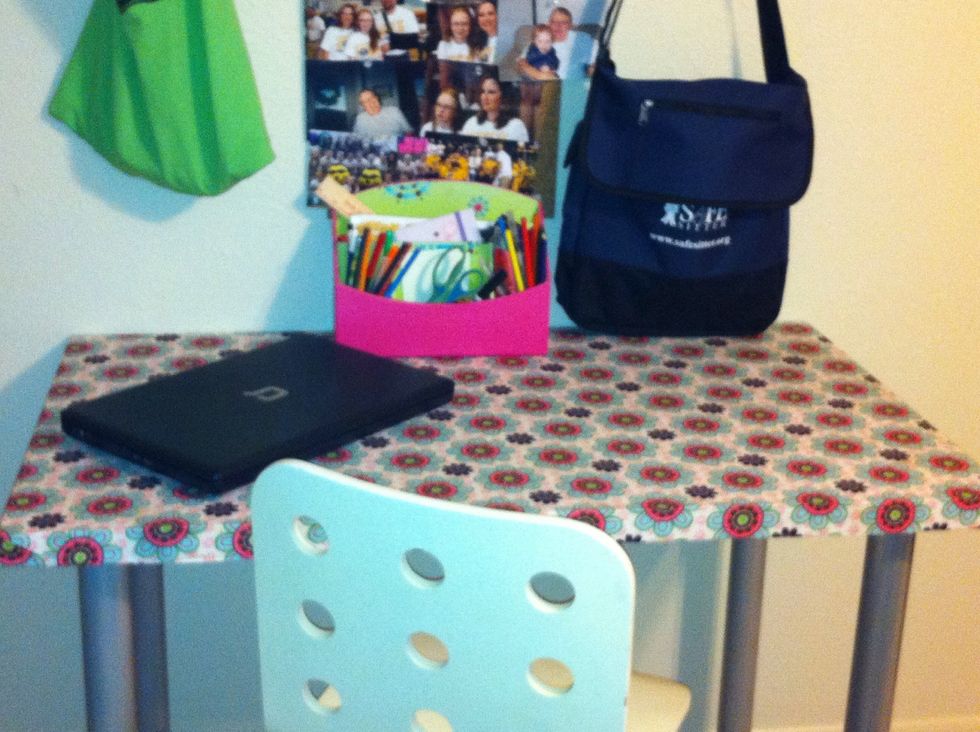
Cute!! www.faithhopeandart.blogspot.com
- Fabric of your choice
- Iron
- Iron-on fabric adhesive
- Desk