The Conversation (0)
Sign Up
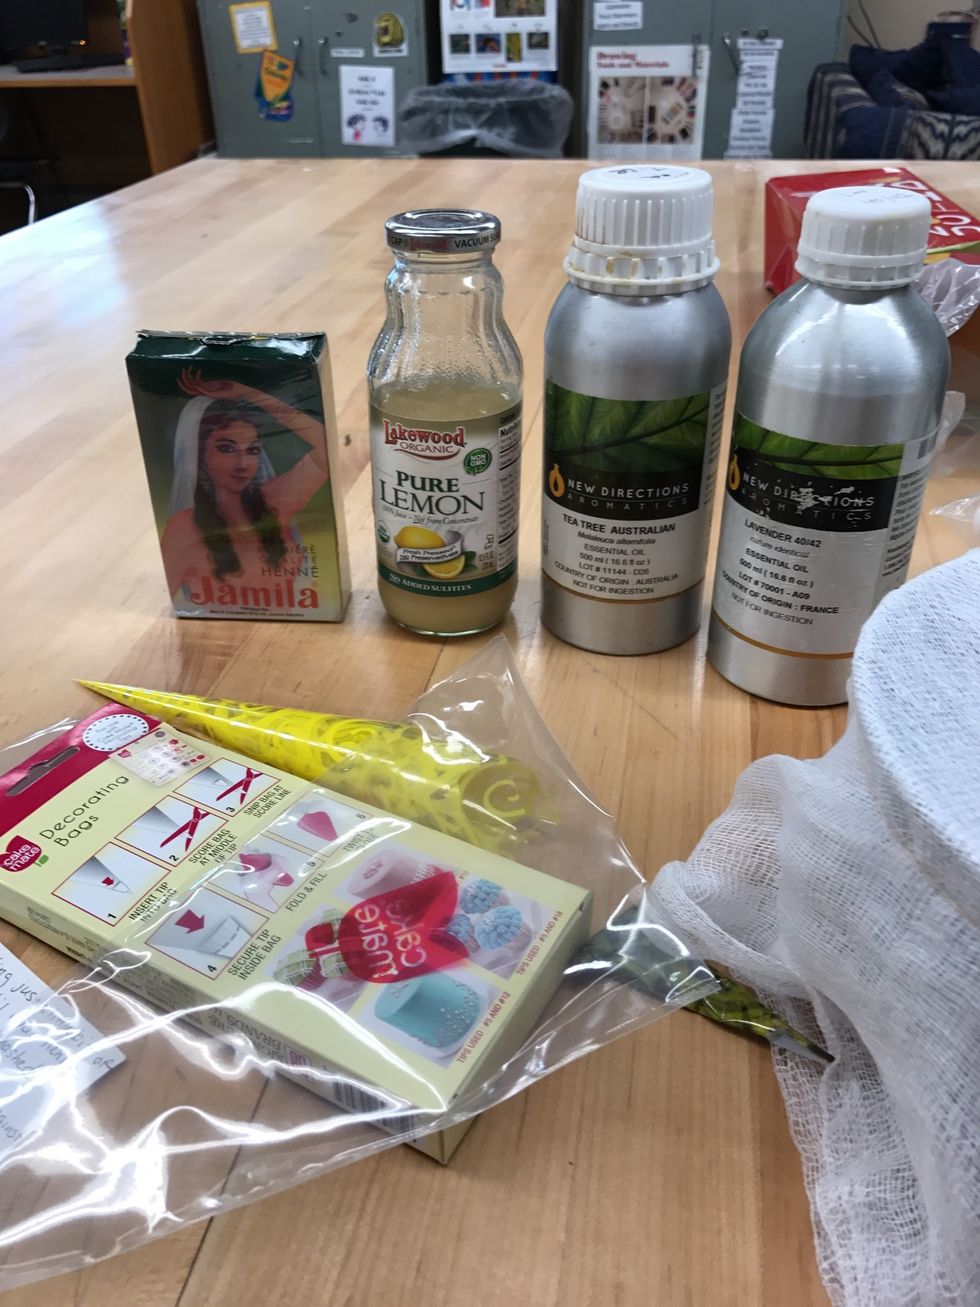
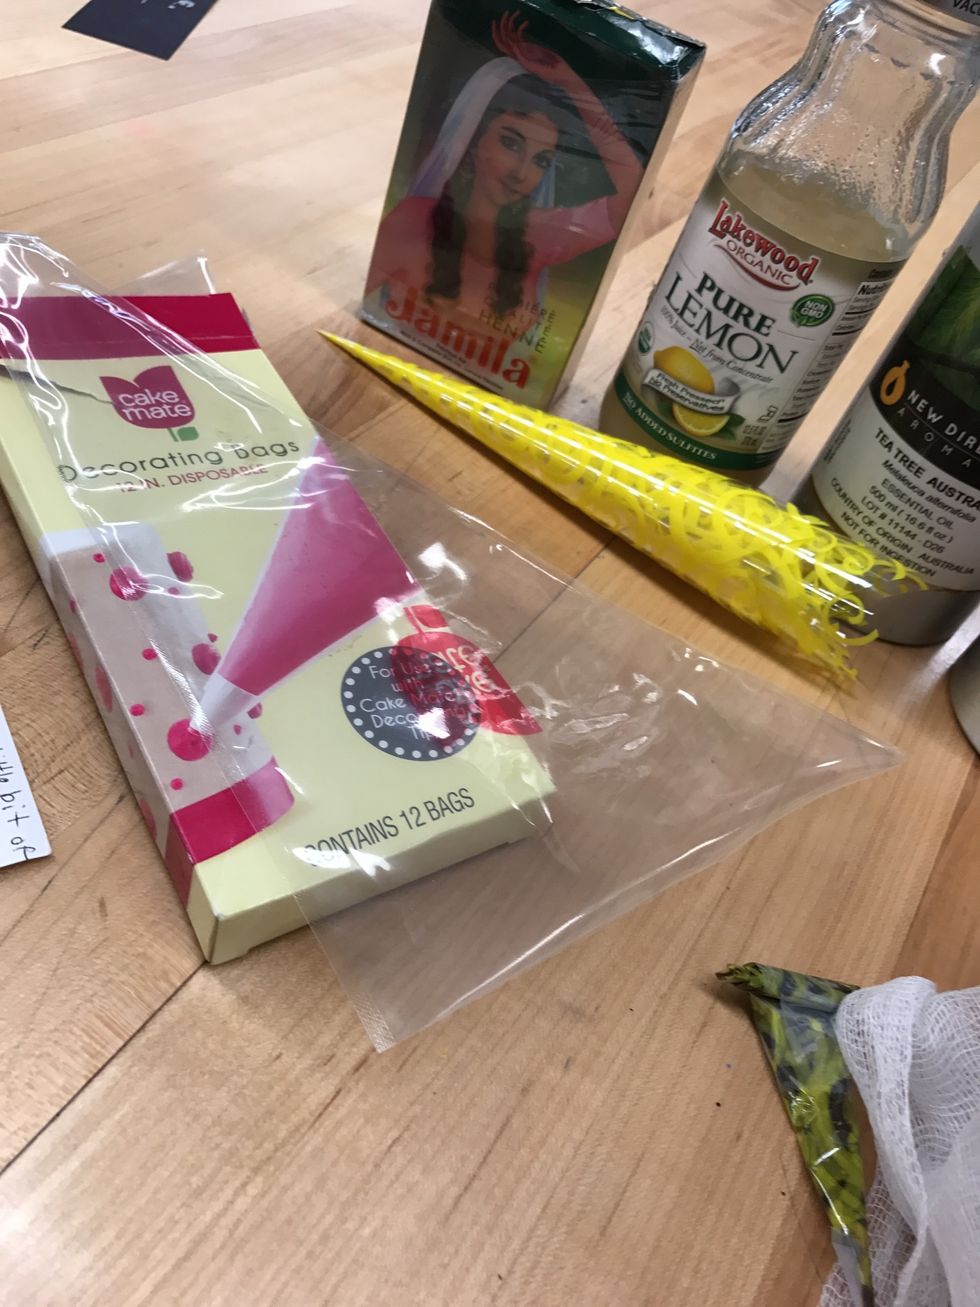
Supplies: Jamila Henna Powder, Pure Lemon Juice, Essential oils and Sugar, Large cone and small henna cones

Cheese cloth or a nylon can be used to strain the henna paste.
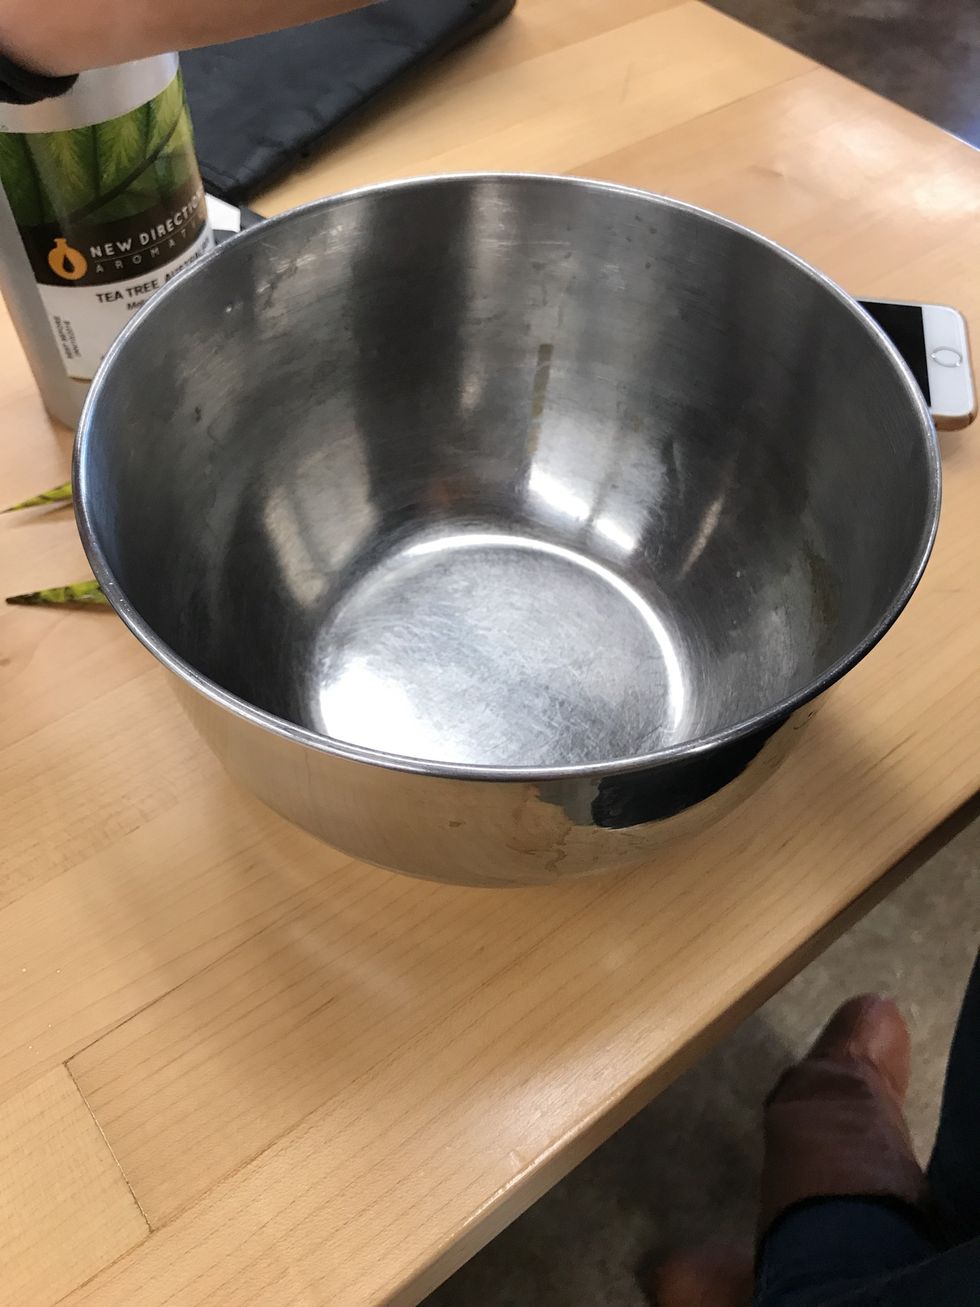
I use a stainless steal bowl so it doesn't get stained
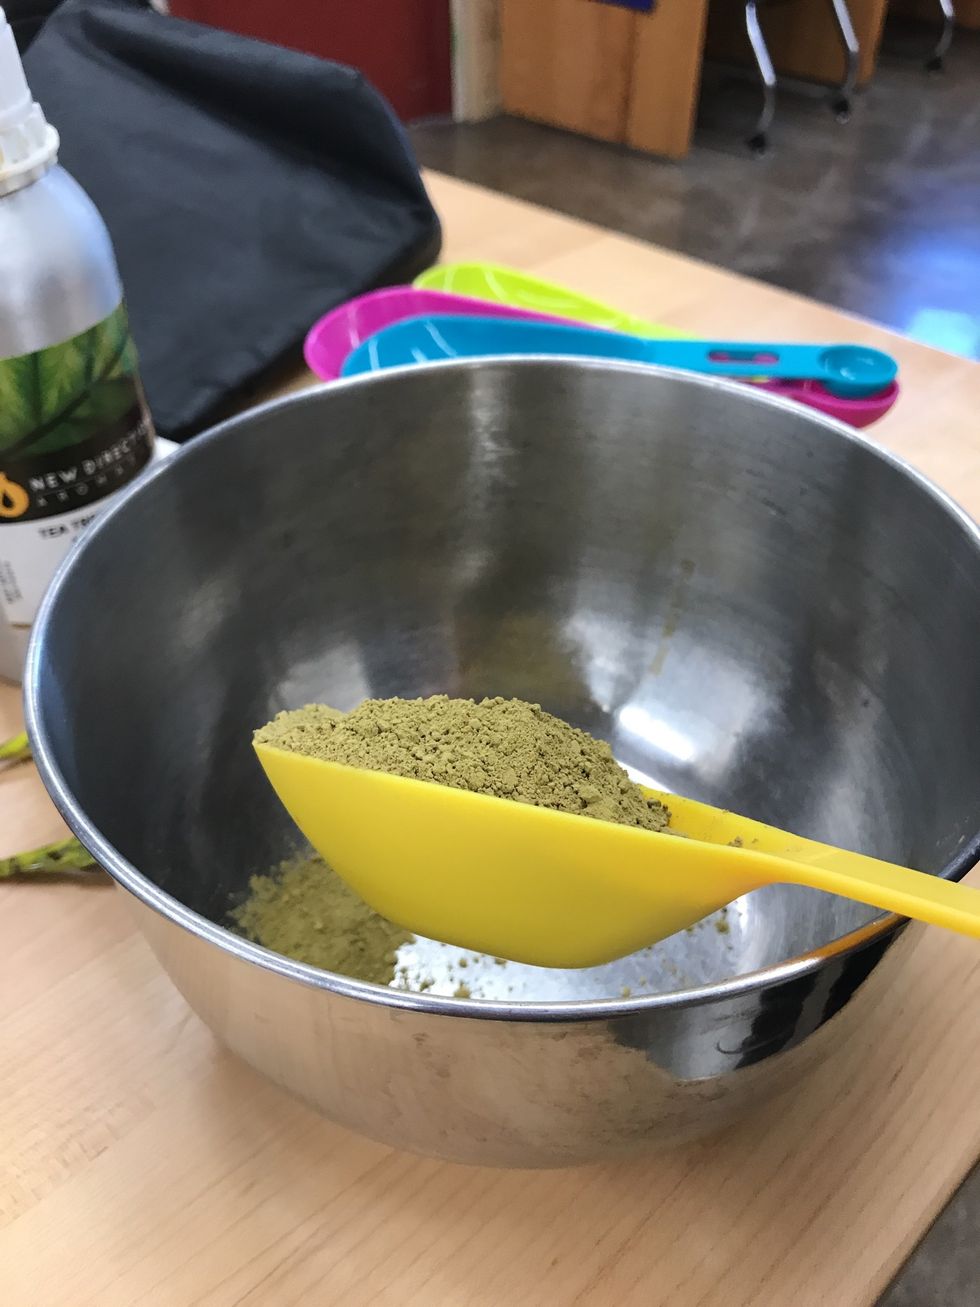
1/4 cup henna powder

1 tsp of 2 essential oils, I used lavender and tea tree
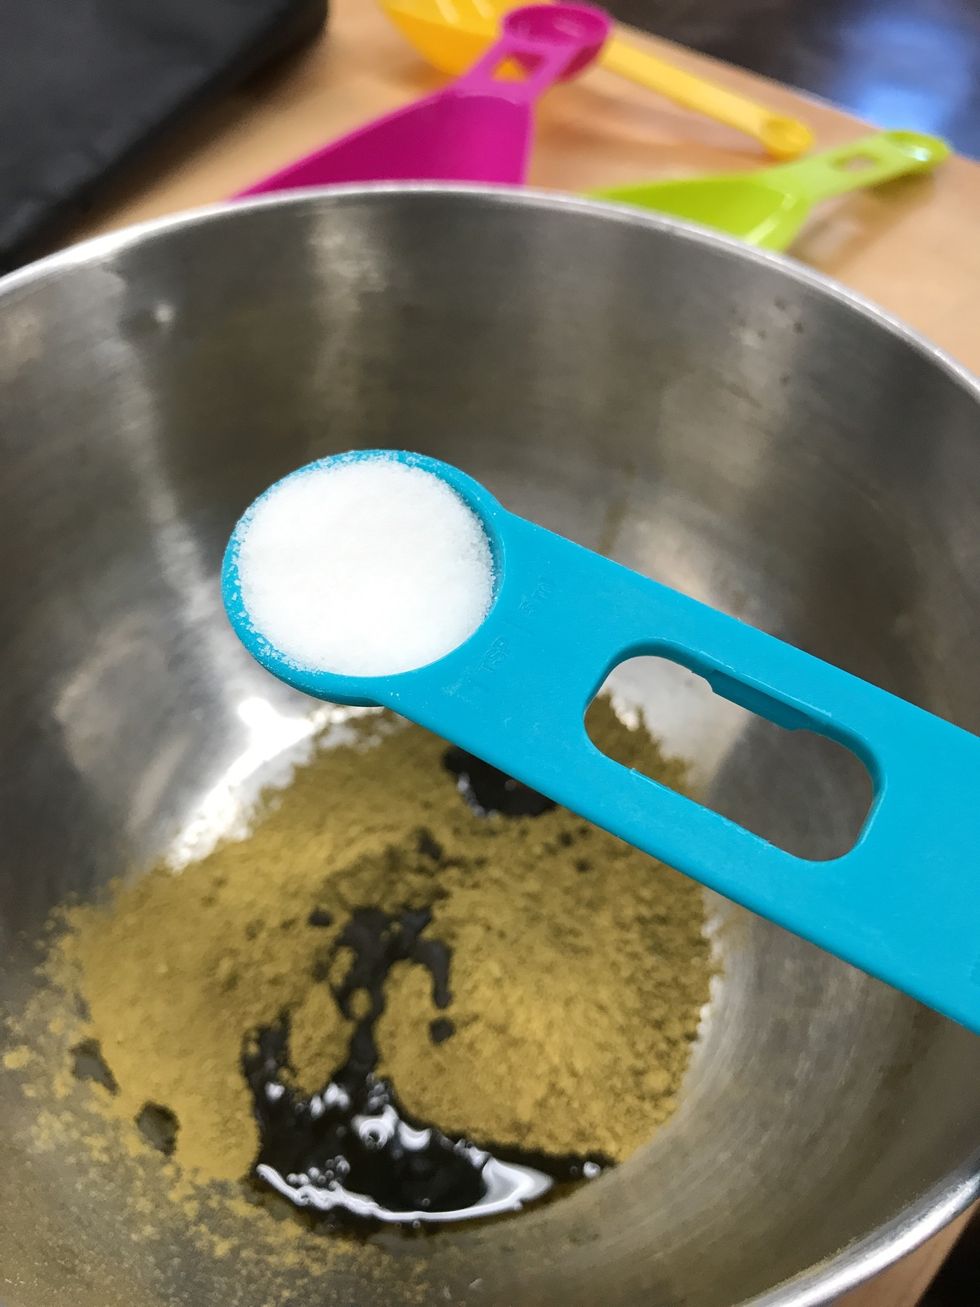
1 tsp of sugar or fructose. Then stir until smooth.Cover with saran wrap, pressing it to the paste. Let sit in a warm location for 24-48 hours.Test on skin to see if it leaves a bright orange stain.
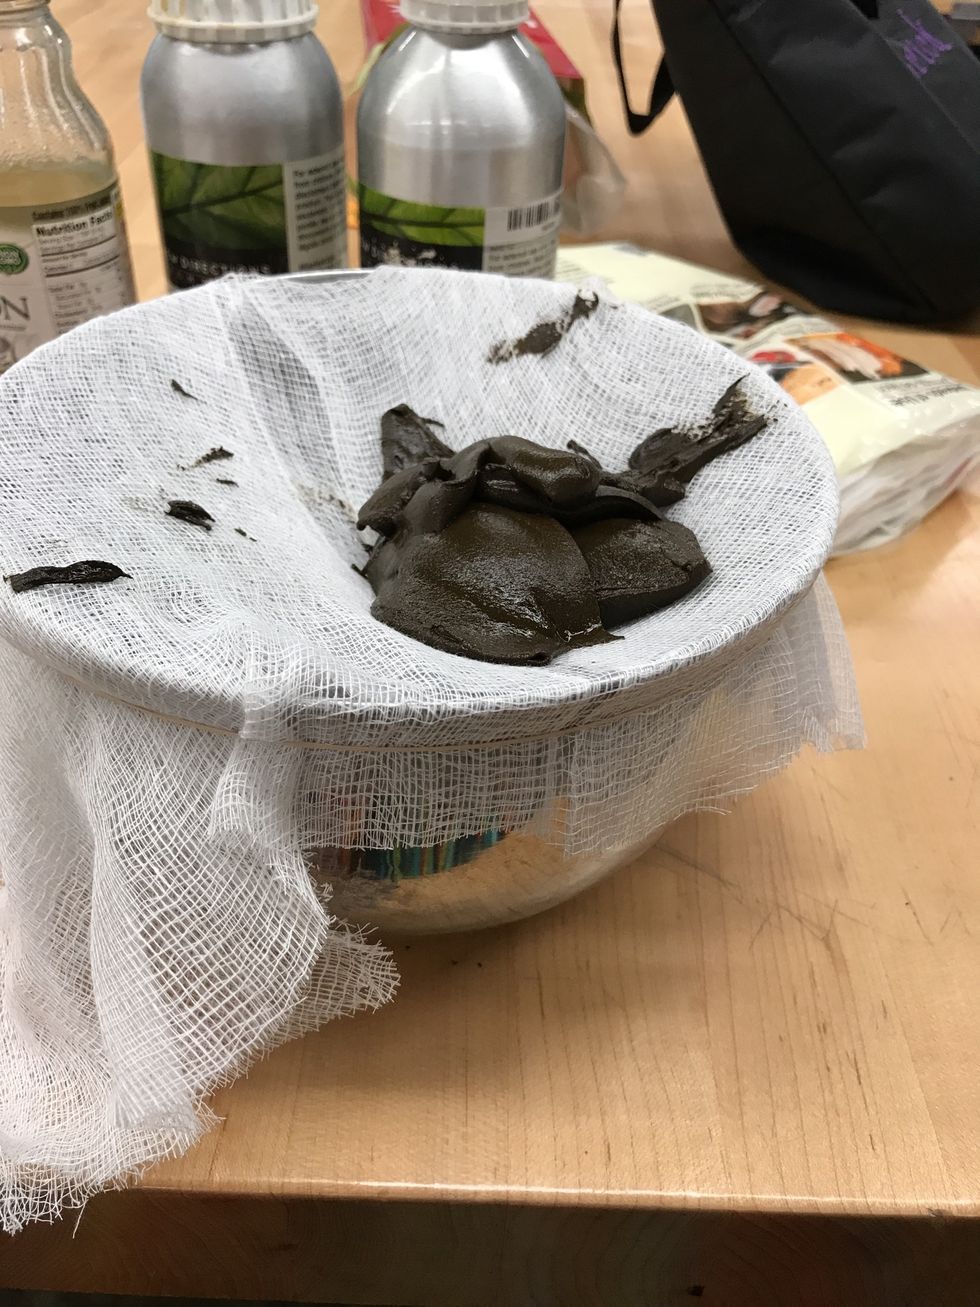
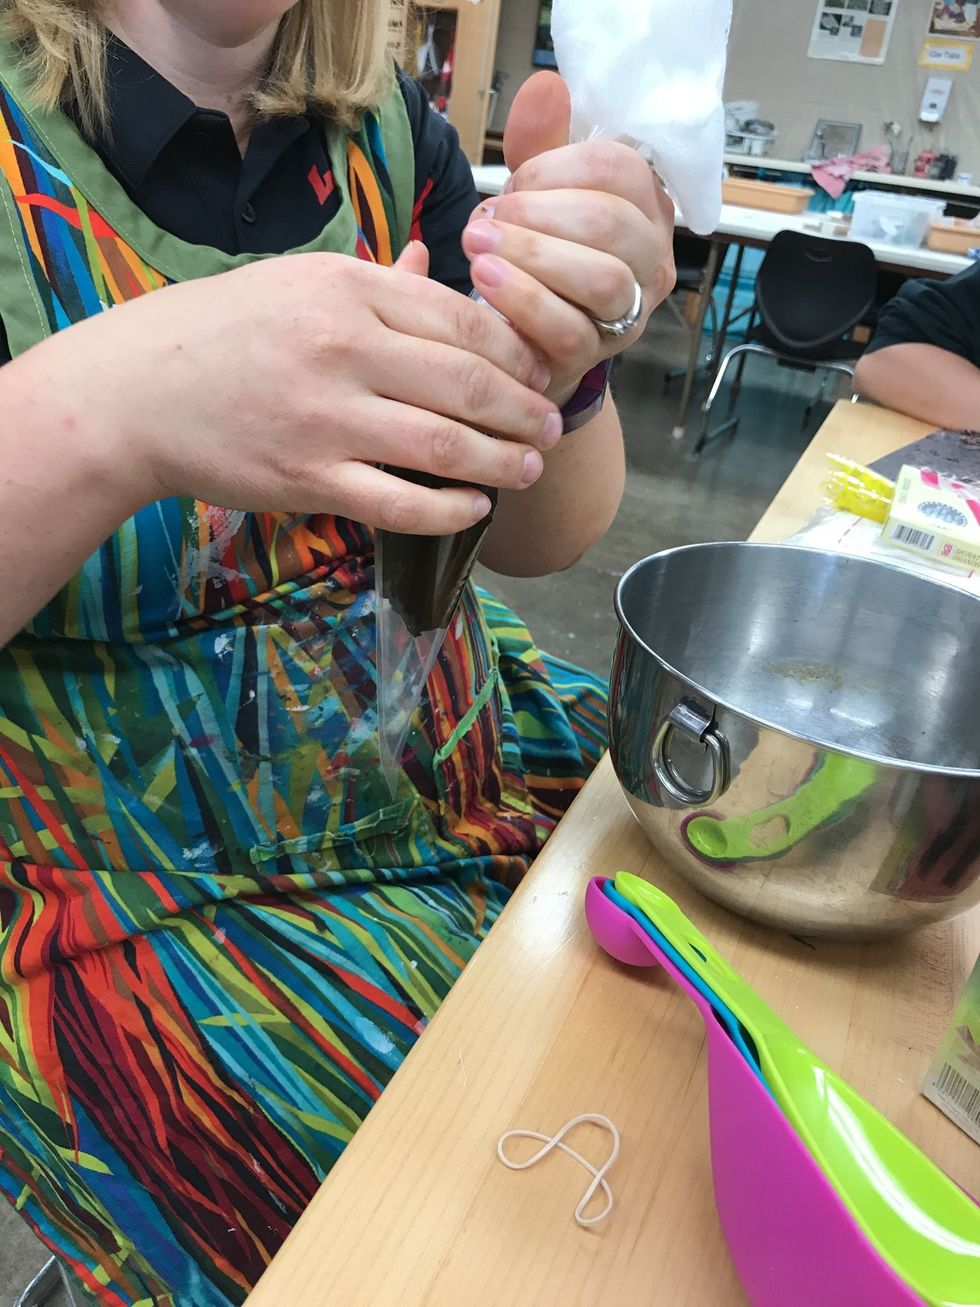
Once ready scoop the henna paste into a strainer of some kind, either the cheese cloth or a nylon.
Bundle up the cheese cloth the place it inside the large cone.

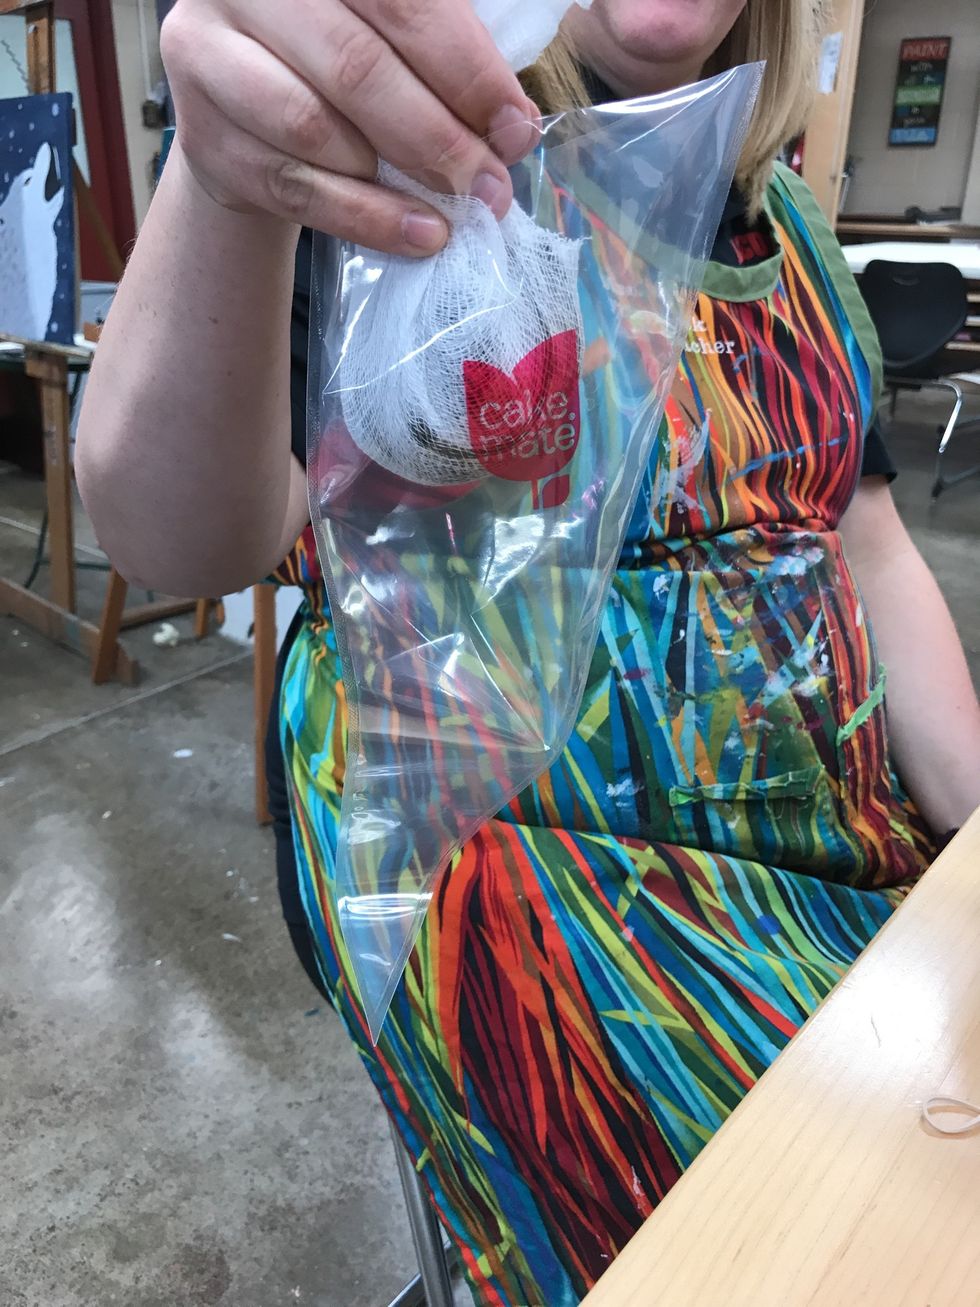
squeeze the paste through the cloth into the cone.
Throw away cloth and get the air out of the cone.
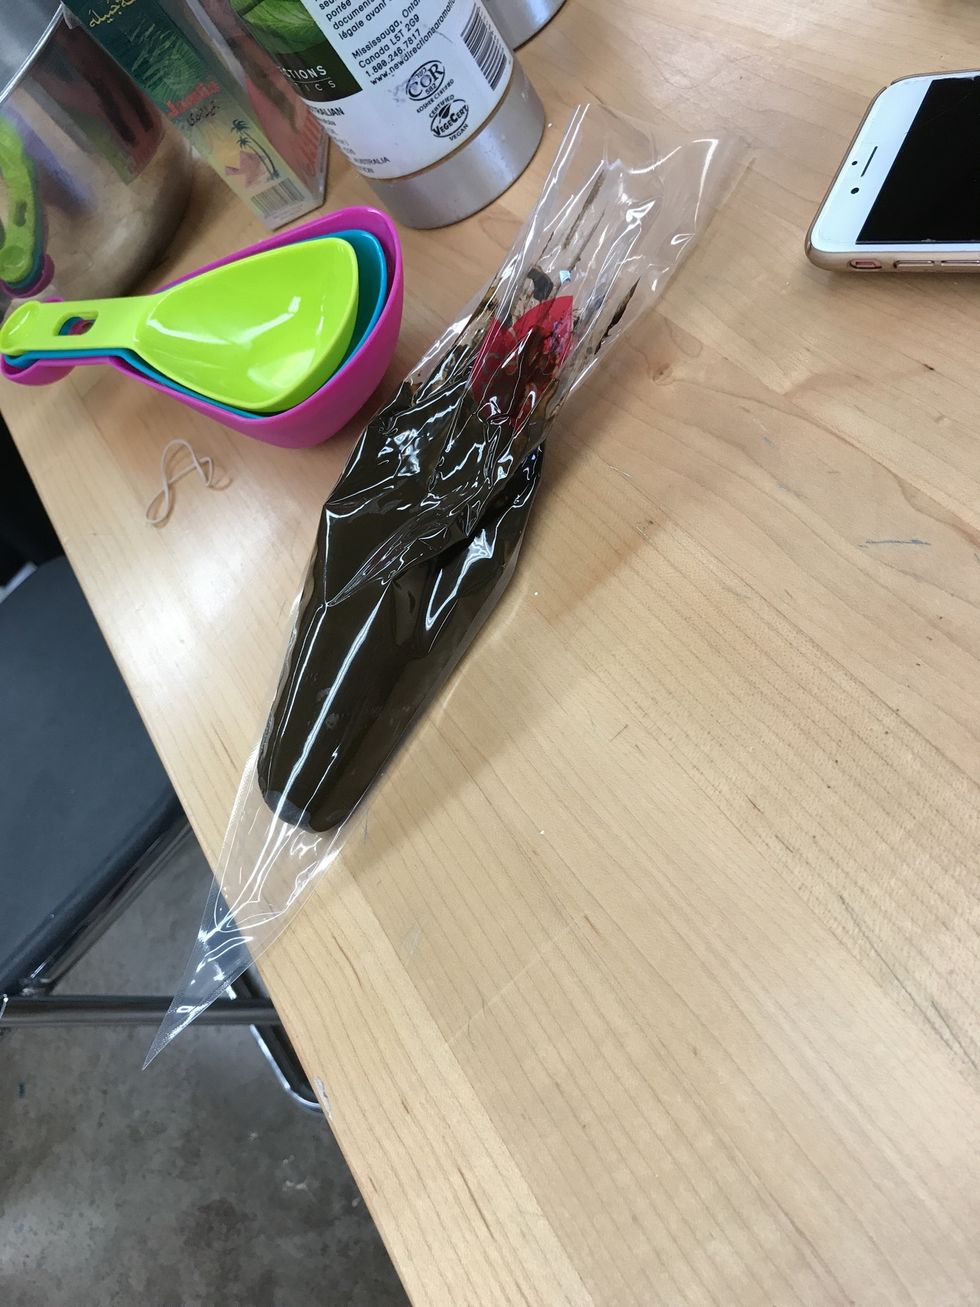
Here I have a cake decorating bag full of Henna Paste.

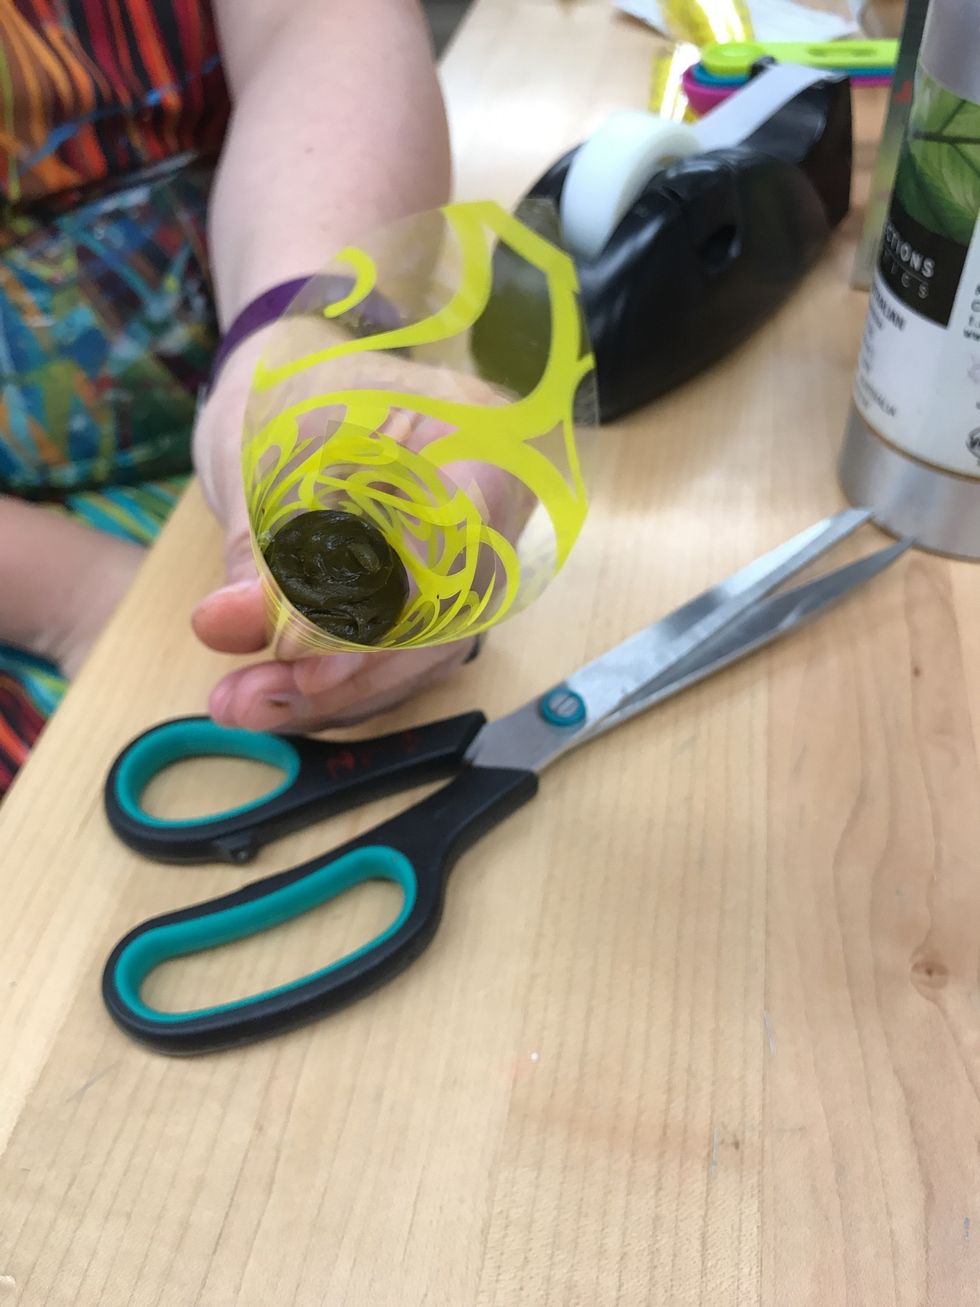
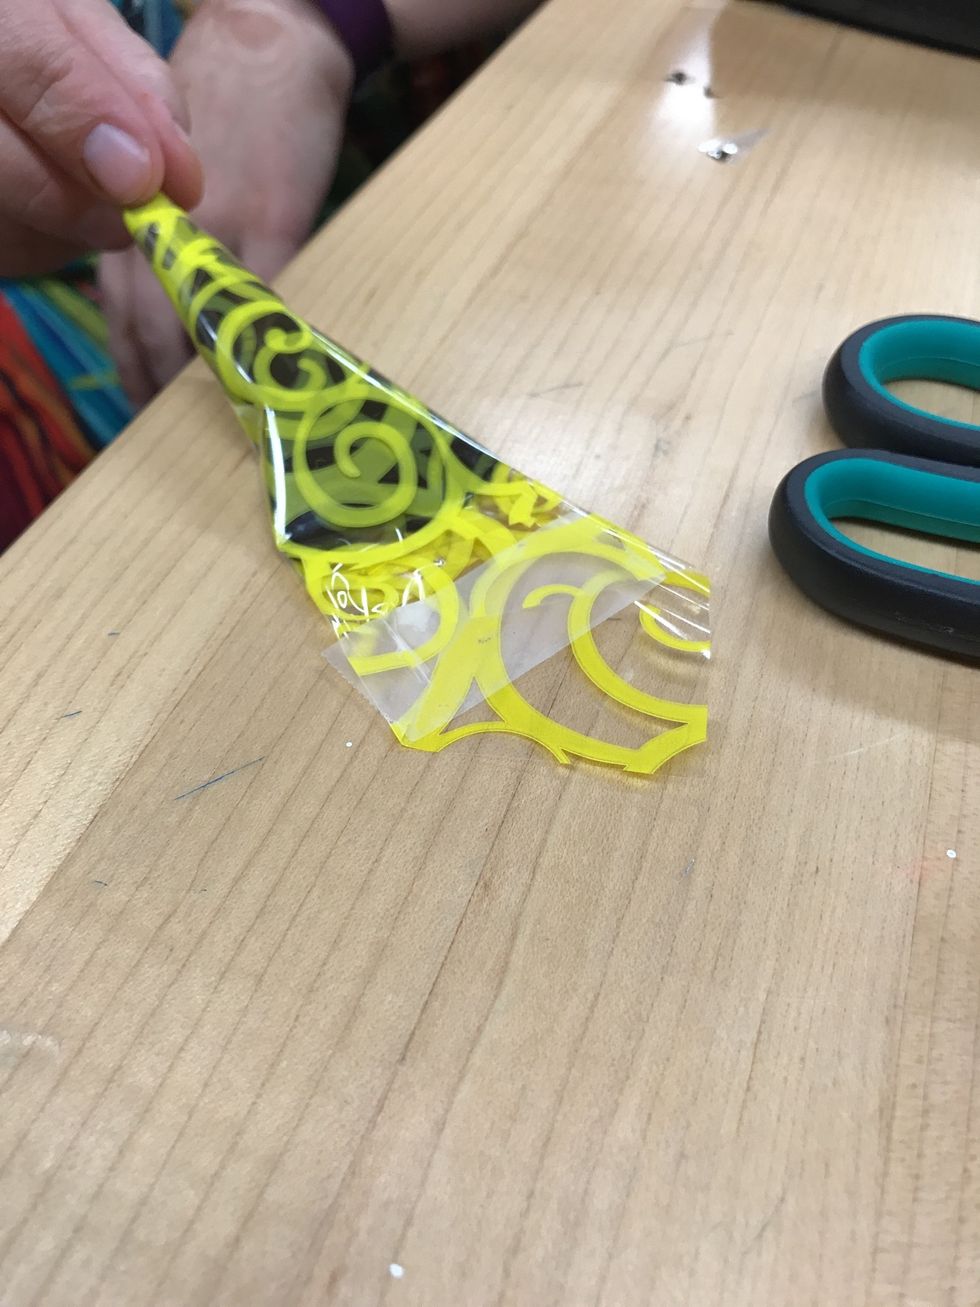
Cut the end and squeeze a small amount of Henna into the tip of the small henna cone.

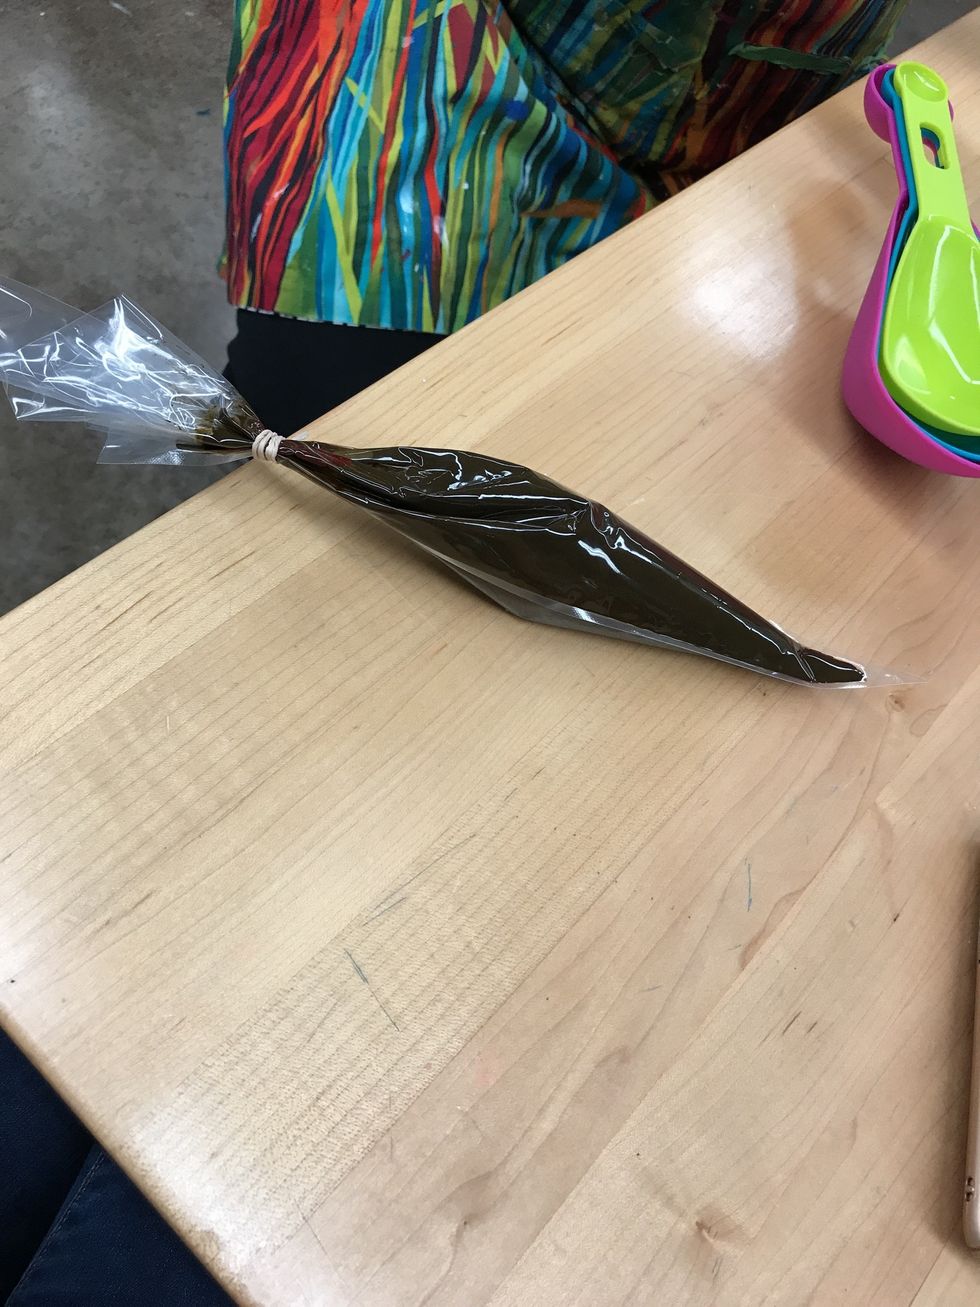
Push the henna paste all the way to the tip of the cone, getting any air out.
Continue filling the cone. Fill about 3/4 of the way.
flatten the top getting any air out and place tape across the opening.

Then fold one side in at an angle.
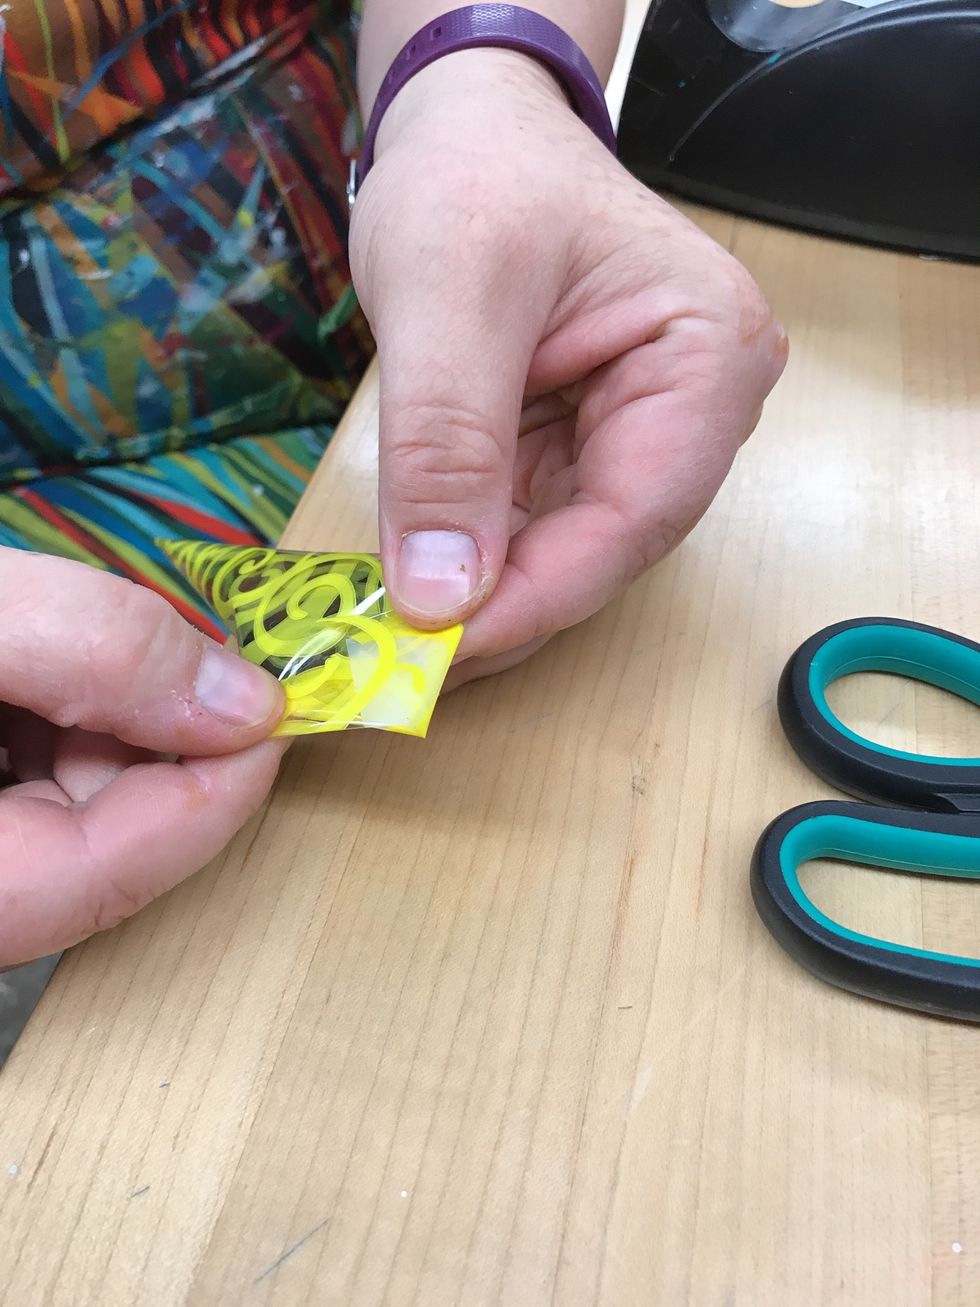
Then the other side in at an angle to create a triangle.
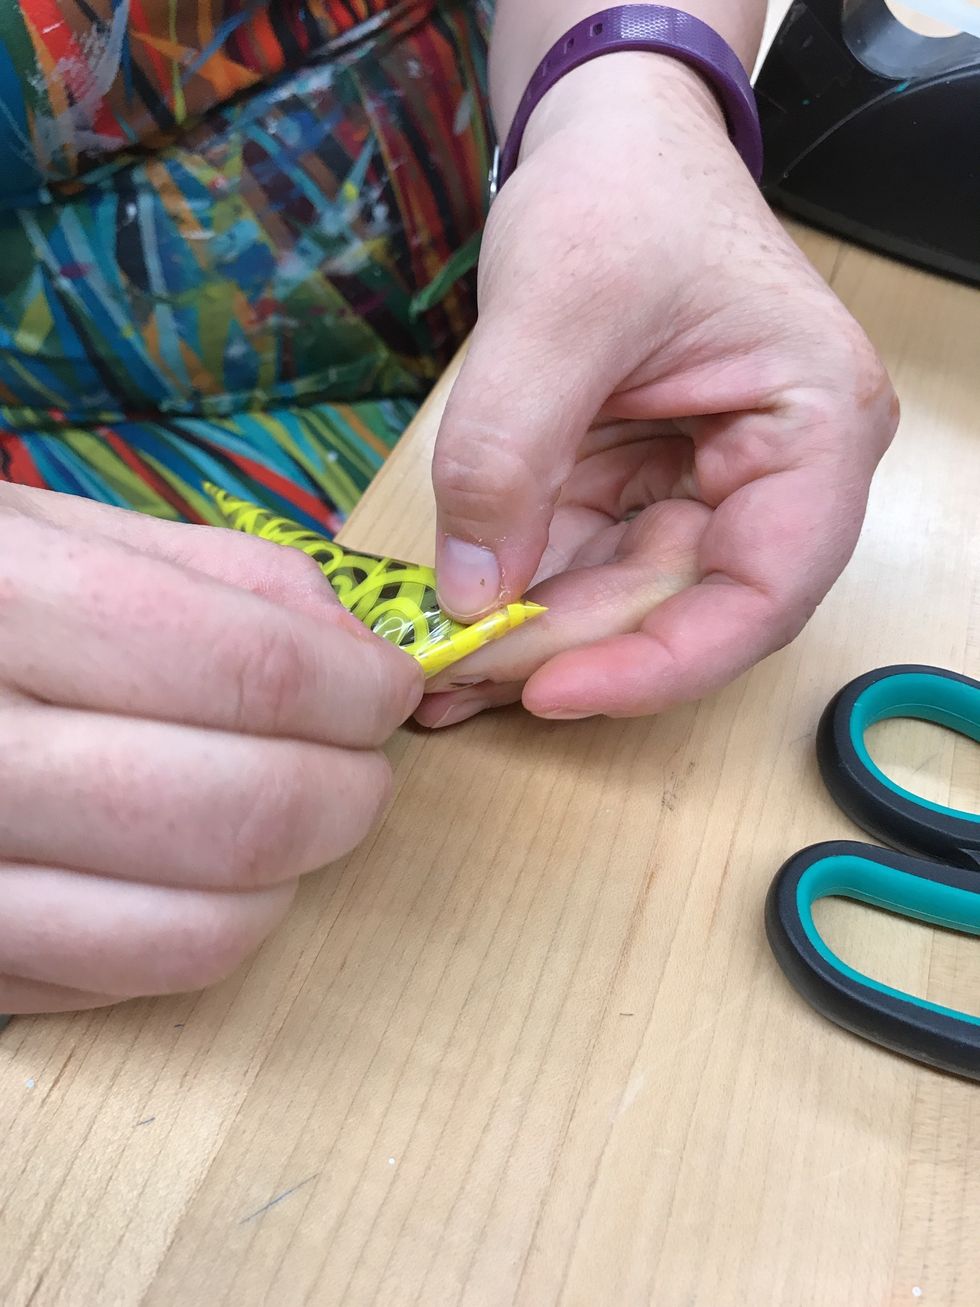
Roll from the top down of the triangle until there is pressure in the cone.

Tape it
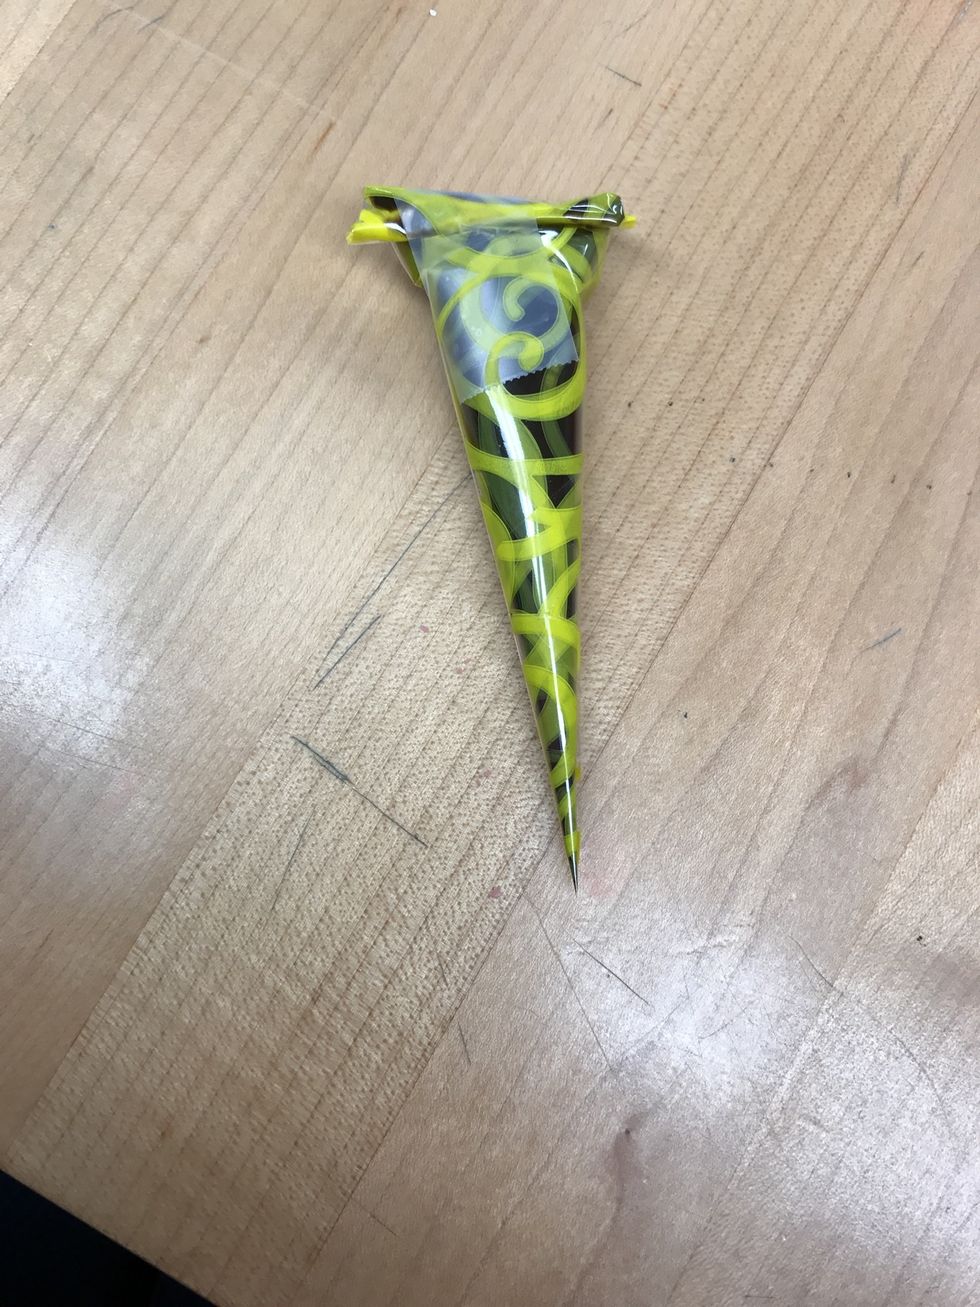
Finished Cone. Henna should always be stored in the freezer when not being used to preserve color and freshness.
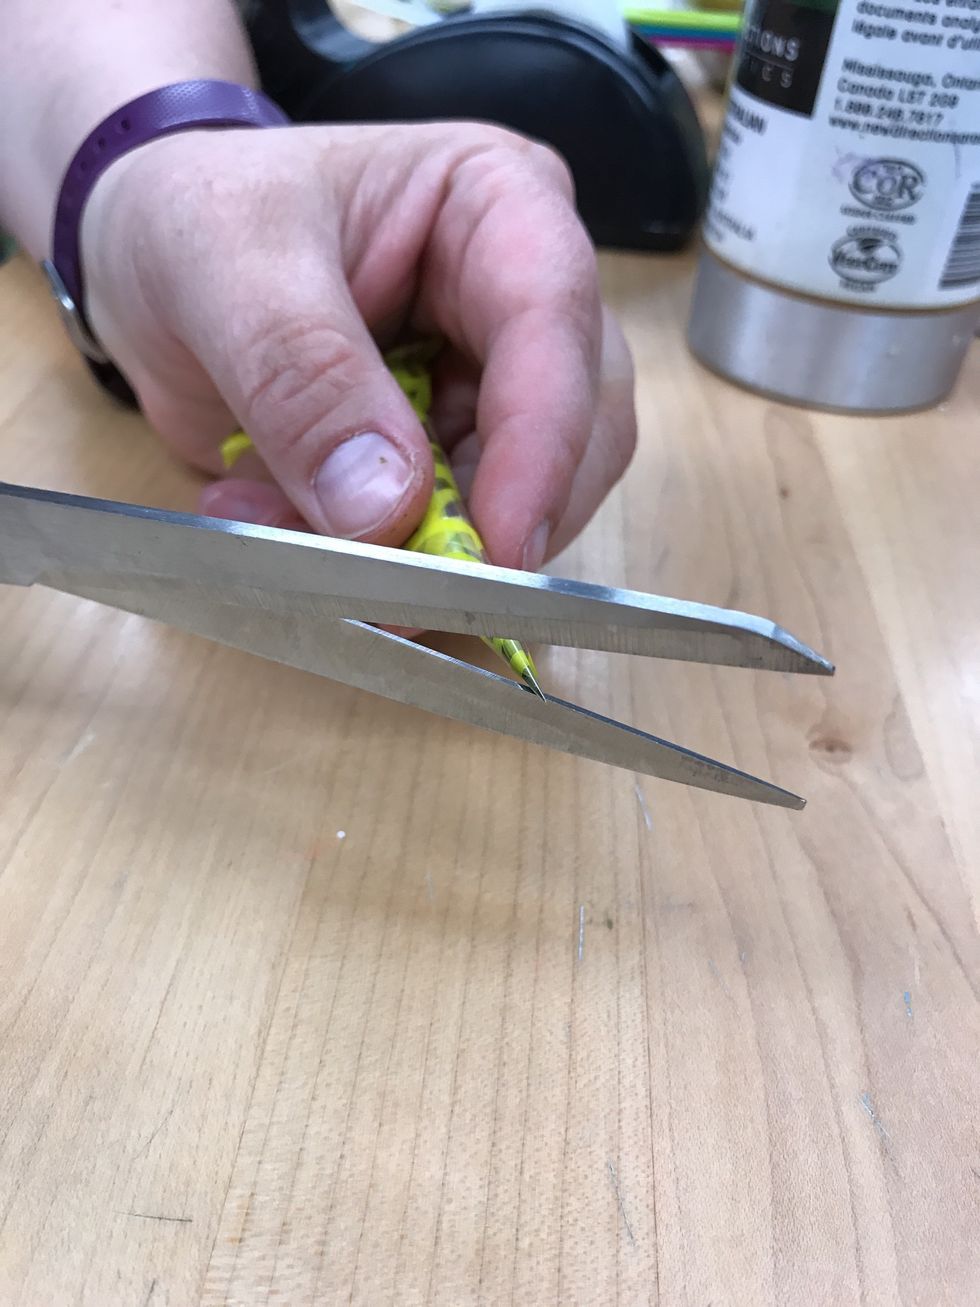
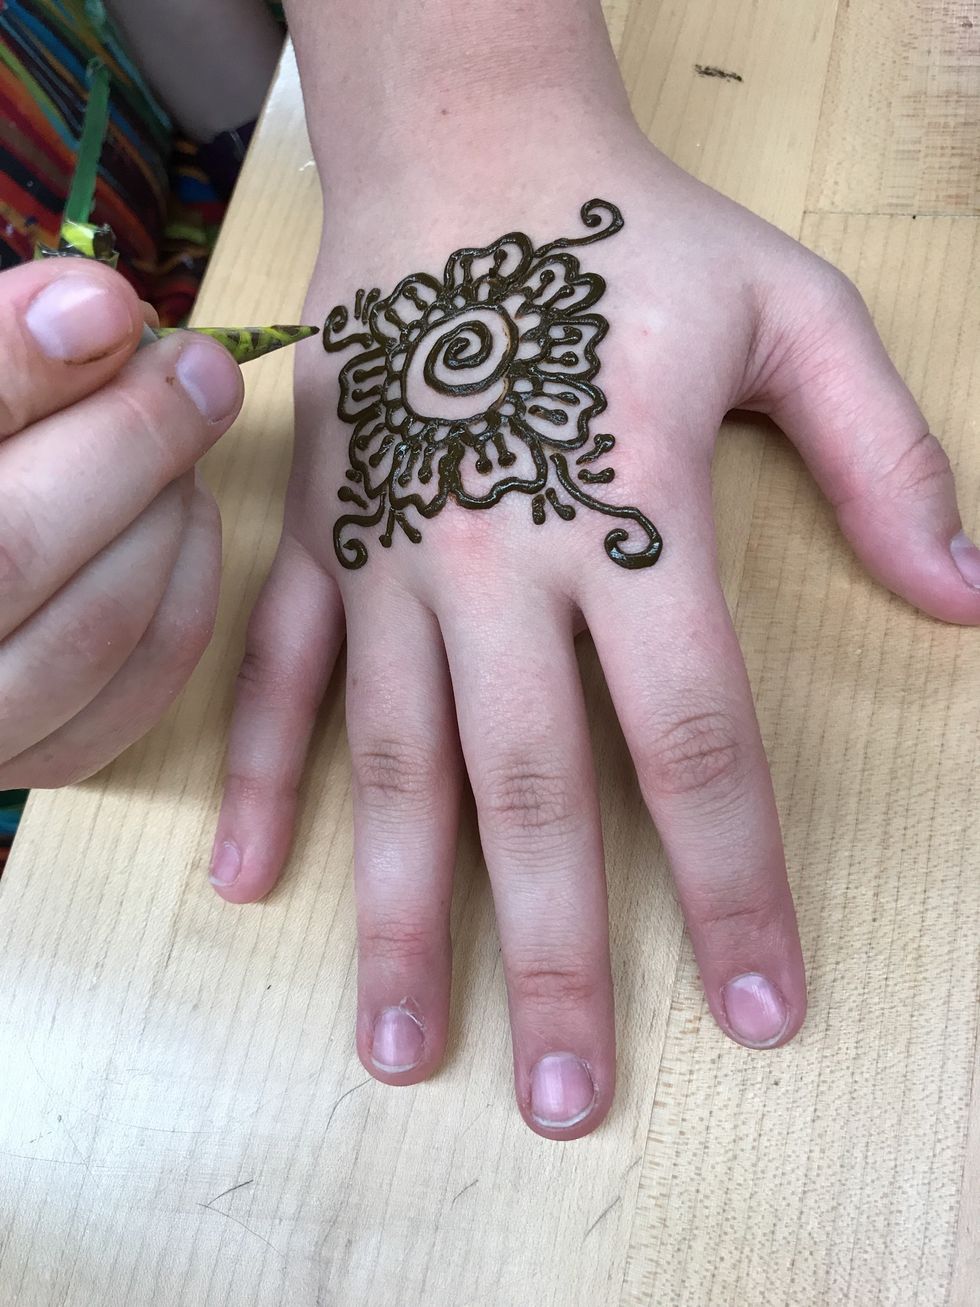
To use your cone. Cut a little bit off the tip. The bigger the cut the bigger your lines will be.
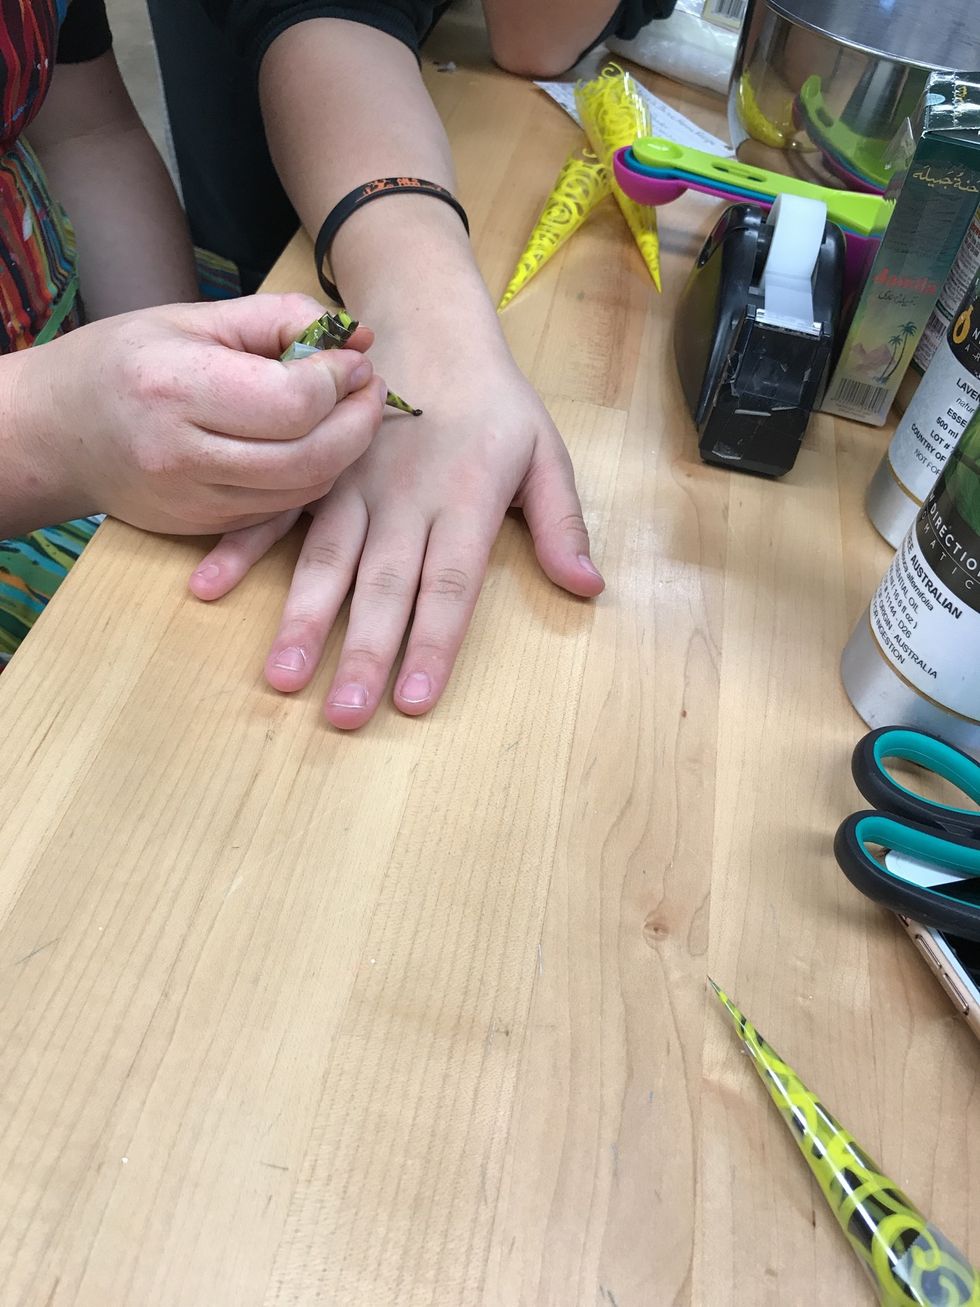
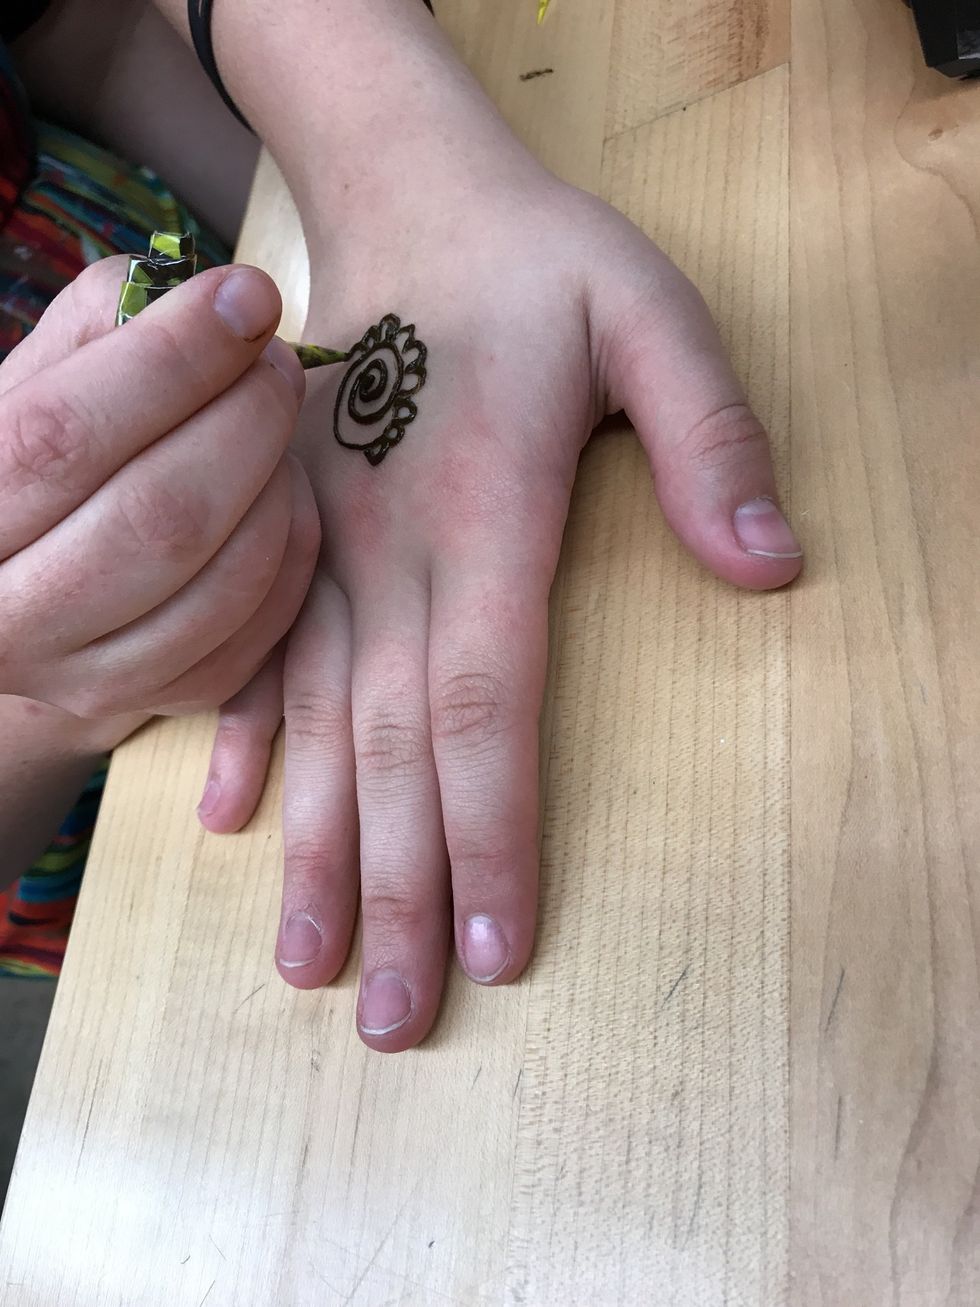
my subject for henna. I have cleaned the surface where the henna will go.

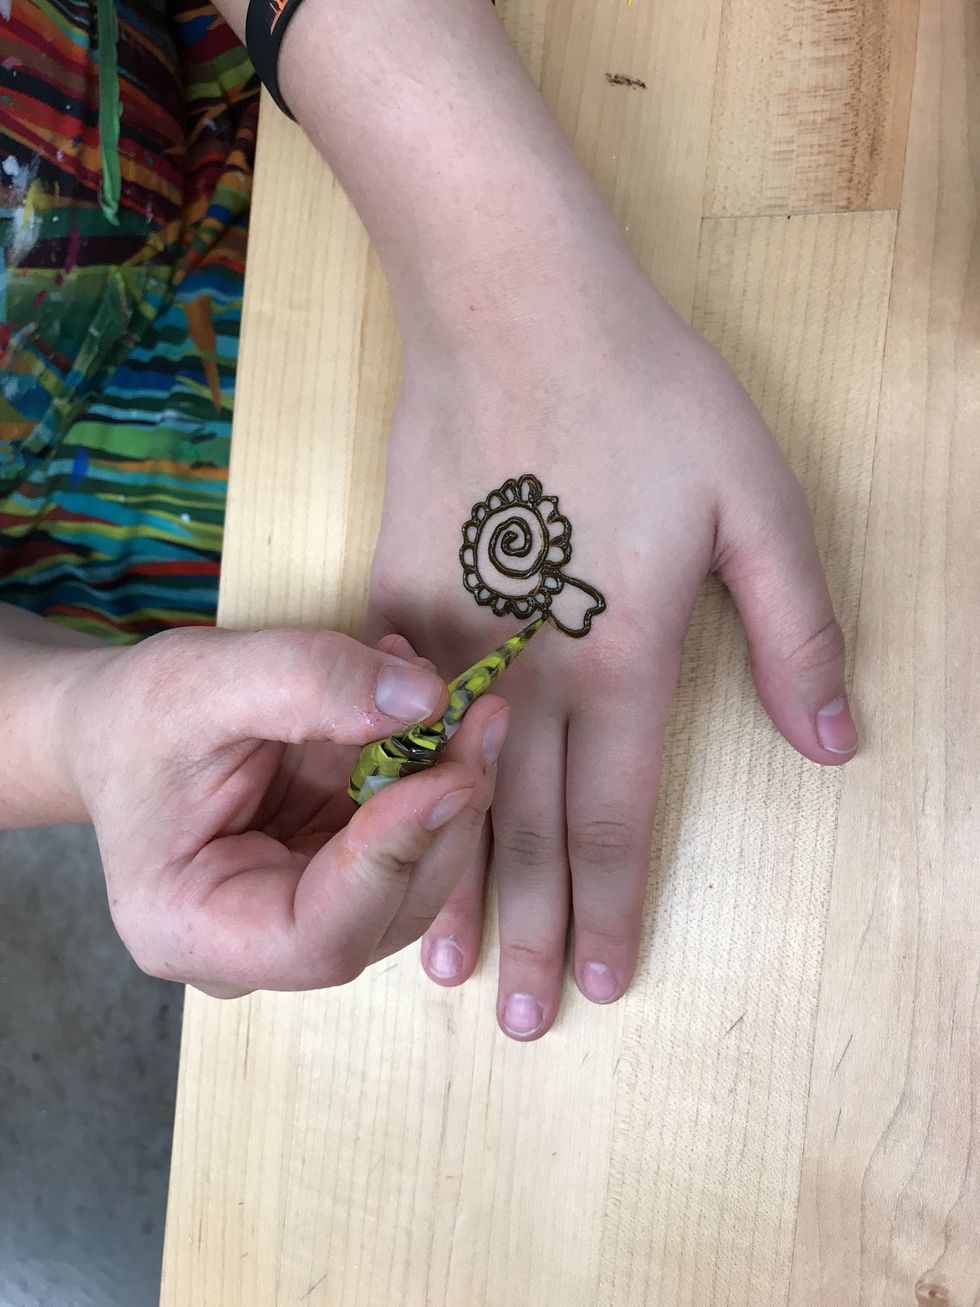
starting with a swirl.