The Conversation (0)
Sign Up

Decide what it is you'd like to make, then gather enough material to make it. I only need a small scrap for my design, but you may need a lot of material and possibly various colors.
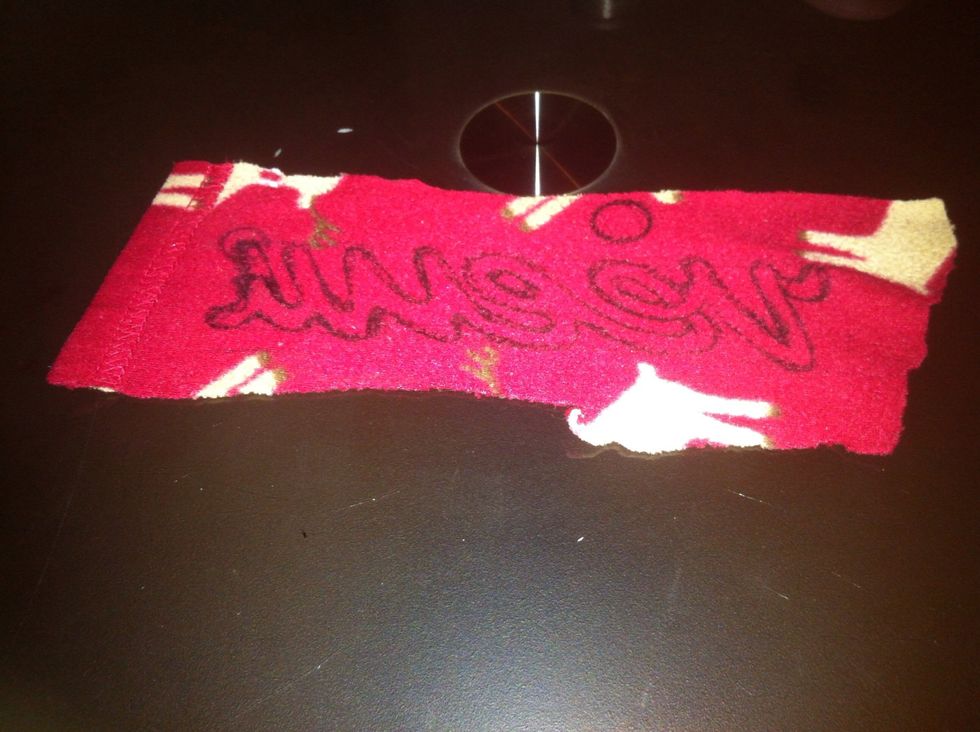
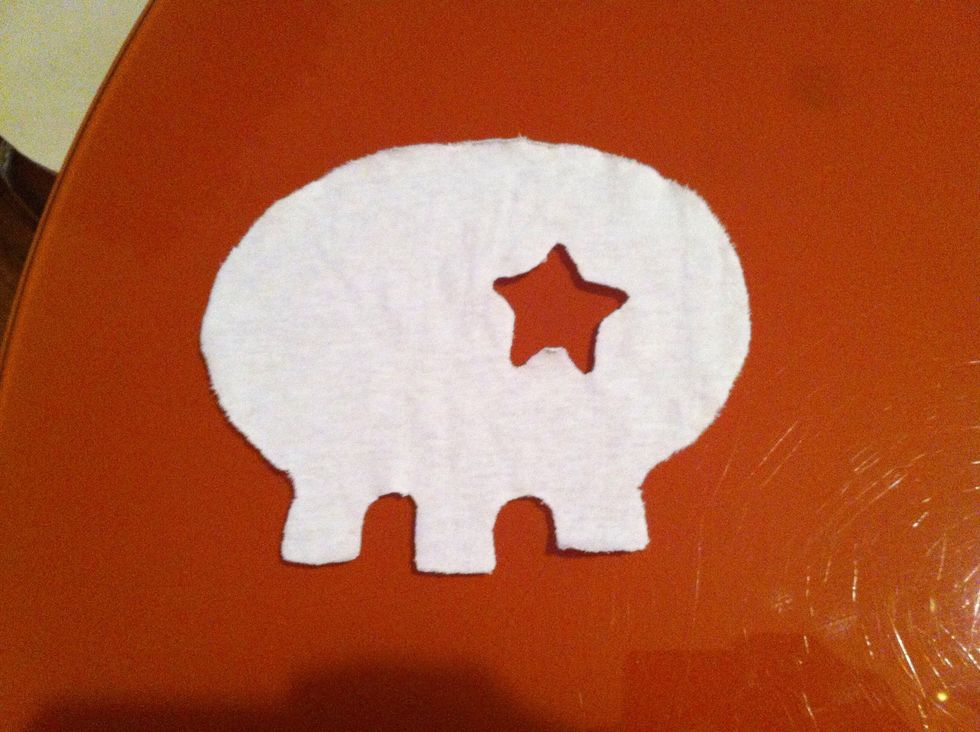
Place your material face-down and draw your design. I did a freehand sketch but you can use a stencil, if you so please. If your design involves text be sure to draw it backwards, as I did above.
Carefully cut your design out. Opt for a pair of sharp scissors to get the most precise cut possible.
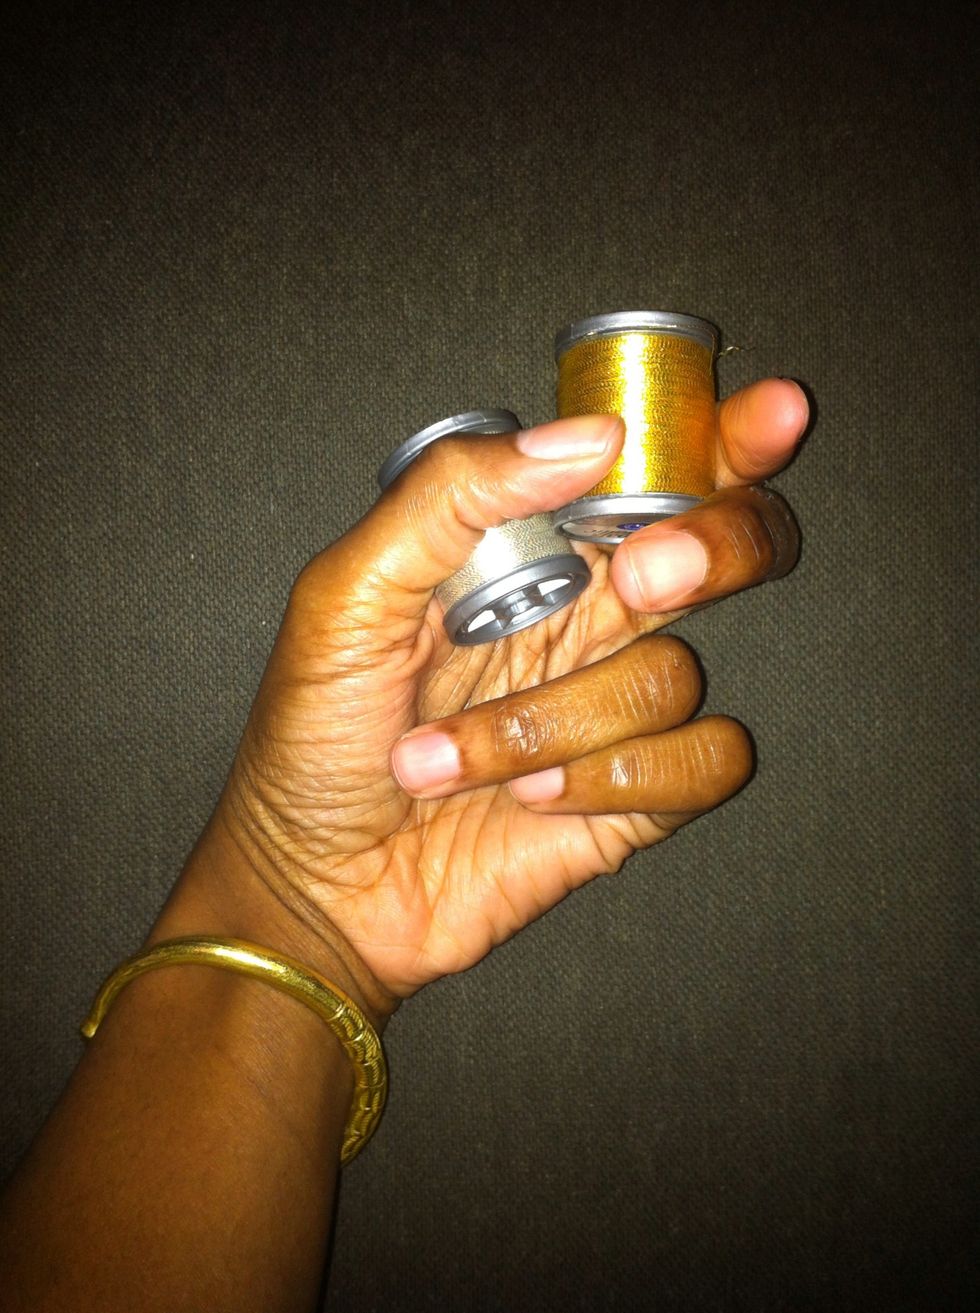
If you'd like to make any adjustments to your design, do so now before you've made too much of a commitment by sewing it down. I decided to swap my metallic silver thread for metallic gold.
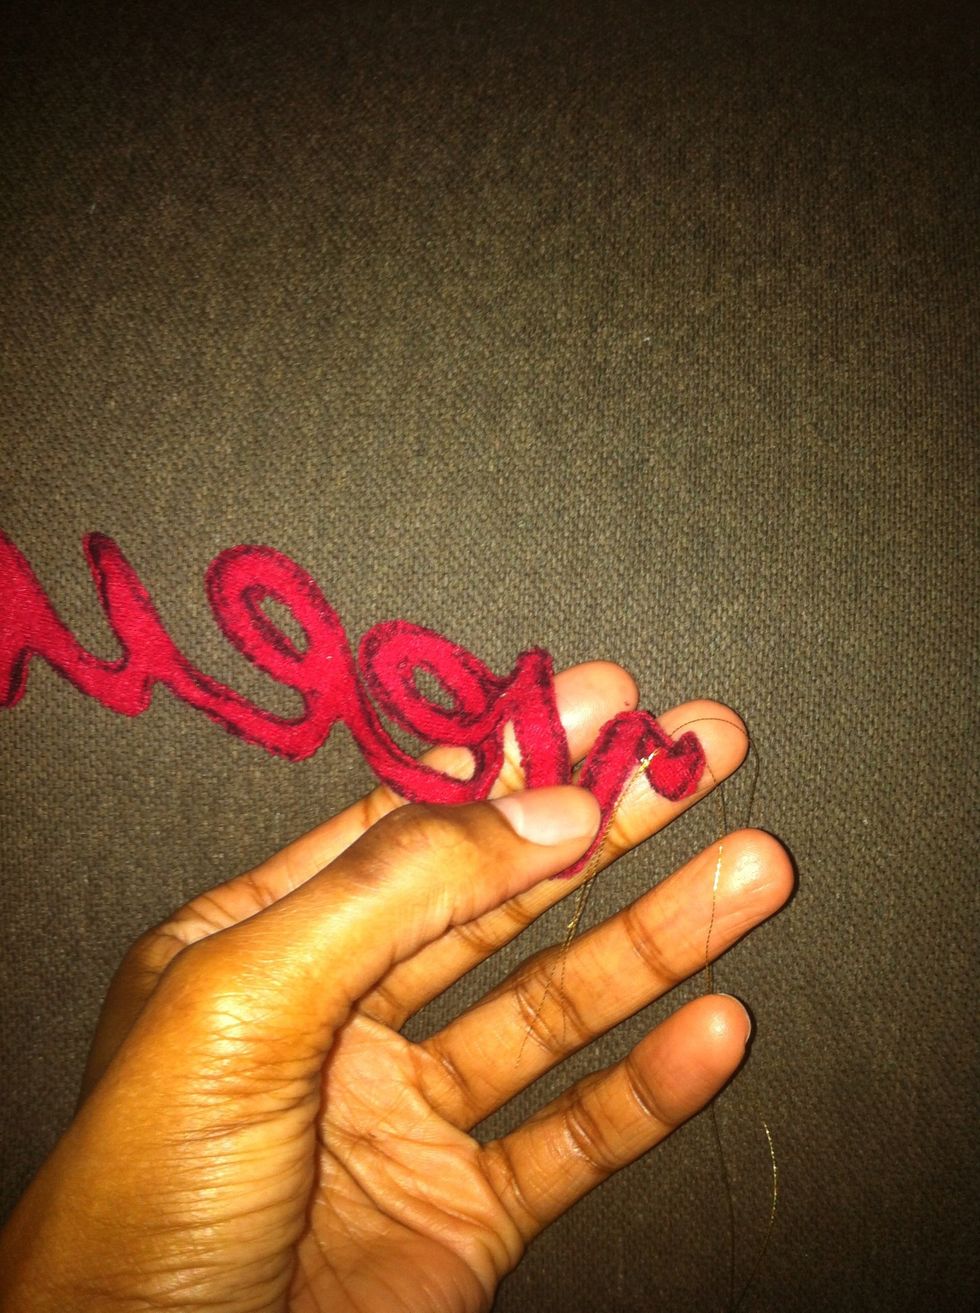
Thread your needle, double knot it, then insert it into the backside of your appliqué. This way the thread ends won't be exposed later as they'll end up sandwiched between two layers of fabric.
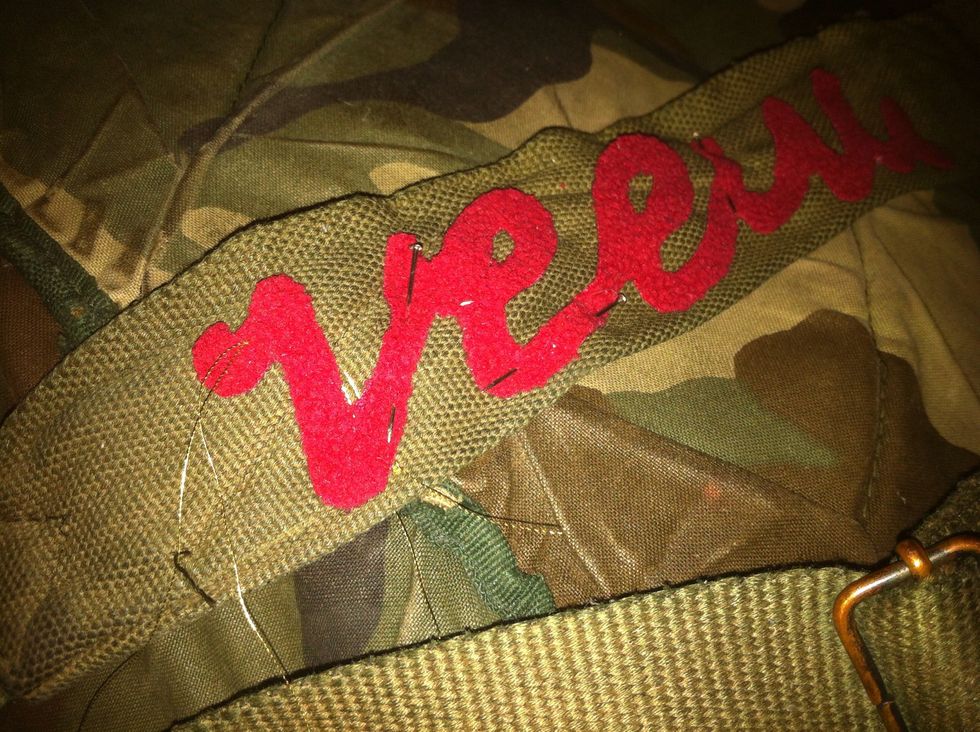
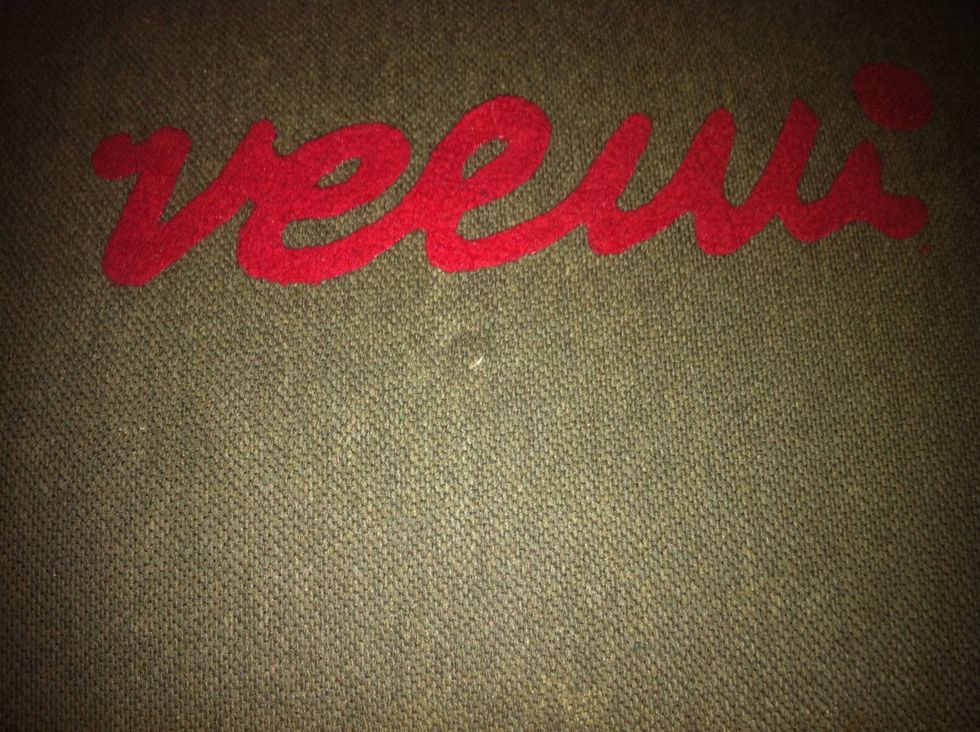
W/your threaded needle dangling, position your appliqué on the garment of your choice and secure it into place with straight pins. Don't worry if it isn't perfect; you can adjust it as you go along.
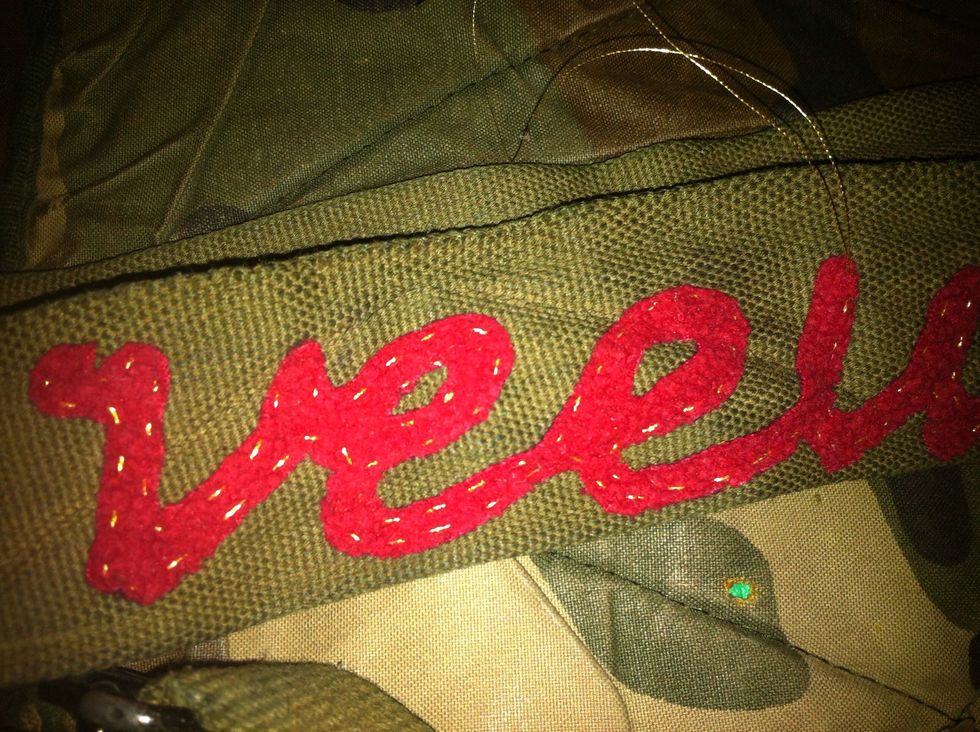
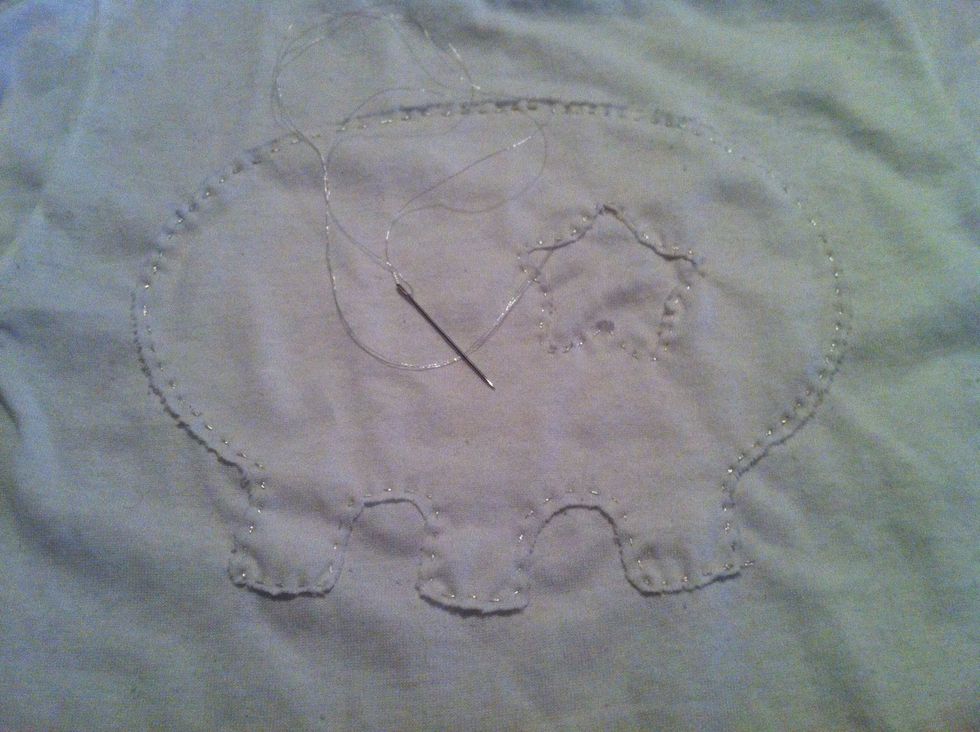
Using your threaded needle, do a running stitch around the border of your entire appliqué. Your stitch needn't be exact but do try to make it uniform. Repeat this step once or twice for durability.
When you're all done stitching, tie a double knot, tuck any exposed threads under your appliqué, then snip your thread and víola! (Oops. I failed to take pics of this step. You'll manage, I'm sure).
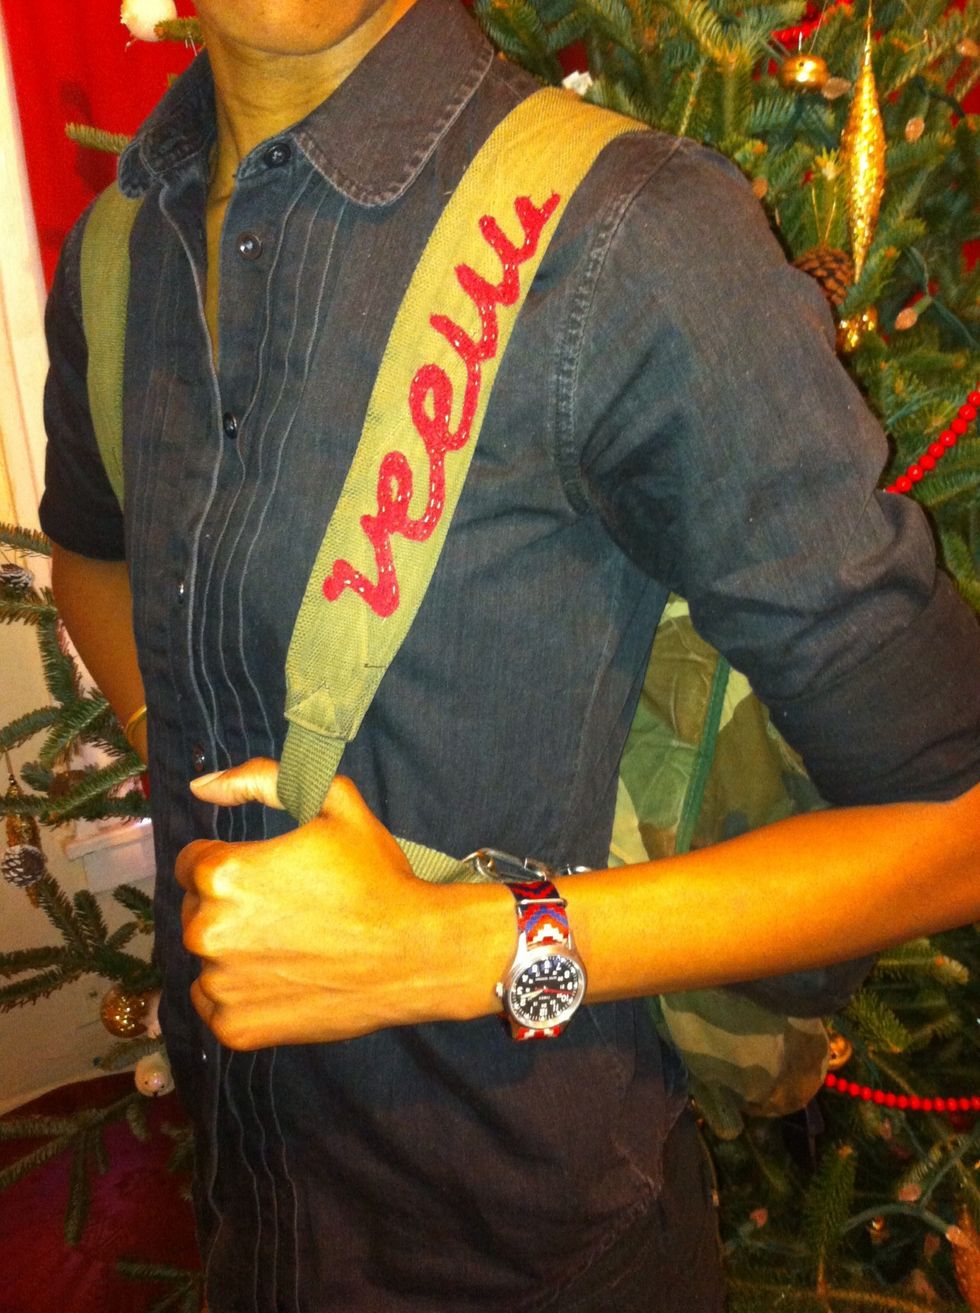
Now go rock your newly-embellished apparel!
Following are a few photos of another appliqué I designed and hand-stitched quite some time ago for my little dude. Enjoy!
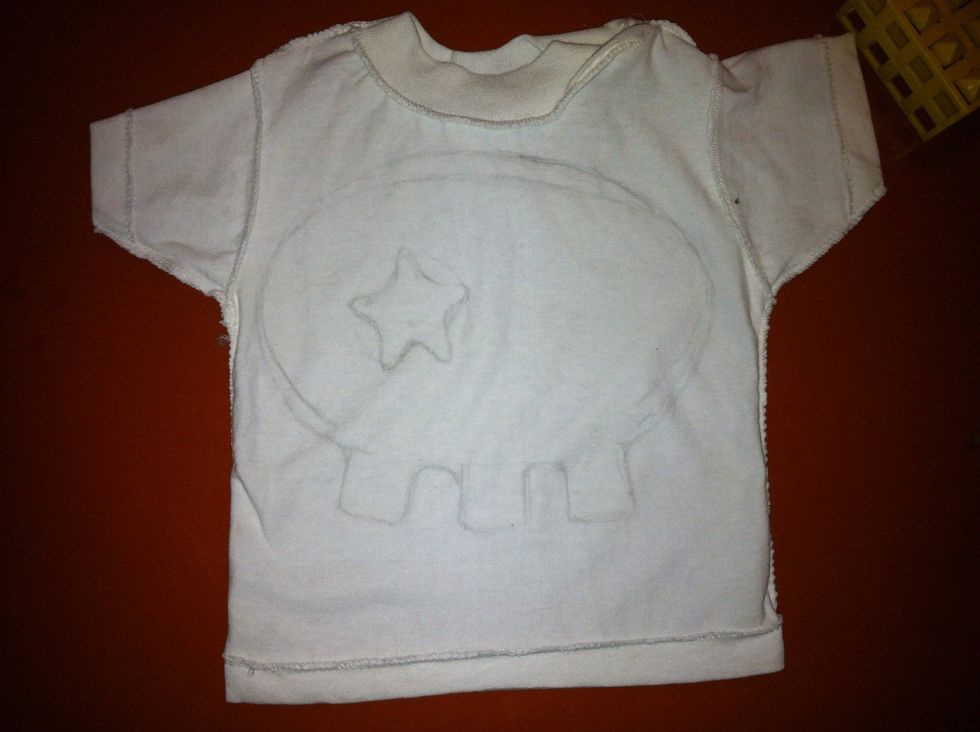
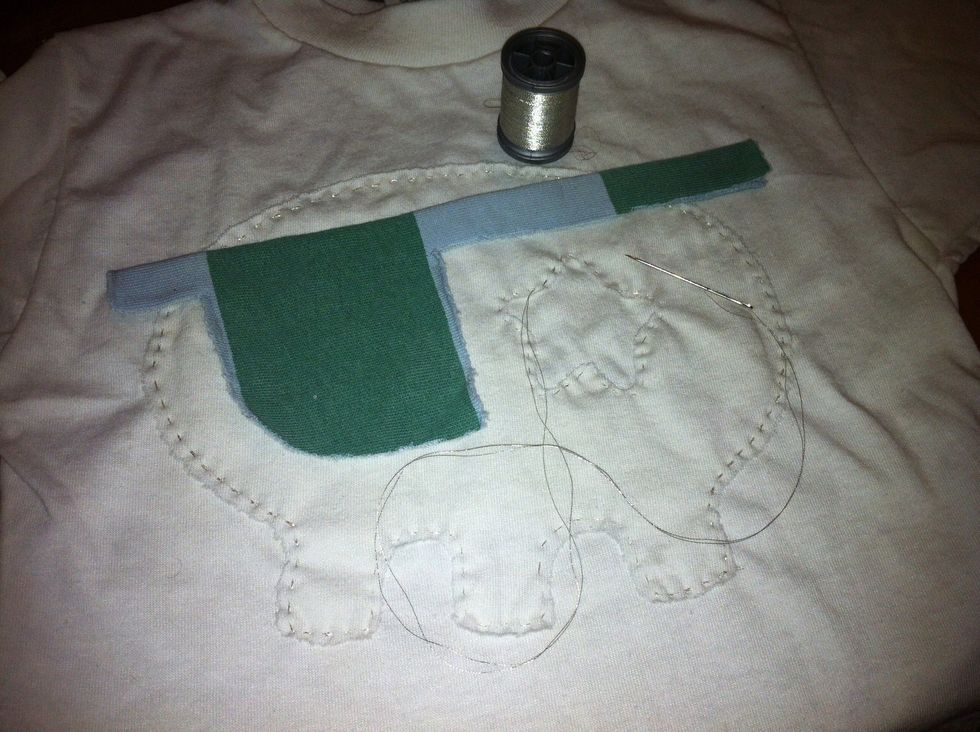
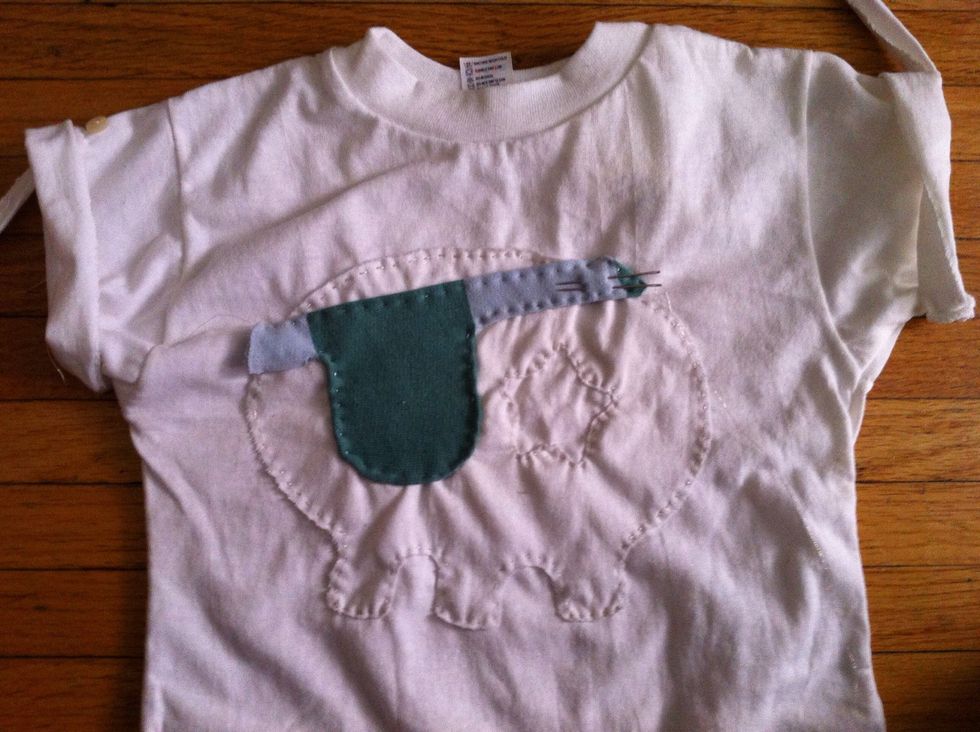
Yep. That's an appliqué atop another appliqué. You truly can make whatever you want. Gotta love custom-made, right?