The Conversation (0)
Sign Up
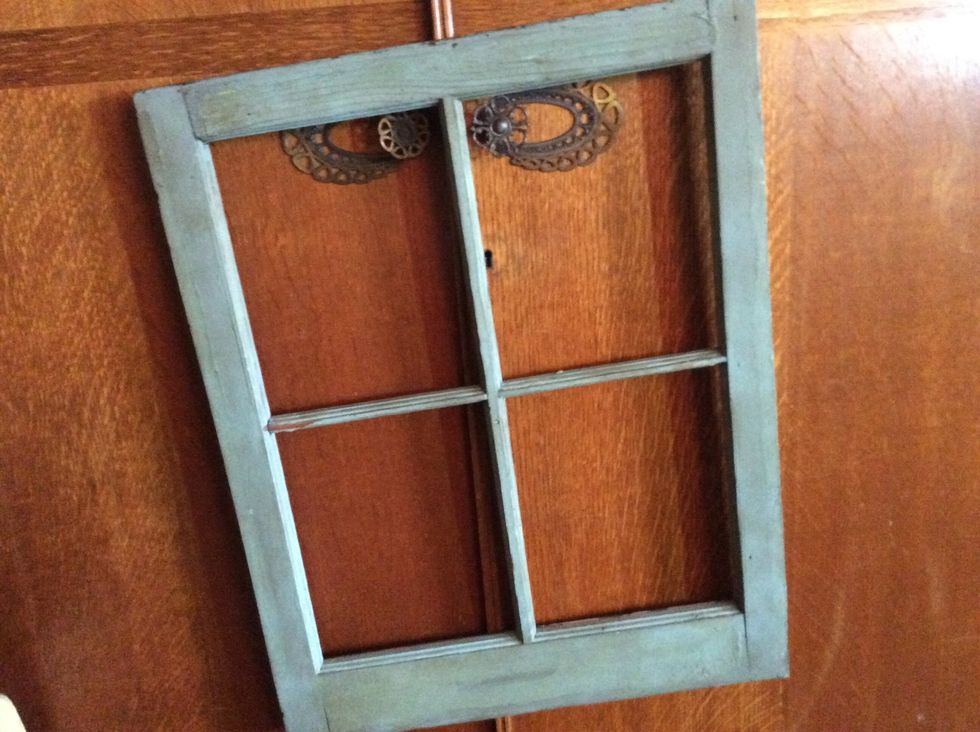
Find an old window frame. Vintage, antique and re-building stores are great sources. You will want to find frames with at least 4 panes. If desired, paint your frame to match your decor.
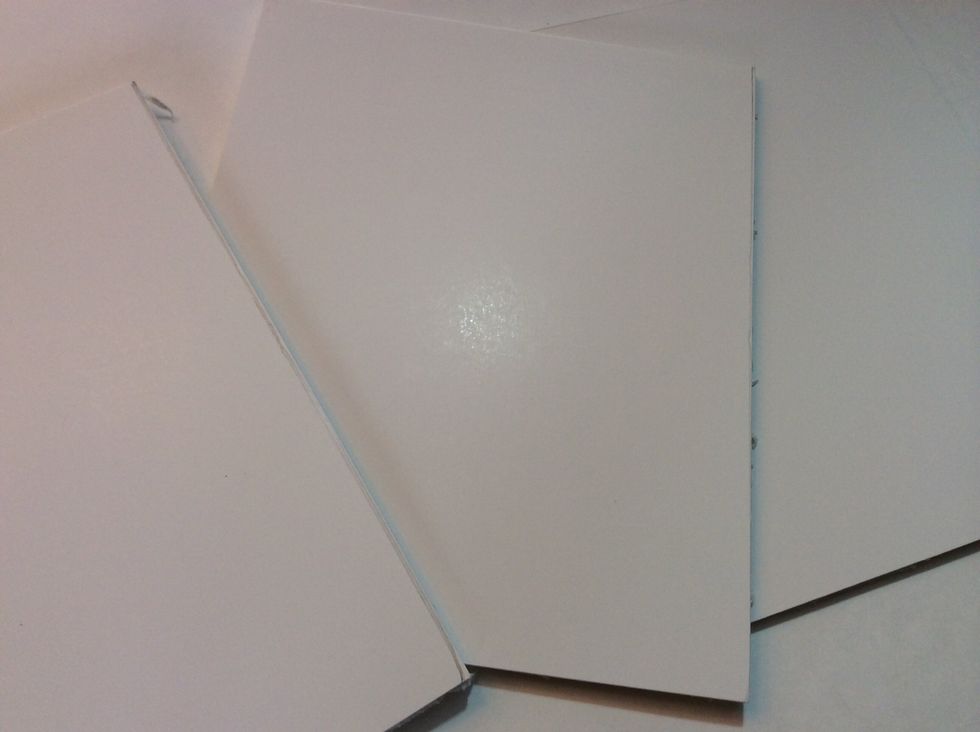
Cut foam core board to fit snugly inside the panes.
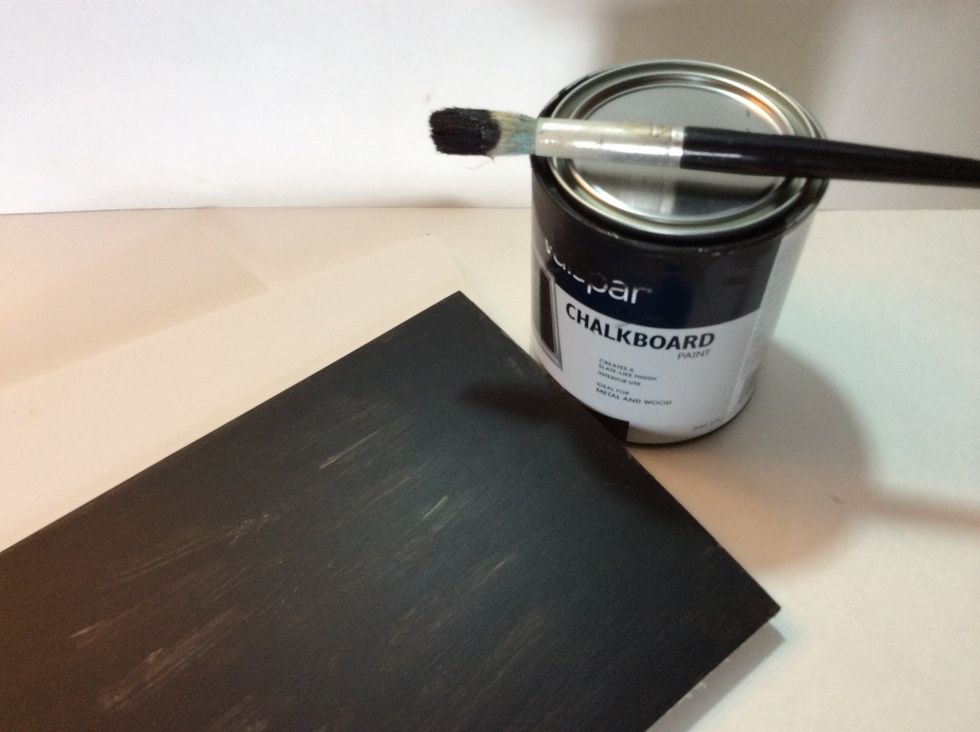
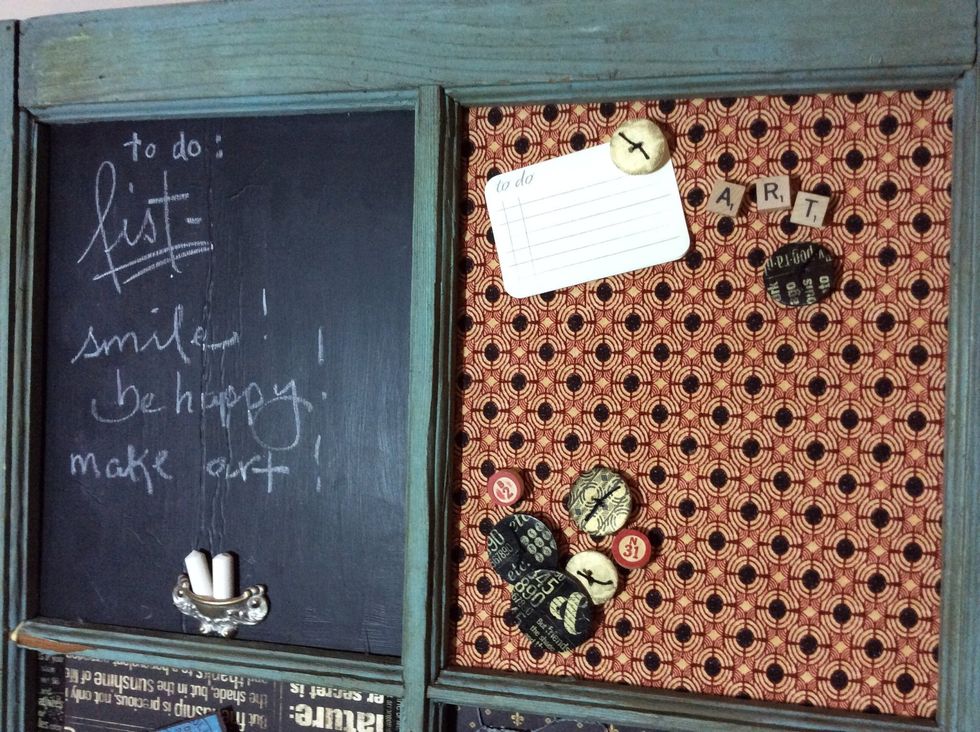
Paint one foam core pane with chalkboard paint. (It will take at least 2 coats).
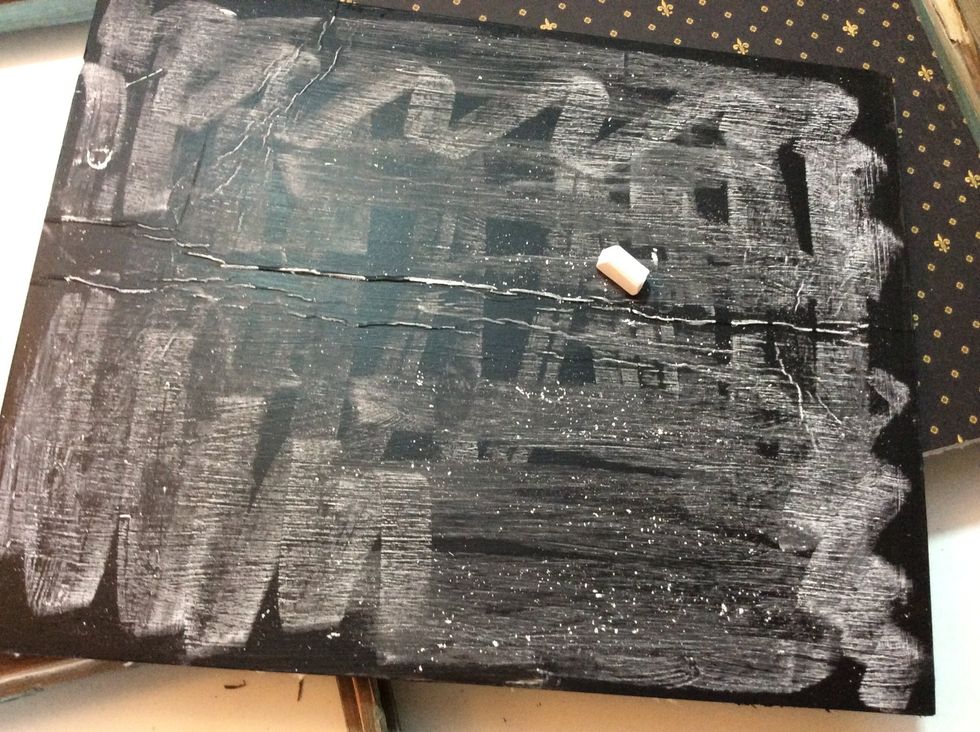
Once you have the desired coverage, & it's totally dry, you will need to "cure" the surface. Using the side of a piece of chalk, rub over the entire surface. Wipe with a dry cloth. Do this 2-3 times.

For the 2nd pane, cut 2 pieces of paper and fold to create pockets.
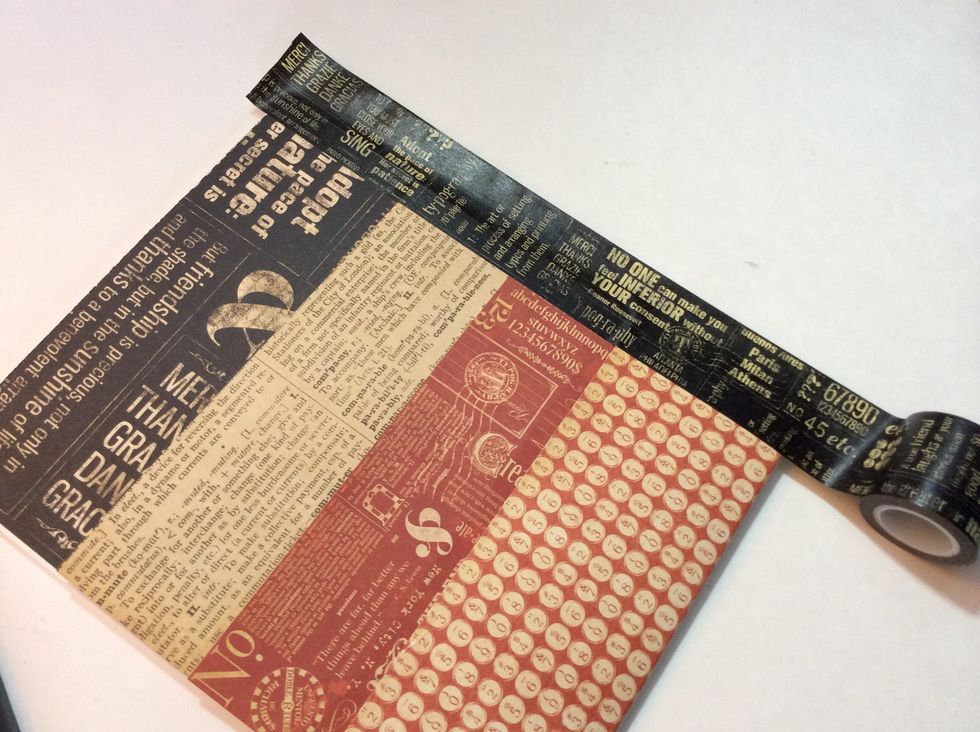
Layer the 2 folded pockets on the foam core pane. Seal the sides with Washi tape.
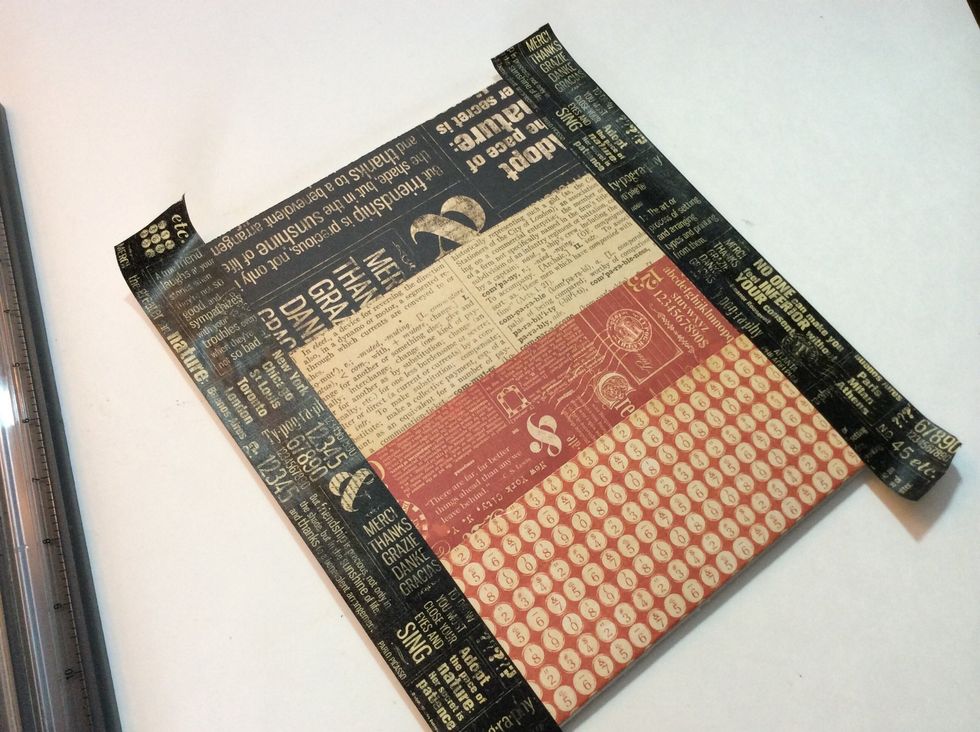
Seal both sides.
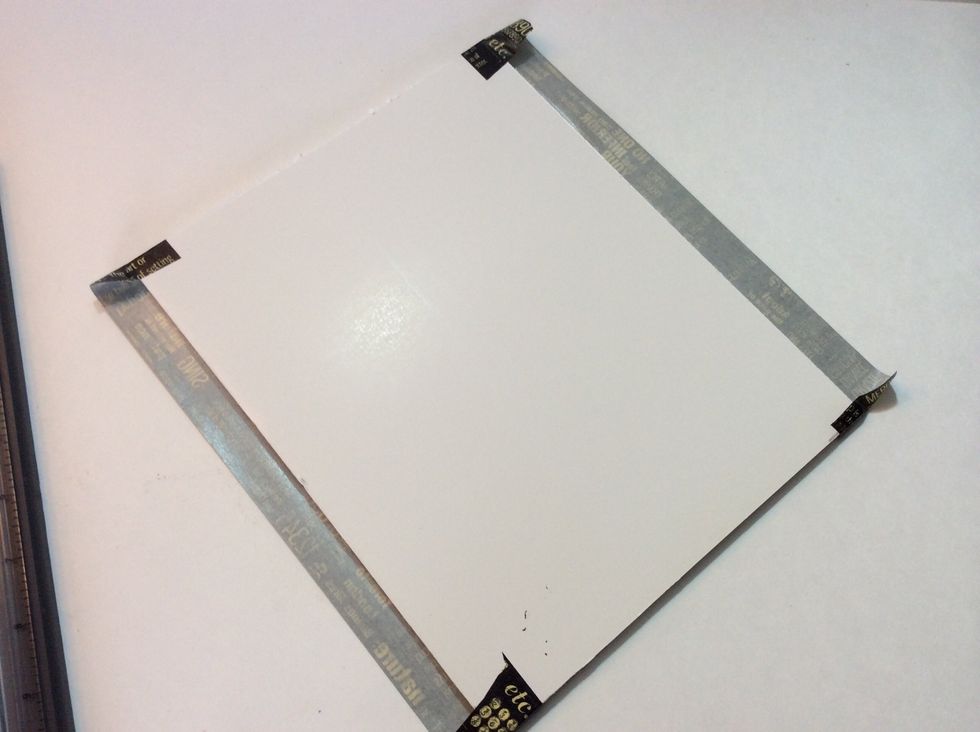
This is the back.
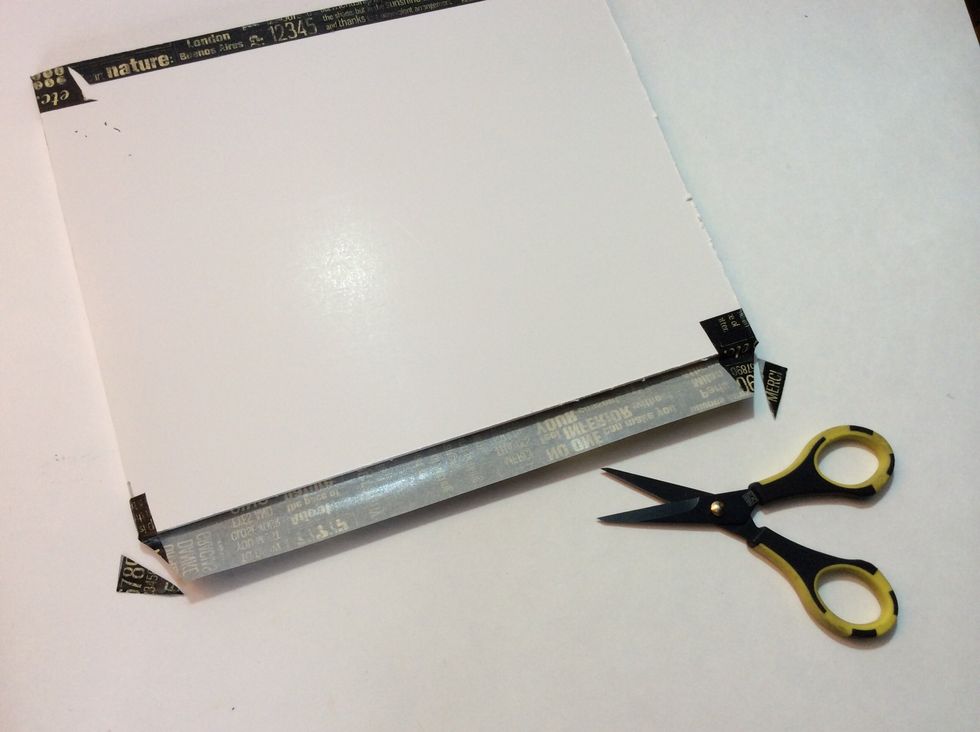
Fold, trim and burnish the edges nice and flat and smooth.
Now you have a layered pocket pane.

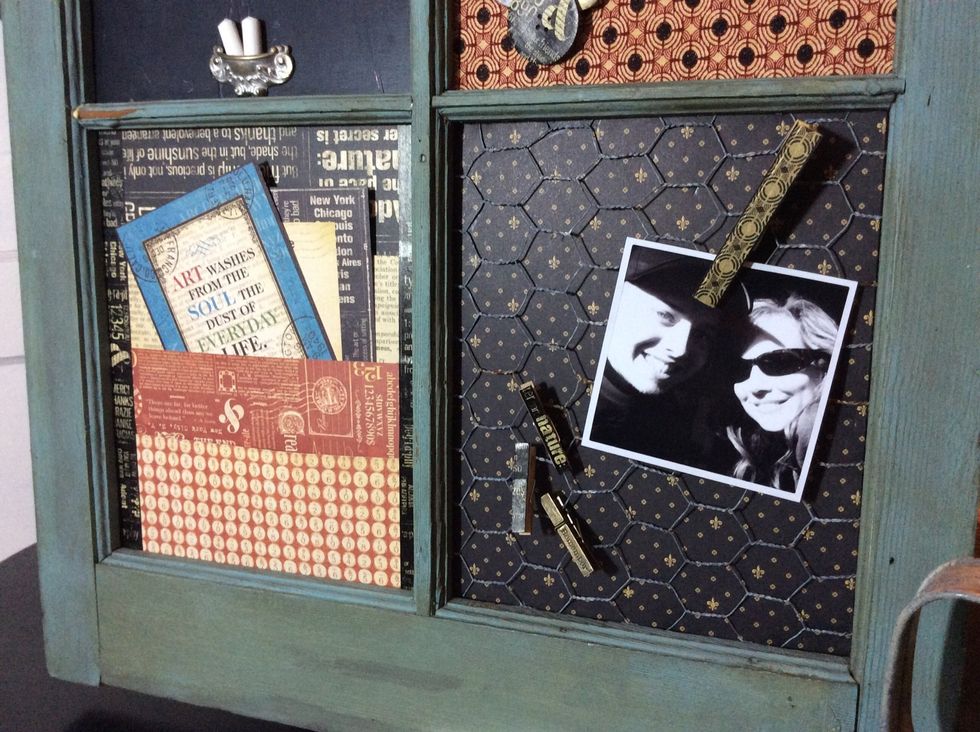
Tuck notes, photos and memorabilia in the pockets.
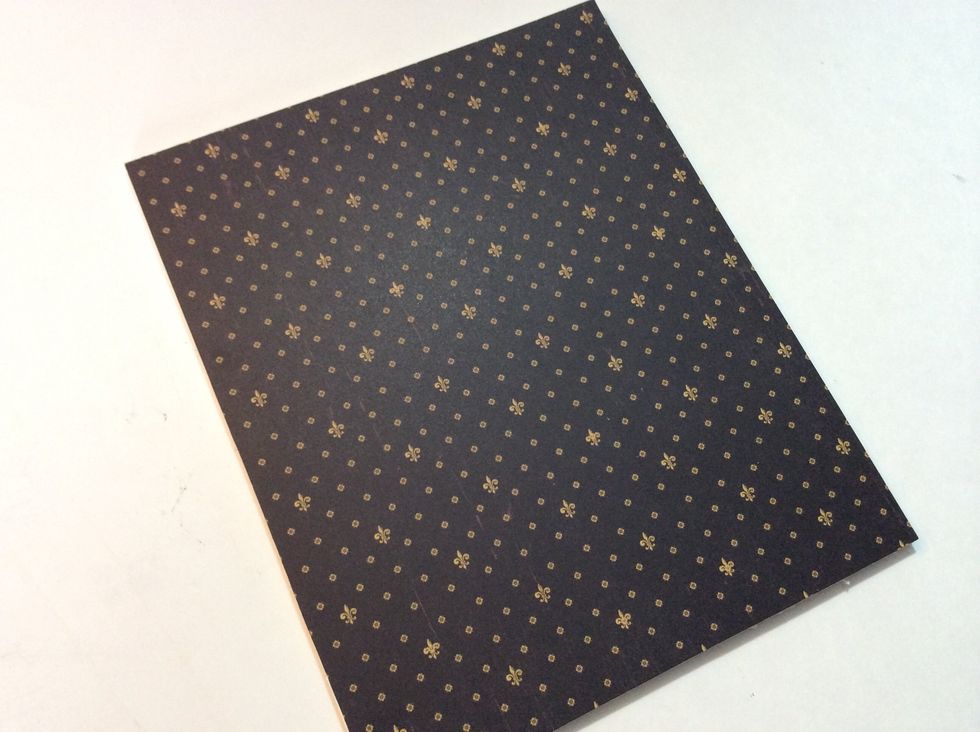
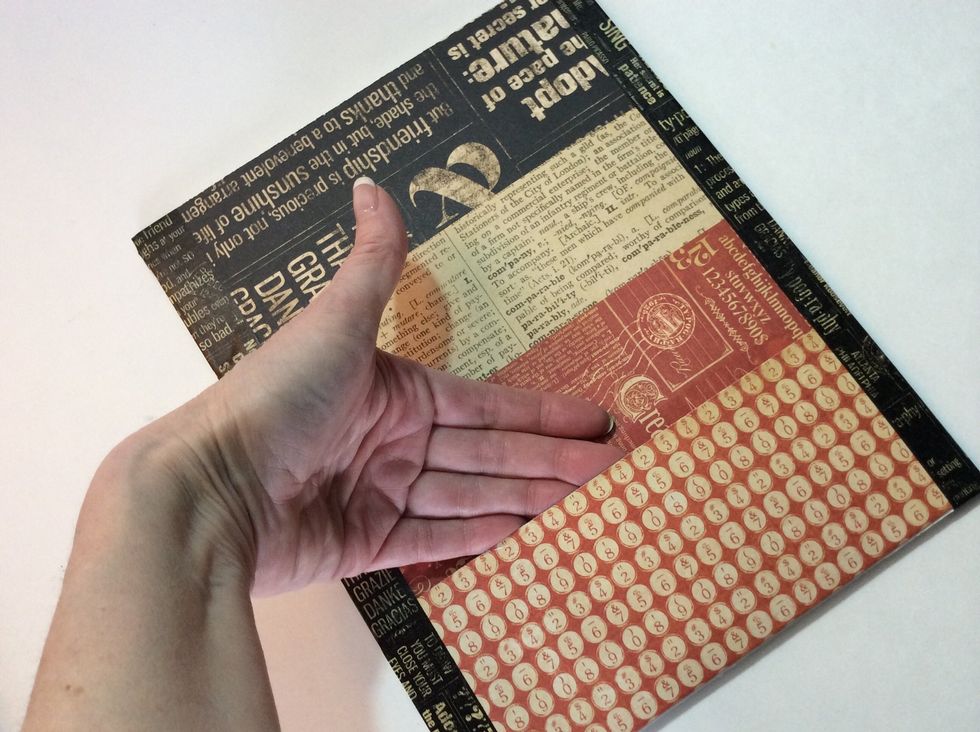
Cover the 3rd pane with paper. **(note- you will need to cut this pane 1/4" smaller to accommodate the wire).
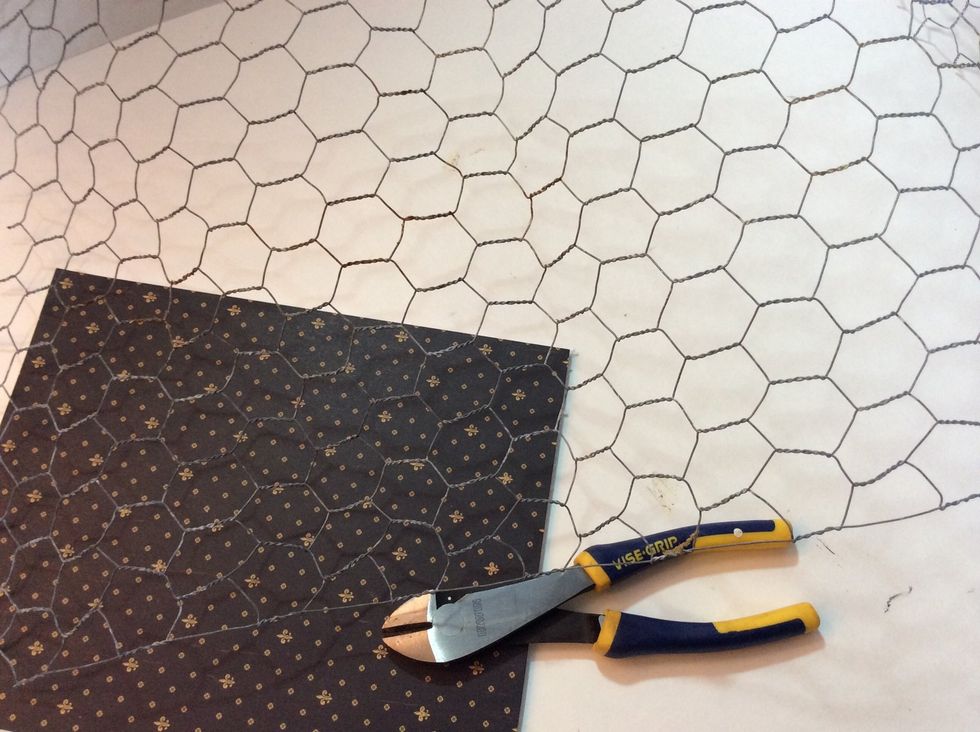
Cut chicken wire an inch larger than pane.
Like this.
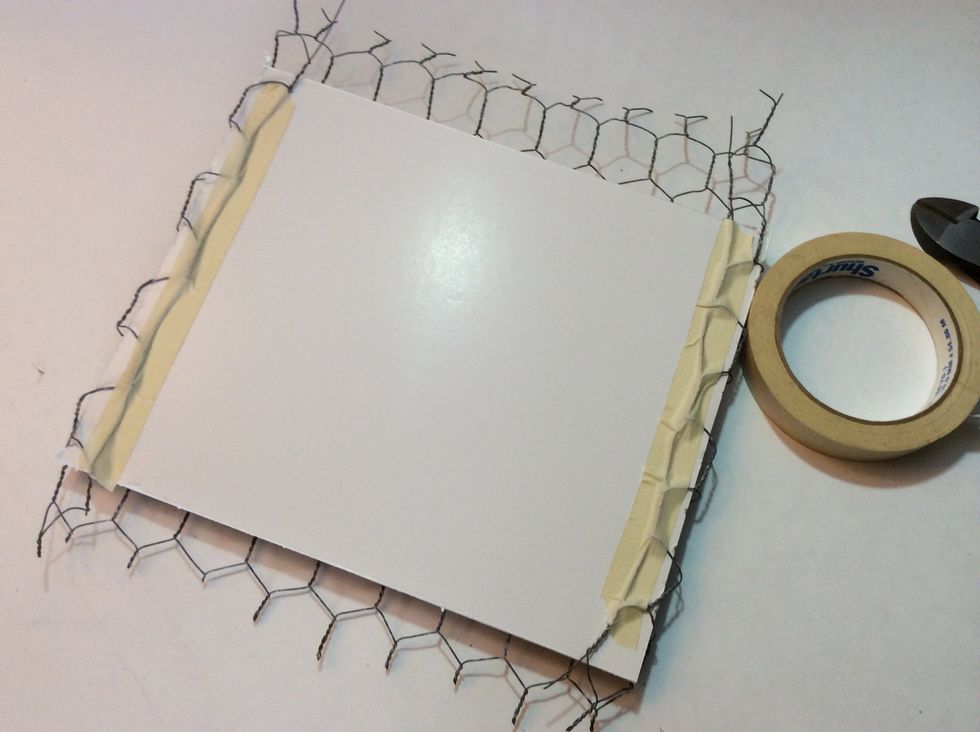
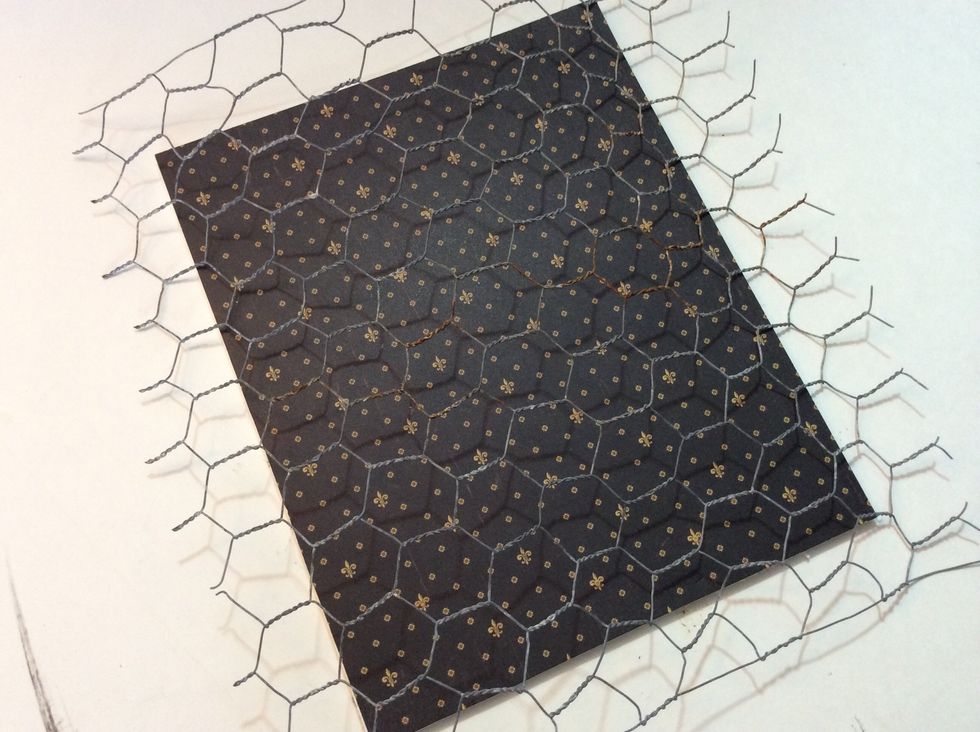
Wrap the wire around the pane. Tape down the edges. (This is a super pokey process, please use caution!!)
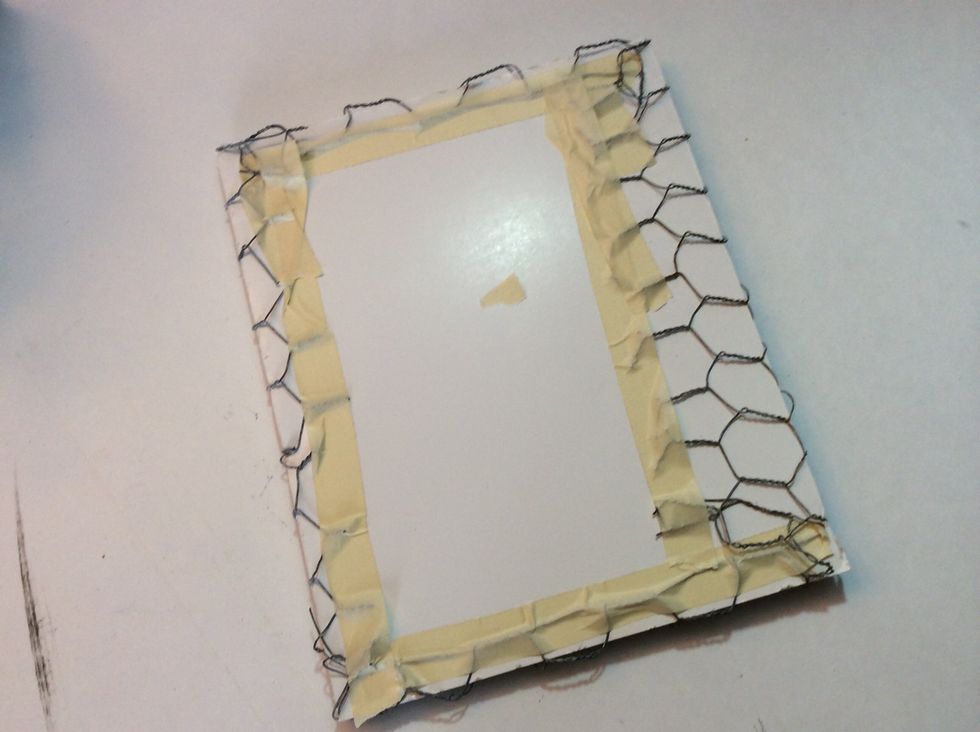
This is the finished back. Yes, it's ugly, but it's the back and we will cover it. :)
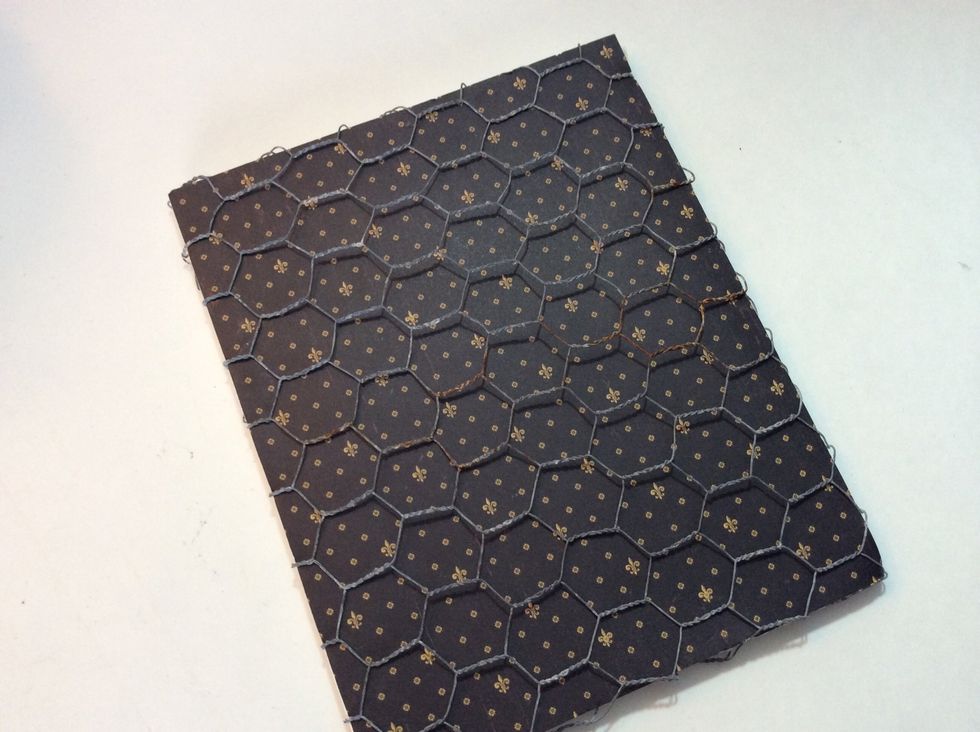
This is the front. Pretty!
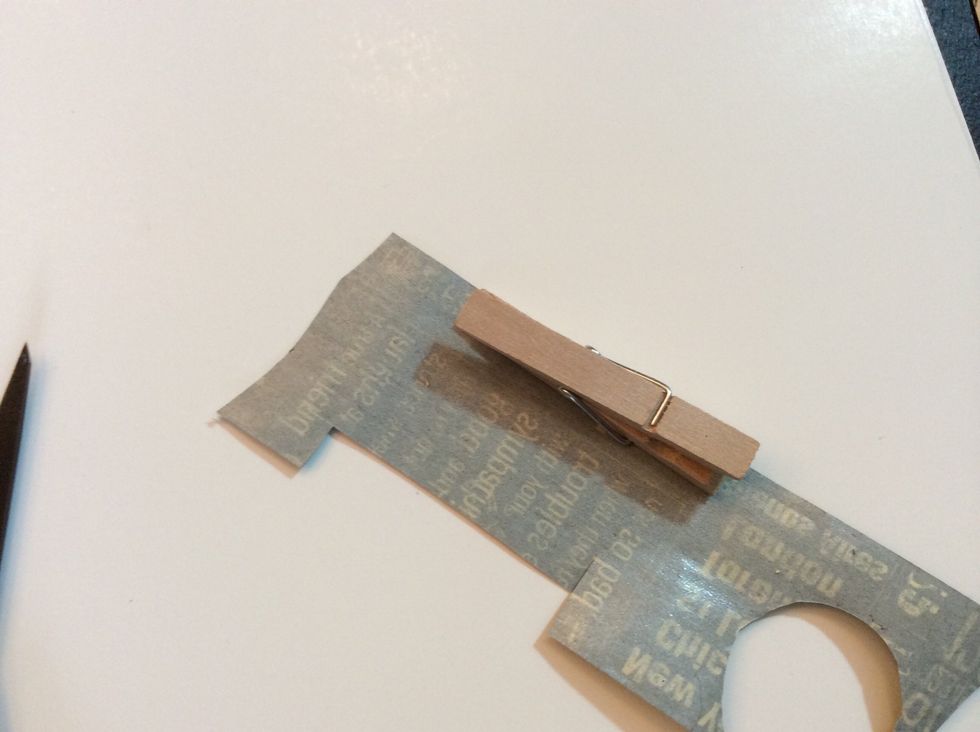
Let's a make a few clothespins to use on our wired pane...using Washi tape, cover clothespins. Trim excess.
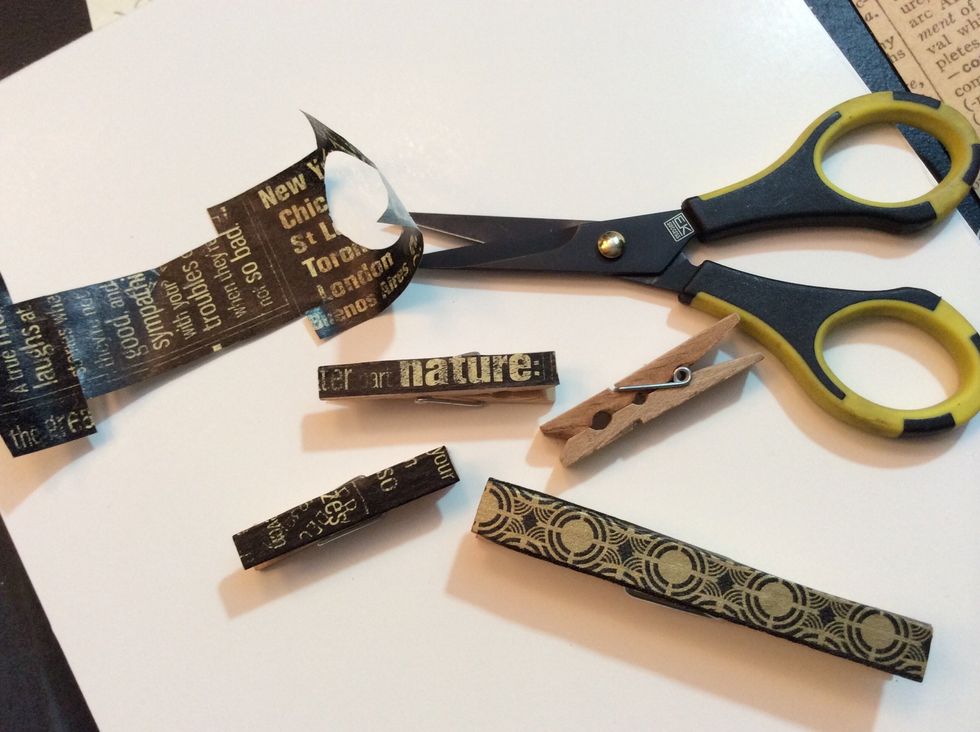
So easy and cute!!
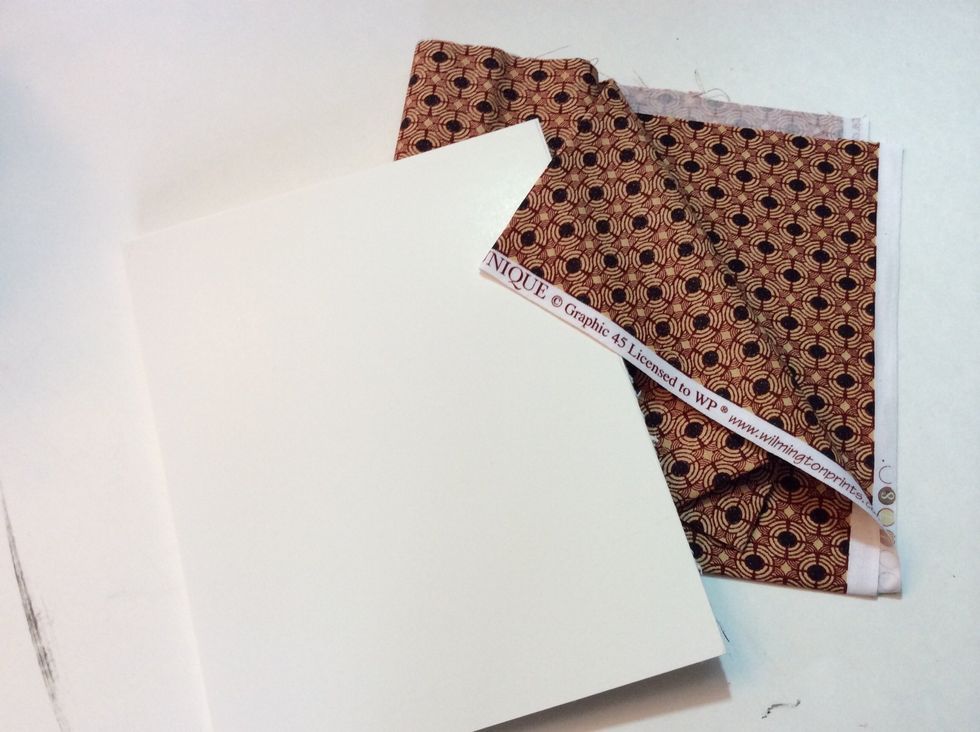
For our 4th pane, we'll use fabric to create a pin board. (LOVE this g45 fabric!!)
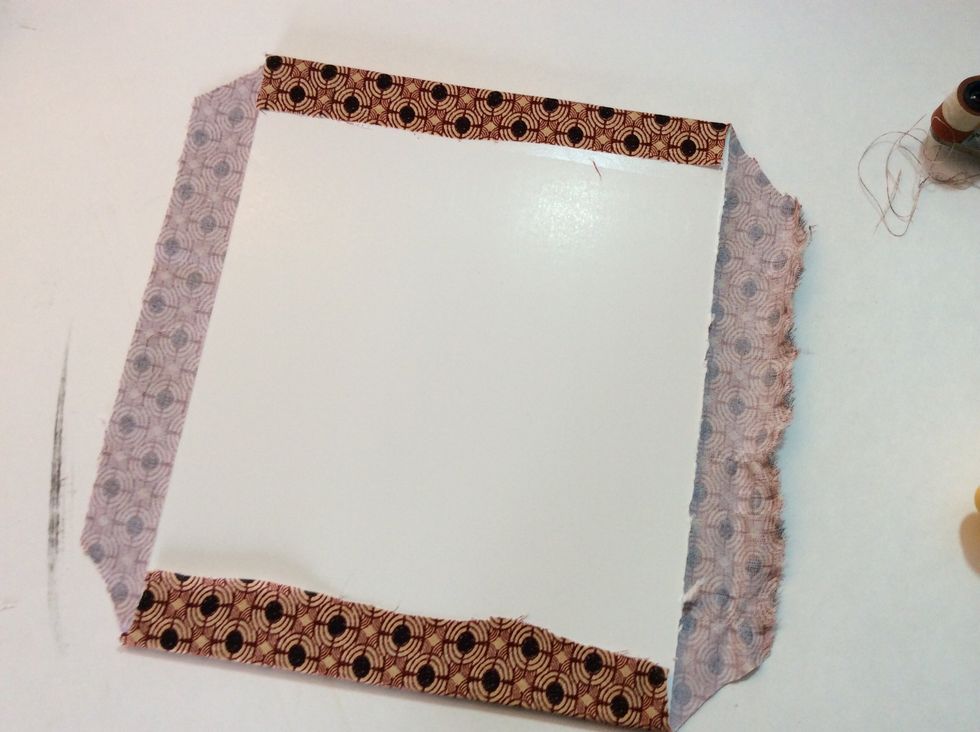
Cut fabric 1" larger than foam core pane.
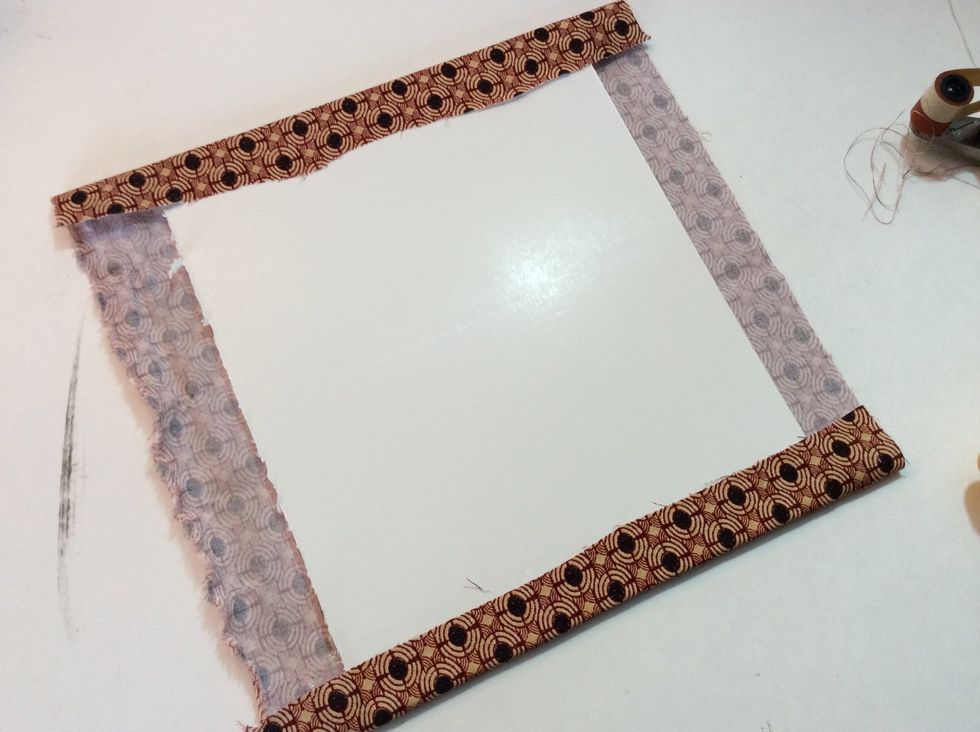
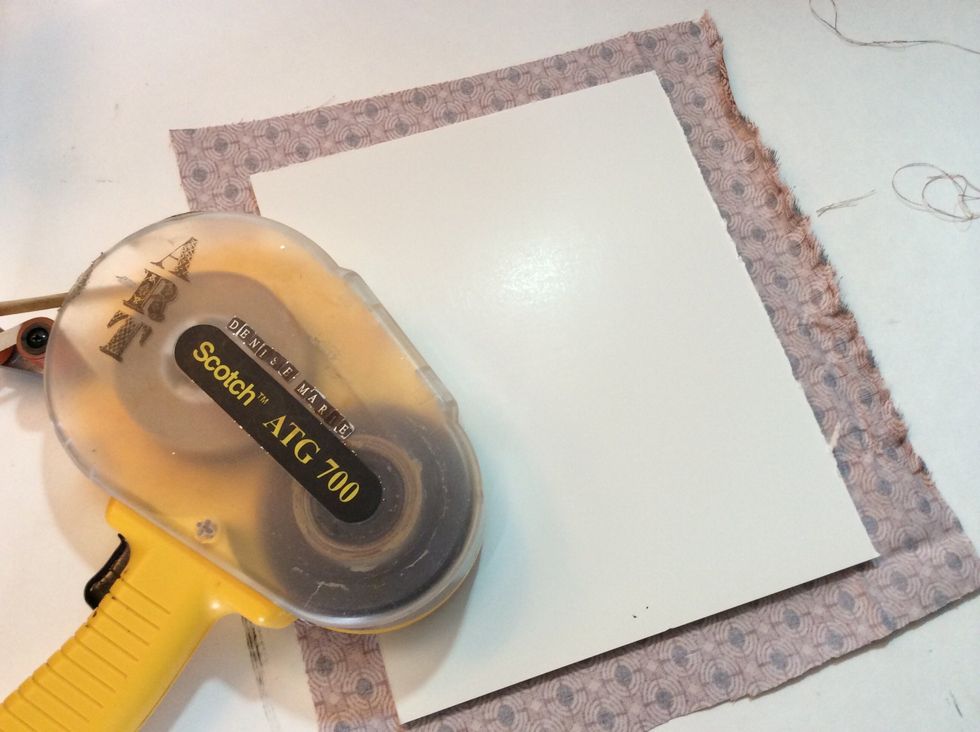
Adhere 2 opposite sides.
Snip corners of remaining sides.
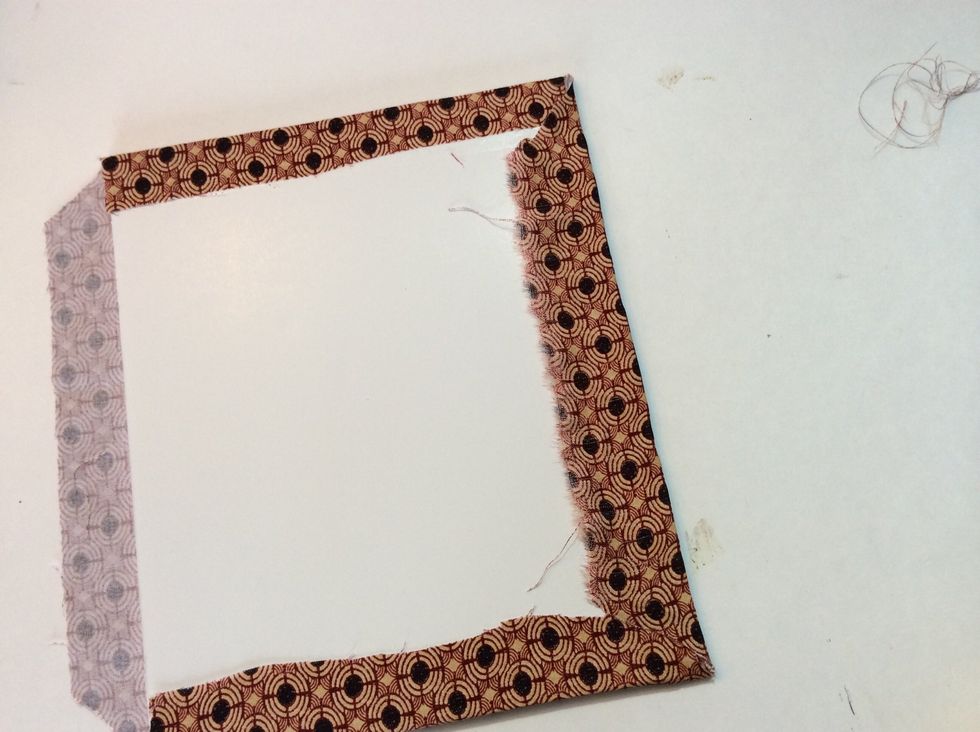
Fold and adhere.
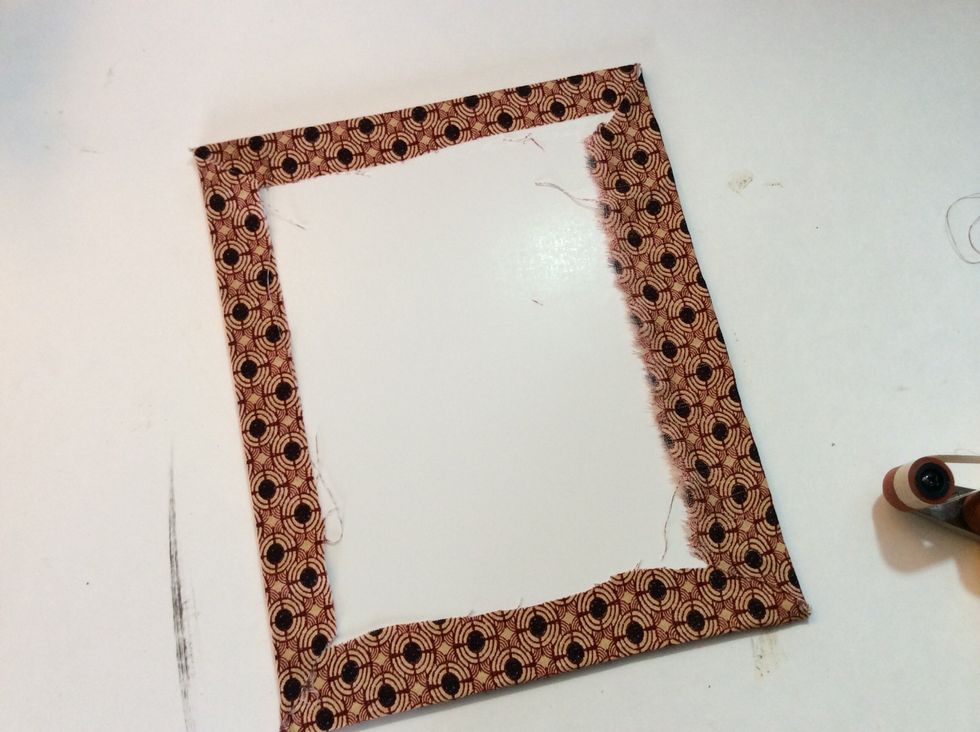
Adhere tightly into place.

Beautiful!
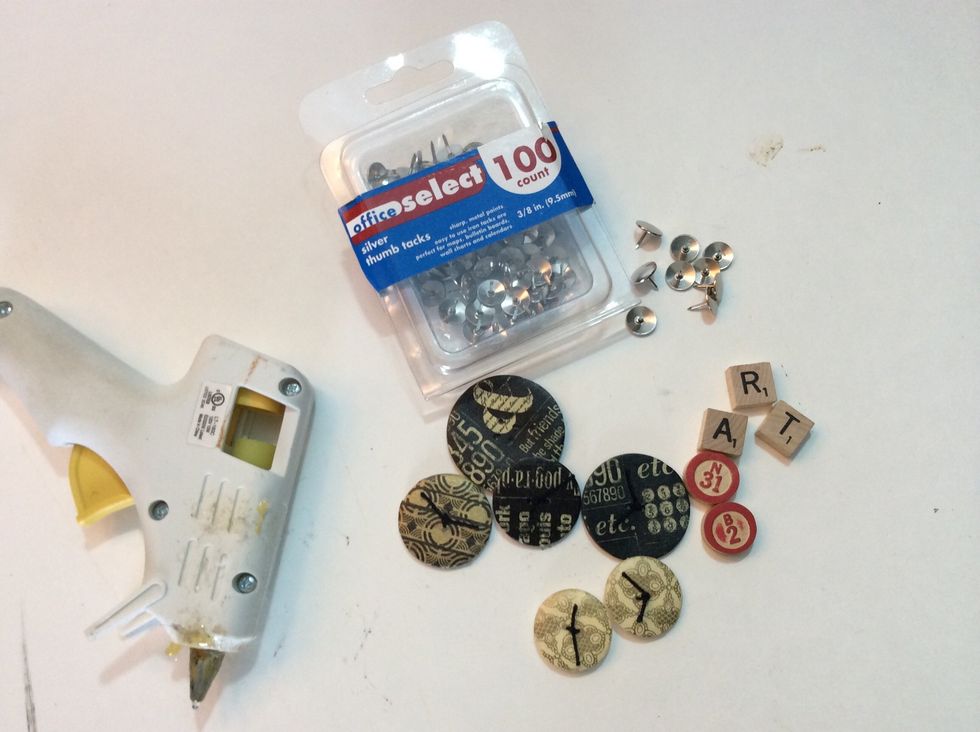
Let's create some pins to use on our pin board... We'll use washi covered buttons (see my guide on how to make these right here on Snapguide!), game pieces, hot glue and plain old thumb tacks.

Chose the buttons and game pieces you'd like to use. Apply a puddle of hot glue on the back, press thumb tack into glue.
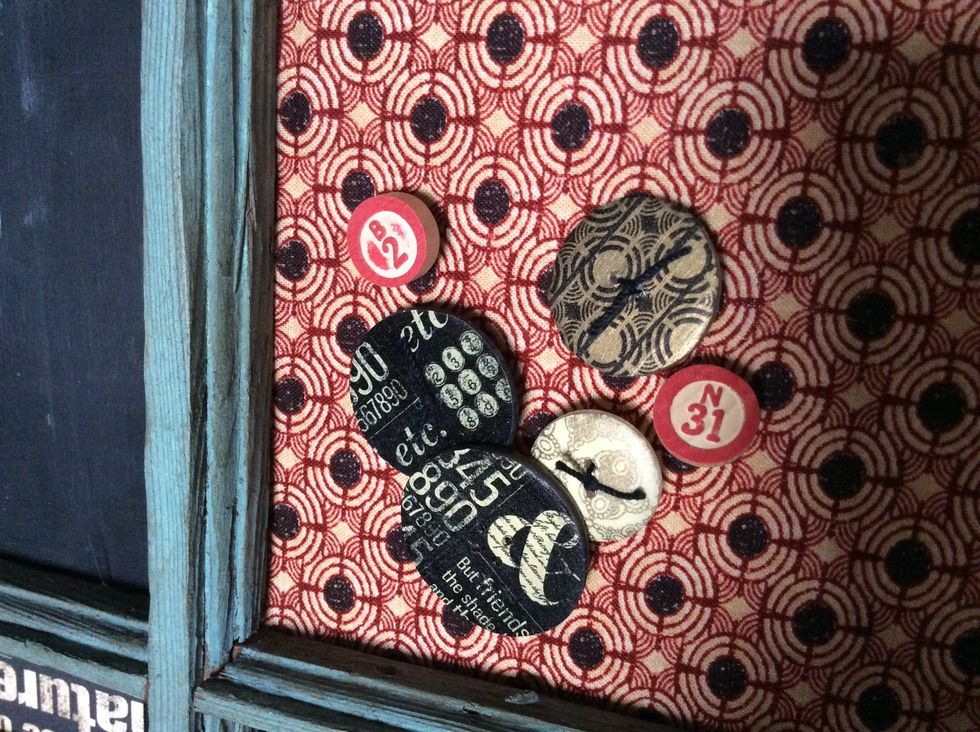
Custom made pins! Sweet!!

Decide which frame you want each pane to go in, then place them accordingly. Mine fit nice and snug. You could use a thumbnailer if desired.

Cut mat board or poster board to cover the back.
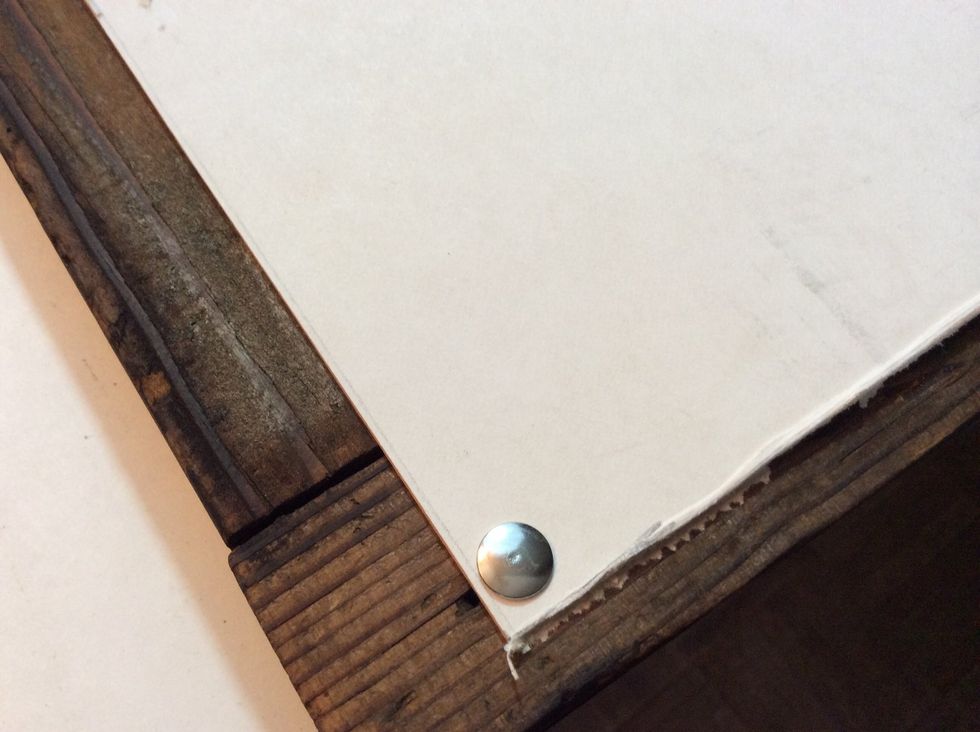
Tack board into place.
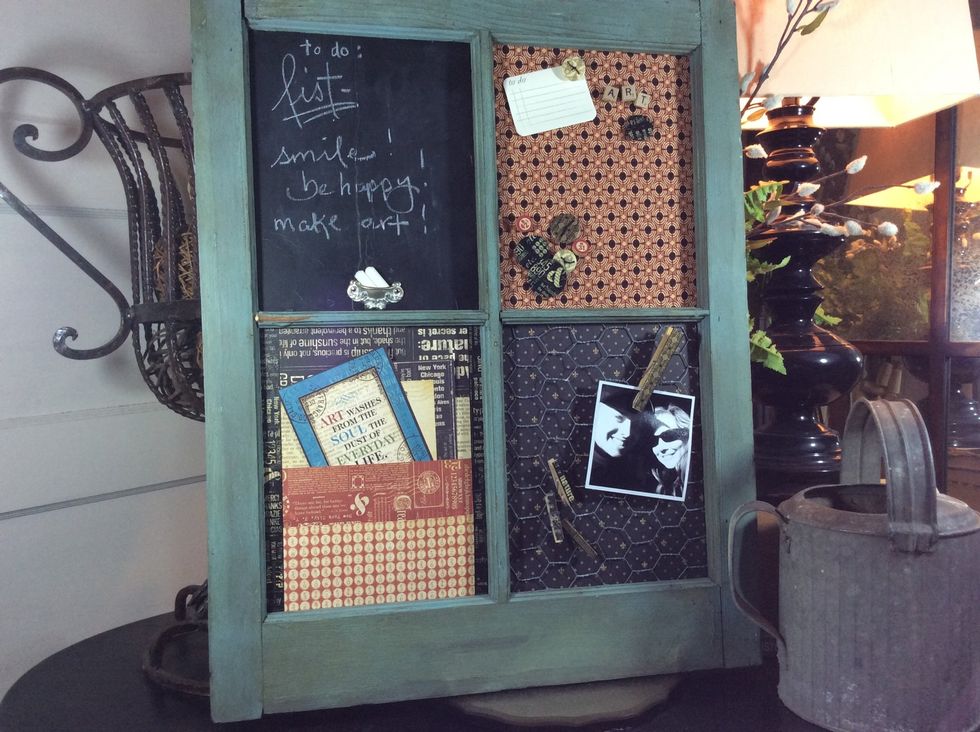
Finished window pane message center.
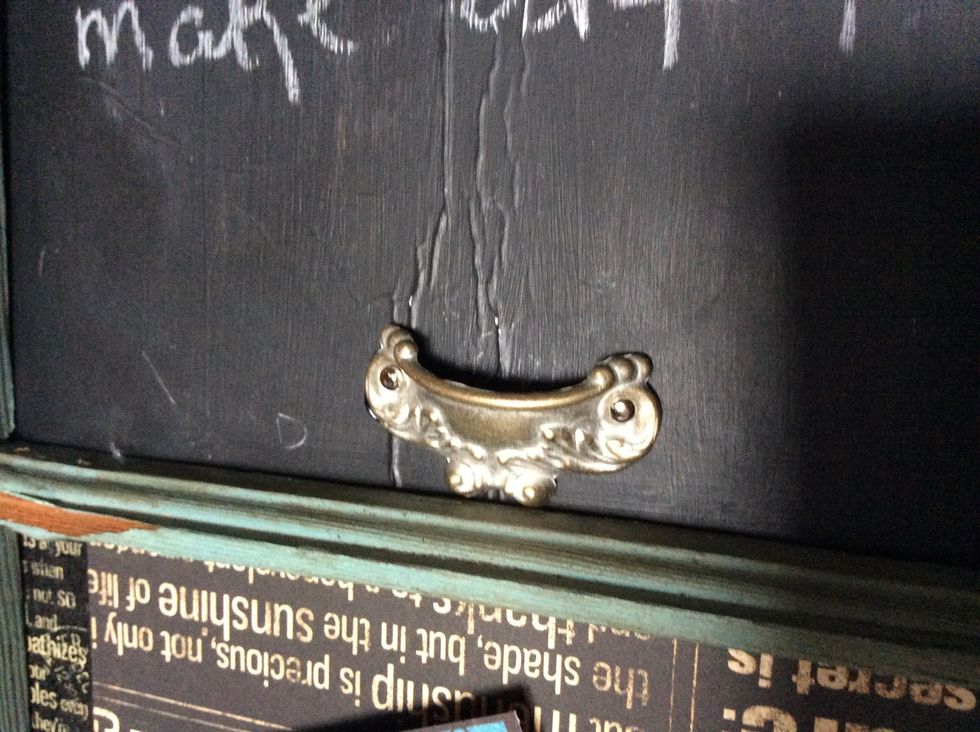
Add Graphic 45 drawer pull to chalkboard pane. (Hot glue into place).
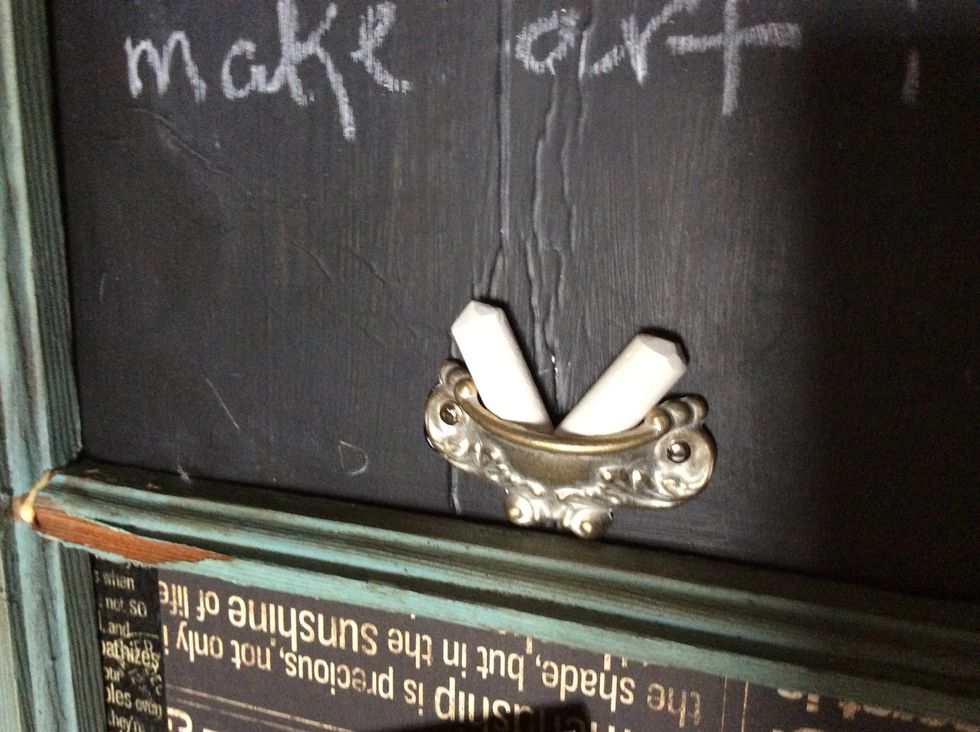
Chalk holder!!
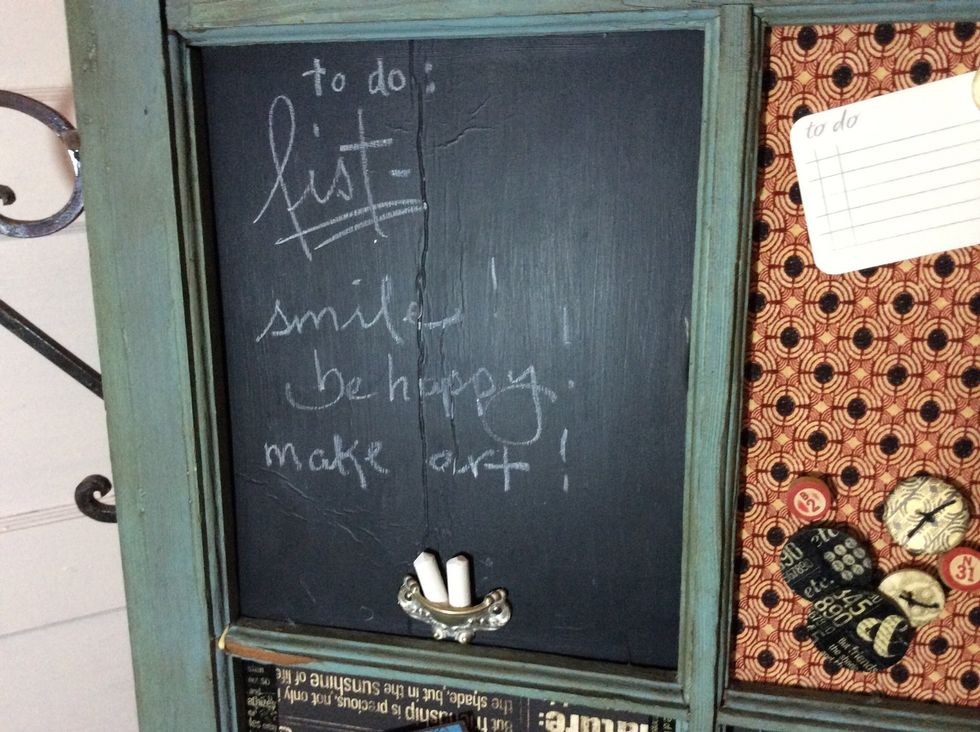
Write notes and things to remember on the Chalkboard pane.
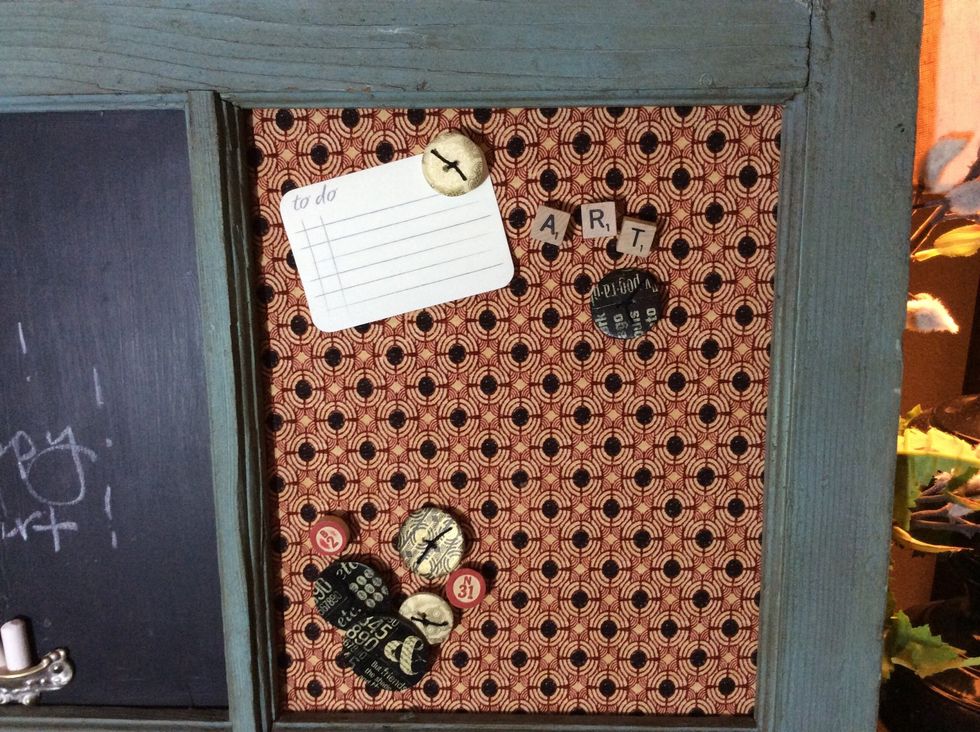
Pin custom made pins to fabric pane.
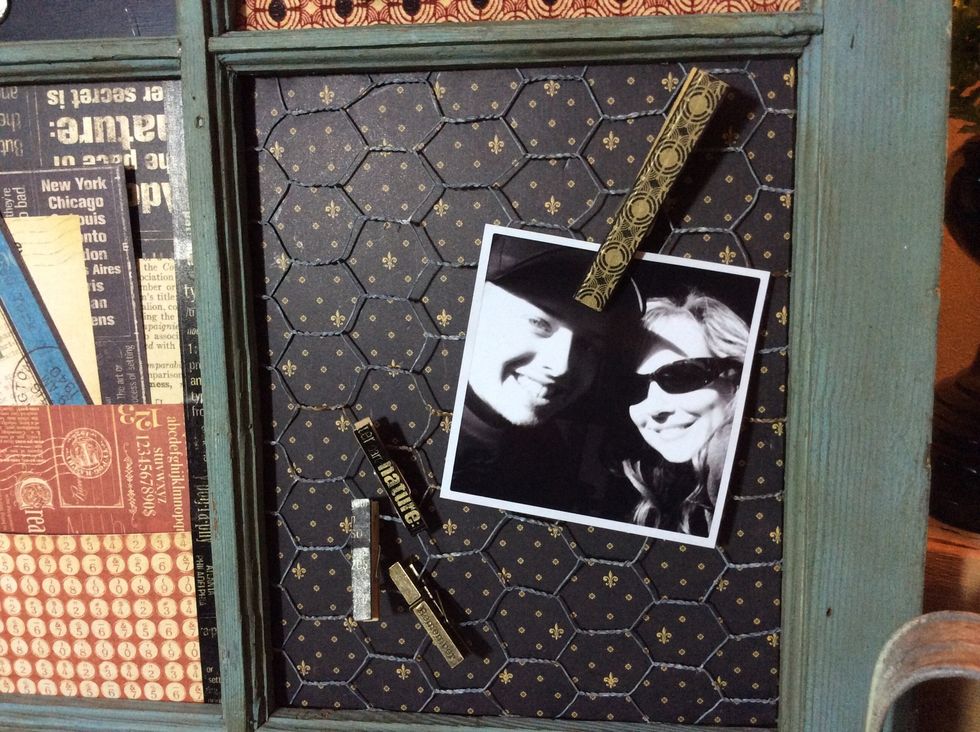
Clip photos and souvenirs to wired pane.
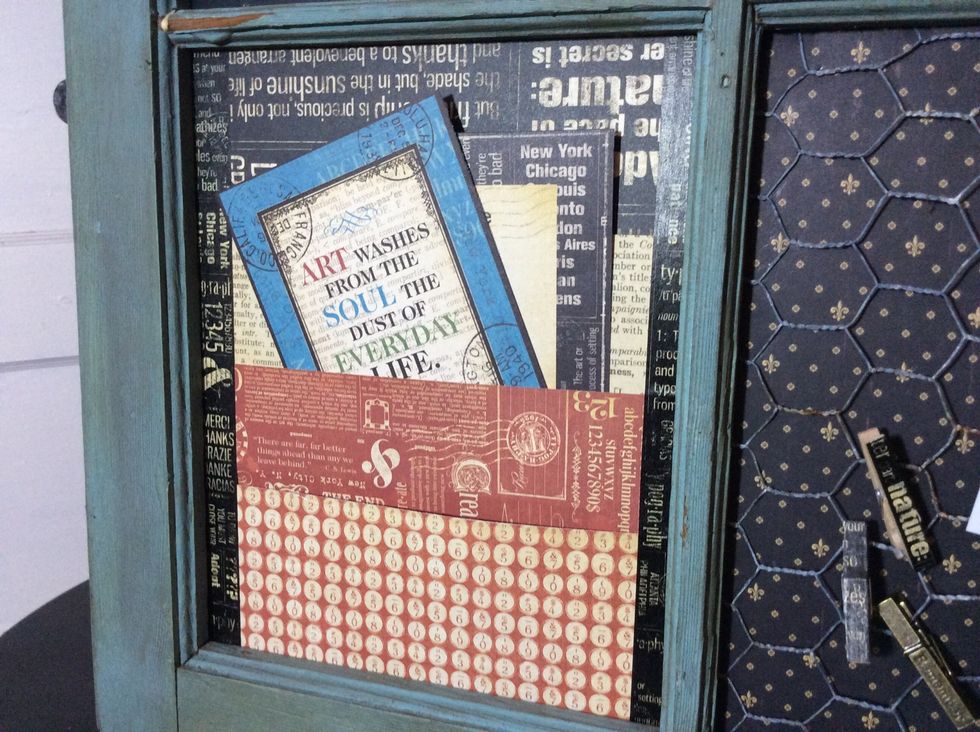
Tuck souvenirs and keepsakes in pocket pane.
Customize to suit your needs.
Makes a great family communication center or office board.
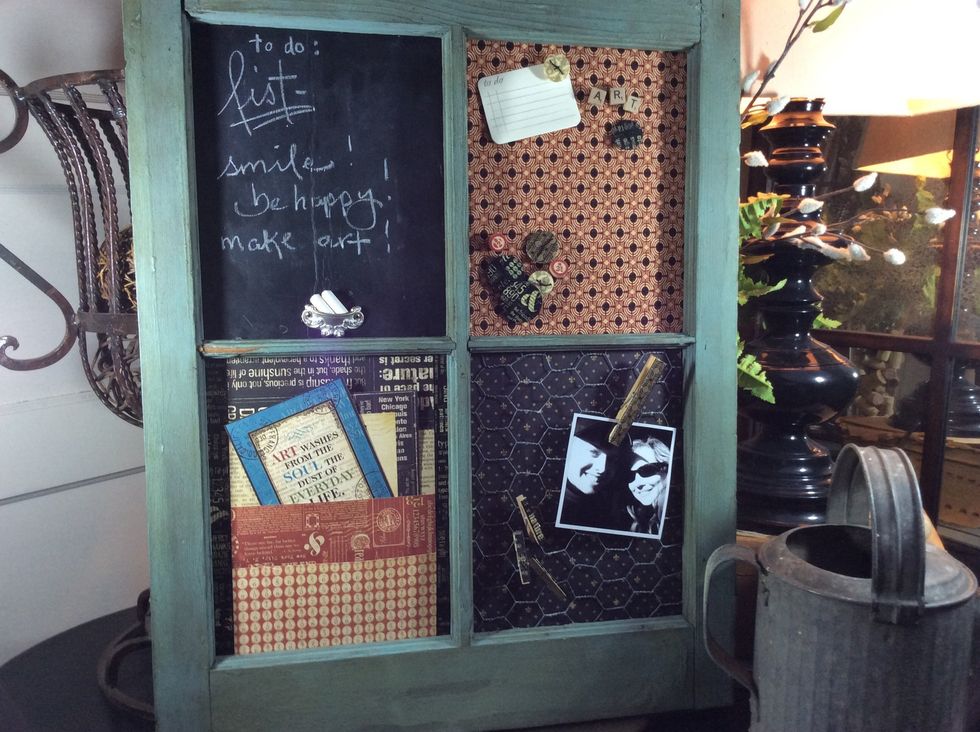
enjoy!!