The Conversation (0)
Sign Up
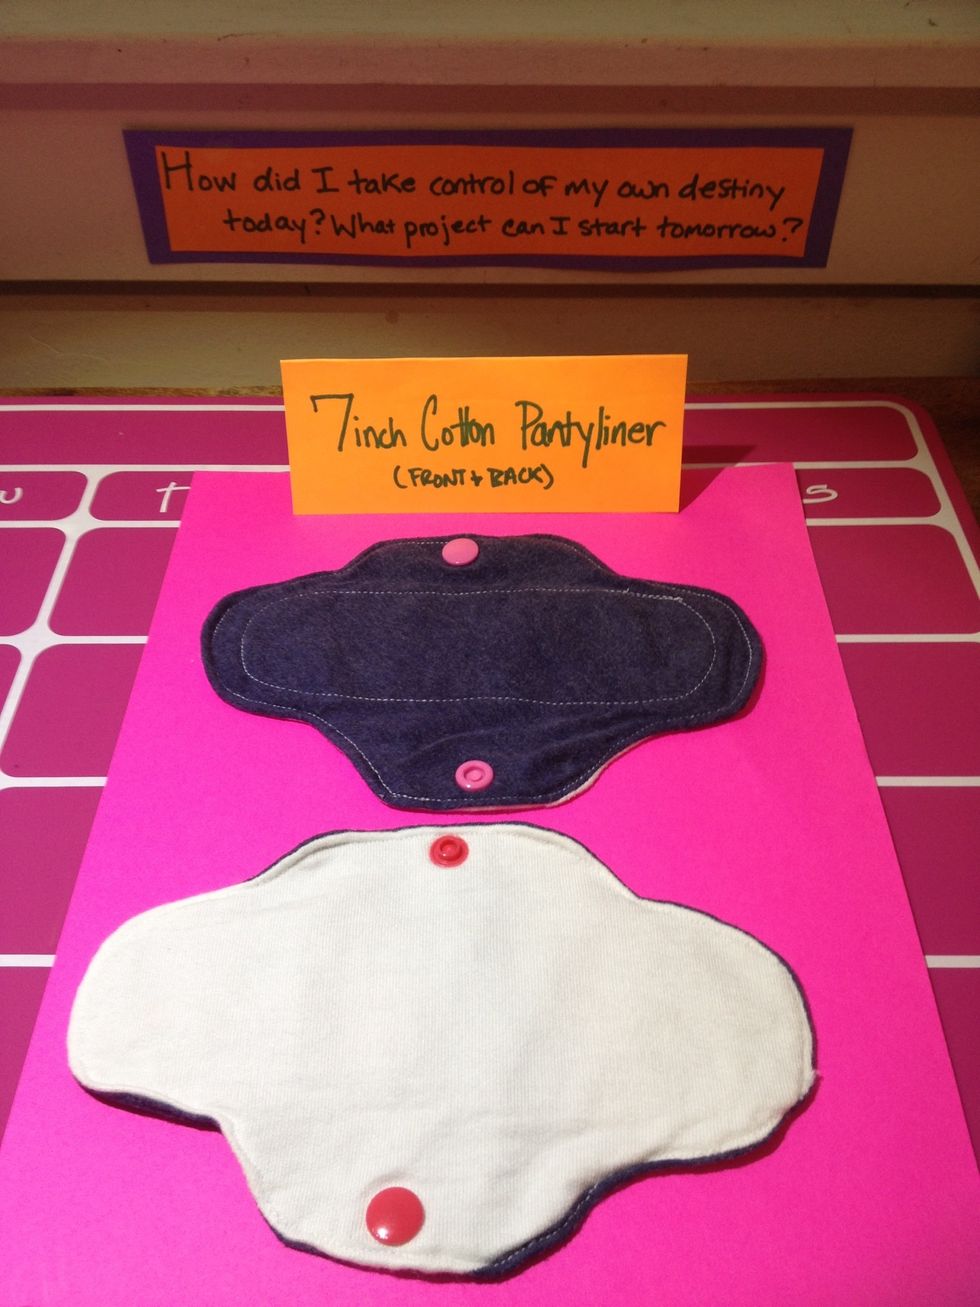
Finished product for reference. Two of similar design so you can see front and back.
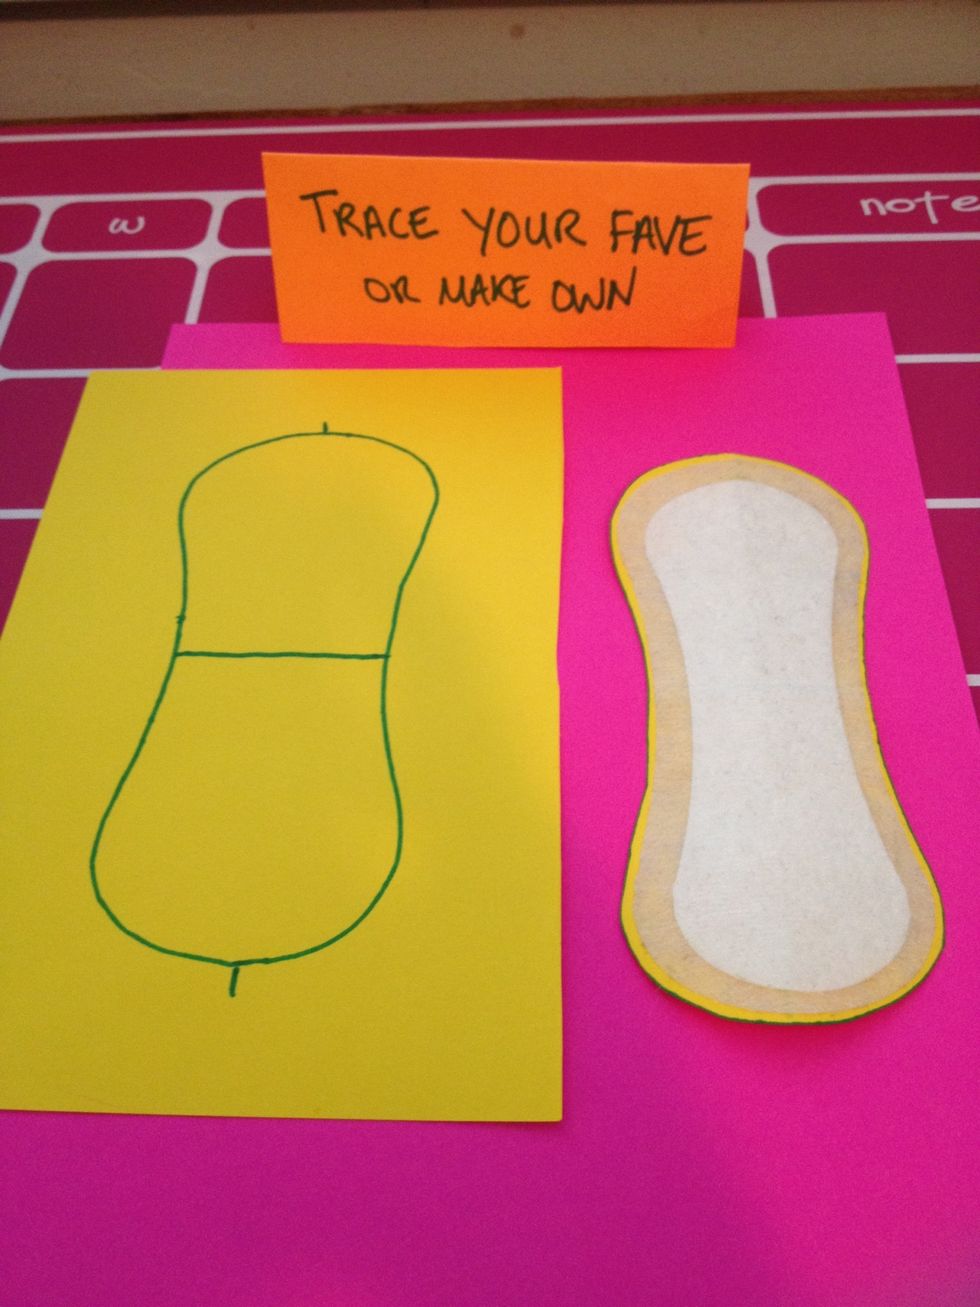
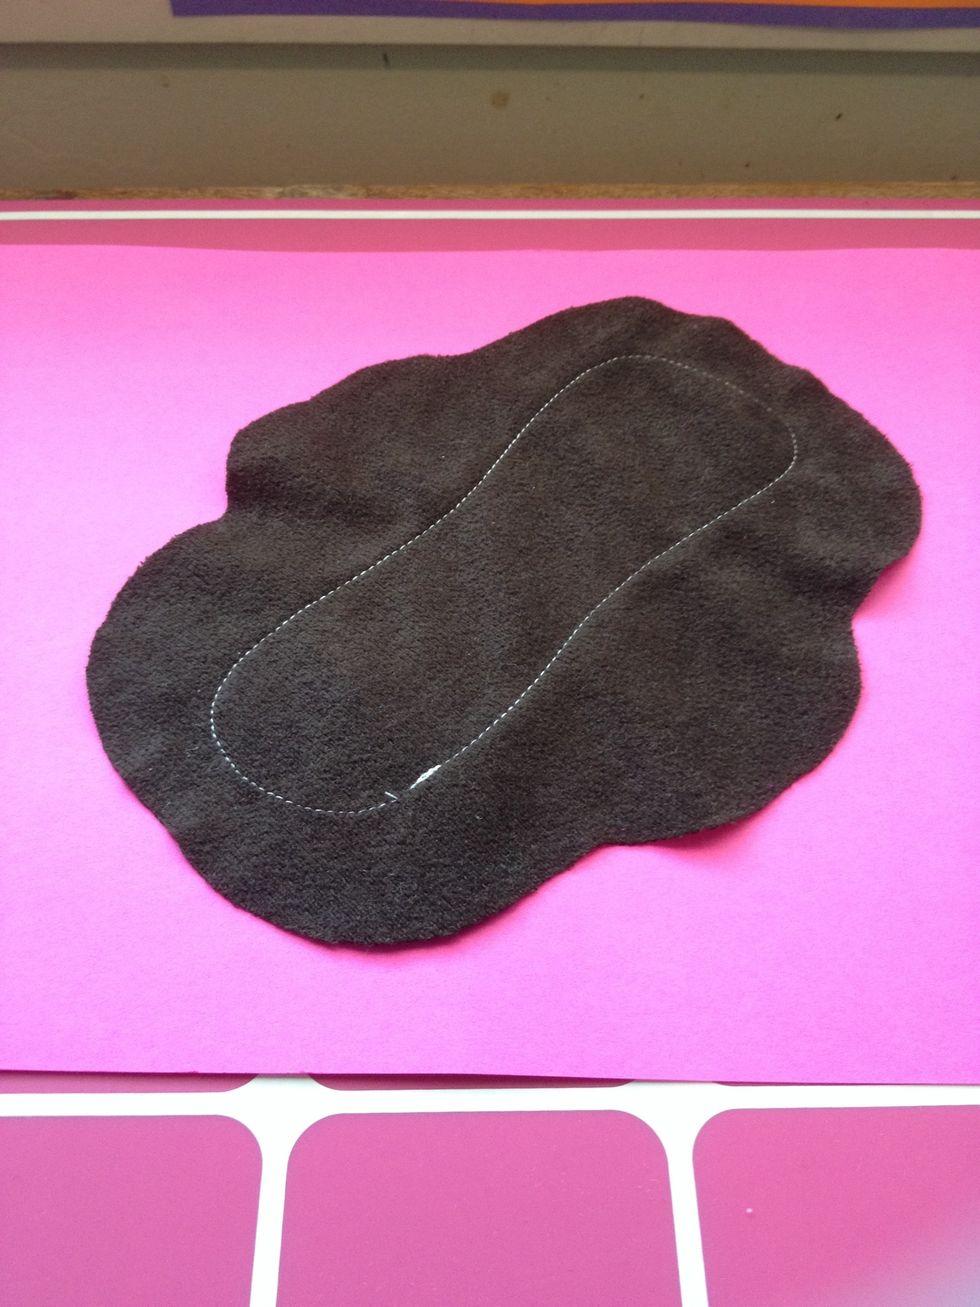
Trace your favorite pantyliner or make your own pattern. On the left is the tracing of the pad on the right. I folded the pad in half lengthwise and horizontally and marked my pattern accordingly.
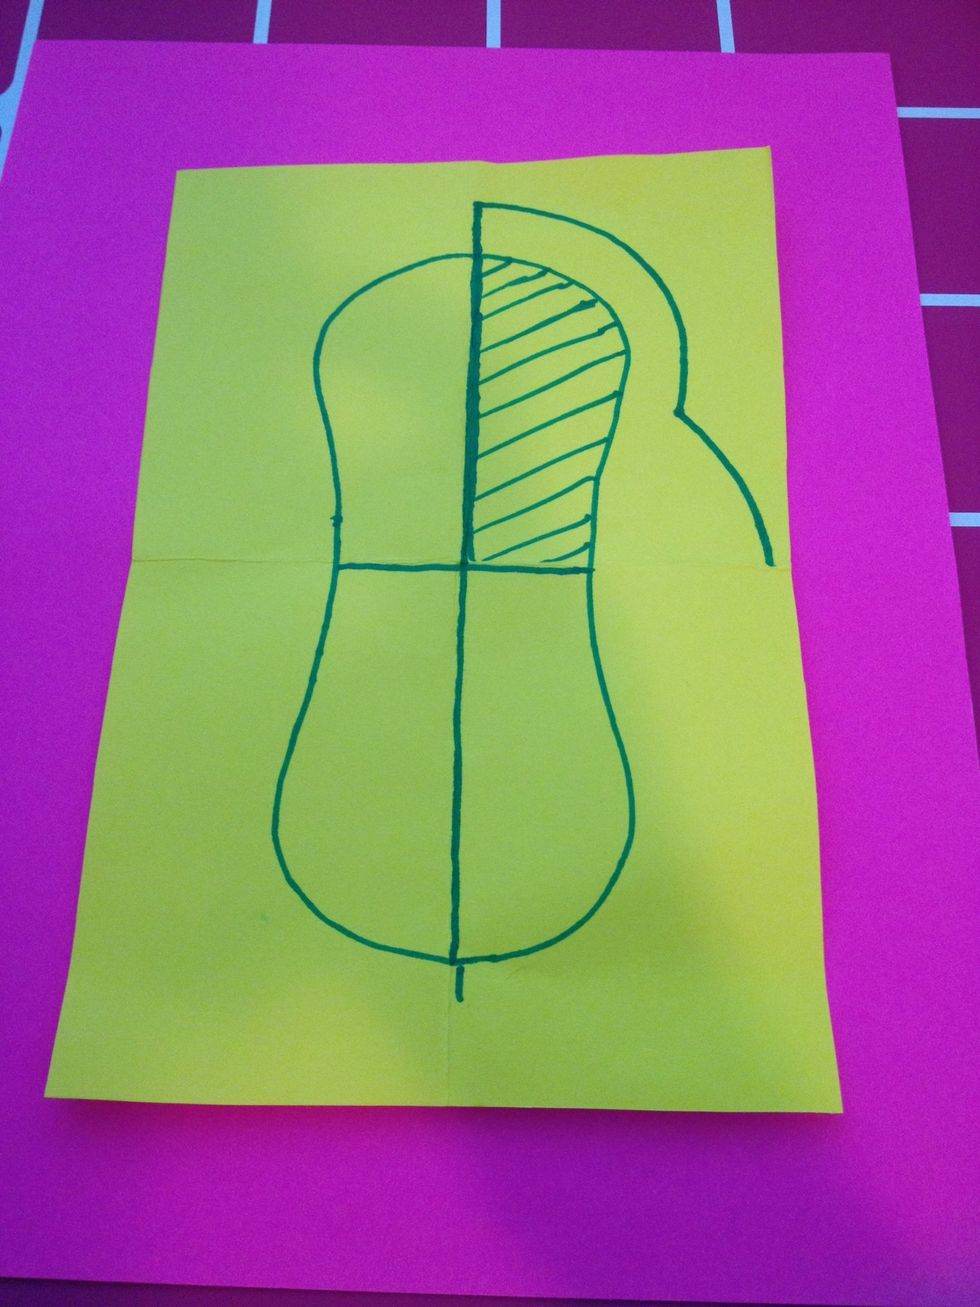
Pattern paper folded into fourths and marked with guidelines through the middles. Next, fold the re-fold paper into fourths and create 1/4 of the wing pattern.
Draw 3/4" out at top up to about 1 1/2" out for wing portion. This is for seam allowance to turn and top stitch and to add wings for securing the pad with snaps or a button. Cut along outer line.
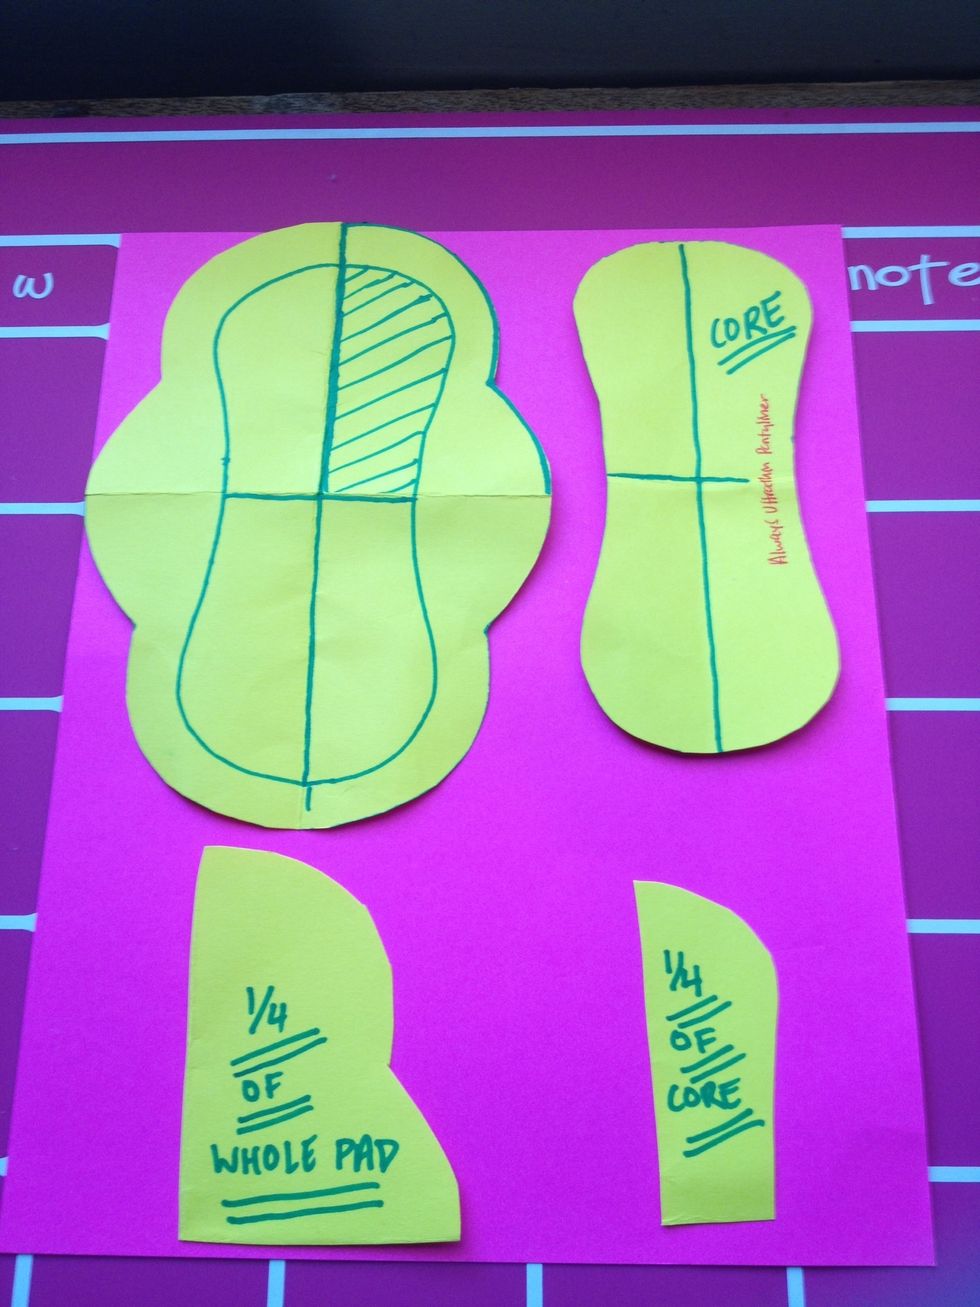
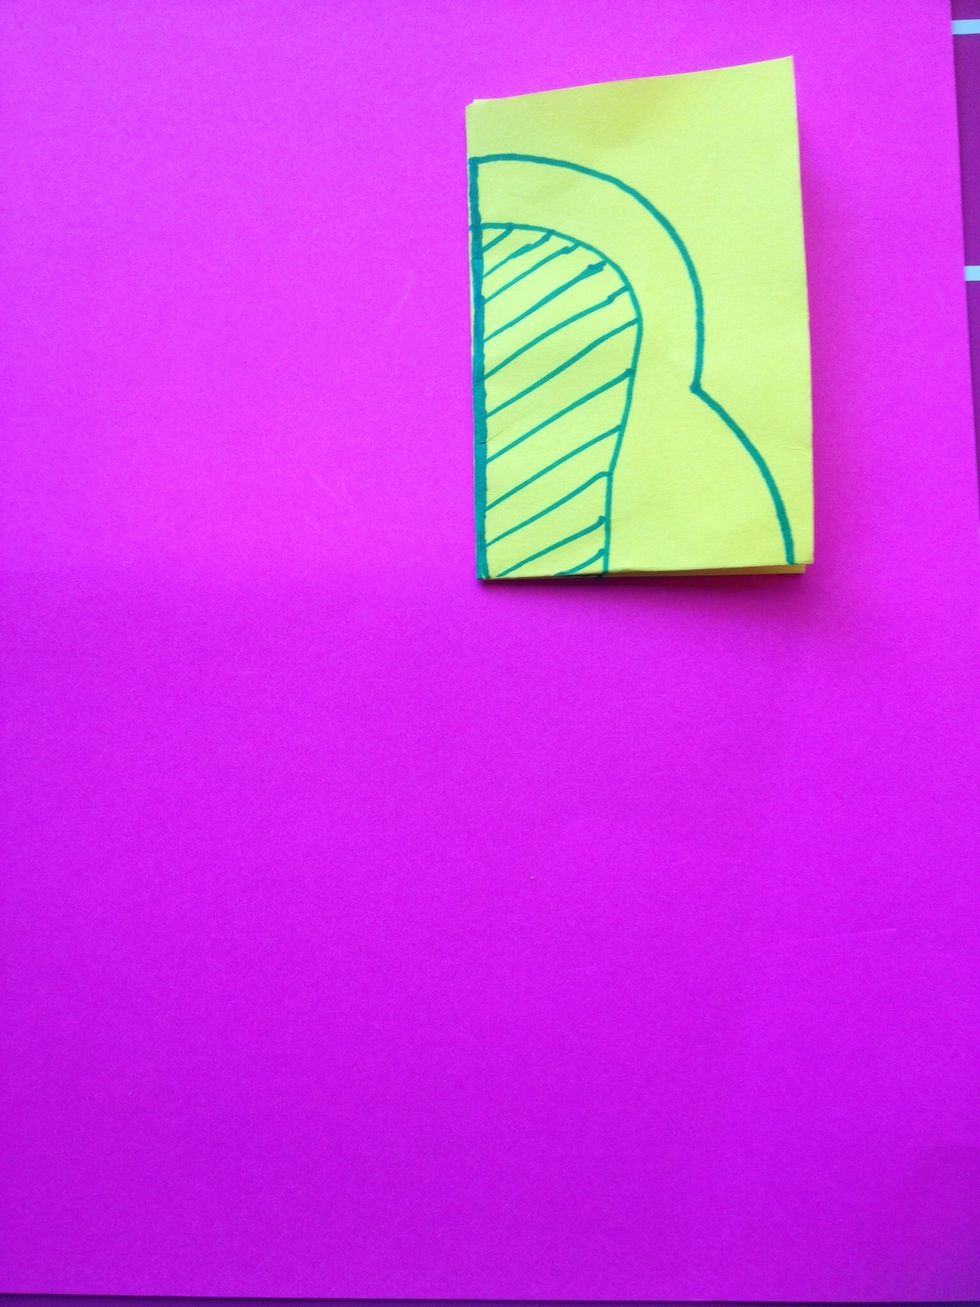
At upper left is what you'll have after Step 4. At upper right is the core pattern. Lower left is 1/4 of the whole pad pattern and lower right is 1/4 of the core pattern. I made the bottom two after.
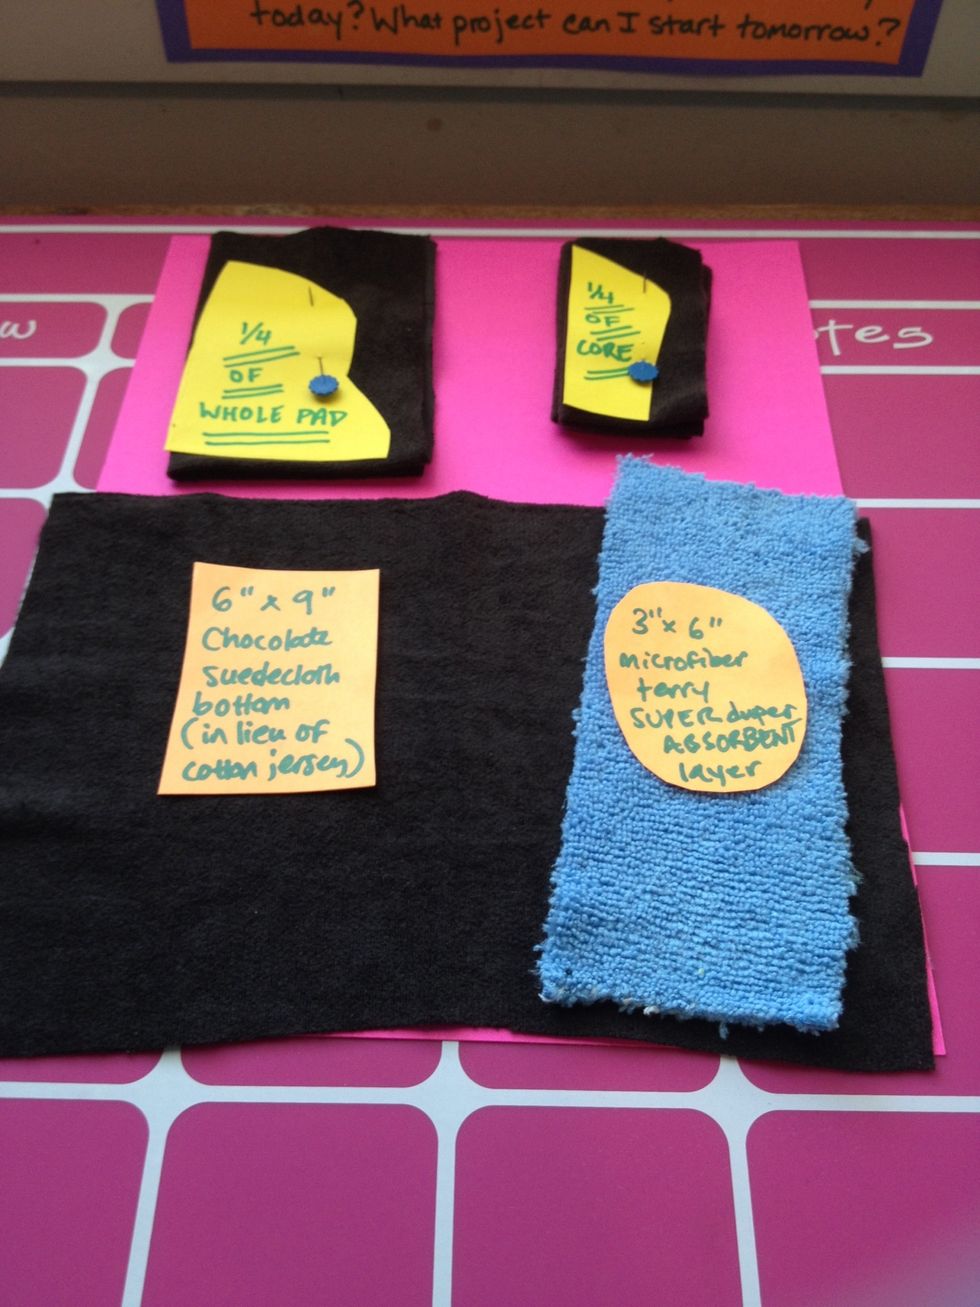
Cut 1 6"x9" piece of cotton fabric (brown suede cloth substituted here) and 2 3"x6" pieces (or any absorbent core you like, such as the blue microfiber terry shown on lower left). Fold in 1/4 to cut.
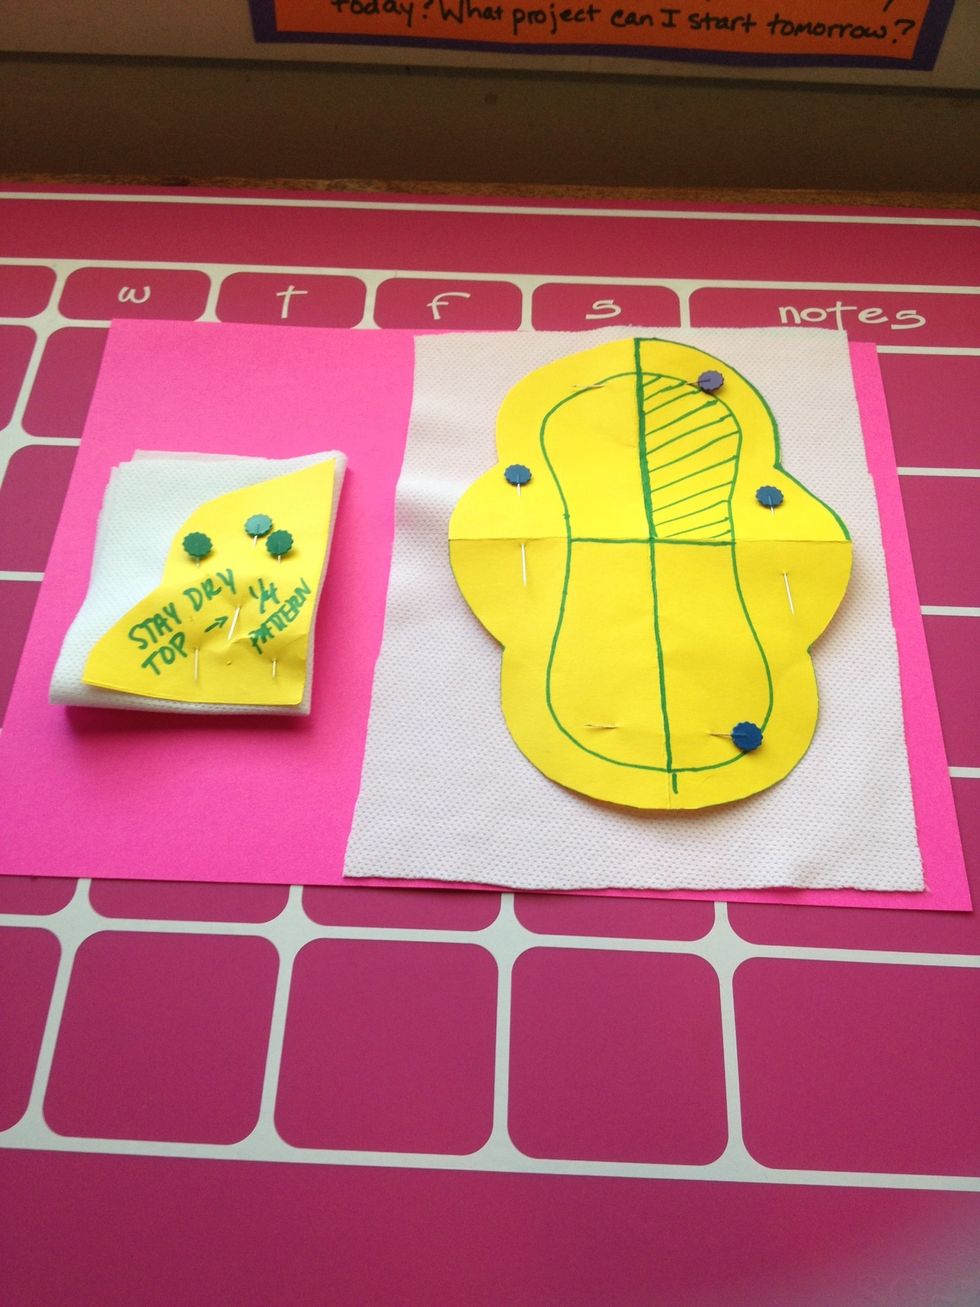
The other cutting method is tracing the pattern onto the fabric. The 1/4 method is on the left and tracing on right. This is the "stay dry" fabric for the top of the pad, nice during summer months!
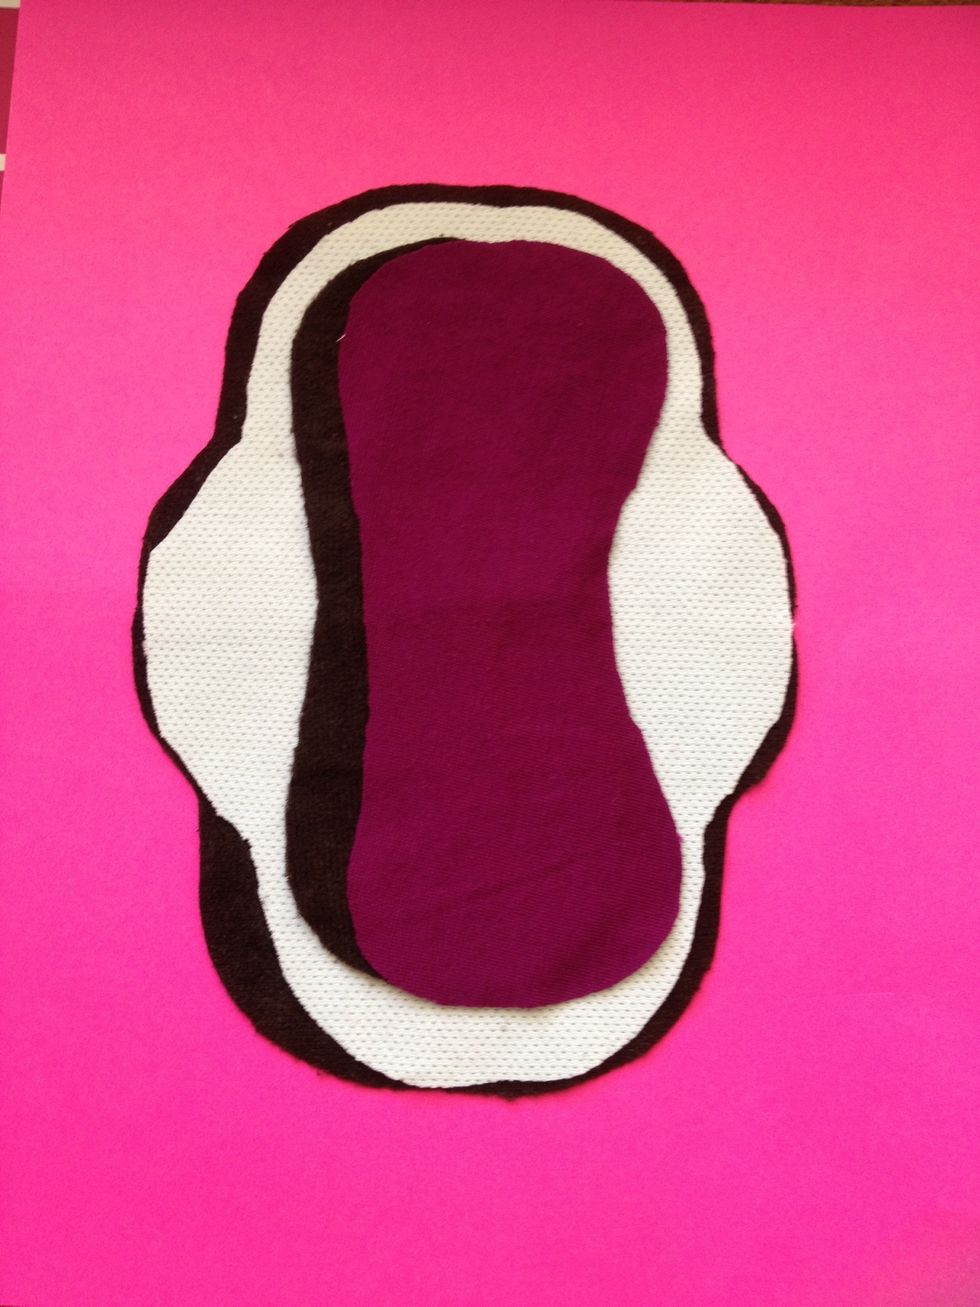
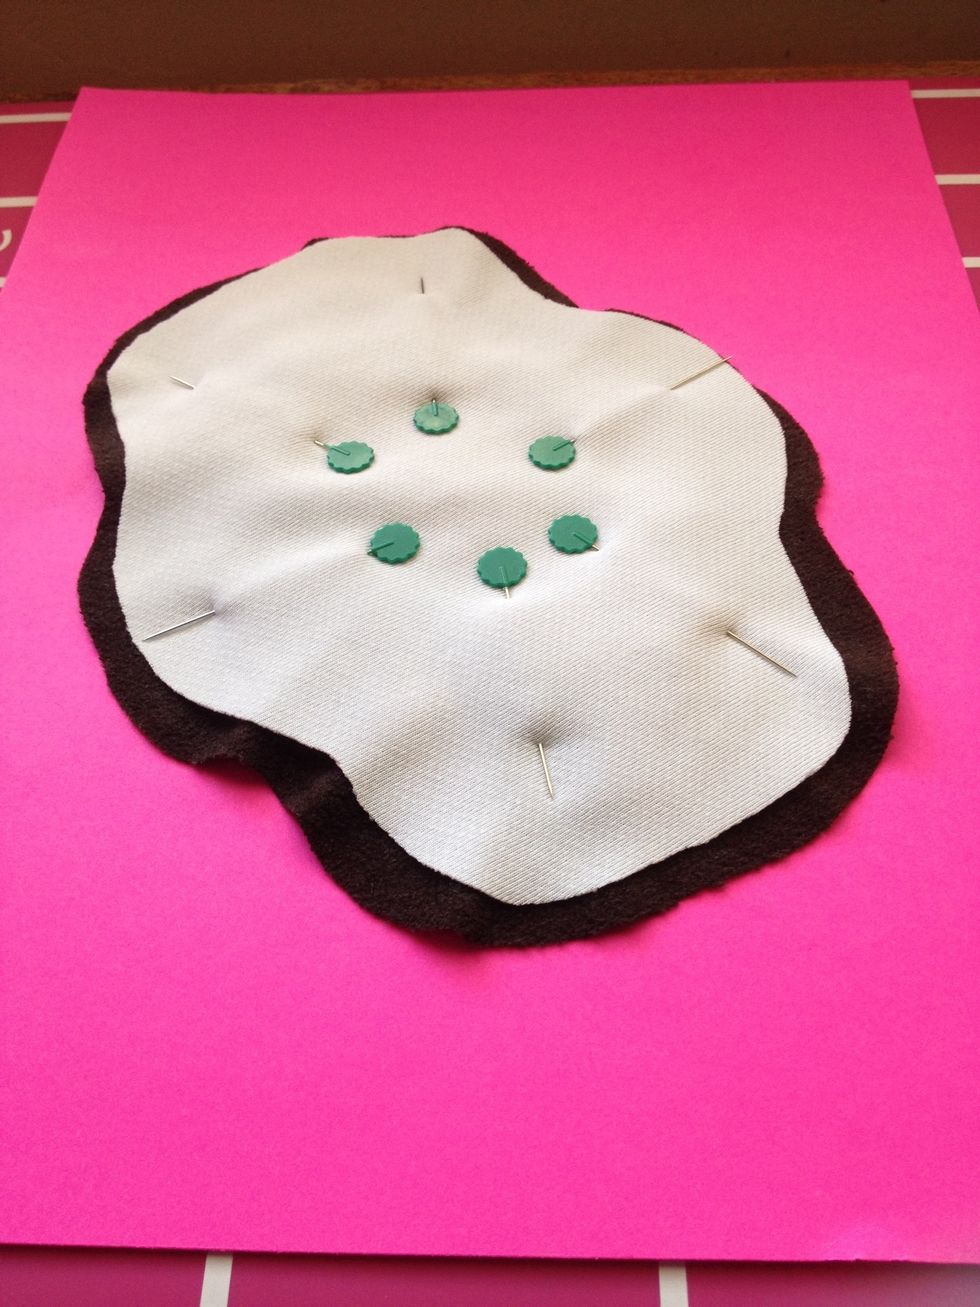
Here are all of the layers put together. Bottom is suede cloth (cut 1/8" wider than pattern for easier sewing), then white "stay dry", then 1 suede cloth inner and one inner layer of upcycled cotton.

Bottom layer is suede cloth turned "right side" up (non soft side). Middle is one upcycled t-shirt core layer. On top is another suede cloth, cut 1/8 smaller than magenta for sewing. Right side up.

Sewn and 1/8" trimmed off. This center core is 1 7/8" now, if you need more coverage adjust core pattern accordingly. Used white thread because I like the contrast, but brown would hide the stitch.
This will be the exposed underside of the pad, the part that rests against any underwear. I've found that my pads are reversible with the KAM snaps, though, so if I am having a suede cloth day...
Pin smaller fabric (white stay dry, good side down) to top of larger fabric (brown suede cloth, good side up). Good sides are in middle so we can turn inside out. Sew around edges, leave 1" un-sewn.
Underside of pad before I turn and top stitch it. Looks like I was a little tilted to the right of center! LOL oh well practice makes perfect. Now let's turn it inside out!
If you are using PUL for backing, when sewing on inner layers sew to top instead of backing and skip this step. Now, re-sew along existing white inner contour line through the whole pad.
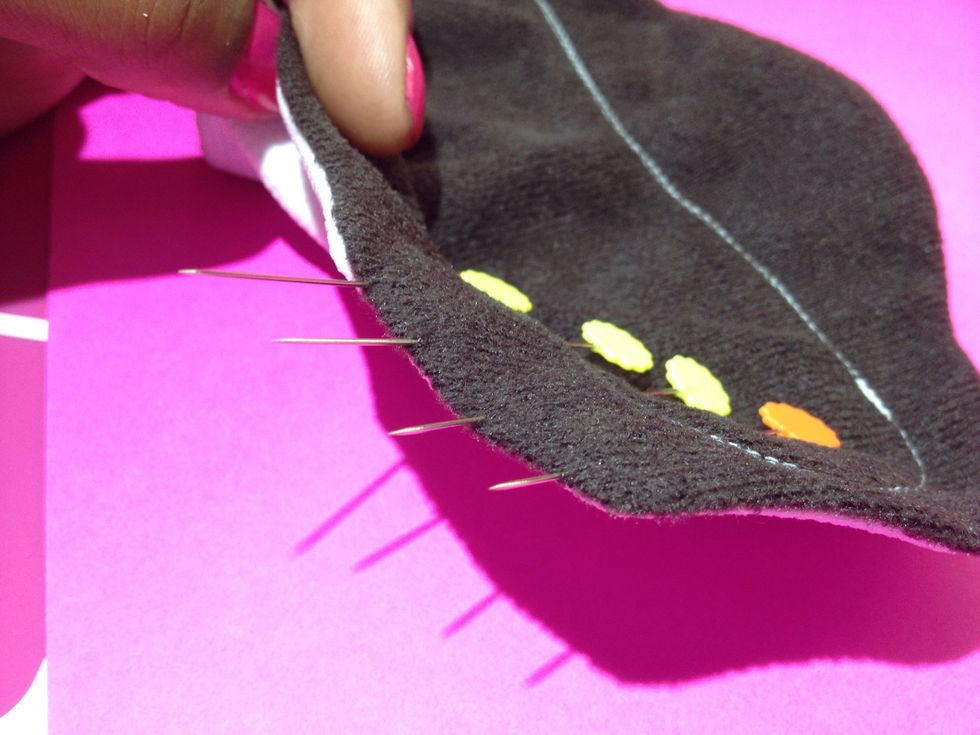
This is the hardest part for me, keeping the turning hole fabric turned in place to top stitch. I'm considering hand-sewing a basting stitch and removing it later on the next go round.
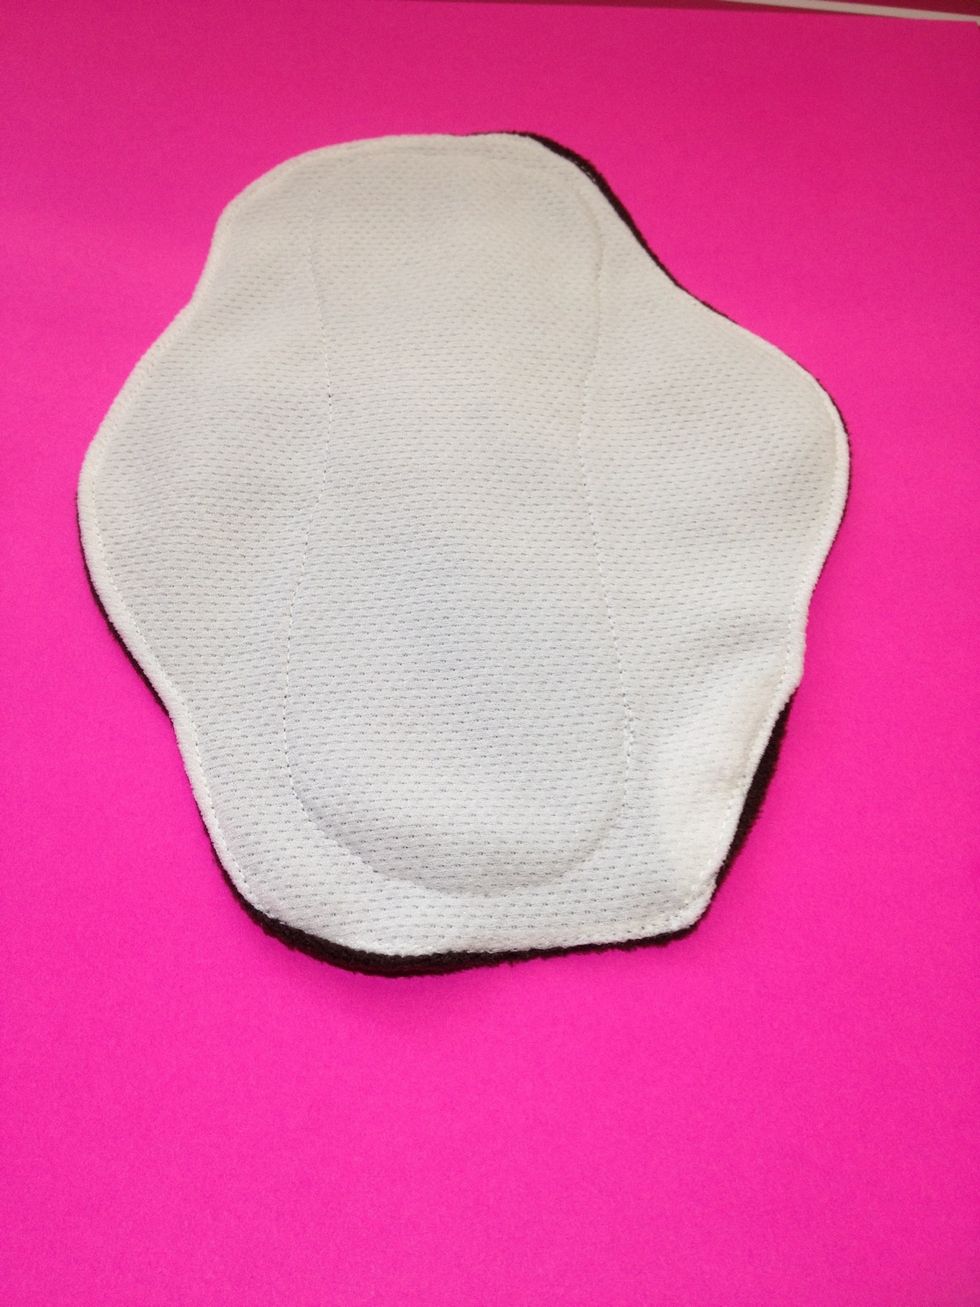
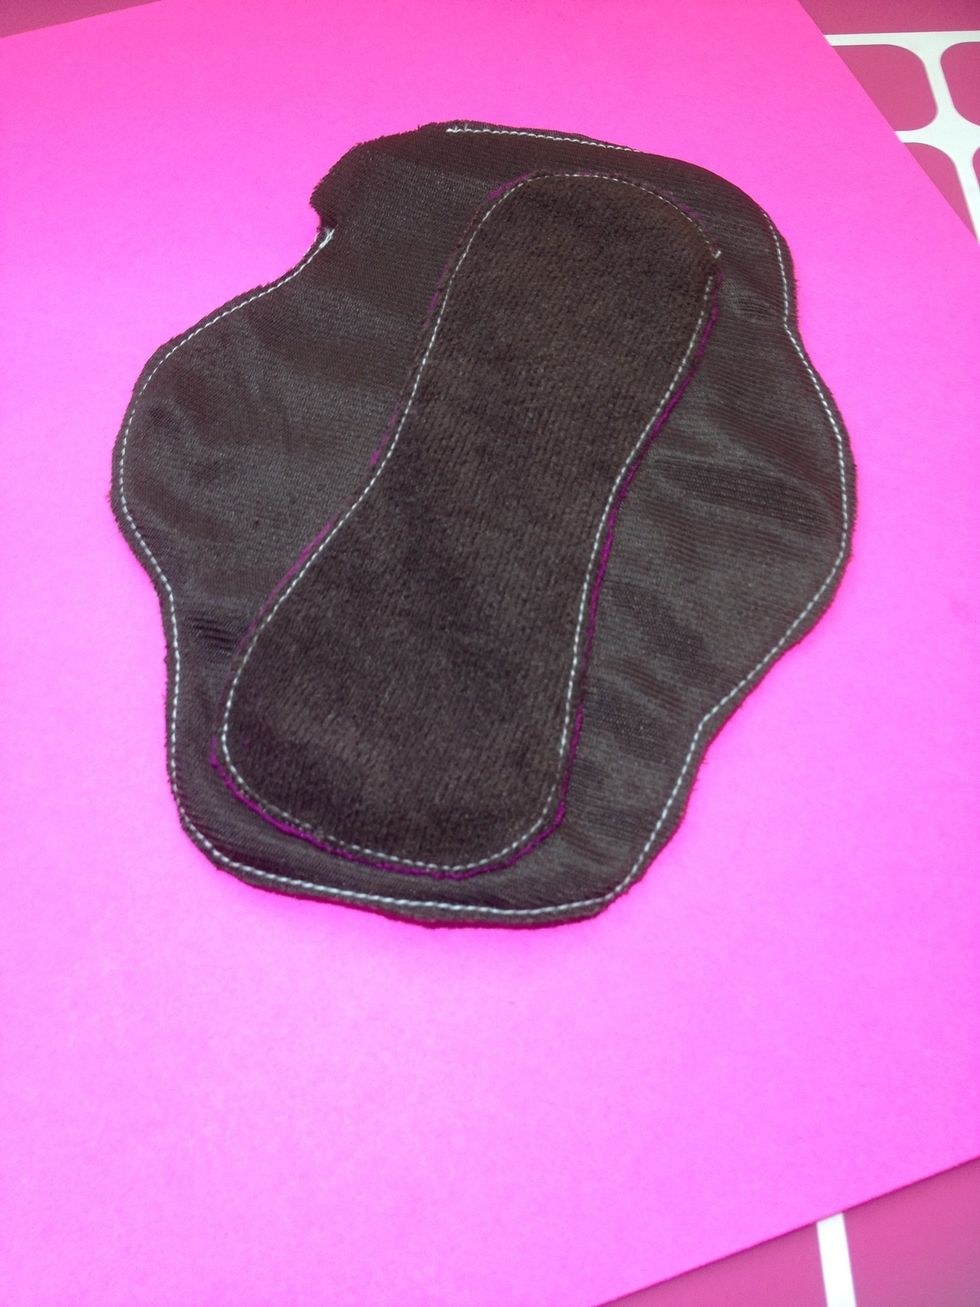
Top of pad after top stitching. Mesh-side of stay dry fabric is facing body. Contour inner is defined subtly by white stitching, which would also be subtle around edges if I was a better sewer!
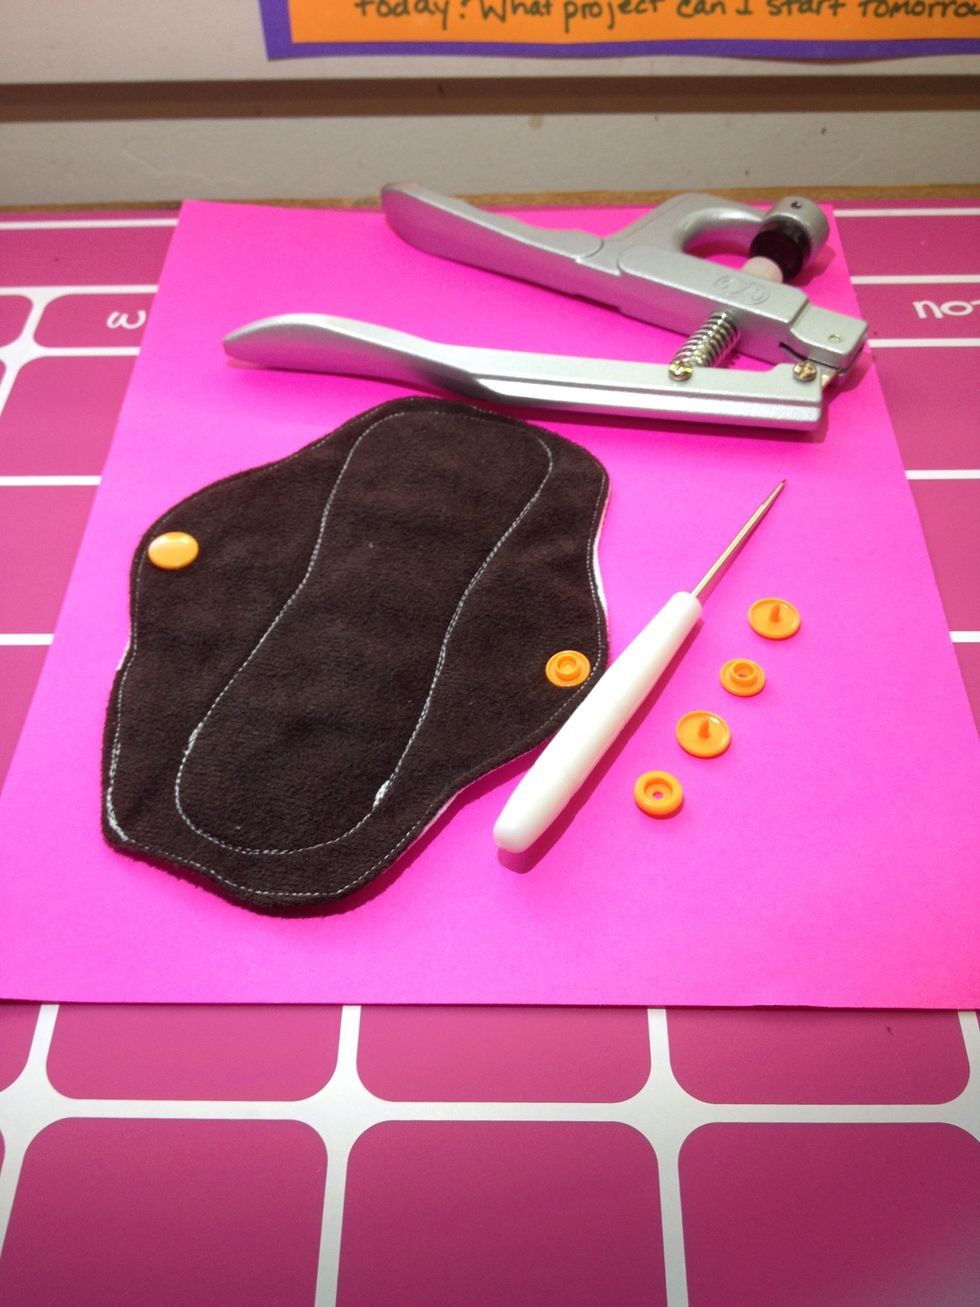
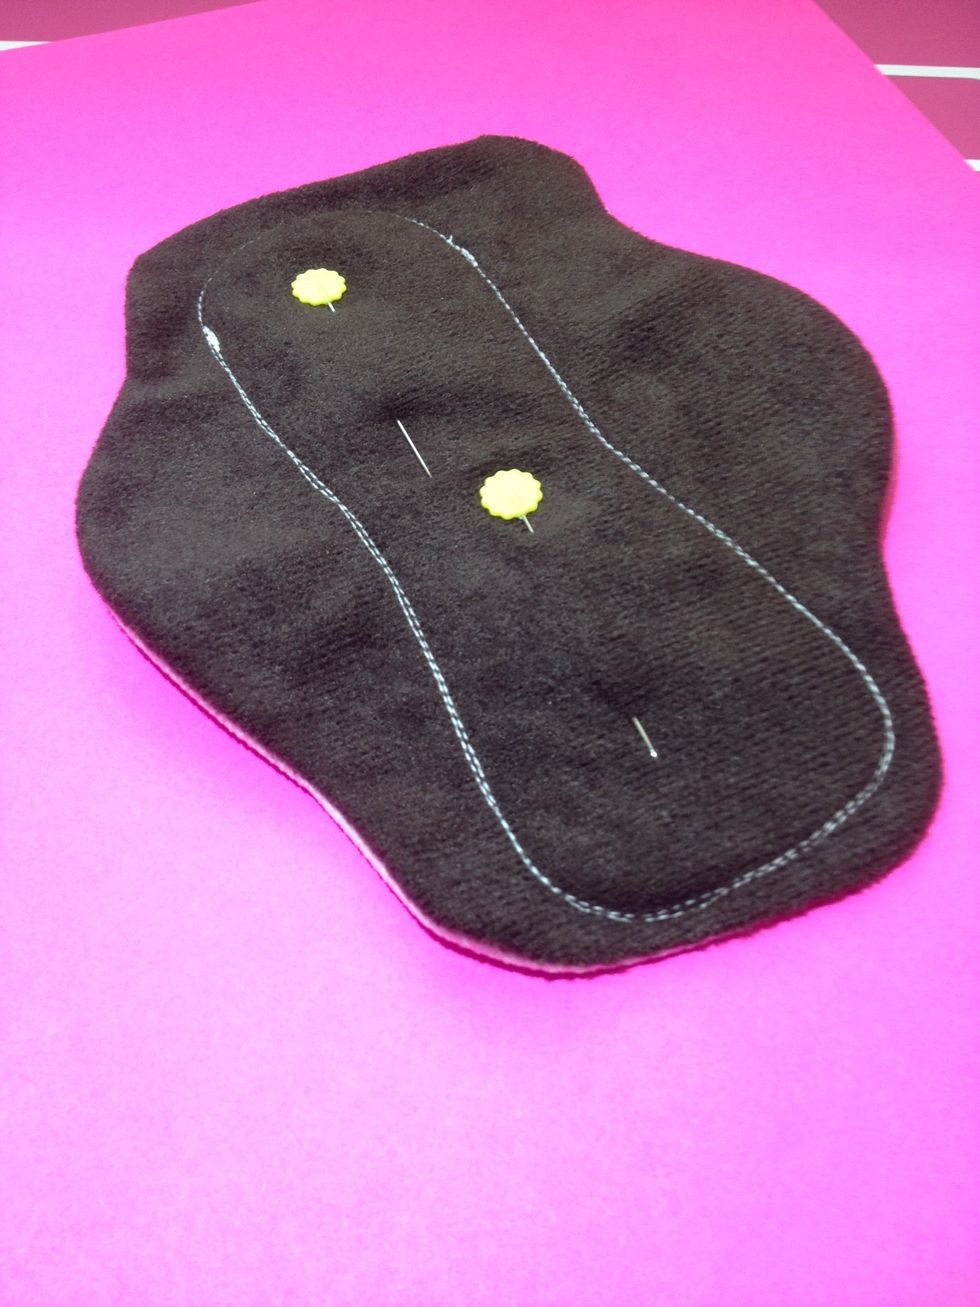
Bottom side of pad with orange snaps added to wings. Included snap parts needed, awl and pliers. The die is T5, which is a 20 size snap (maybe 16?). Buttons, metal snaps and velcro are all options.

Seeing these pads from all angles and adjustments is useful if you've never seen them at work before. I love how they fold up into tiny discrete packages! The possibilities are endless. Happy periods!