The Conversation (0)
Sign Up

The things you will need: scissors, a toilet paper roll, a glue stick, and any color paper you would like.
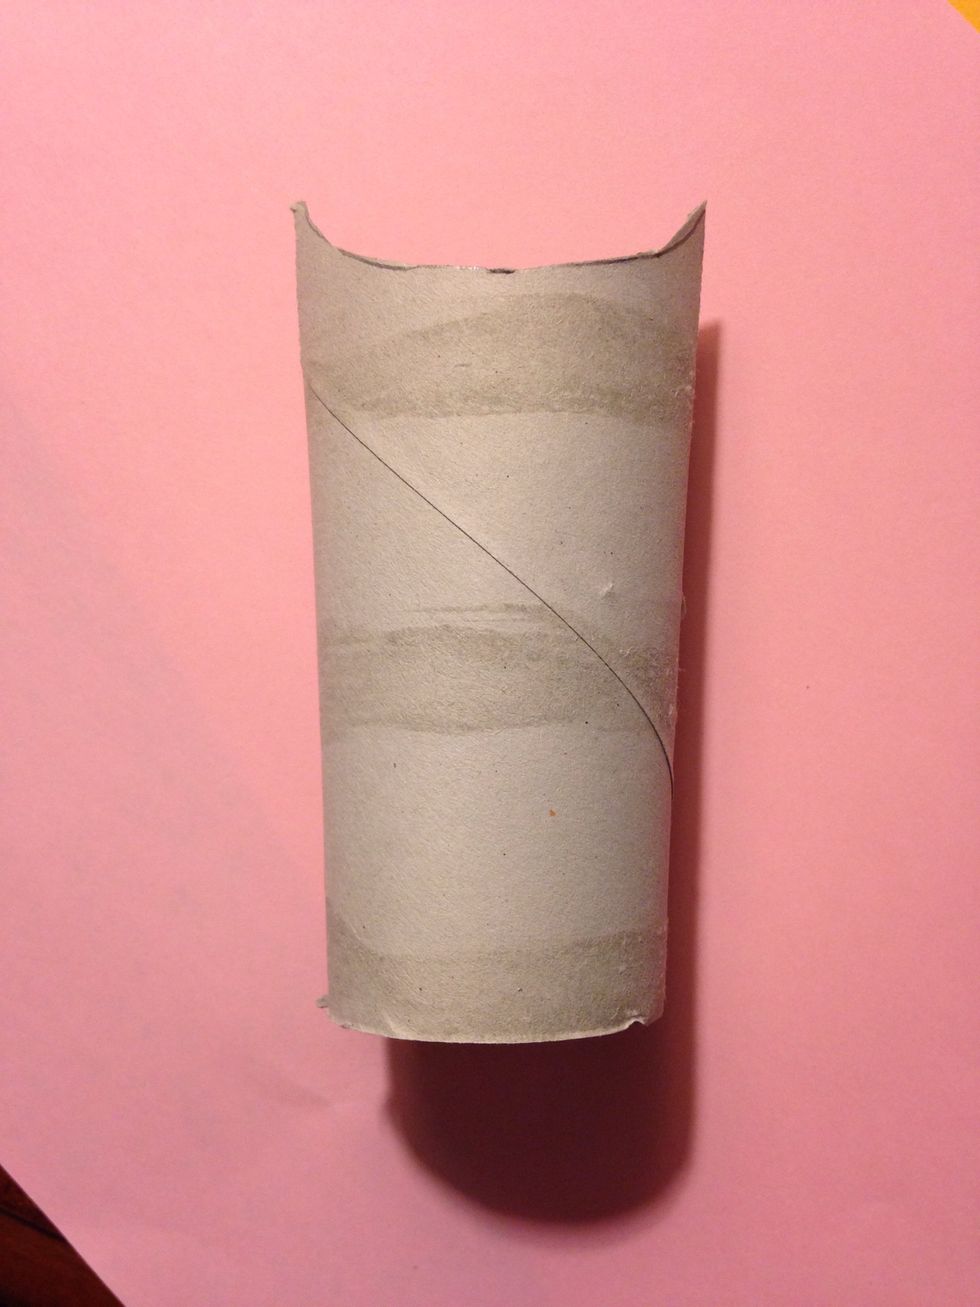
Start with folding the top and cut the cardboard into a moon shape.
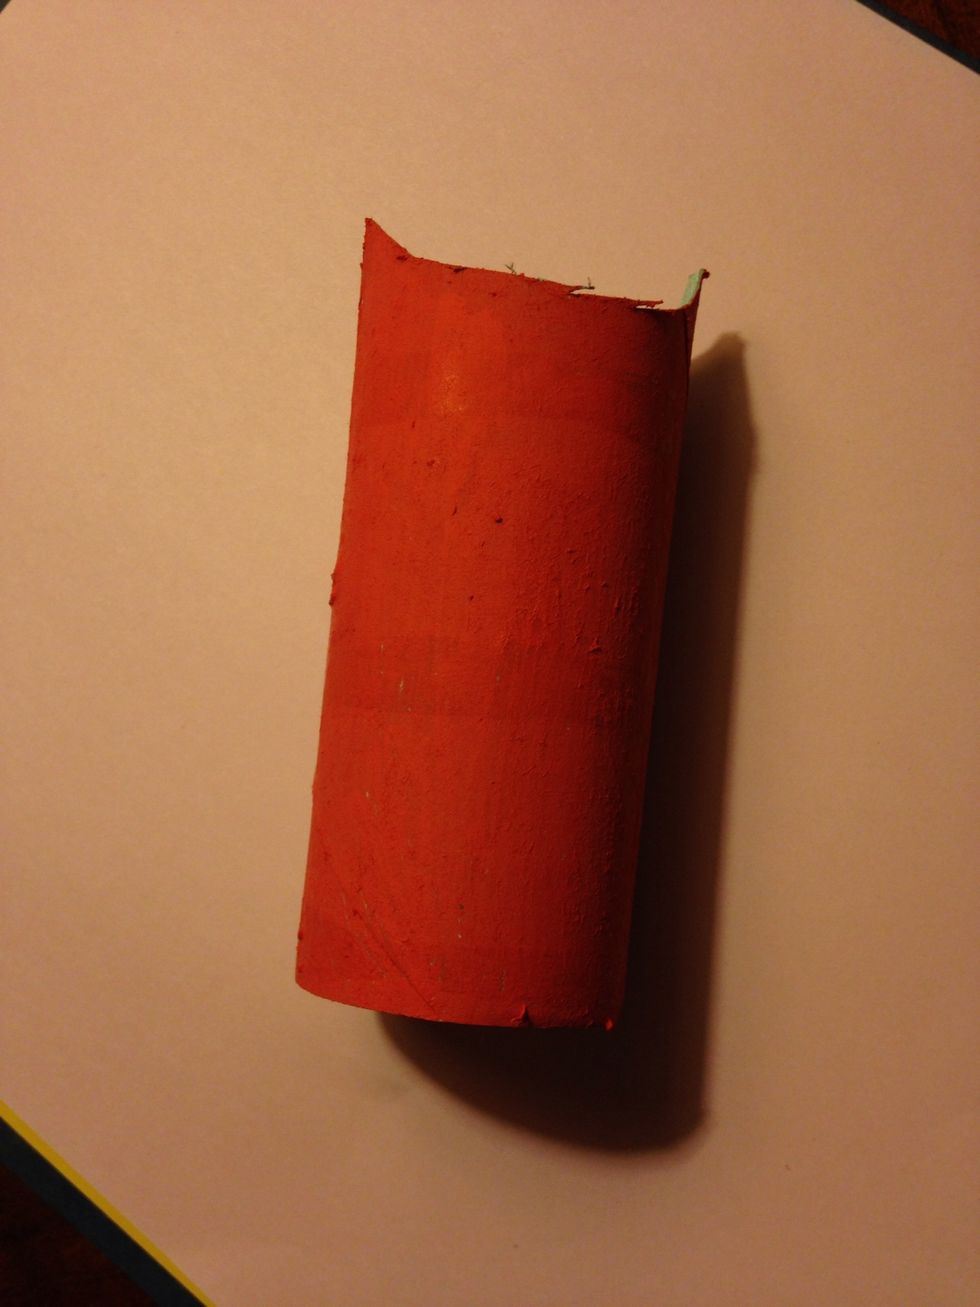
Add whatever color to the cardboard you would like. Use fabric, or take it the easy way out and color it like me. 😊

Take the 2 moon shaped pieces and hot glue or use the original Elmer's glue.
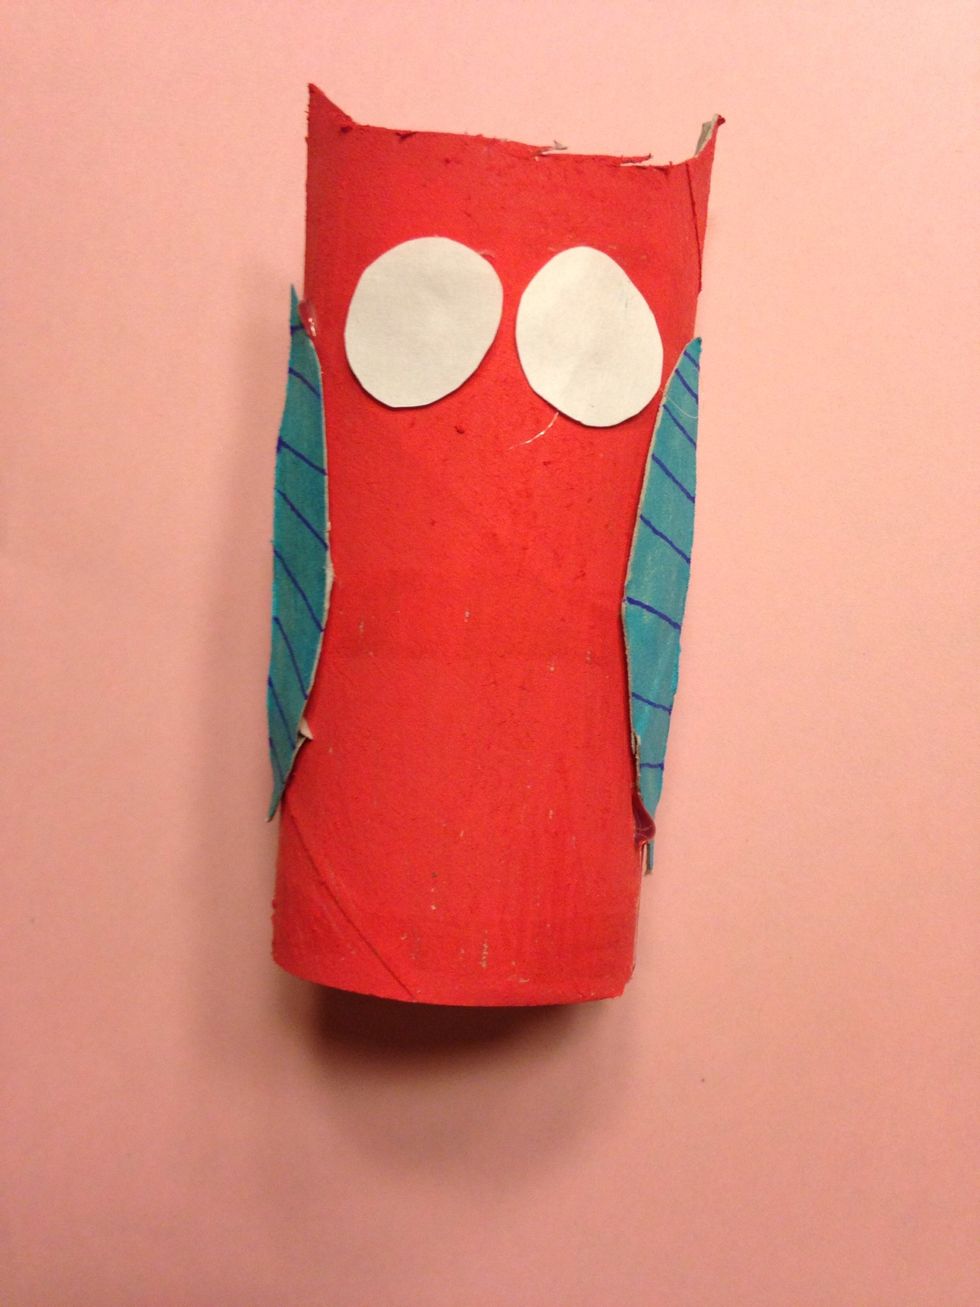
Then color the moon shape pieces and glue on 2 white circles for the eyes.
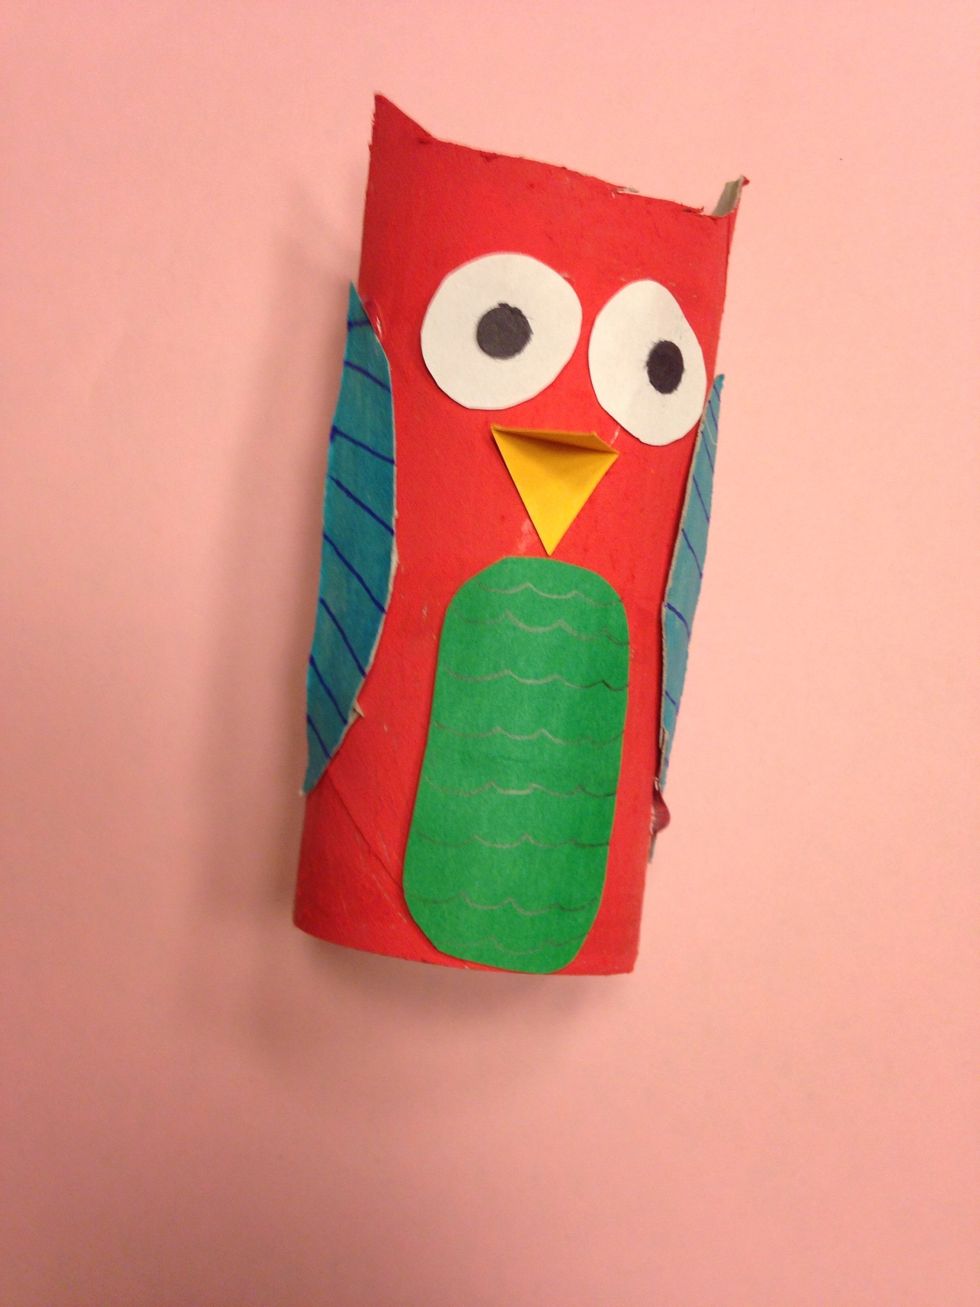
Then add a black pupil made out of a hole puncher and glue them onto the white part of the eye. Then cut out a diamond shape for the nose. Then cut out and oval shape for the feathers on the stomach.
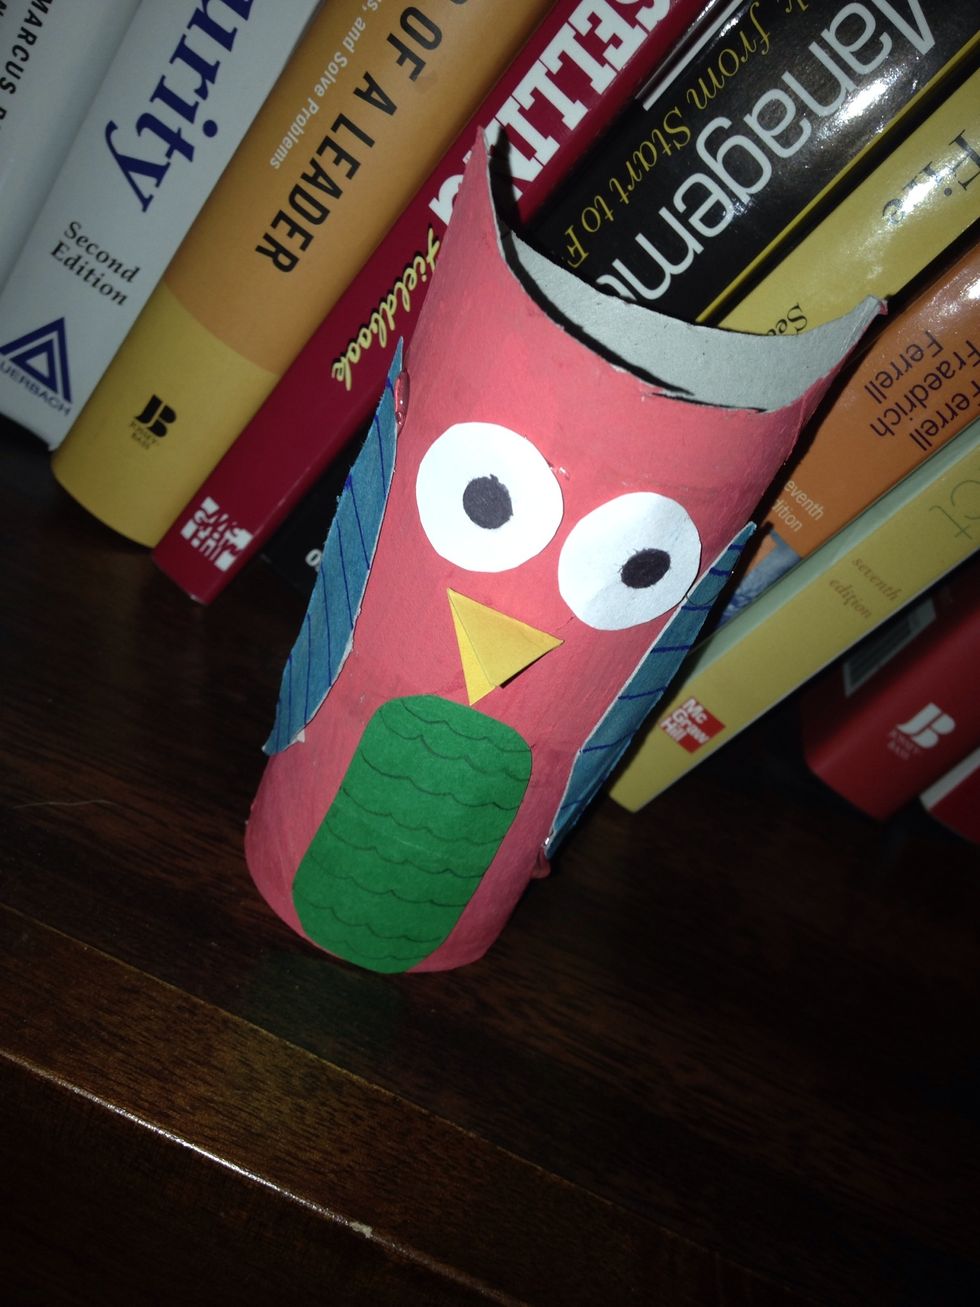
Now your done! You could use this for a pencil holder, or just for decoration. Enjoy your cute and fears owl, take good care of it!