The Conversation (0)
Sign Up
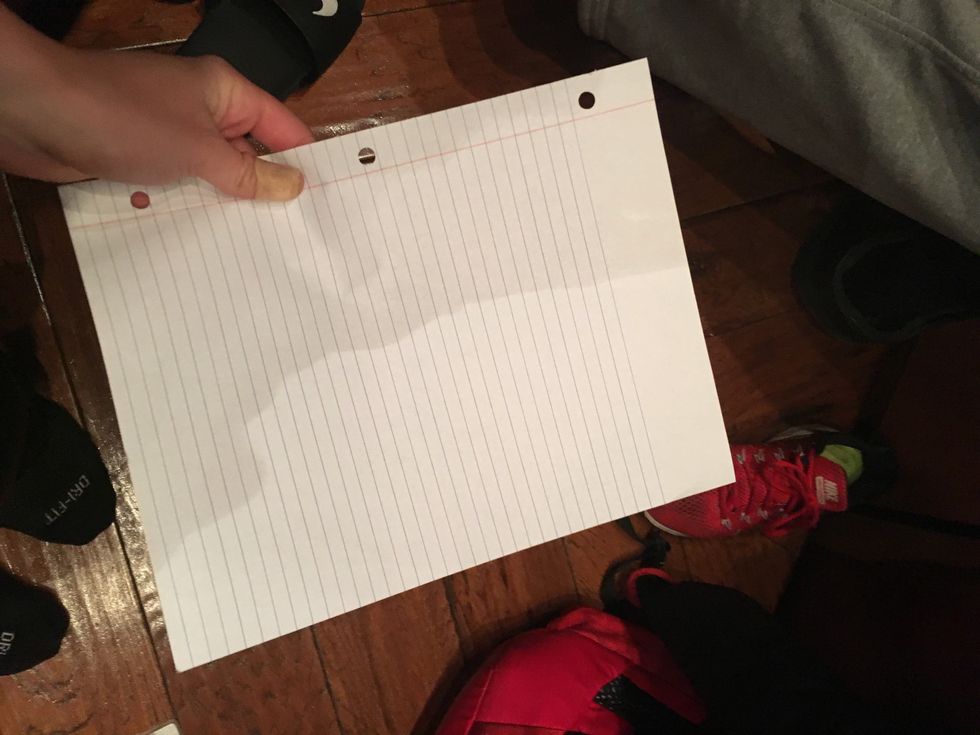
Begin by selecting any type of paper. Here I have chosen a lined piece of notebook paper.

If a lined piece of notebook paper is selected, cut along the red line until the holes of the paper are no longer seen (pictured here).
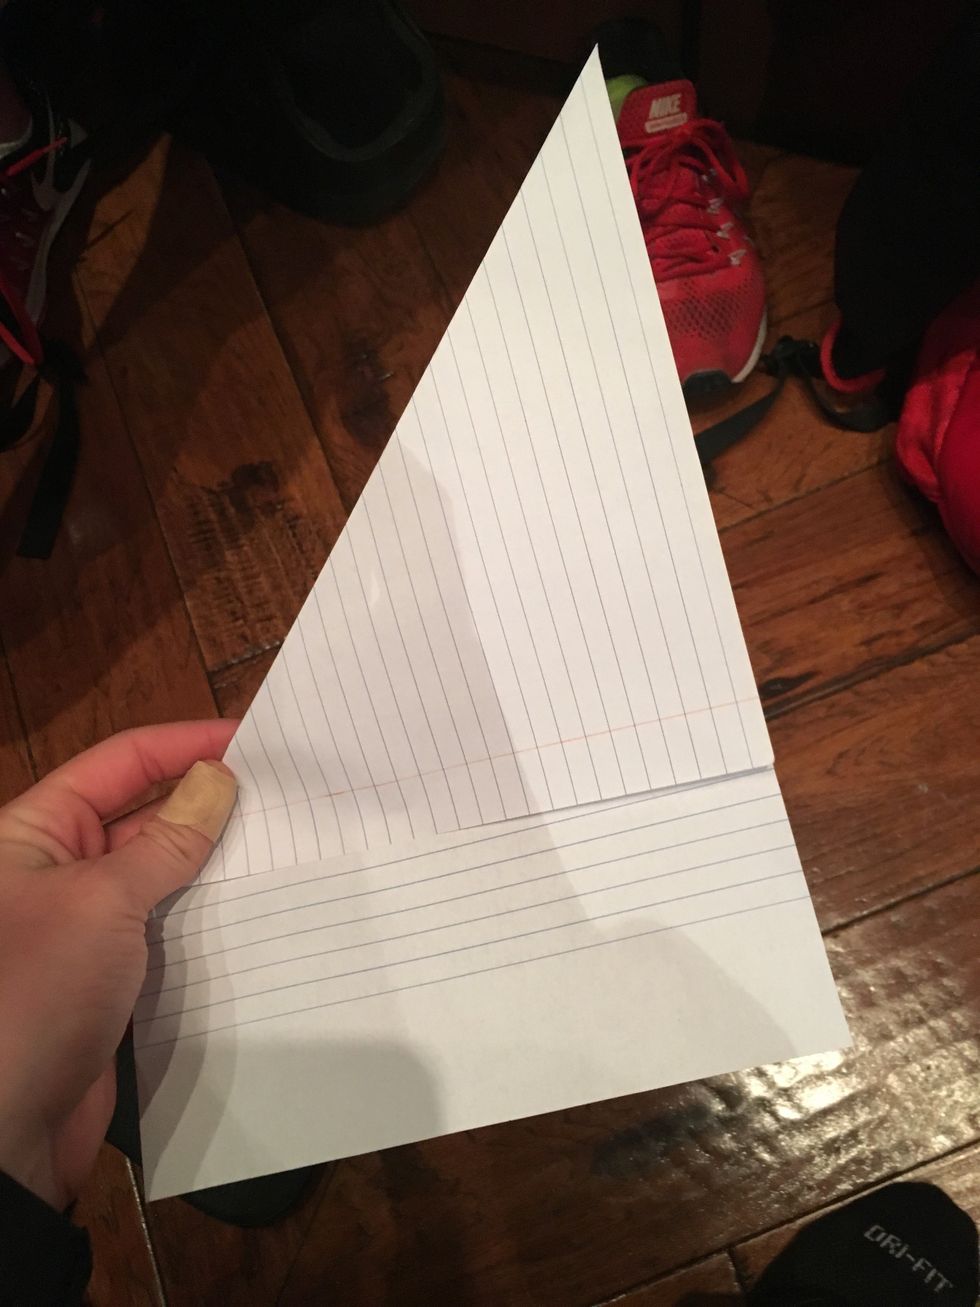
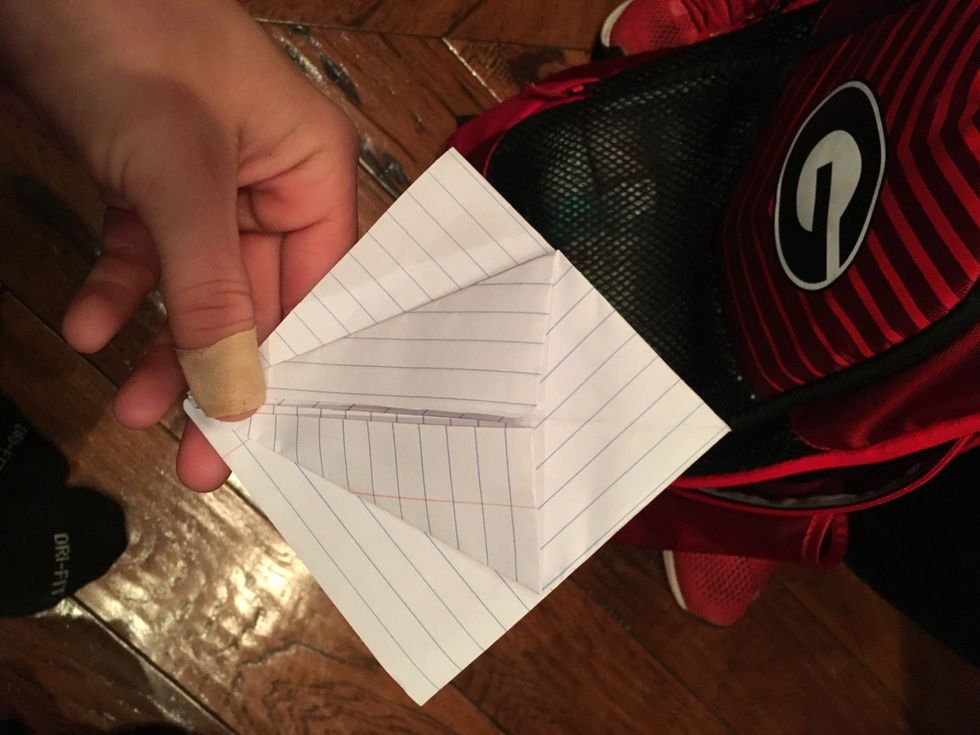
In order to make an even square, fold the paper in half so there are two even triangles and a blank section below.
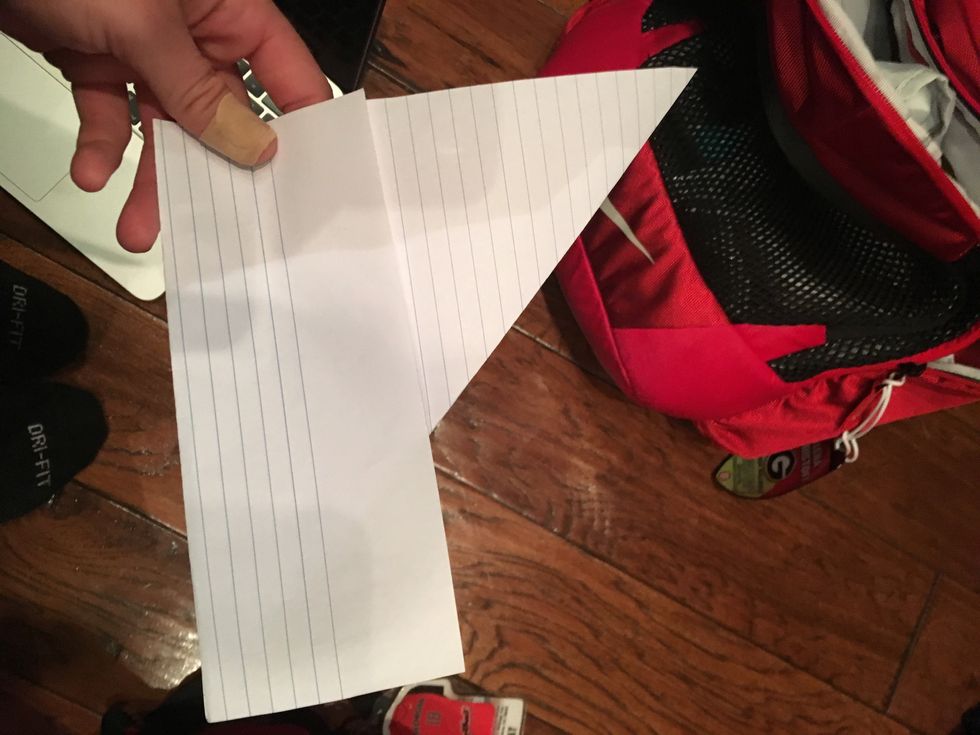
This step is a bonus step. You may fold the blank section so there is a crease or merely cut it off. The choice is yours.

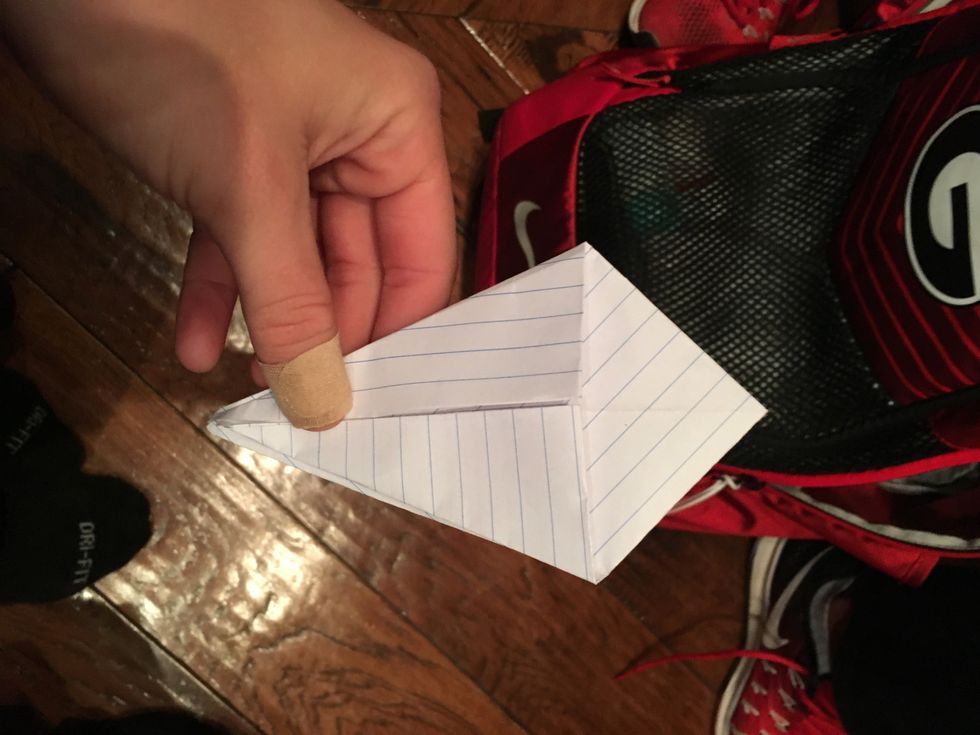
Remove the blank section so the triangles are perfectly even and there is nothing remaining on the bottom.

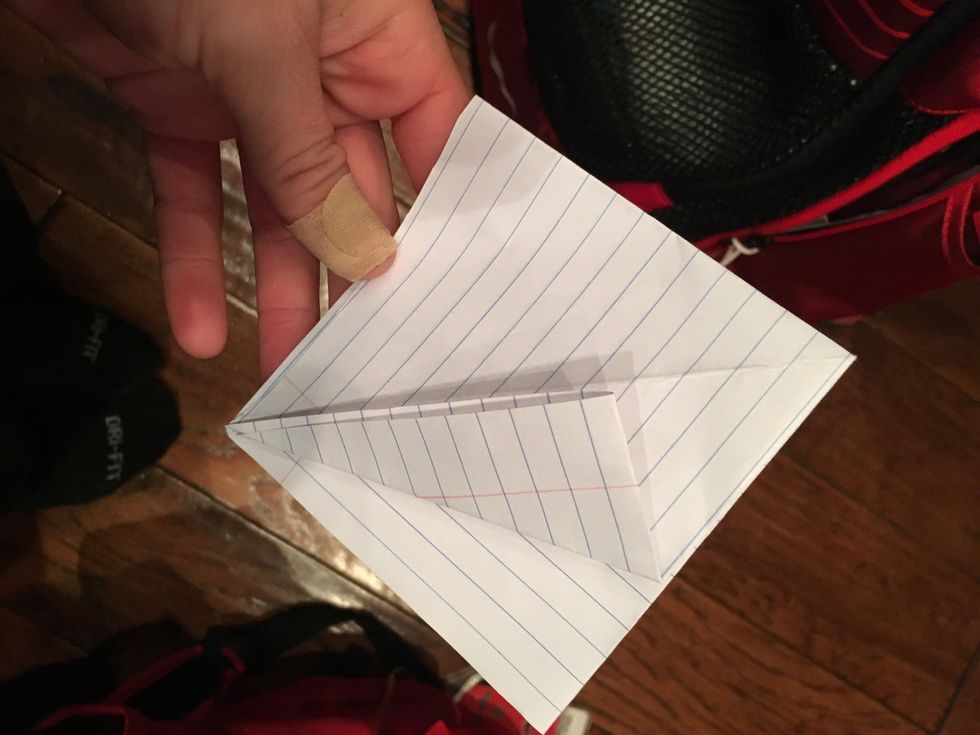
This step merely shows what the folded triangle should look like.

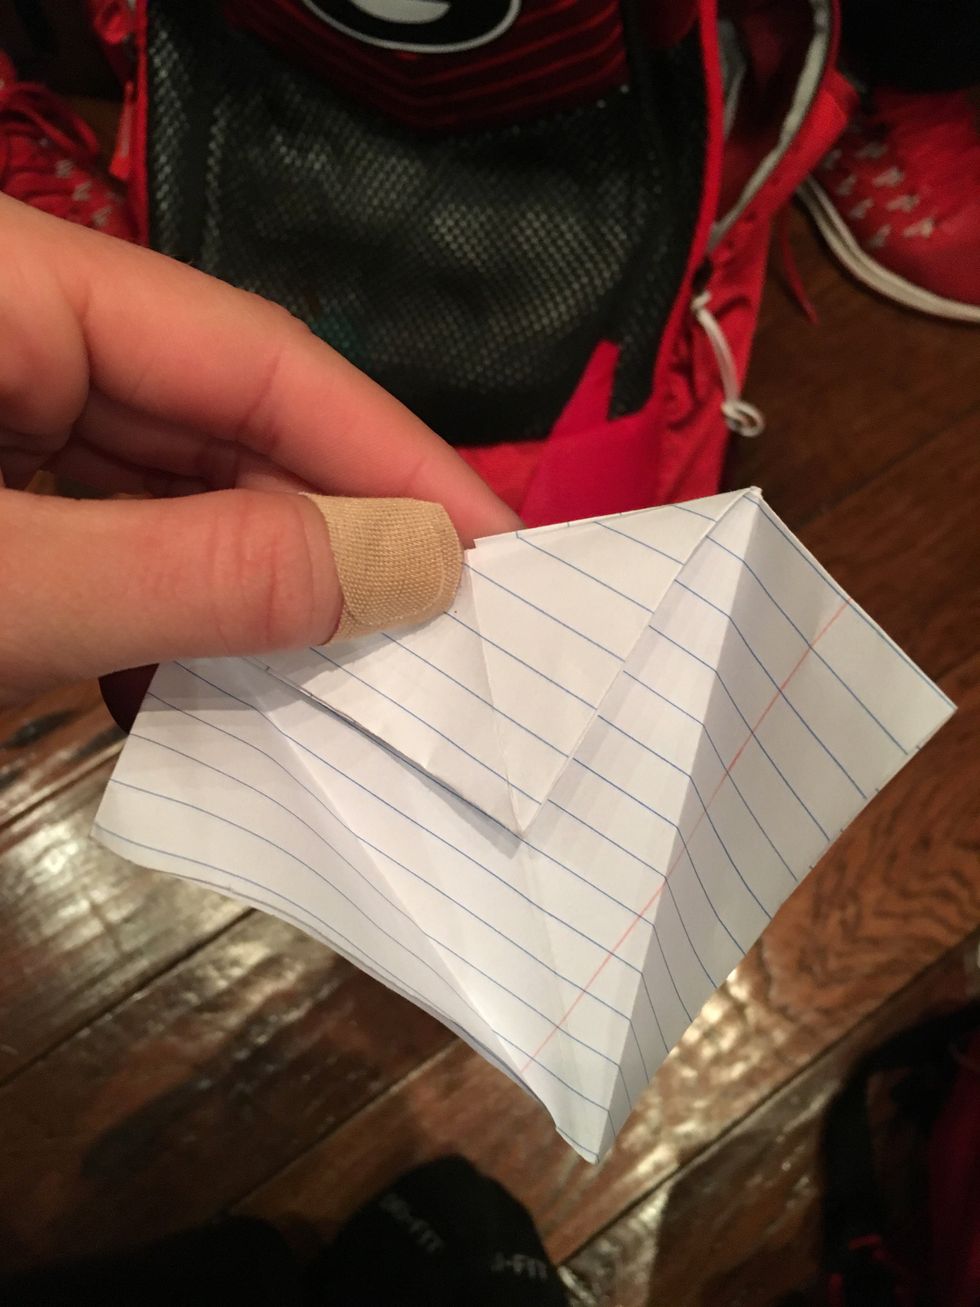
Take one corner of the triangle and fold it so there appears to be a square (the same process as completed earlier) on one half and a triangle on the other. Once finished, unfold all together.
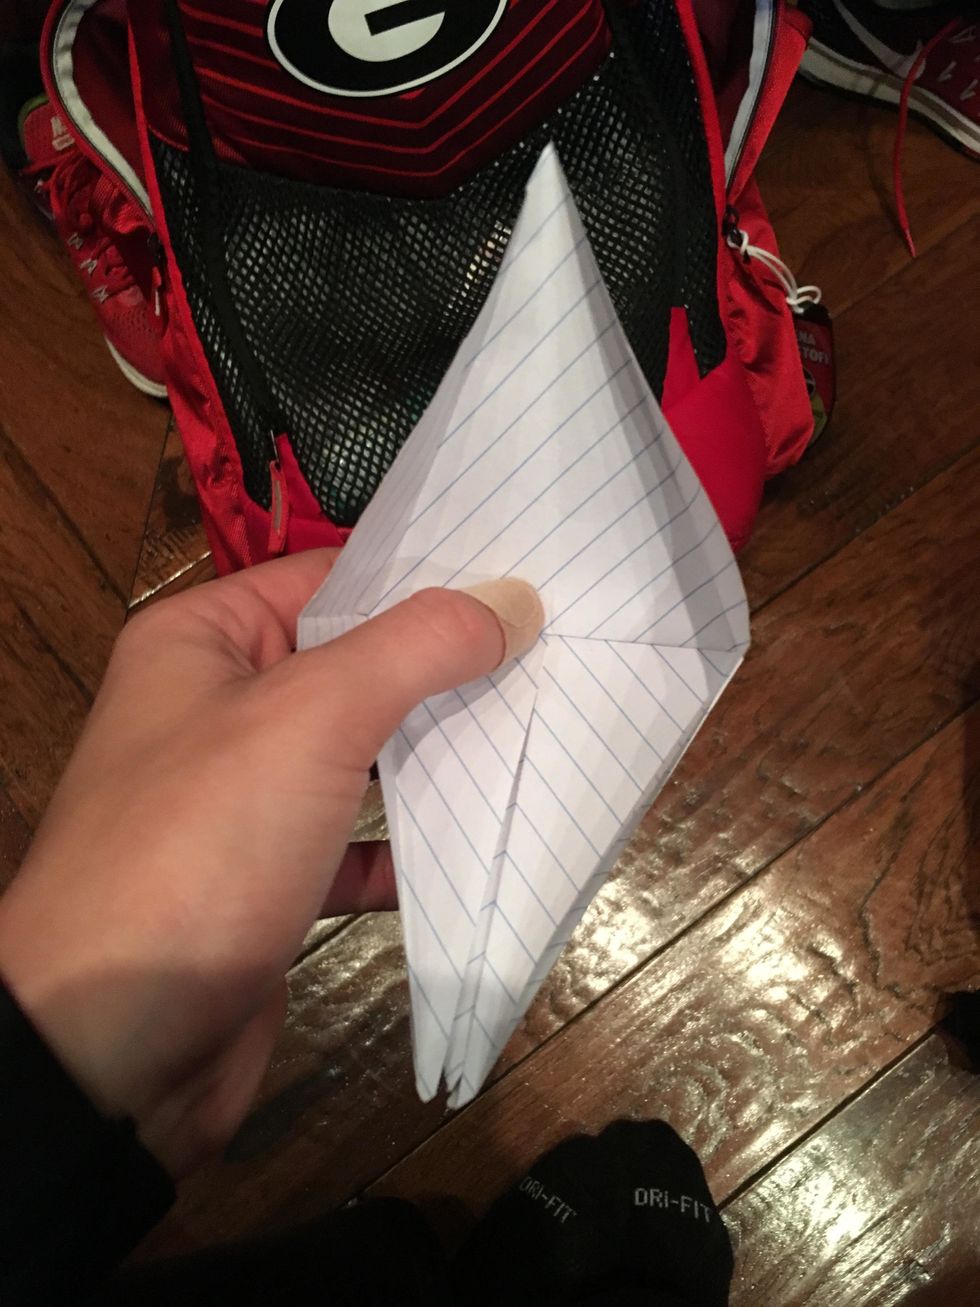
Take one edge of the square and fold it so that a triangle is created that stays inline with the center crease.
Repeat step 8 with the other half.
Flip the square over and repeat steps 8 and 9 (all while leaving the other side folded still).

Take the section above the double-sided triangles and fold it flat against both sides. First one side, then the other.
Unfold the larger triangles on both sides, but keep the smaller triangle pressed against one side or the other. It is your choice.
This step is quite tricky. Keeping the smallest triangle pressed flat against either side, unfold the opposite side of the paper and raise the larger triangles around the edges.
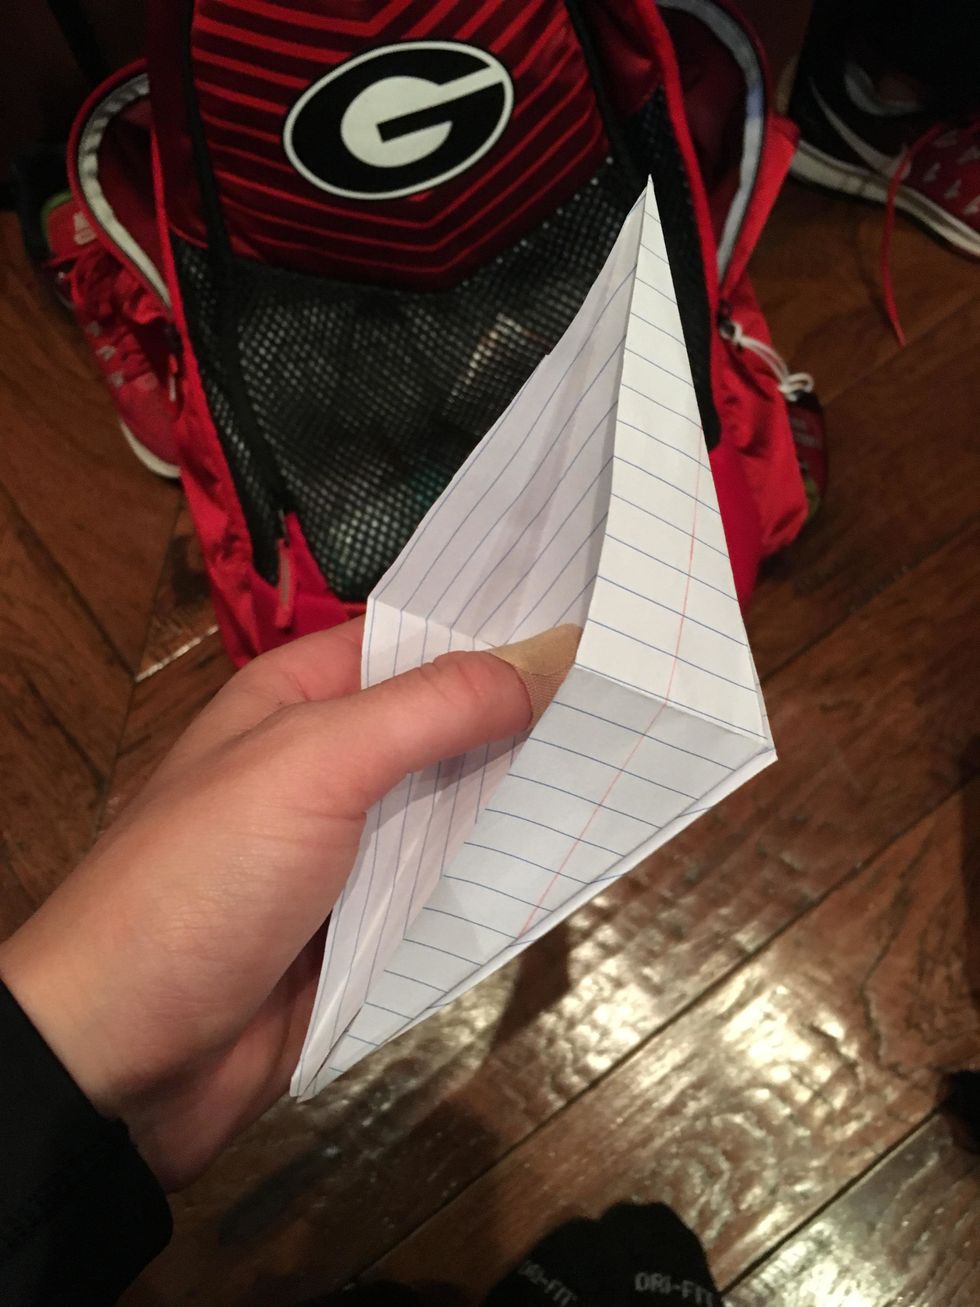
A side-view of step 13. The shape almost appears to be a boat.
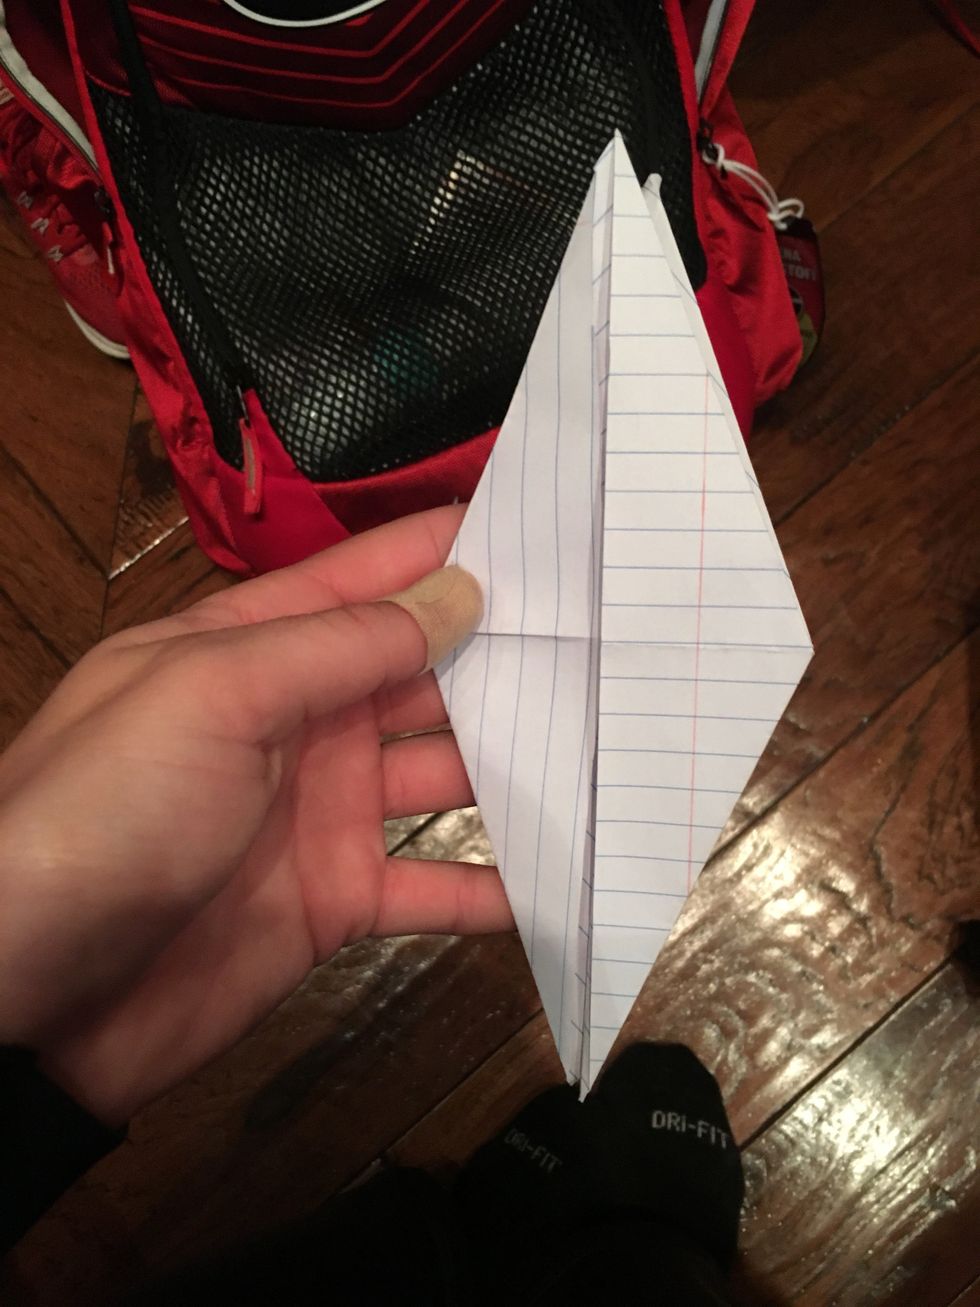
Using the side that has remained flat, now unfold the larger triangles and raise the edges so the "boat shape" appears here as well.
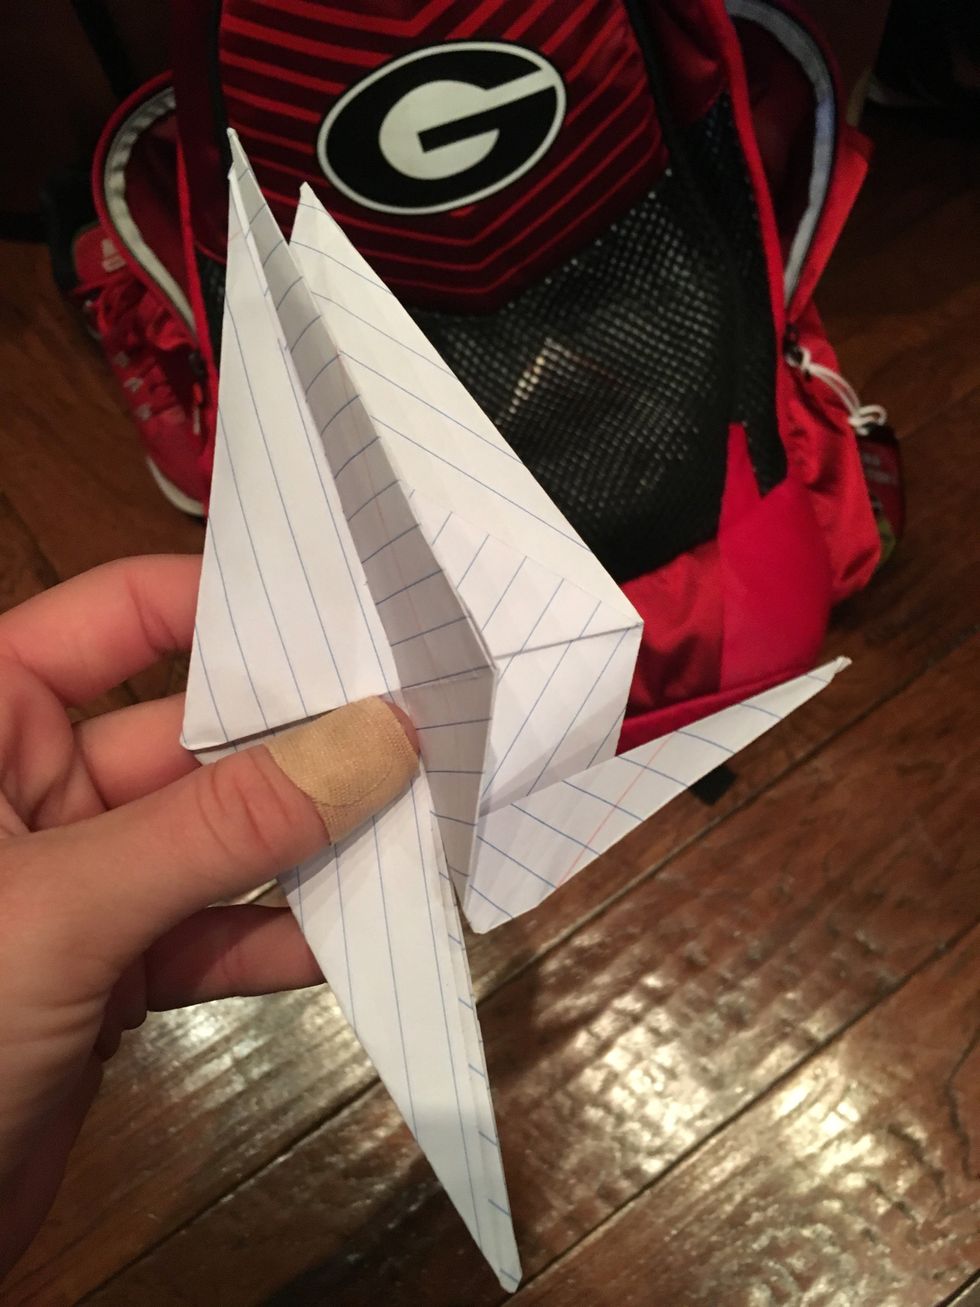
Whichever side of the shape that has a split through the middle will be the one the head and tail are created with. Pull the tip of each triangle half upward and bend them at the angle of your choice.

Another view of the first folded side (whether head or tail).
A view of both folds completed. Now you will select one to be the head and one to be the tail.
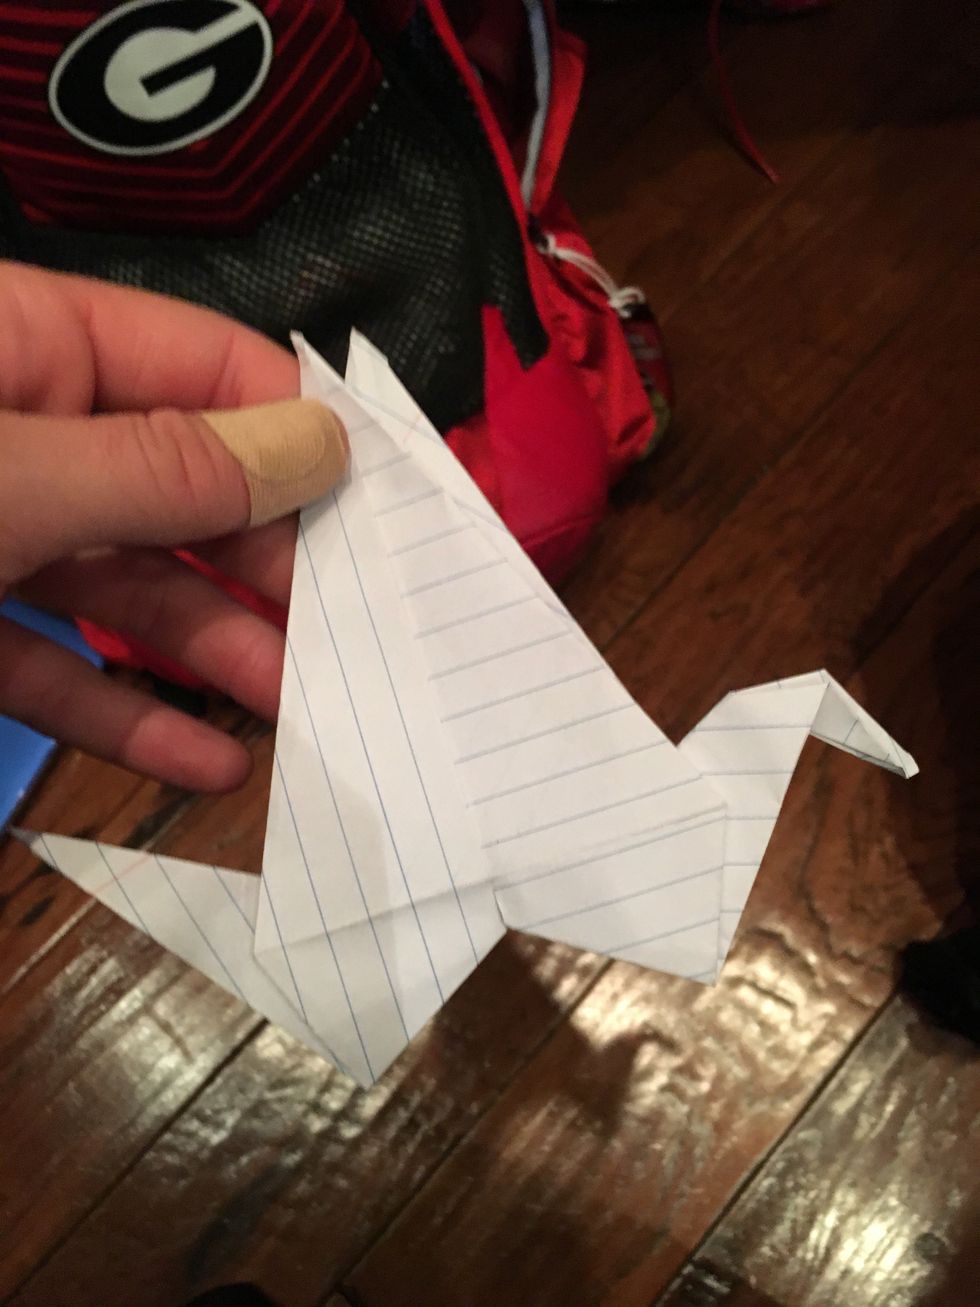
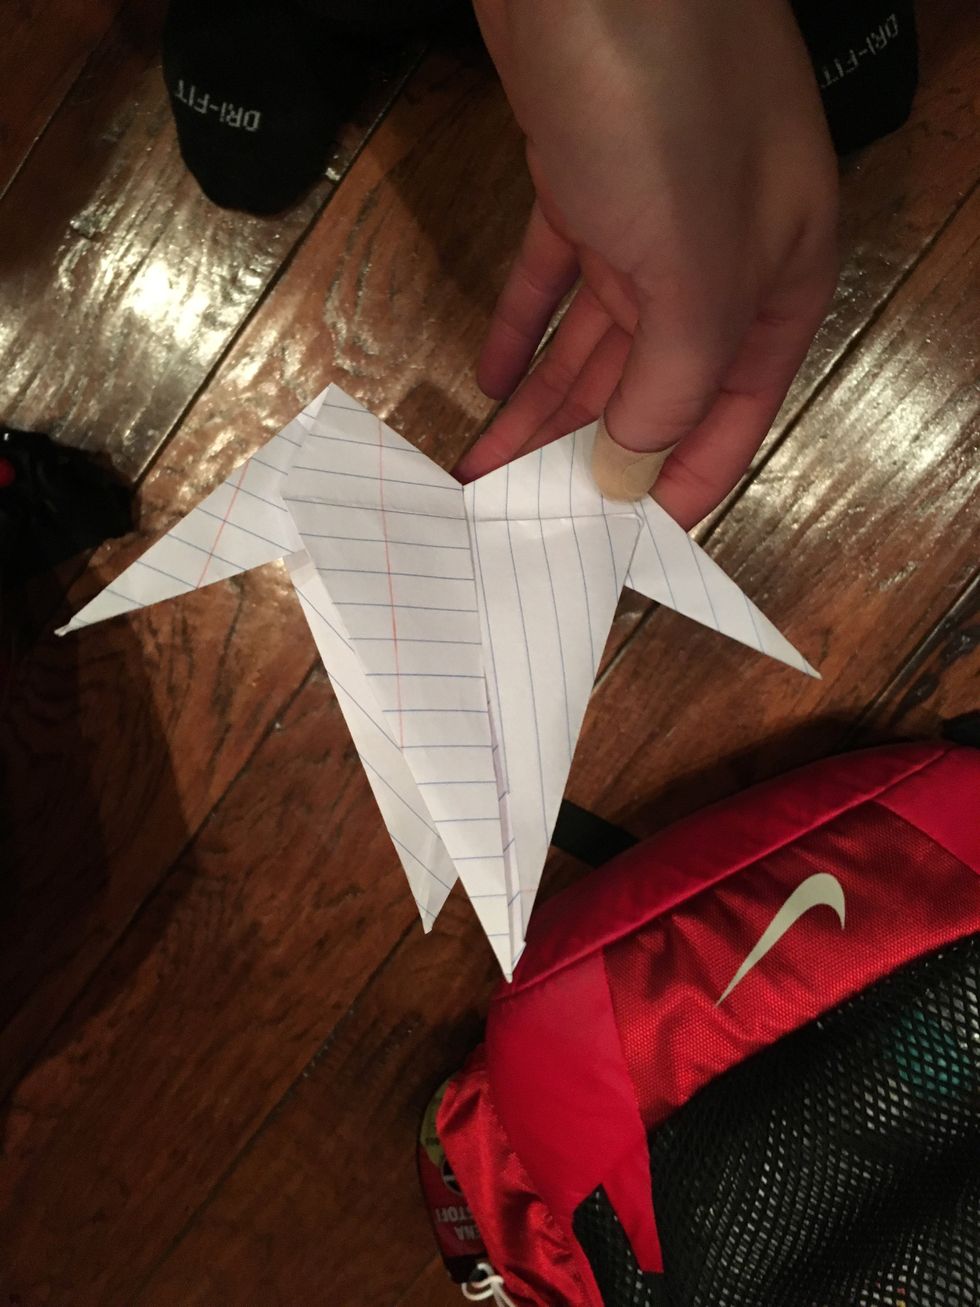
Bend the tip of the selected side mean to be the head of the swan so that an even smaller triangle exists as the head's shape.
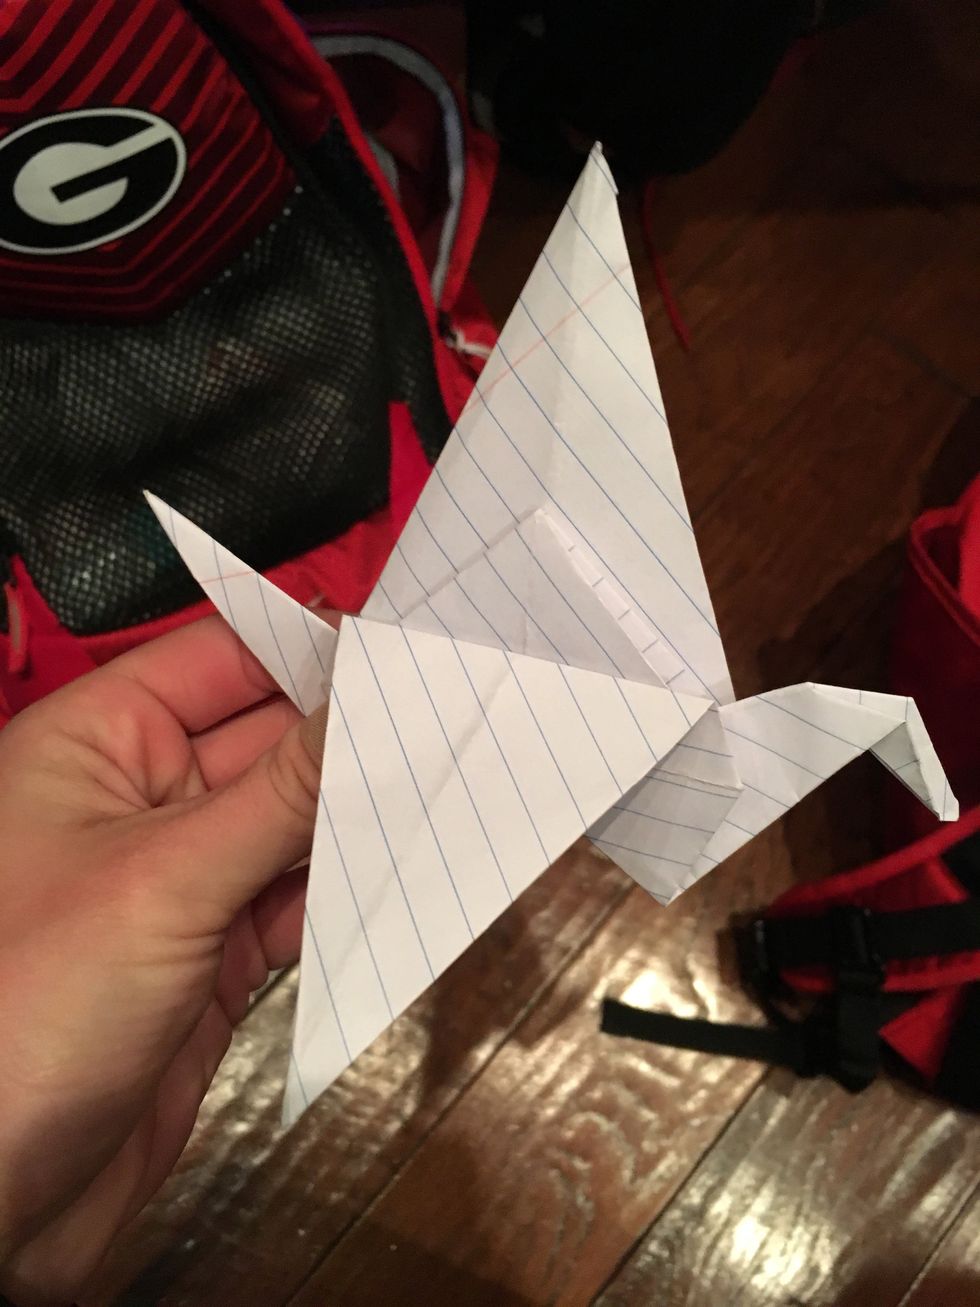
In the very center there are two of the largest triangles on the part. Separate them slightly as you wish so they become the swan's wings.

A completed origami swan.