The Conversation (0)
Sign Up
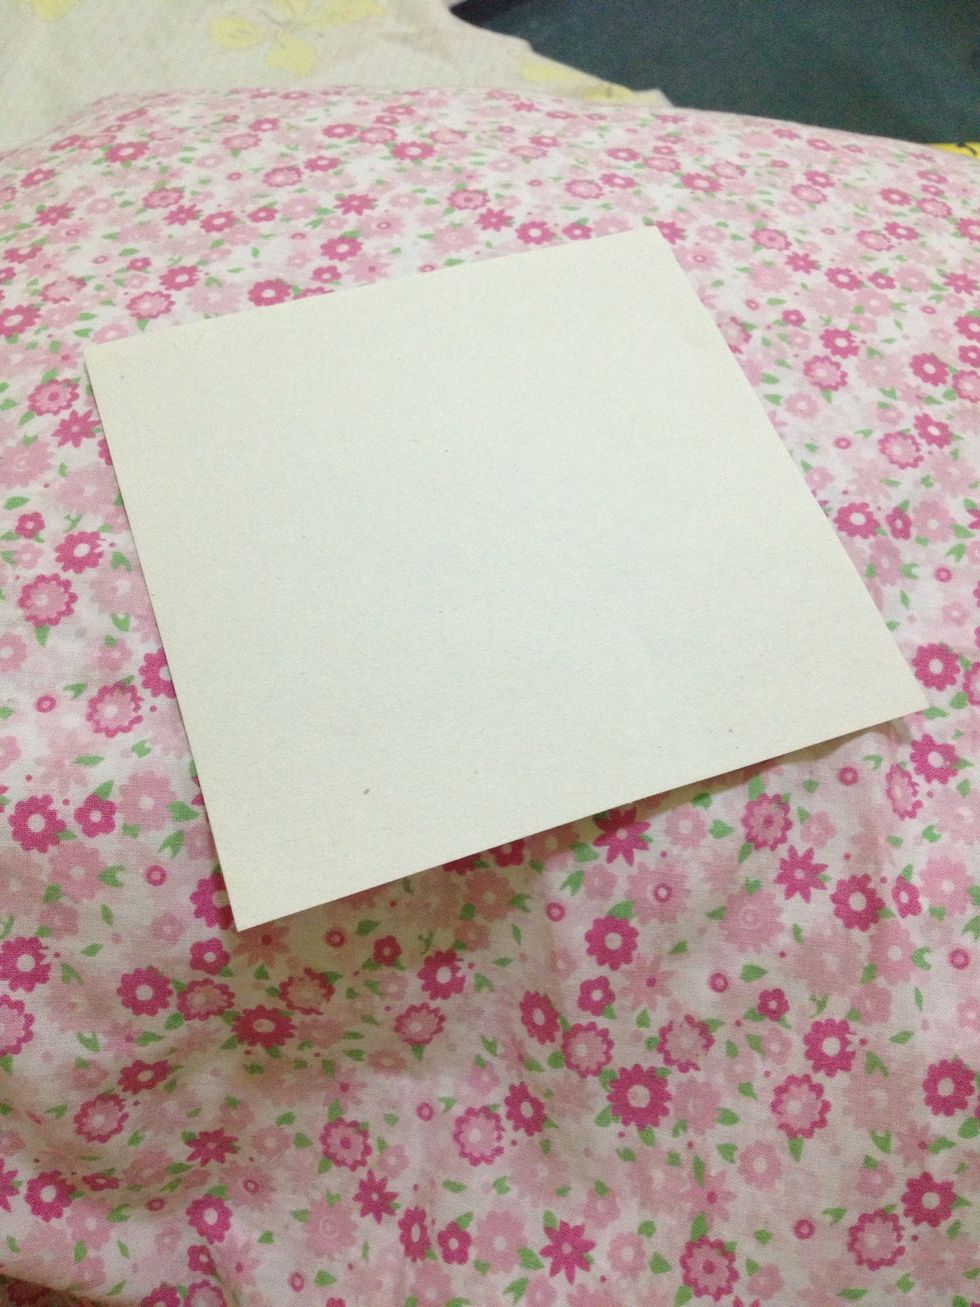
You'll need: Square colored paper. Any color of your choice.
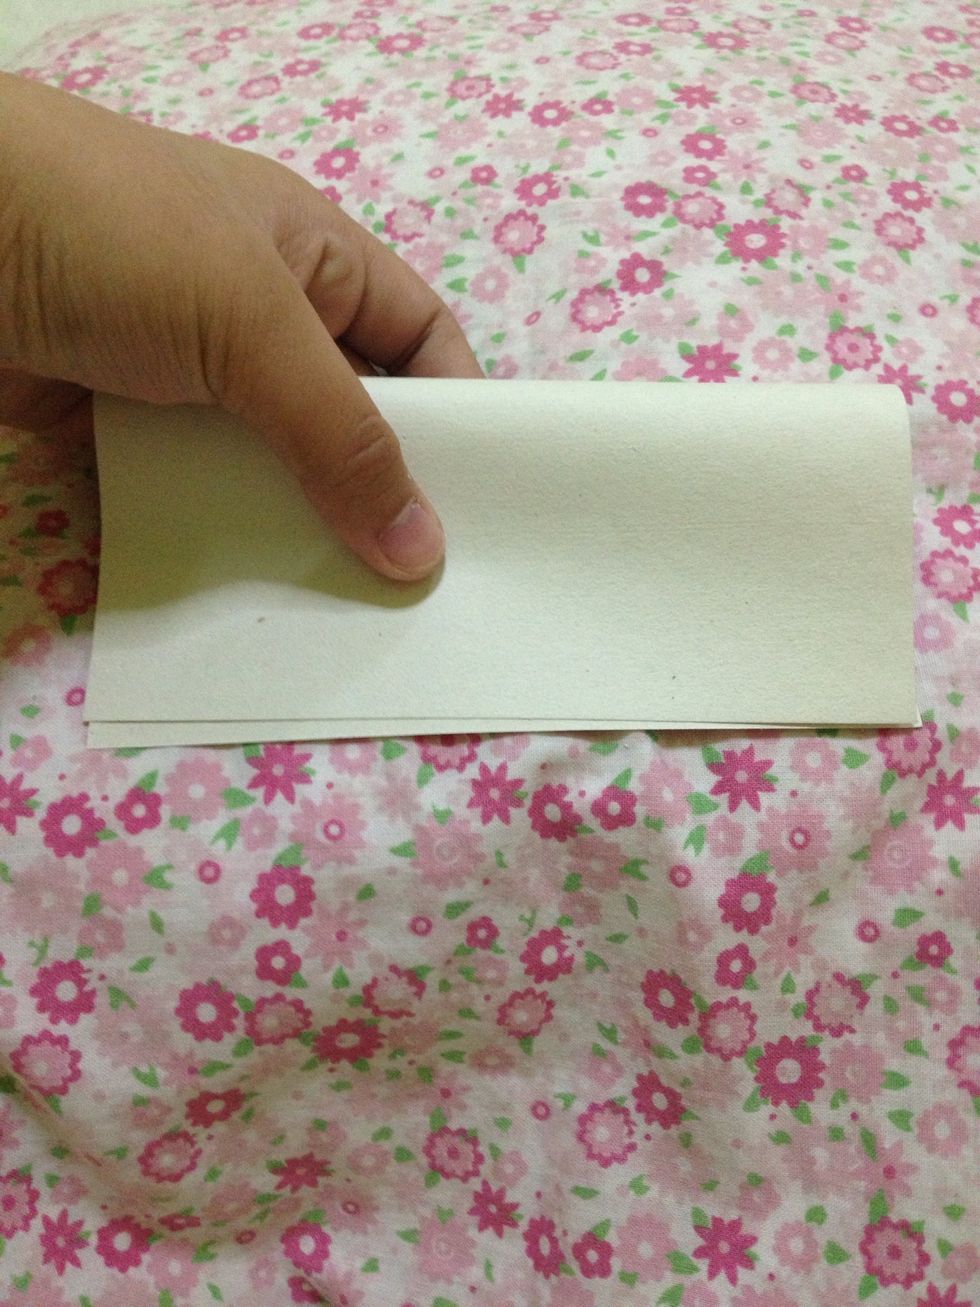
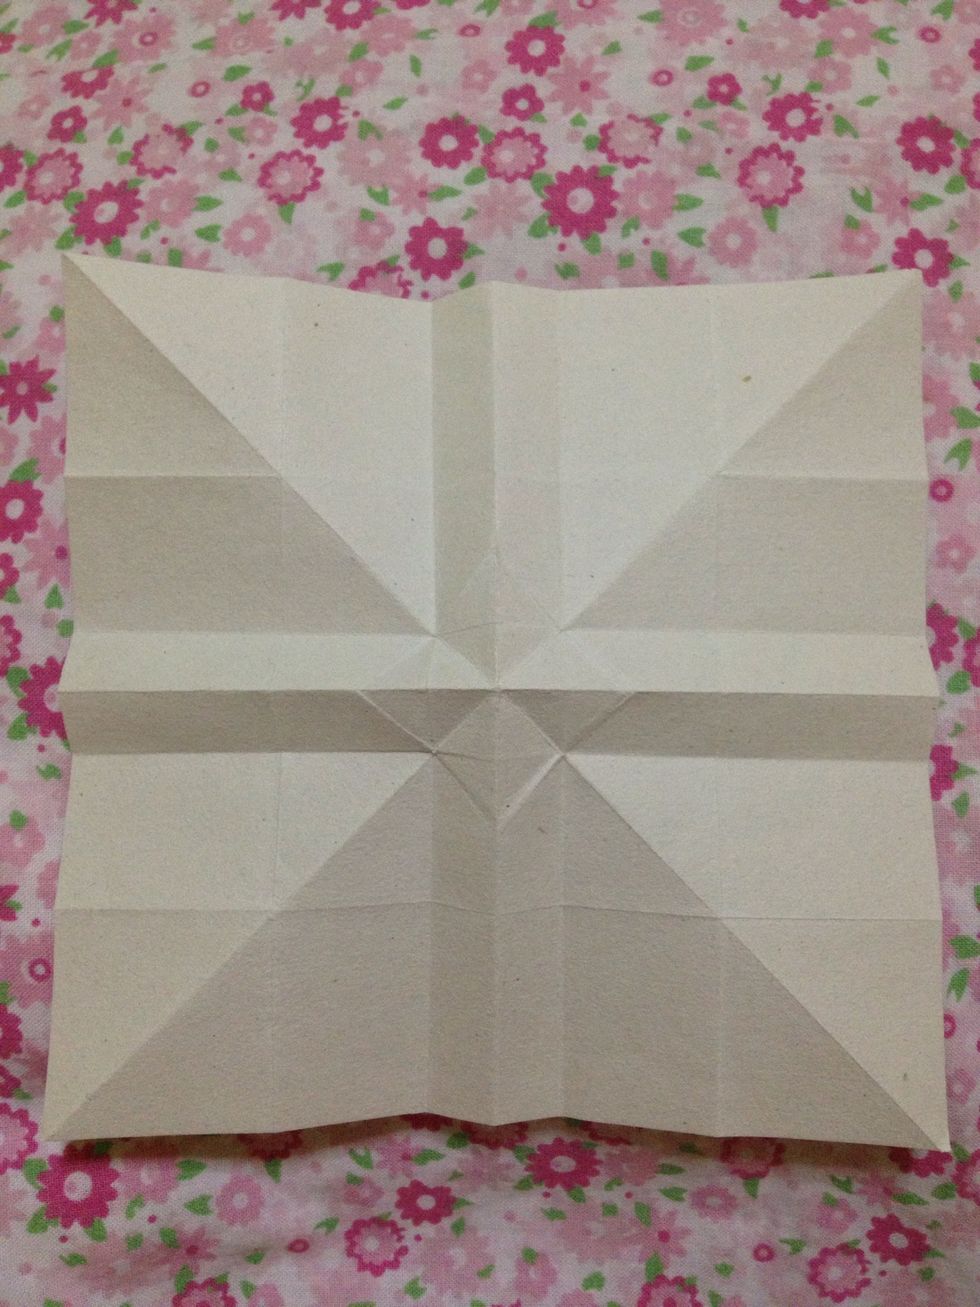
Fold it in half downward. Unfold.
Fold it in half sideways. Unfold.
Fold it diagonally to the left. Unfold.
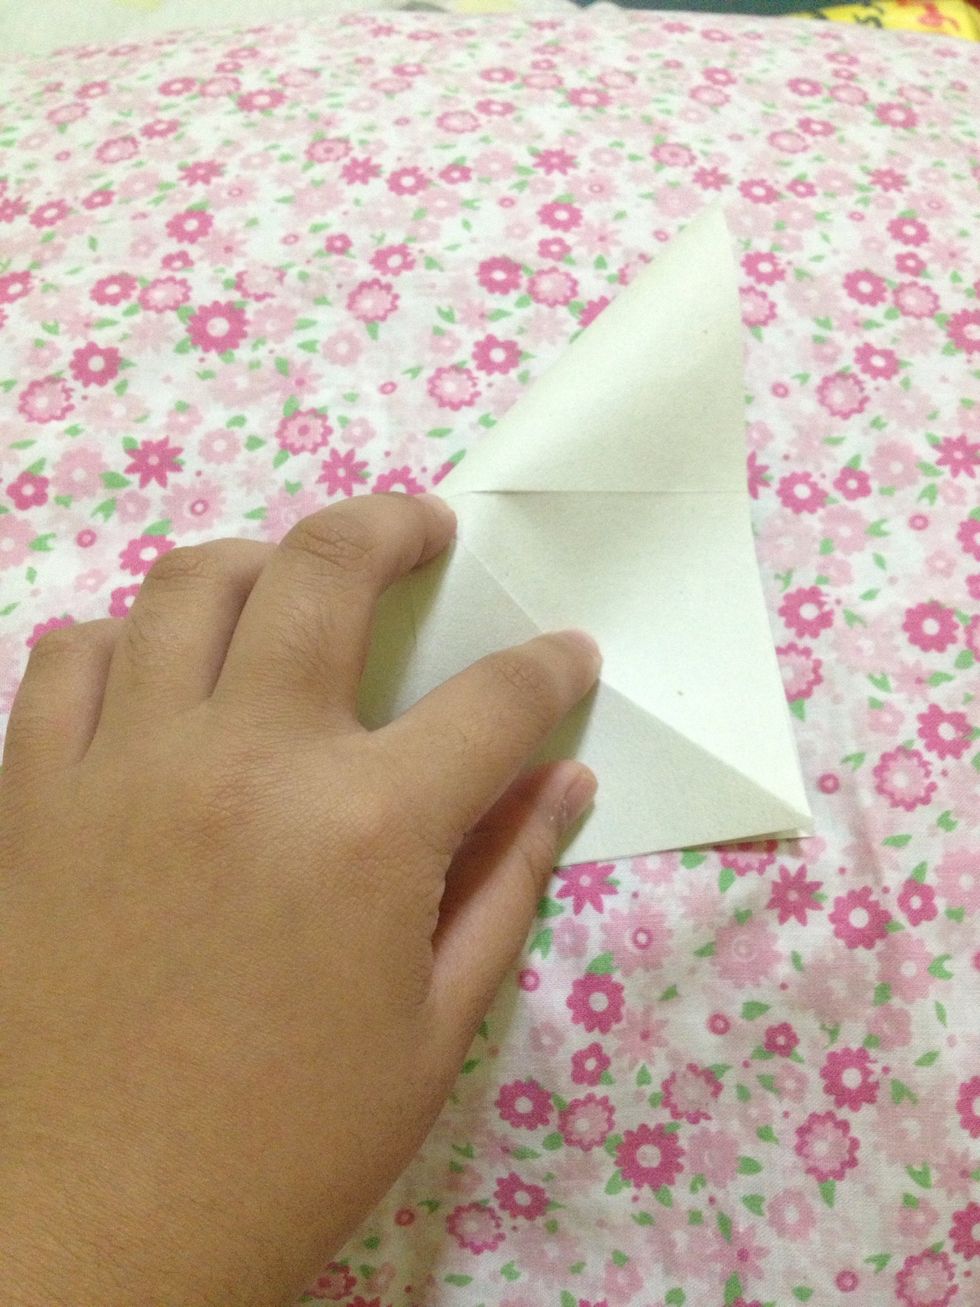
Fold it diagonally to the right. Unfold.
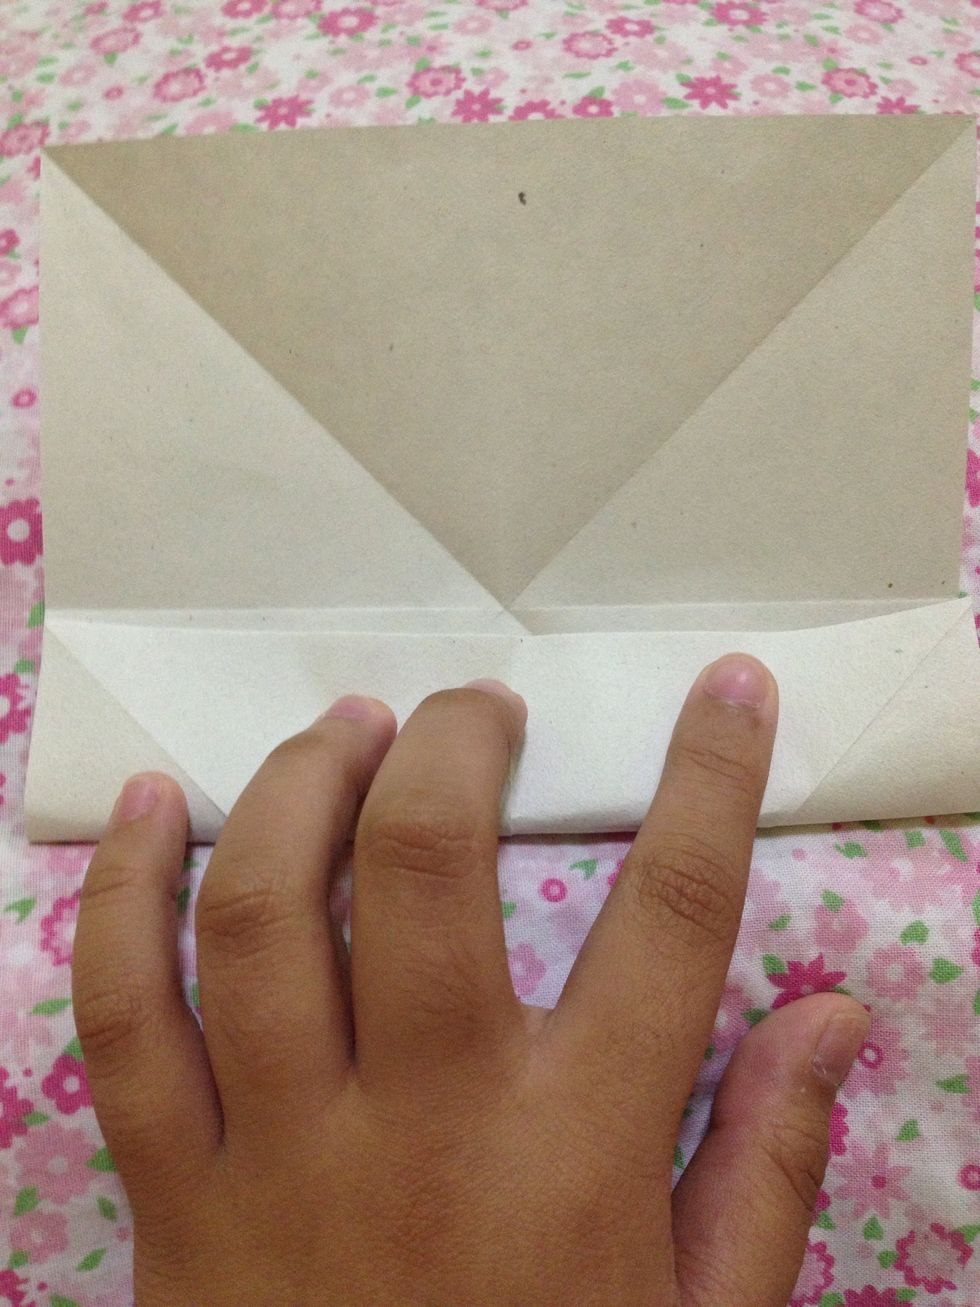
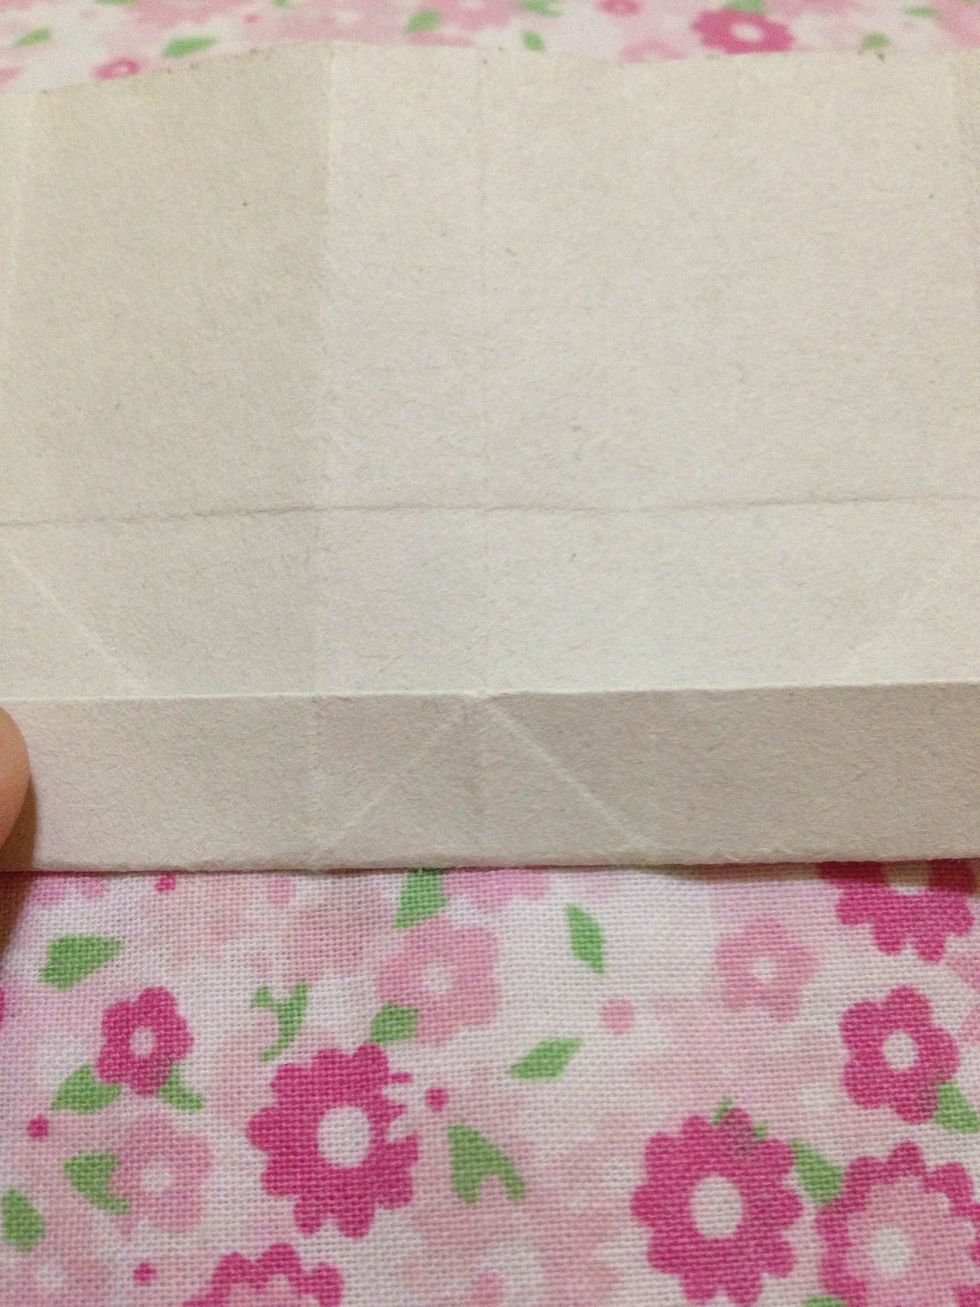
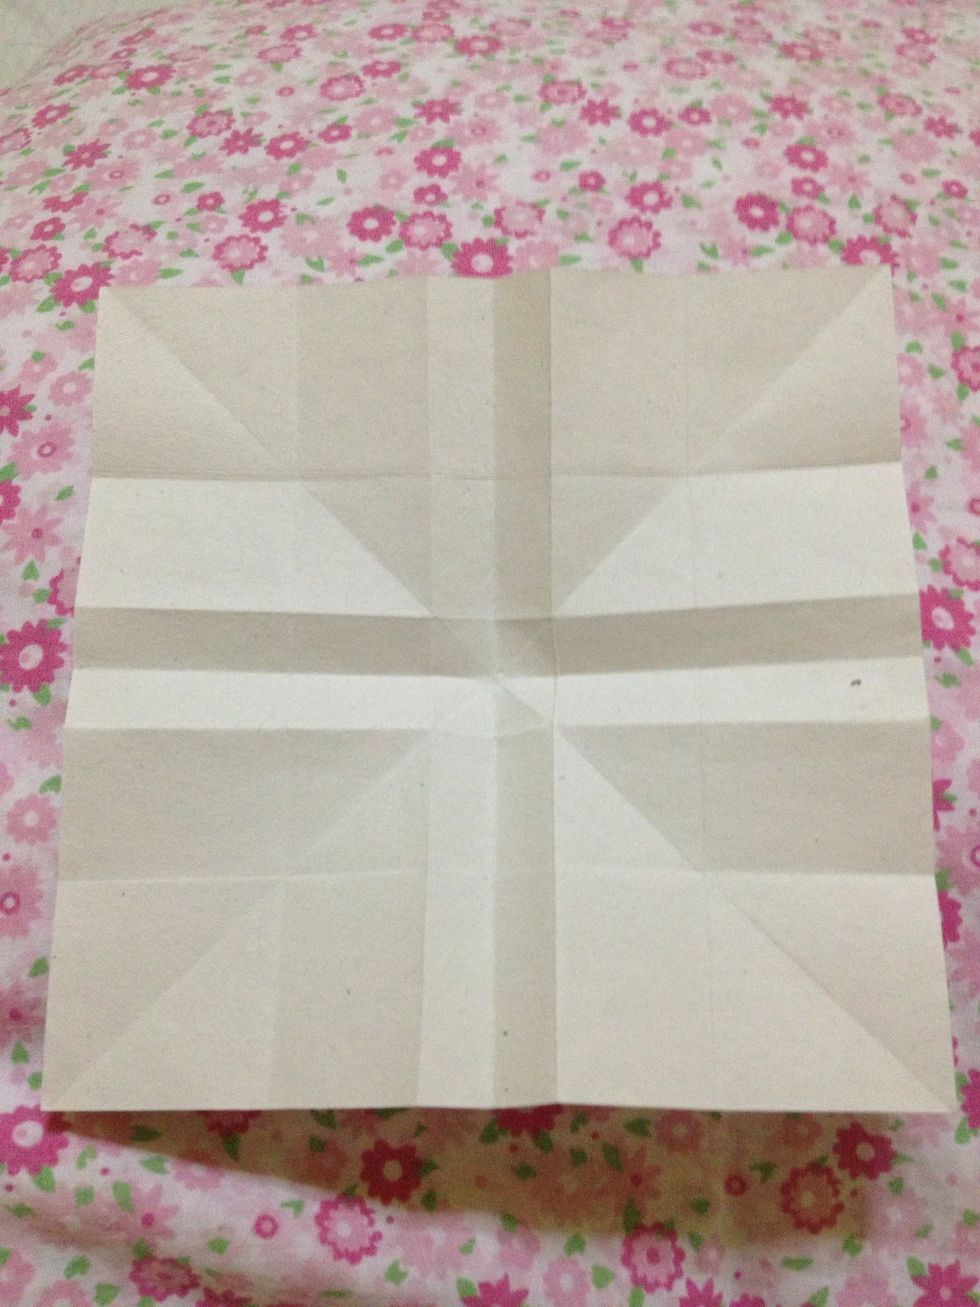
Fold the lower part to the center line. Unfold.

Fold the upper part to the center line. Unfold.
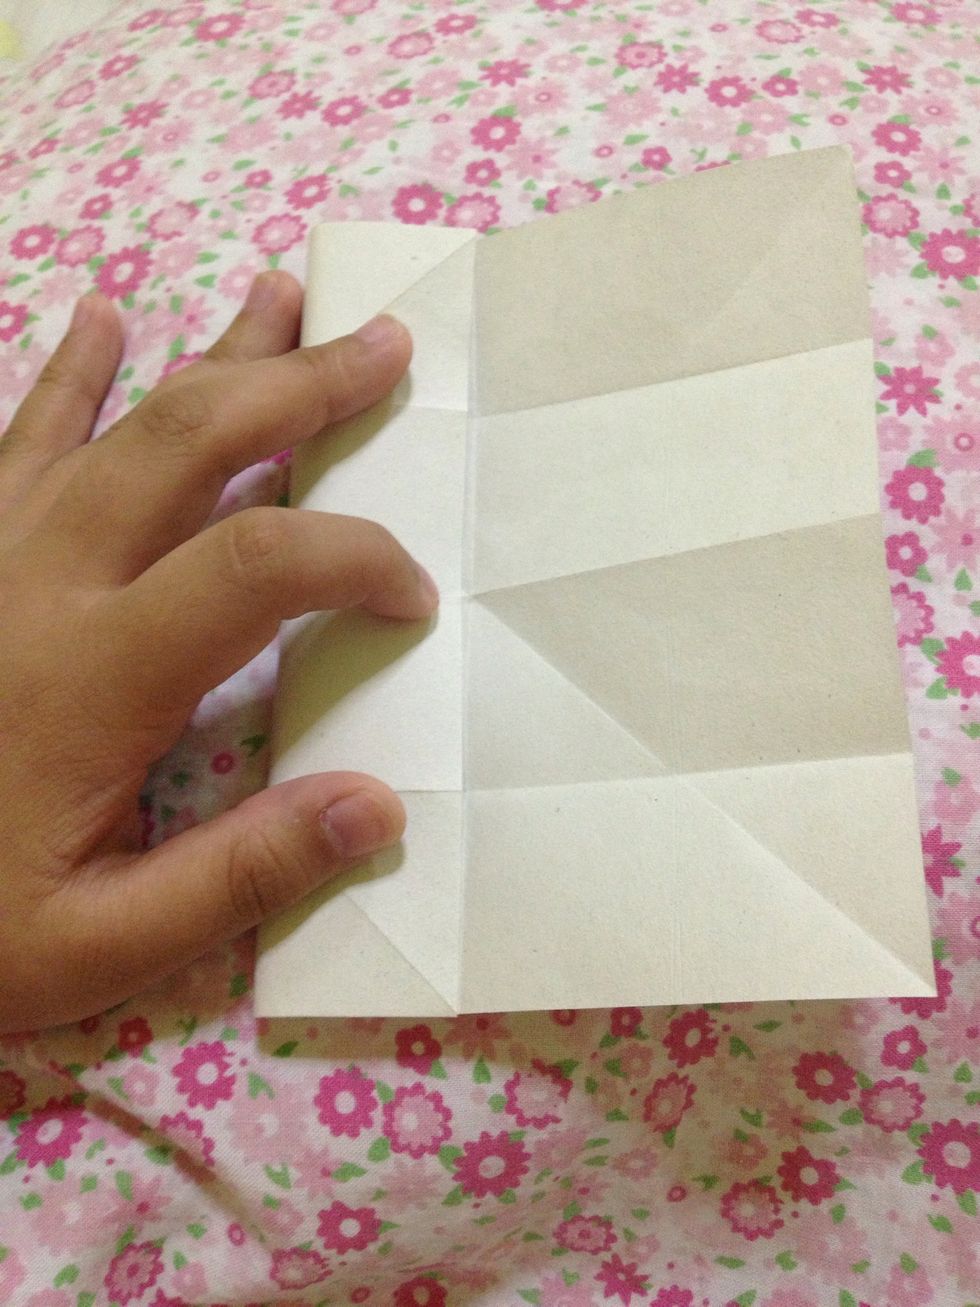
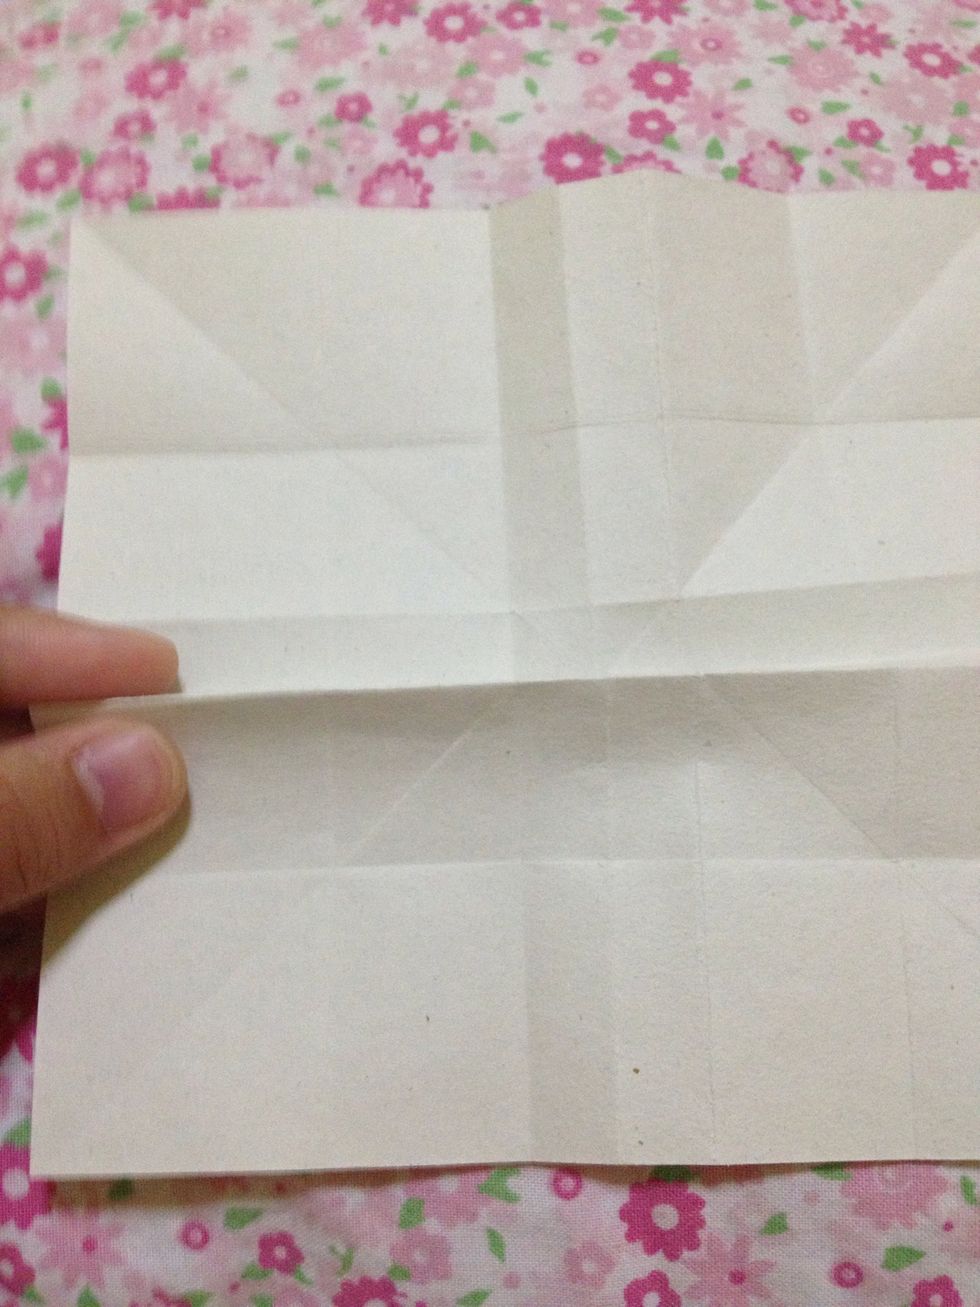
Fold the left part to the center line. Unfold.
Fold the right part to the center line. Unfold.
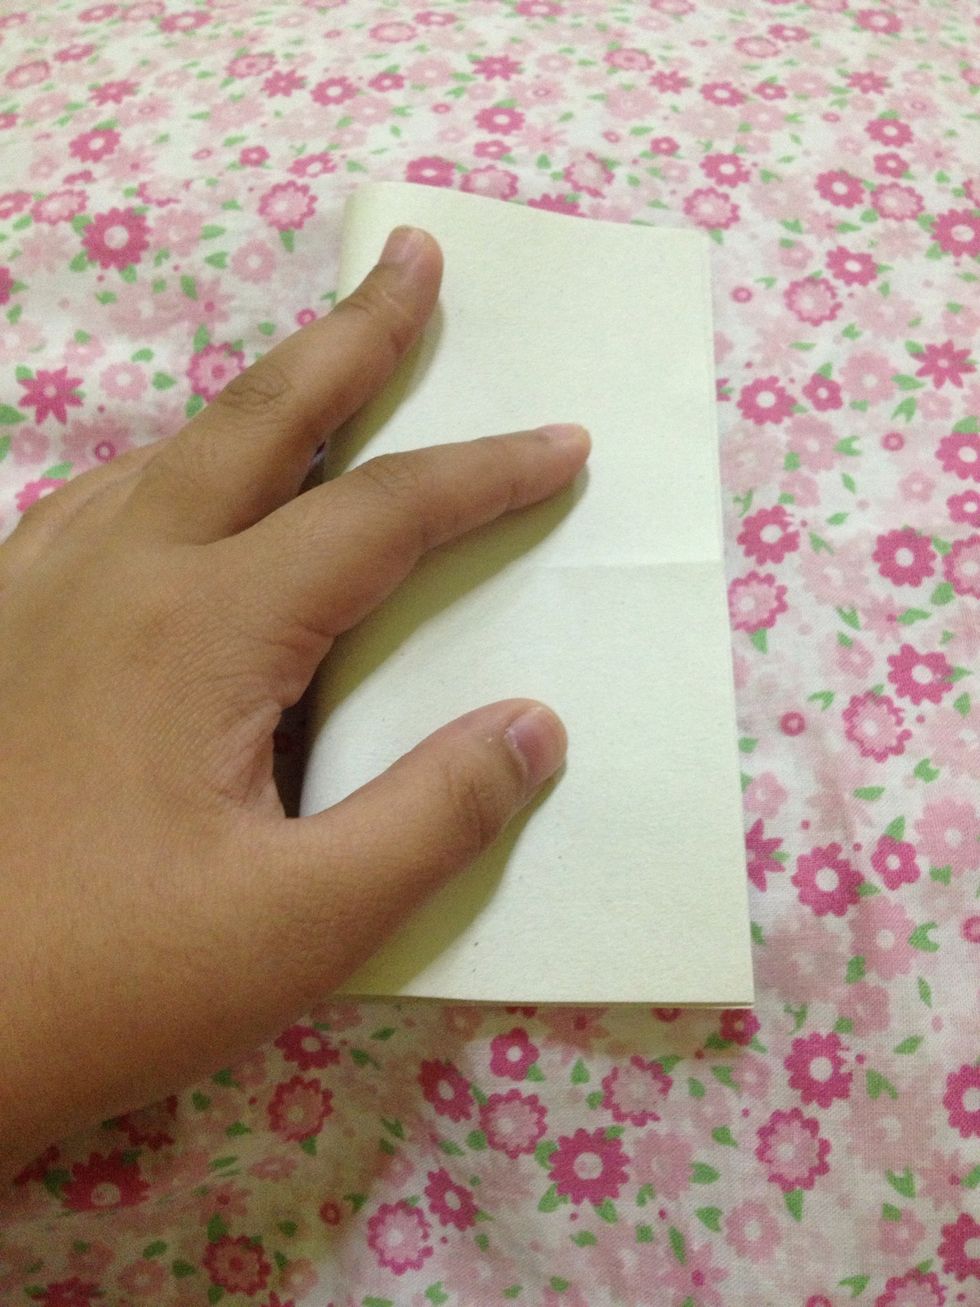
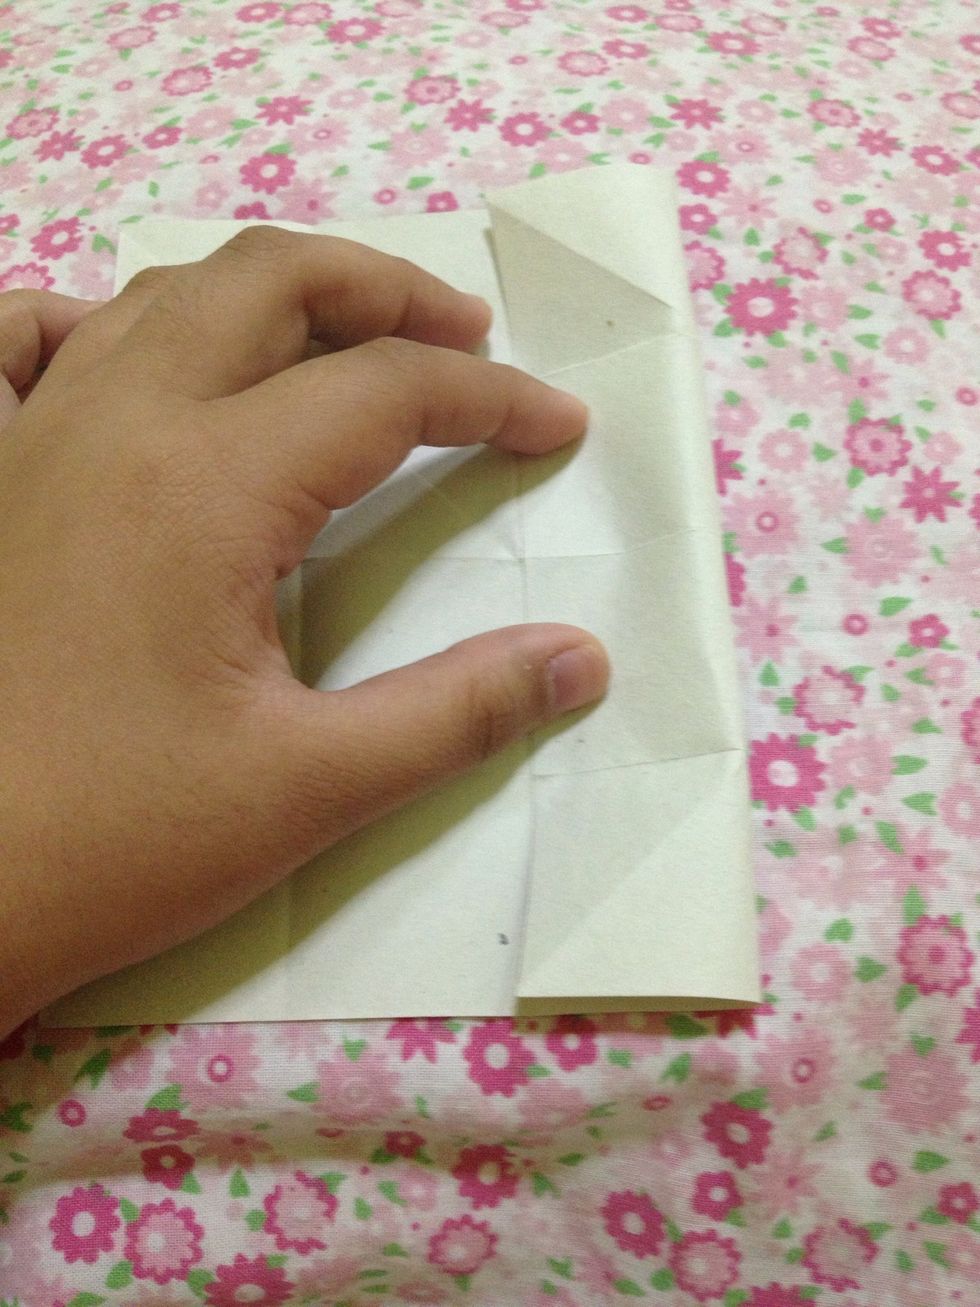
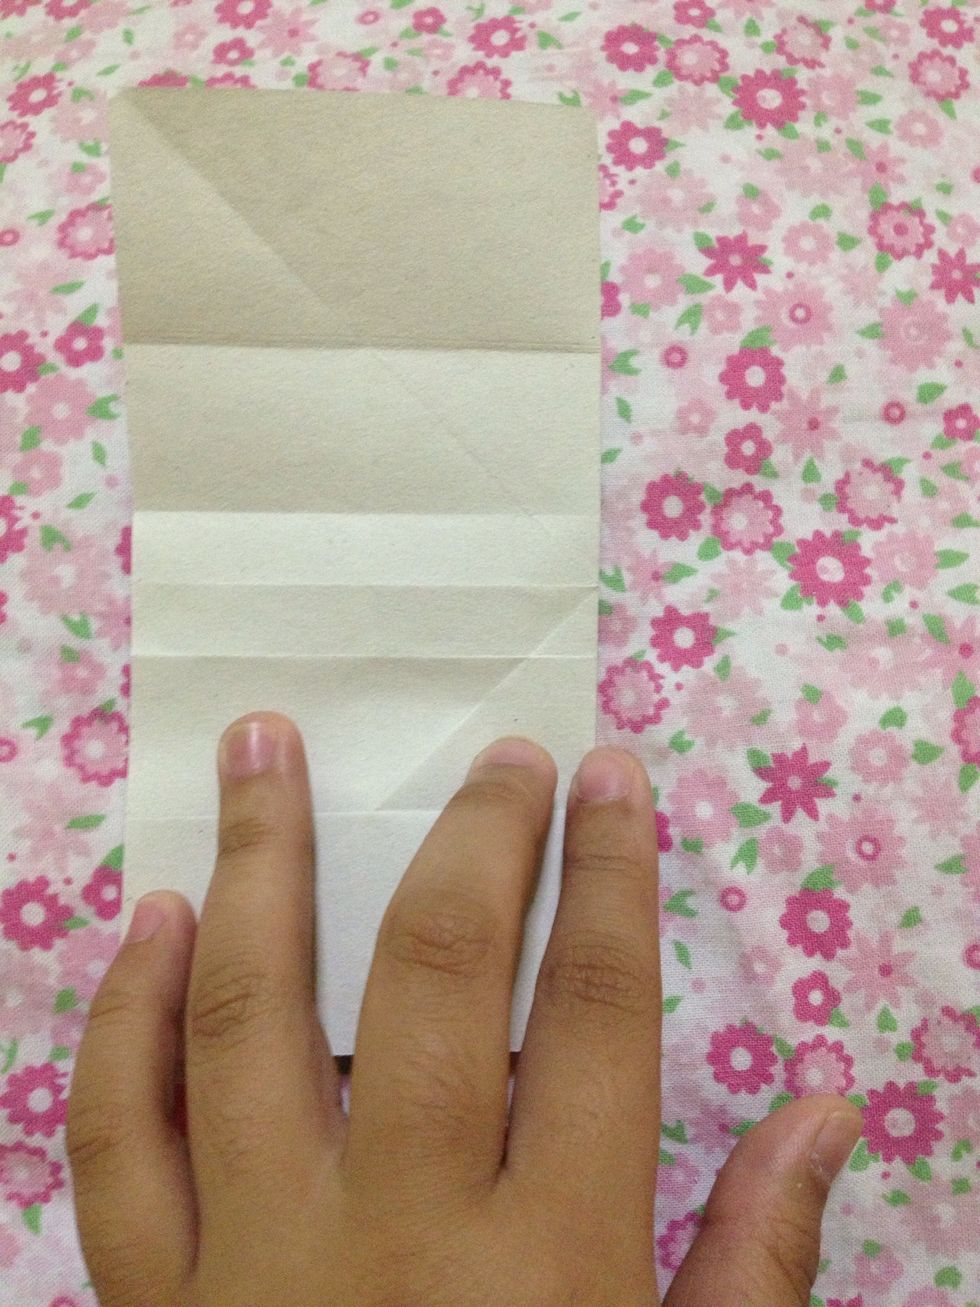
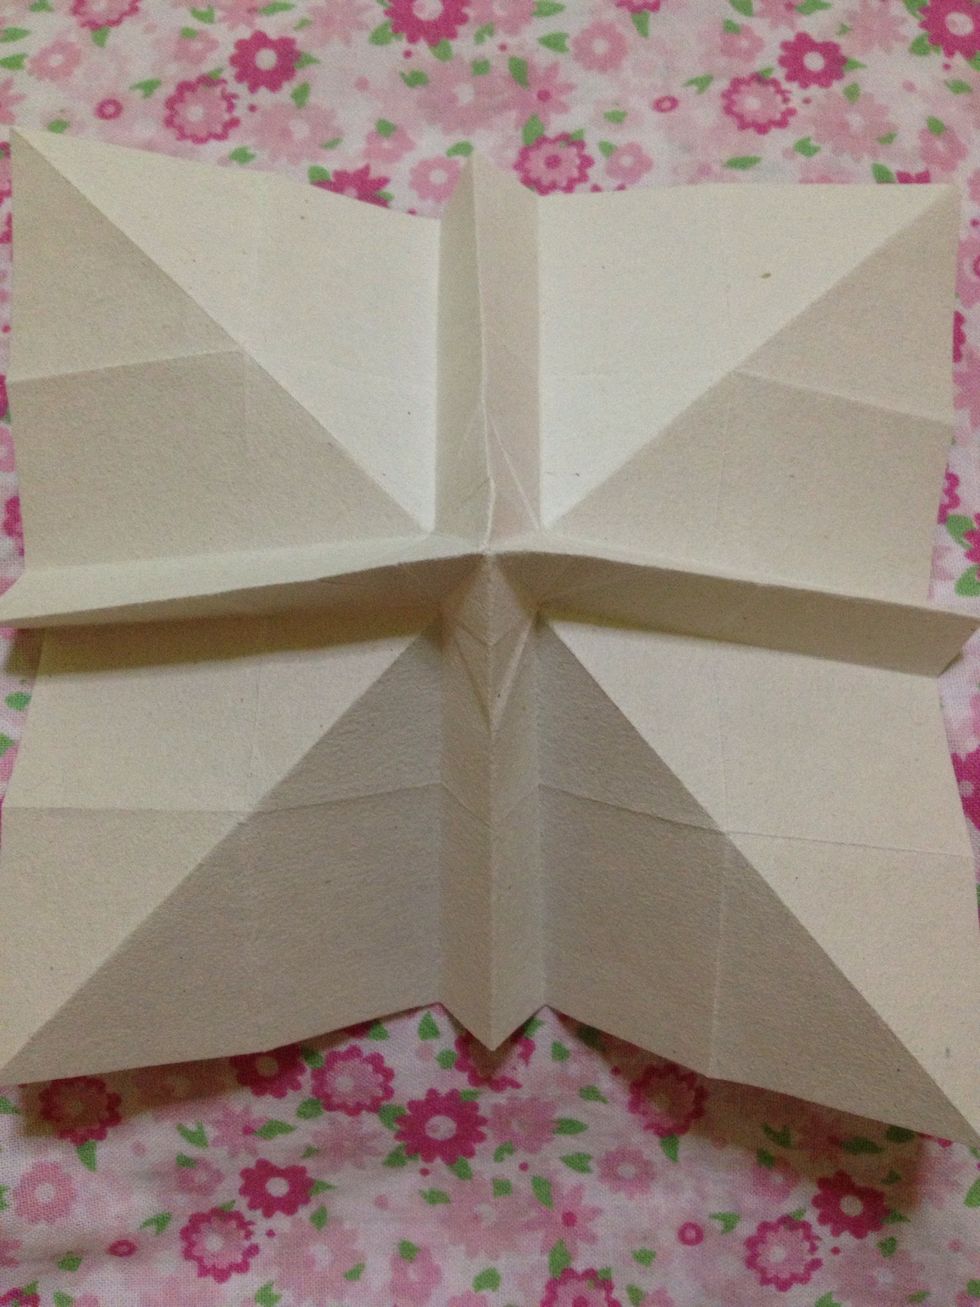
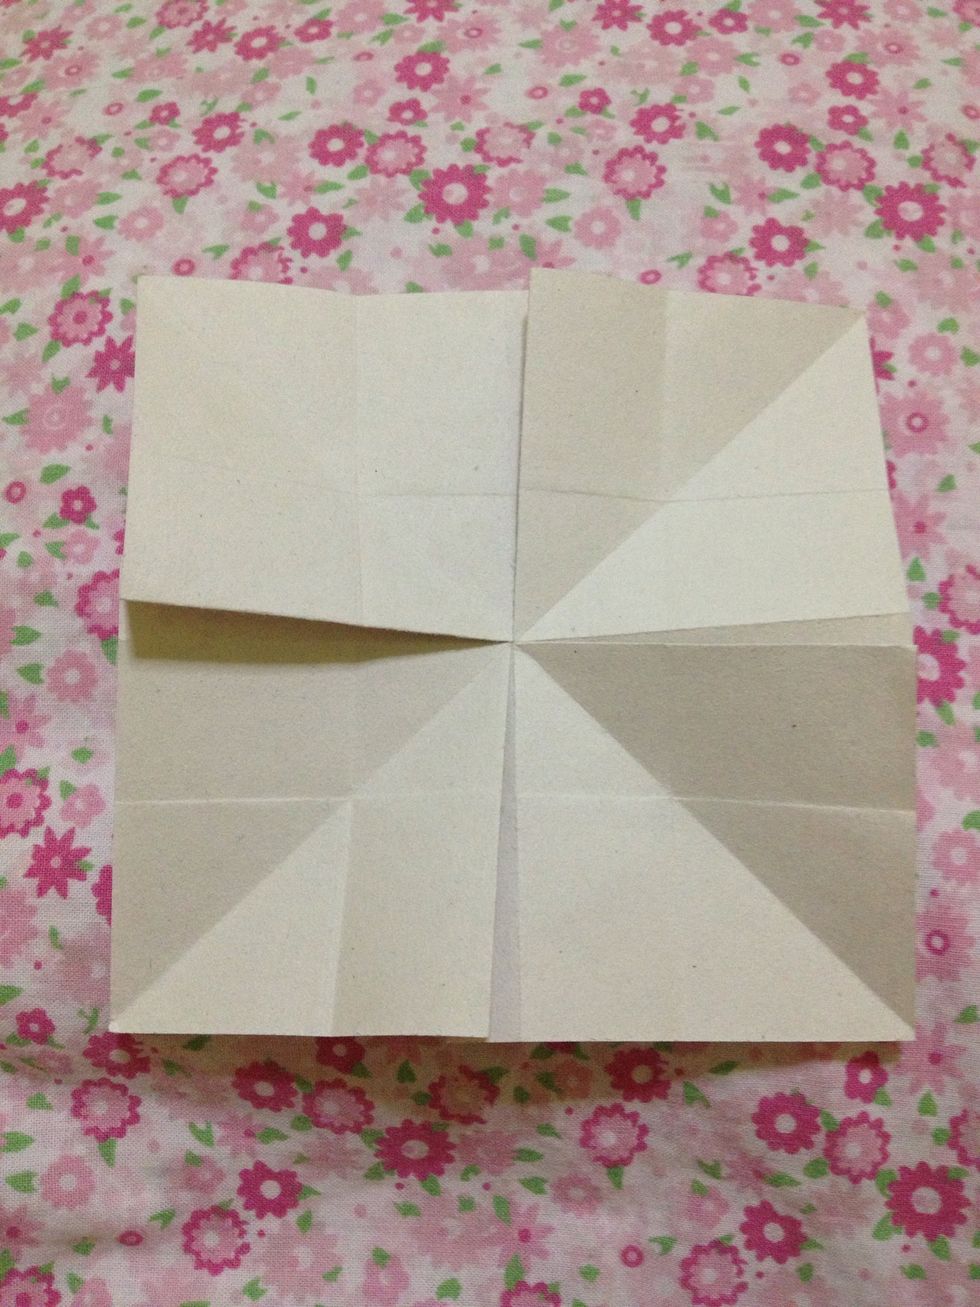
Fold in half. You'll need to fold 1/3 of this part upward. And unfold.
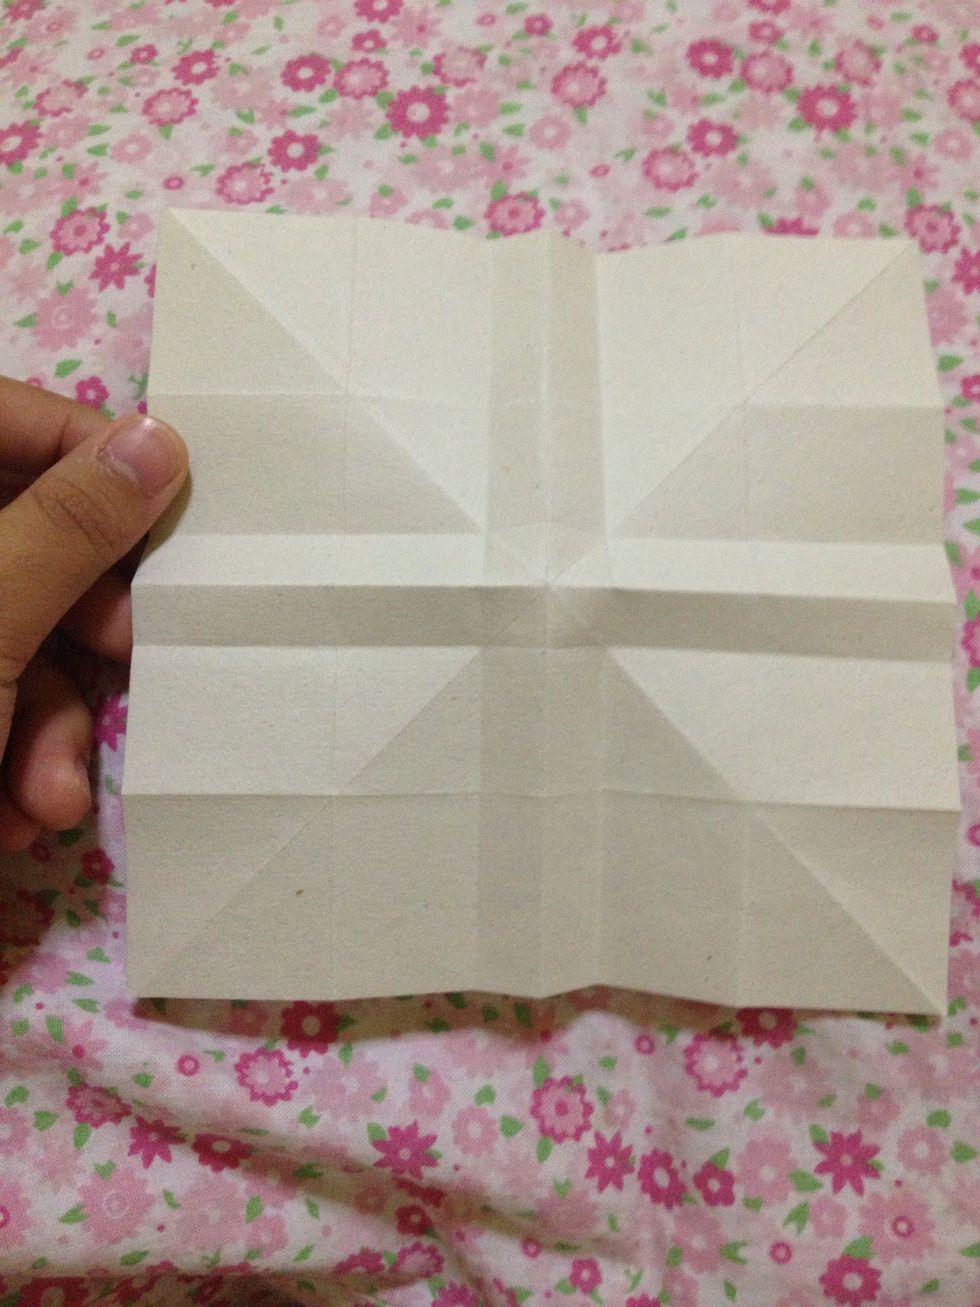
It should look like this.
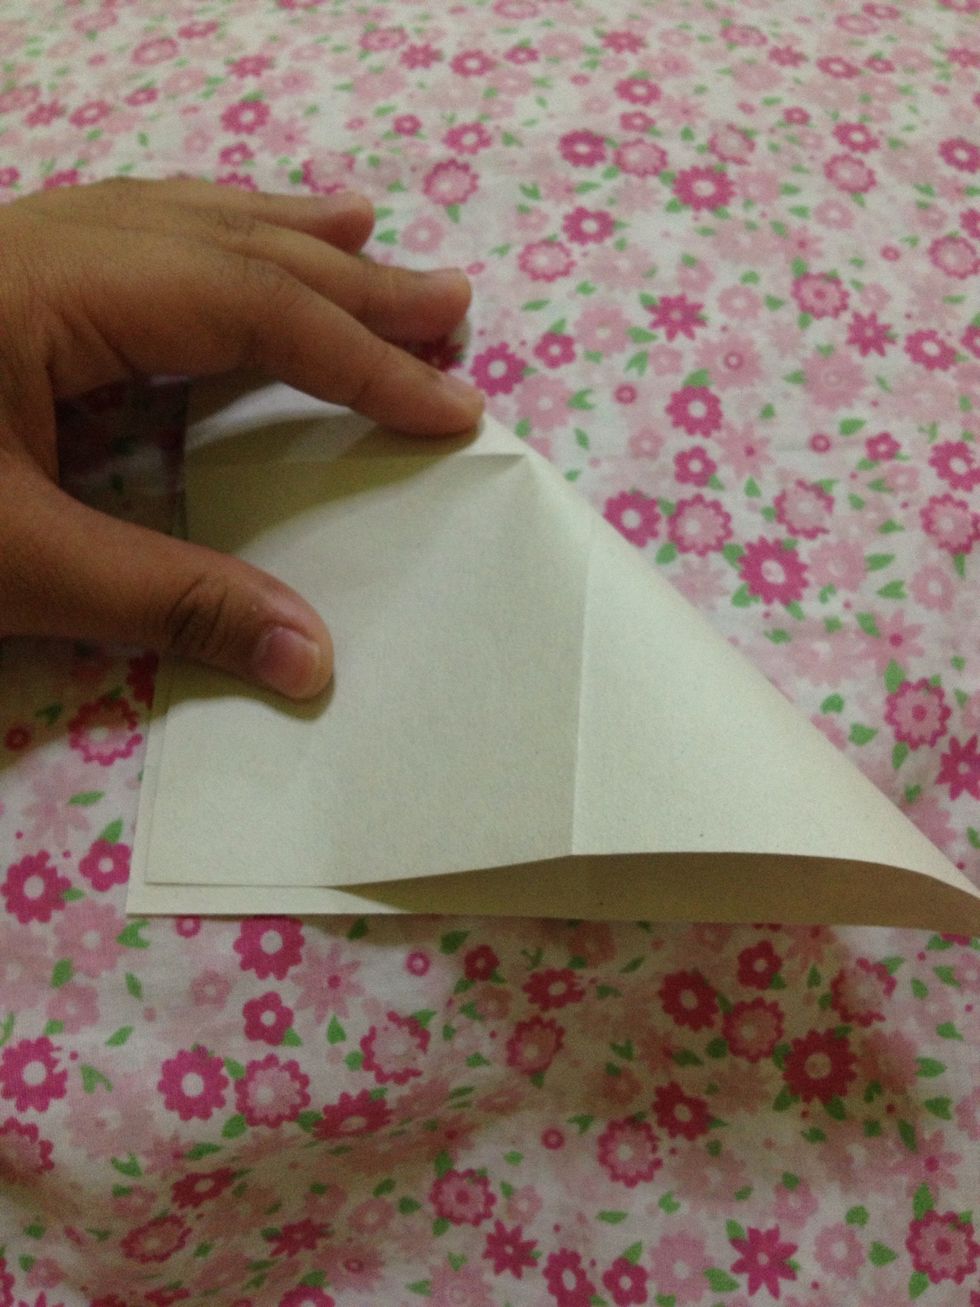
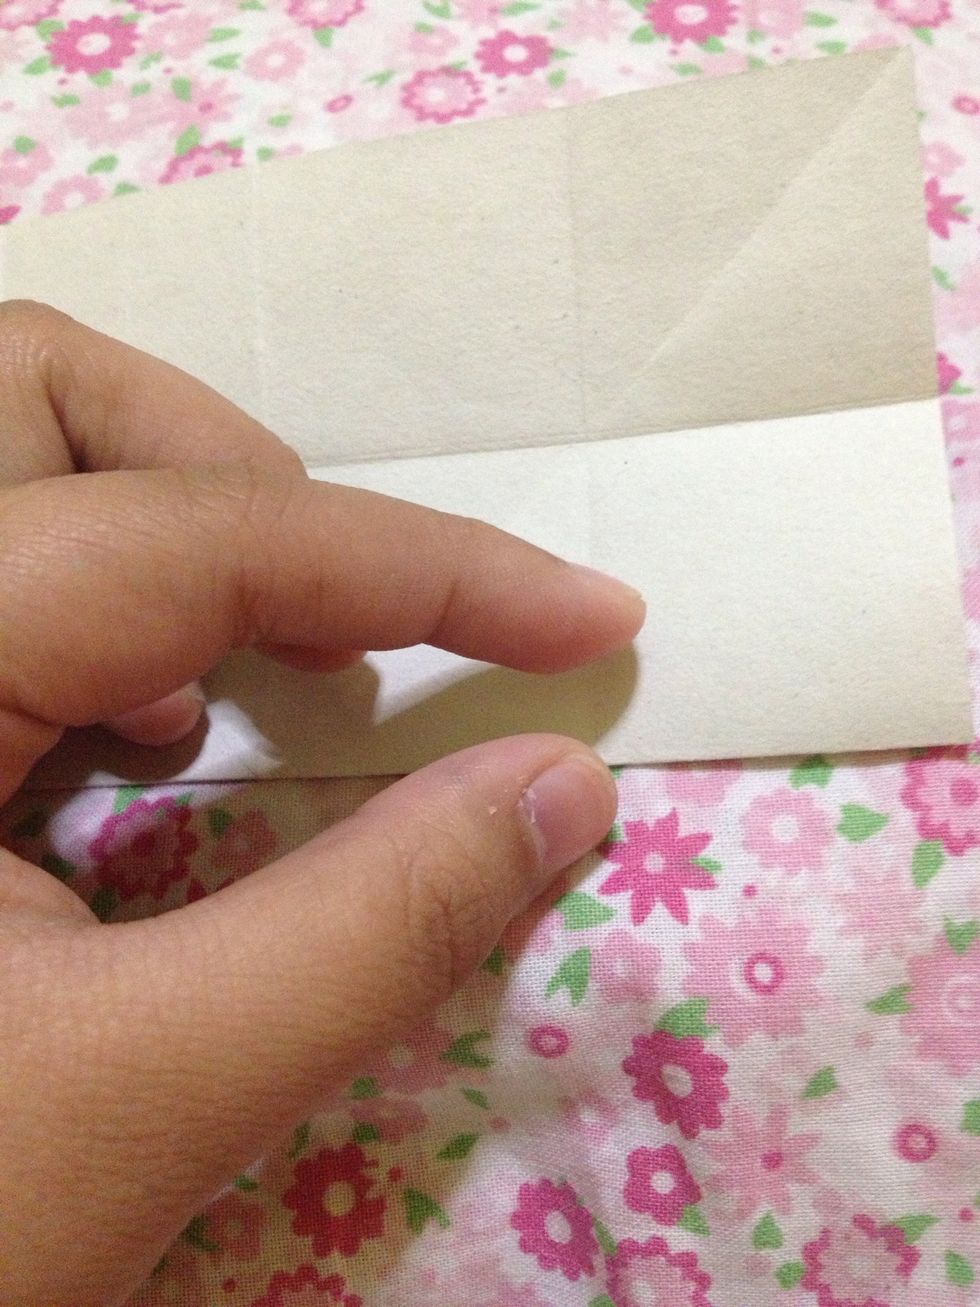
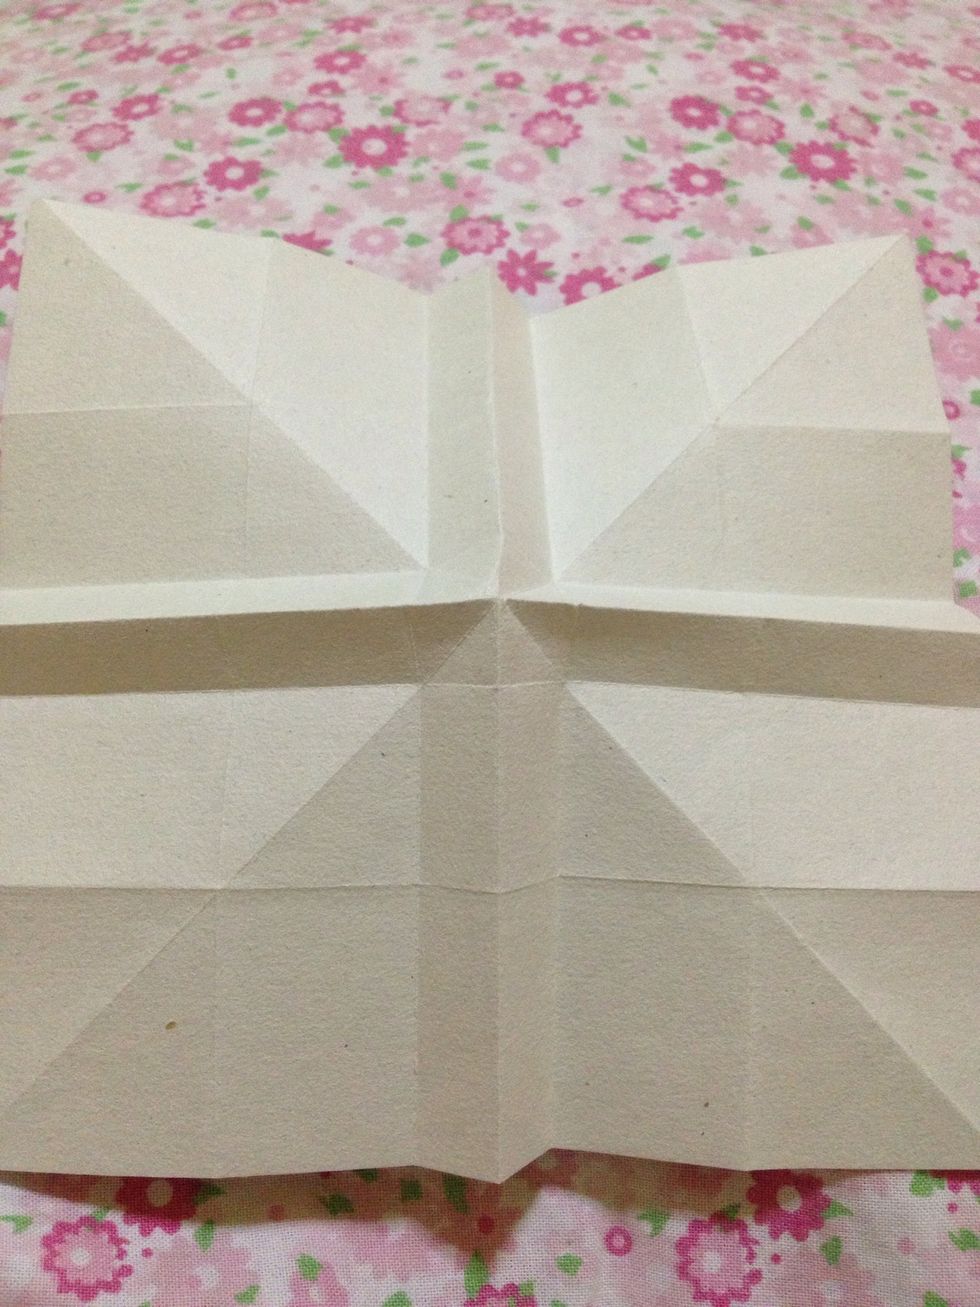
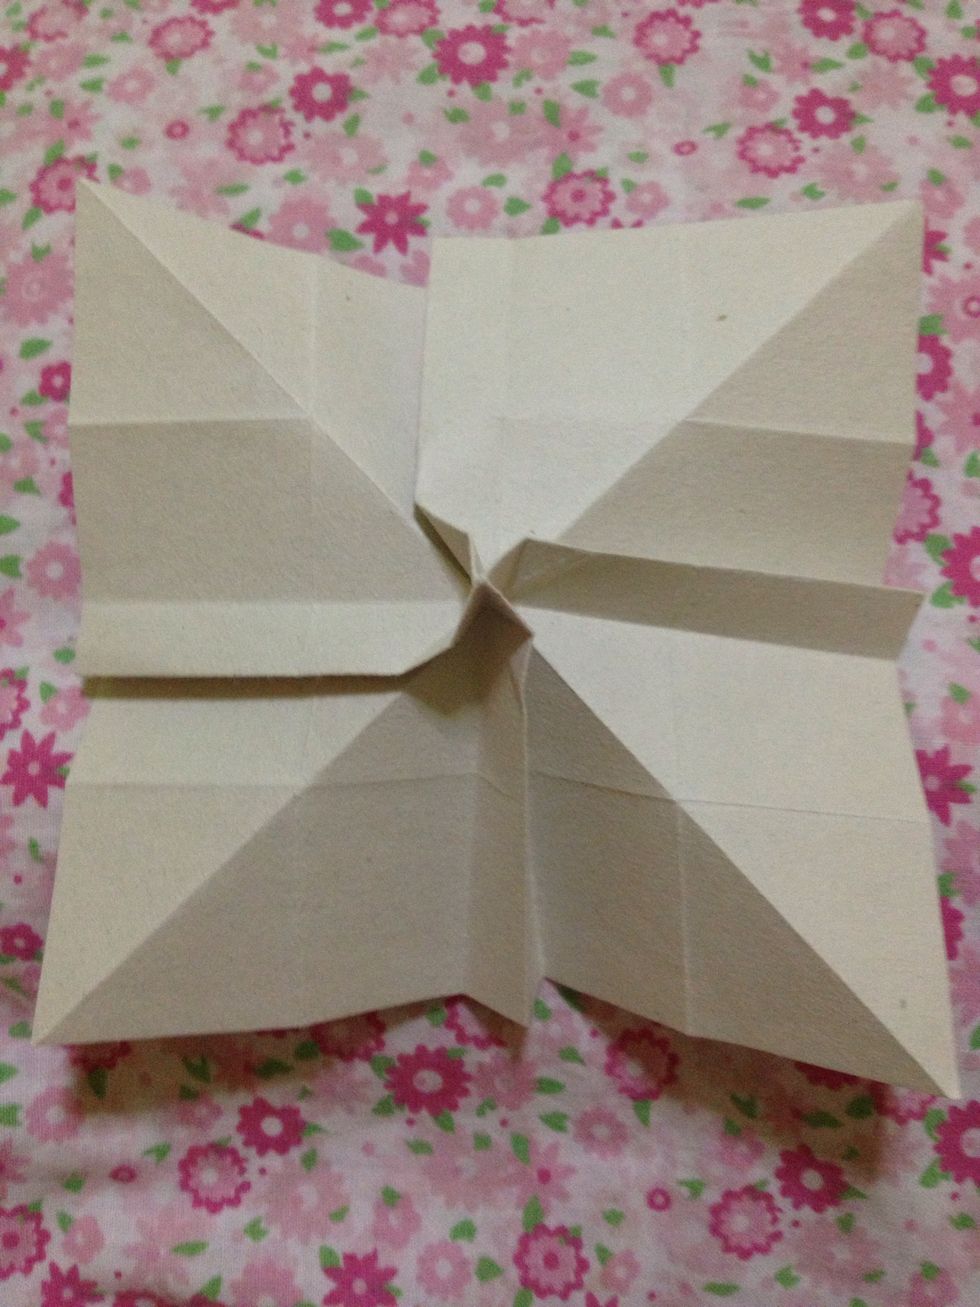
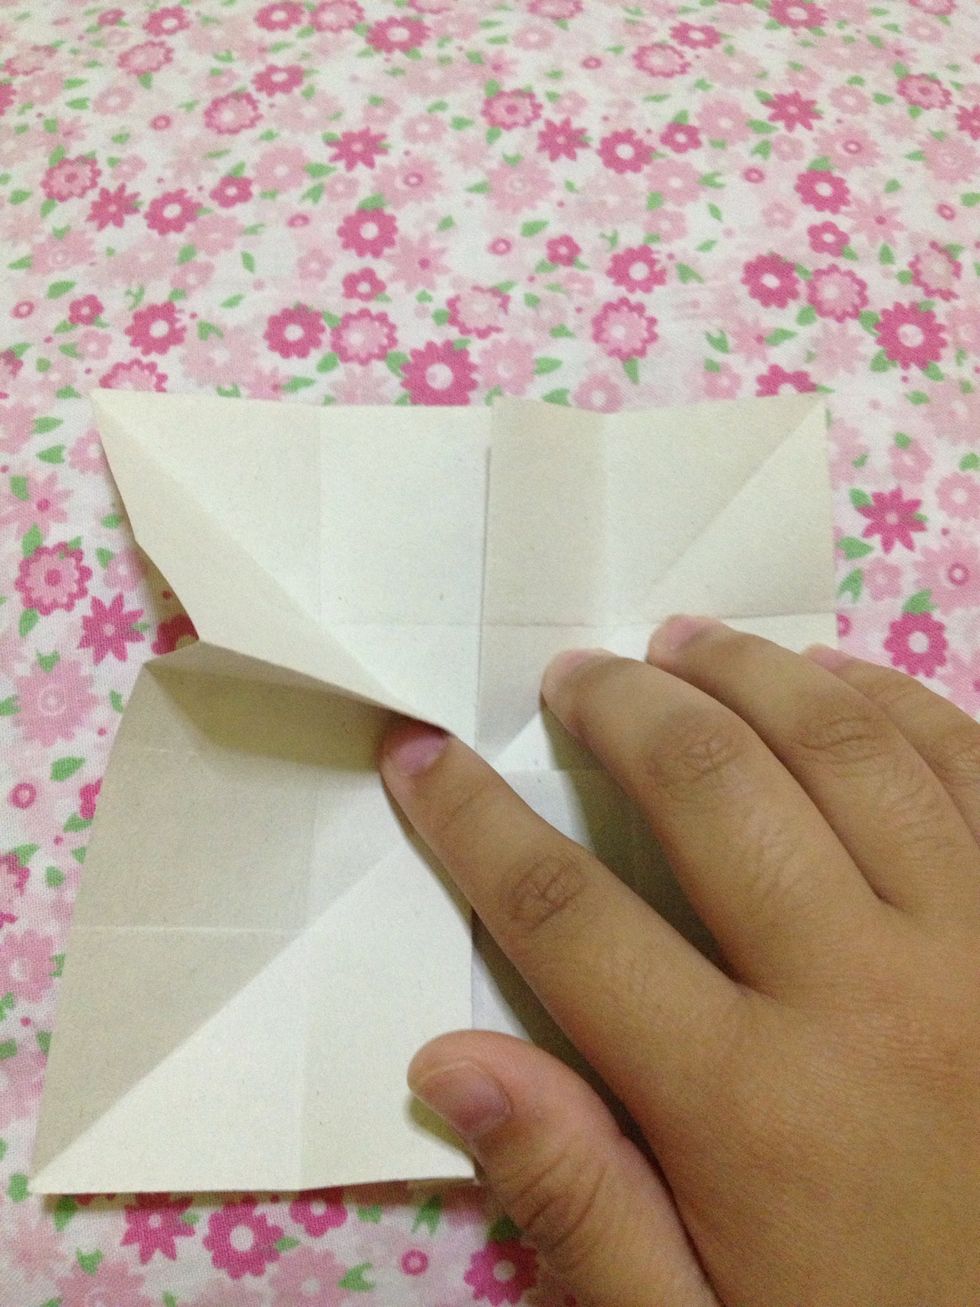
Fold in half sideways. Fold this (where my index finger is pointing) part 1/3 to the left. And unfold.
Like this. I rotated the paper when I captured it.
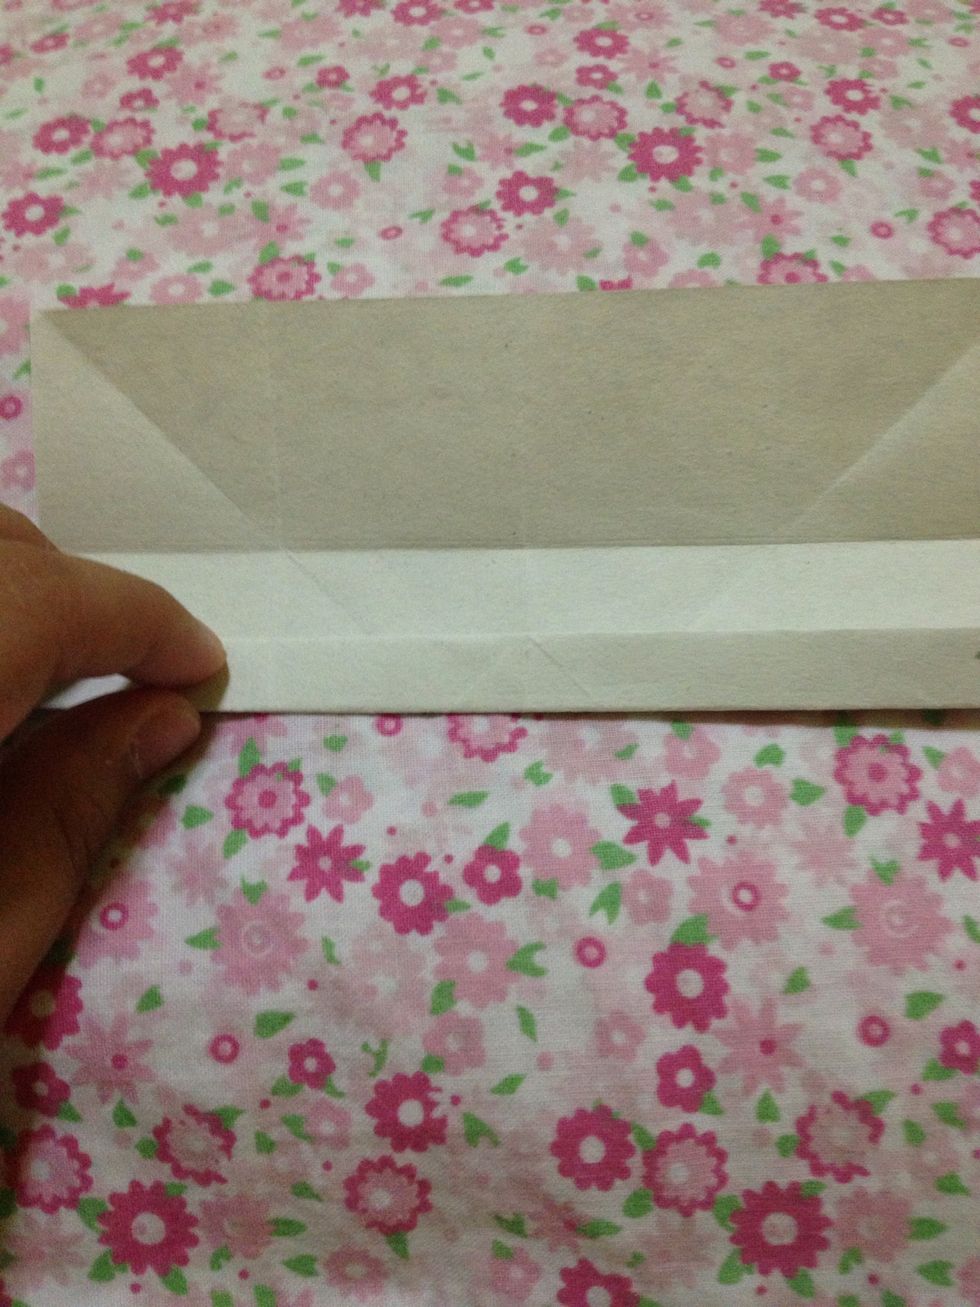
After you fold the 1/3 part, you'll see 2 squares.

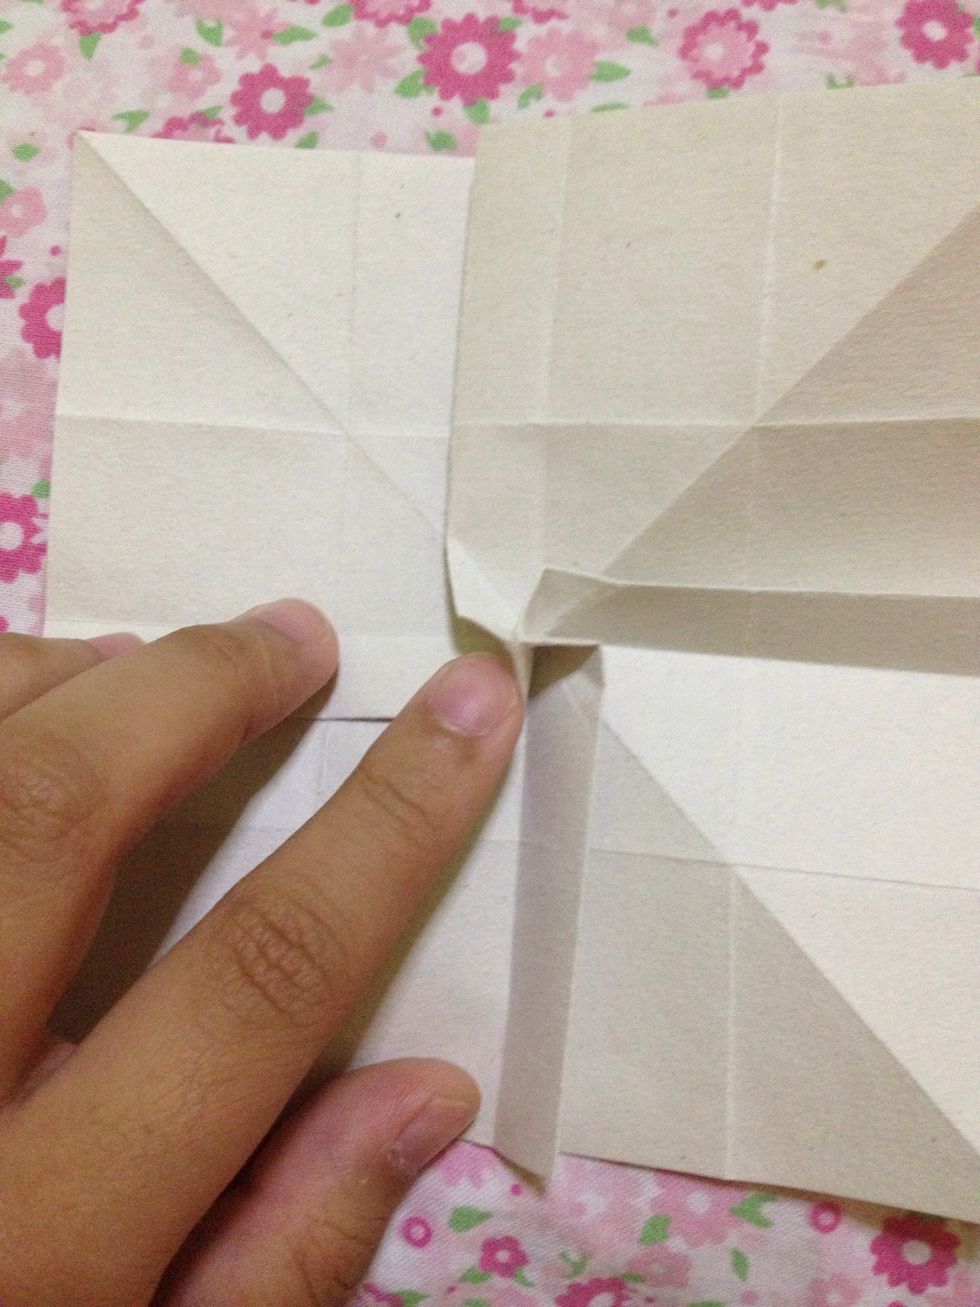
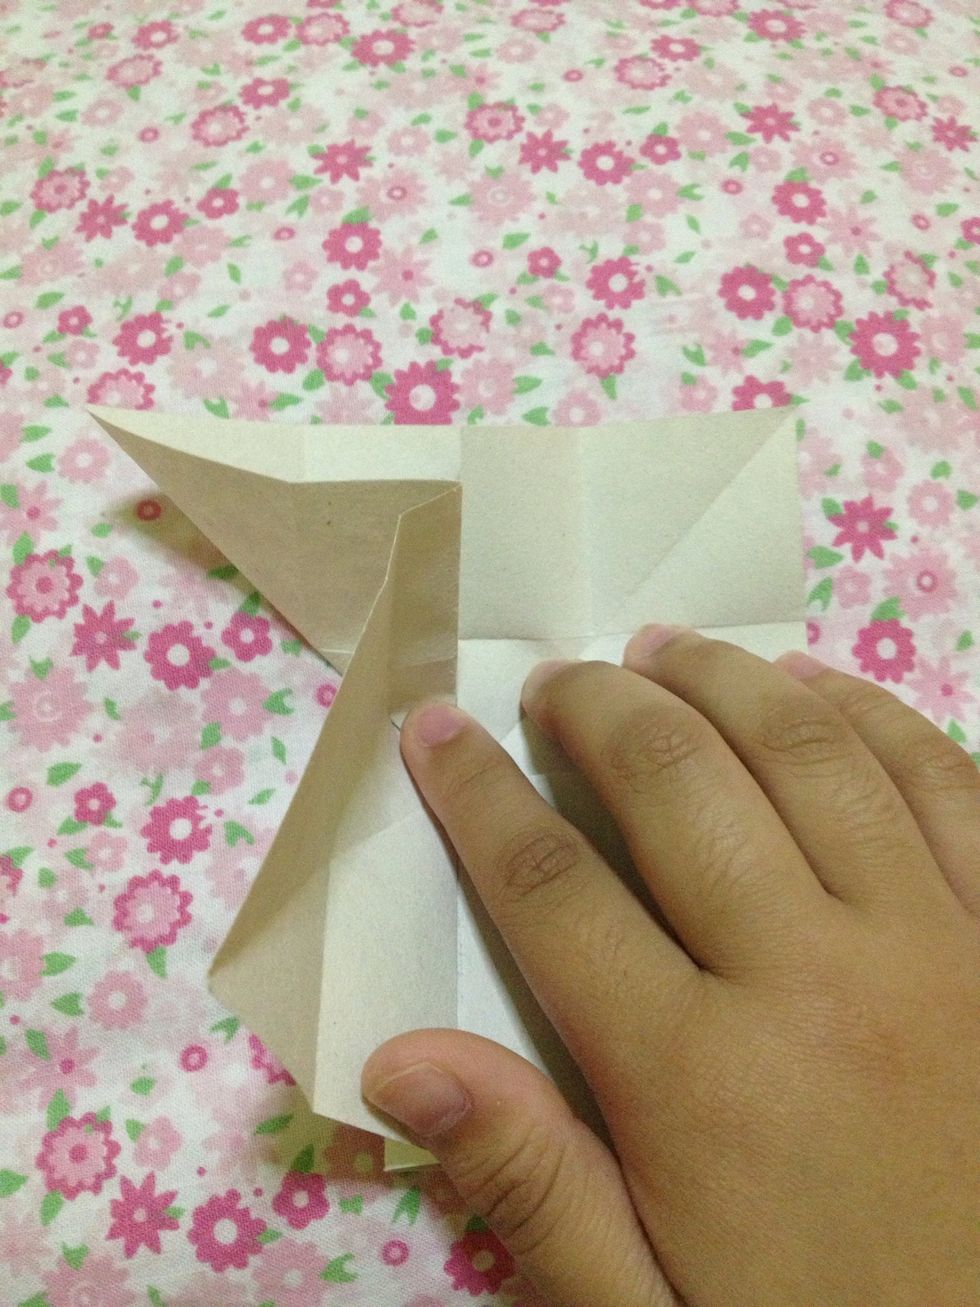
Make a mountain fold in the upper line of the center part.
Then, a mountain fold in the lower part of the center part.
Like this.
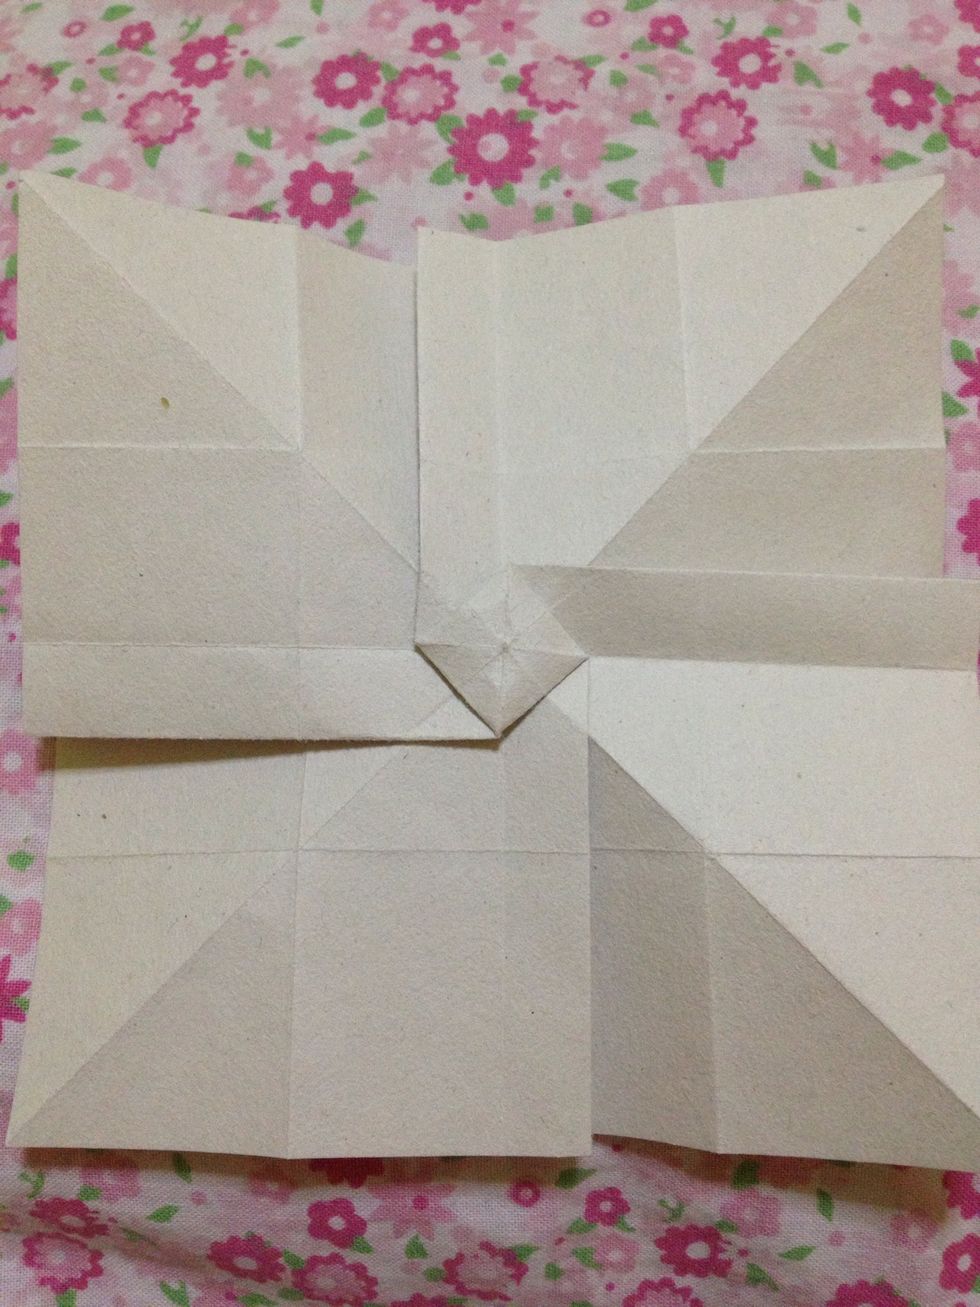
Do the same here (where my fingers are pointing).
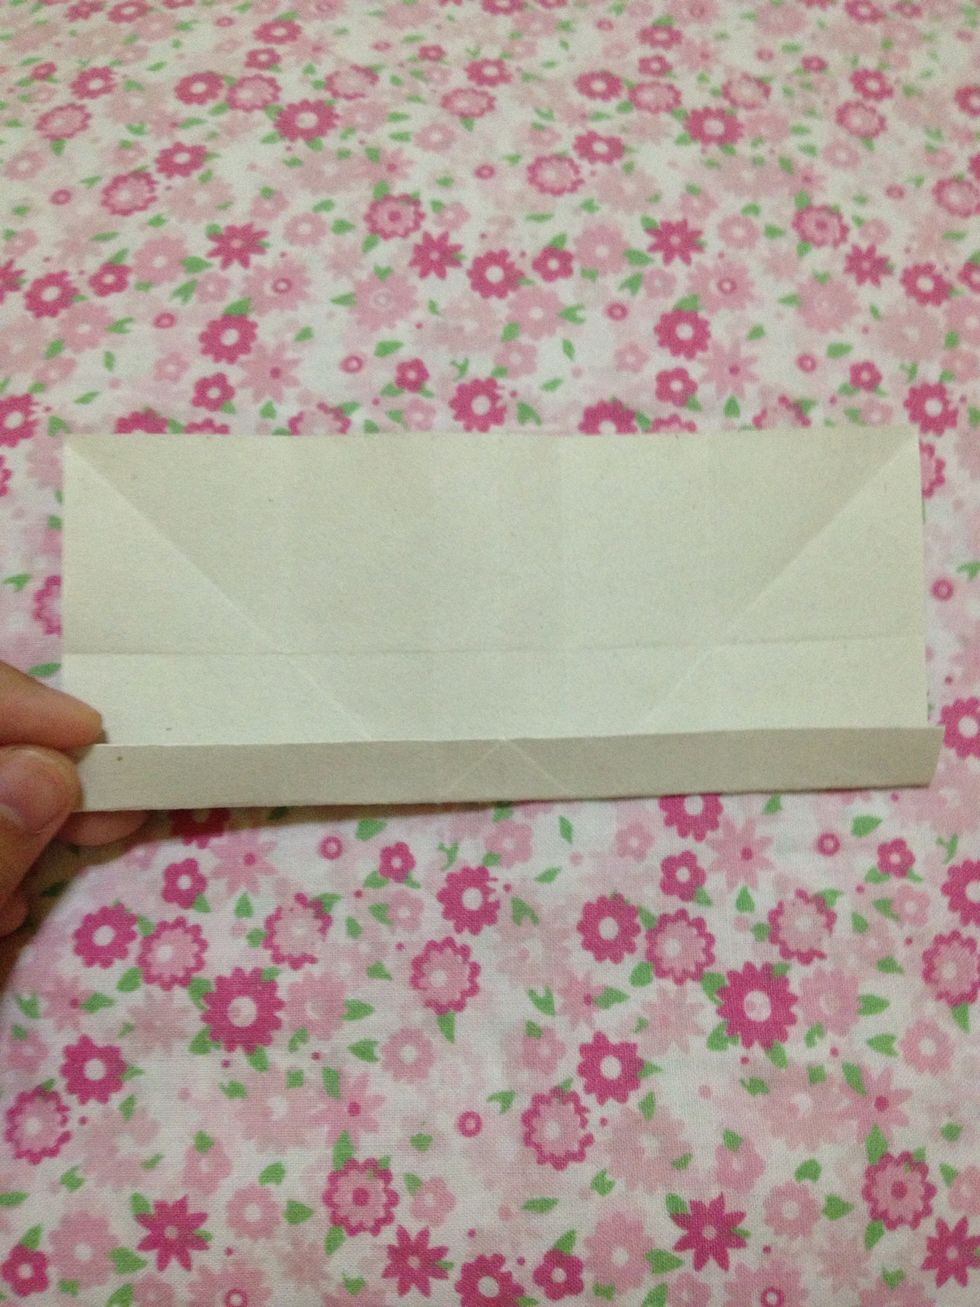
It'll look like this.
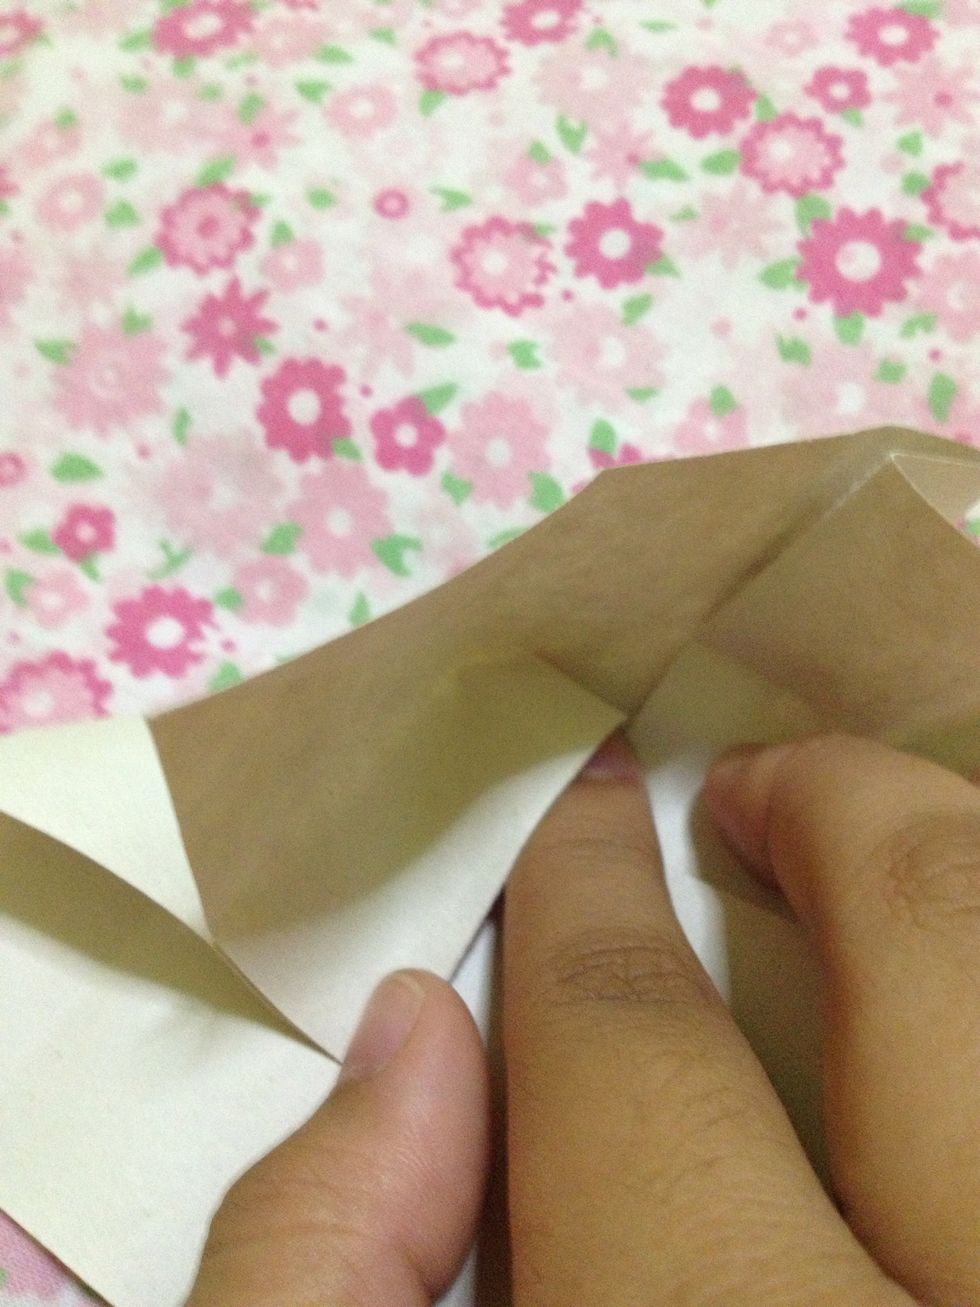
Flip the paper over.
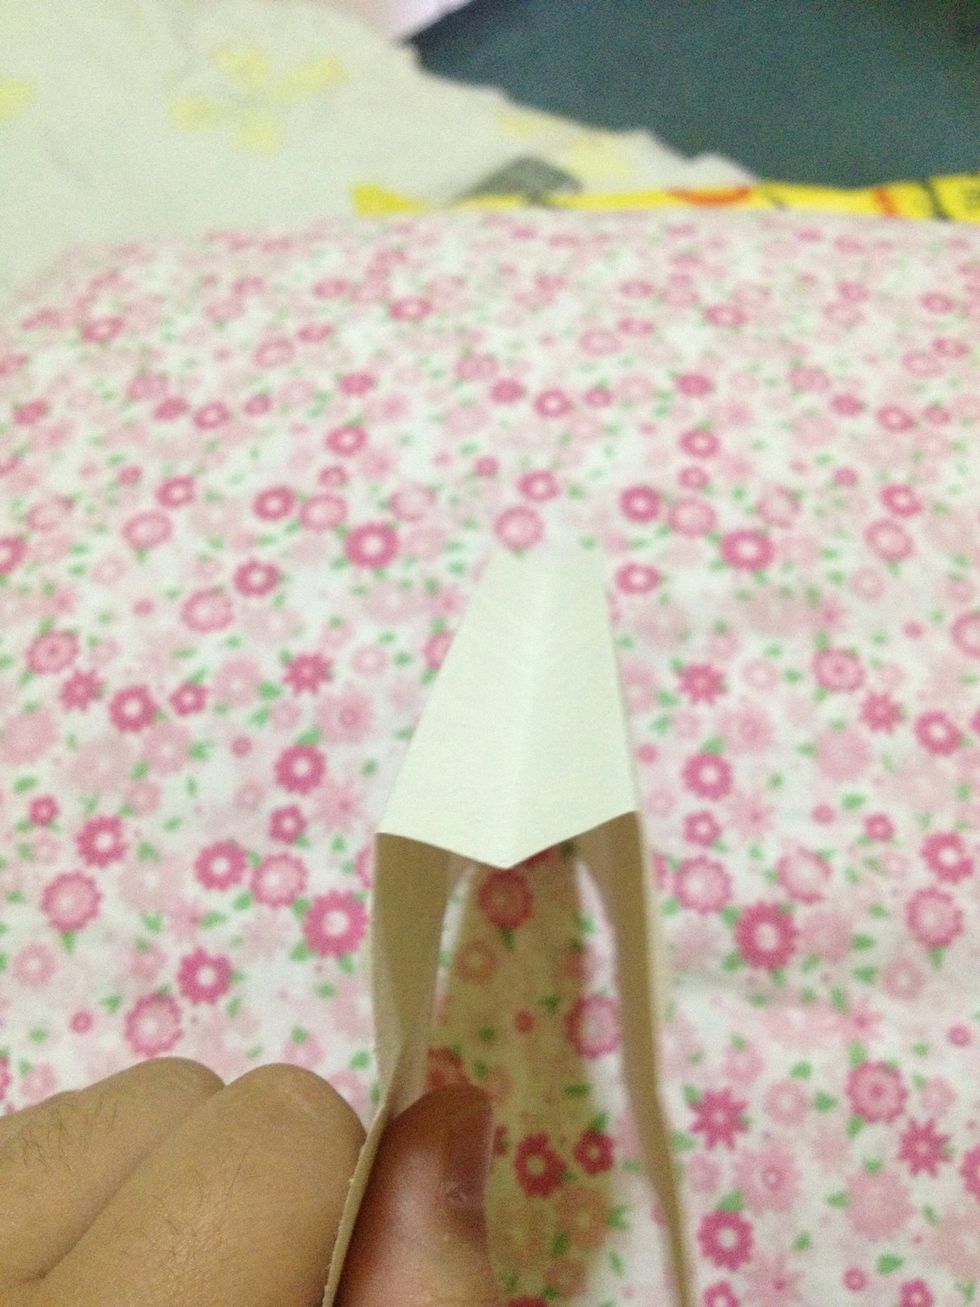
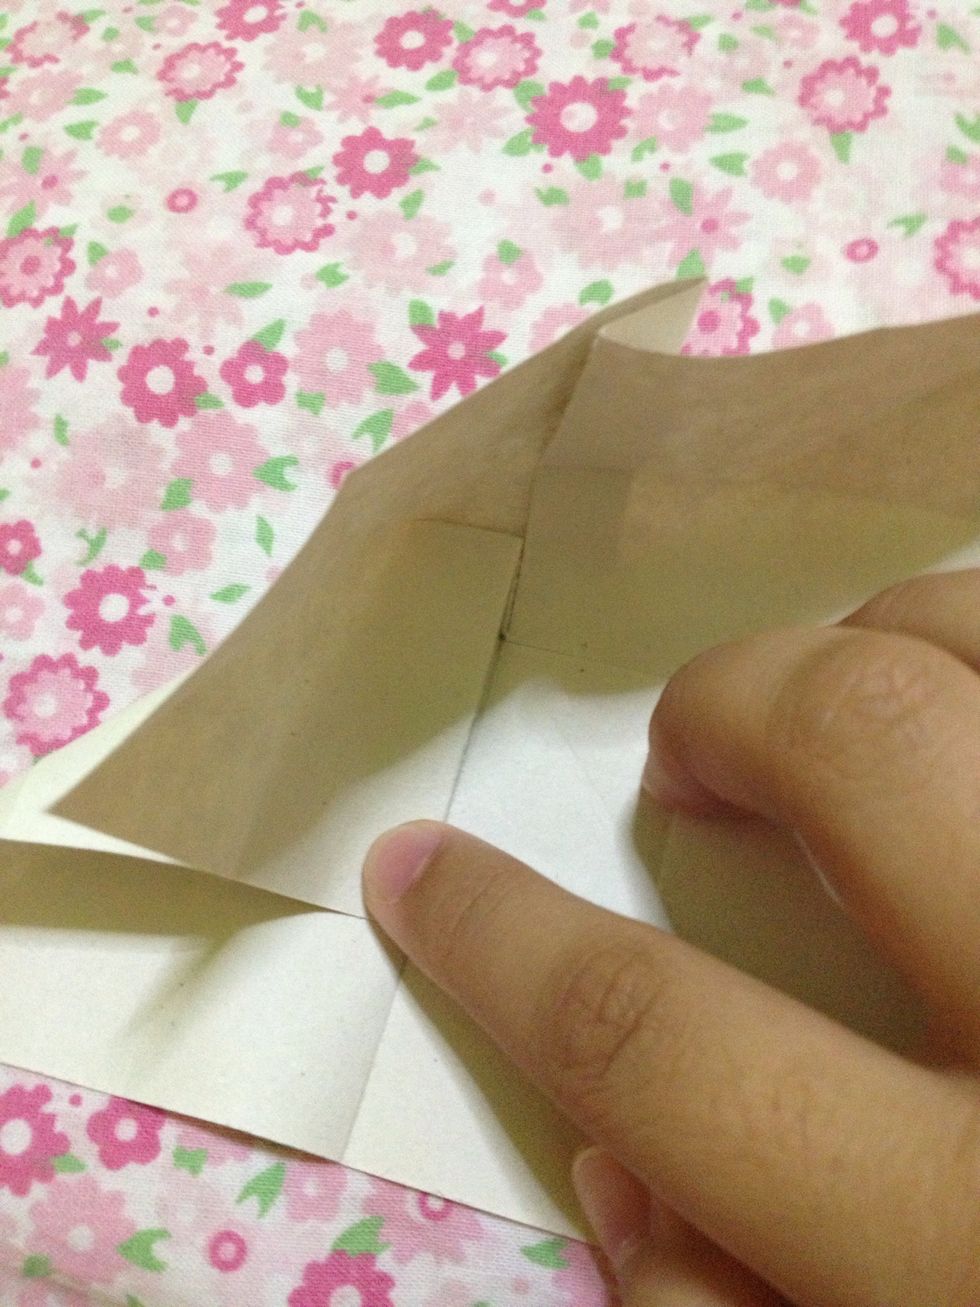
Shape that cross-like part.
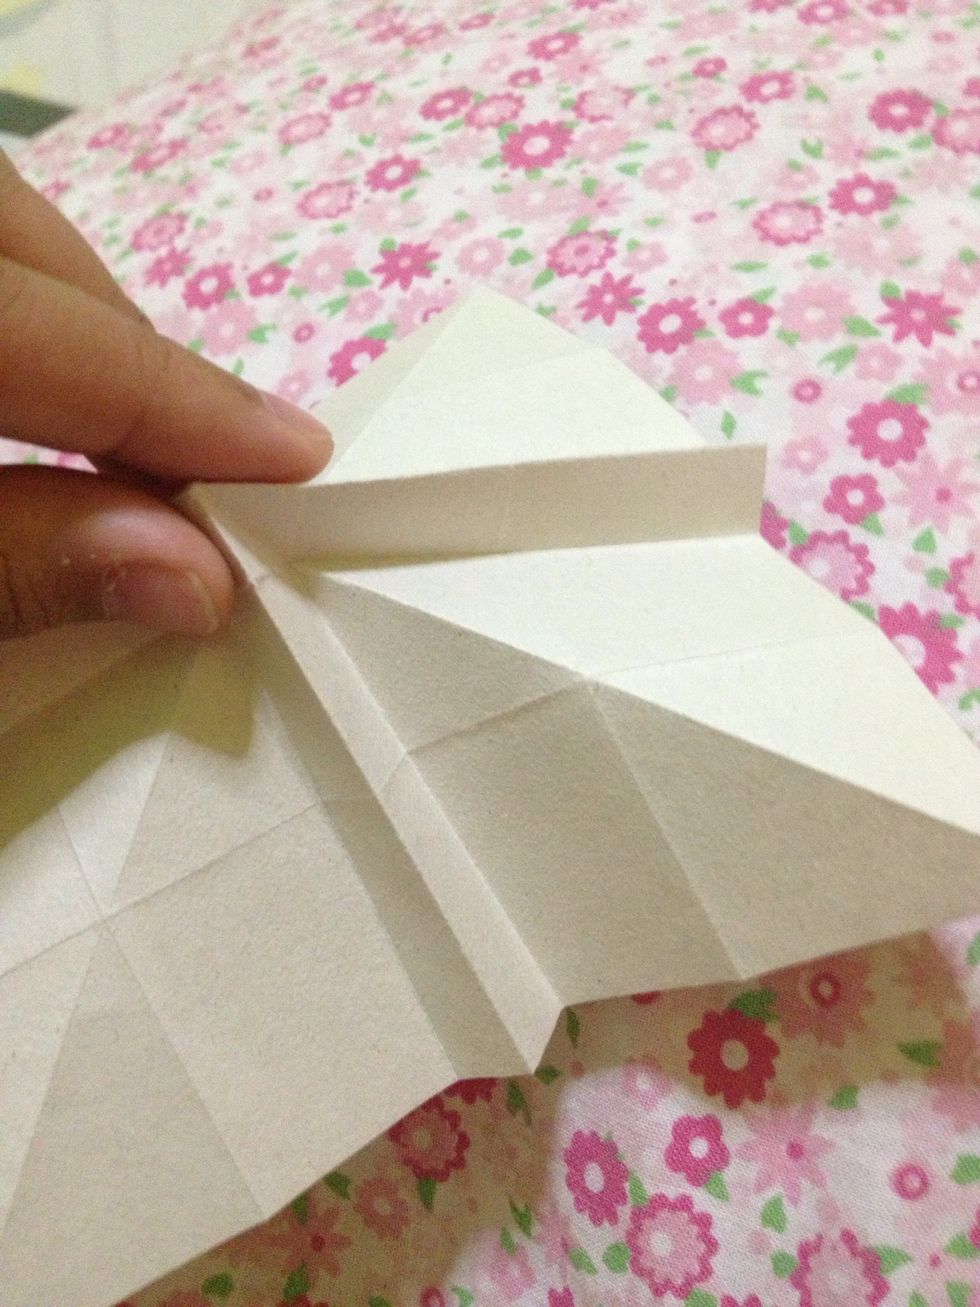
Then, pinch this tip and fold this corner. Do the same on the other side.
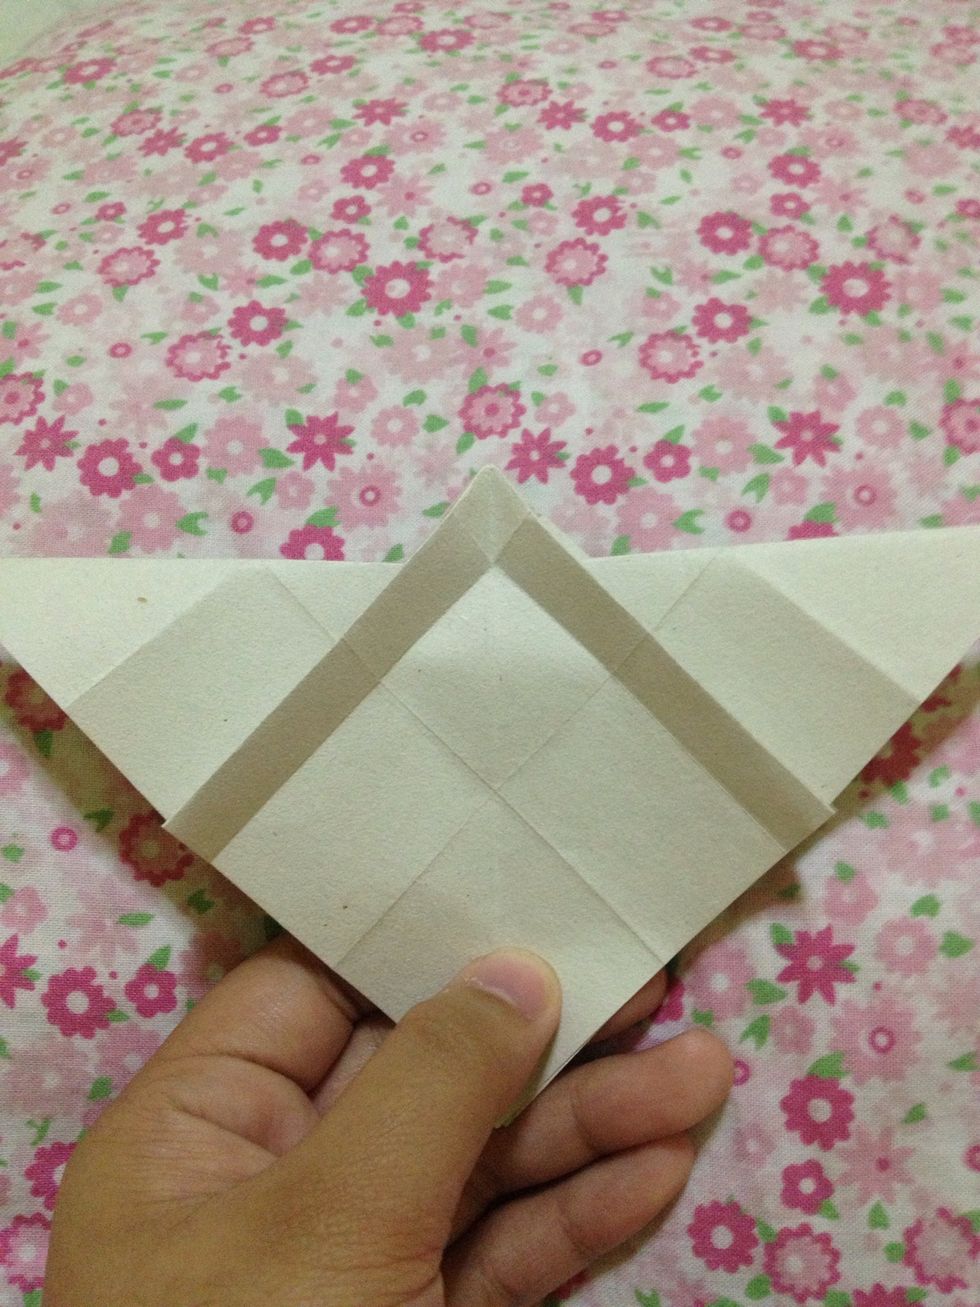
Like this.
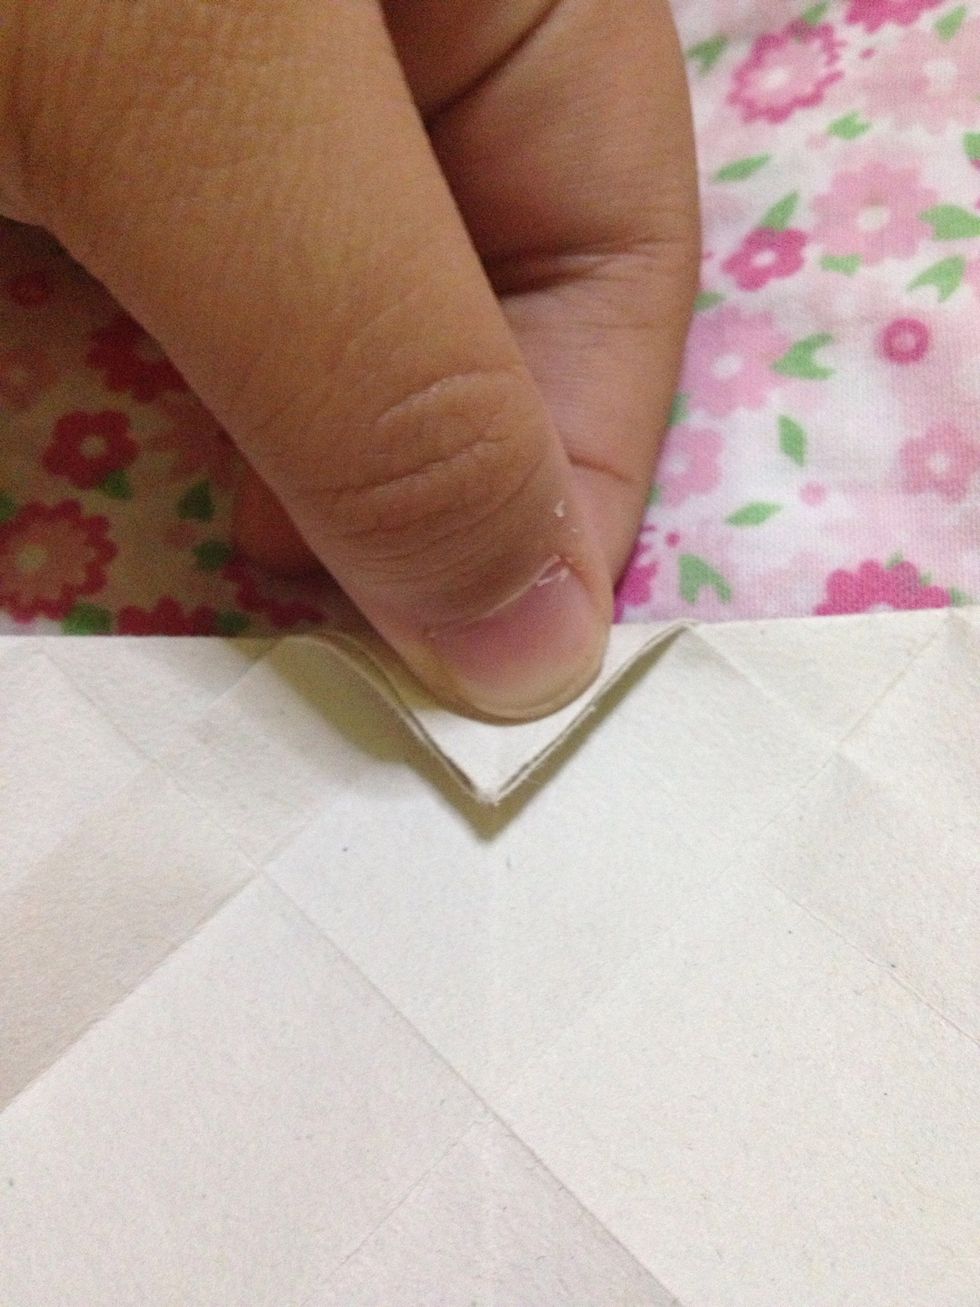
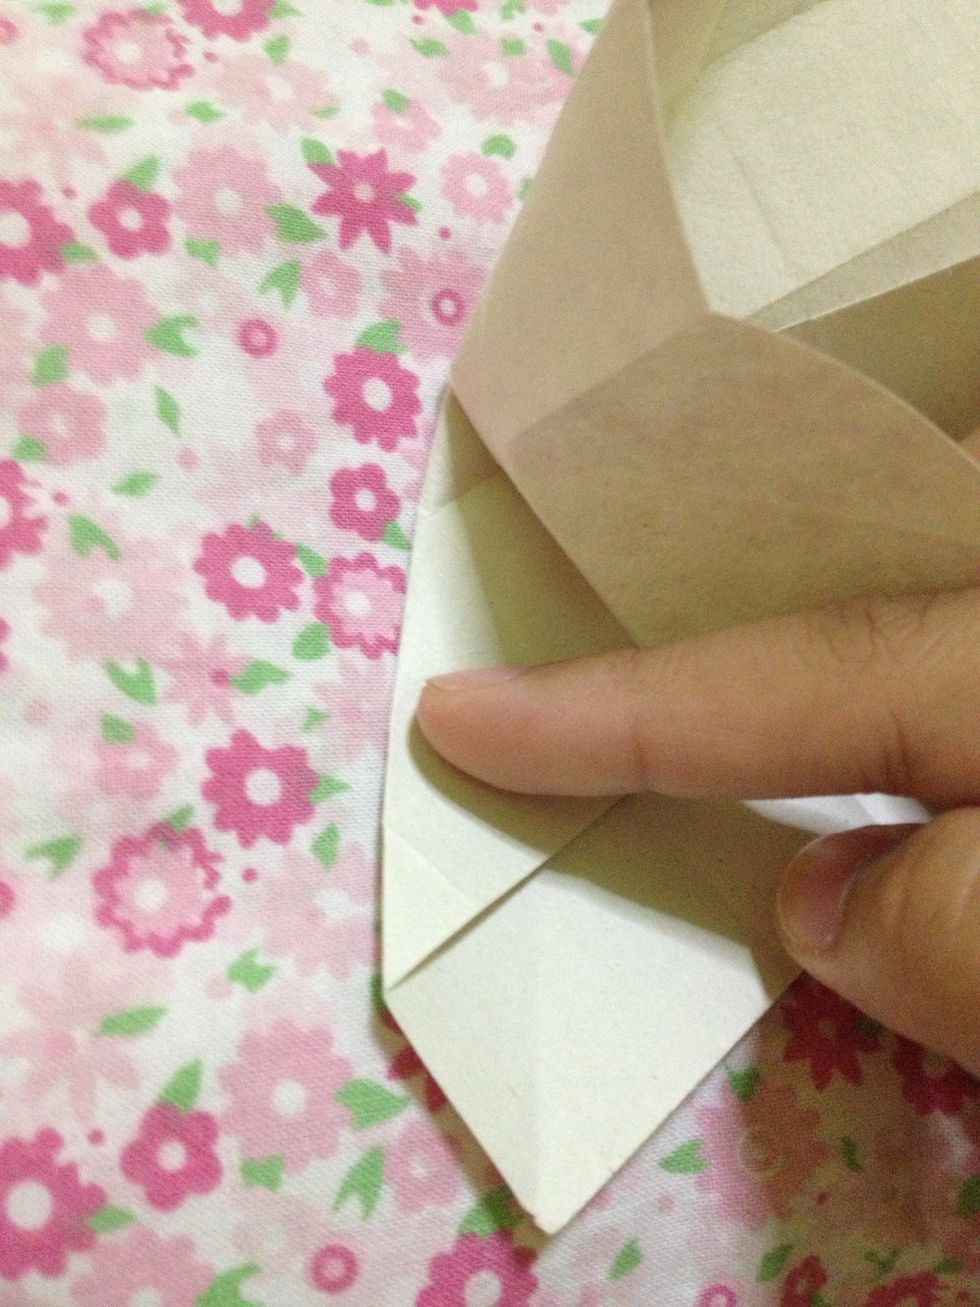
Fold this tip downward. Unfold.
Make GOOD CREASES when doing this origami so it will look beautiful when you finished it.
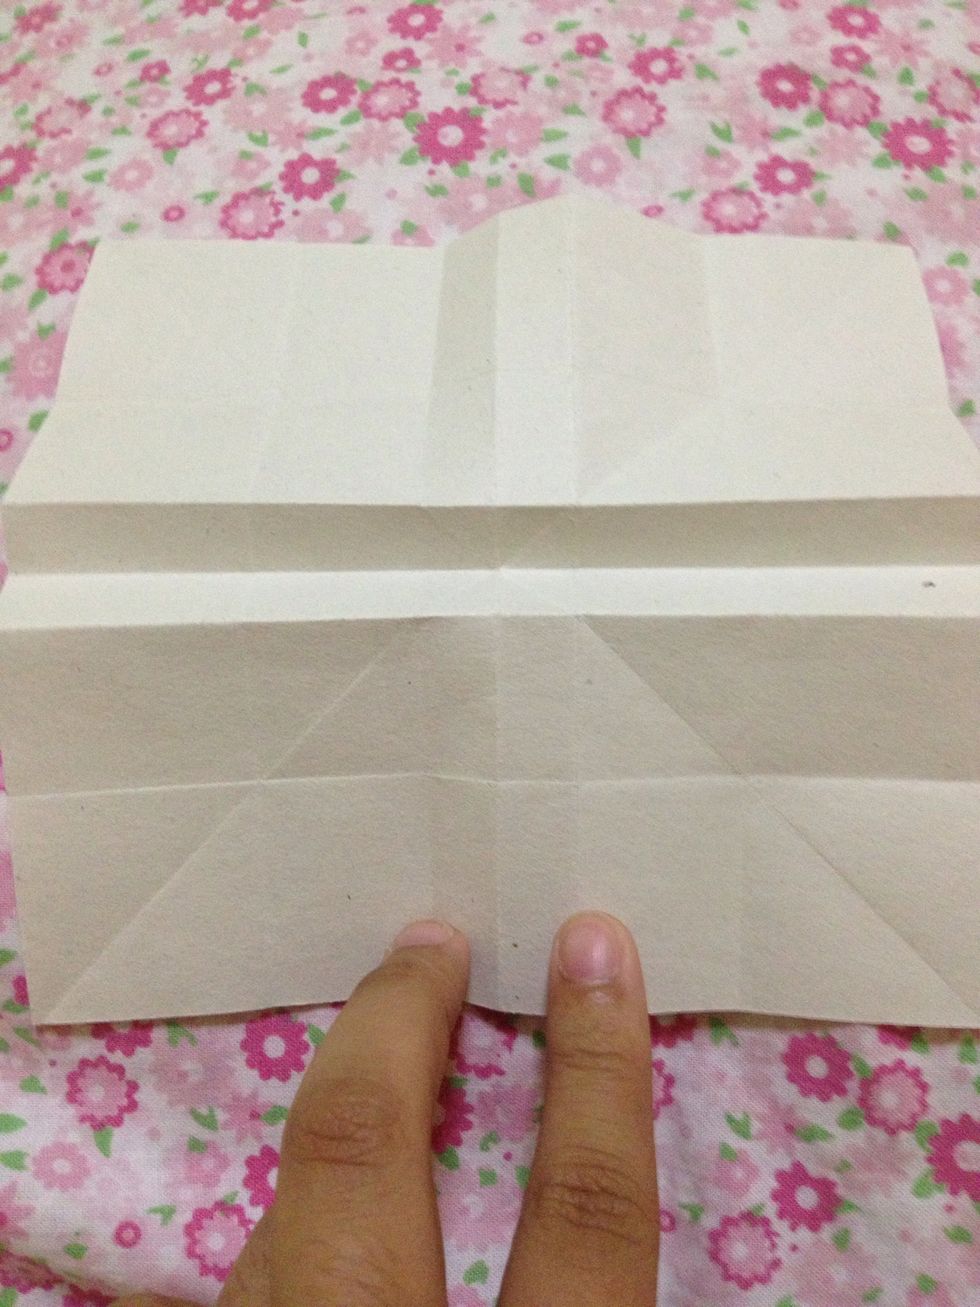
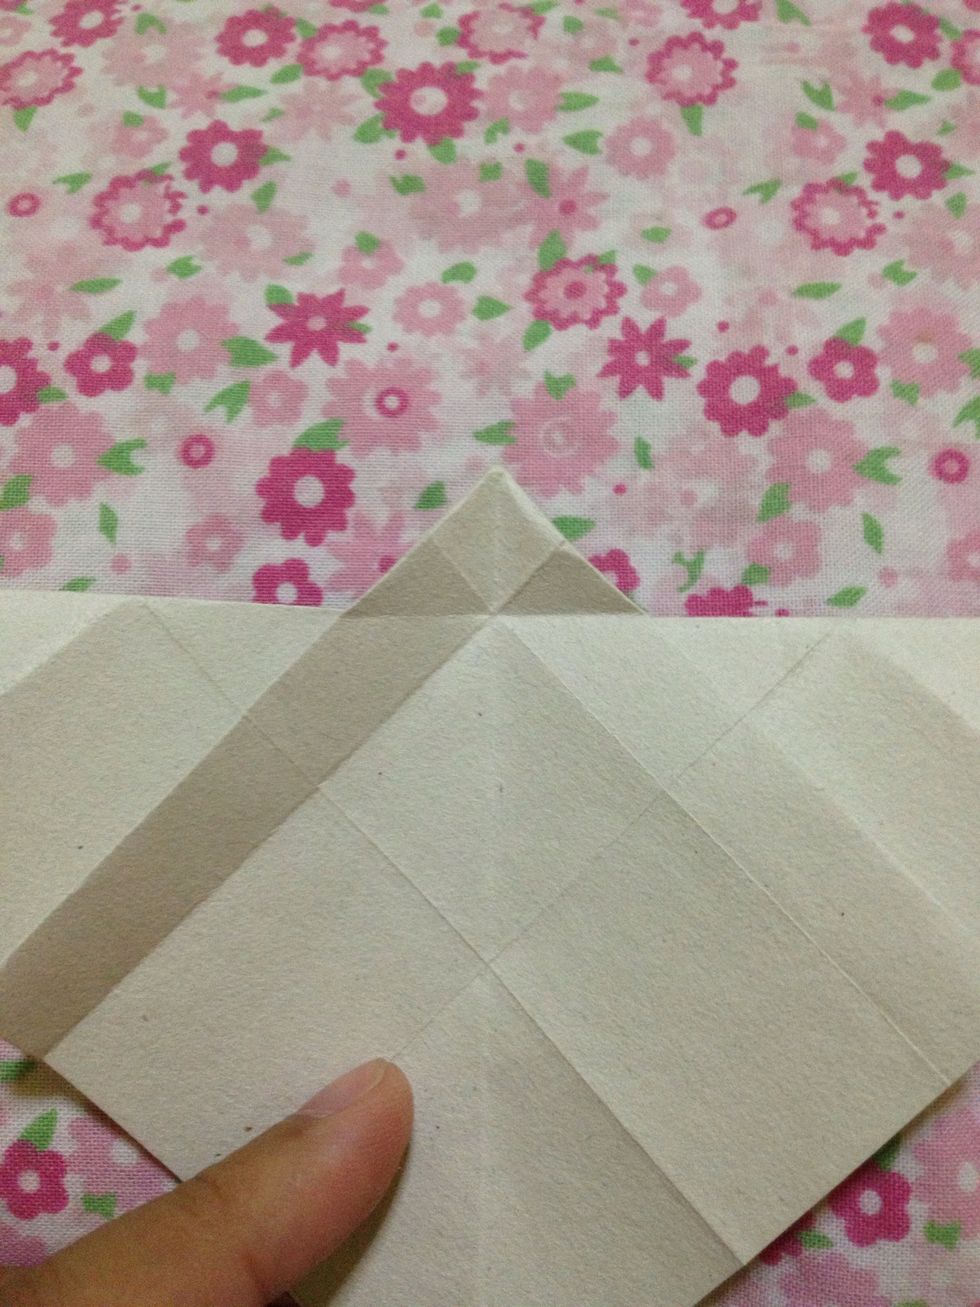
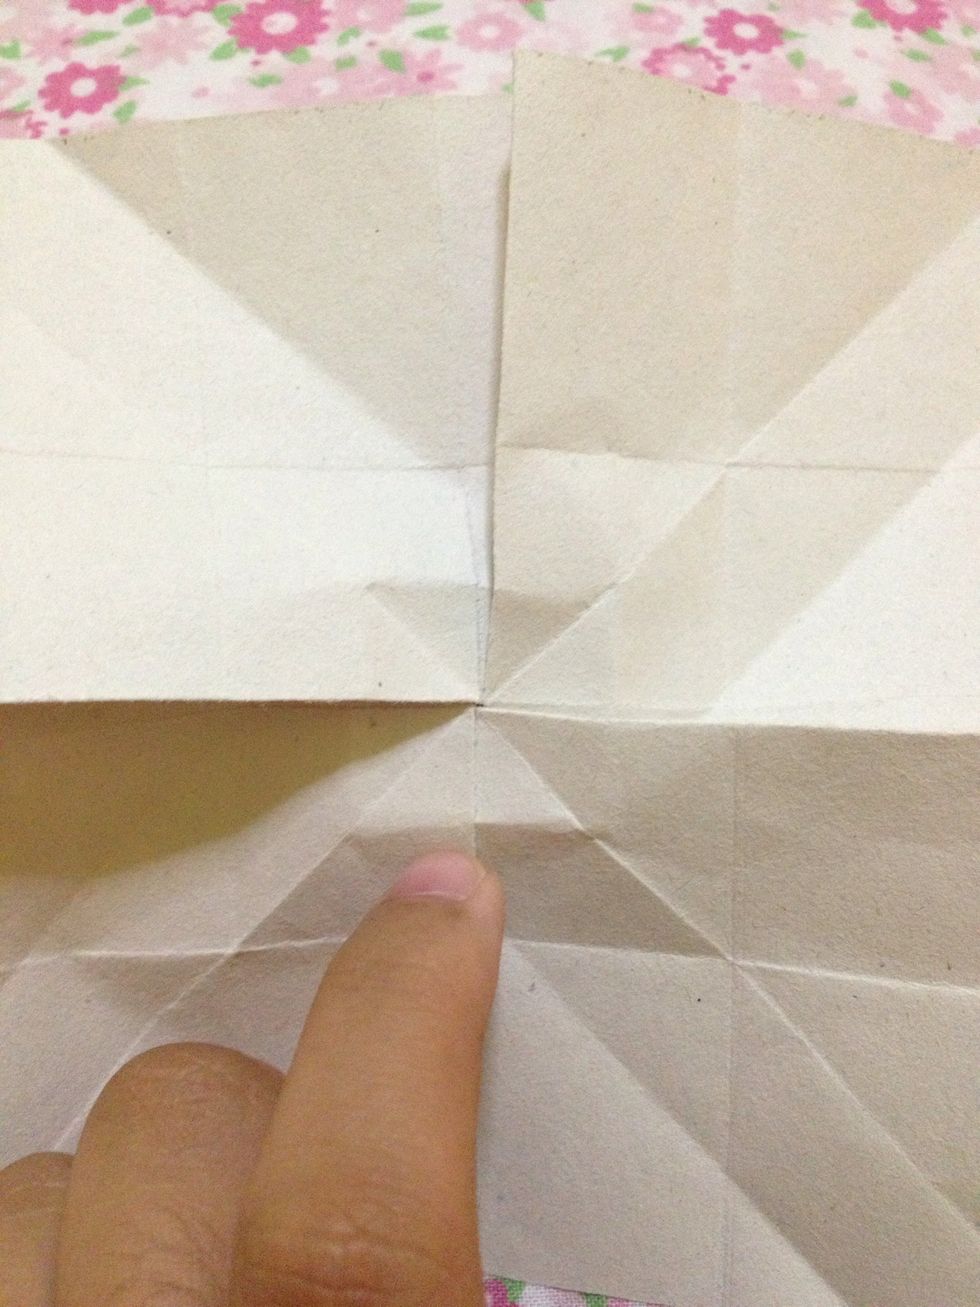
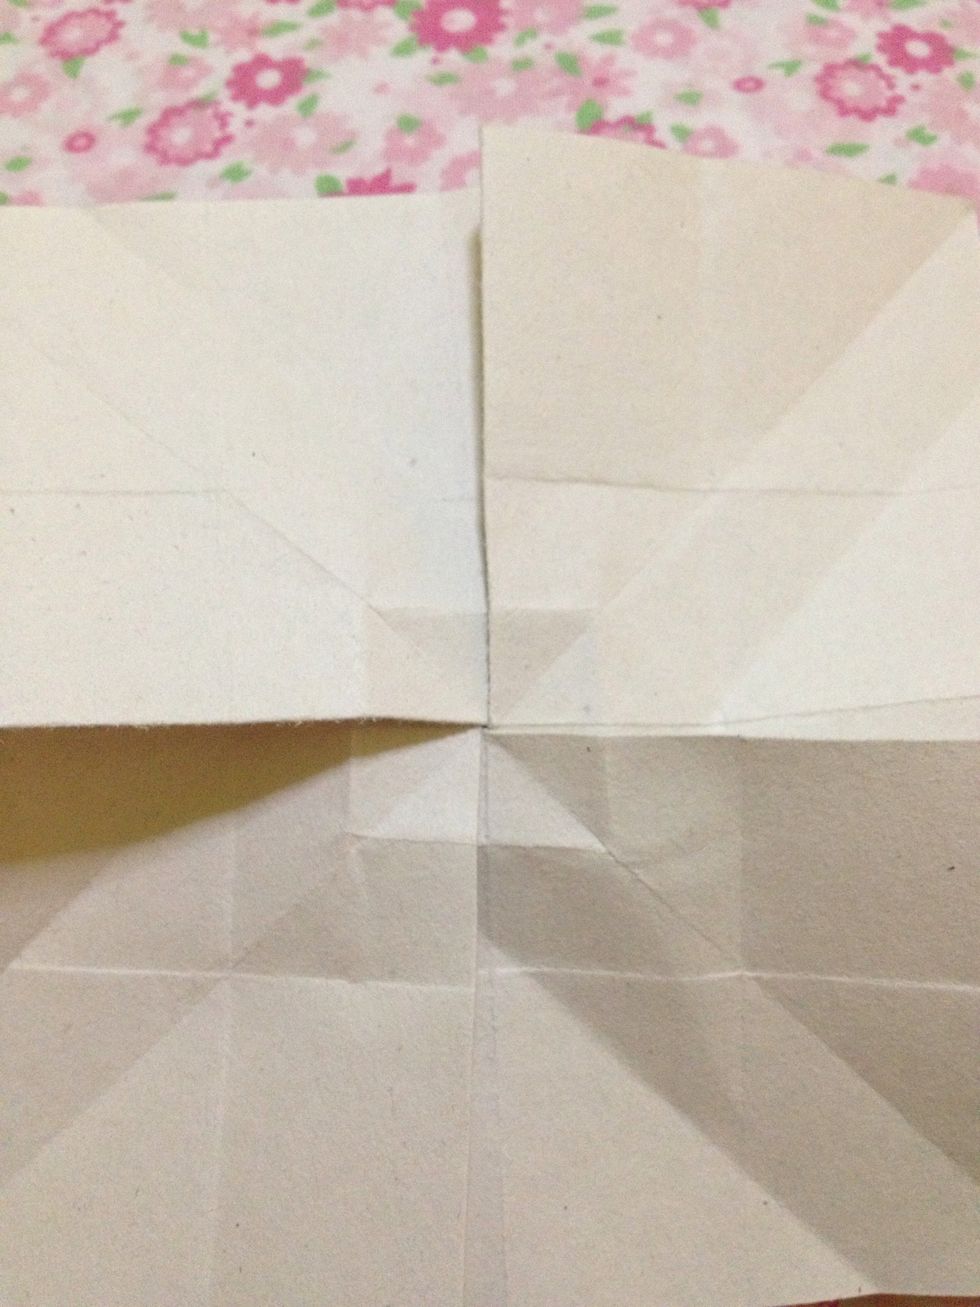
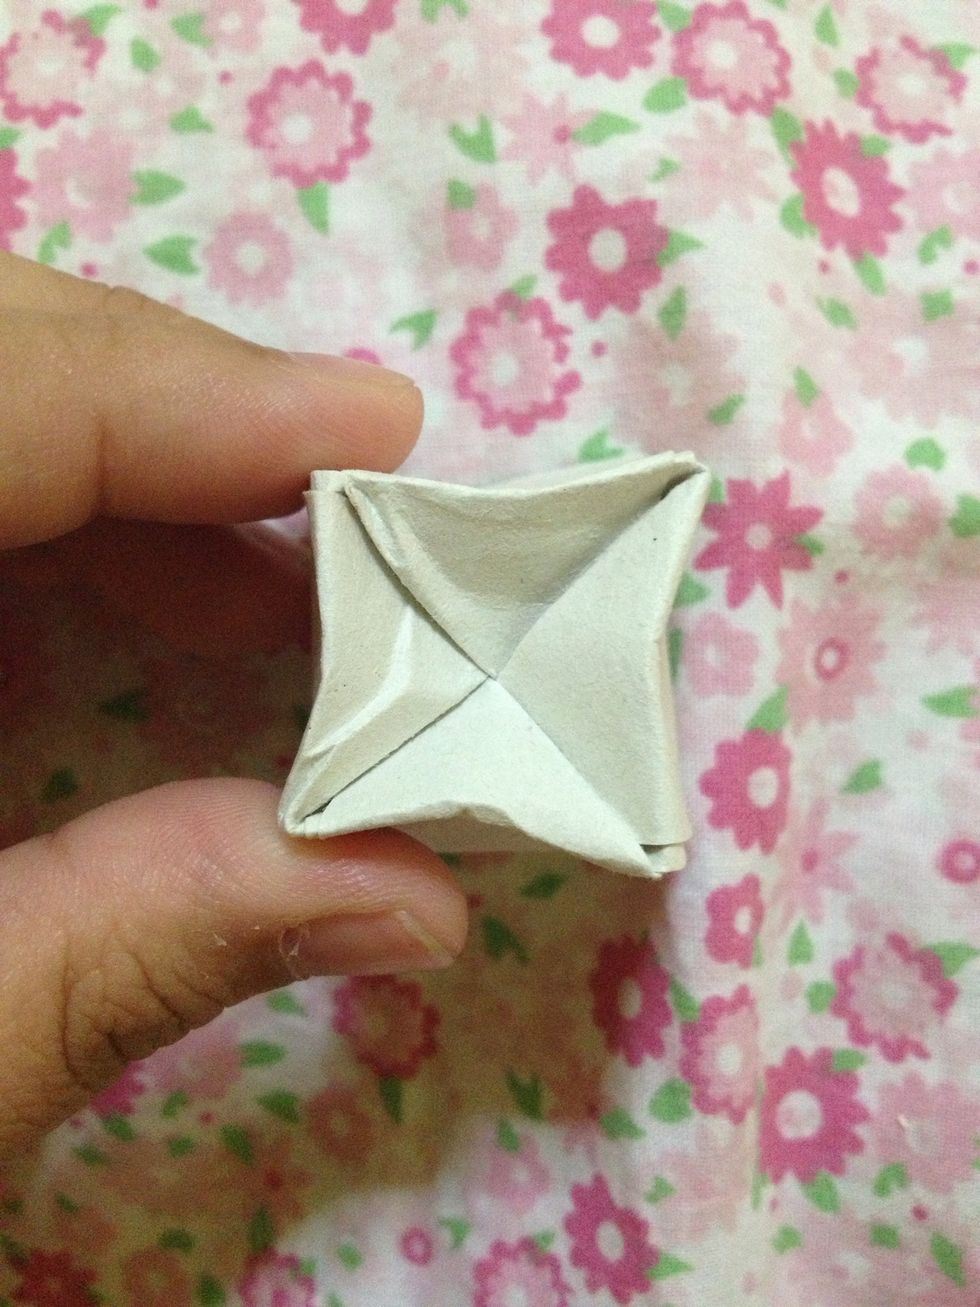
It should like this.
Make this cross-like part embossed.
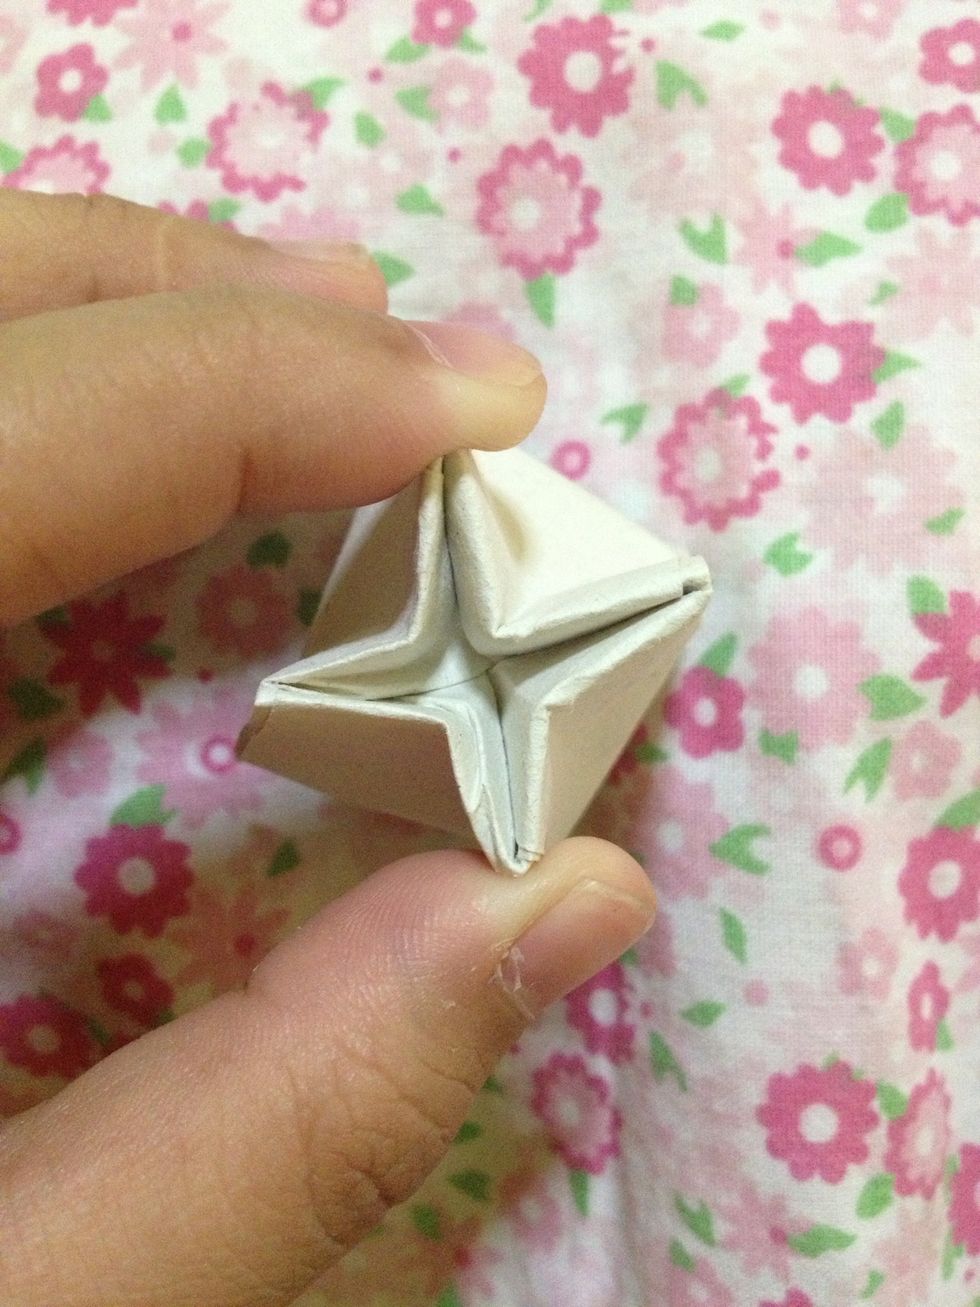
Then, twist it counter clockwise.
Push this tip to make it flat.
Like. This.
Turn the paper over.
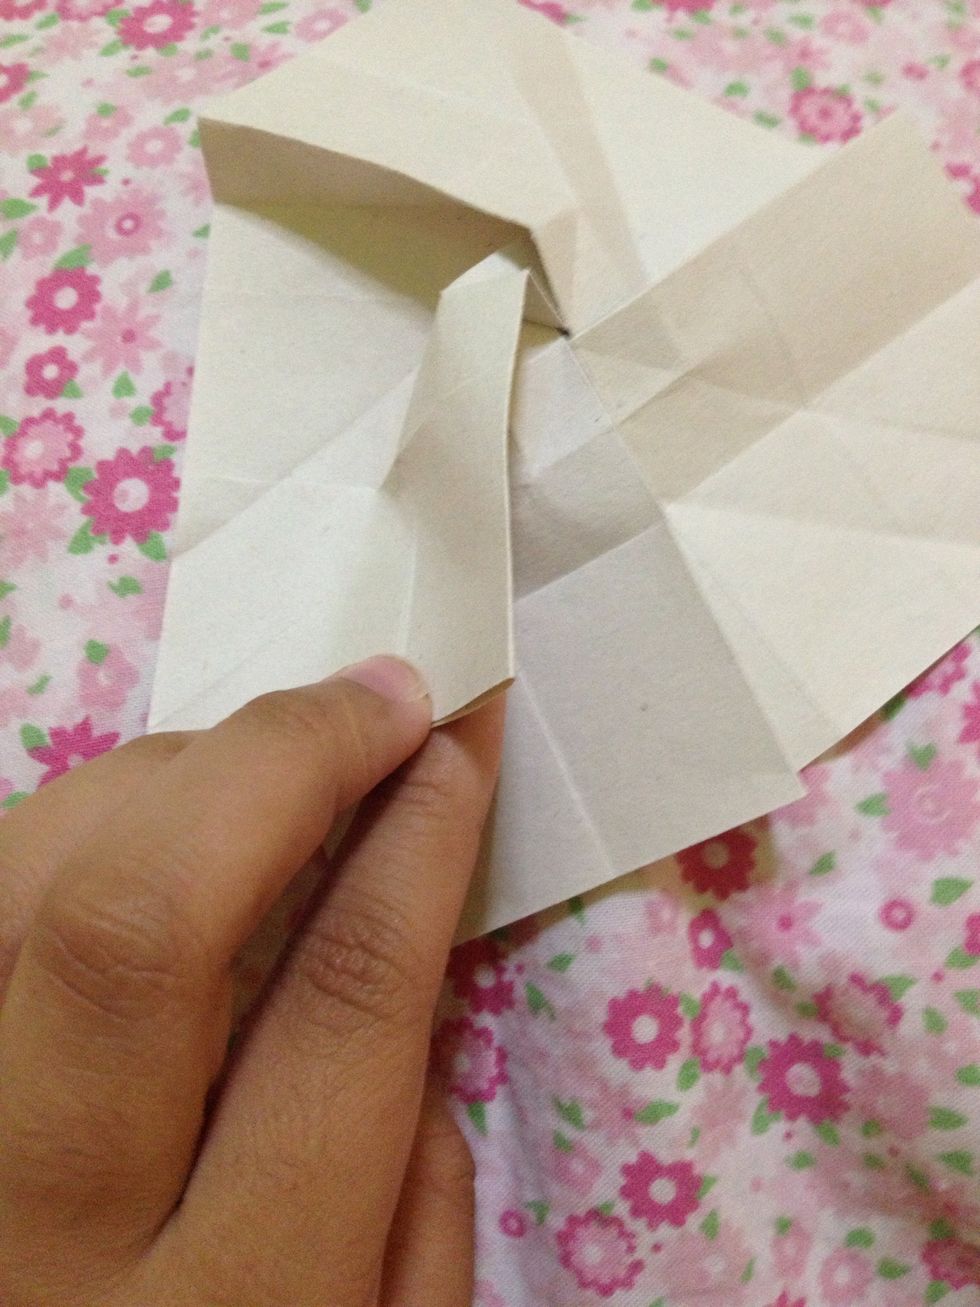
Insert your index finger to that slit and push it downward.
Like this.
Make your index finger as a guide when folding the upper part down.
It will look like this. Do the same on the other parts.
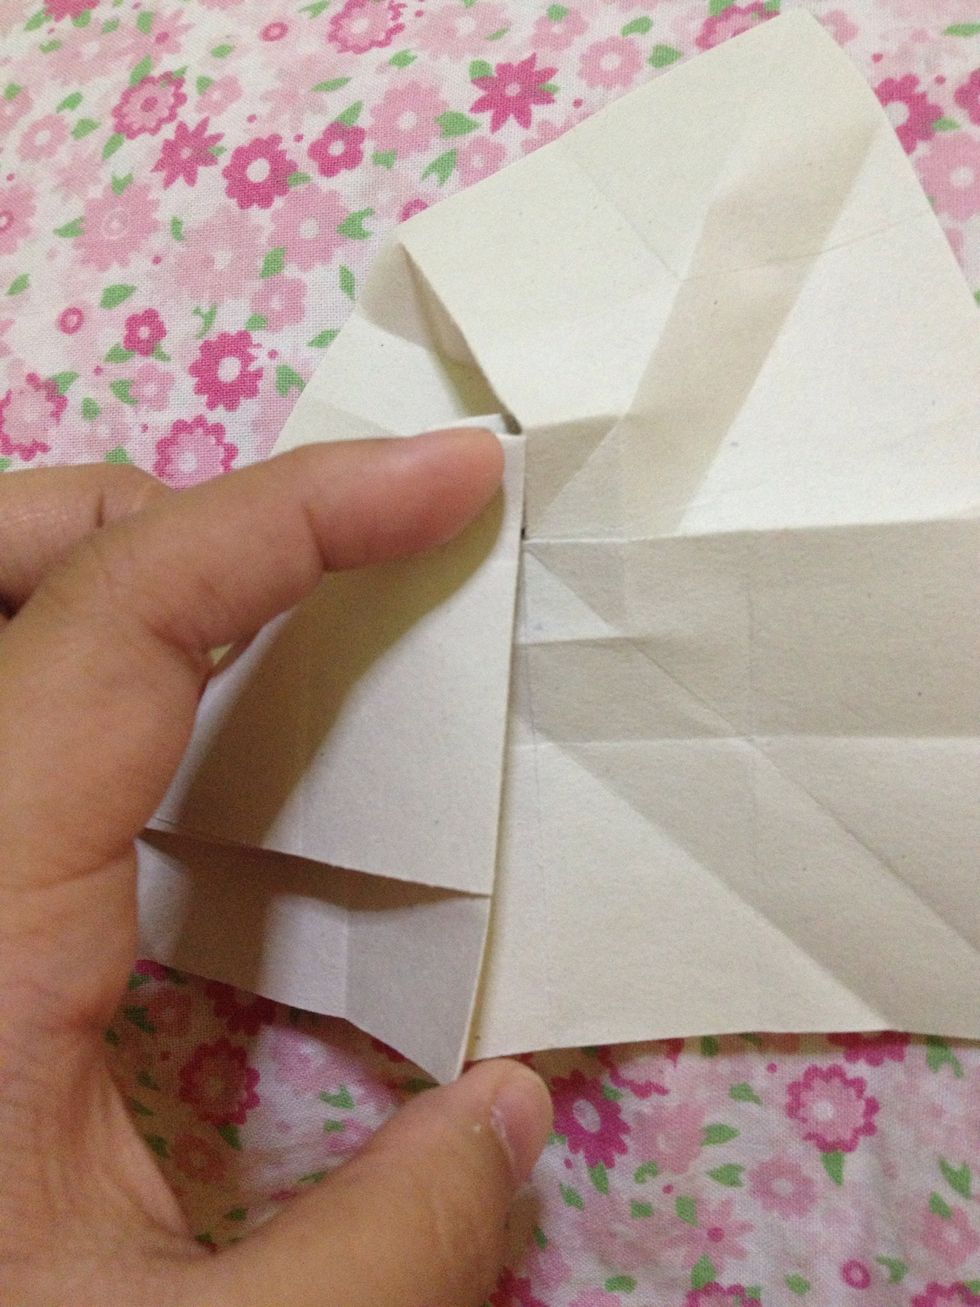
Don't forget to fold the outer part. Do the same on the remaining parts.
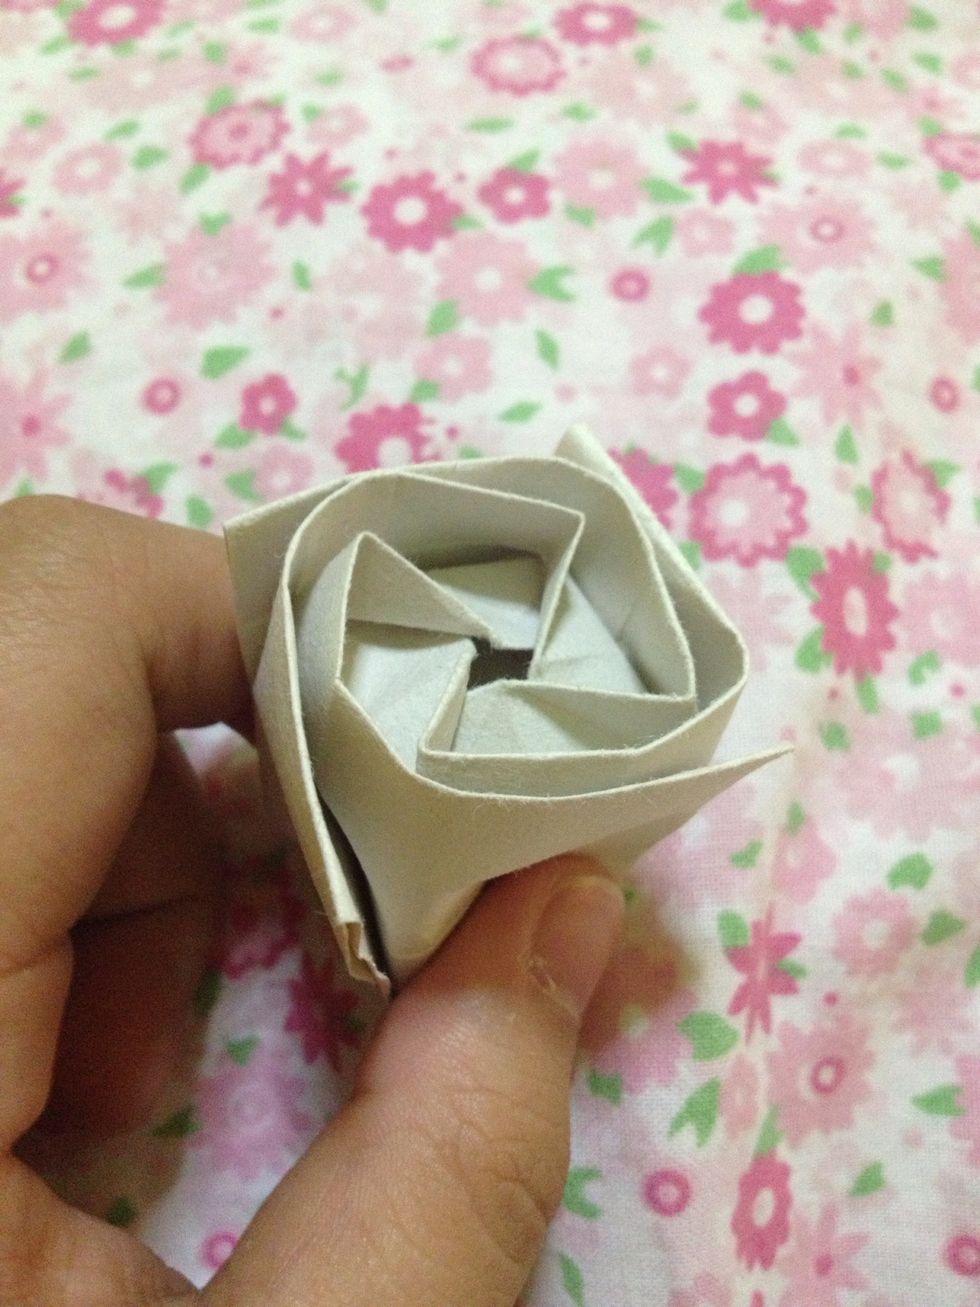
See that box outline? Crease that.
Like this.
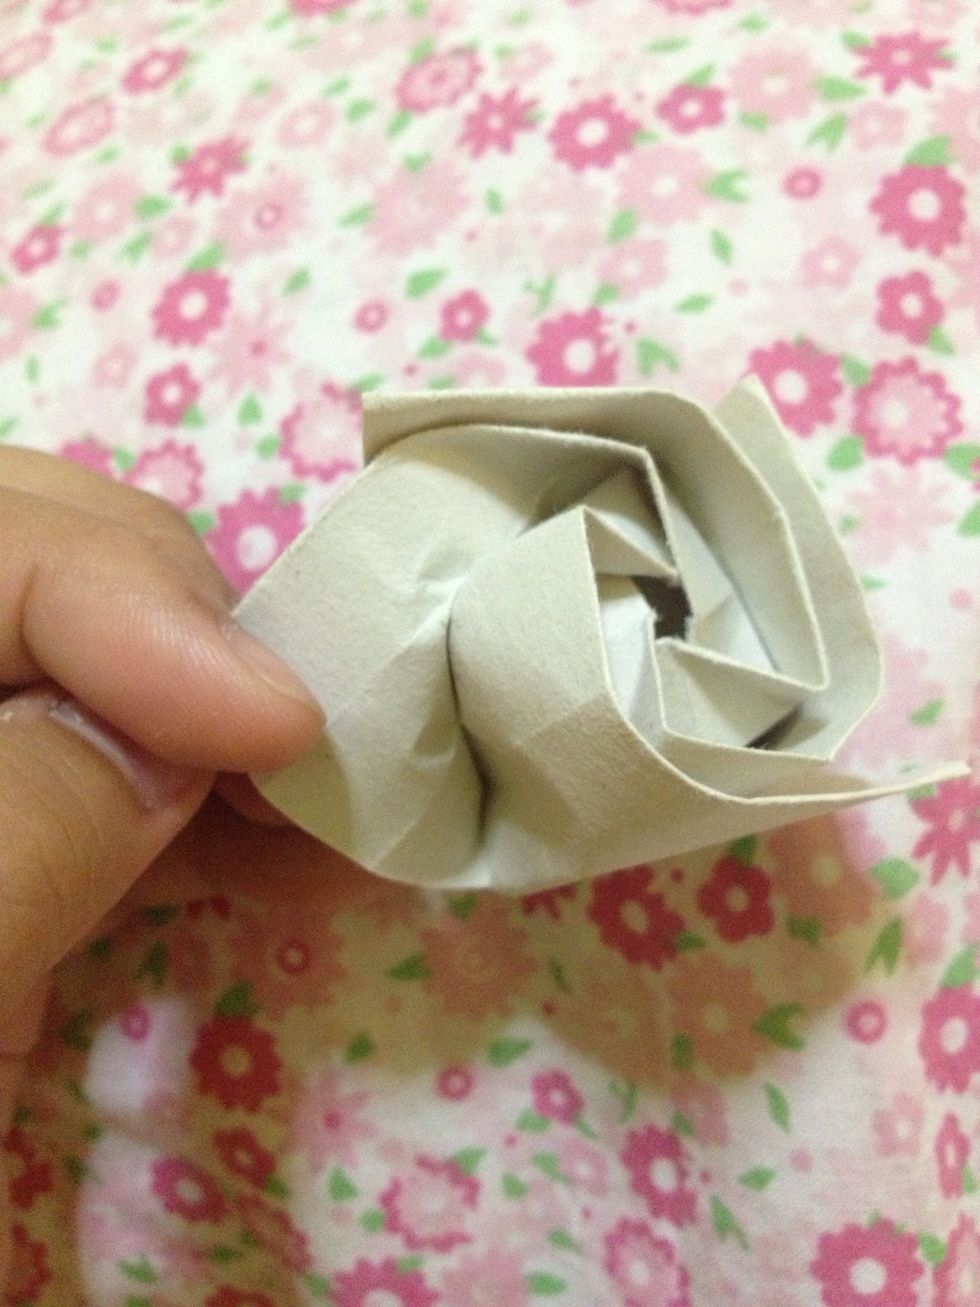
Meet this left fold to the right fold. Do the same on the other remaining parts.
And crease this pointy part downwards. Do the same on the other parts.
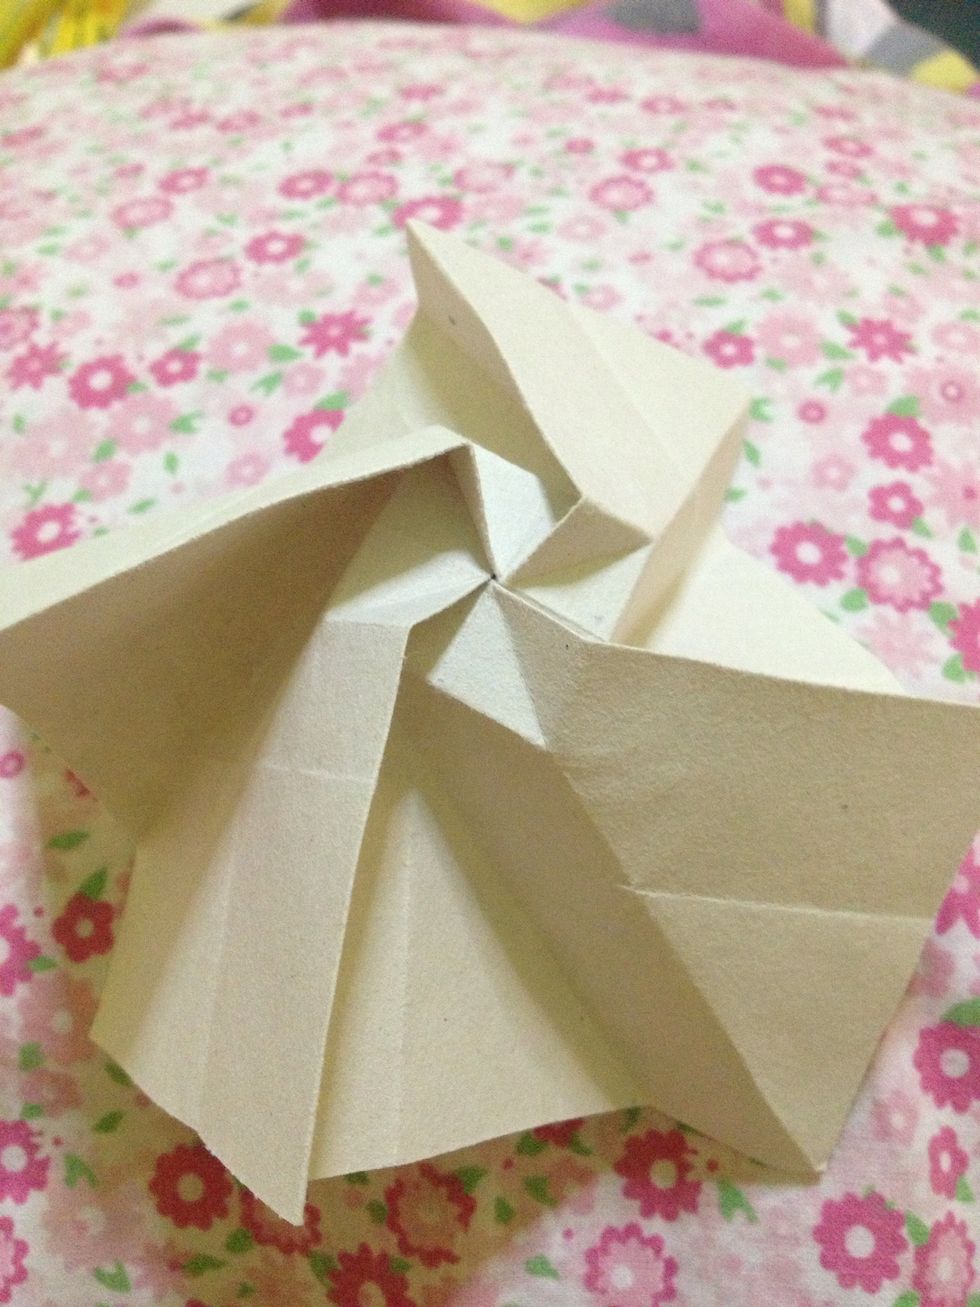
It will look like this.
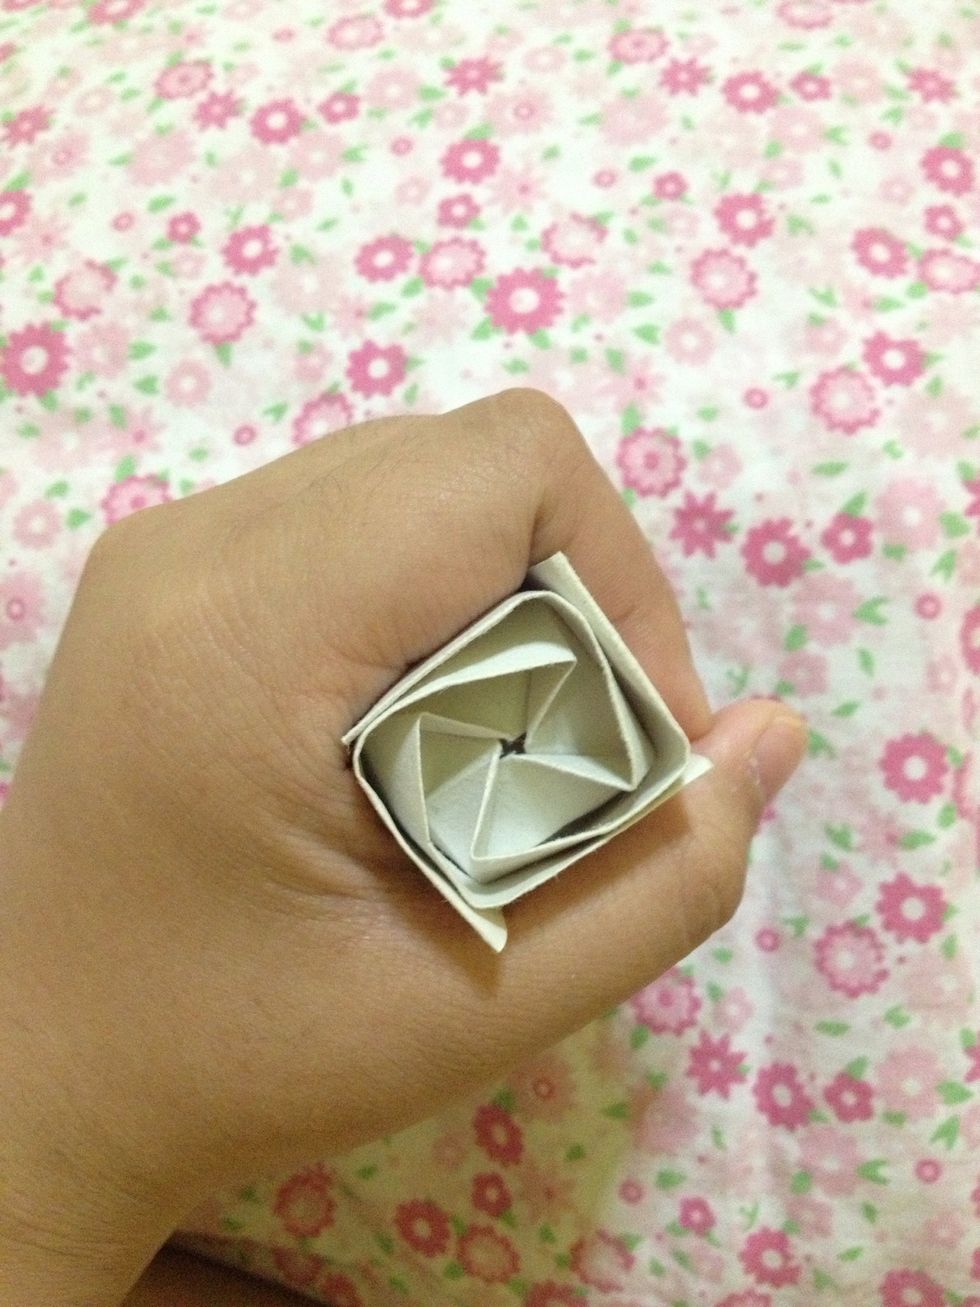
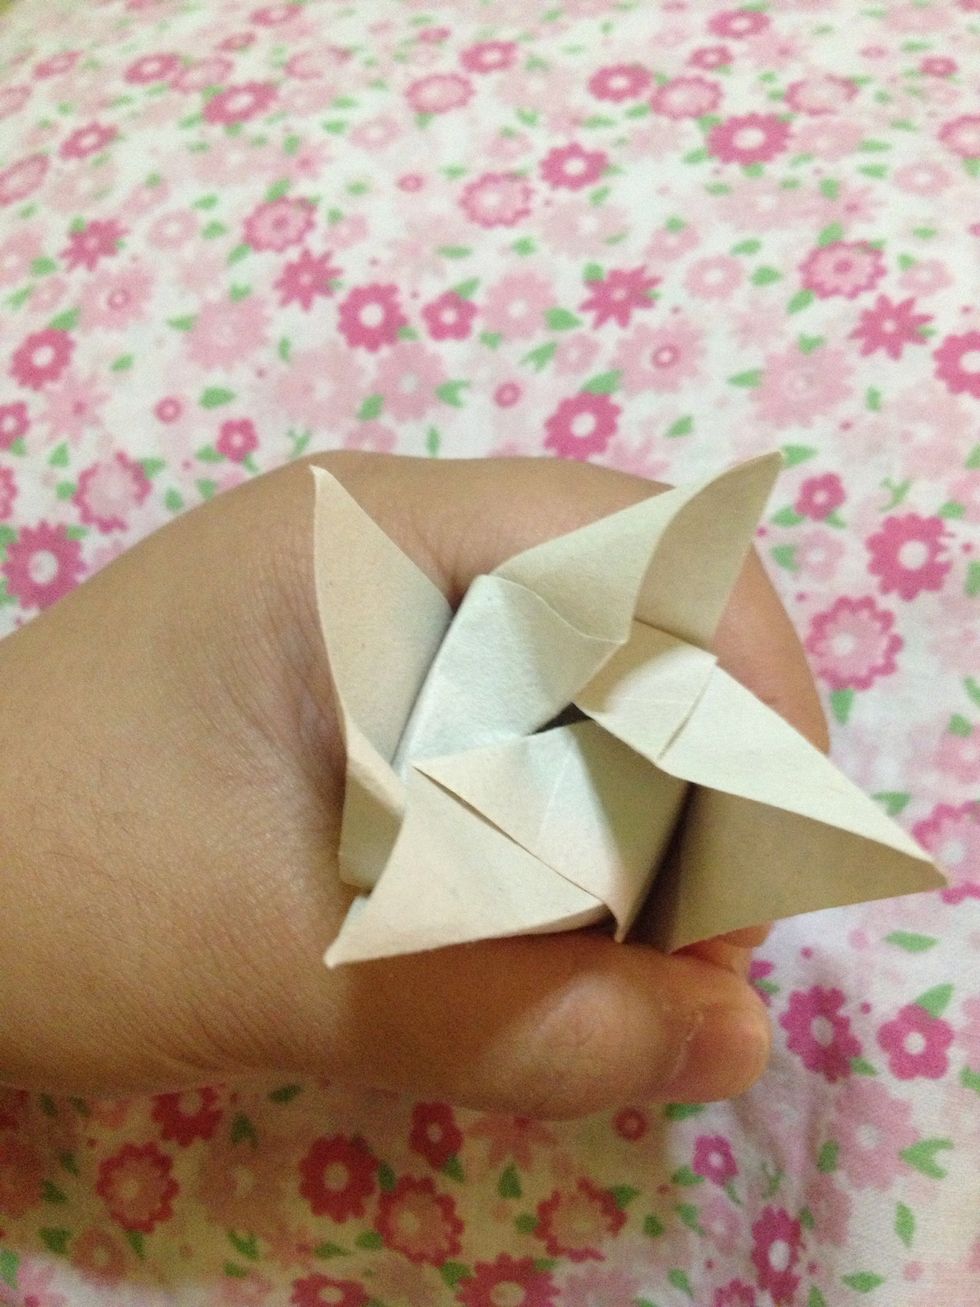
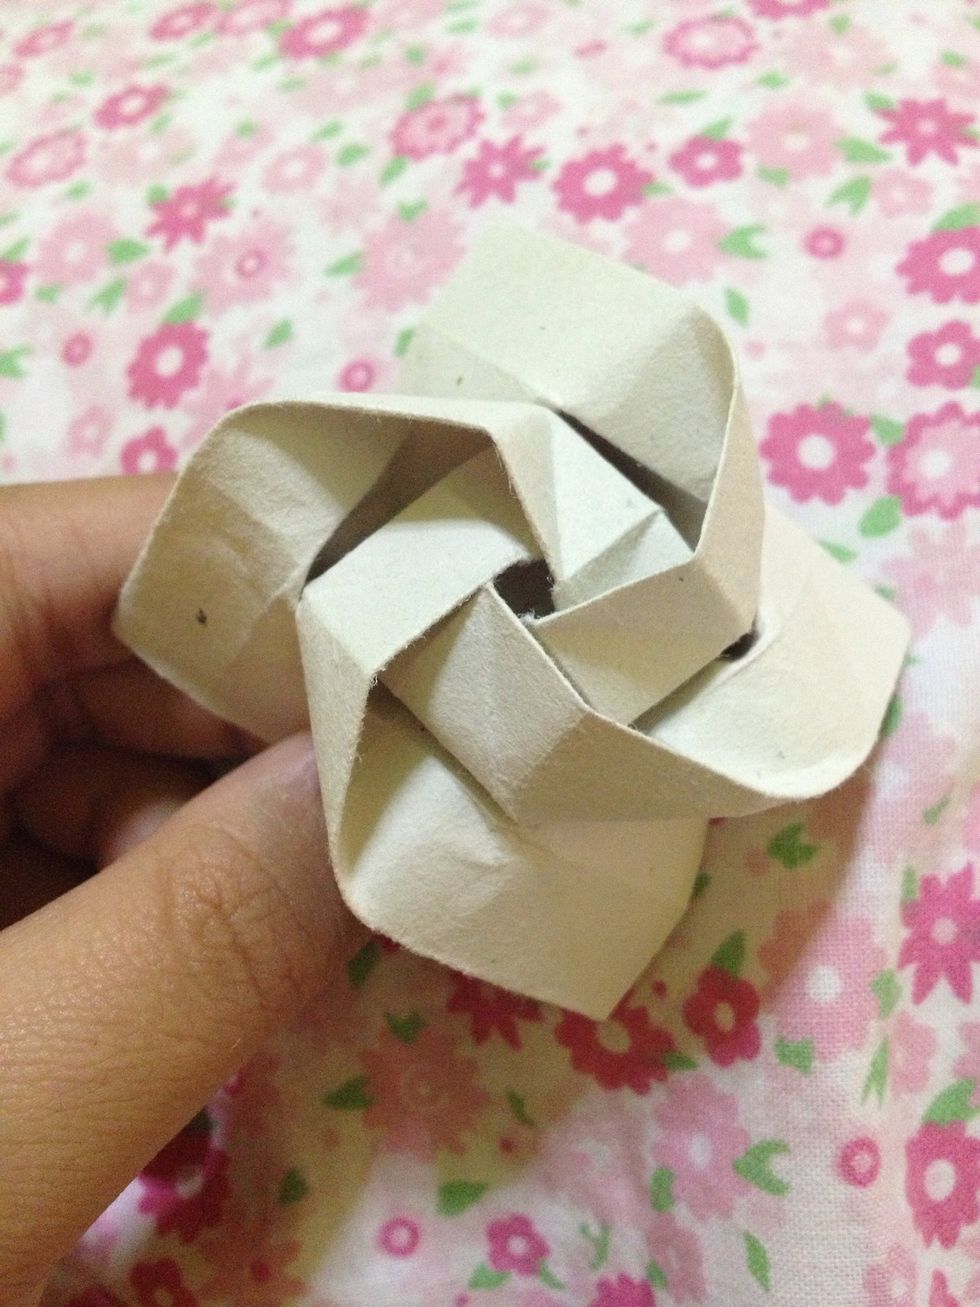
Round it up in your hand. Like this.

Turn it over. It will look like this.

Fold this part. Continue it on the other parts.
2nd part.
3rd part.
And lastly, the 4th part.
Fold them one-by-one to the center.

If you reached the last one, tuck it under.

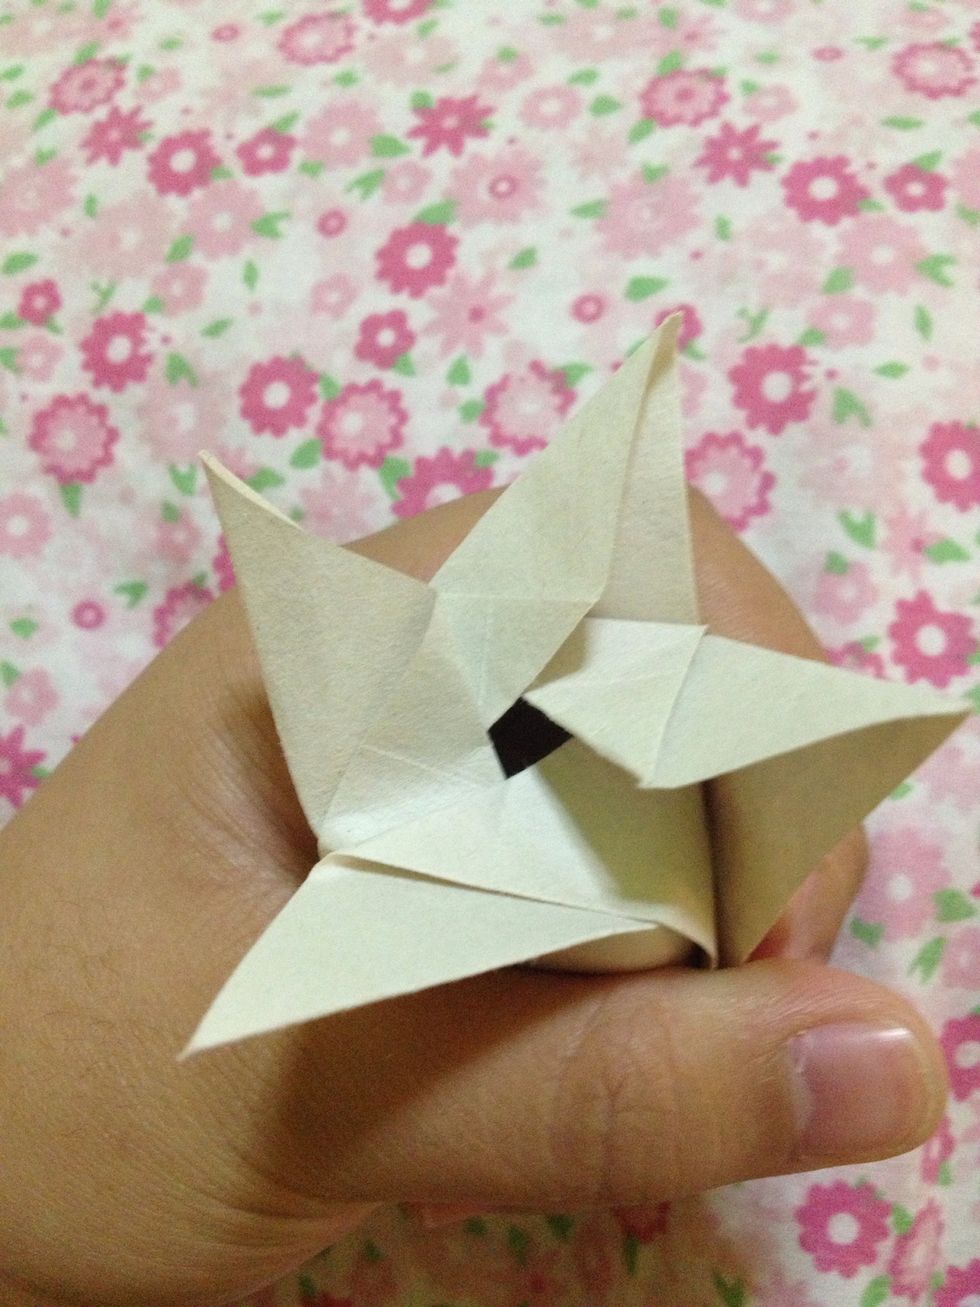
It should look like this.
Squish this four sides to the center to lock it. Or you can put transparent tape on it.
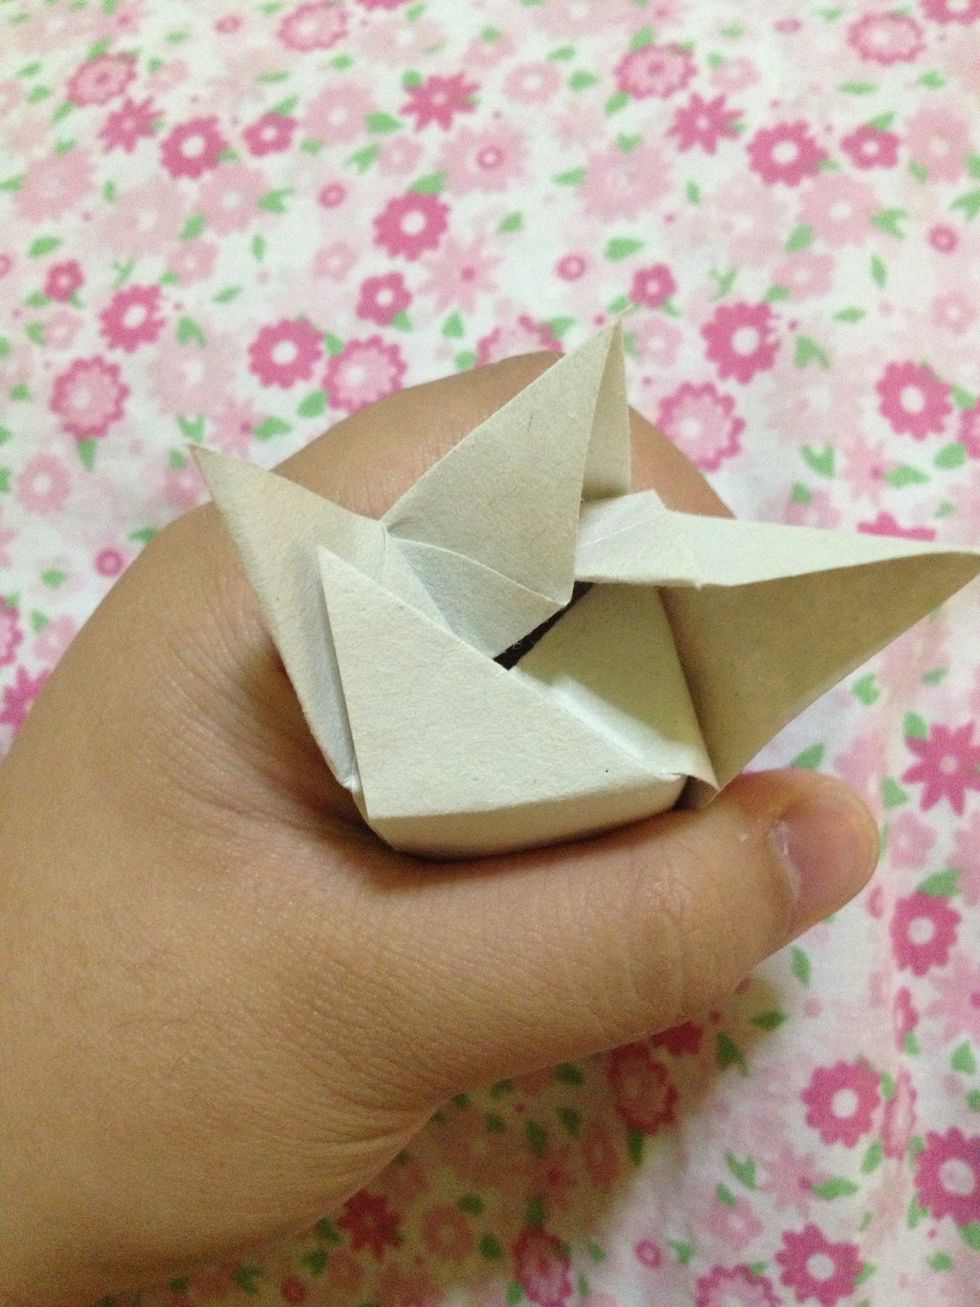
It will look like this.
Turn it over like this.
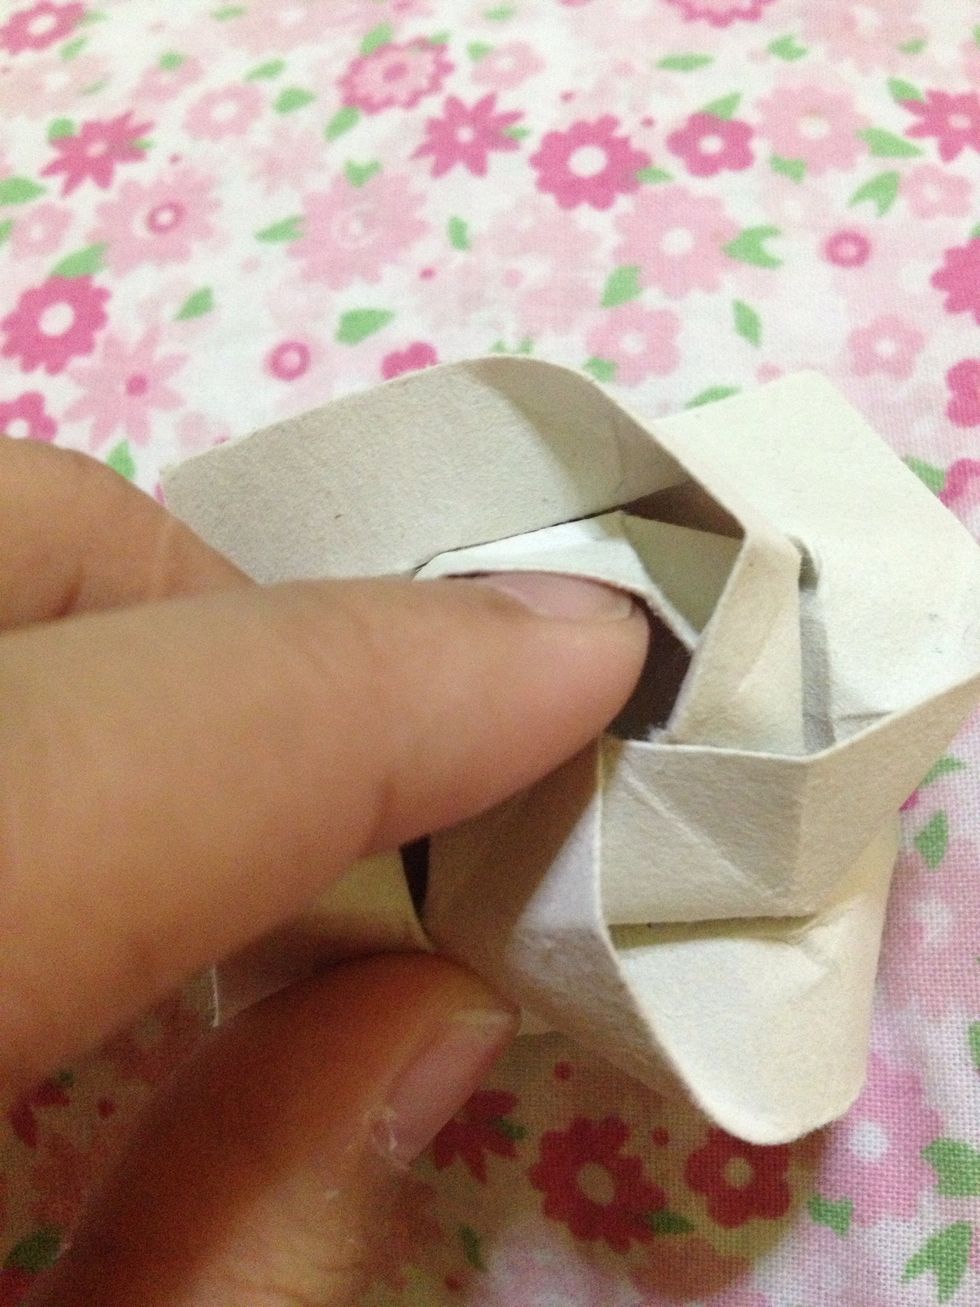
Peel the petals. Do not peel so far.
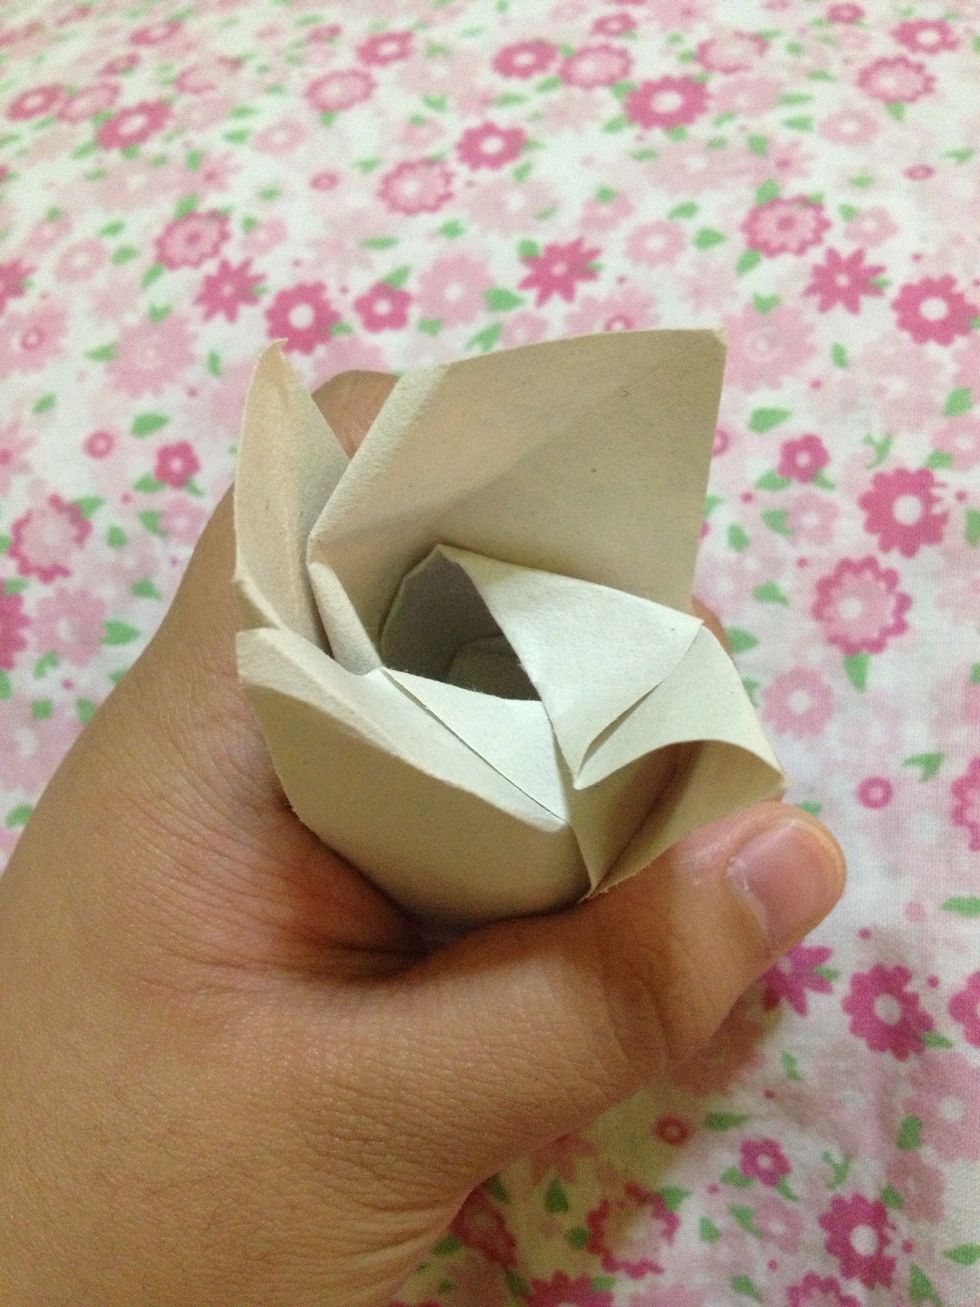
Then, it will look like this.
Shape the inside of the rose with your index finger or with a pen.
Like this.
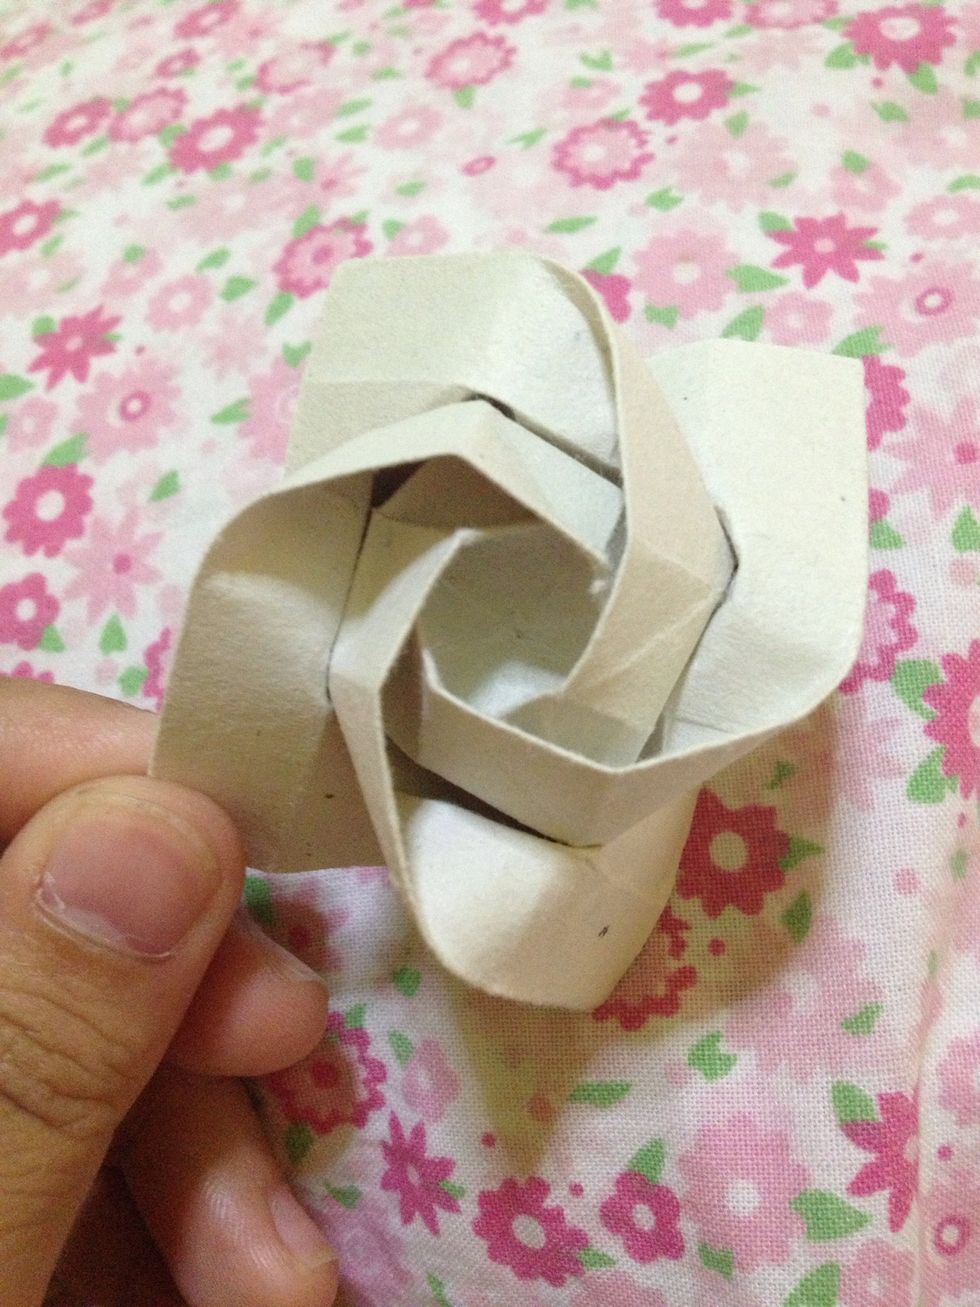
Curl this petals inward with your finger or with a pencil.
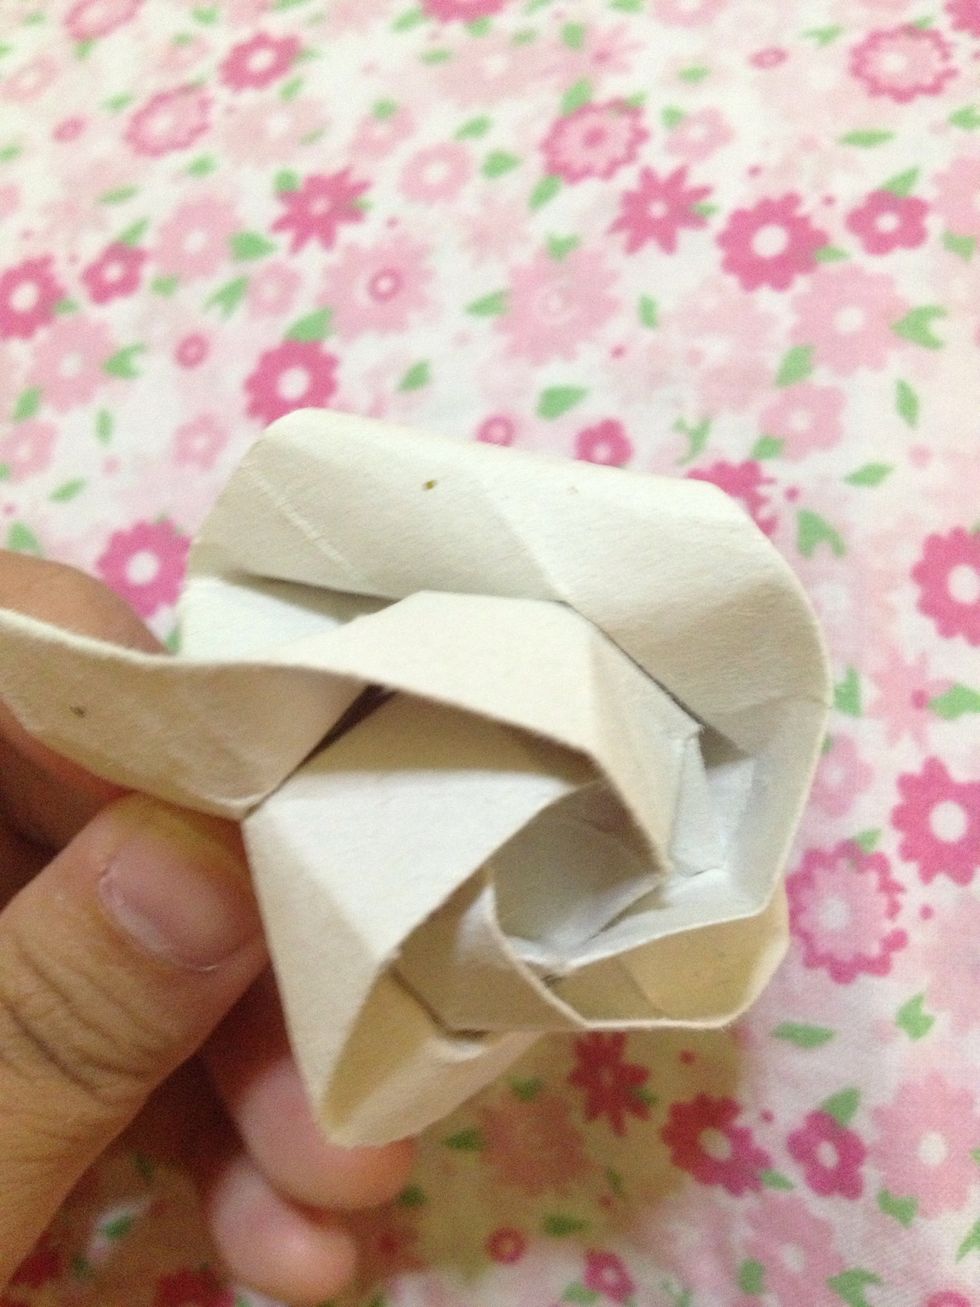
Like. This.

And you're done! Kawasaki rose complete. Like, Comment and of course... FOLLOW :))
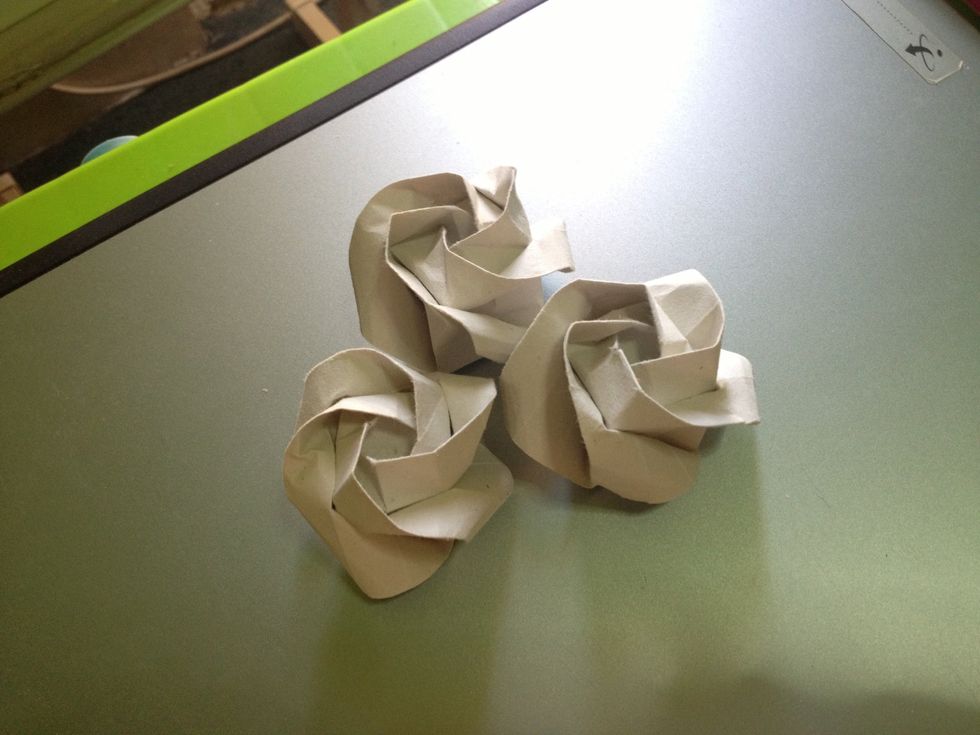
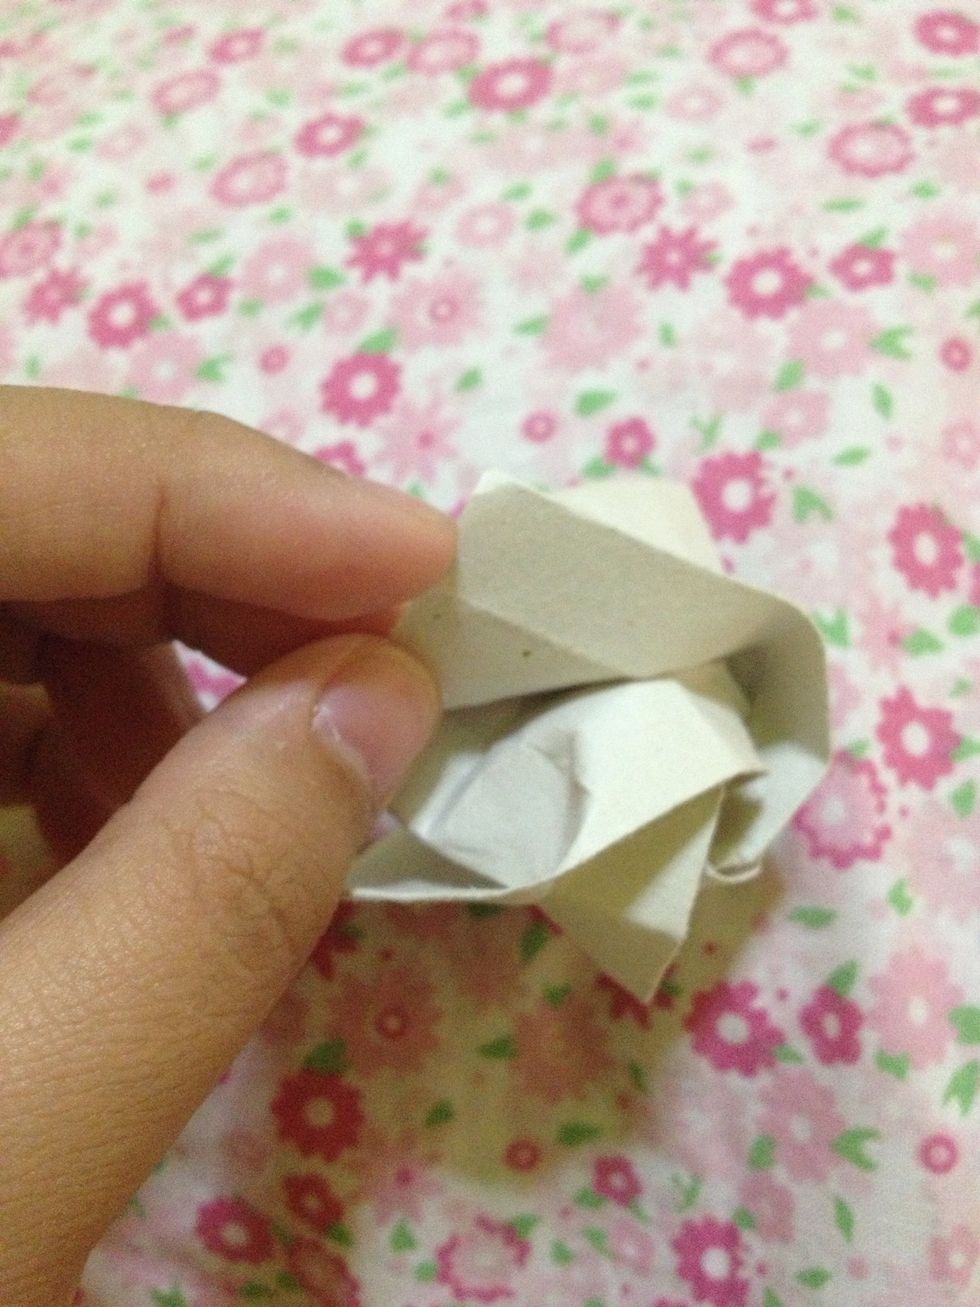
I've made 3 more :)) You could also spray perfume or cologne on it. I sprayed mine with body spray and it smell refreshing. lol. :)
Have some origami requests? Comment it below. Don't be afraid. I'm willing to do your request ASAP. Thank you. 😊