The Conversation (0)
Sign Up
Start with your origami rose flat on the table.
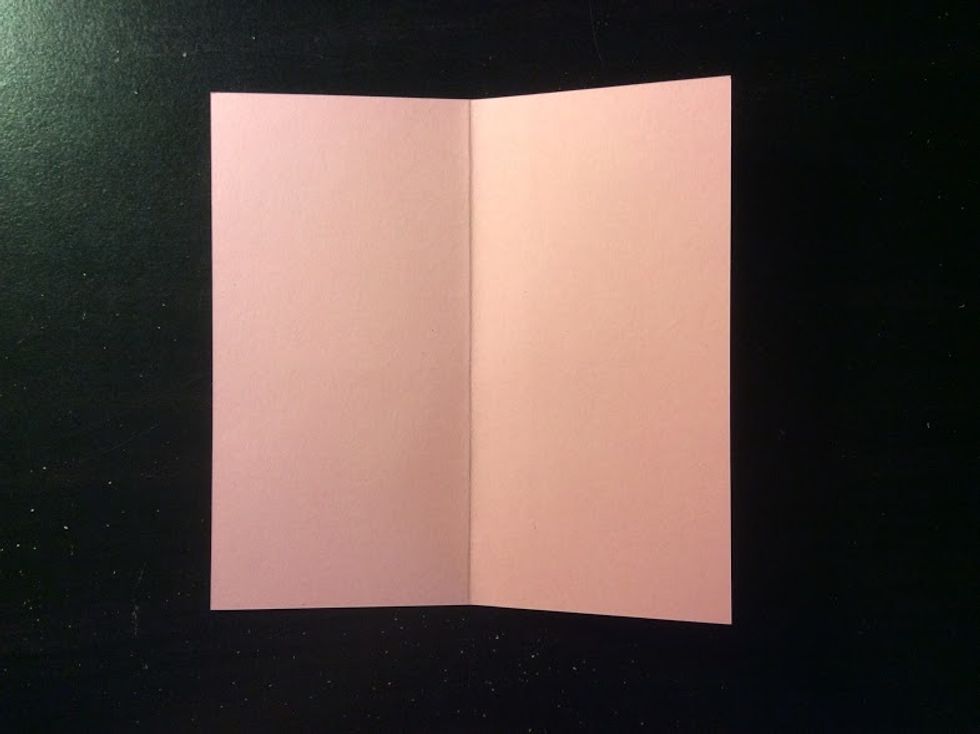
Fold your paper in half.
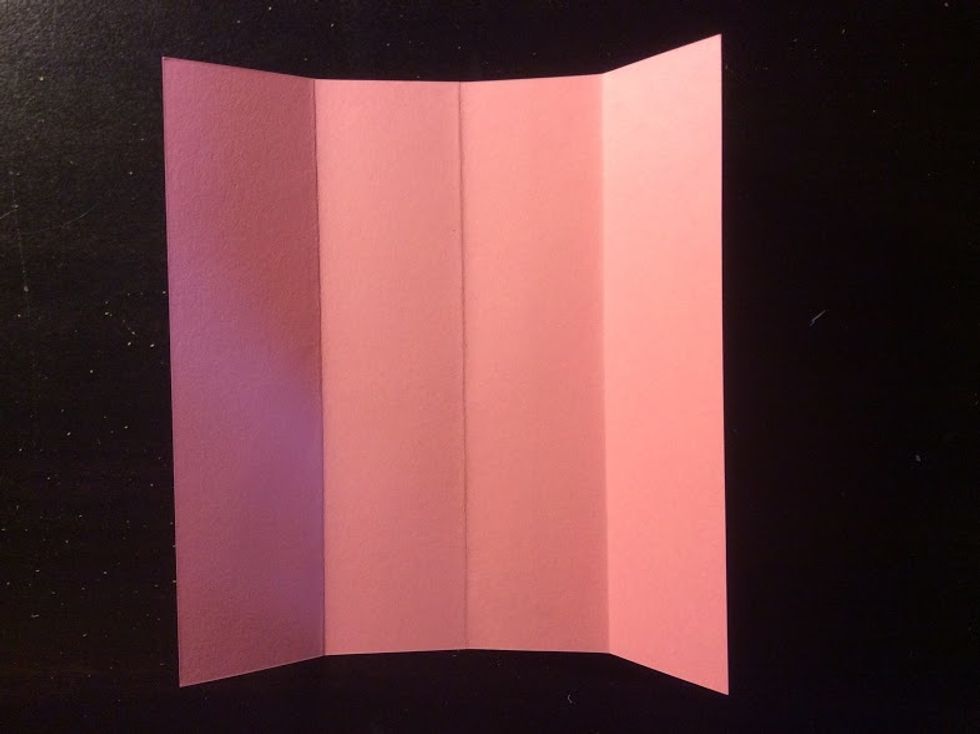
Fold each side to the center.
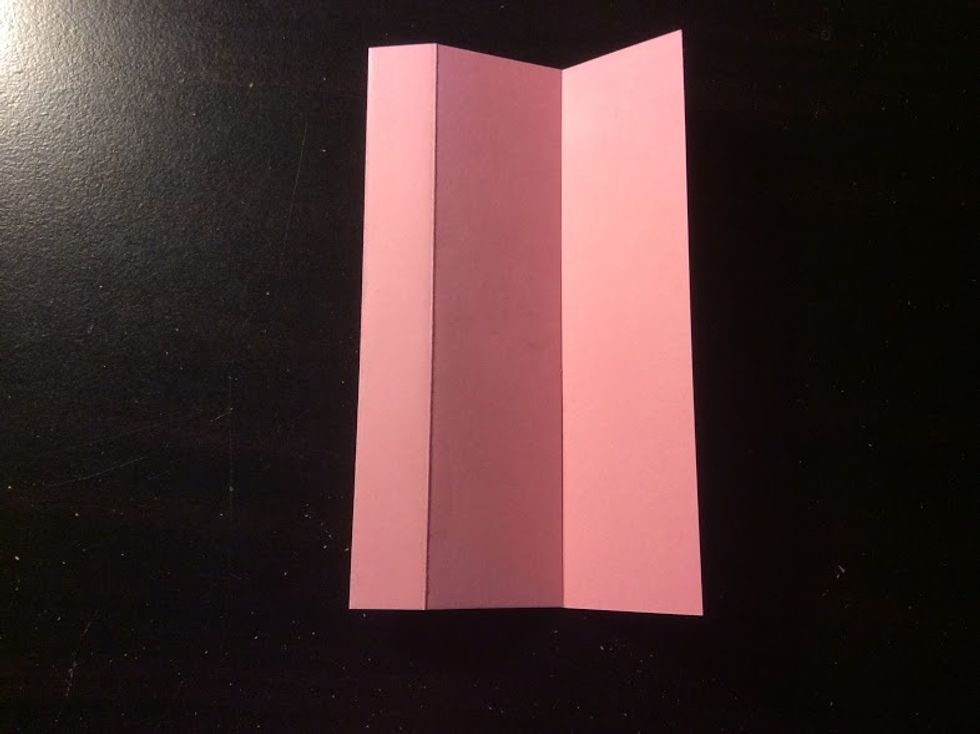
Fold the right edge to the third crease on the right side.
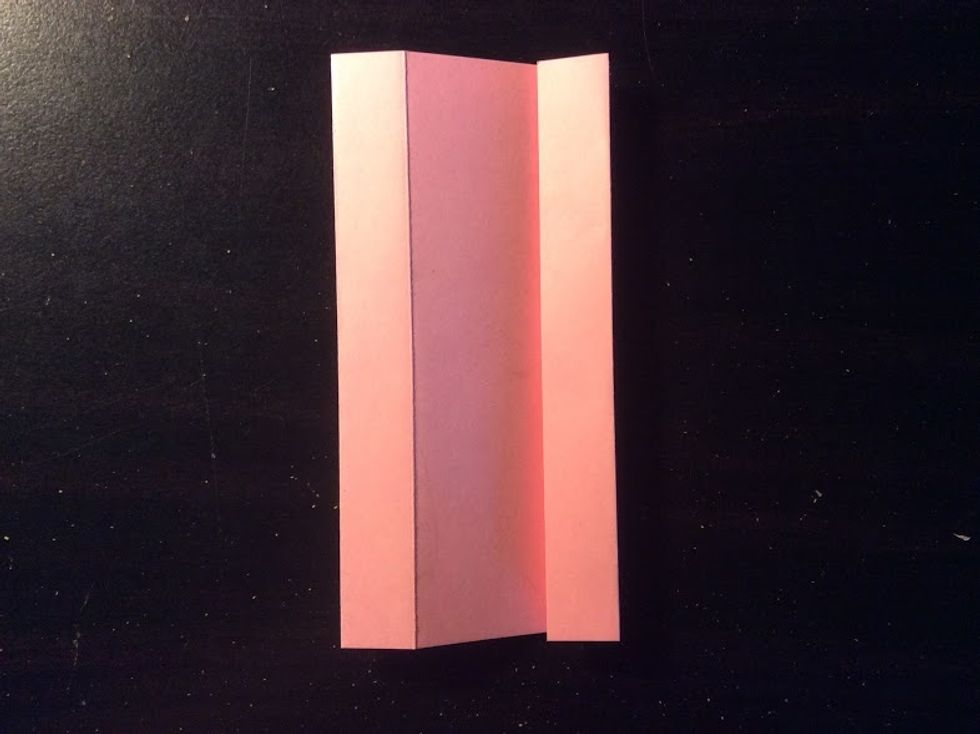
Fold the little edge on the right side to the third crease.
Do the same to the left side.
Turn your paper so your lines are horizontal. Repeat steps
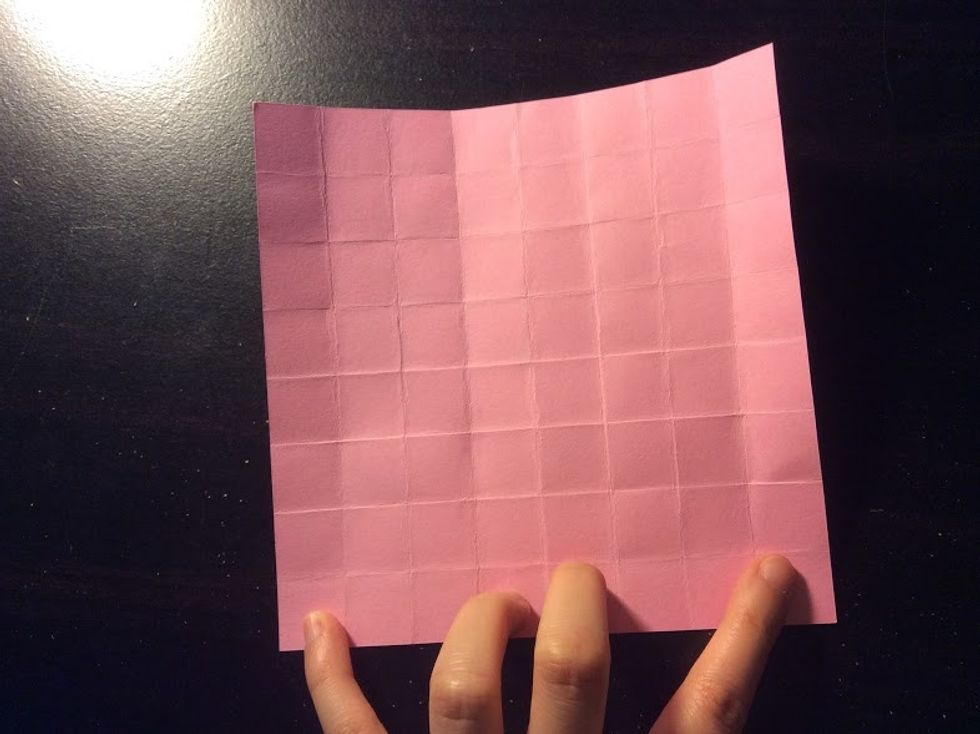
Your paper should look like this now.
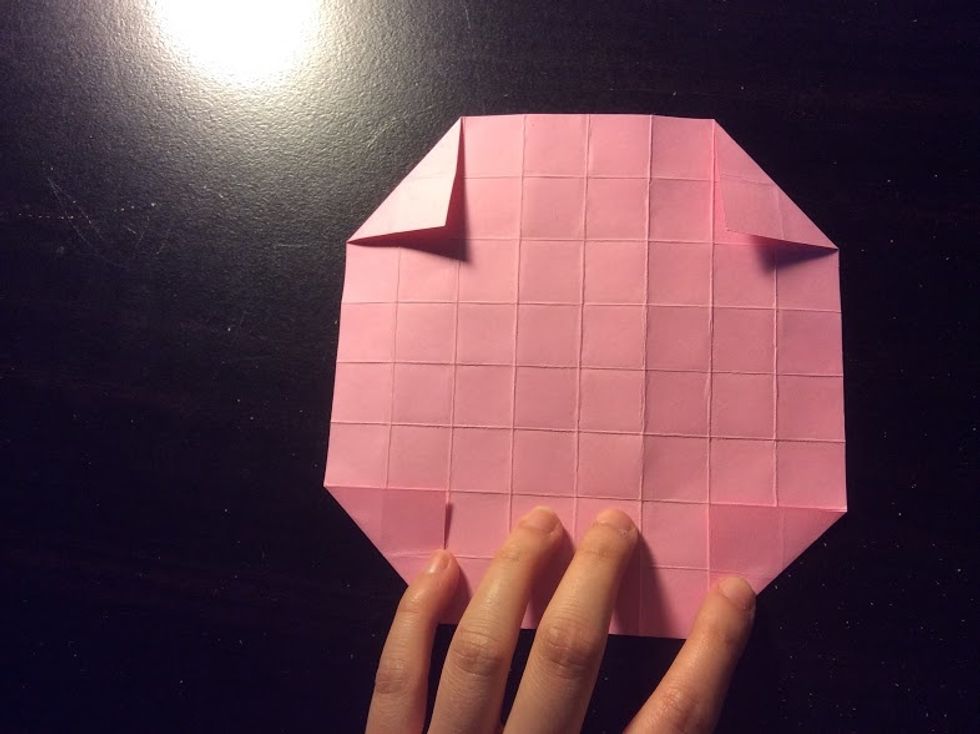
Fold the corners so you have a small triangle.
Flip your paper over once you're done.
Fold it in half, then unfold it. Rotate it 90°, then repeat.
Flip your paper over.
Fold the bottom to the point of the flap. Unfold and rotate it, repeating the steps 3 times.
Flip your paper over.
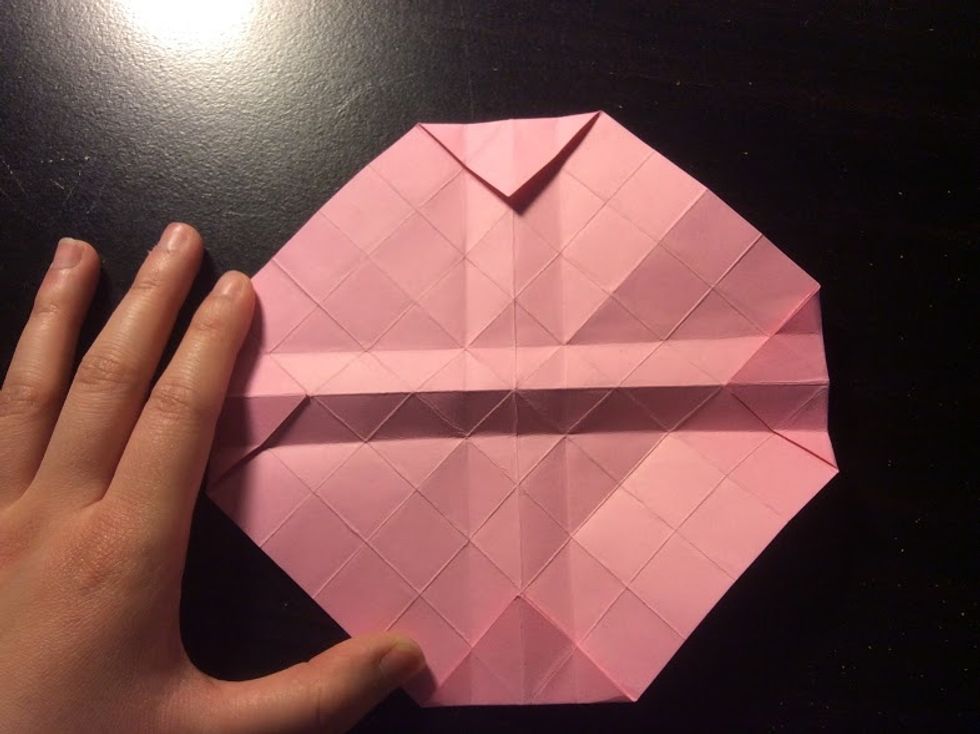
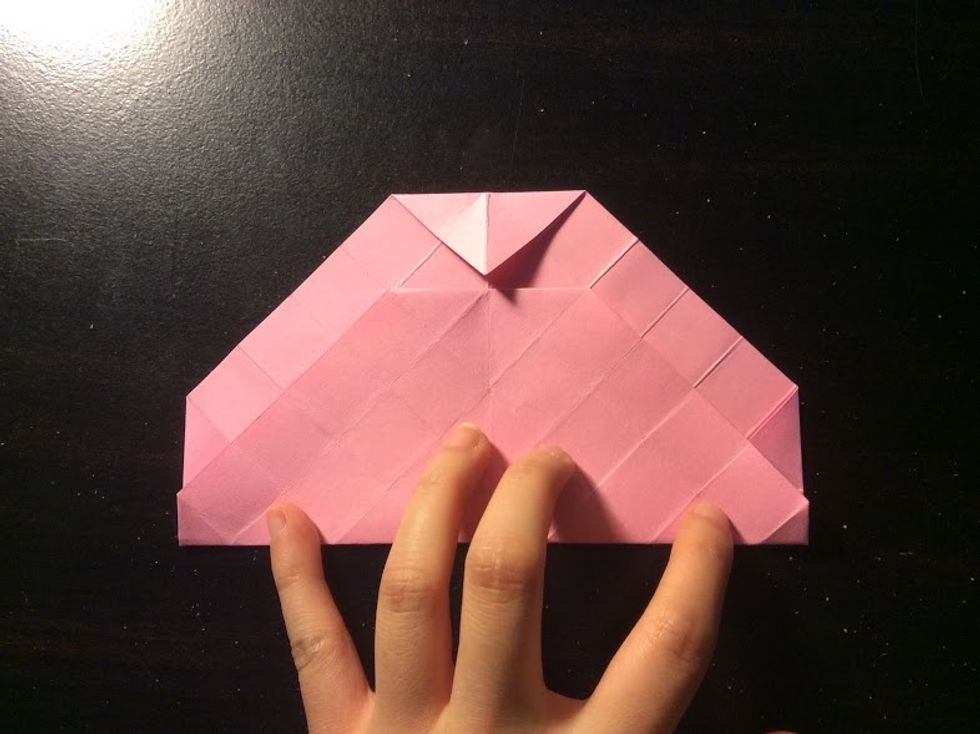
Your paper should now look like this.

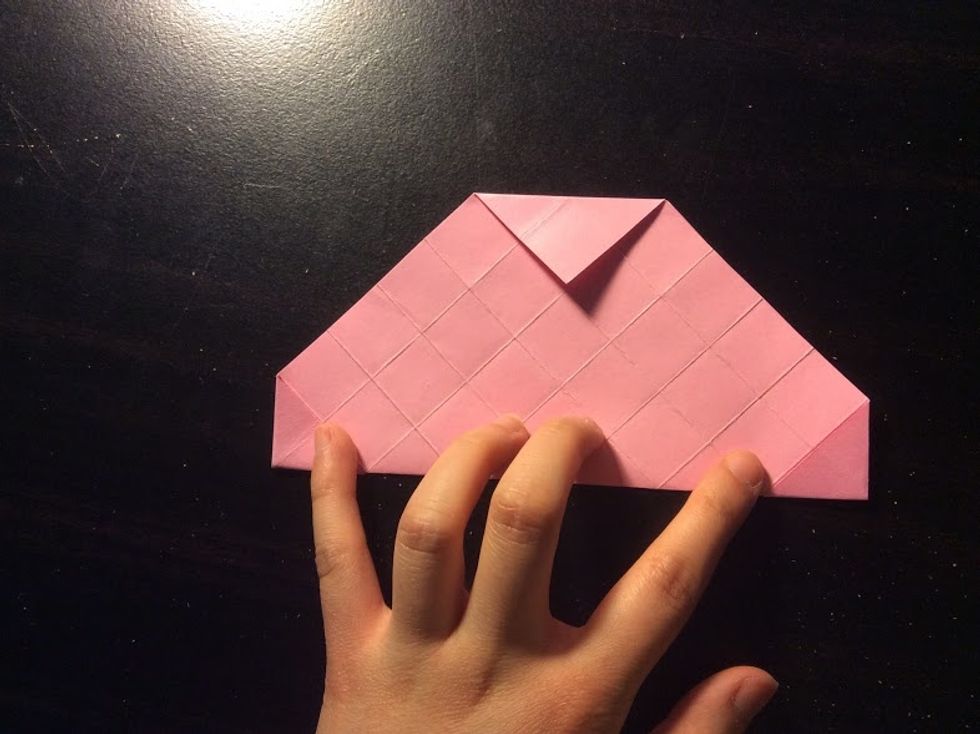
You are going to fold a line along these lines.
Flip your paper over.

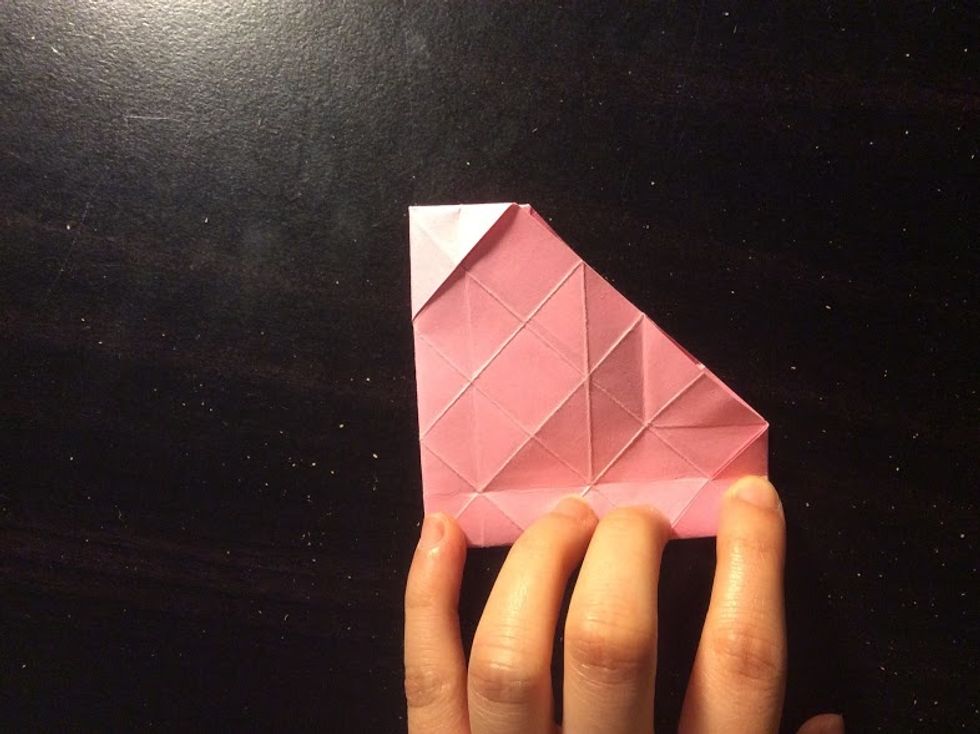
Make a smaller triangle on the right side.
Flip your paper over and fold it in half, then in half again.
Fold the corner of the paper, then unfold it.

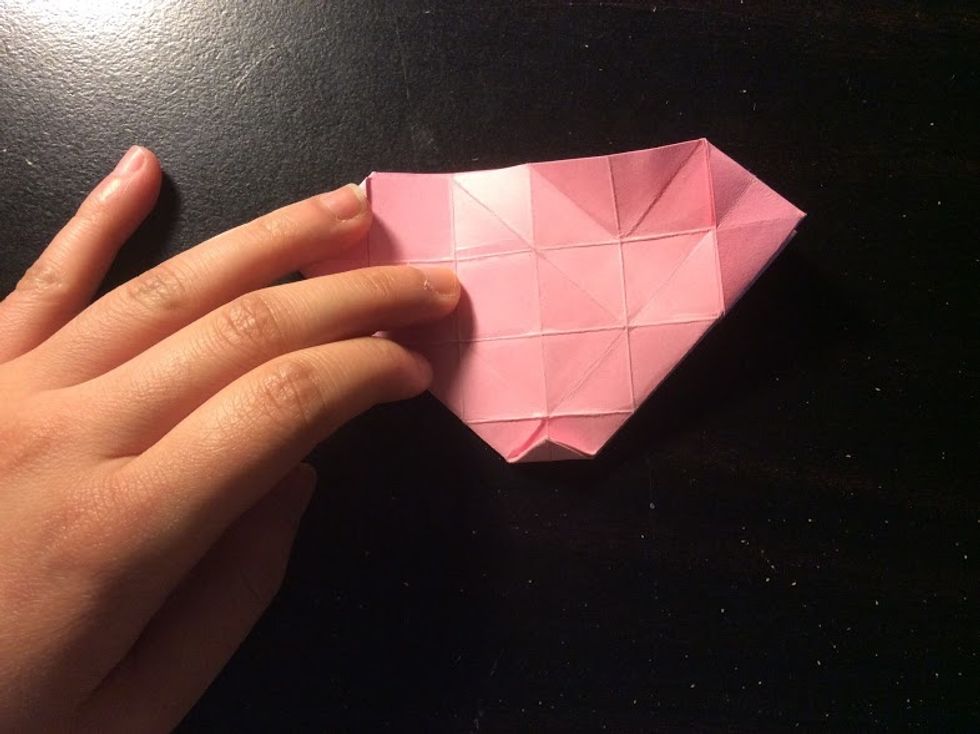
Your paper should now have a square in the middle.
Flip your paper over and with your ring finger, gently pop the folded corners up.
Refold the small triangle that you've made so it can be more visible.
Your results should now look like this.
Repeat this to all of the other sides.
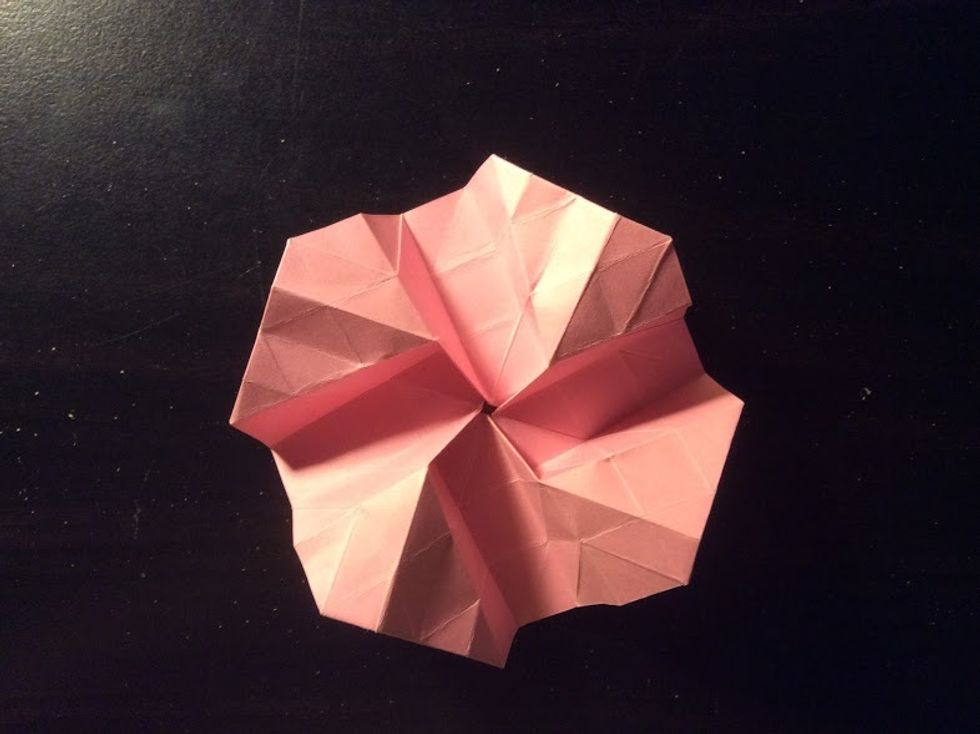
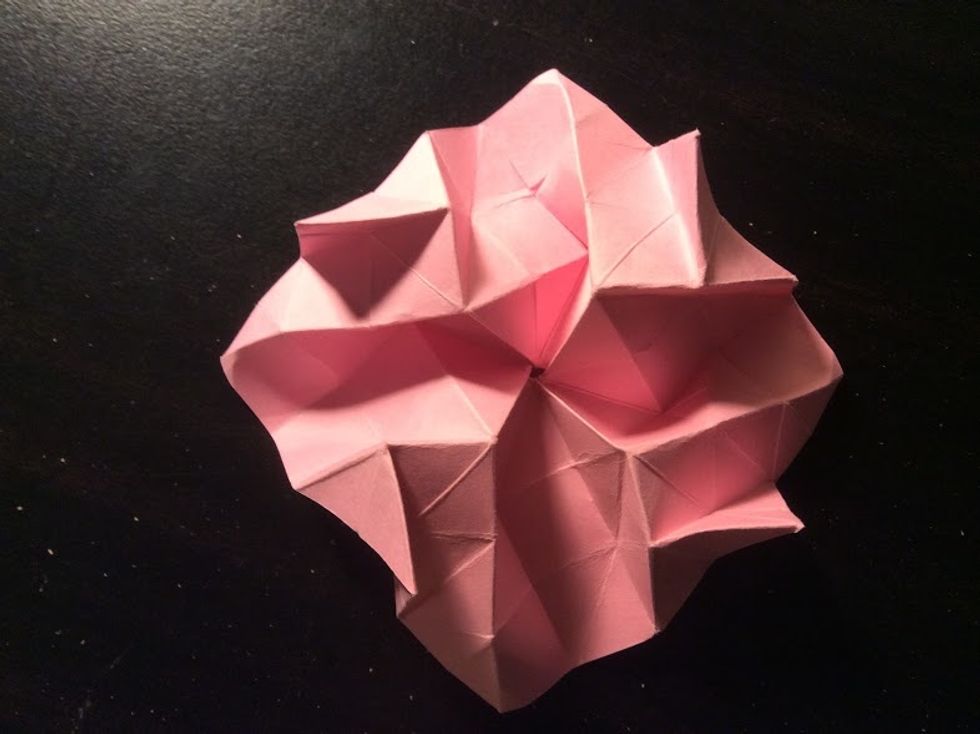
Your results should look like this.
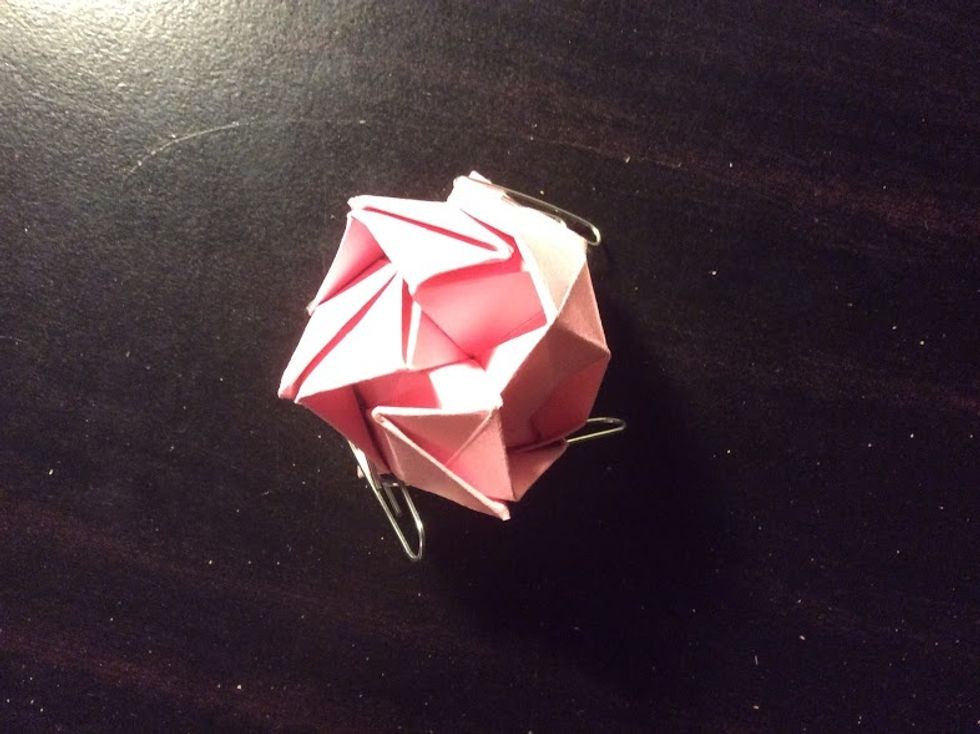
Cup the origami in your hands upside down and take the paperclips off.
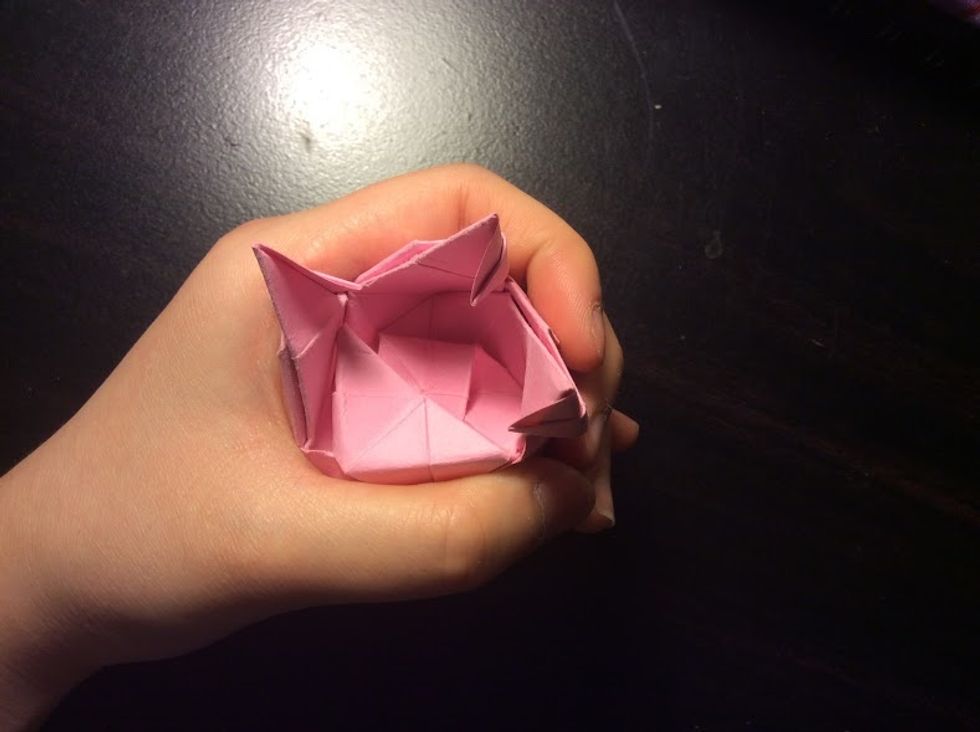
Fold one flap down and rotate it, repeating the steps for the rest of the flaps.
For your last flap, fold it and tuck it underneath your first flap.
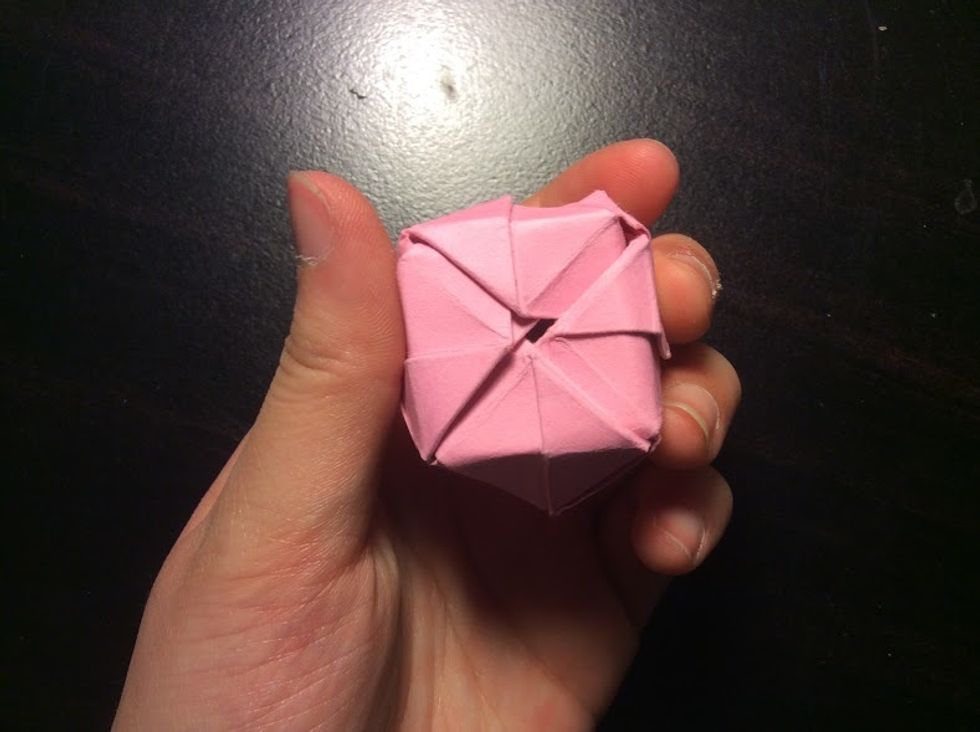
Your bottom should now look like this.
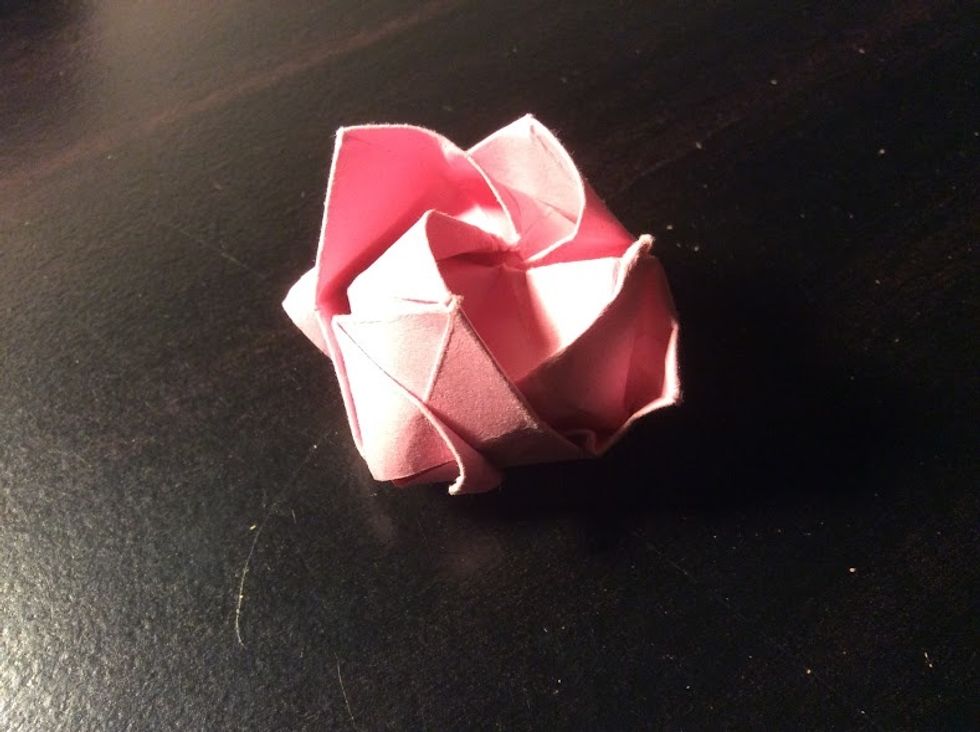
That's how you make an origami rose.