STEPS
TOOLS
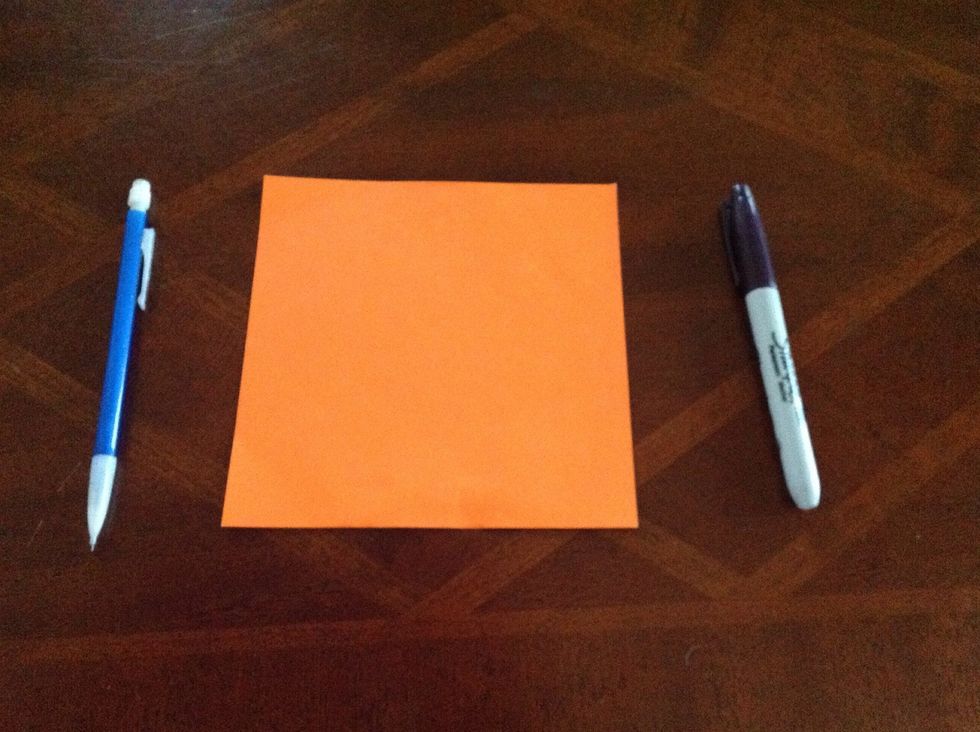
Take your paper, pencil, and pen/ marker to a flat surface to work on.
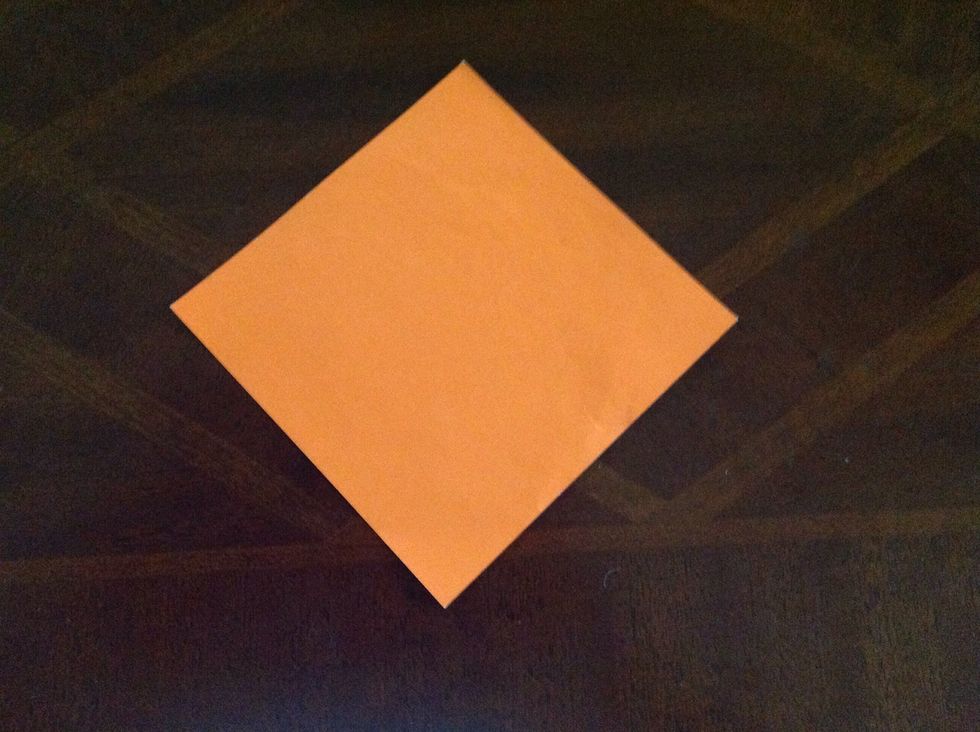
Turn your paper 45 degrees to make a diamond shape.
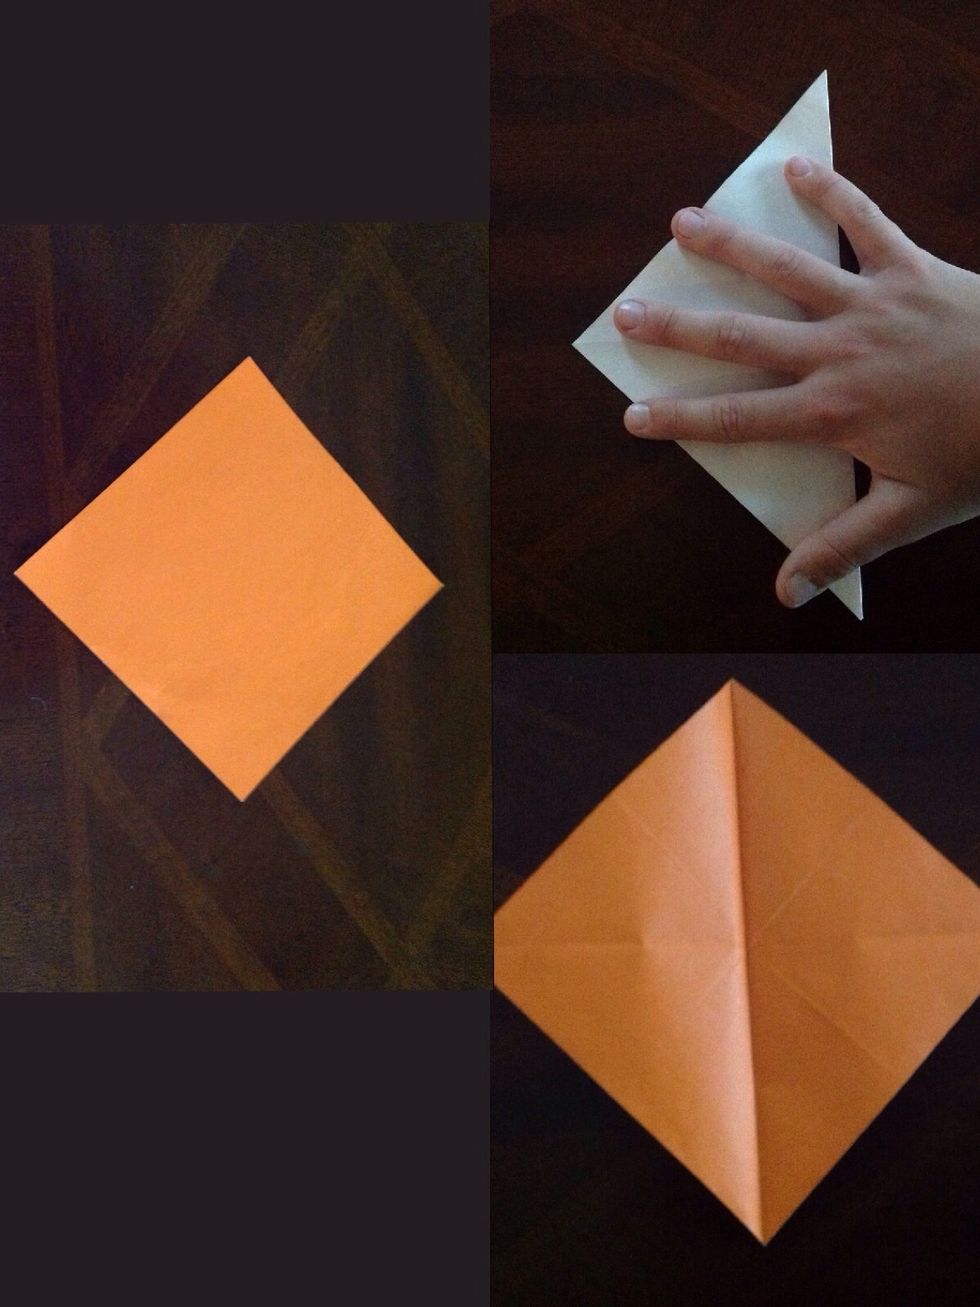
Fold the right corner to the left corner and unfold. Make sure there is a pretty hard crease. This should make a line down the middle of the paper.
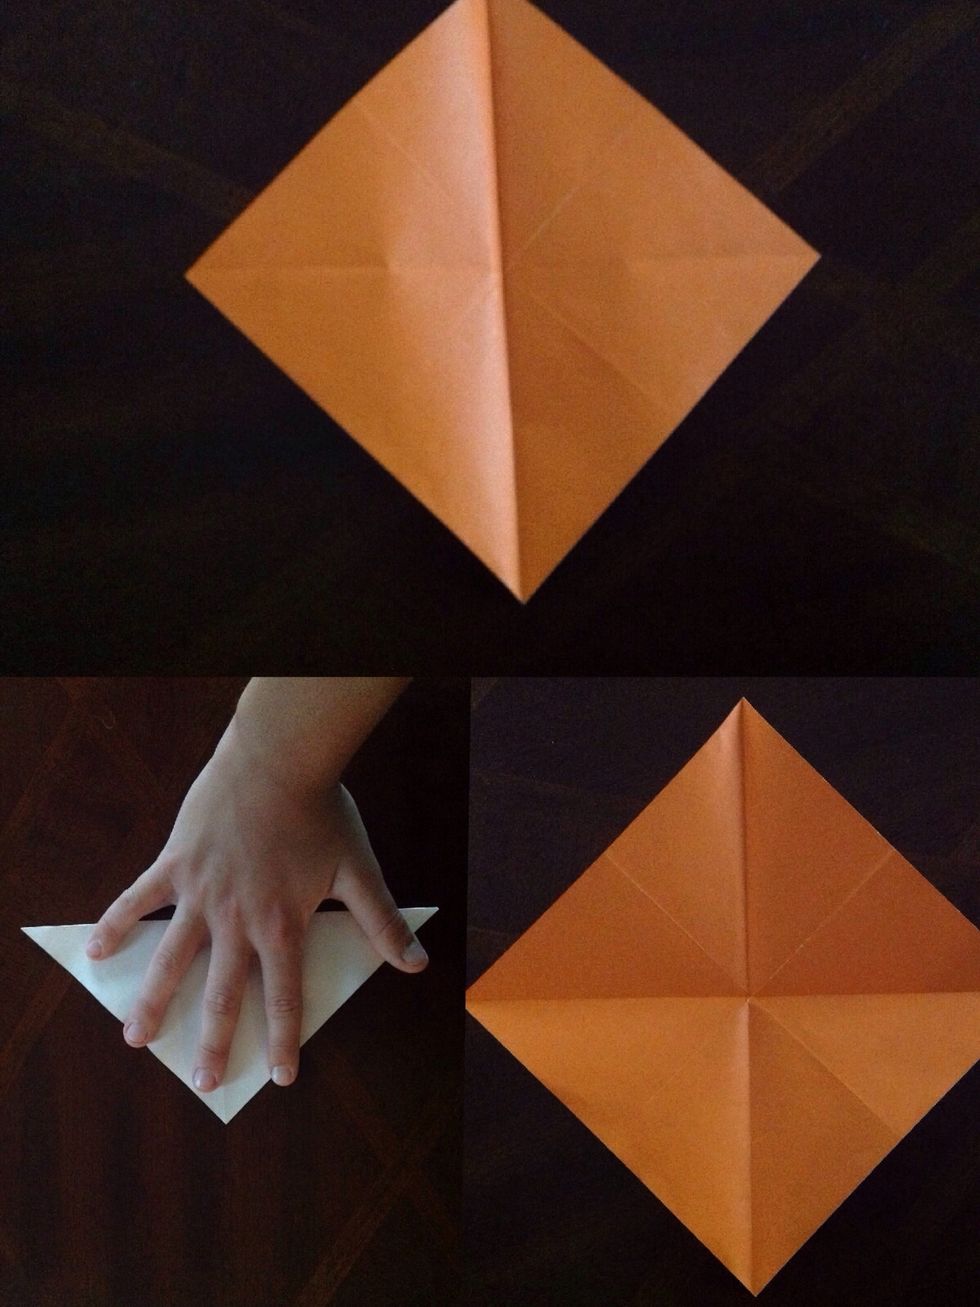
Fold the top corner to the bottom corner and unfold Again, make this crease really hard. There should be crossing vertical and horizontal lines.
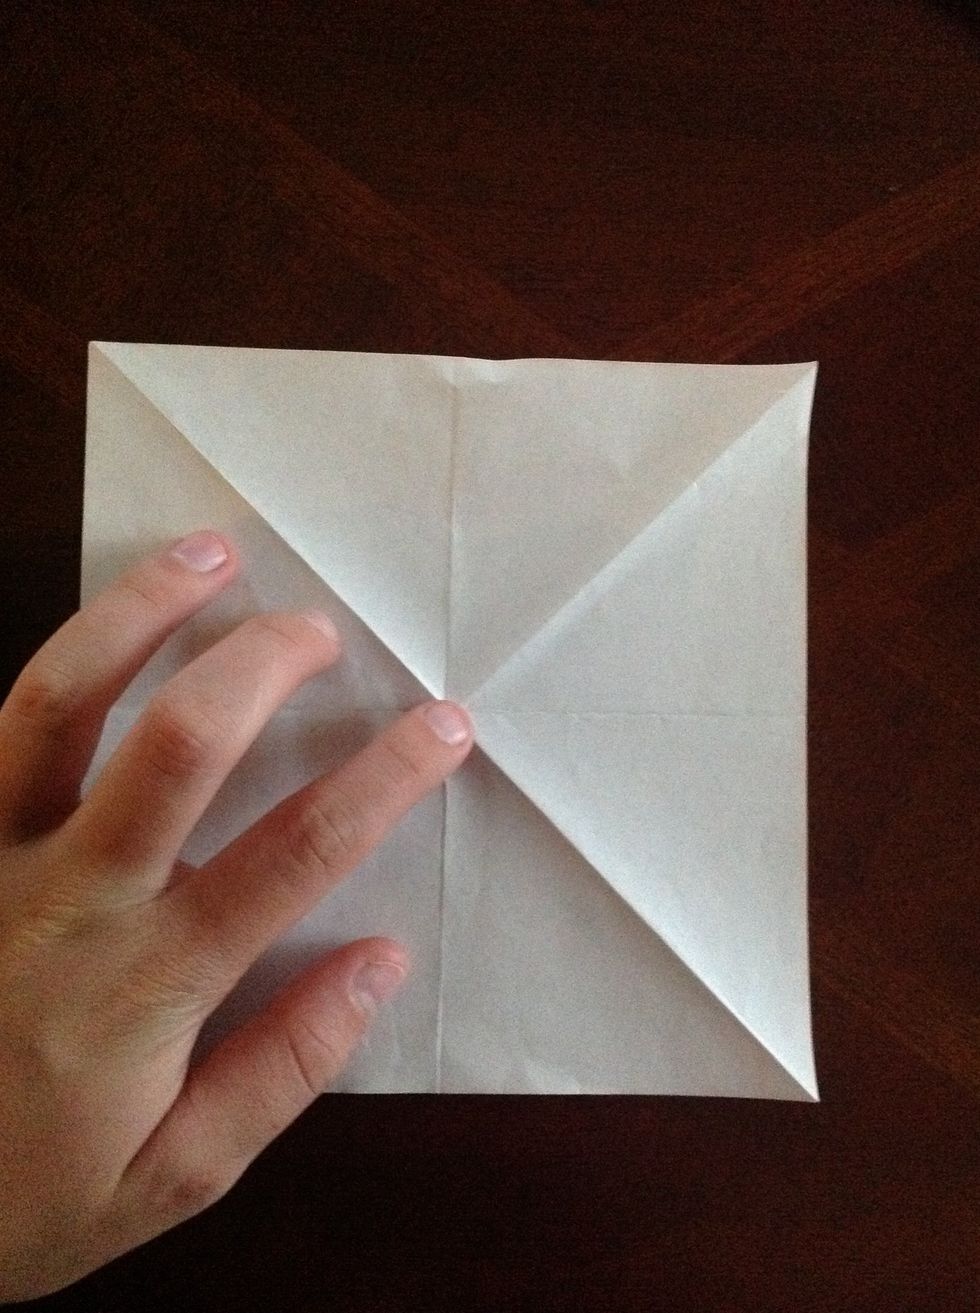
Flip it over to the white side.
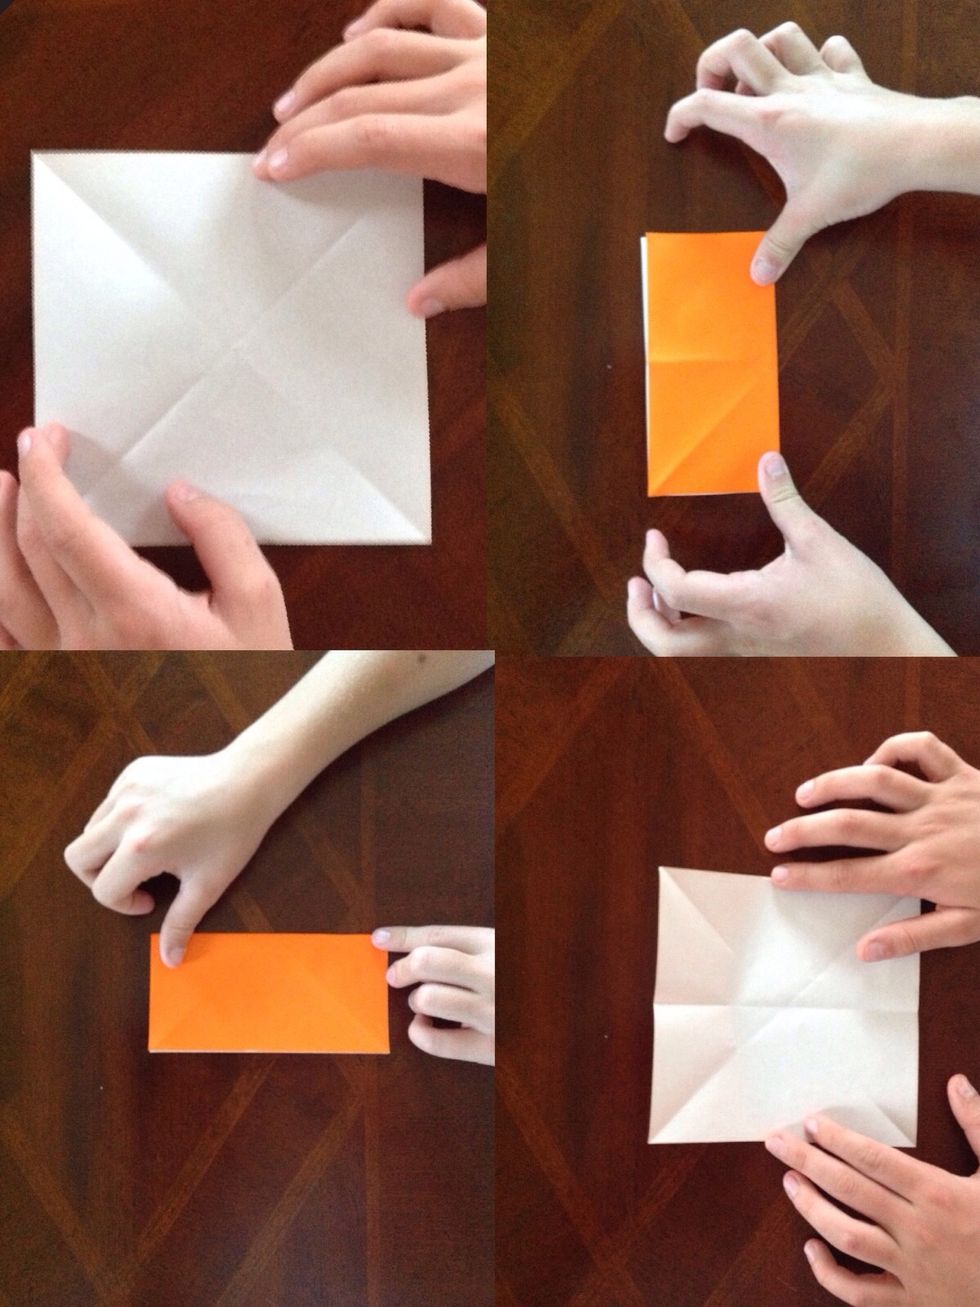
Turn paper 45 degrees to make a square. Fold the top side to the bottom side and unfold, repeat but do it horizontally. You should end up with an "x" and a "plus(+)" crossing on the paper.
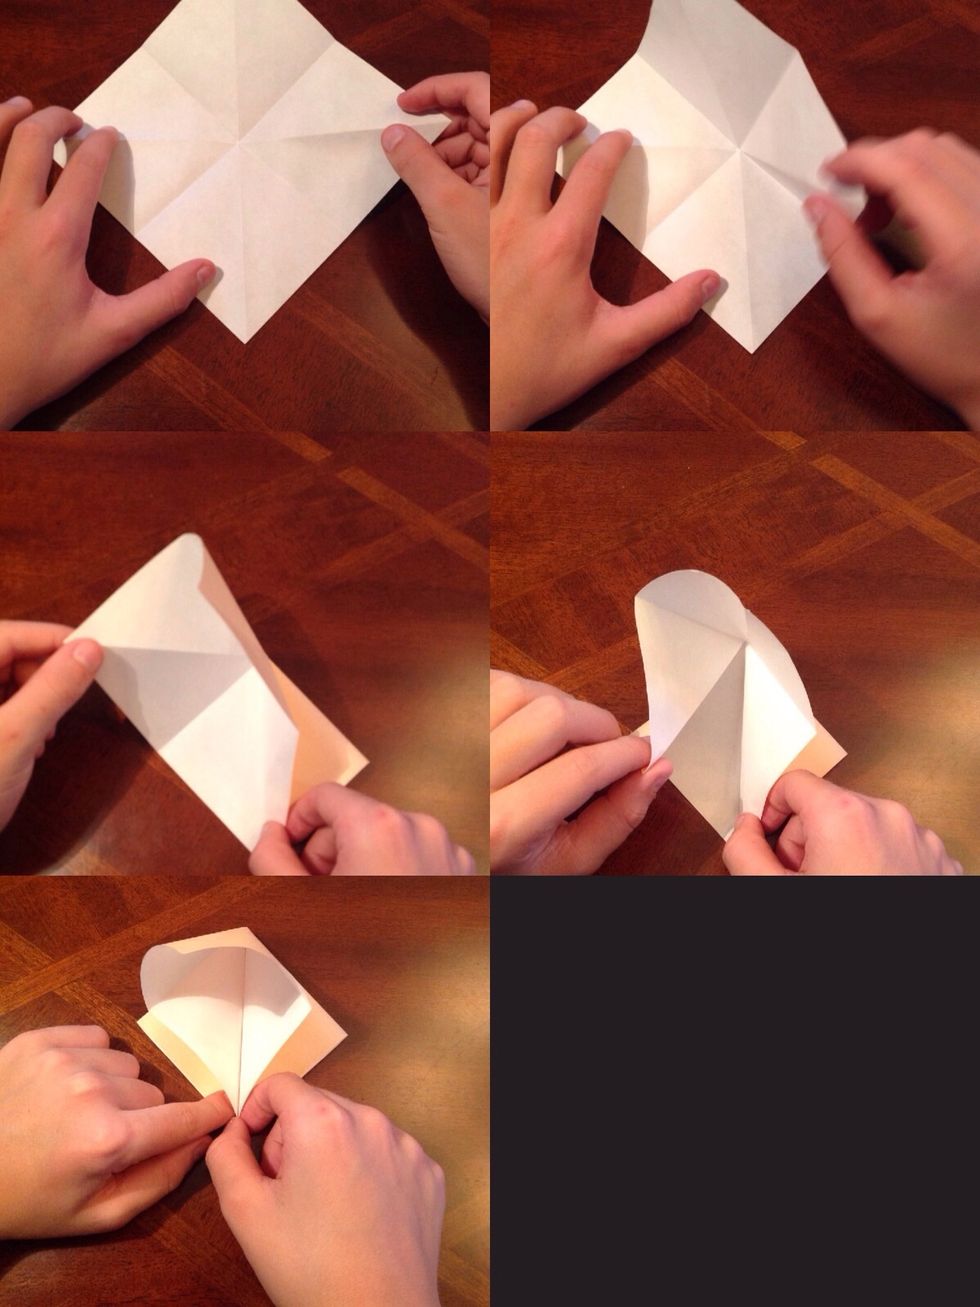
Turn your paper to make a diamond shape. Take the right corner, bring it down to the bottom, and hold it there. Do the same with the left corner and hold with the same hand.
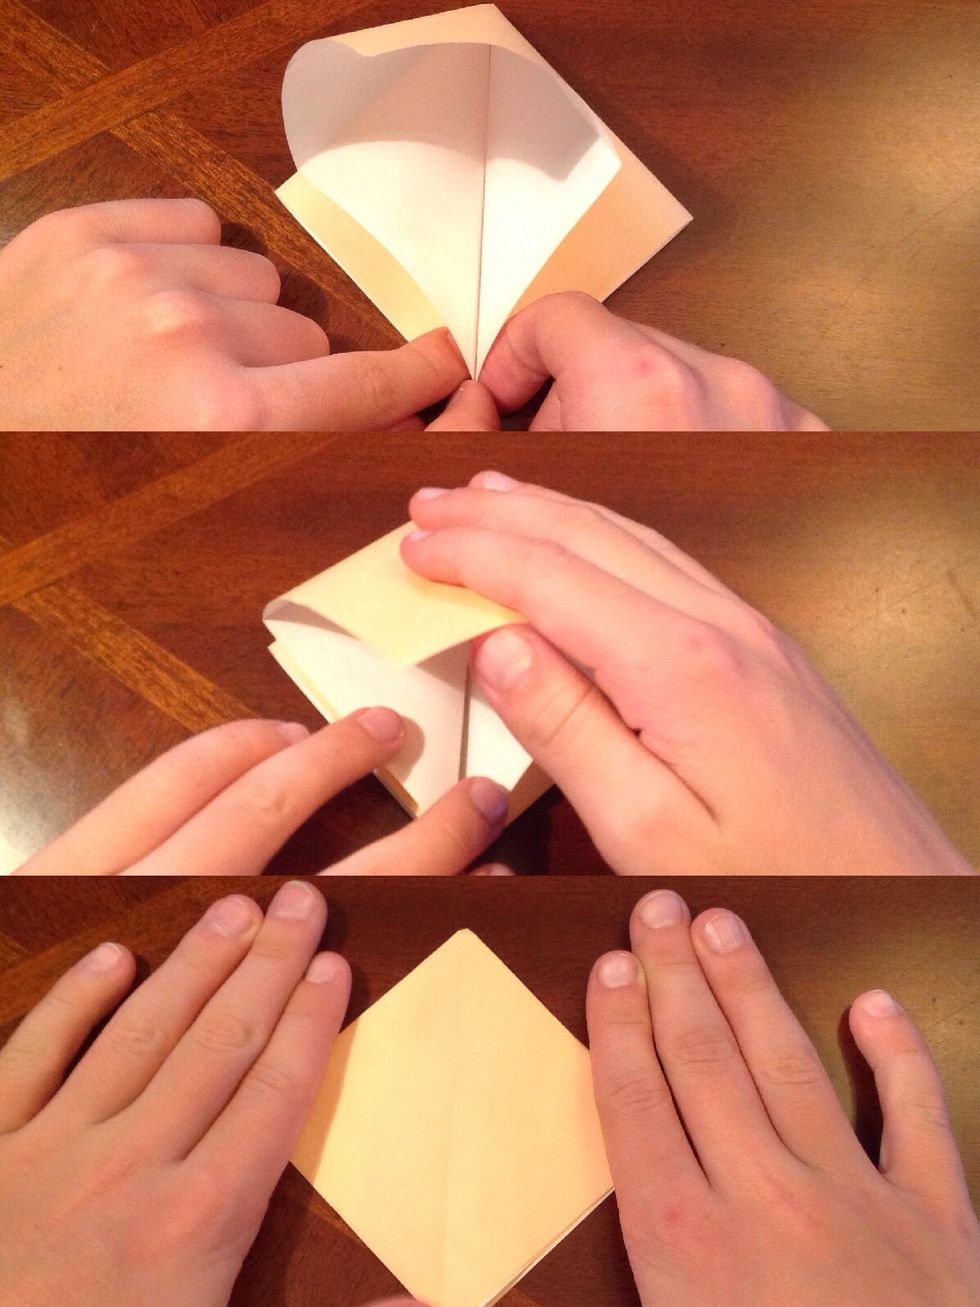
Keep holding the corners down with your left hand. Take your right hand and "squish" the top corner down to the bottom. You should end up with a little square.
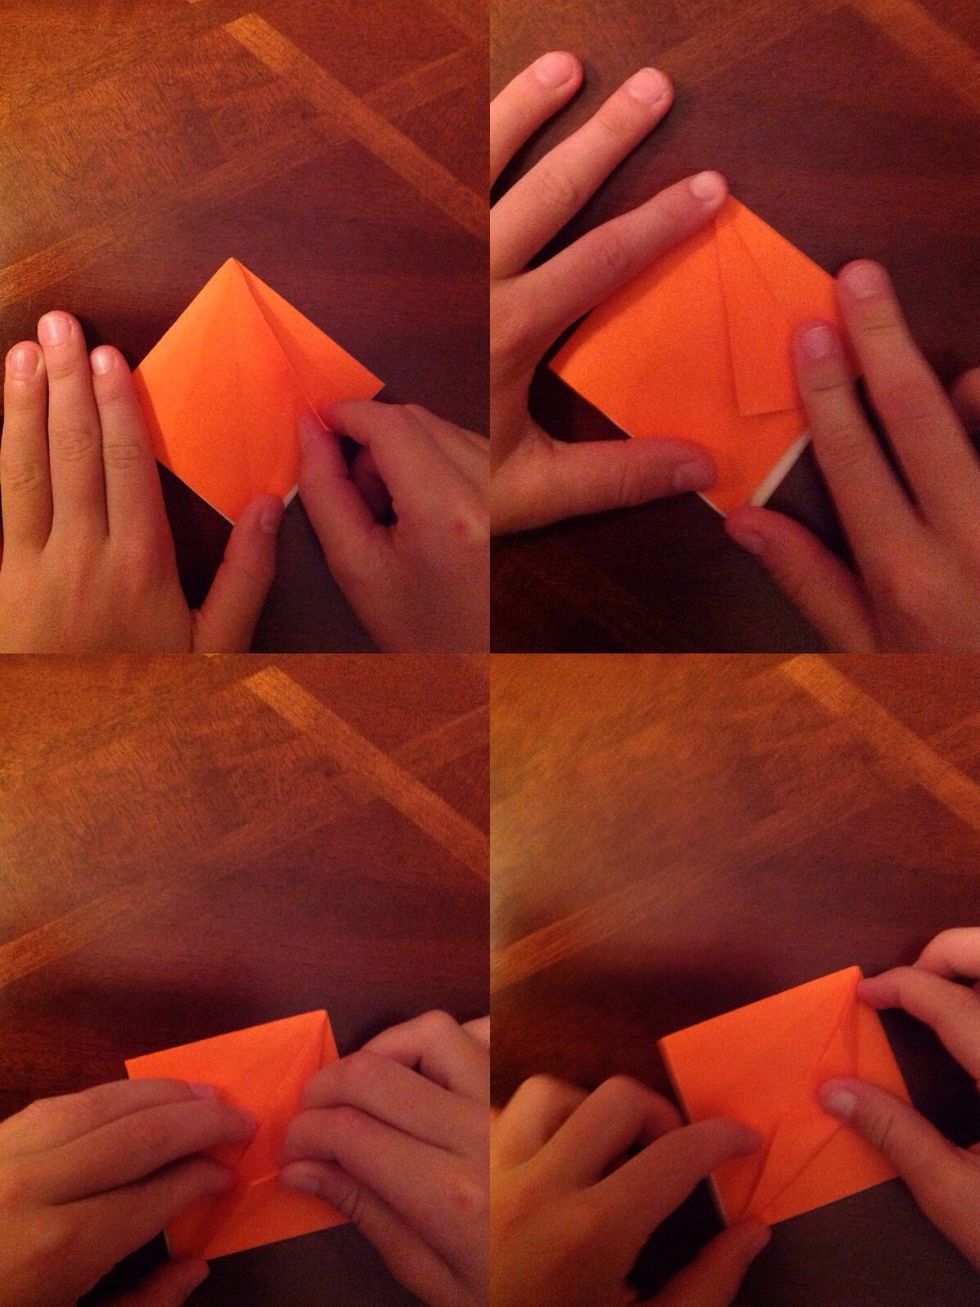
Take the top right flap and fold it to line up with the center crease, like a paper airplane. Then, fold the remaining part upward in the same fashion. (Refer to the visual above)
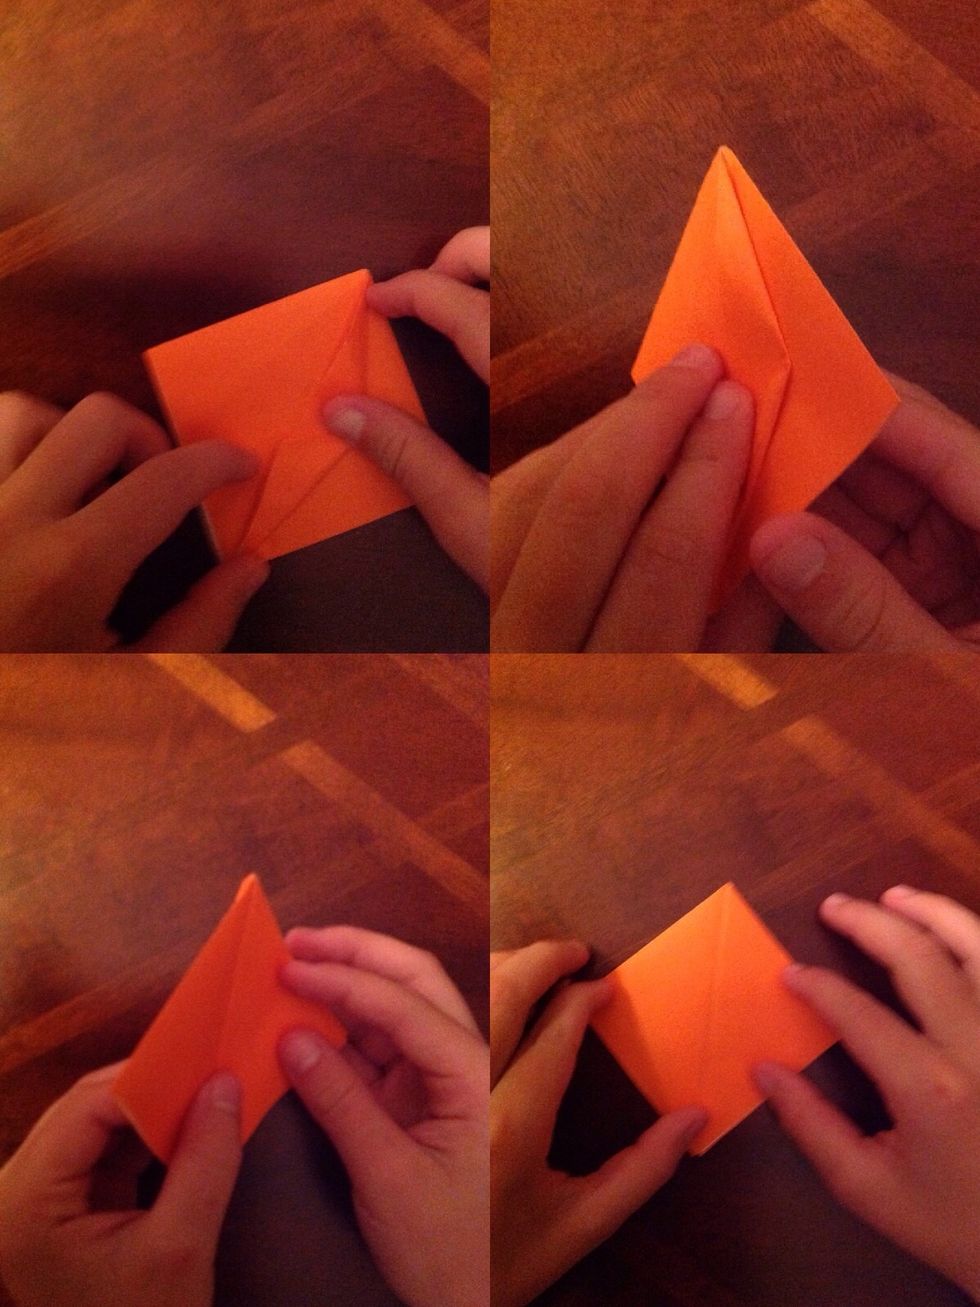
Flip your paper over to the left.
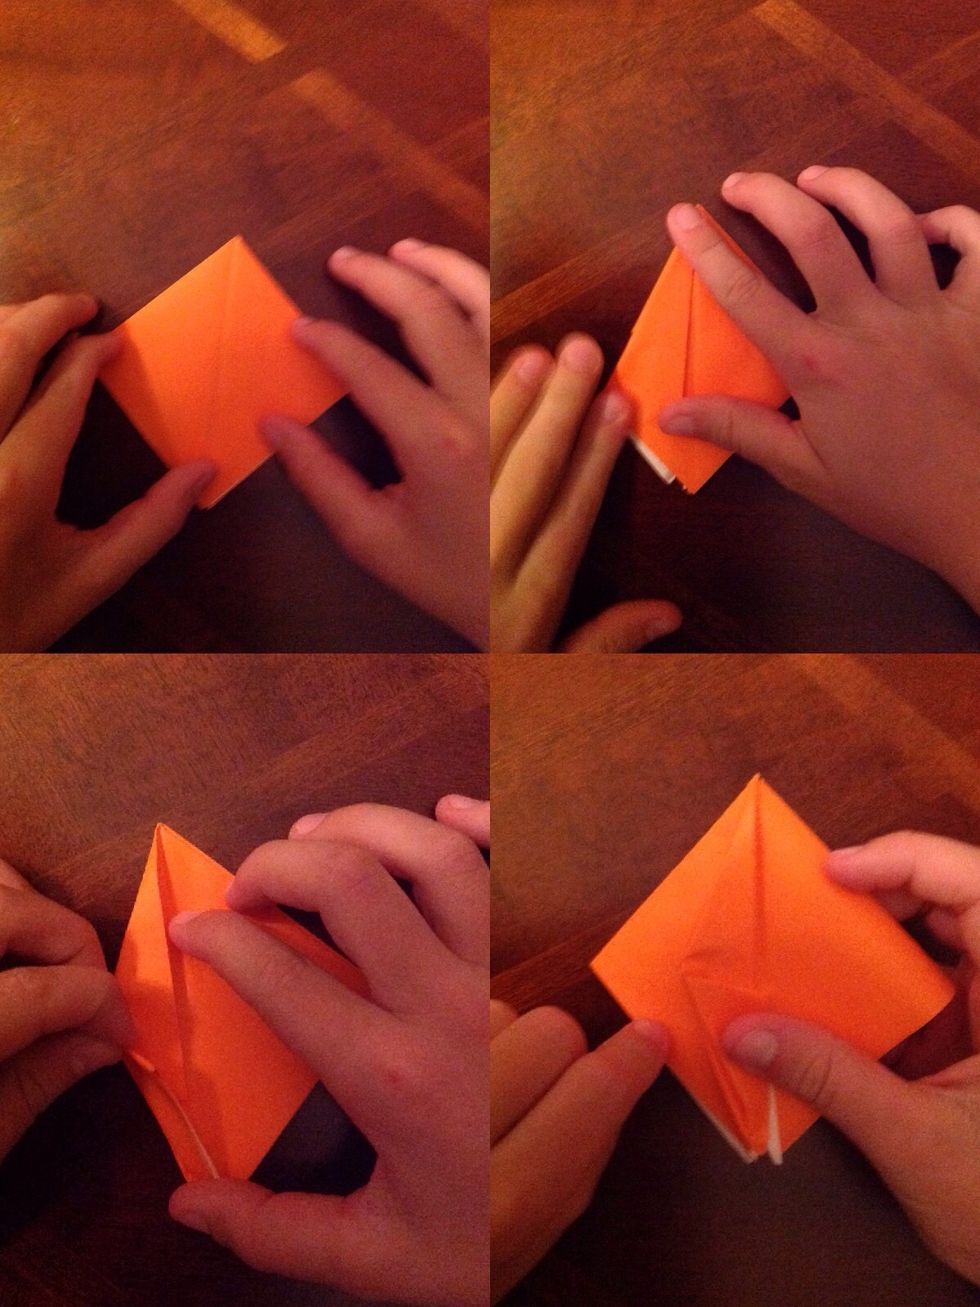
Repeat Step 9 on the left side of the paper.
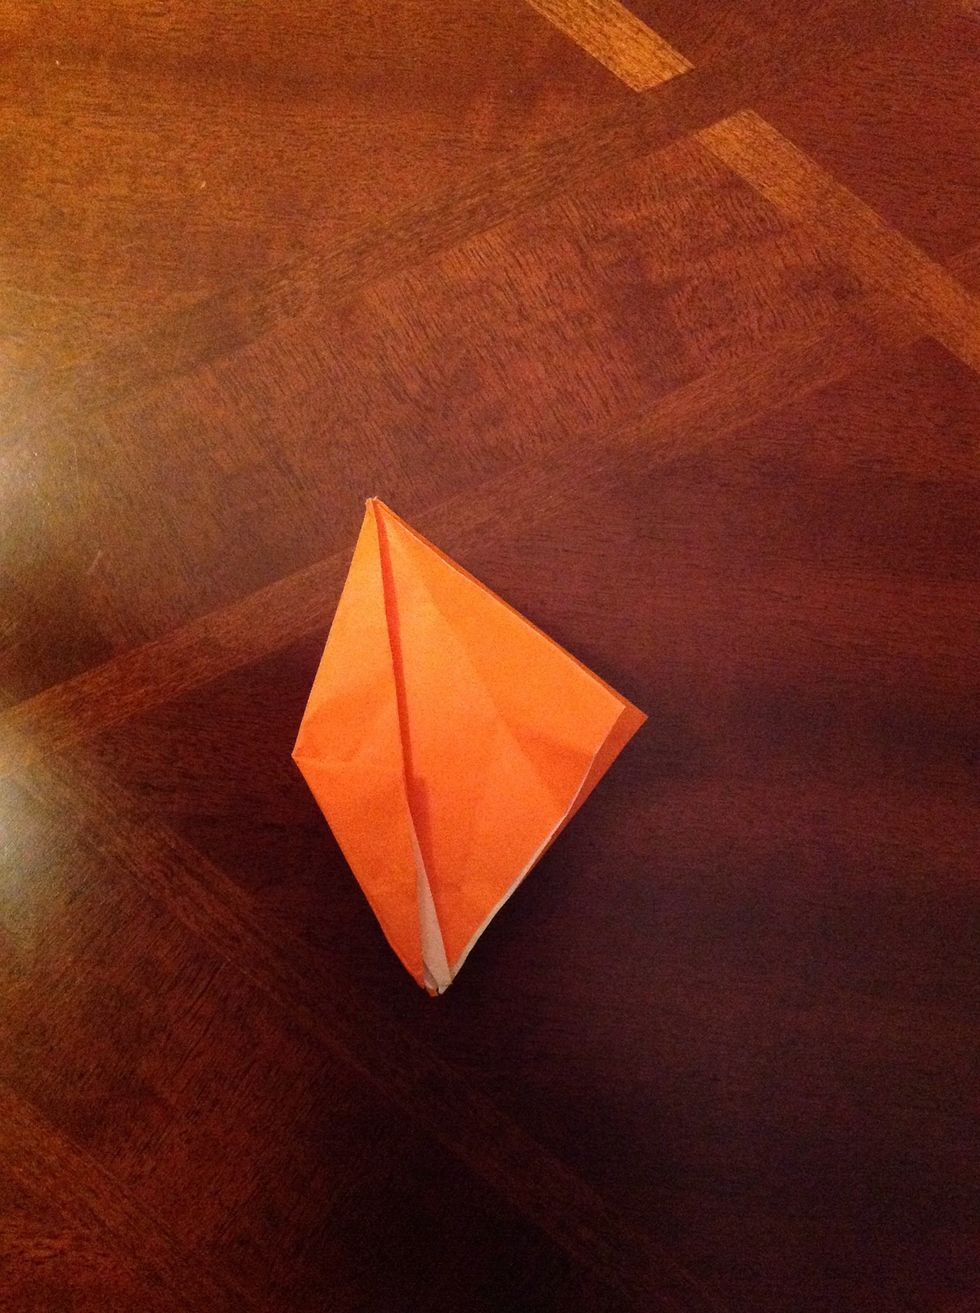
So far your paper should look like this.
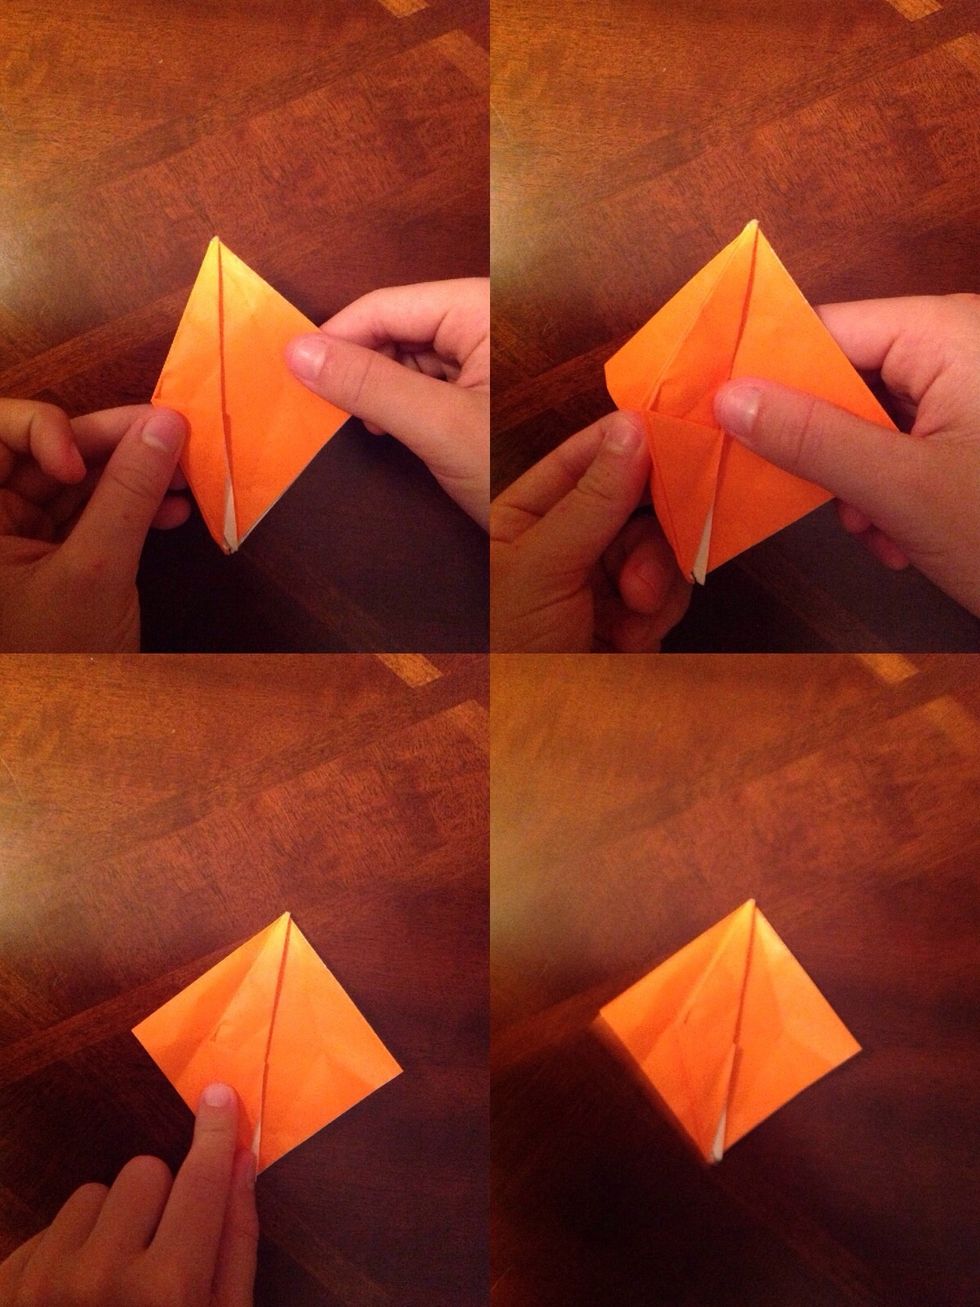
Now, bring the back flap on the right side to the left side by the underside of the paper.
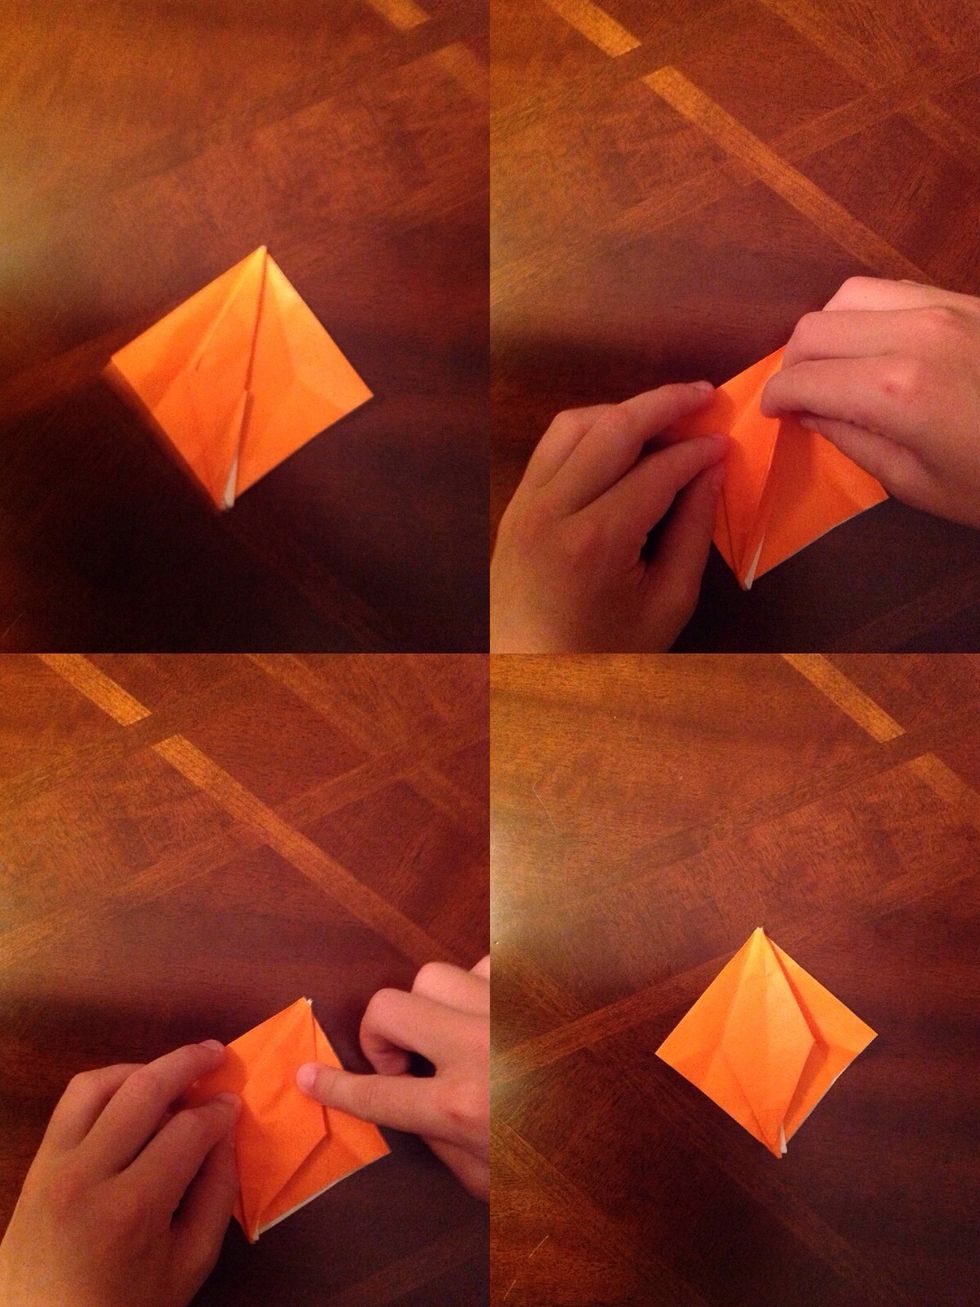
Fold the top small flap on the left side over to the right. Now your paper should have a diamond inside a square.
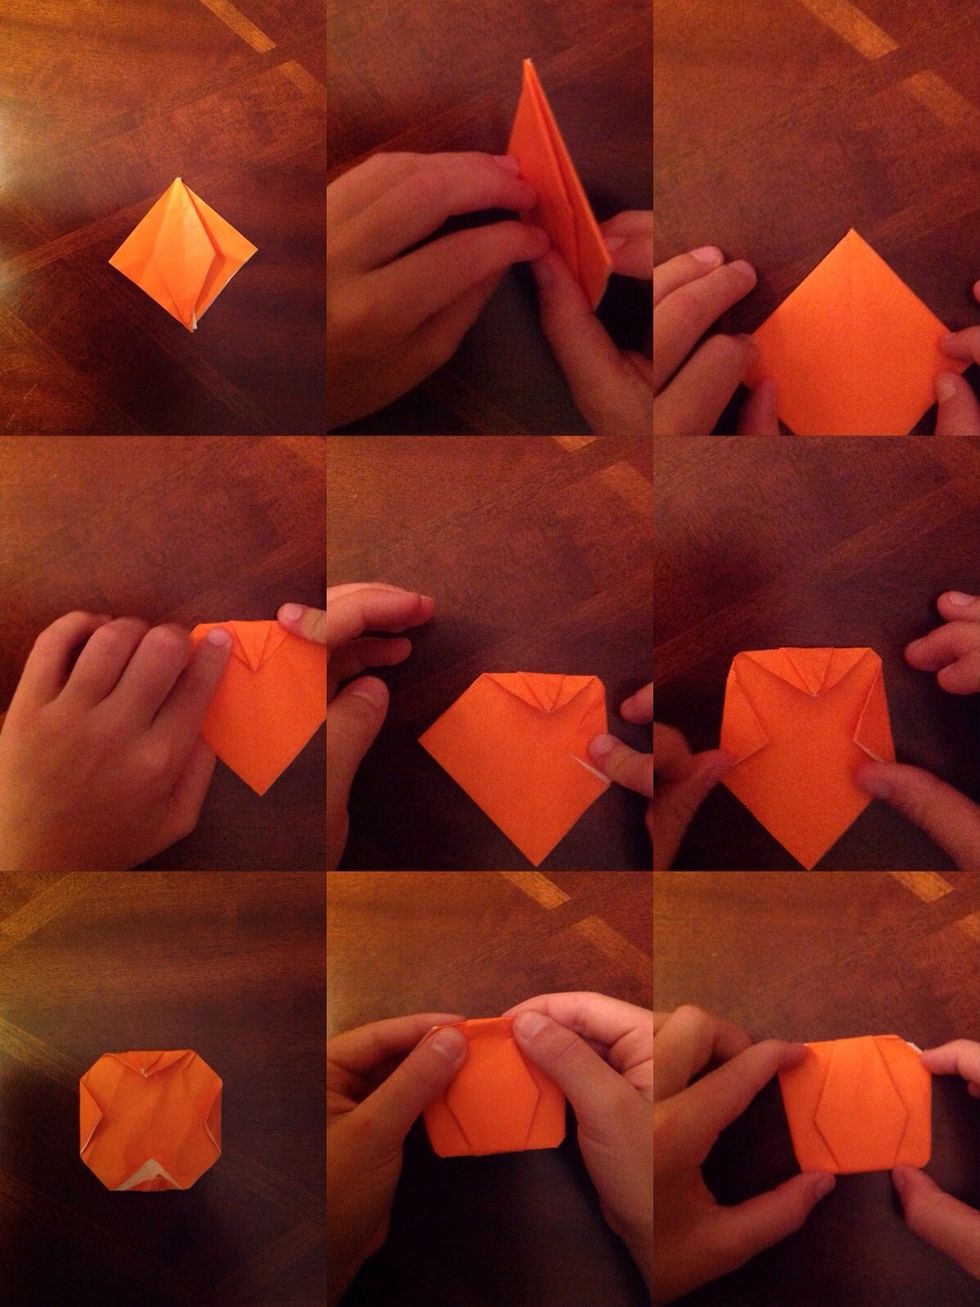
Flip your square over and fold down the four corners to give the pumpkin it's round shape. Flip it back over.
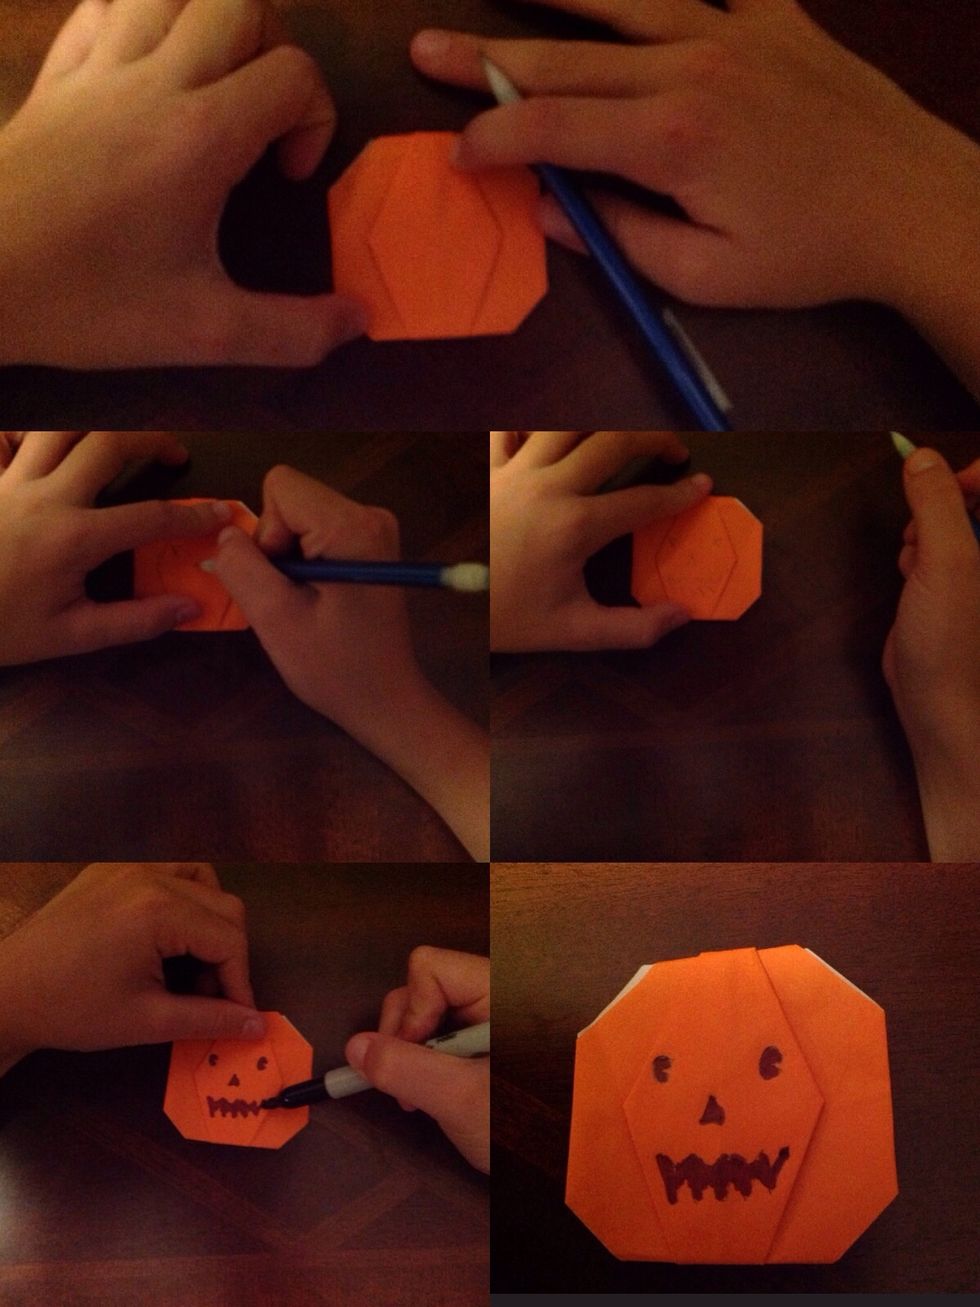
In pencil, draw the face that you want on your pumpkin in go over it in marker.
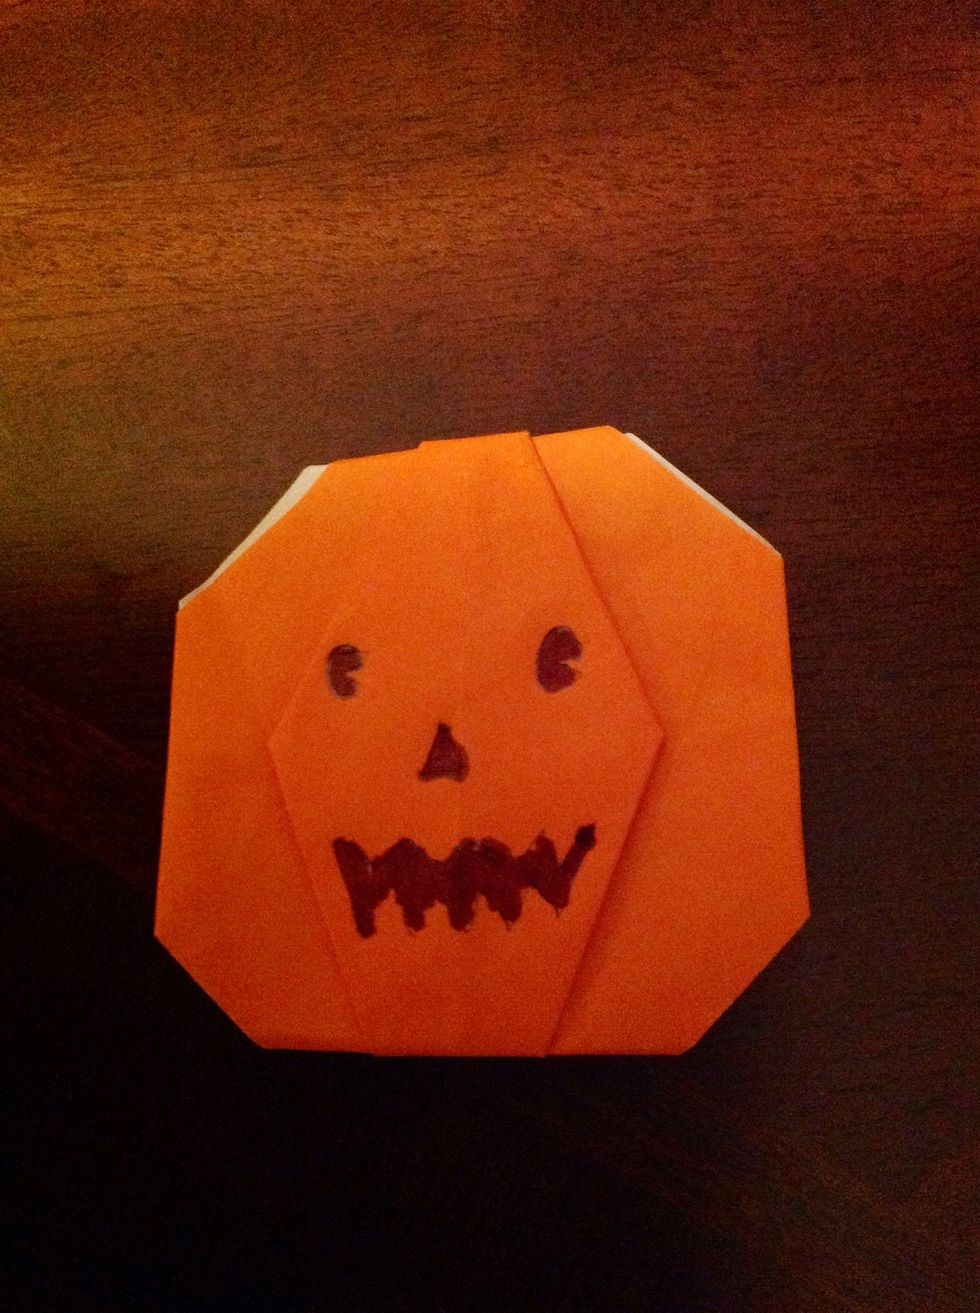
Now you have an Origami Pumpkin!
- 1.0 piece of origami paper
- 1.0 pencil
- 1.0 marker or pen
The Conversation (0)
Sign Up