The Conversation (0)
Sign Up
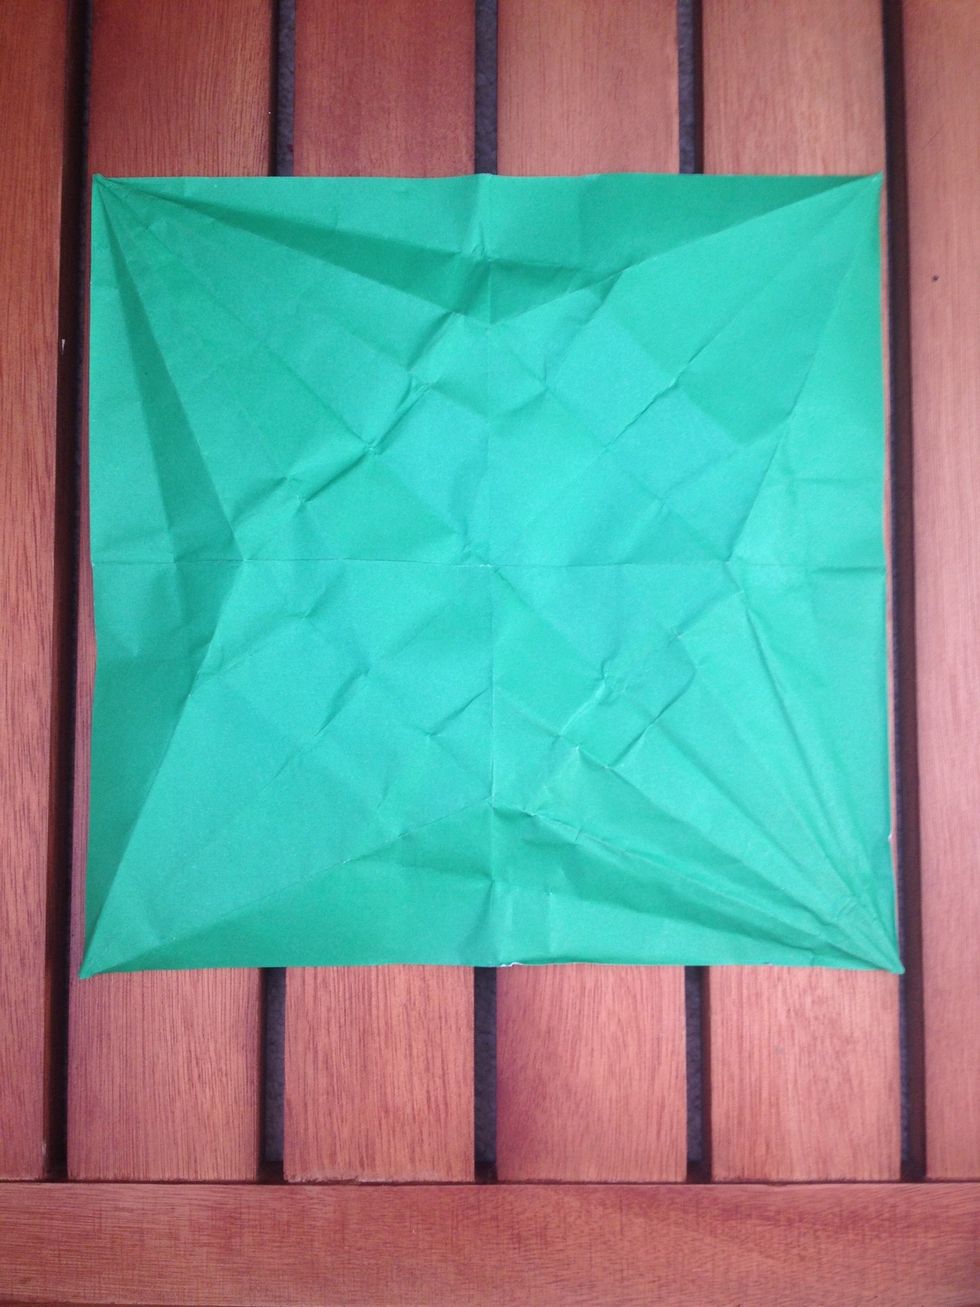
Take a square piece of paper, whatever size you want. Mine is a piece of A4 with the bottom cut off (and crumpled because I'm reusing it).
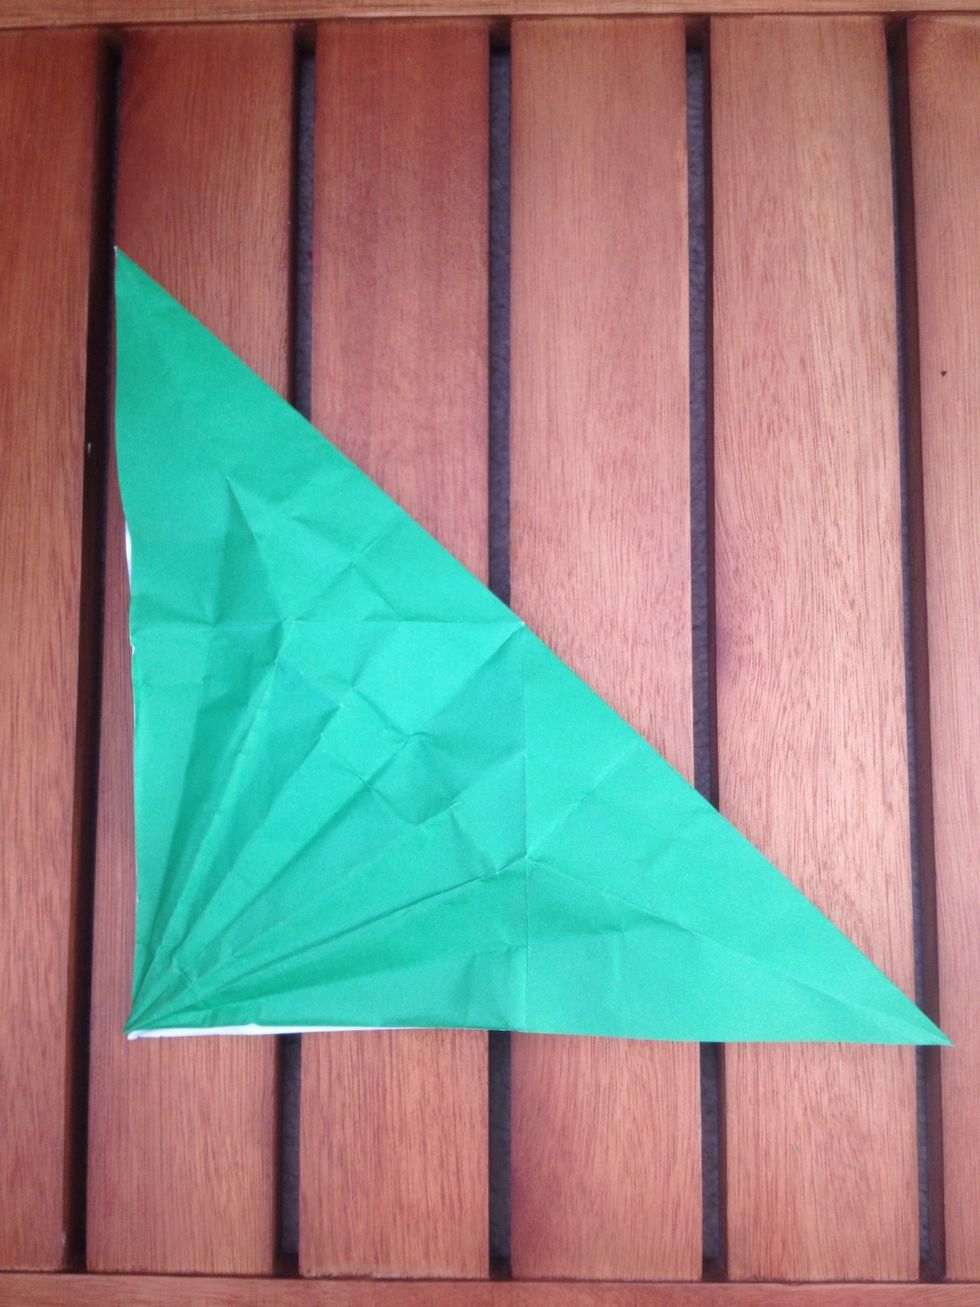
Fold it in half diagonally to make a triangle. I flipped mine over so the white side was face up before I folded it.
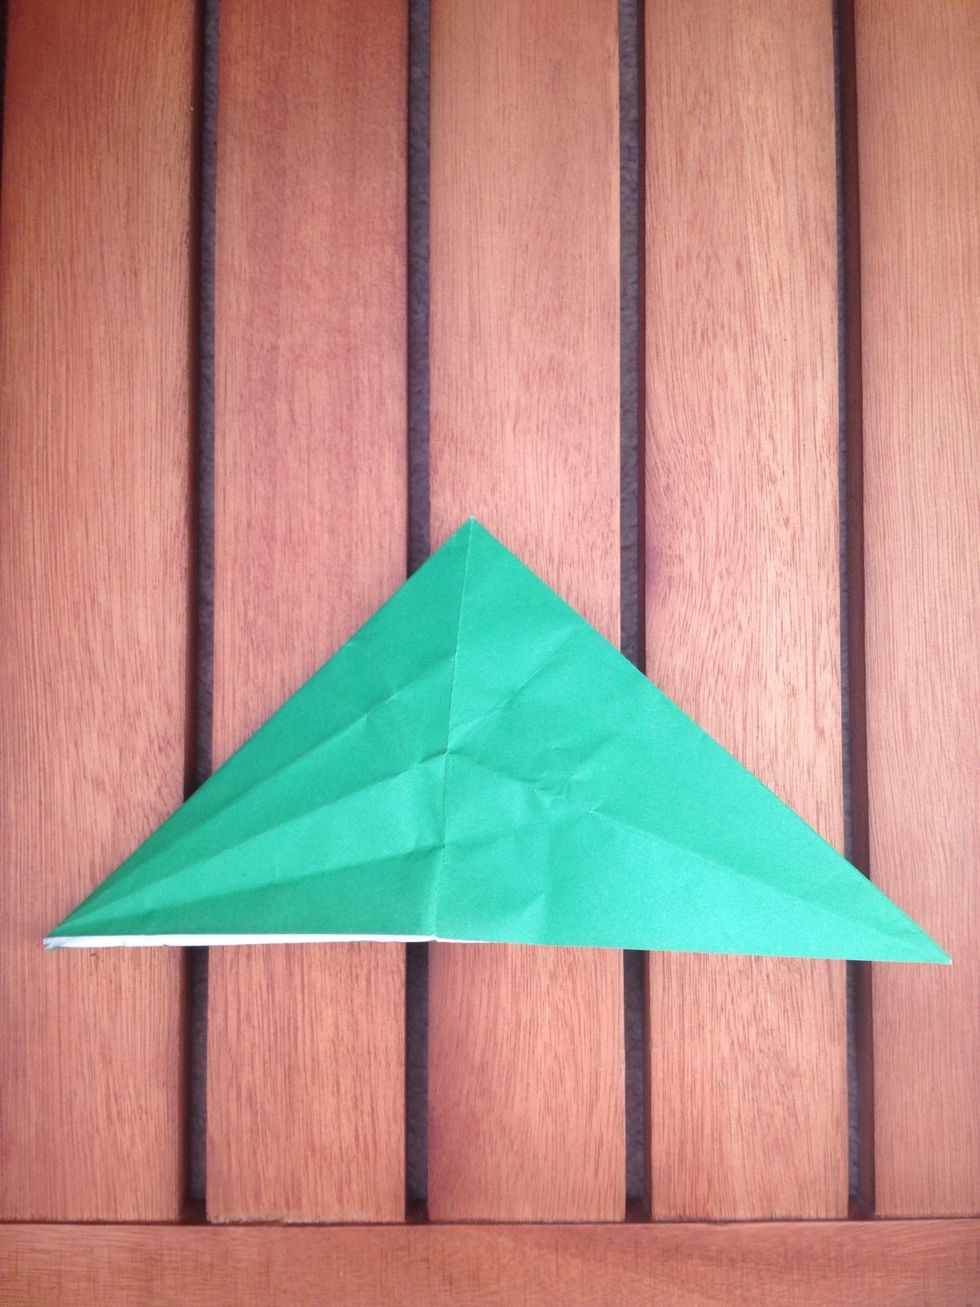
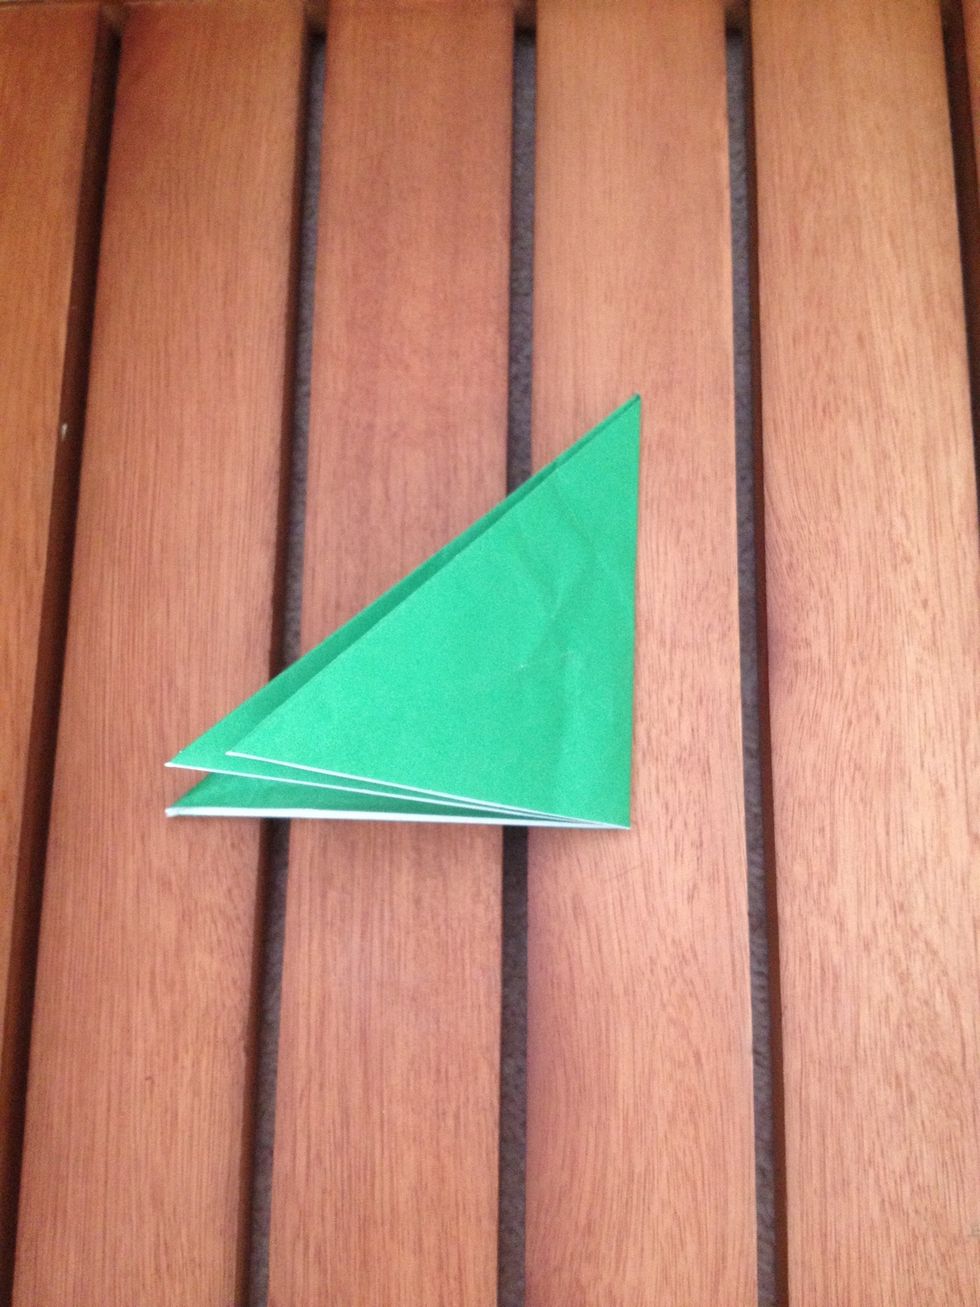
And again. The top corner from the previous photo is now on top of the bottom right corner.
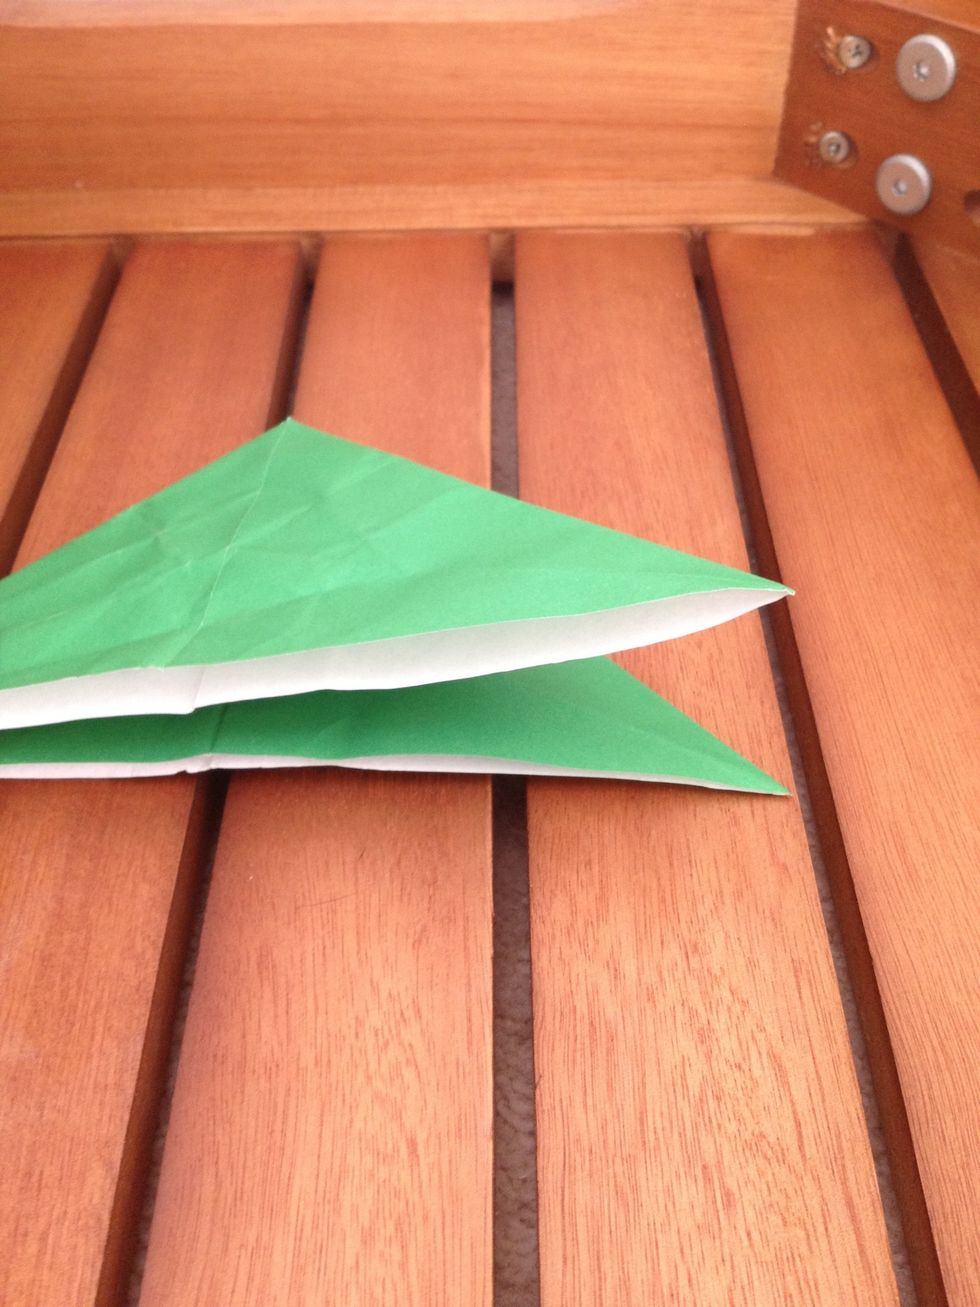
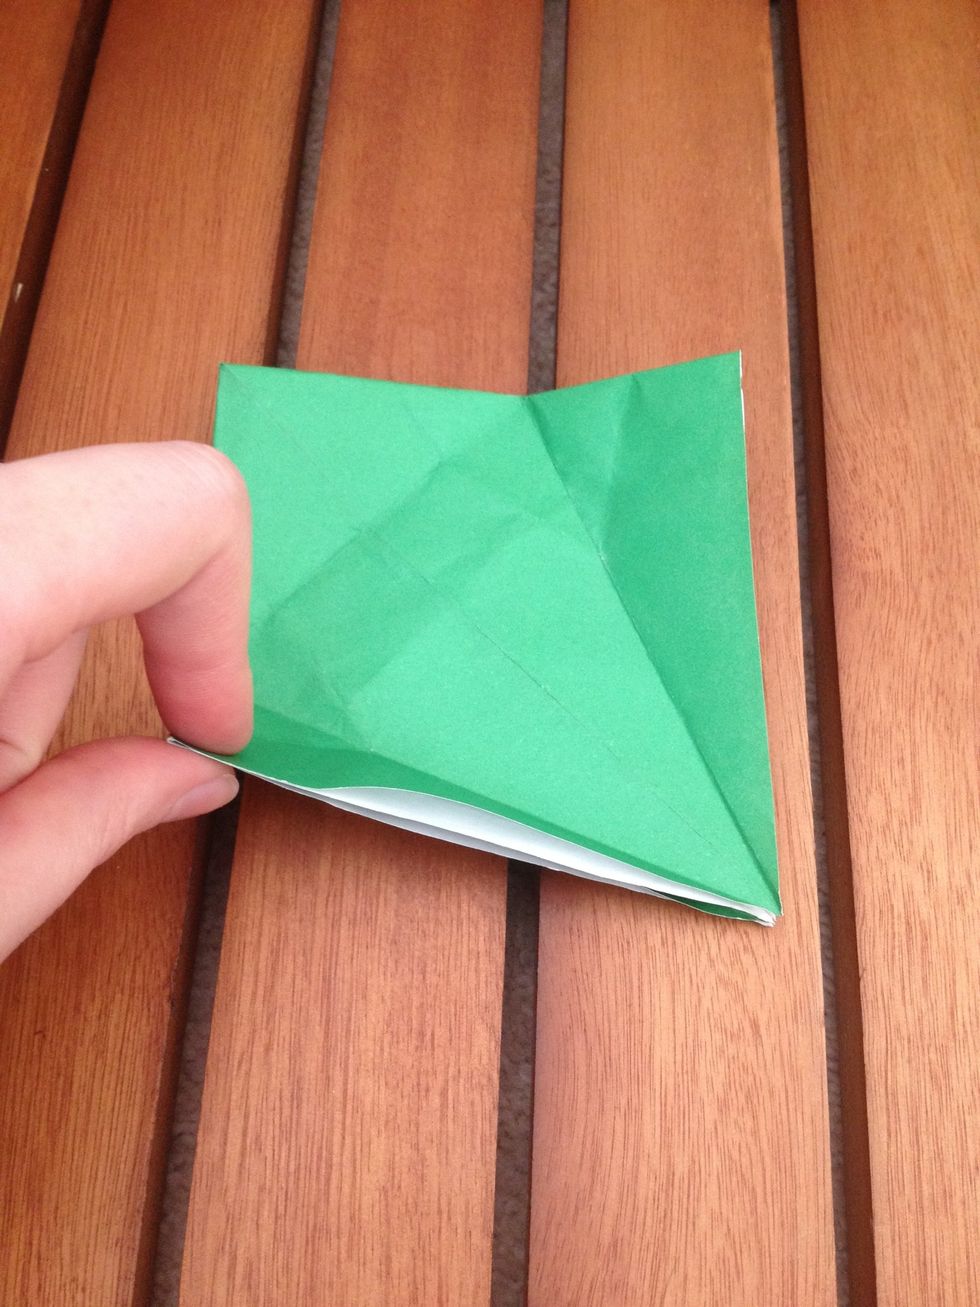
There should be a gap between two pieces.
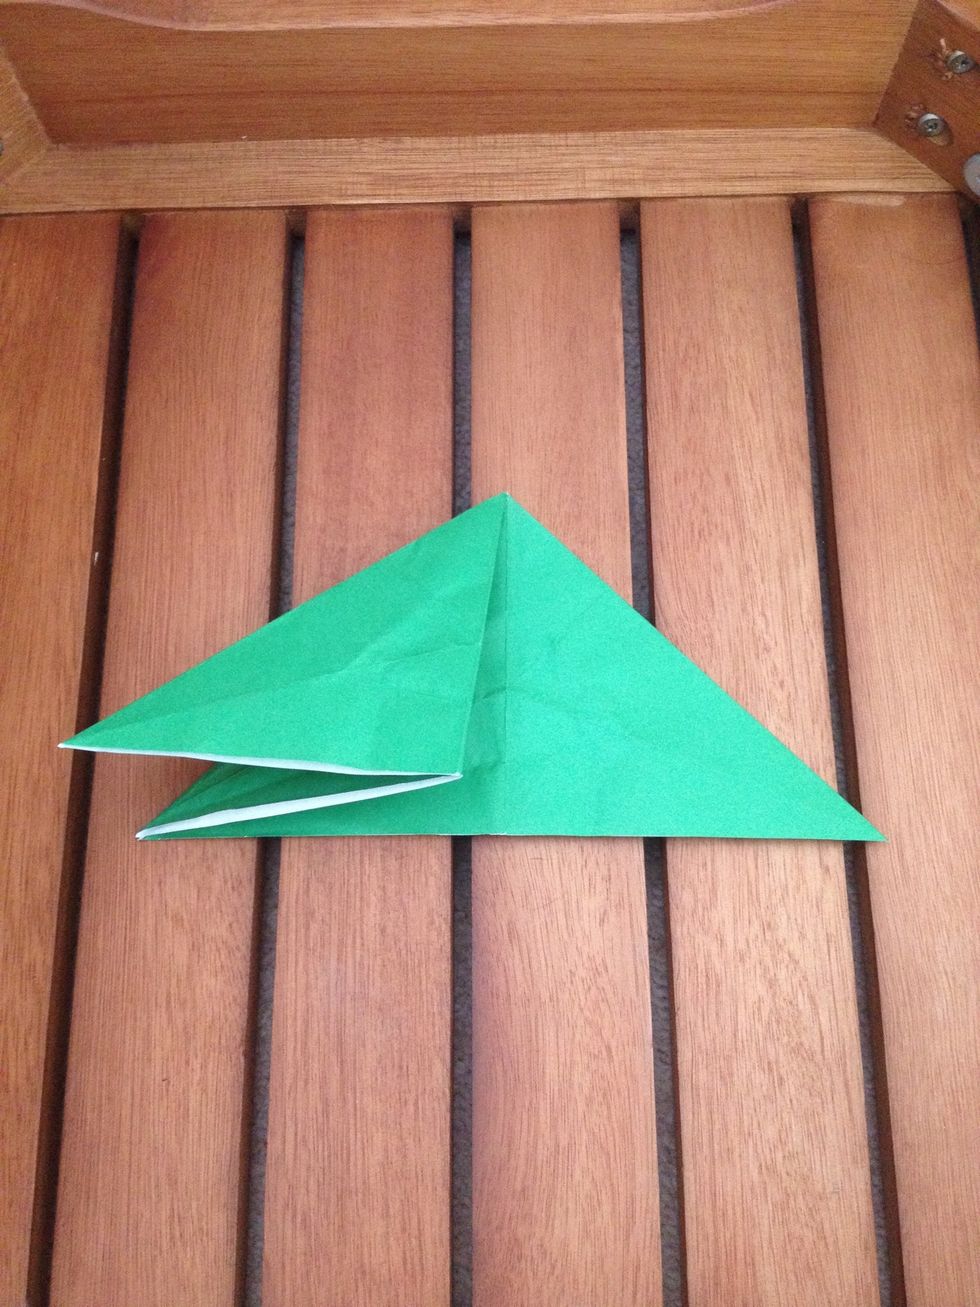
Fold it in half again...

...and unfold it back to where you were. This gives you a fold line down the middle of the triangle.
It should look like this.
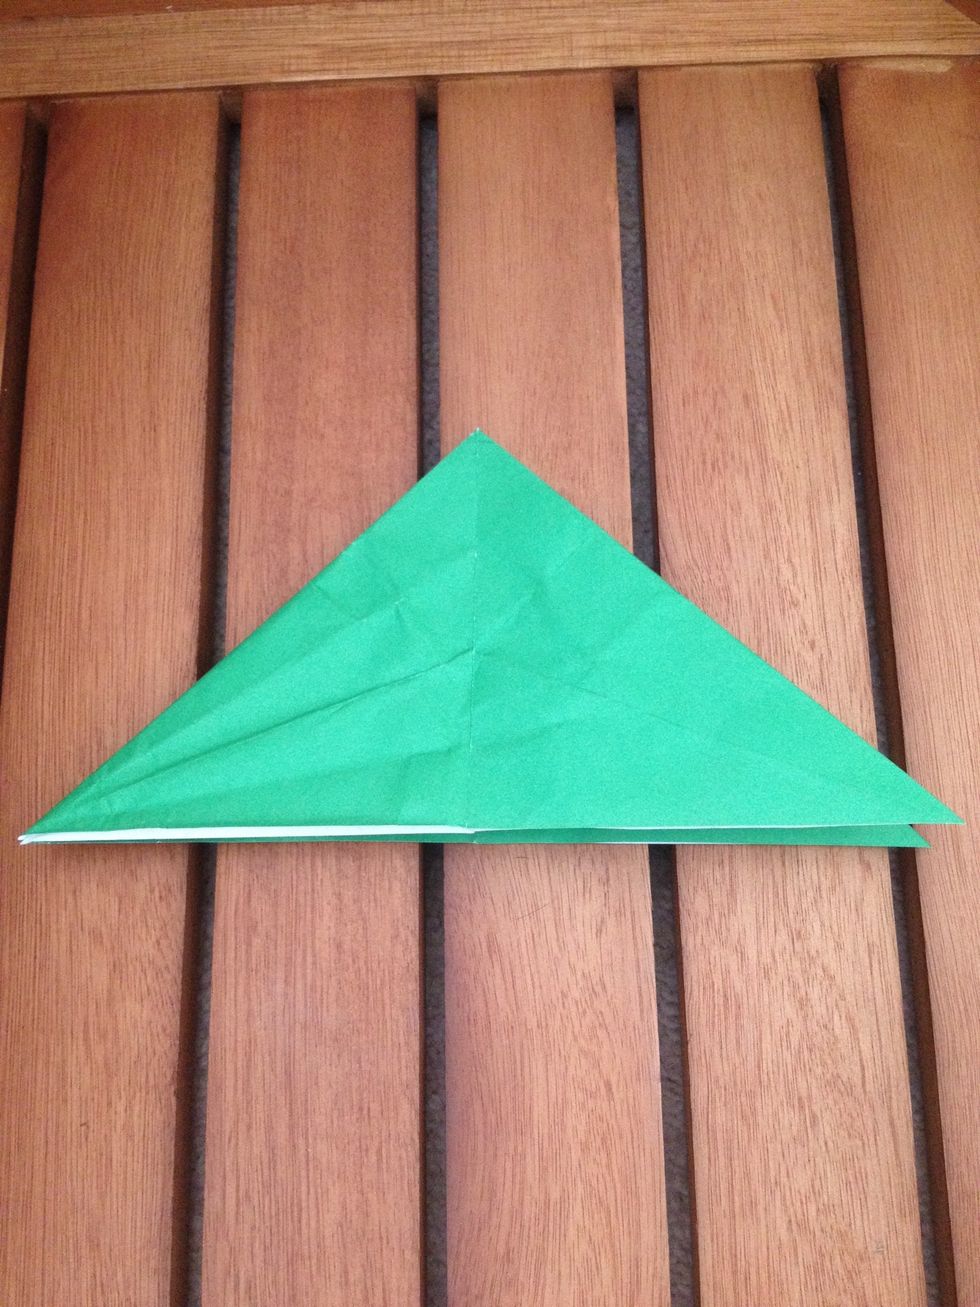
Unfold it again. Your crease for the next step has now been made.

It should look like this.
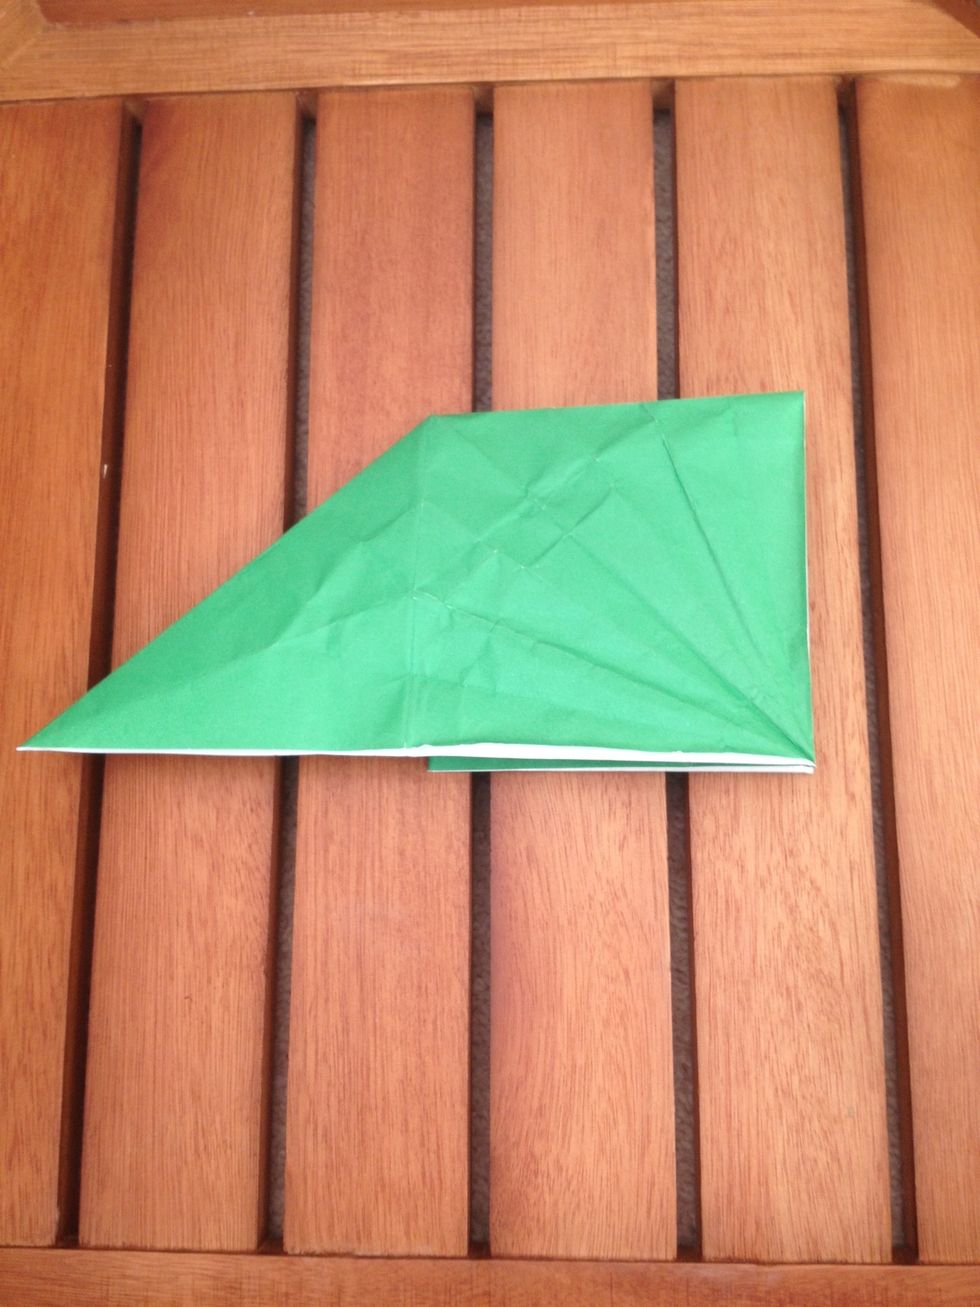
Turn it over.
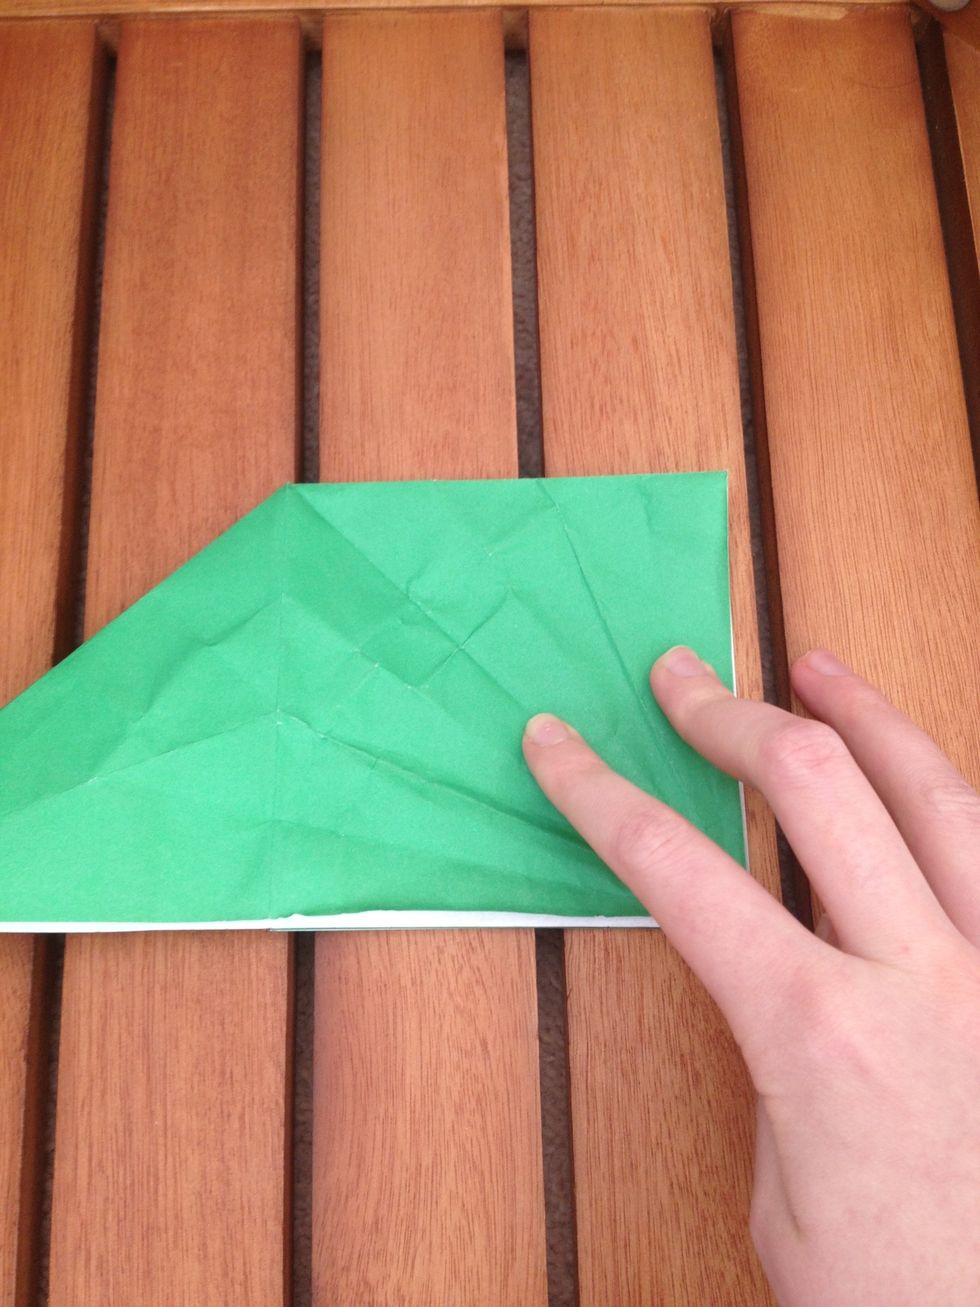
Place your finger on the crease down the middle of the square side.
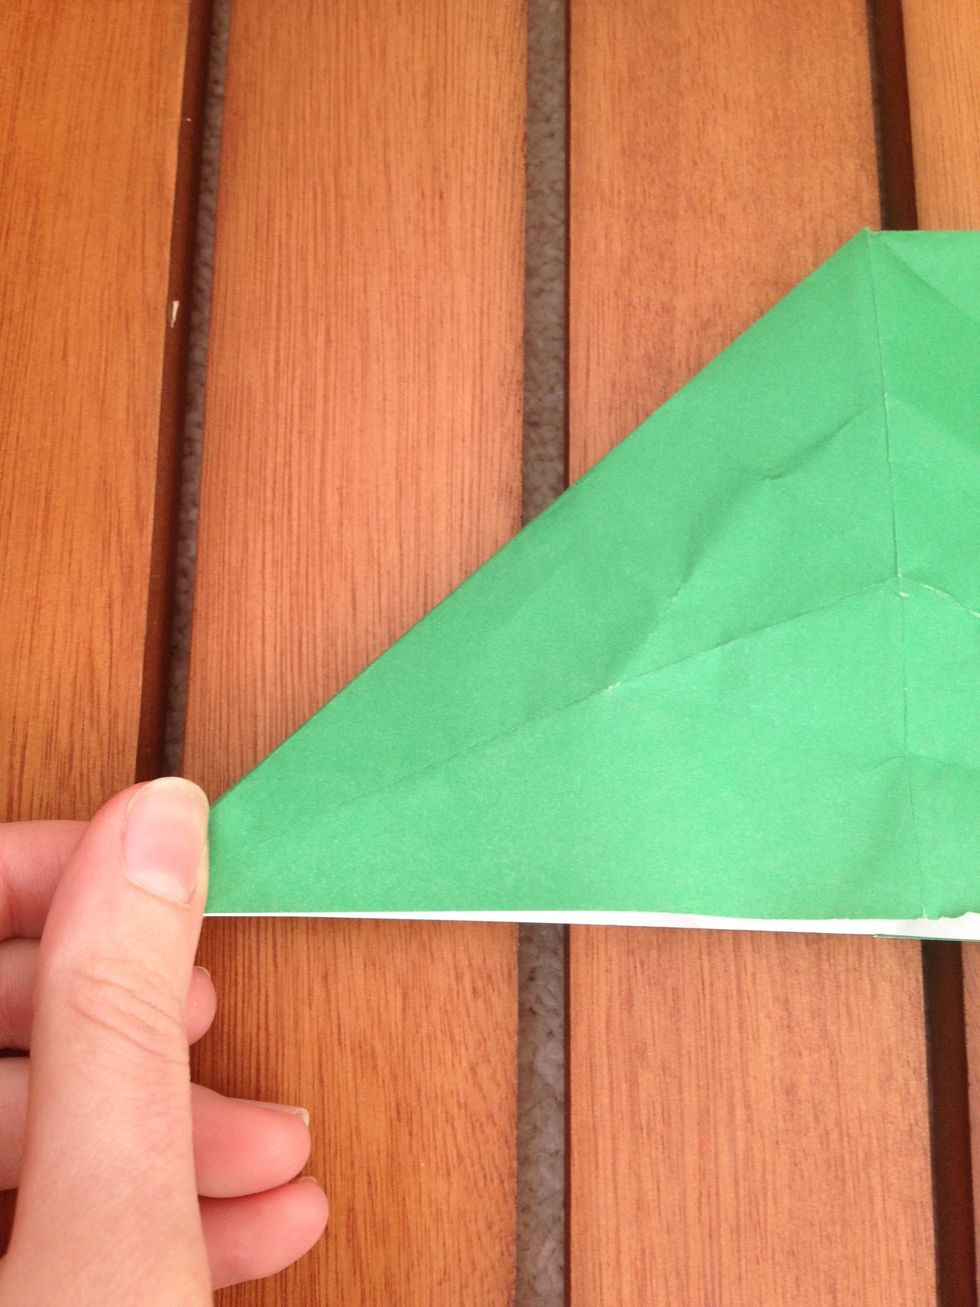
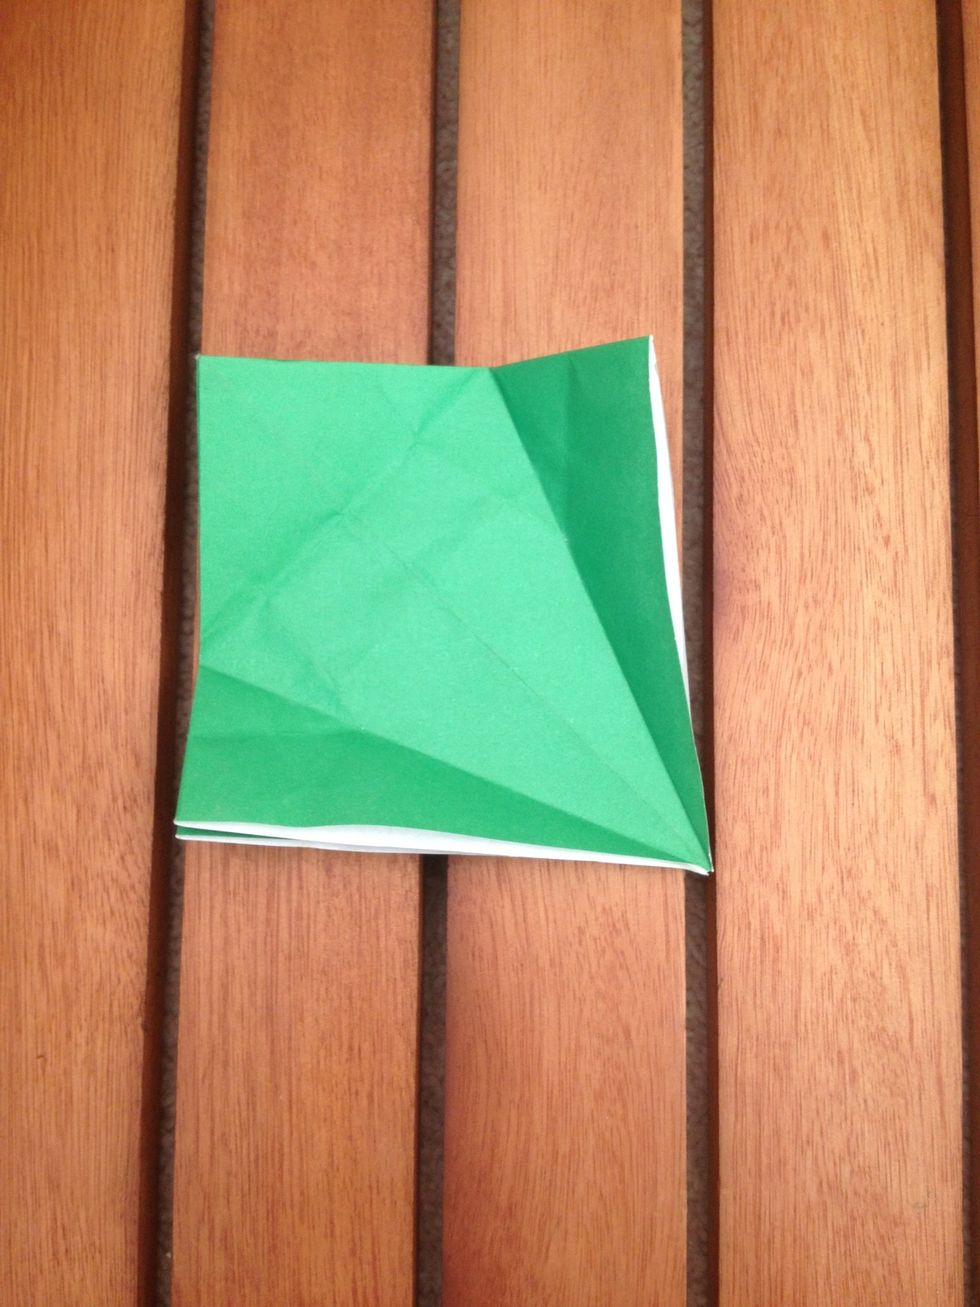
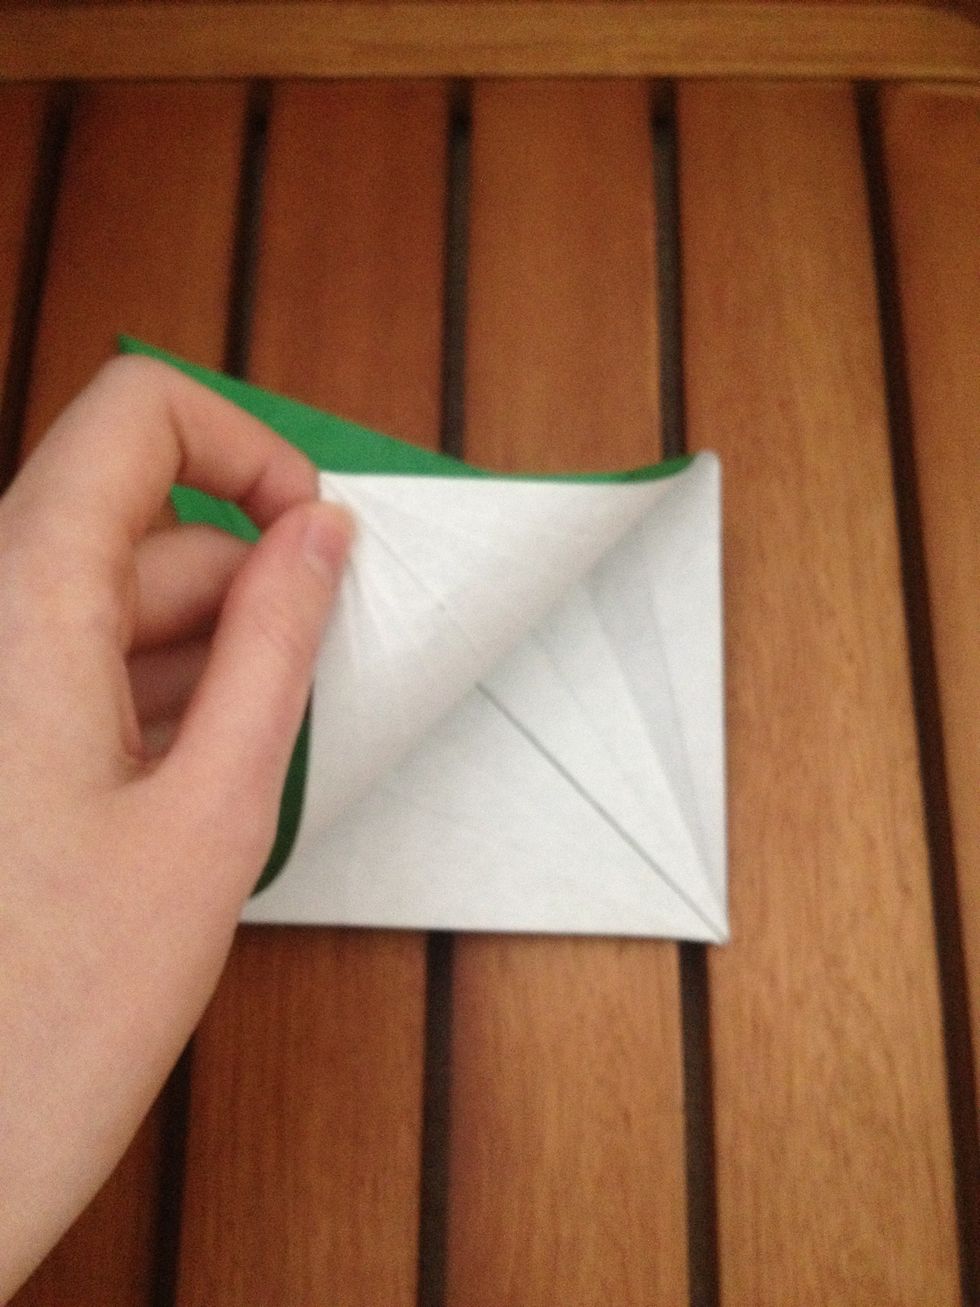
Pinch the left bottom corner of the triangle side...
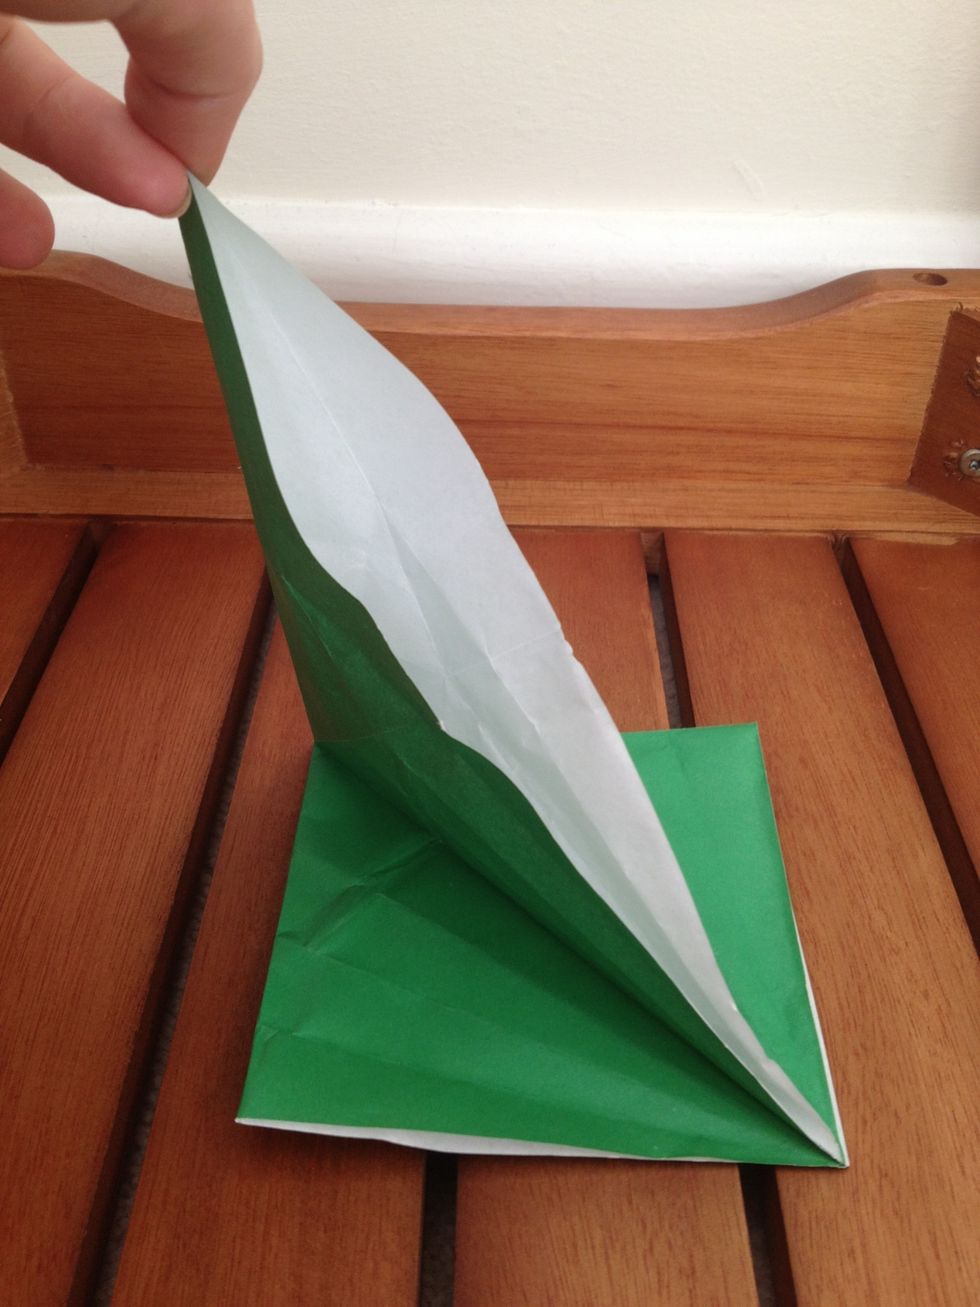
...and lift it up. Your finger should be behind the upright triangle, holding the square down but I only had one hand free.
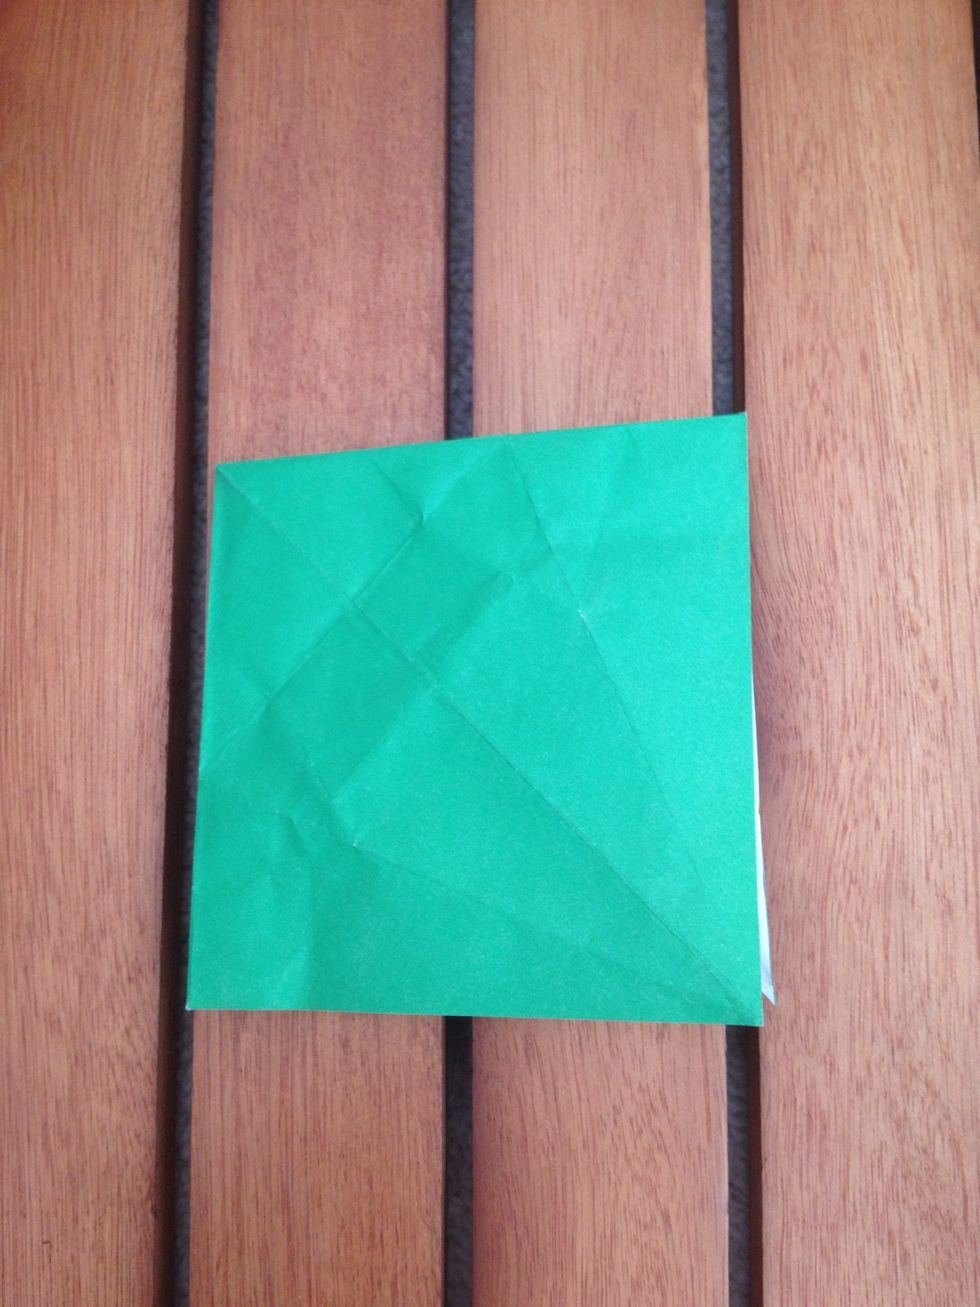
You should now have a square.
Take the bottom left corner and fold it so it lines up with the crease down the middle of the square.
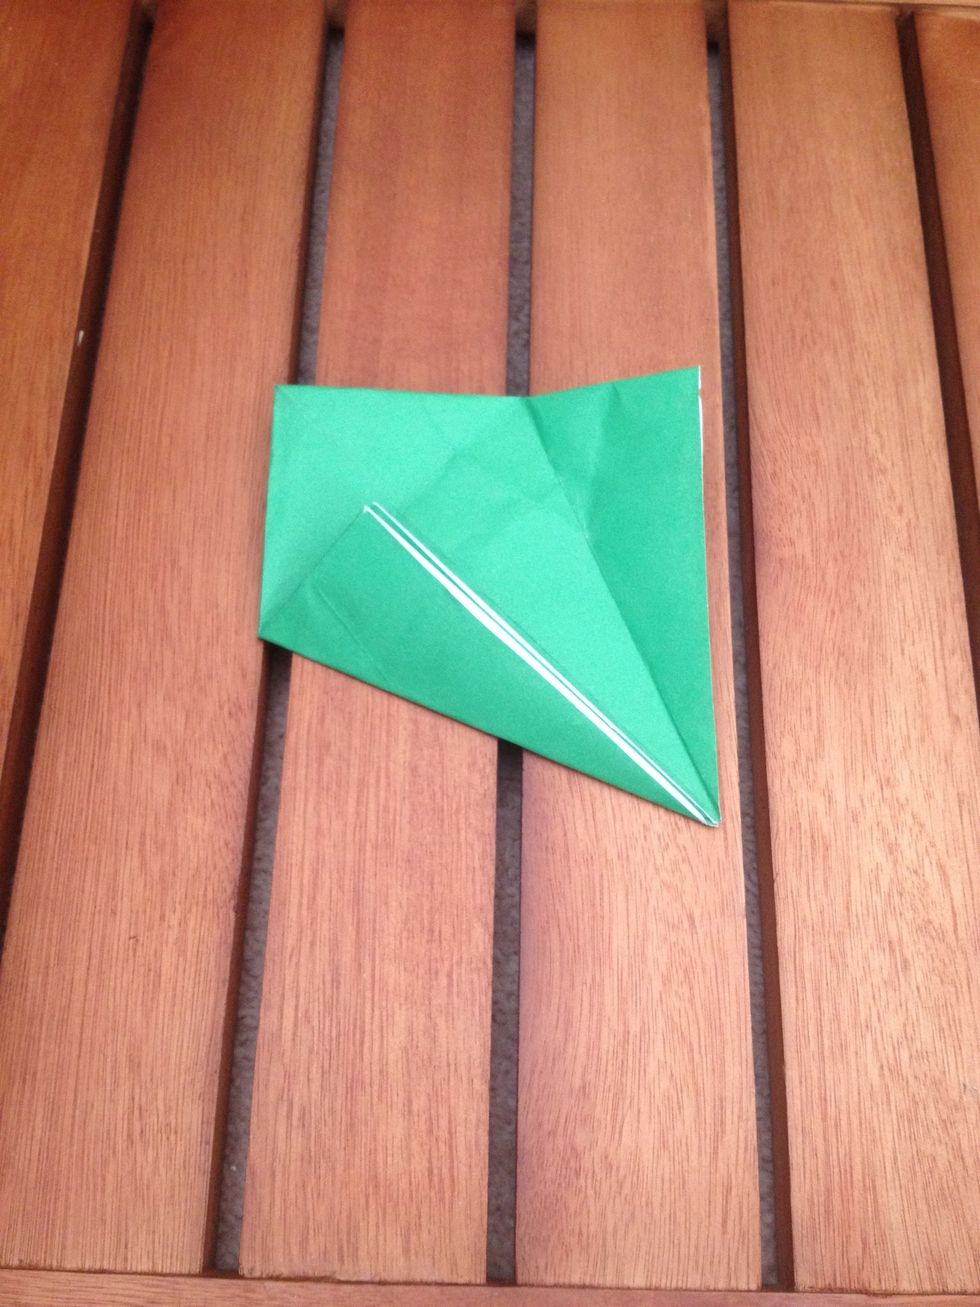
Make sure to score it with your finger.
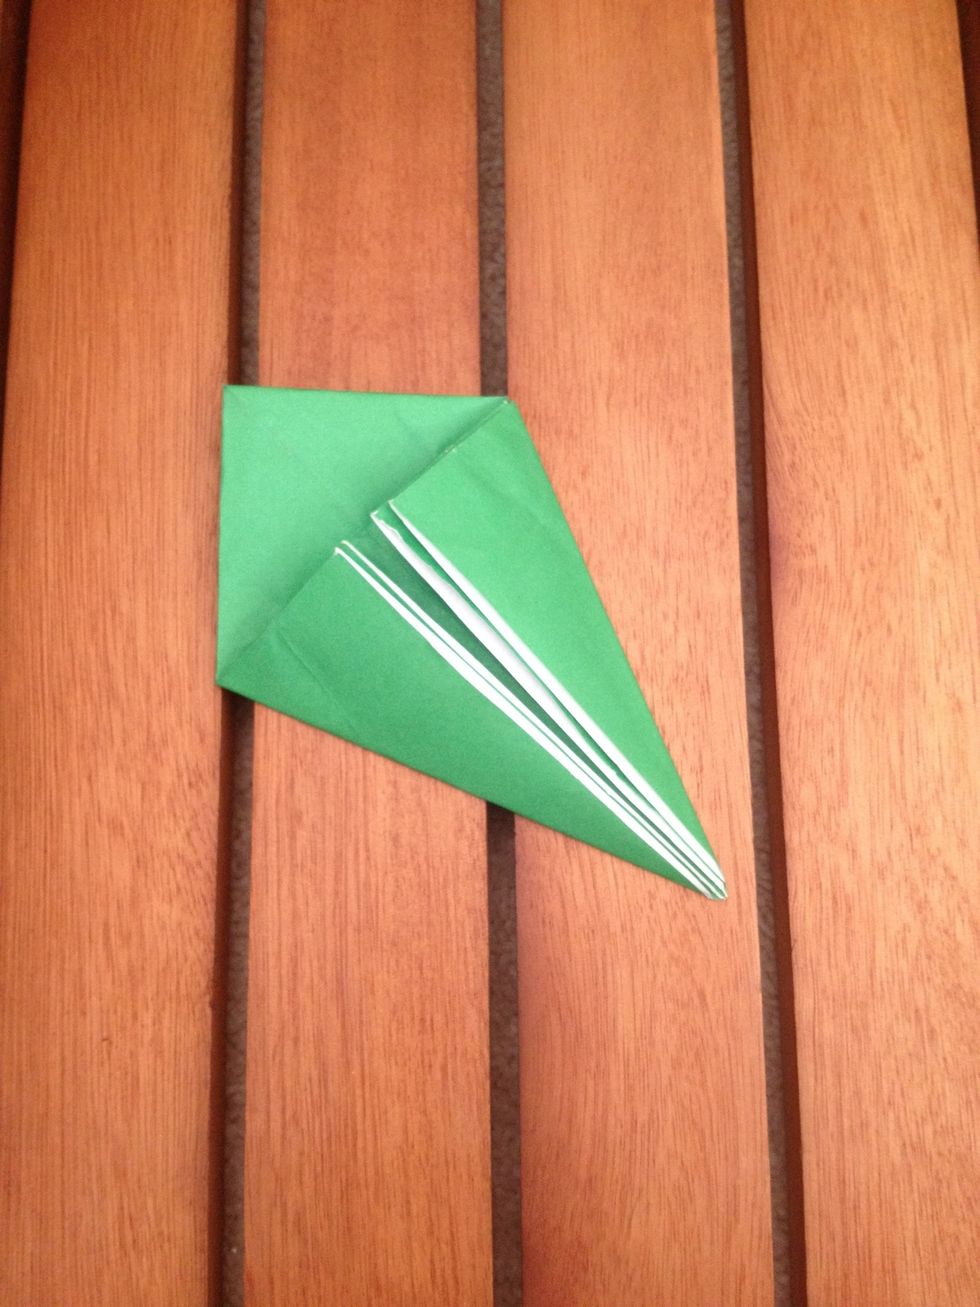
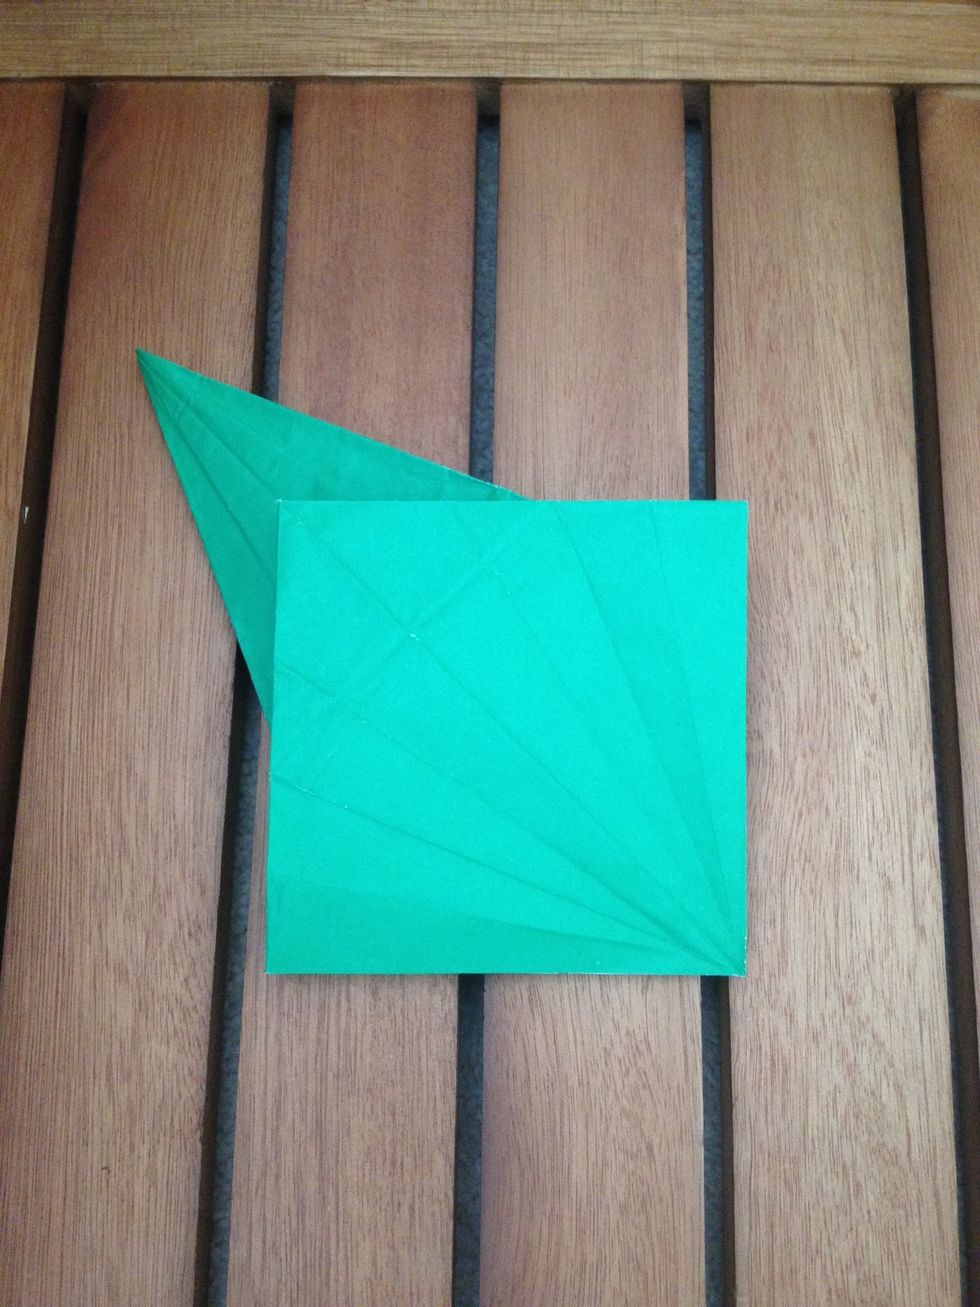
Do the same with the top right corner, so you get a kite shape.
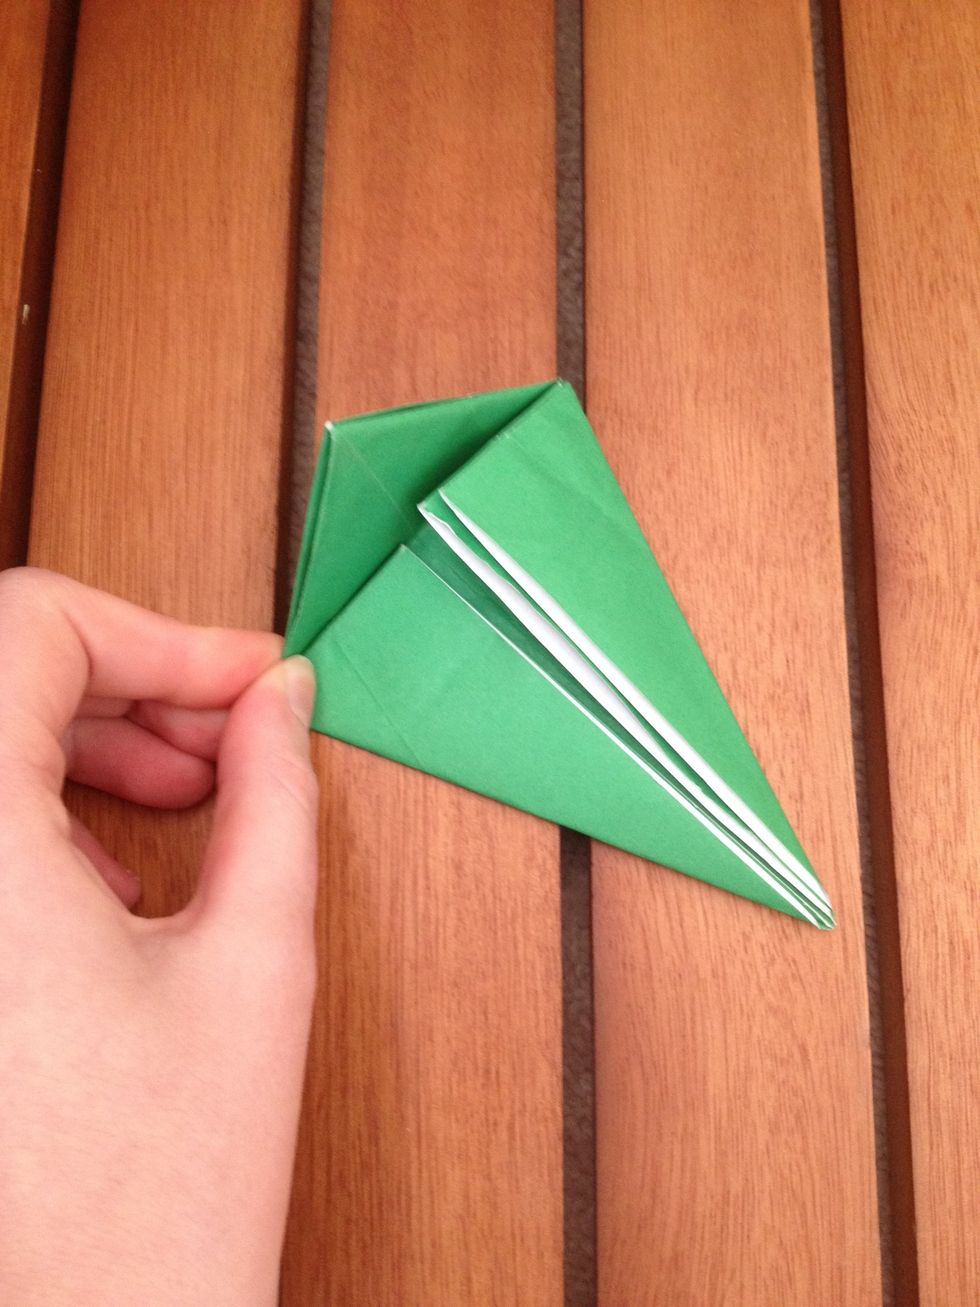
Now take the top, previously the top left corner of the square, and fold on top of both pieces you've just folded.

It should look like this. Remember to score along the lines.
Now unfold it all and you'll be left with good crease lines to help you out for the next part.

Separate the bottom left corner from the corner underneath it.
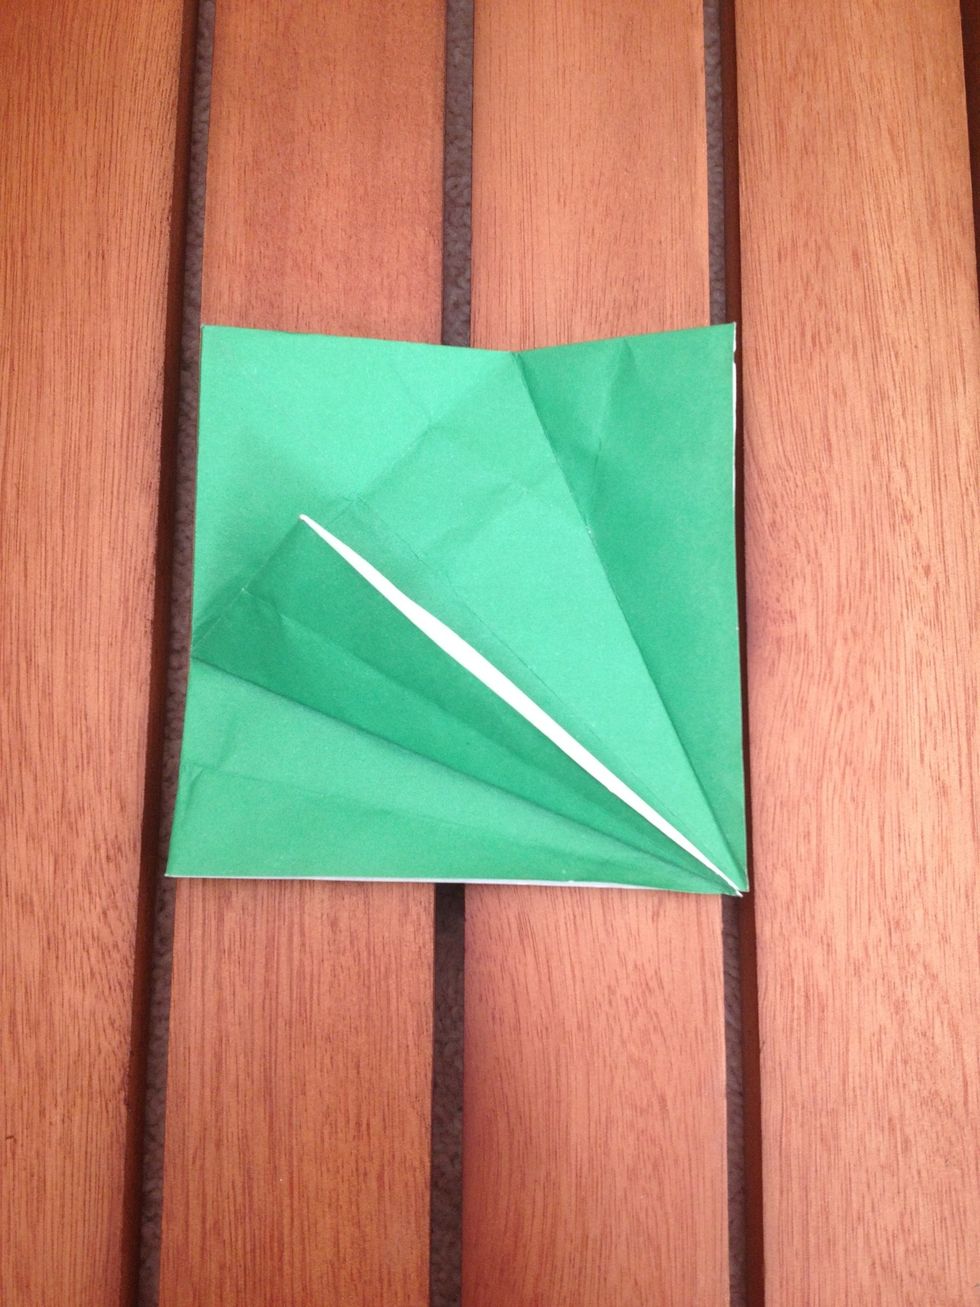
Fold it and score.
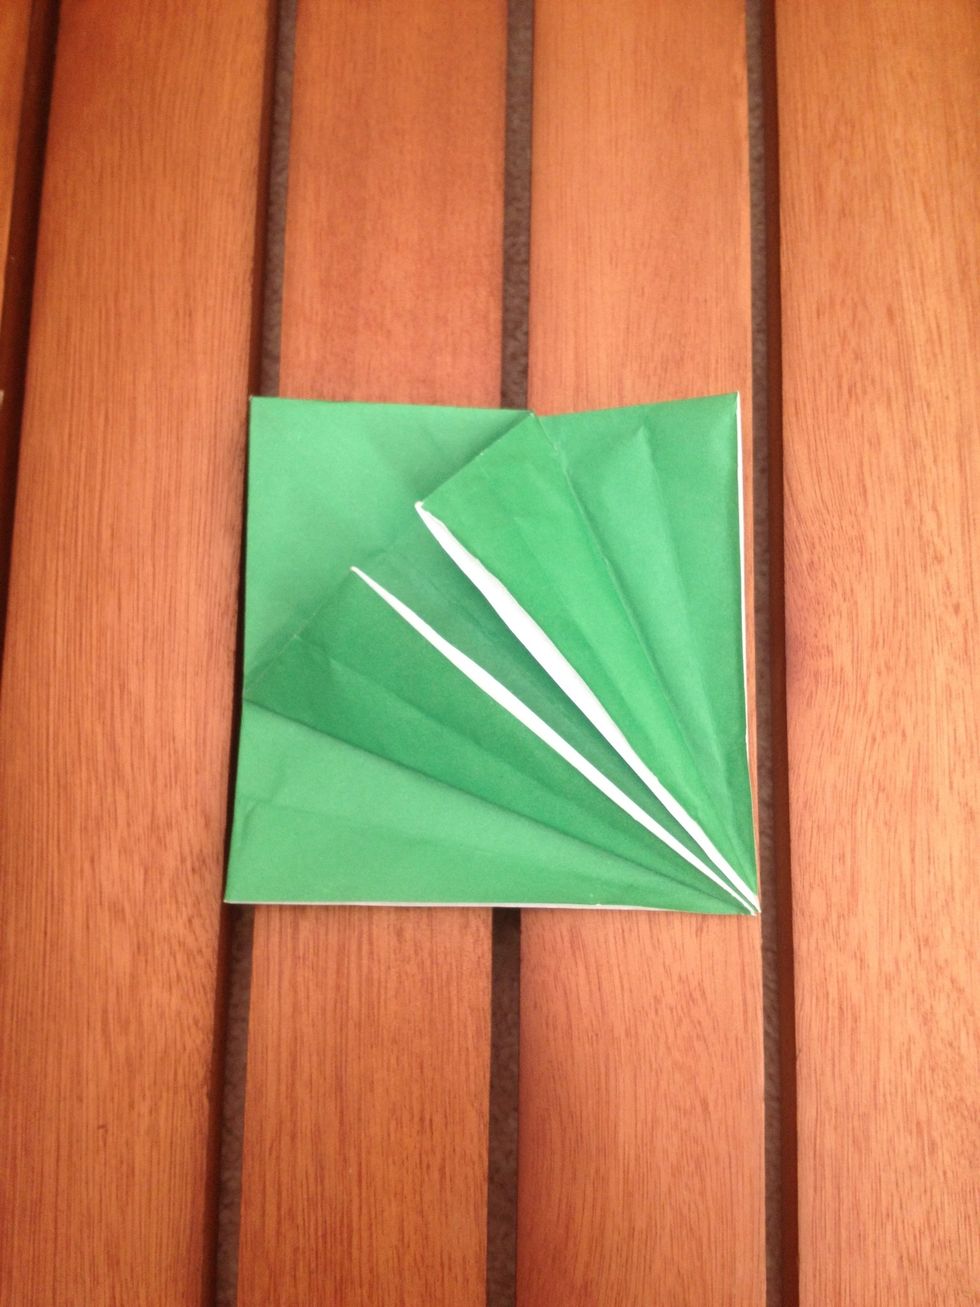
Do the same on the other side.
Unfold it (mine is now even more creased because I was trying to remember the next steps).
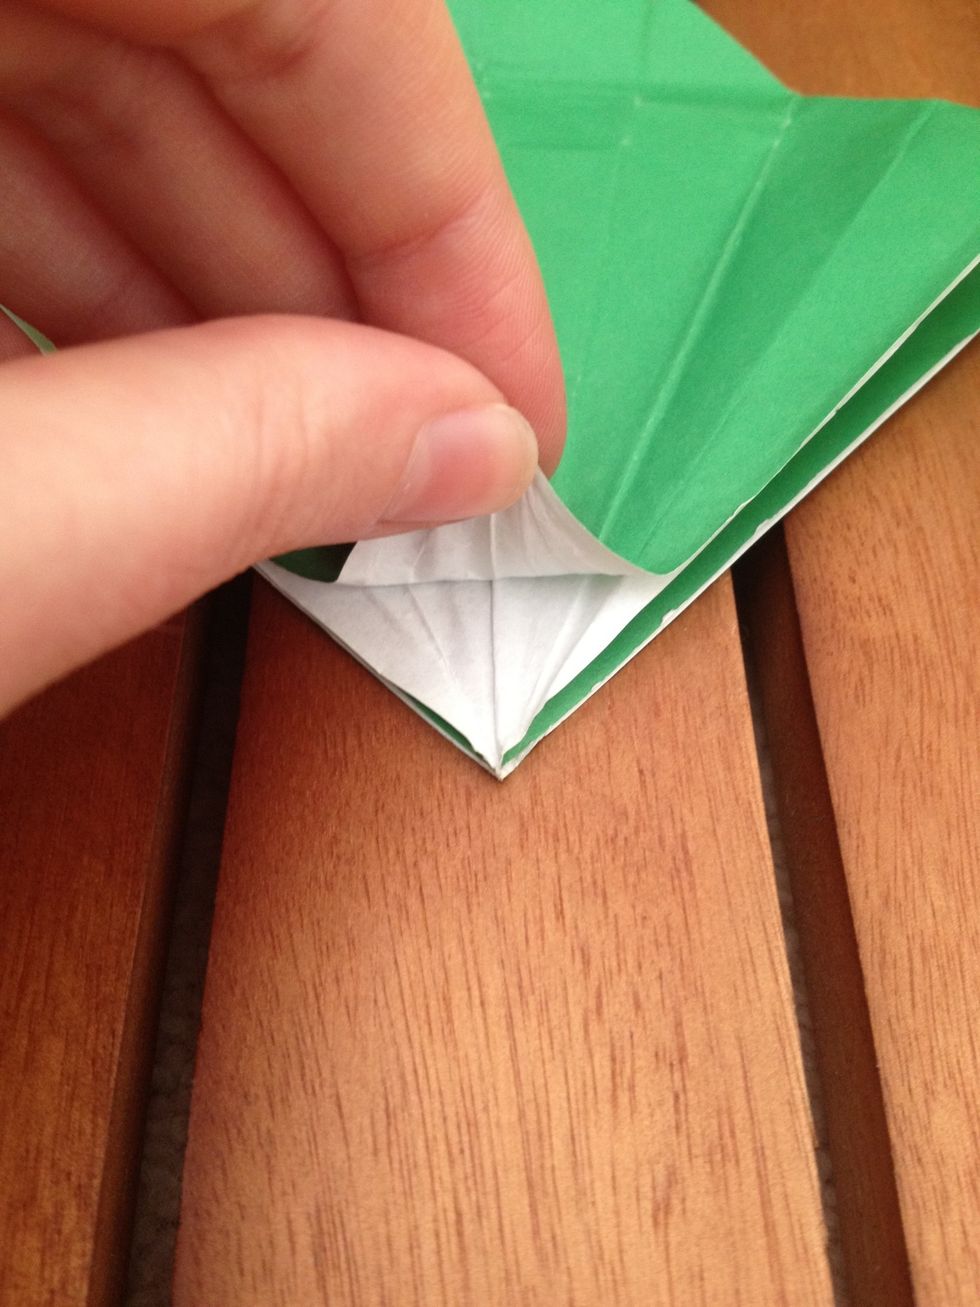
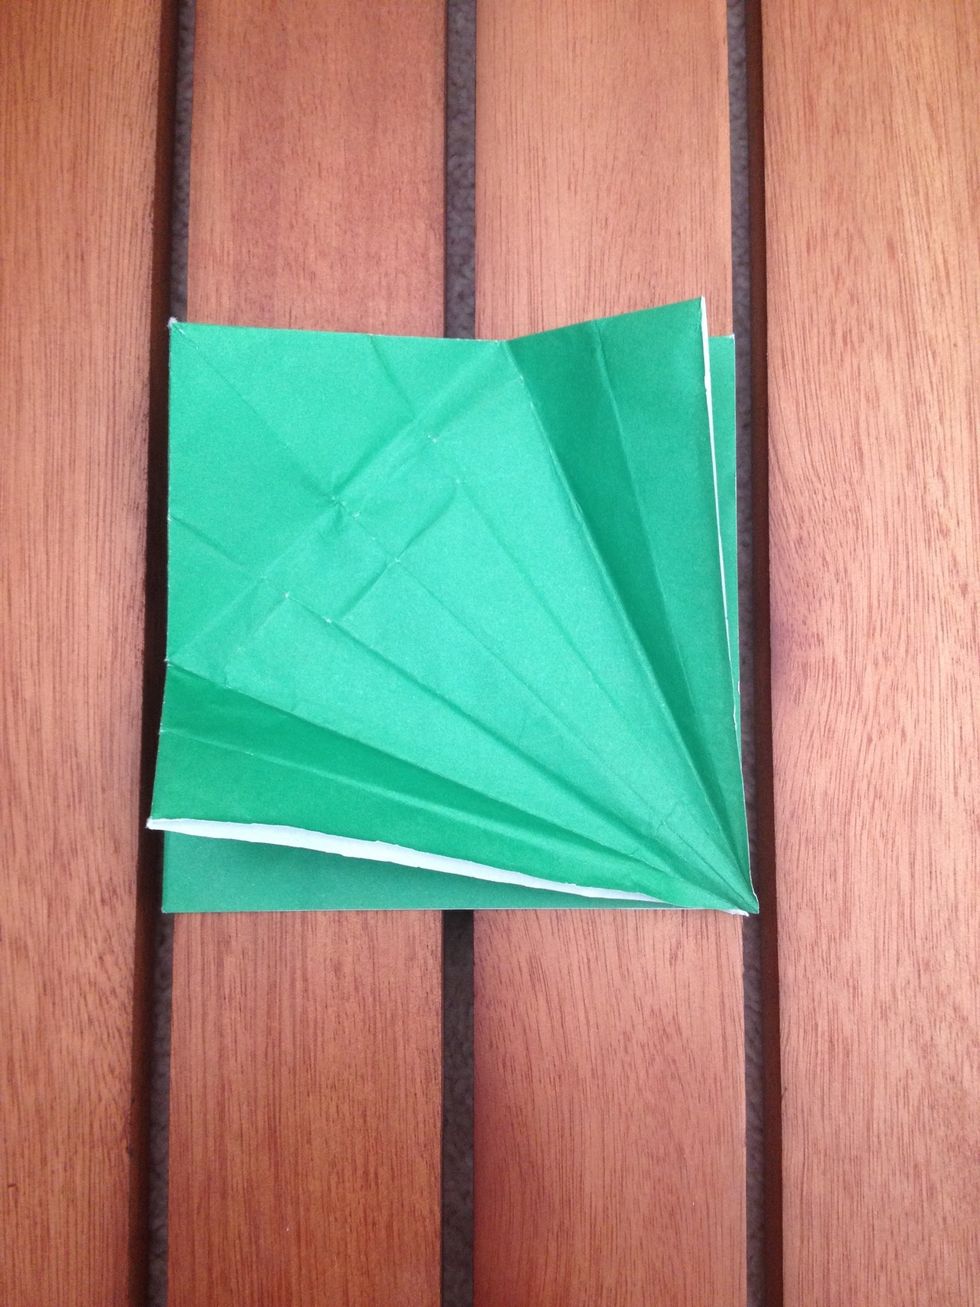
Peel back the very top layer from the bottom right corner.
Lift it up...
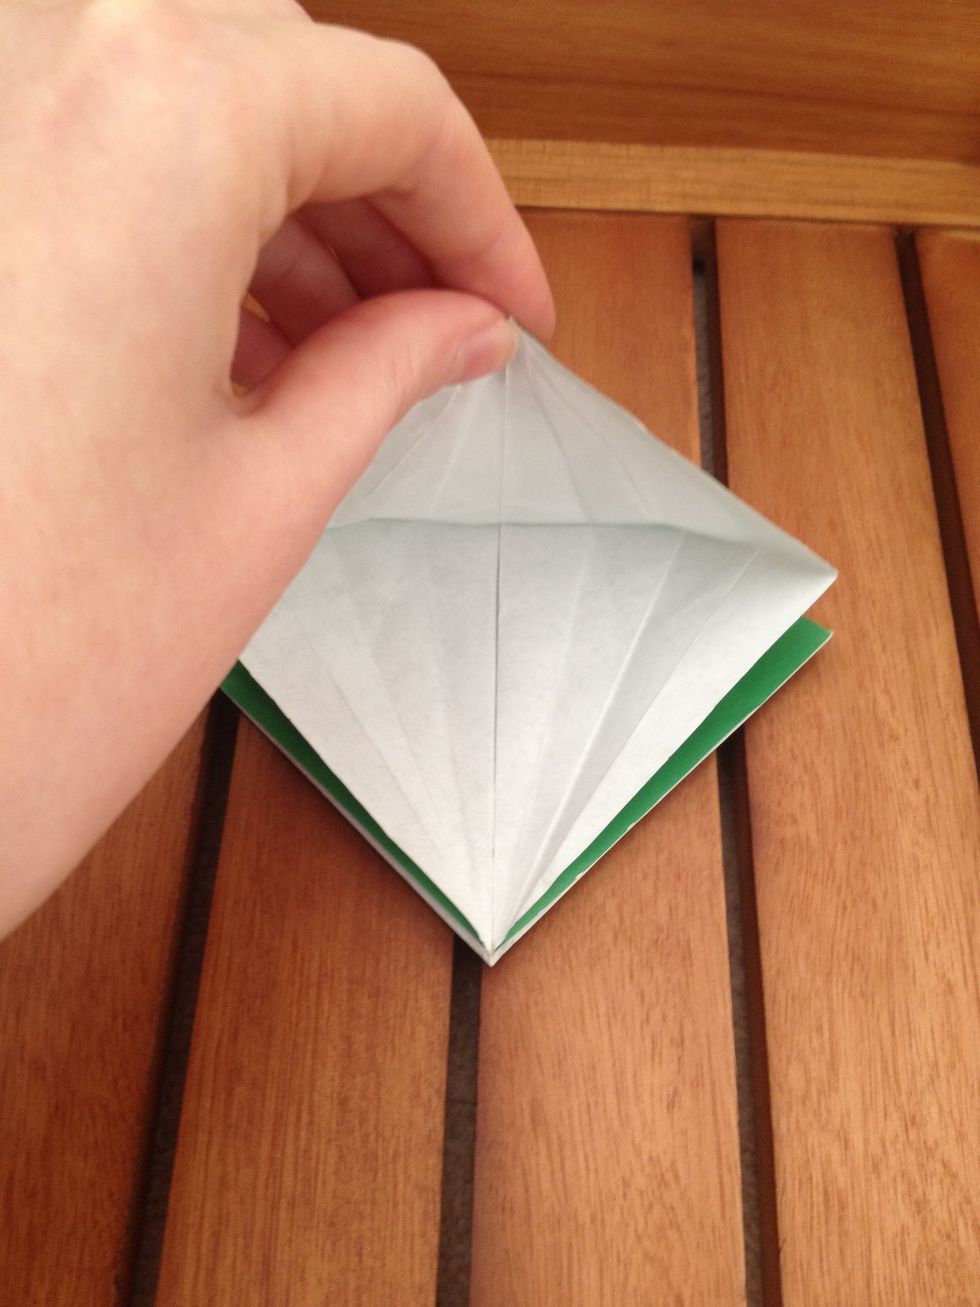
...get it to this point...
...and then flatten it. This is called a petal fold.
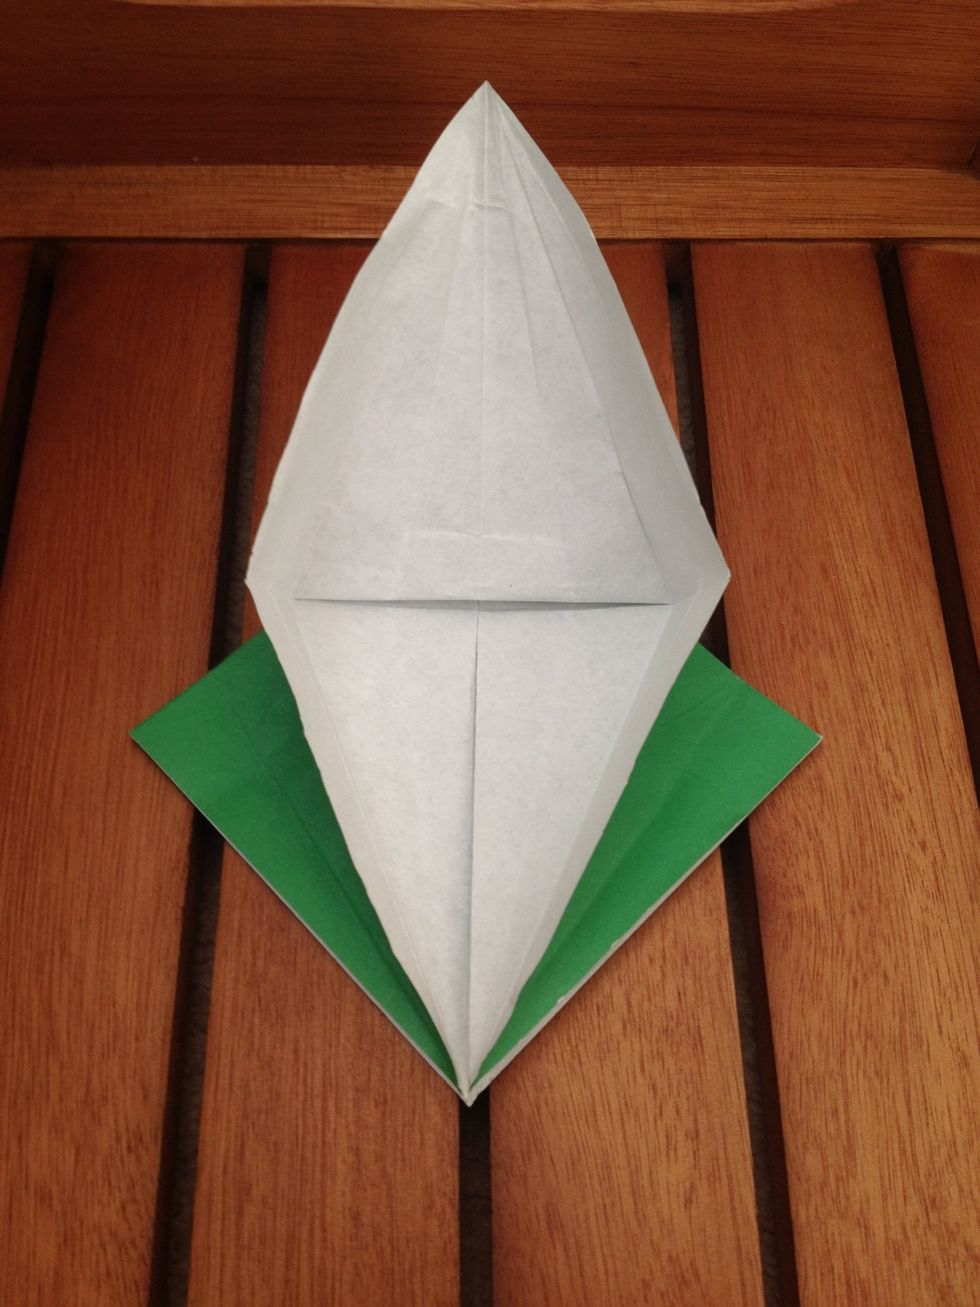
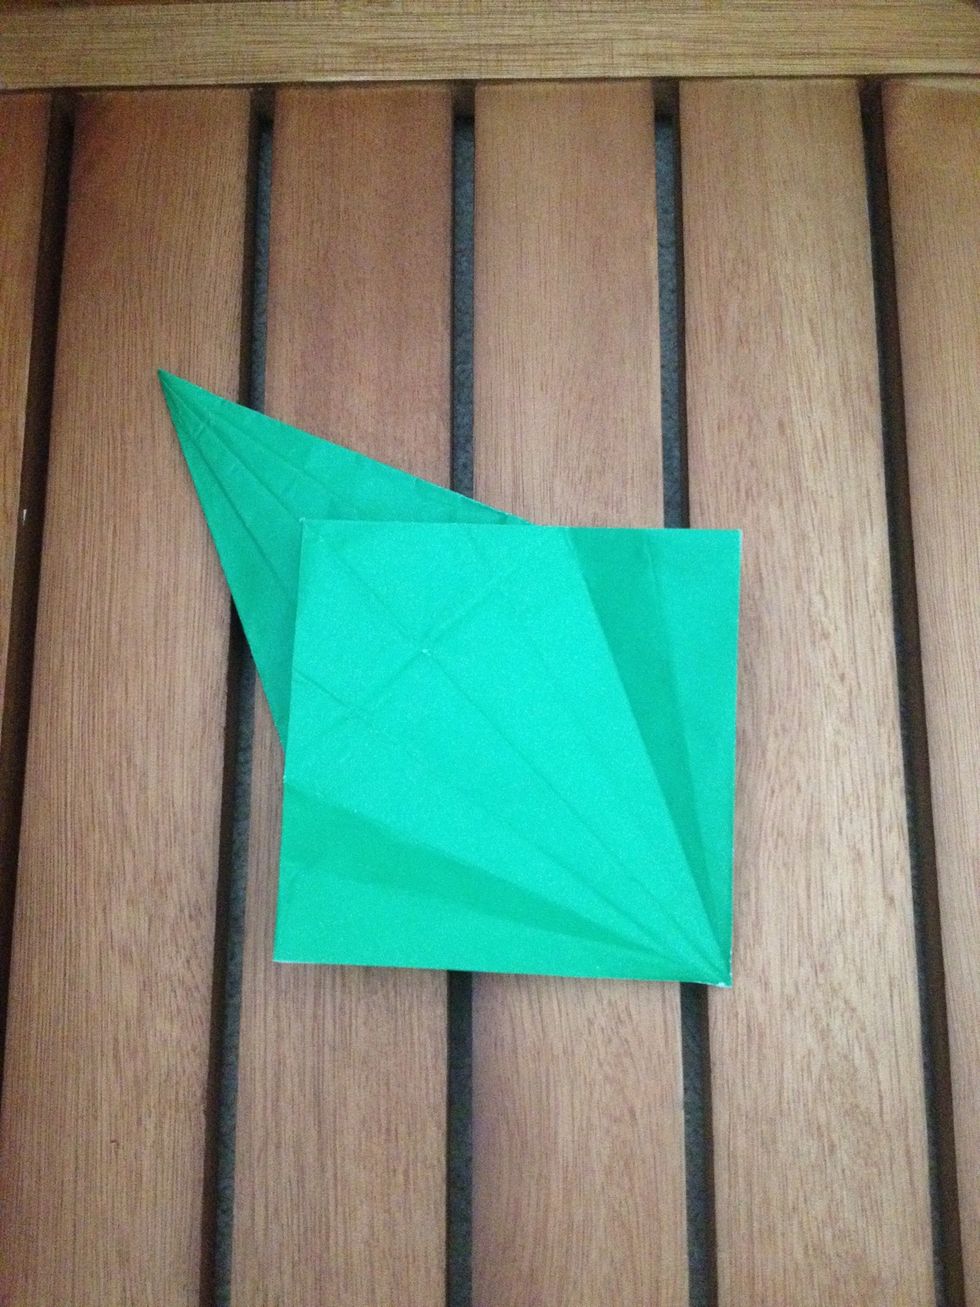
Turn it over. Now you have a square with a weird pointy head?
Fold in the top and bottom corner like before to create a kite... with a head.
Once it's creased well, unfold it. Again.

Like last time, peel back the bottom right corner.
Lift it up...
This is where your previous folds come in handy. You need to fold it back on itself.
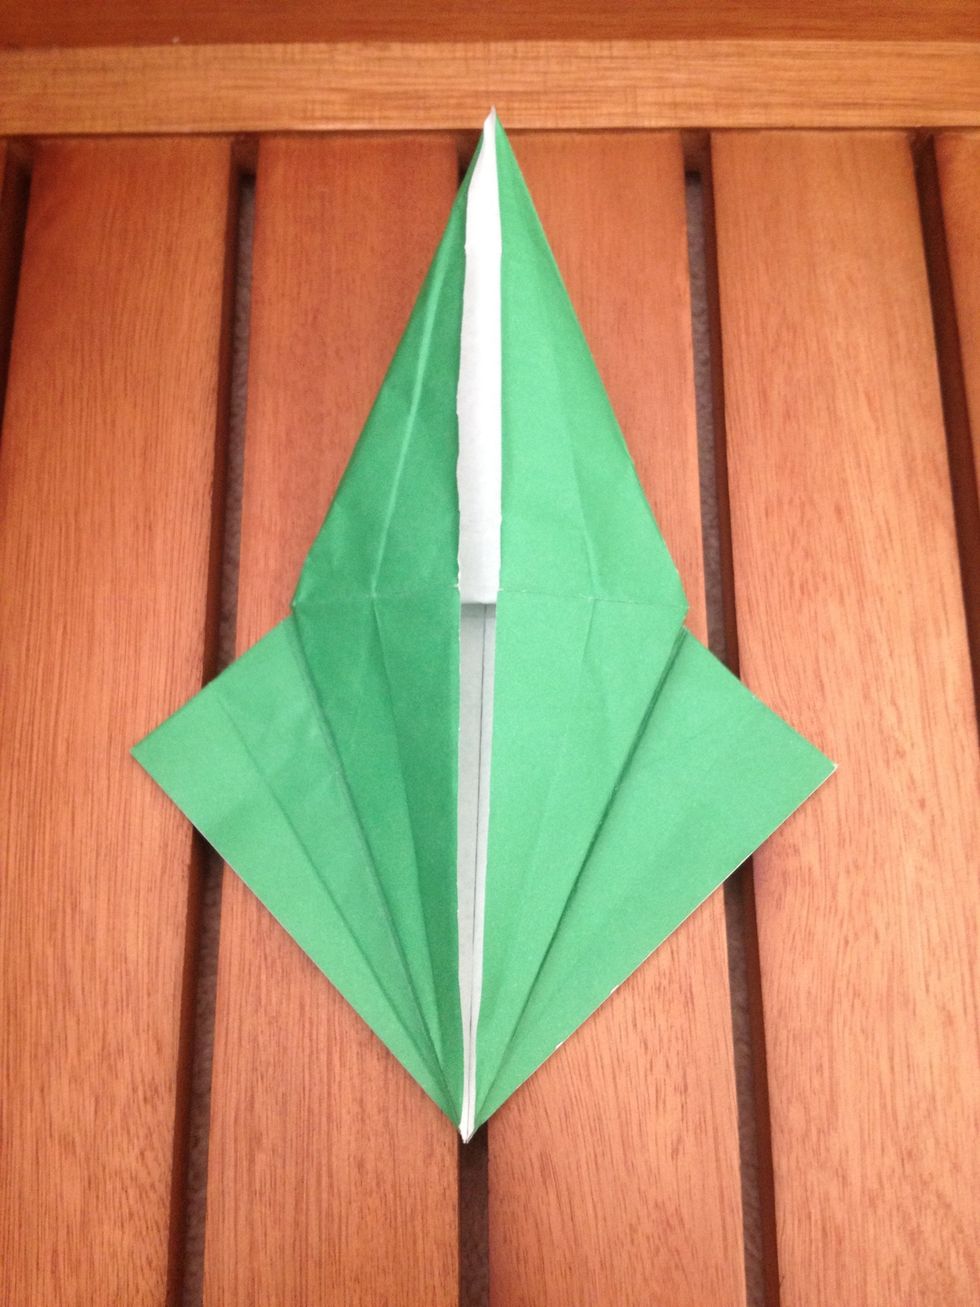
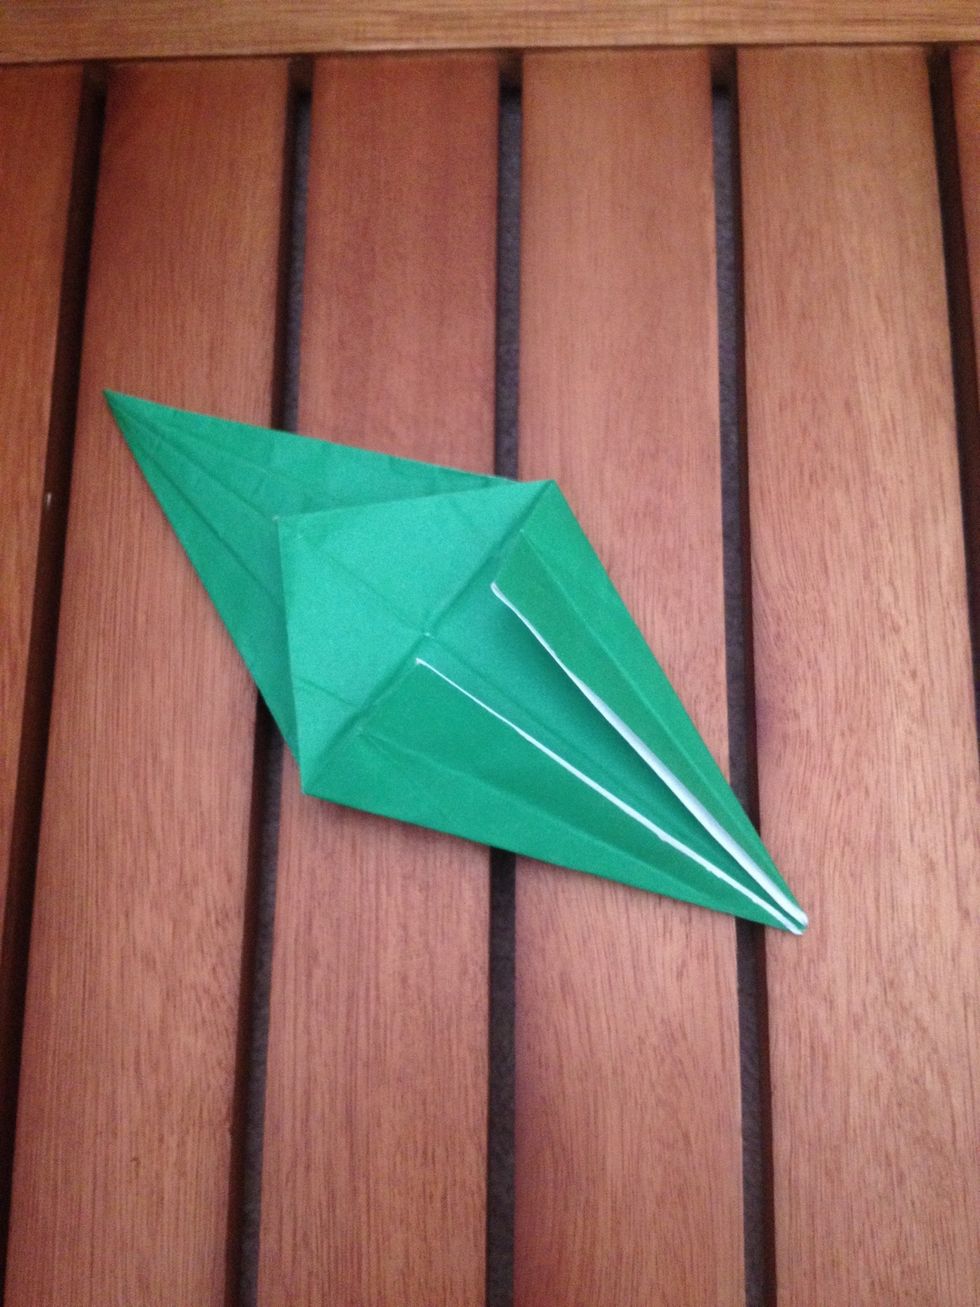
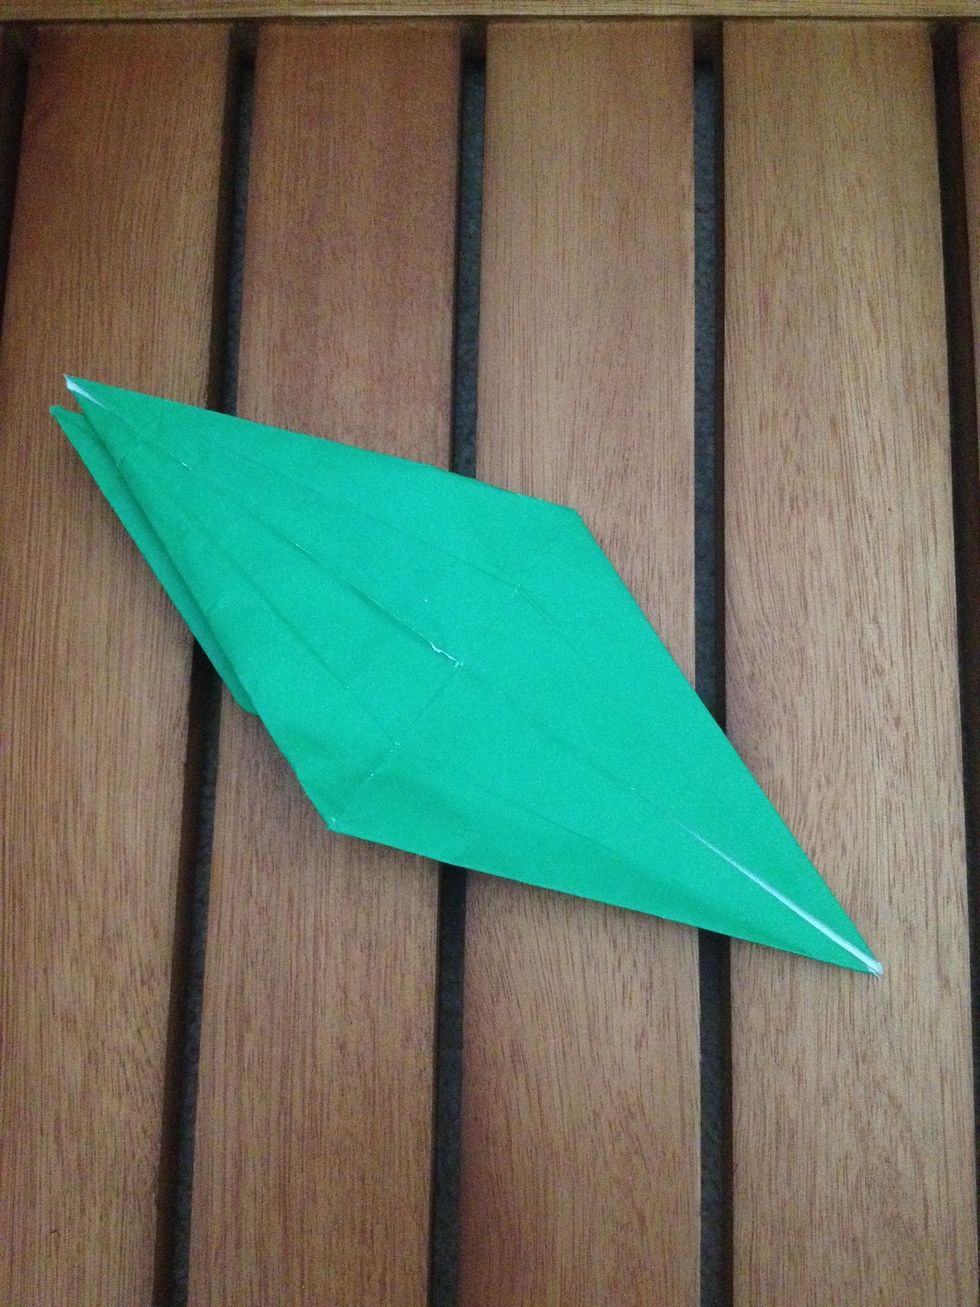
And flatten. You've now made your bird base. Not much left!
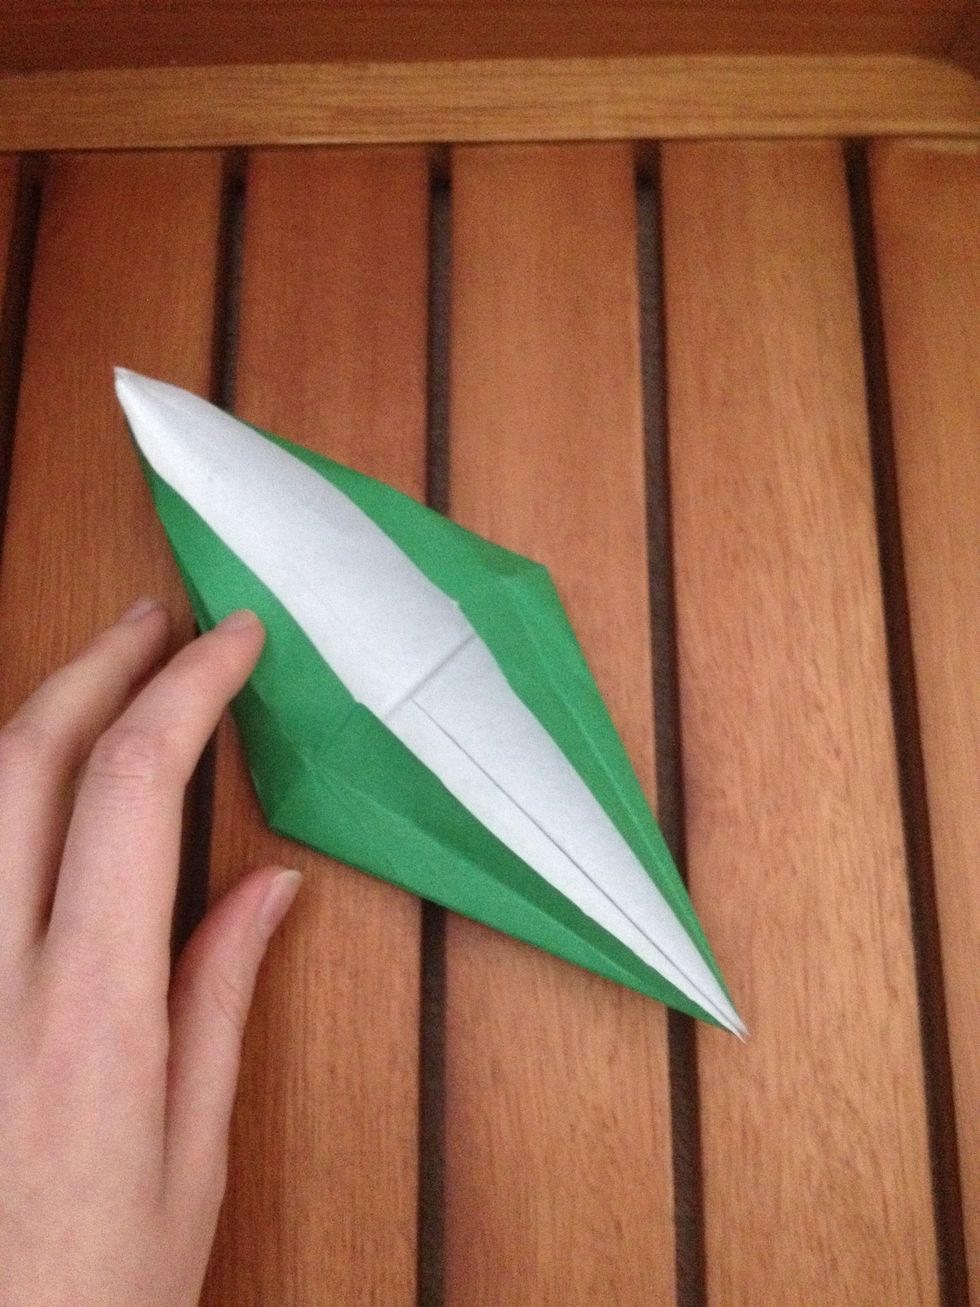
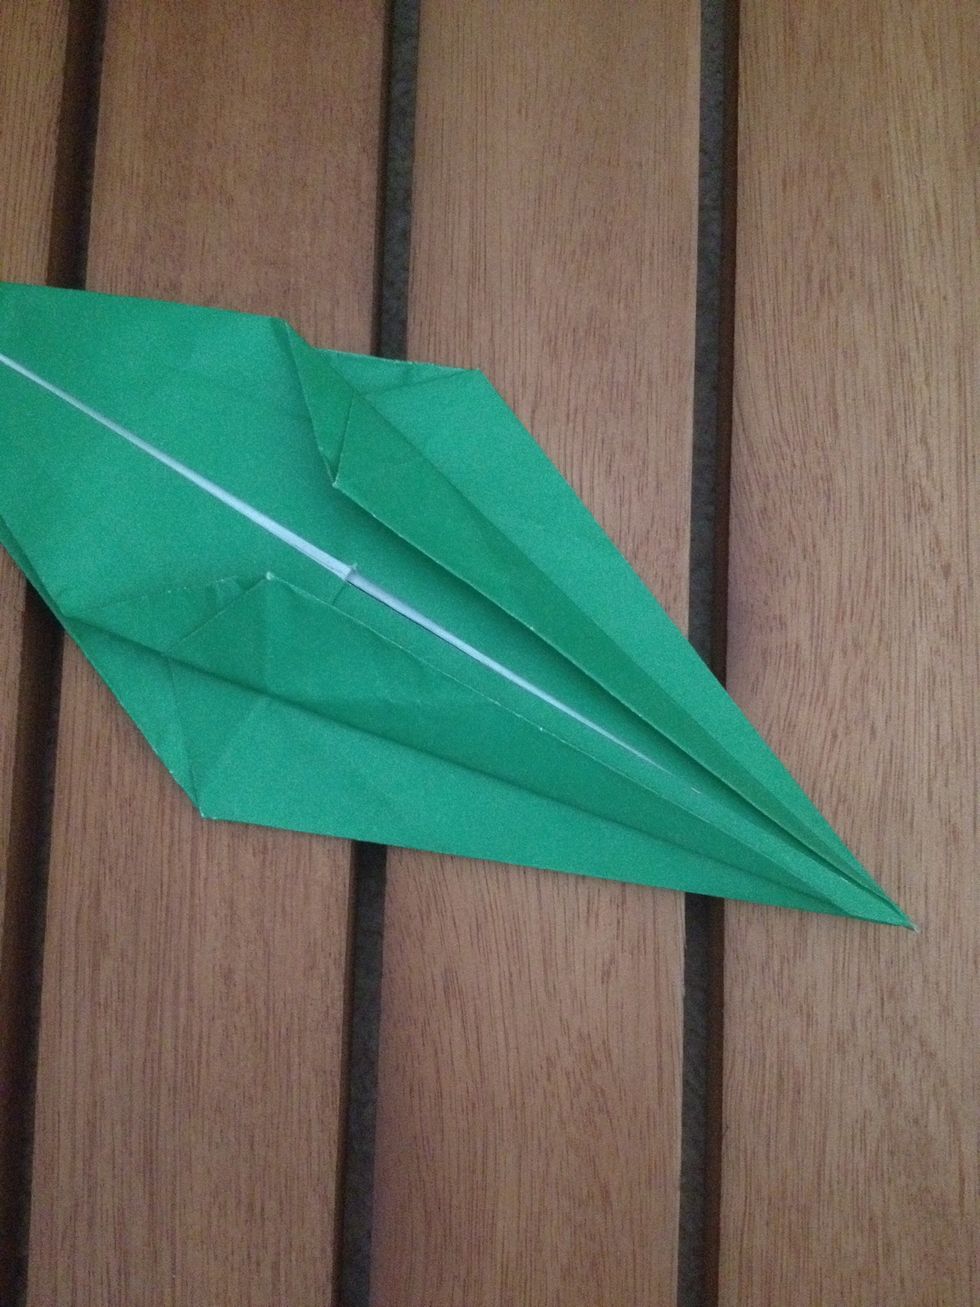
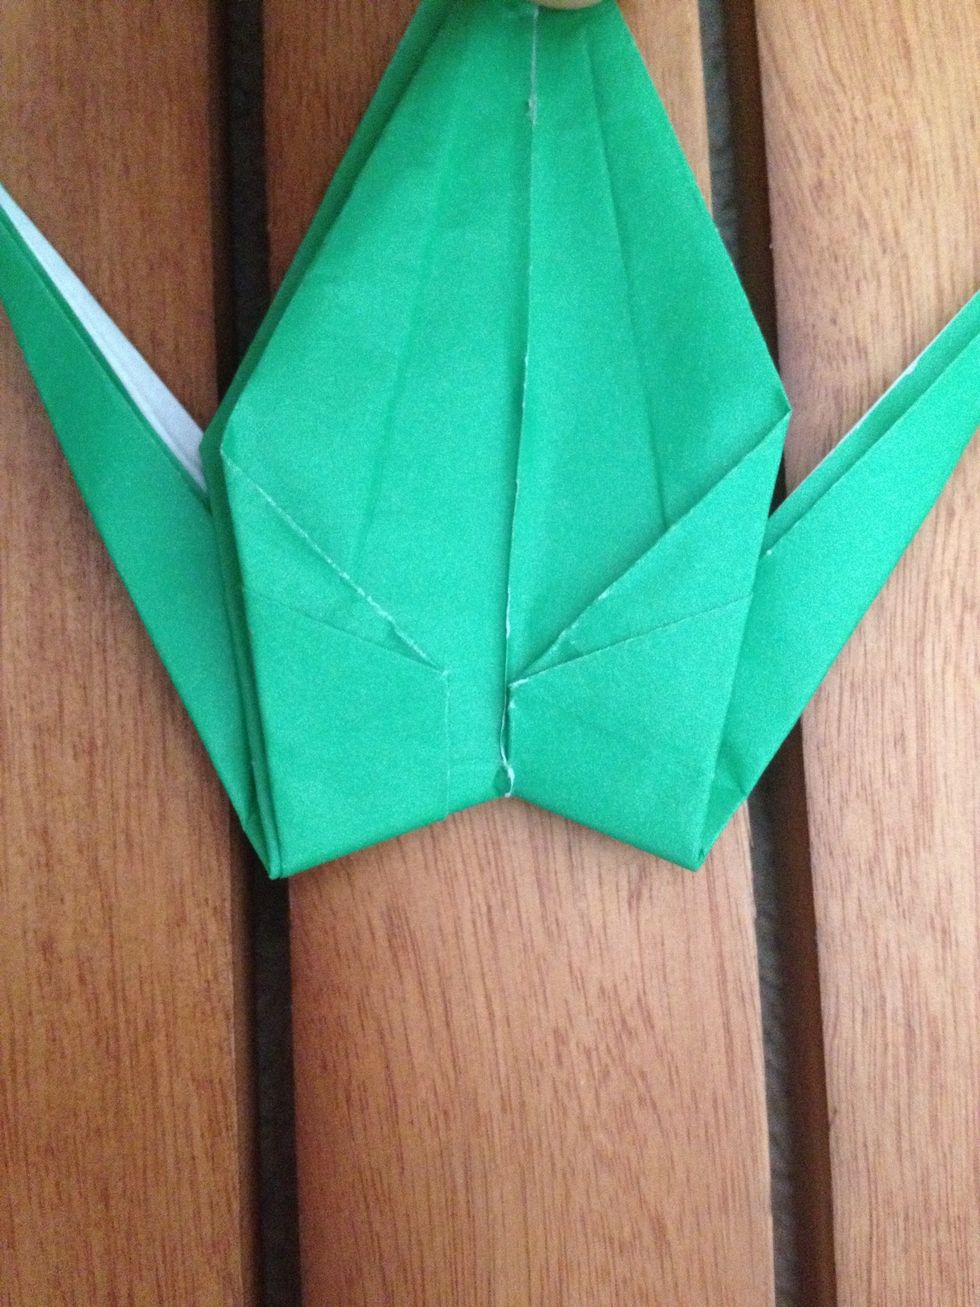
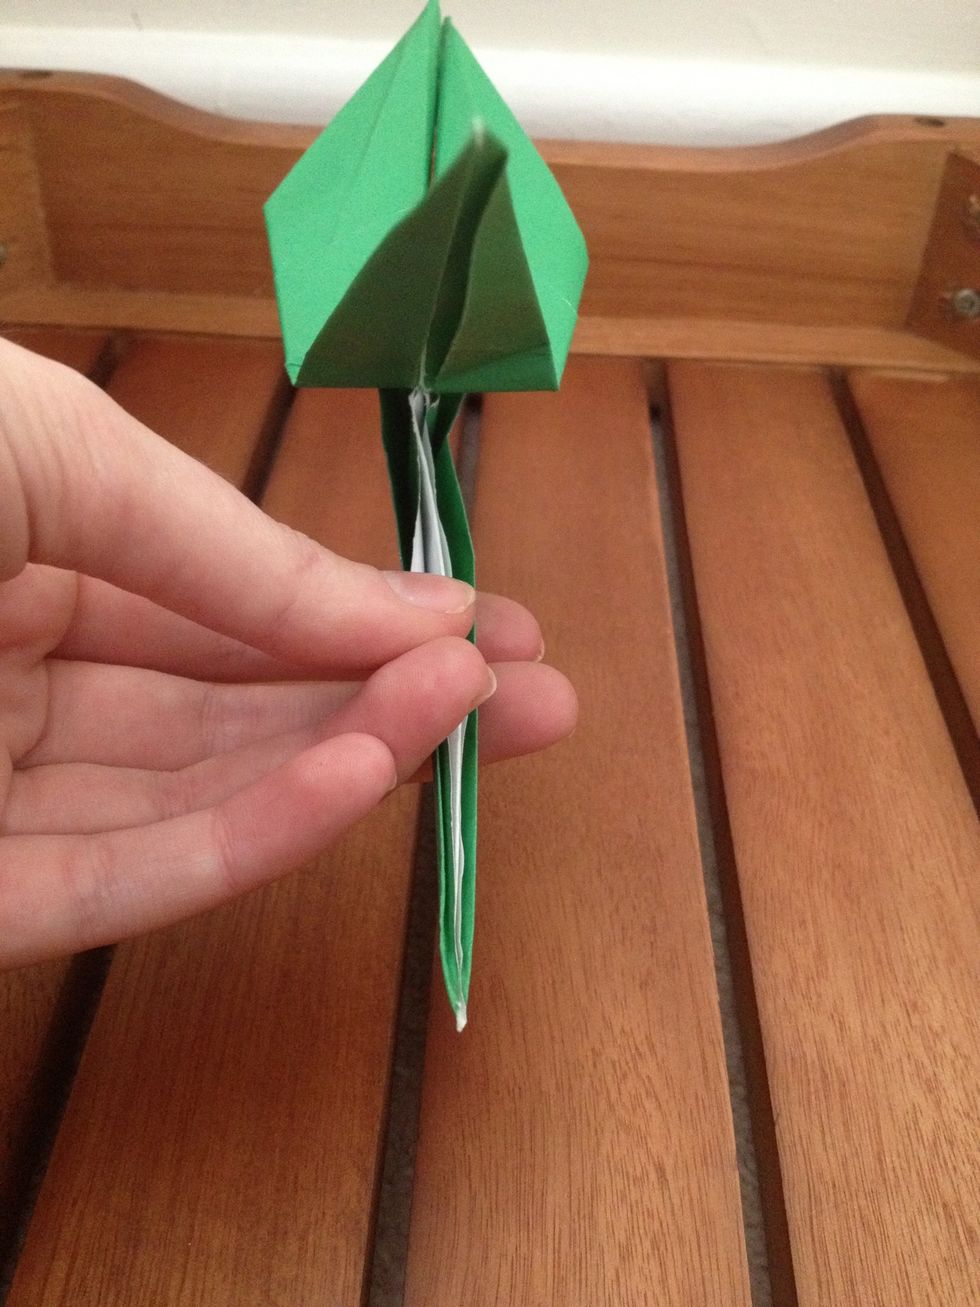
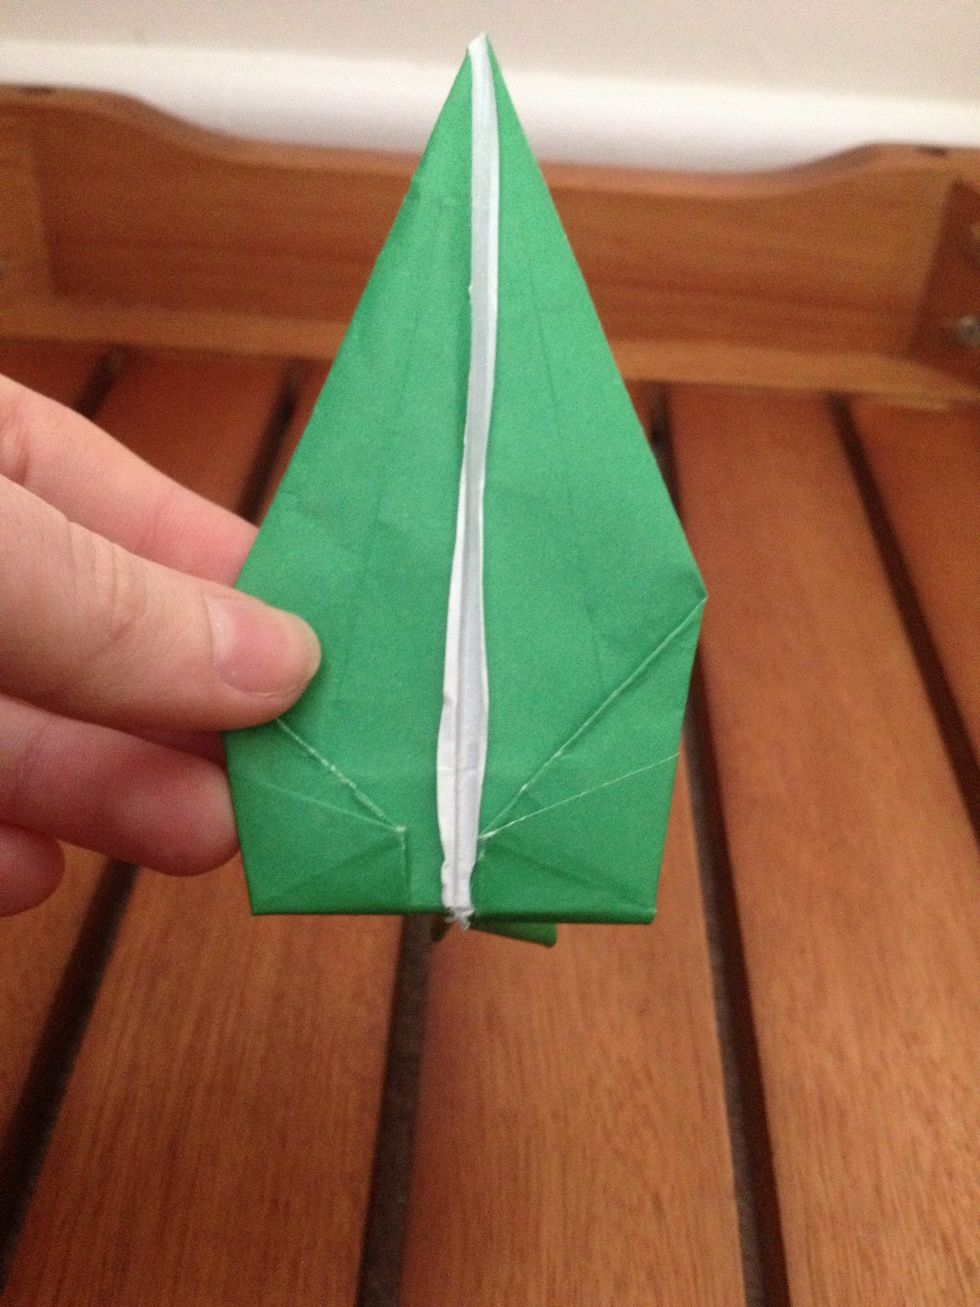
This bit is important. One end of the diamond will split like can-can legs.
If you open the other side it's just a piece of paper. You want be working with the can-can side - it'll be the side to the right in the next photo.
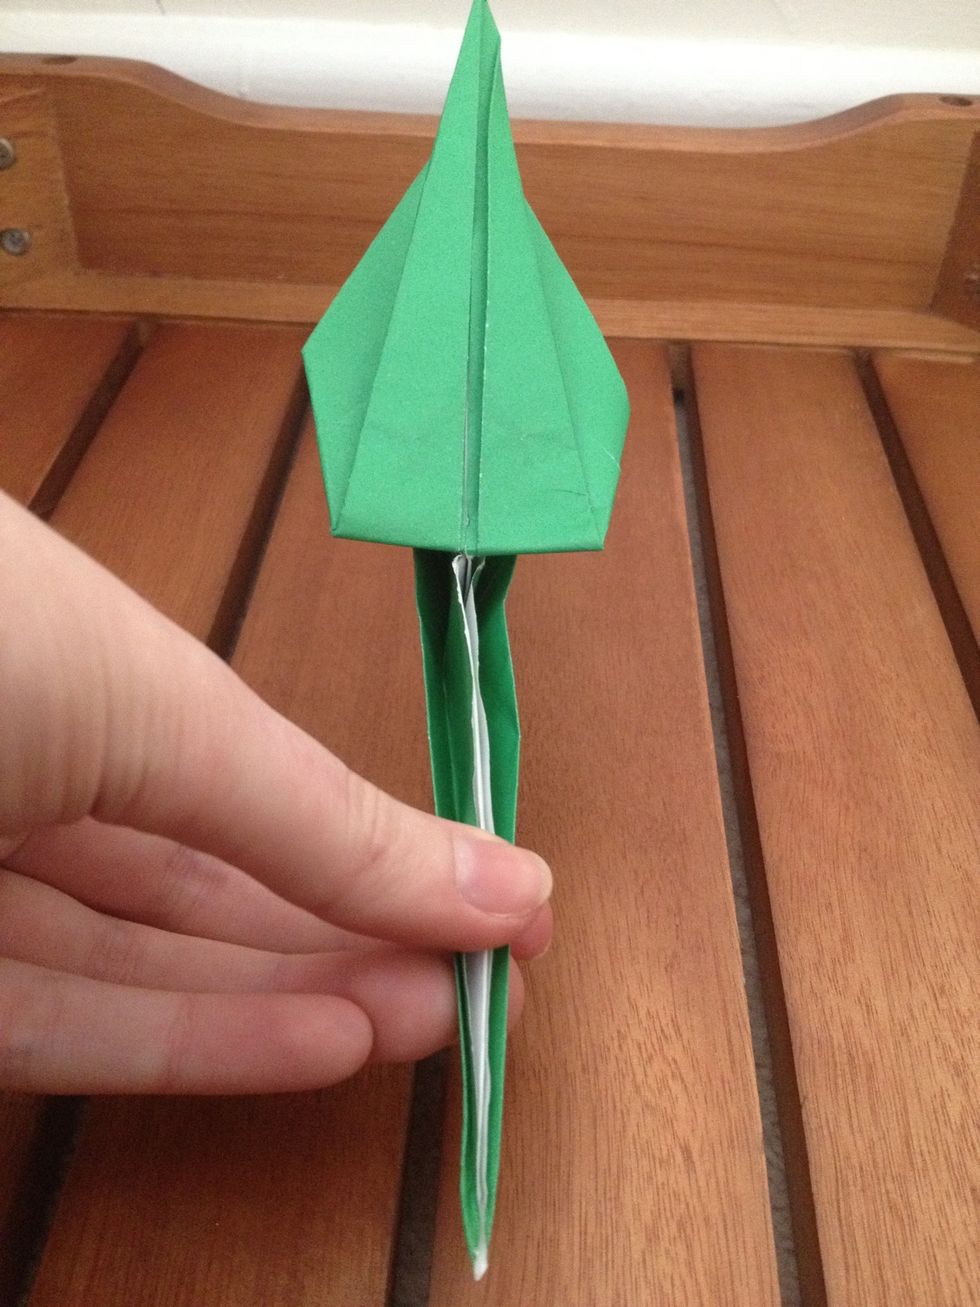
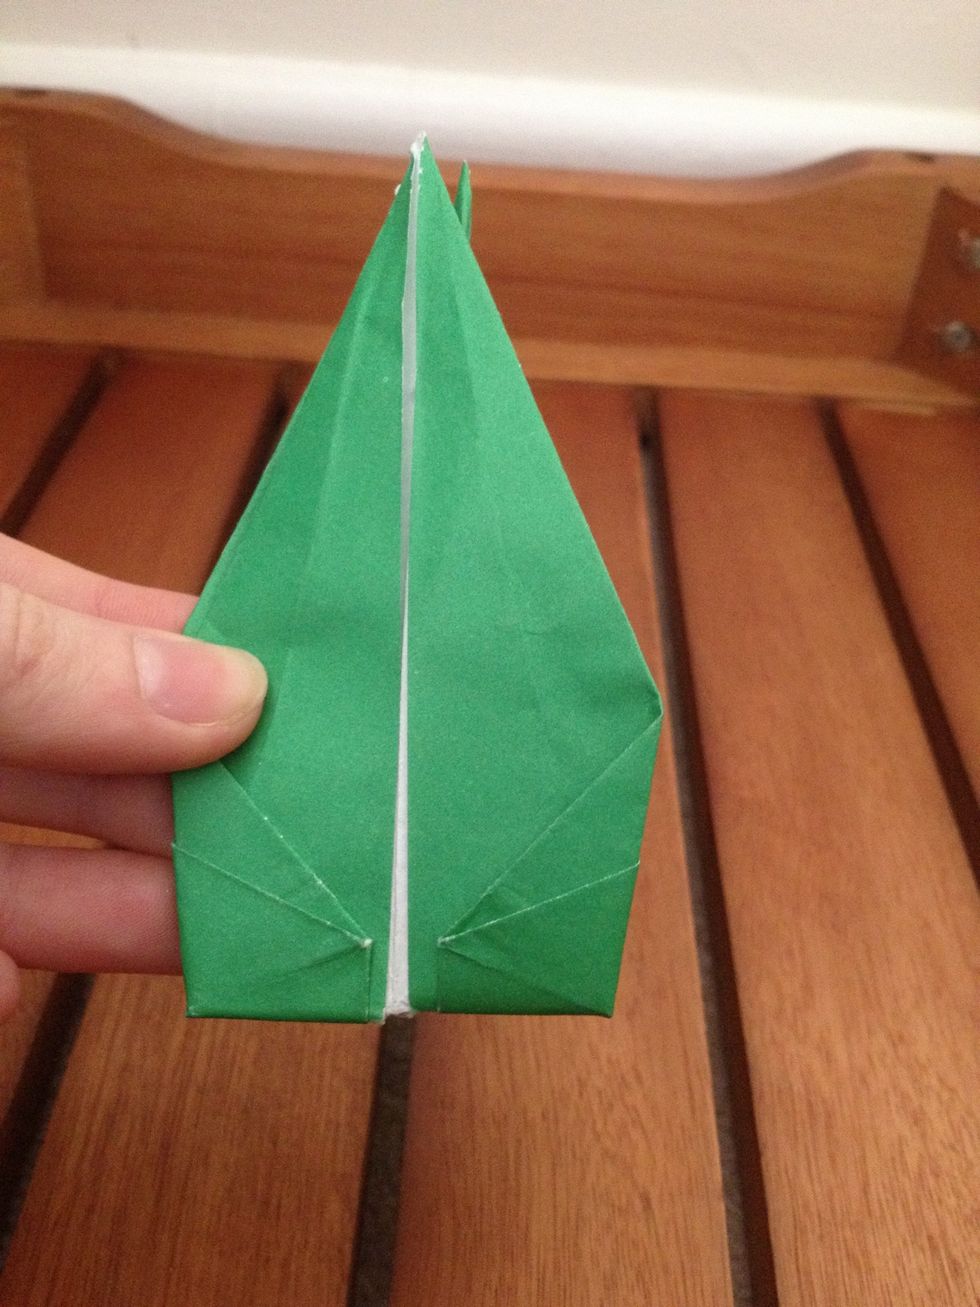
And do the same with the other side.
Turn it over...
...and do the same.
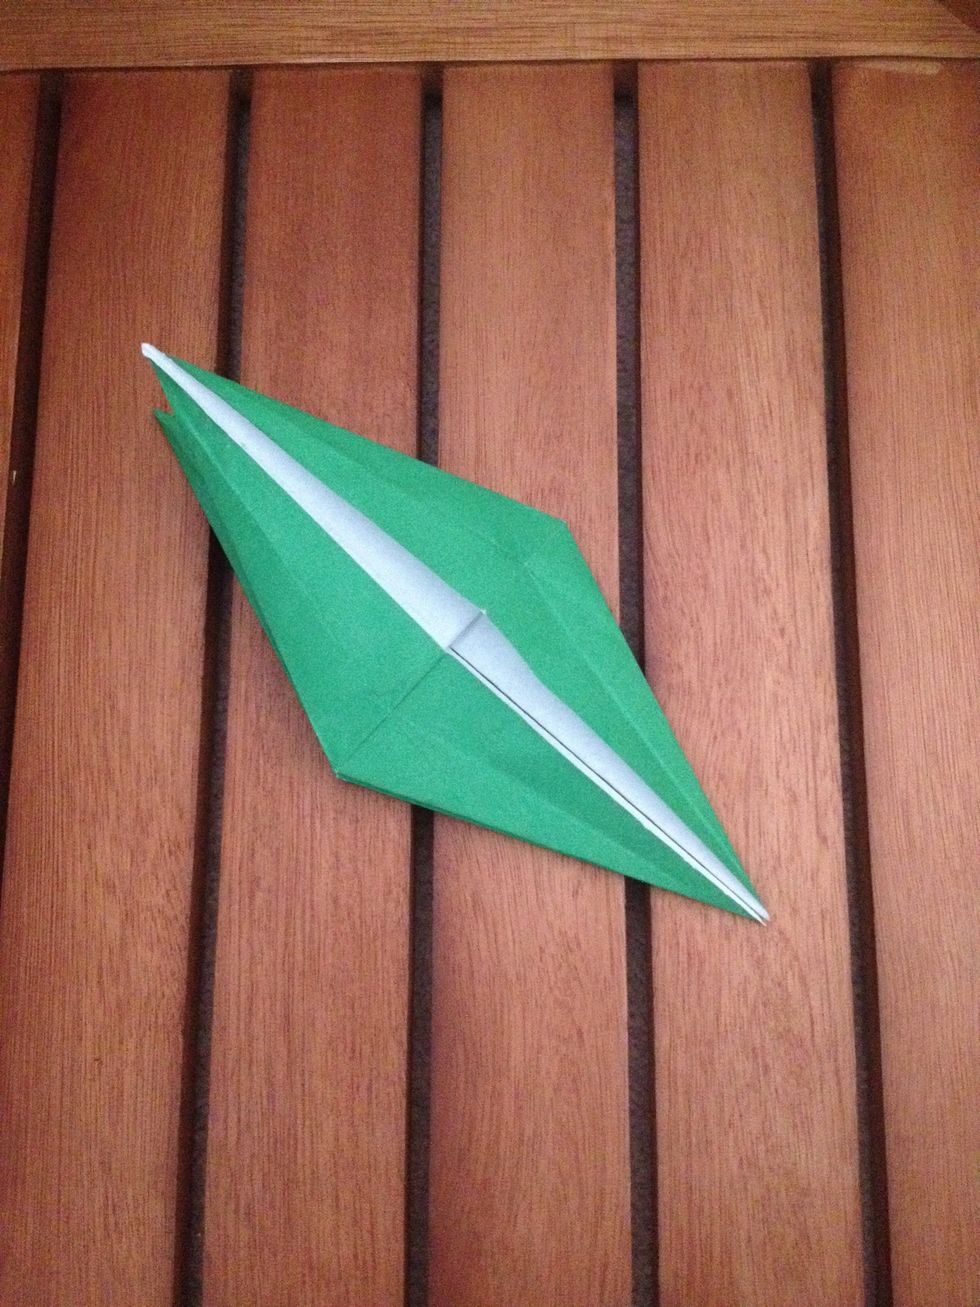
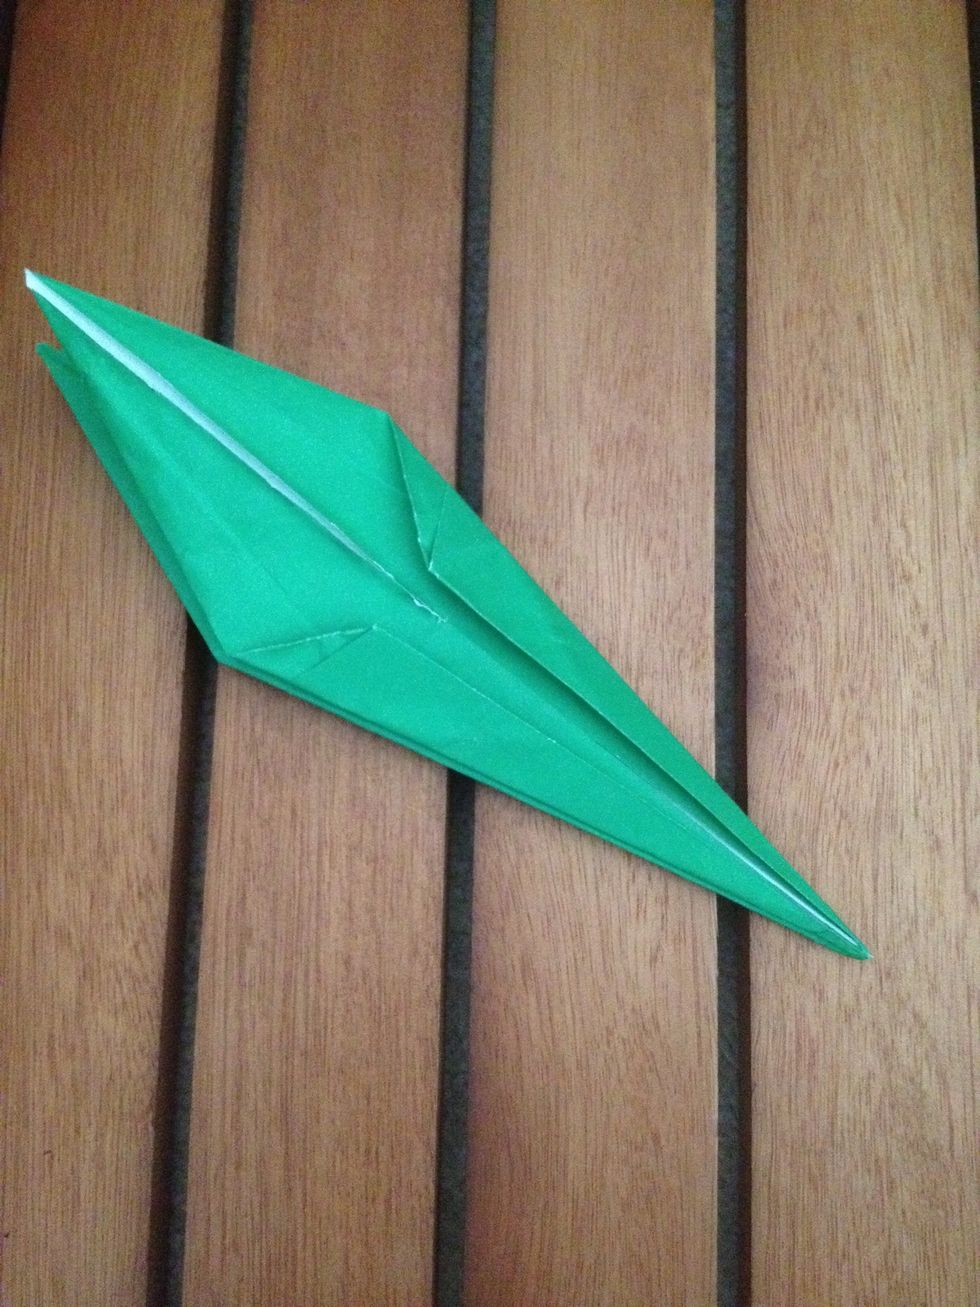
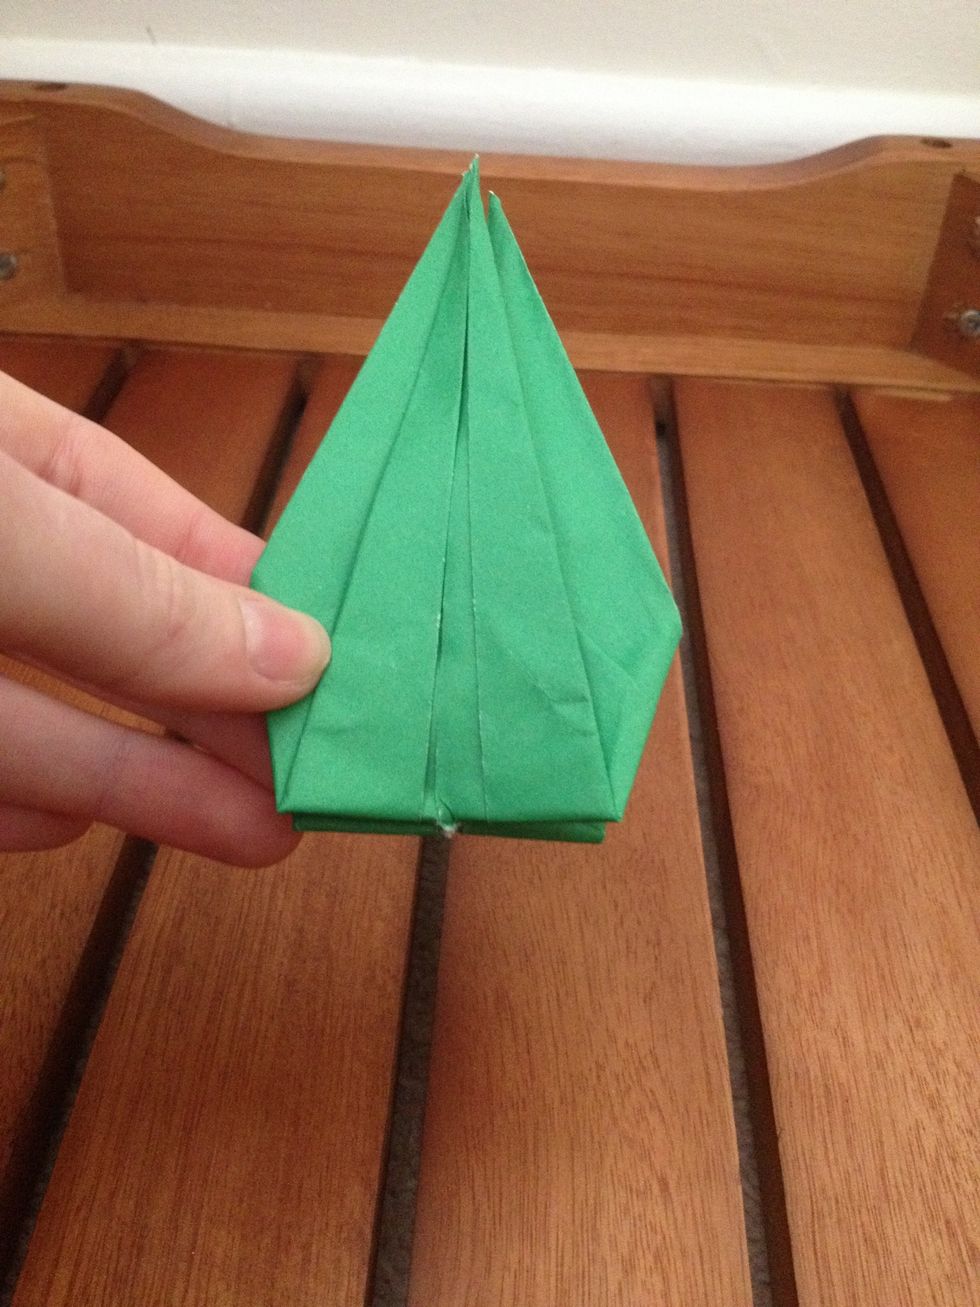
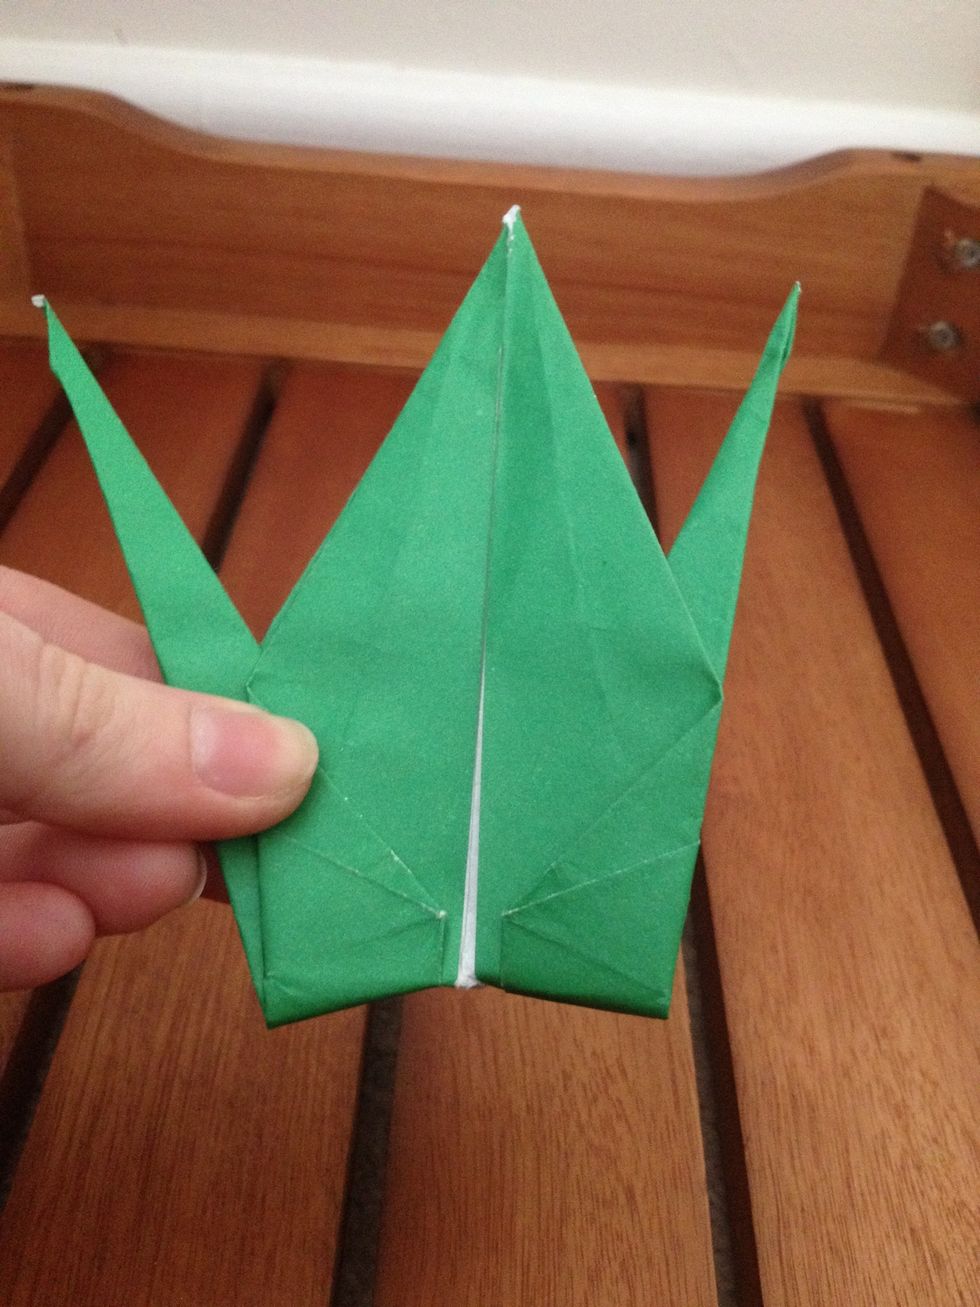
You don't want it to fold straight up, follow the angle of lines above where you will make the crease.
Do the same on the other side...
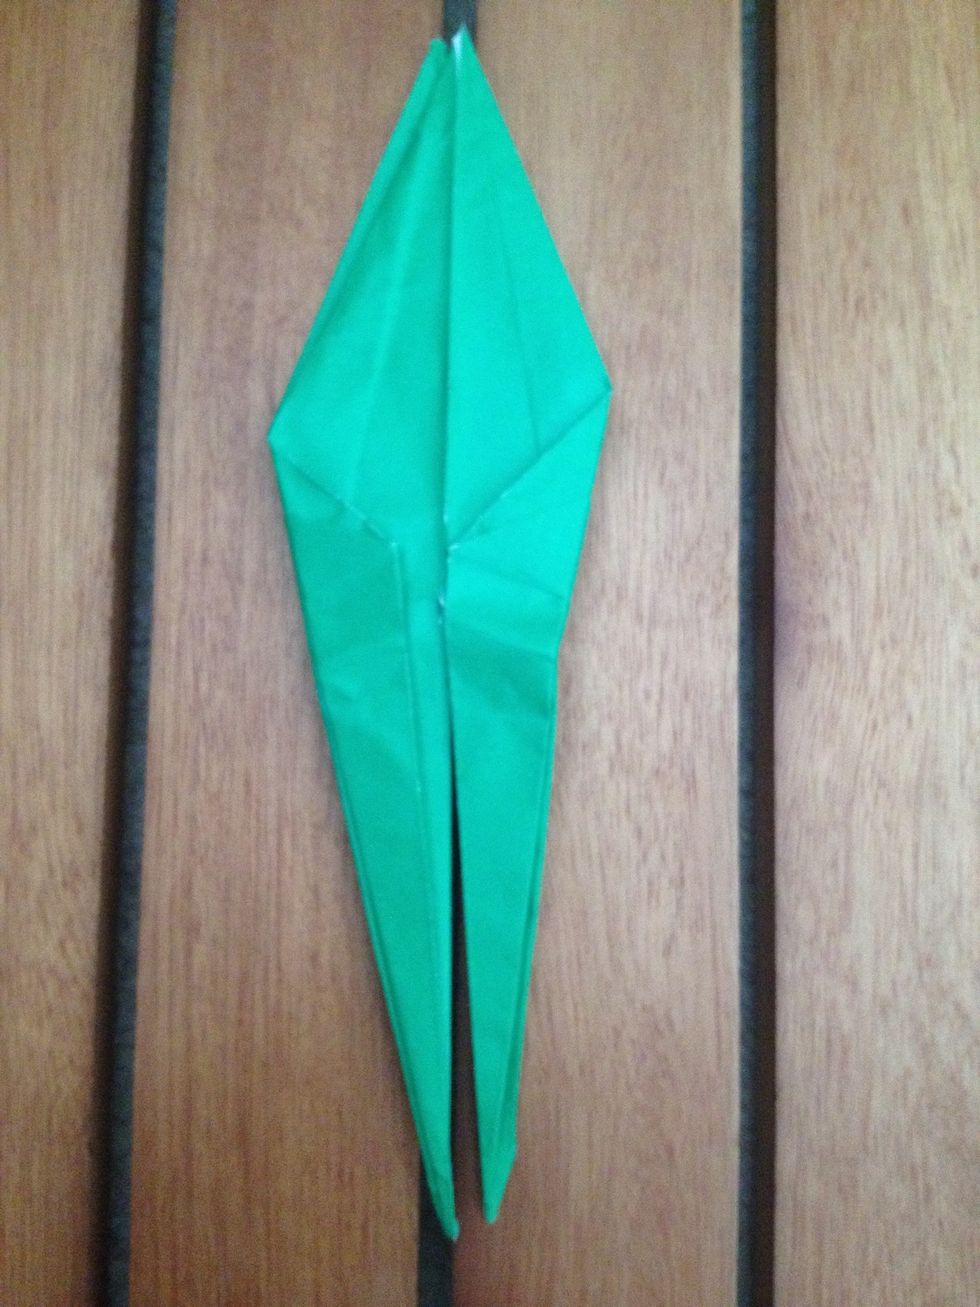
...and unfold.
My phone memory stopped me making me videos at this point so I've took pictures as simply as I can.

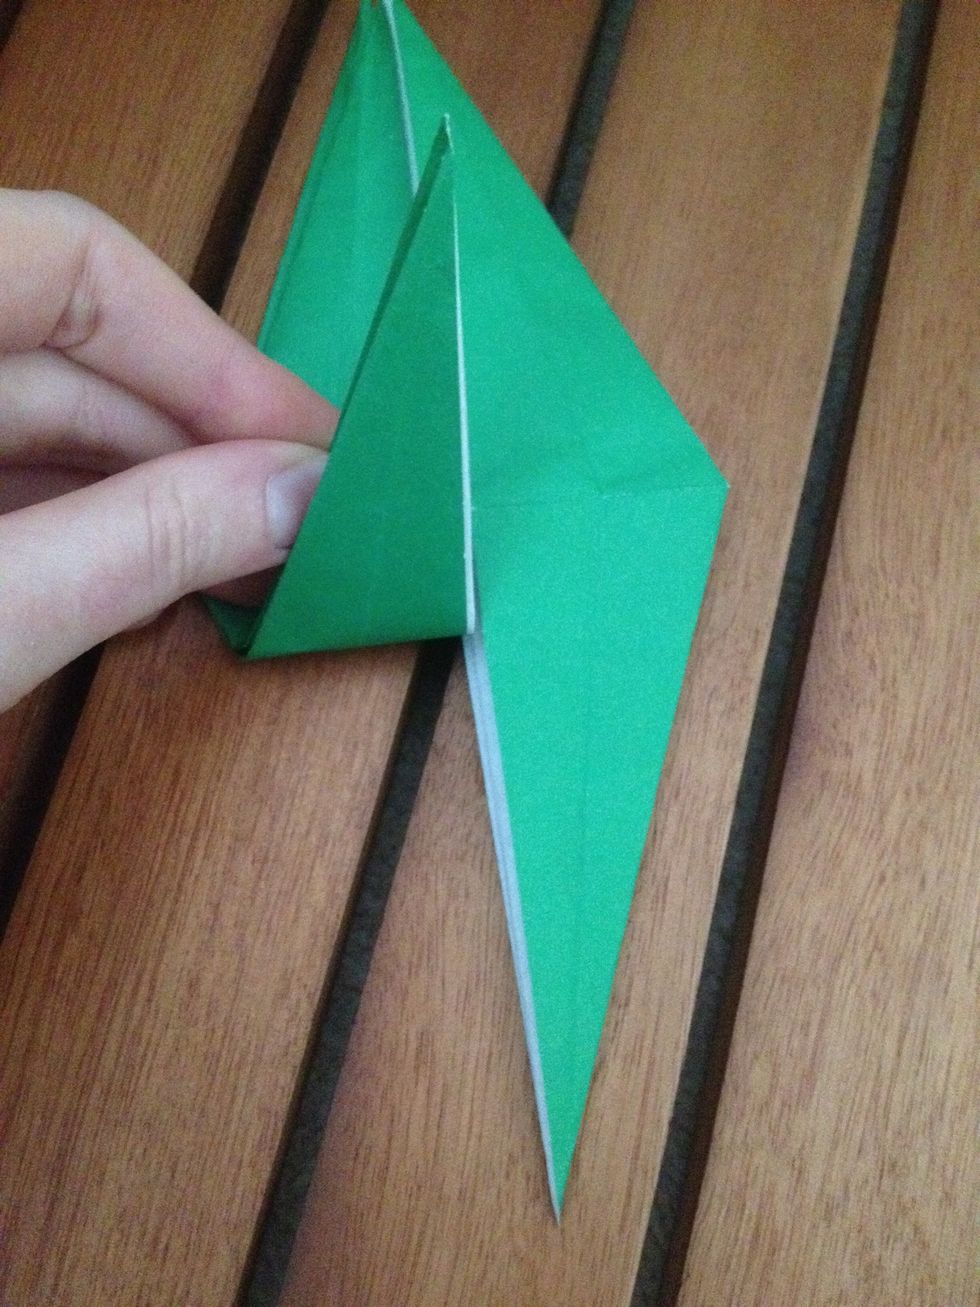
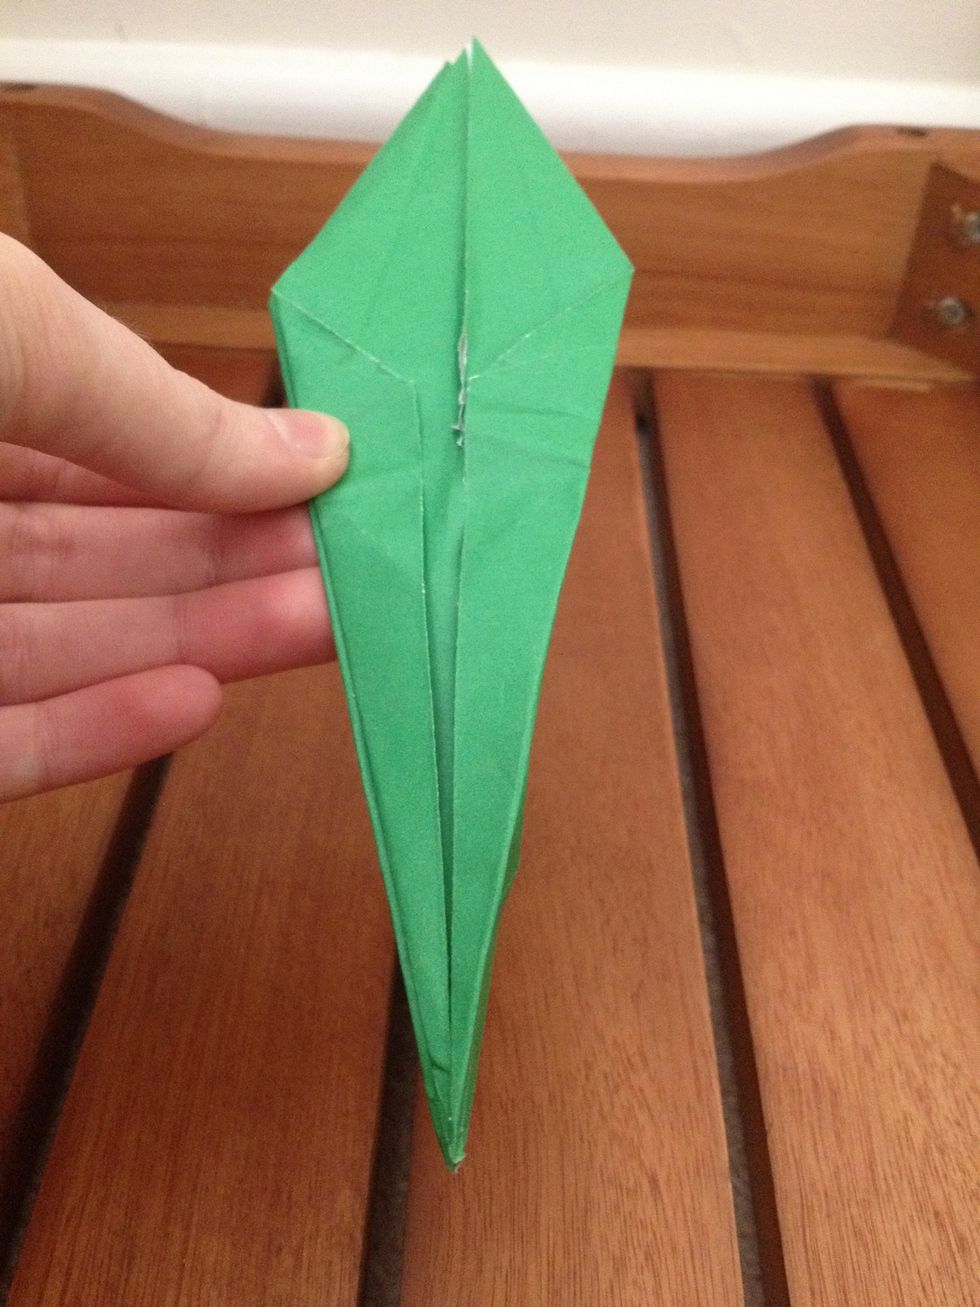
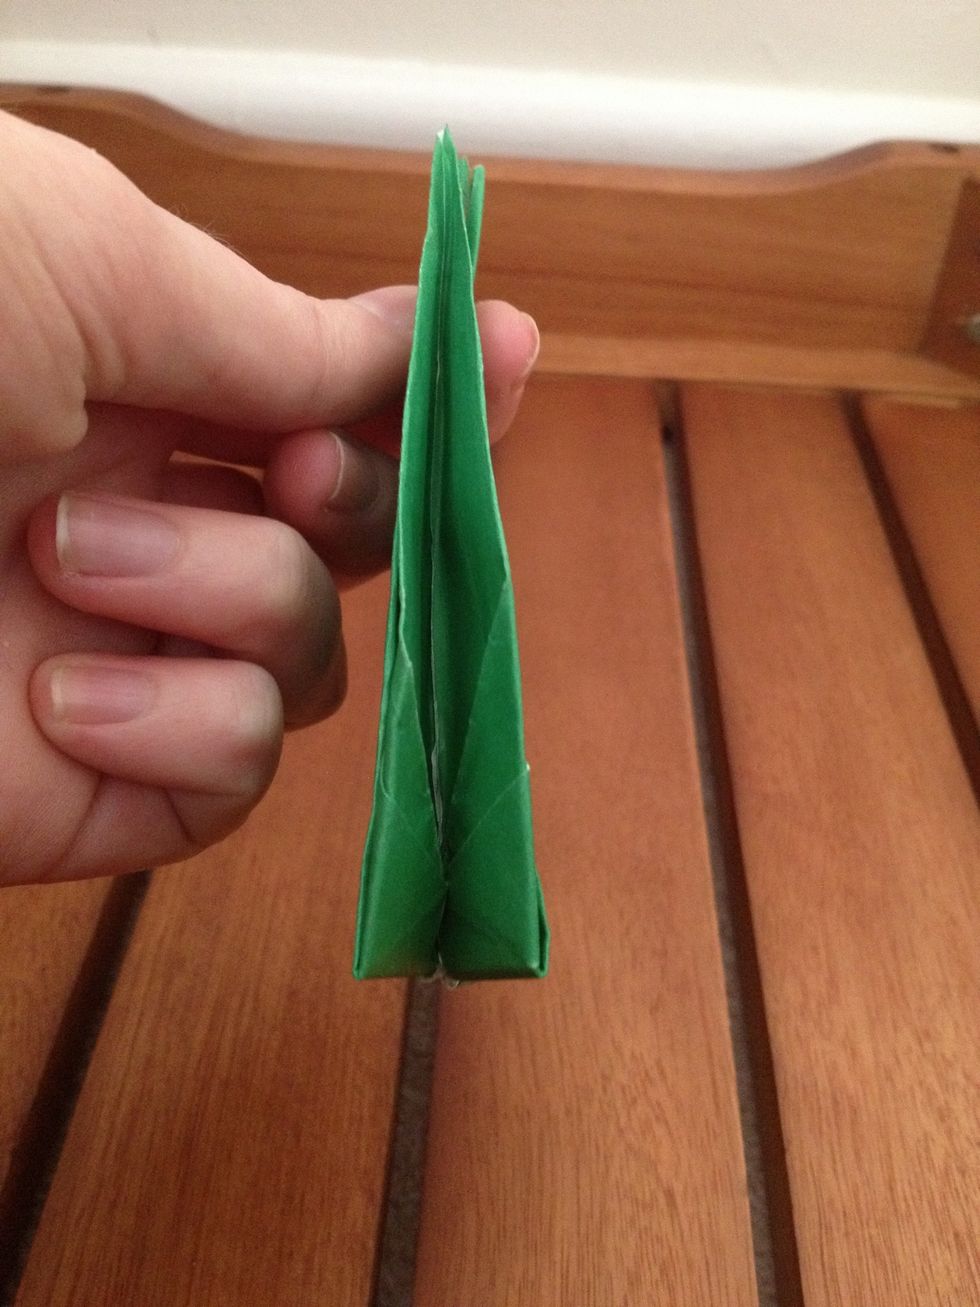
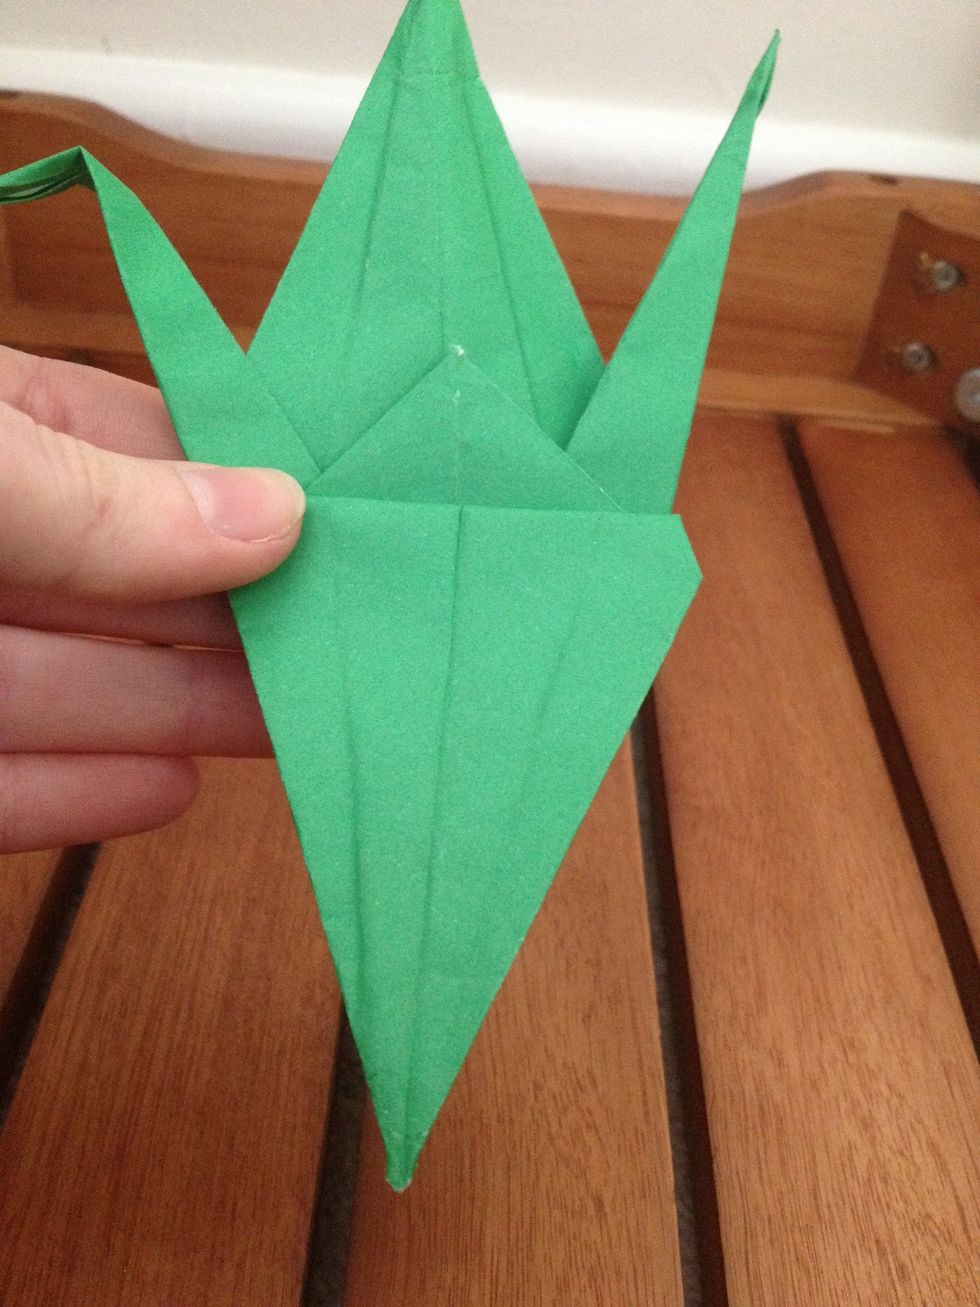
Turn it to the side.
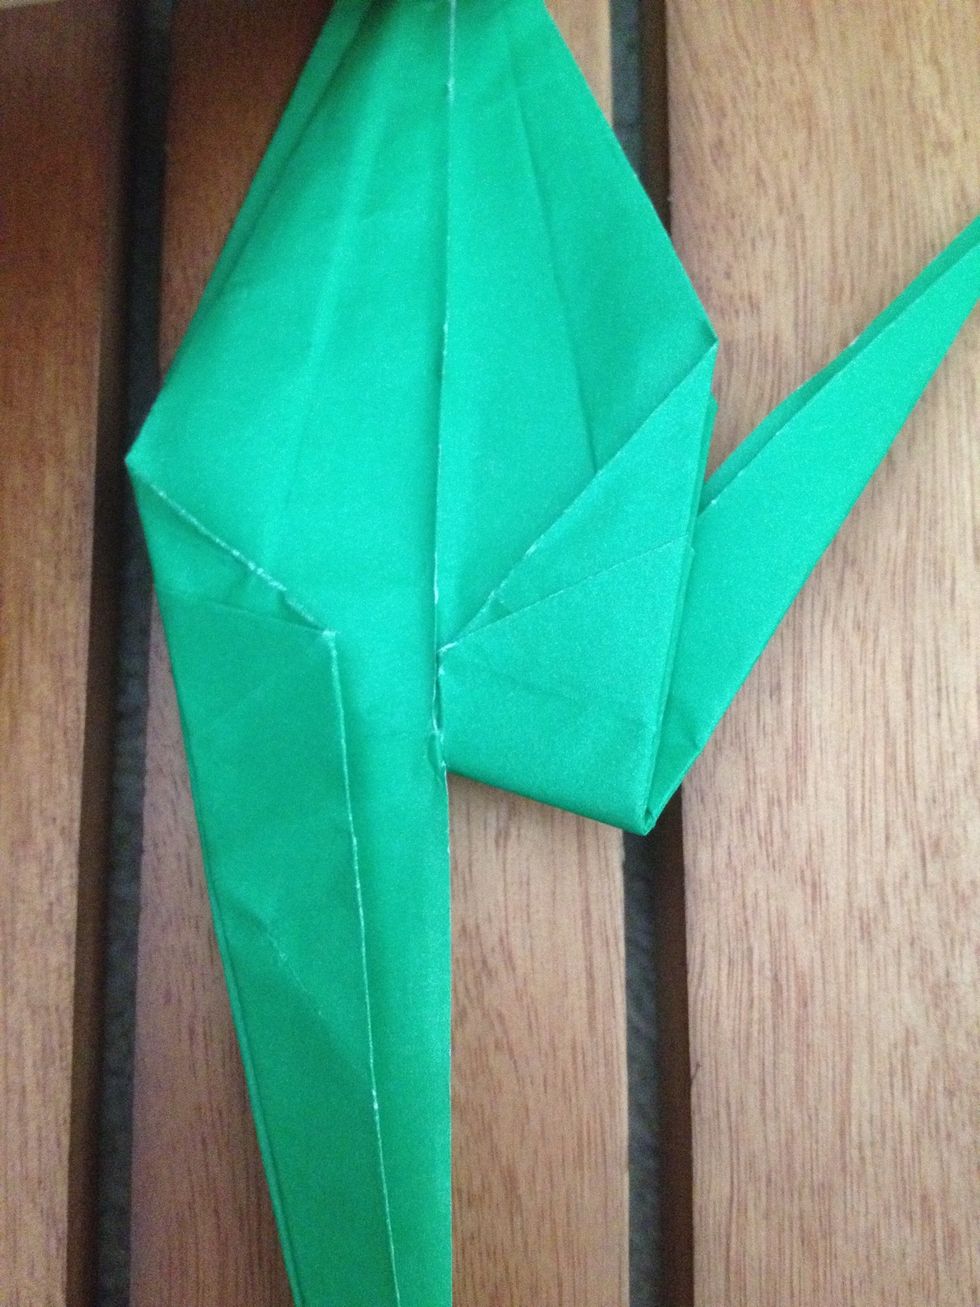
Open it up.
Pull the part up and away from the other can-can leg.
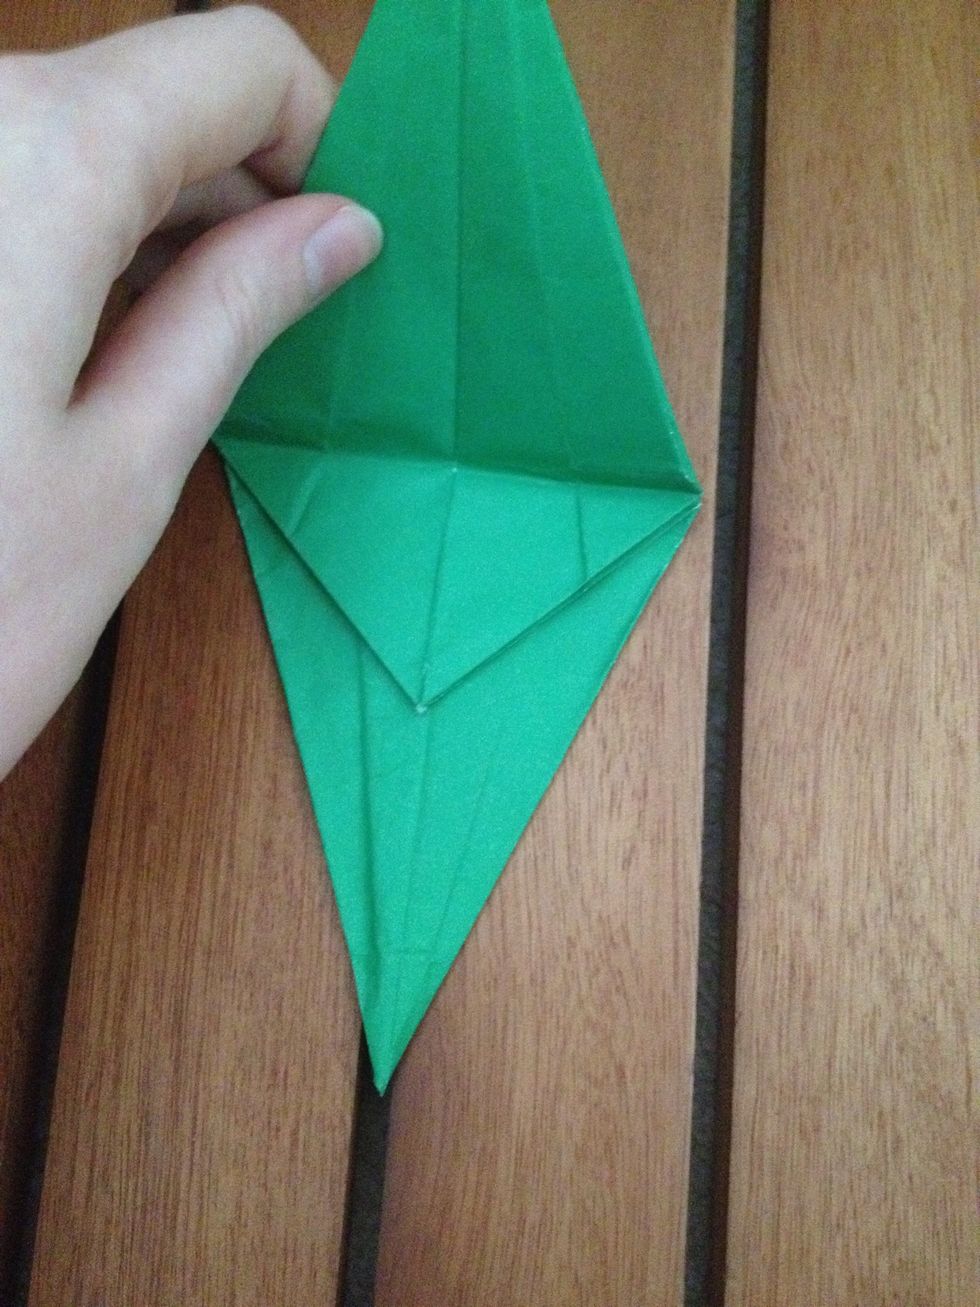
And fold.
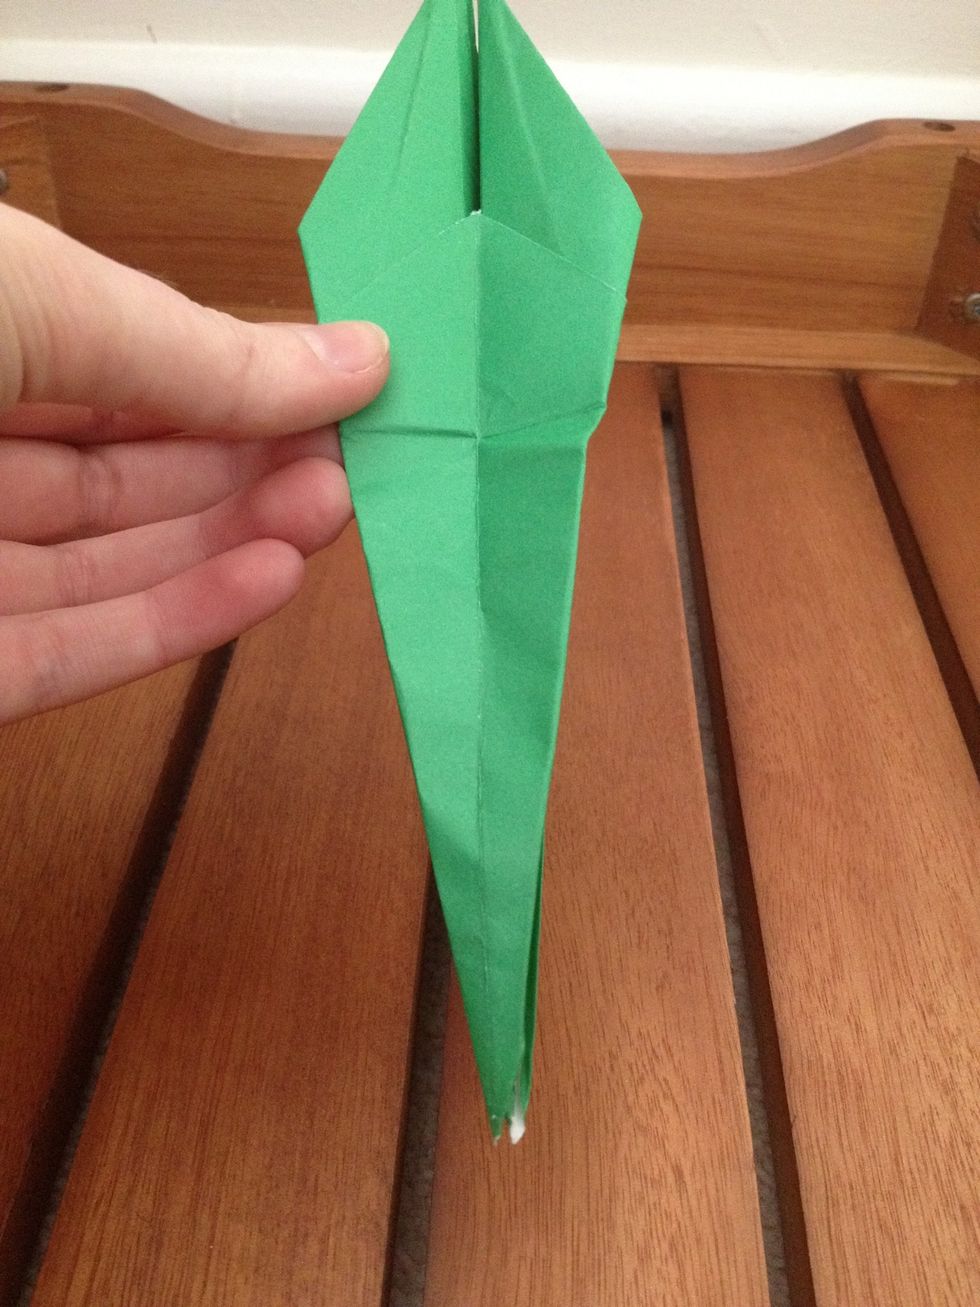
Do the same on the other side.
Turn it to what was the front.
And open it out.
Do the same on the opposite side.
Then just pull out the long bits from inside the bigger outside pieces.

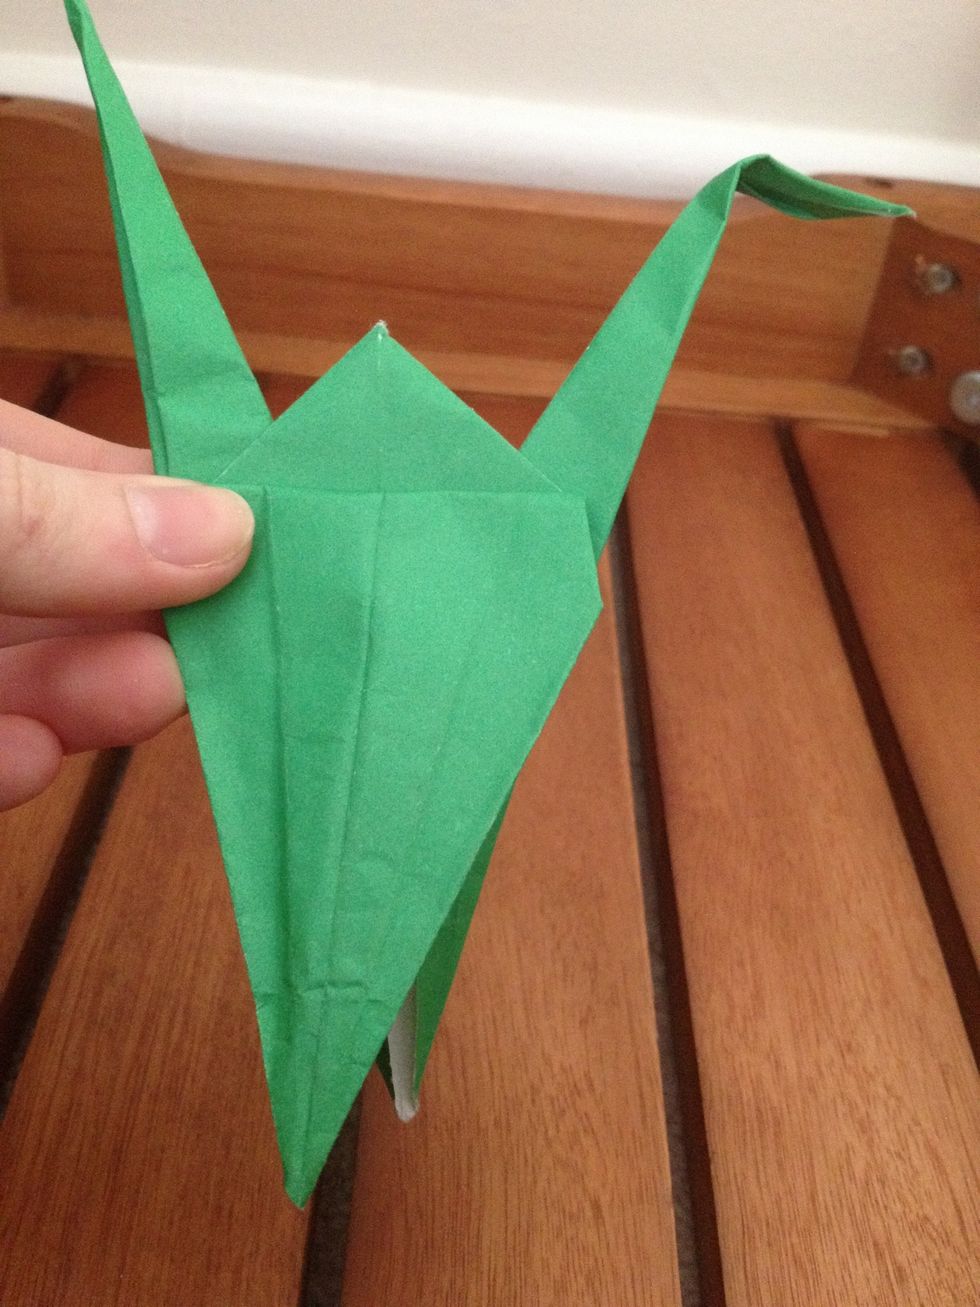
Bend a tiny part at the top and flatten it to make a beak.
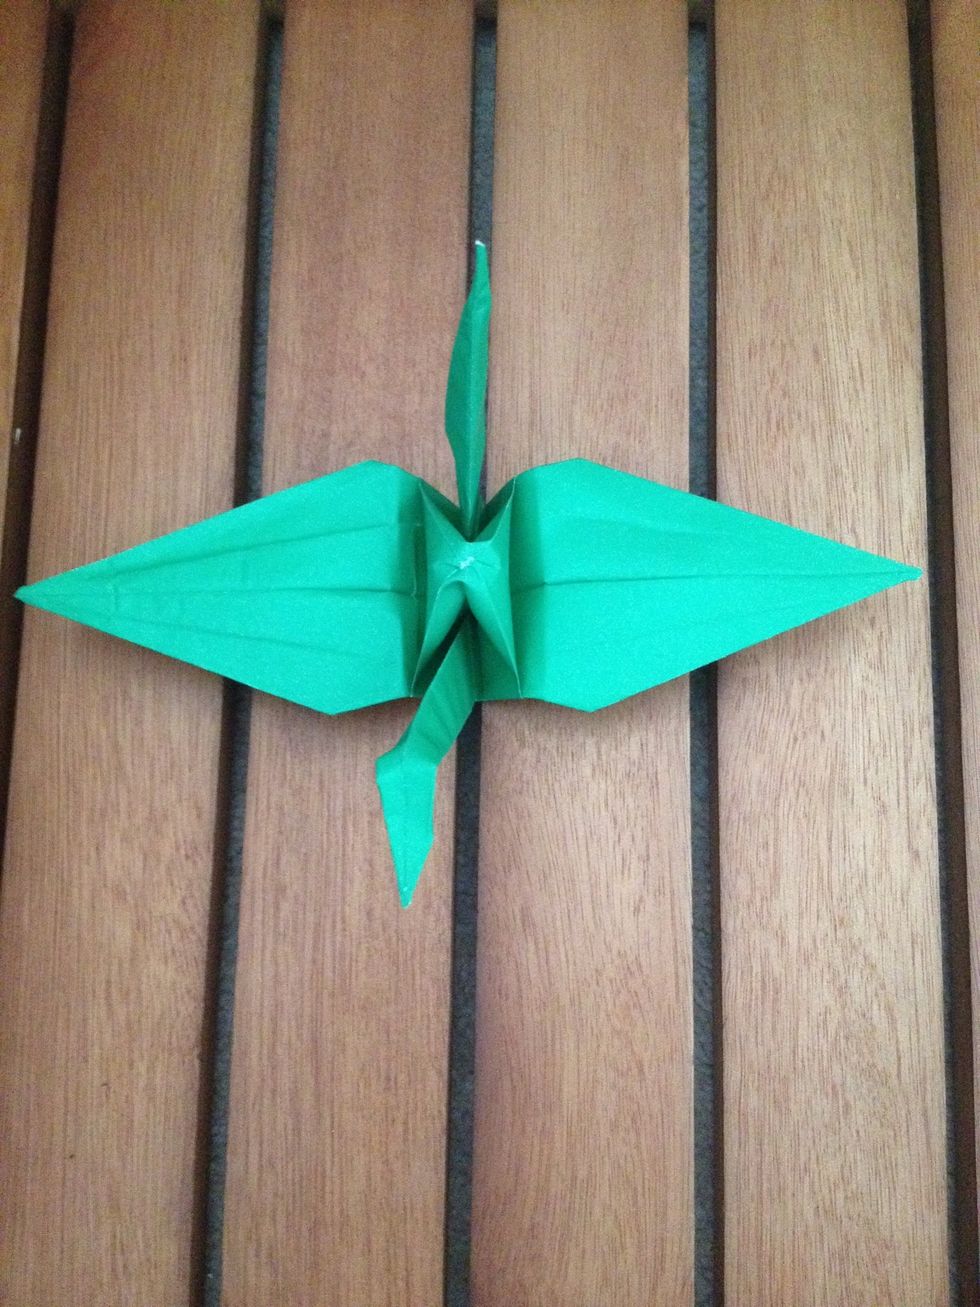
Fold down one wing...
...and the other.
Then, if you want a puffed up body, you need to blow through the tiny hole in the base of the bird. Then gently pull the wings apart and it should 'pop up'.
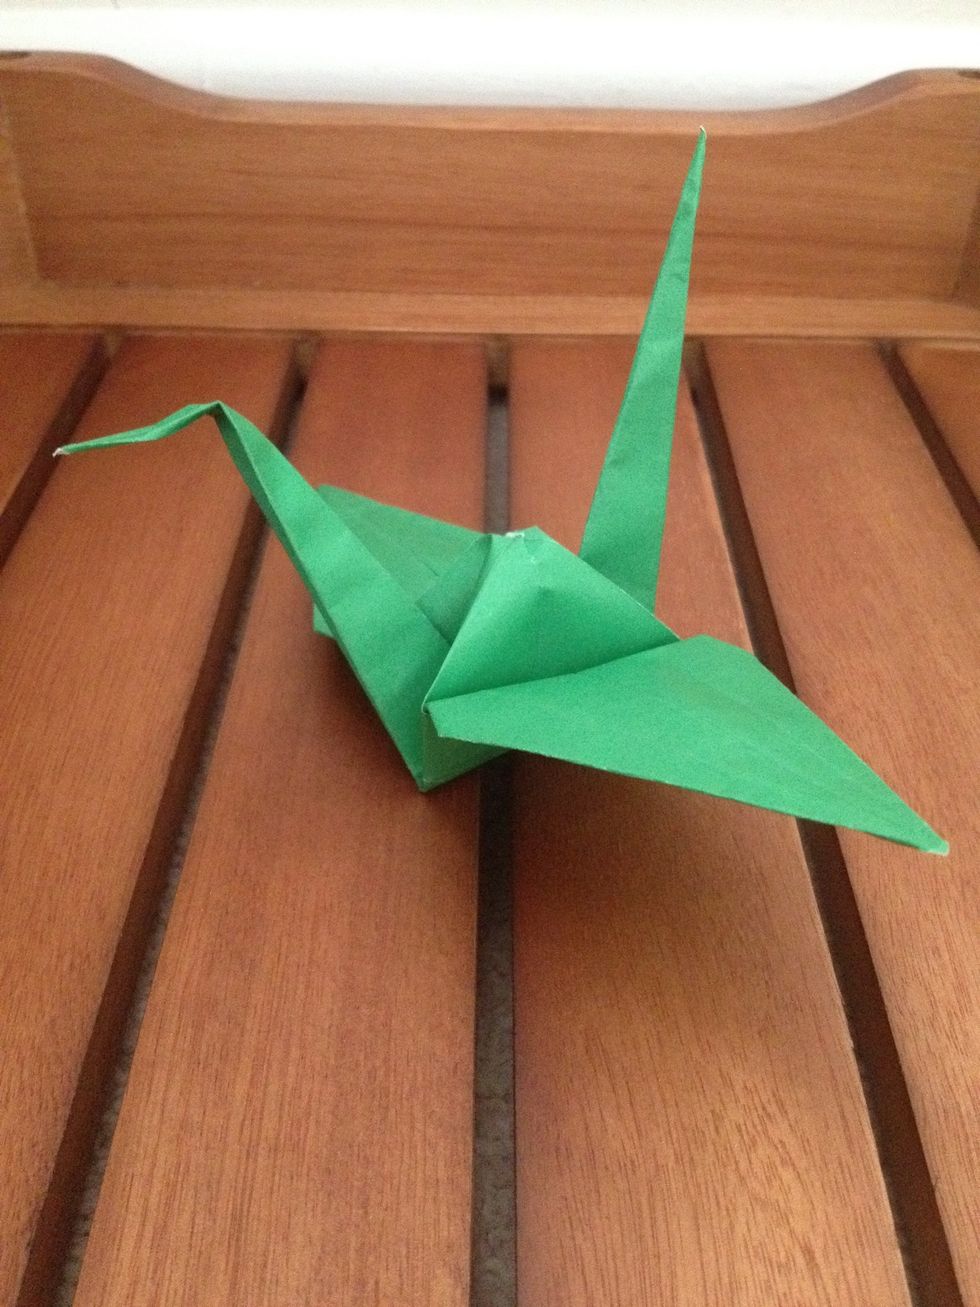
Here is the finished crane. Sorry for all the steps, I just know how difficult it can be when you know nothing about paper folding.
Have fun! // Find me on Instagram @kaitlin_heather