The Conversation (0)
Sign Up
Origami ornaments looks great on the Christmas tree, especially when they are made from decorative paper.
But I am going to show you how to fold this one using plain paper, because it is easier to see folds and edges that way.
The only thing you need to know is how to make valley and mountain folds. To make a valley fold, fold an edge over so the crease make a v shape. To make a mountain fold, fold an edge behind. Simple!
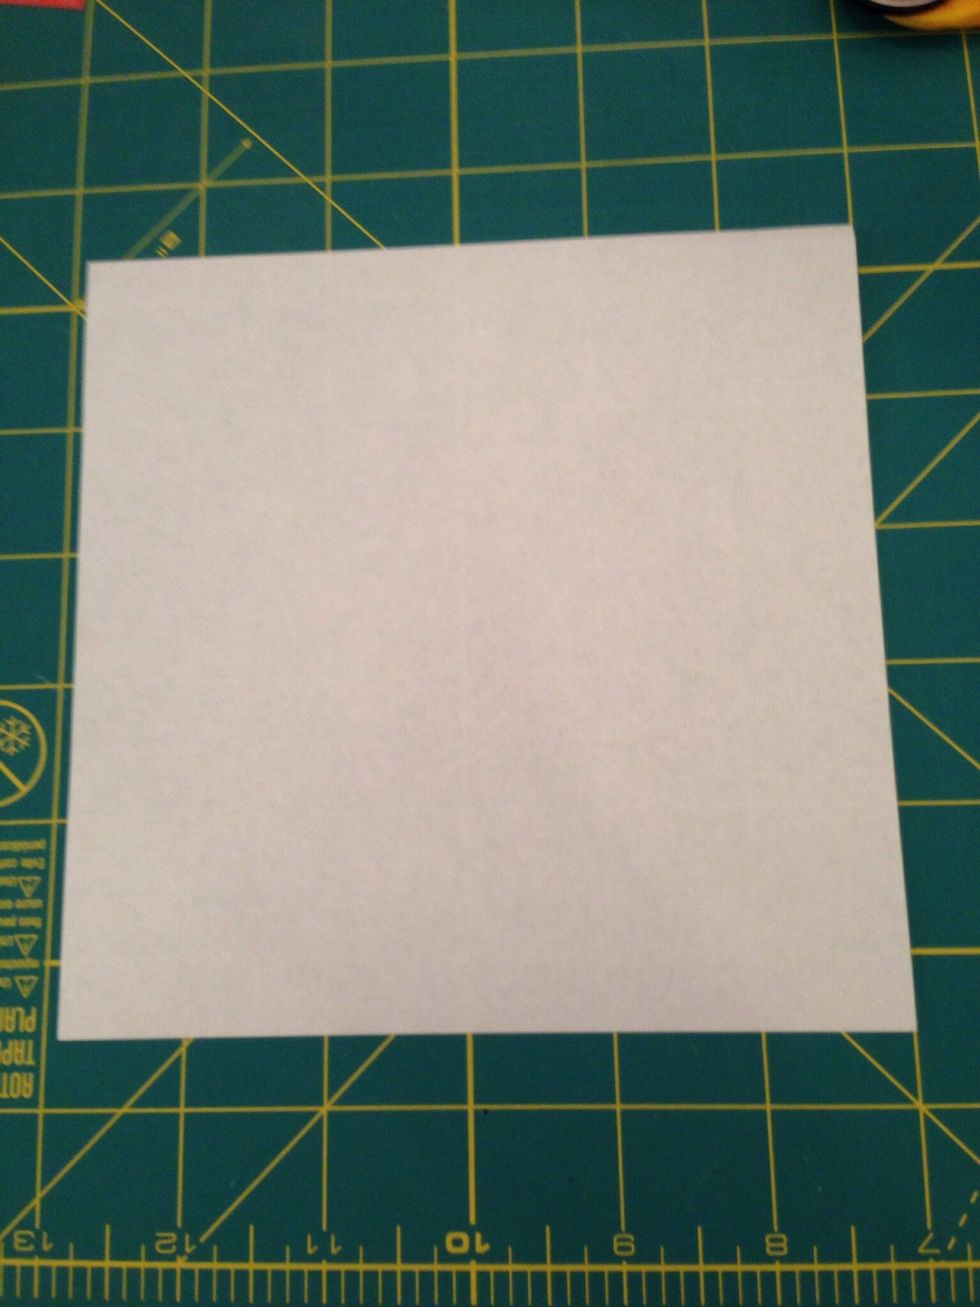
With the white side up, valley fold the paper in half horizontally, vertically, and diagonally. Unfold,

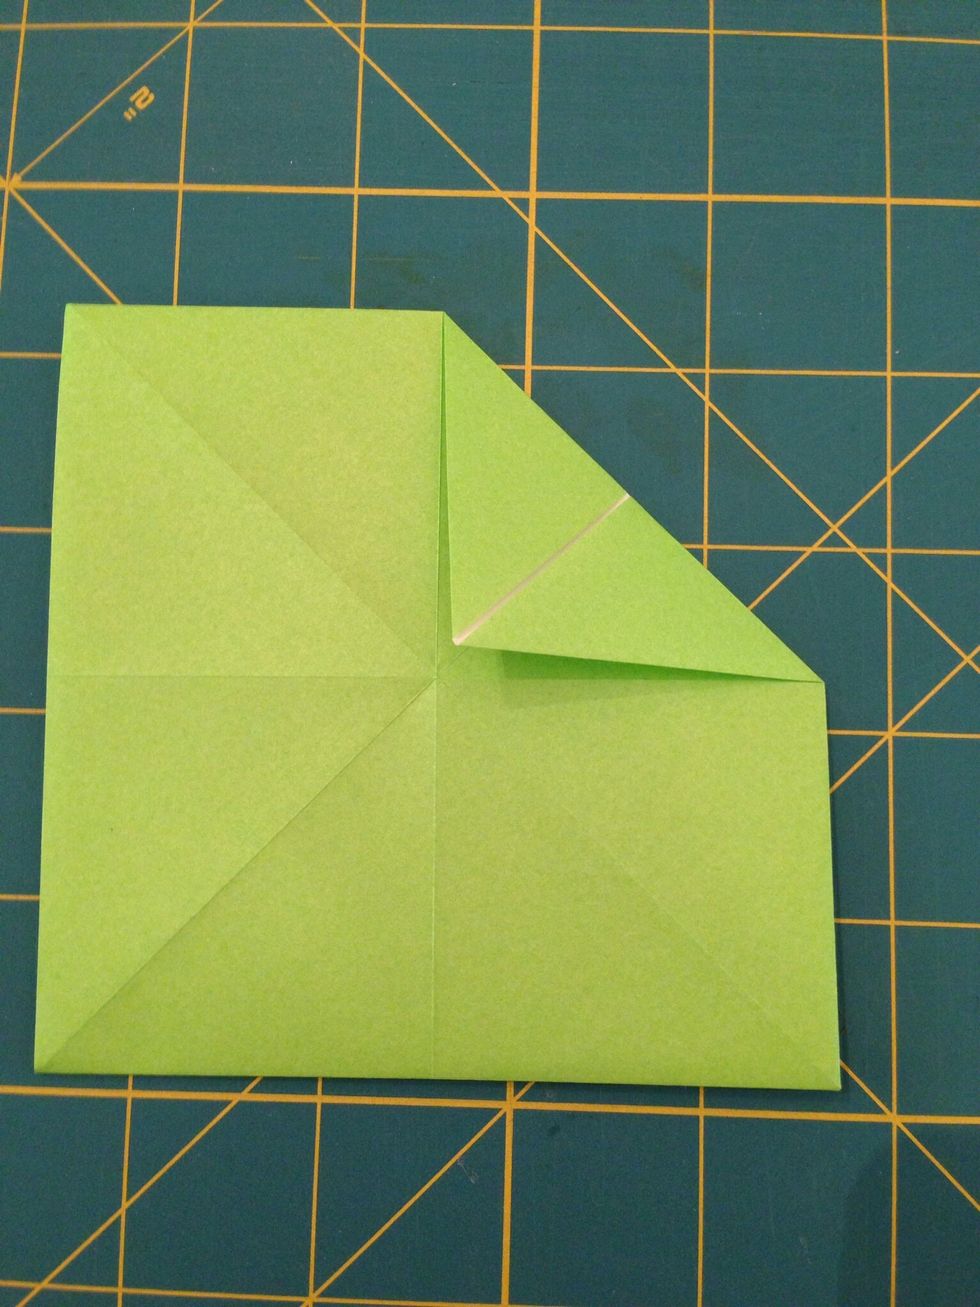
Fold the corners in to the center.
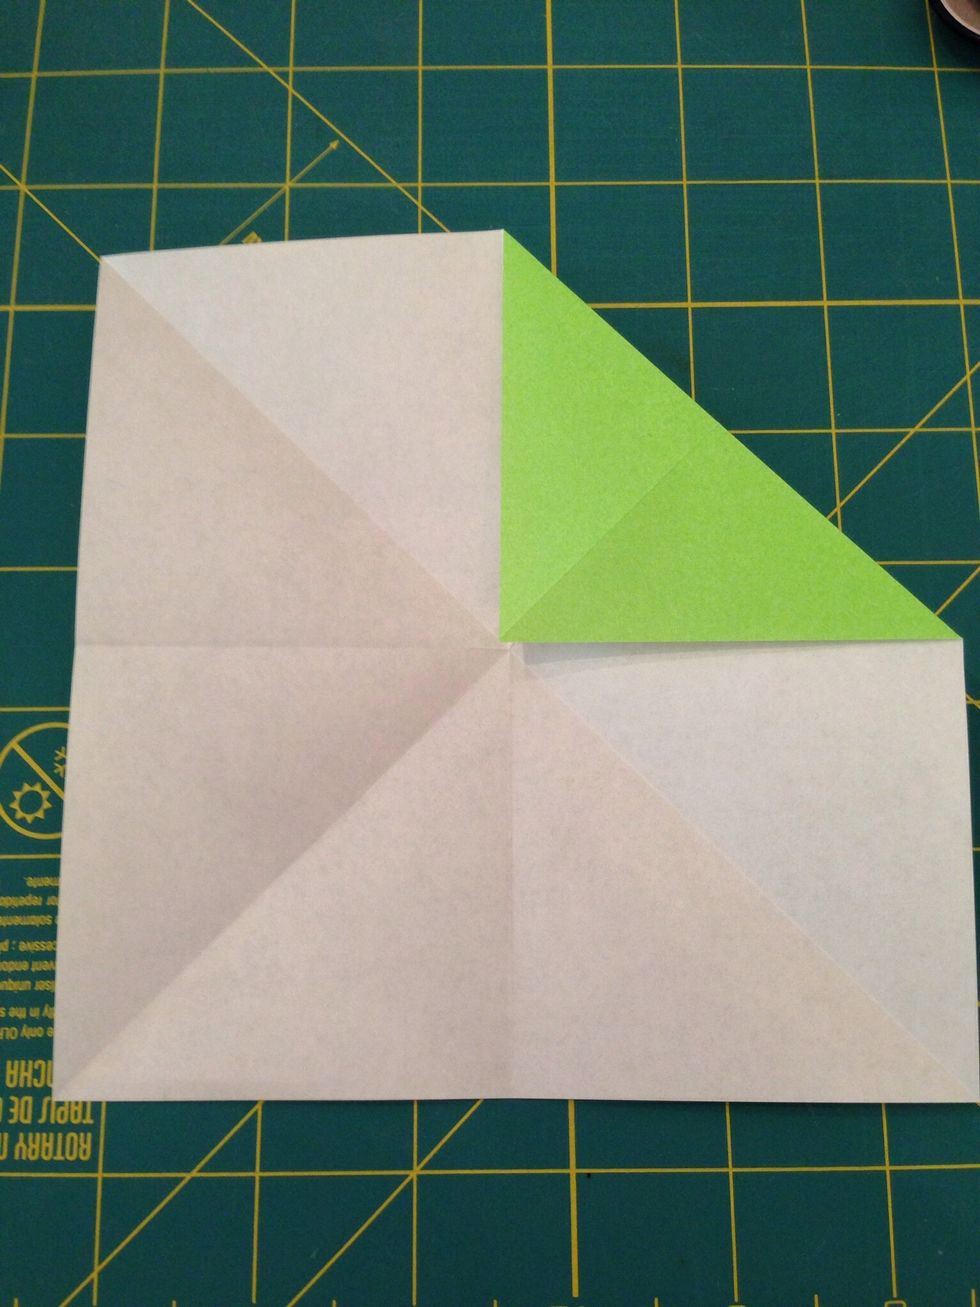
This picture shows one corner folded. Now do the others.
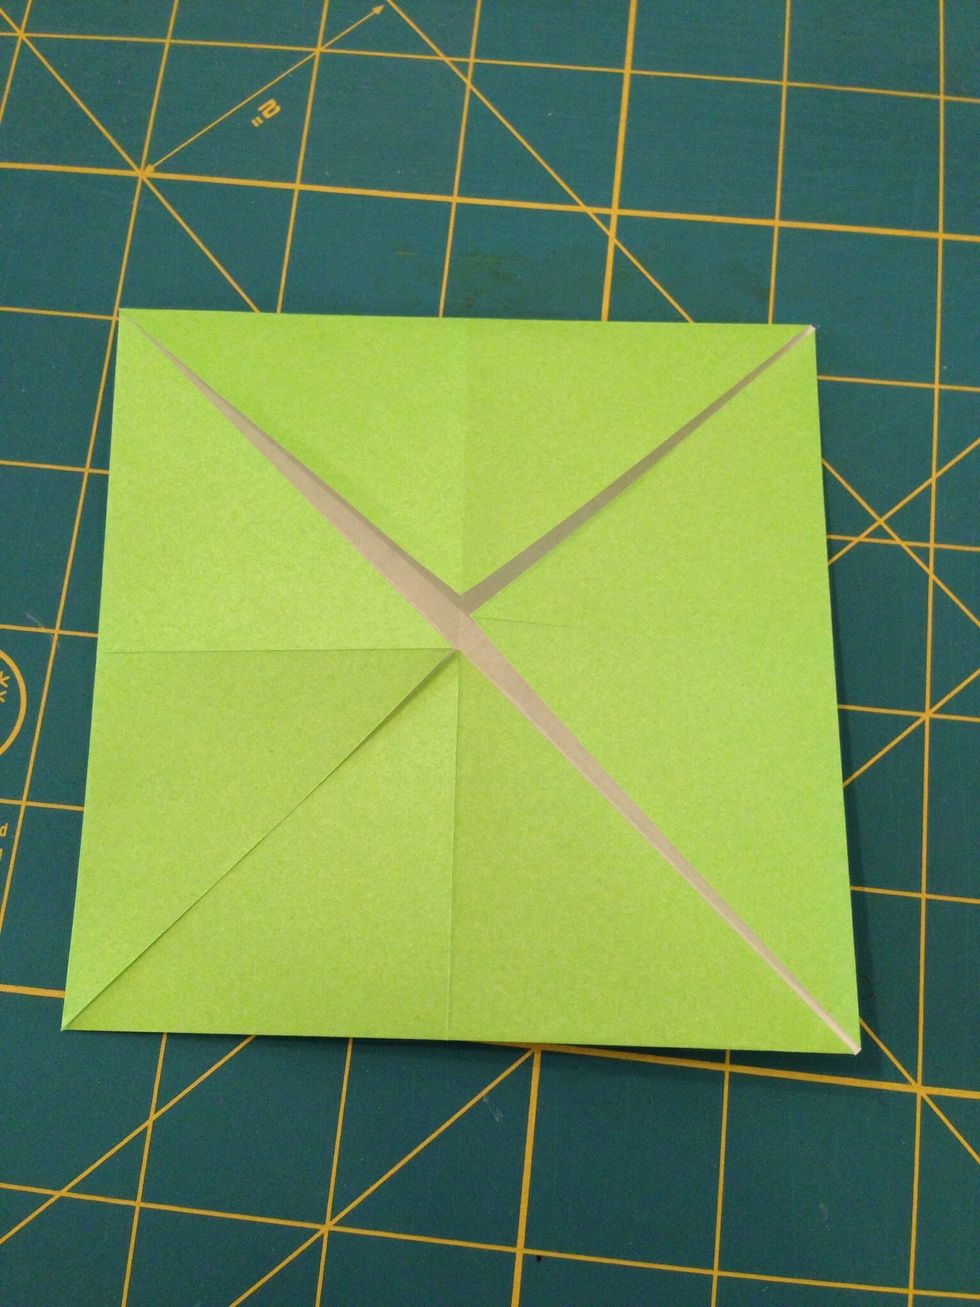
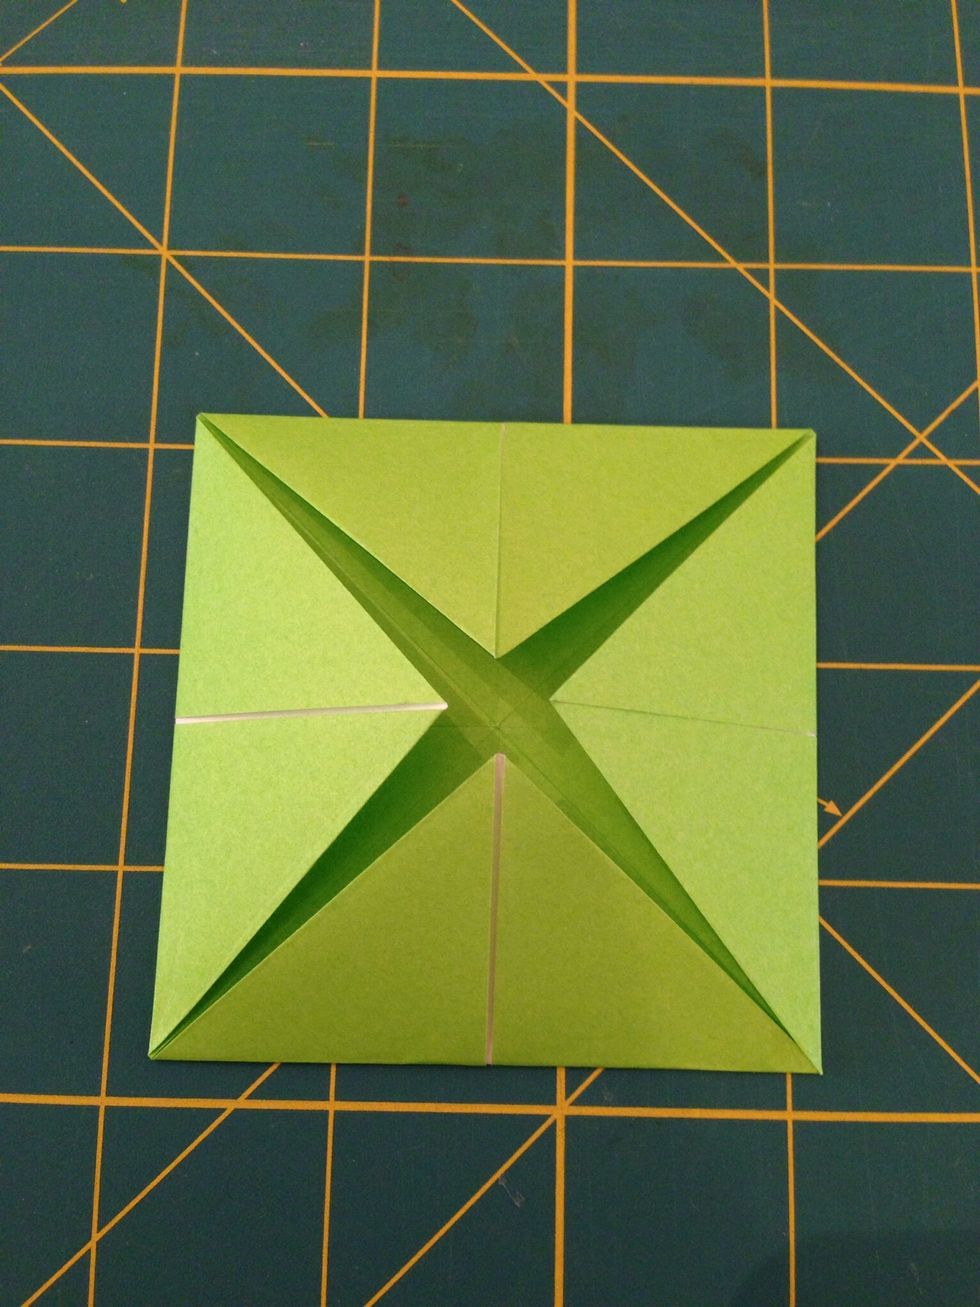
Turn the paper over.
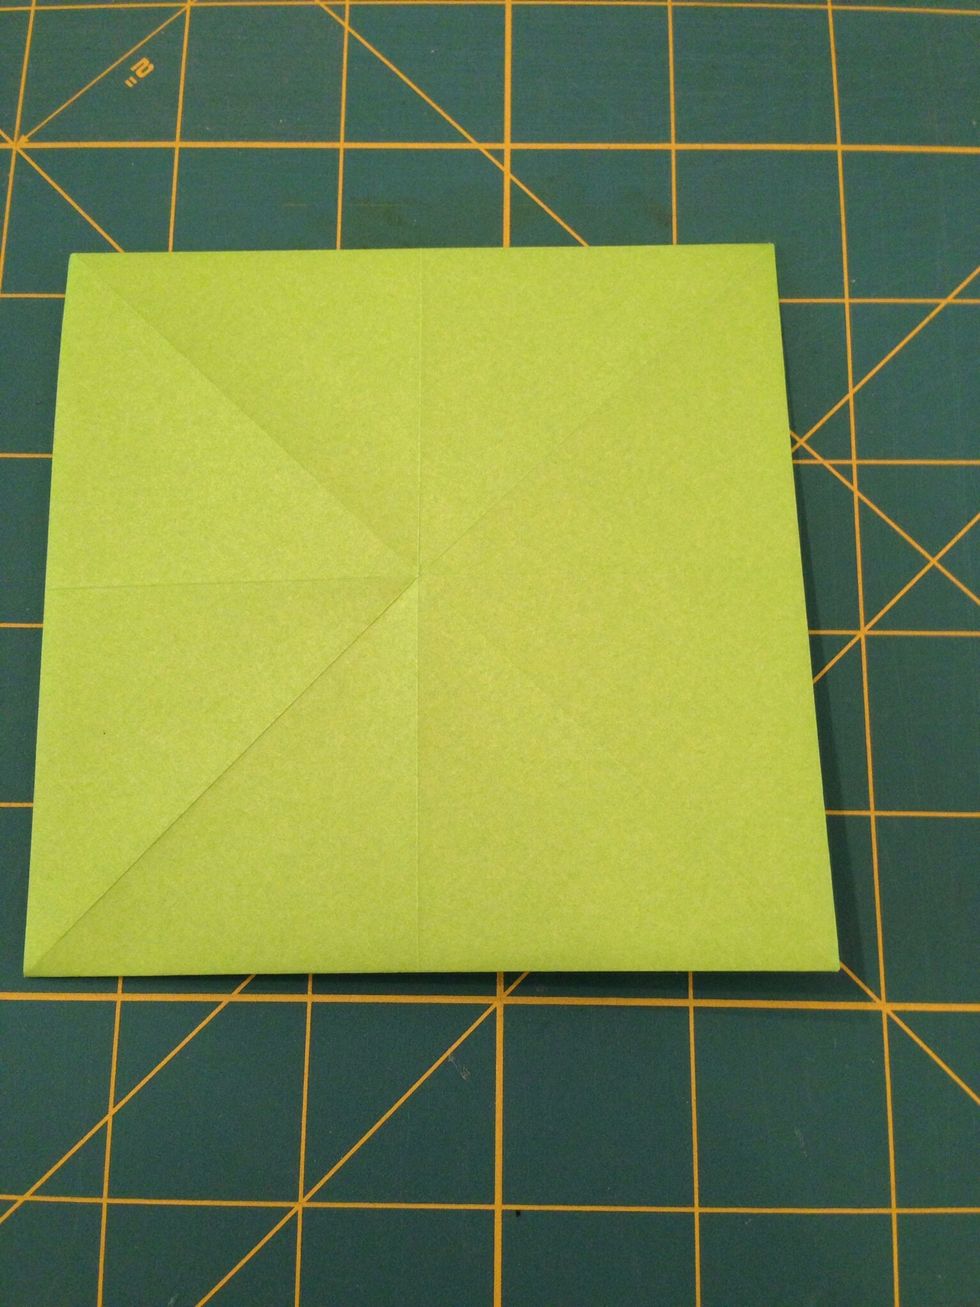
Fold the corners into the center.
One corner done! Now do the others.
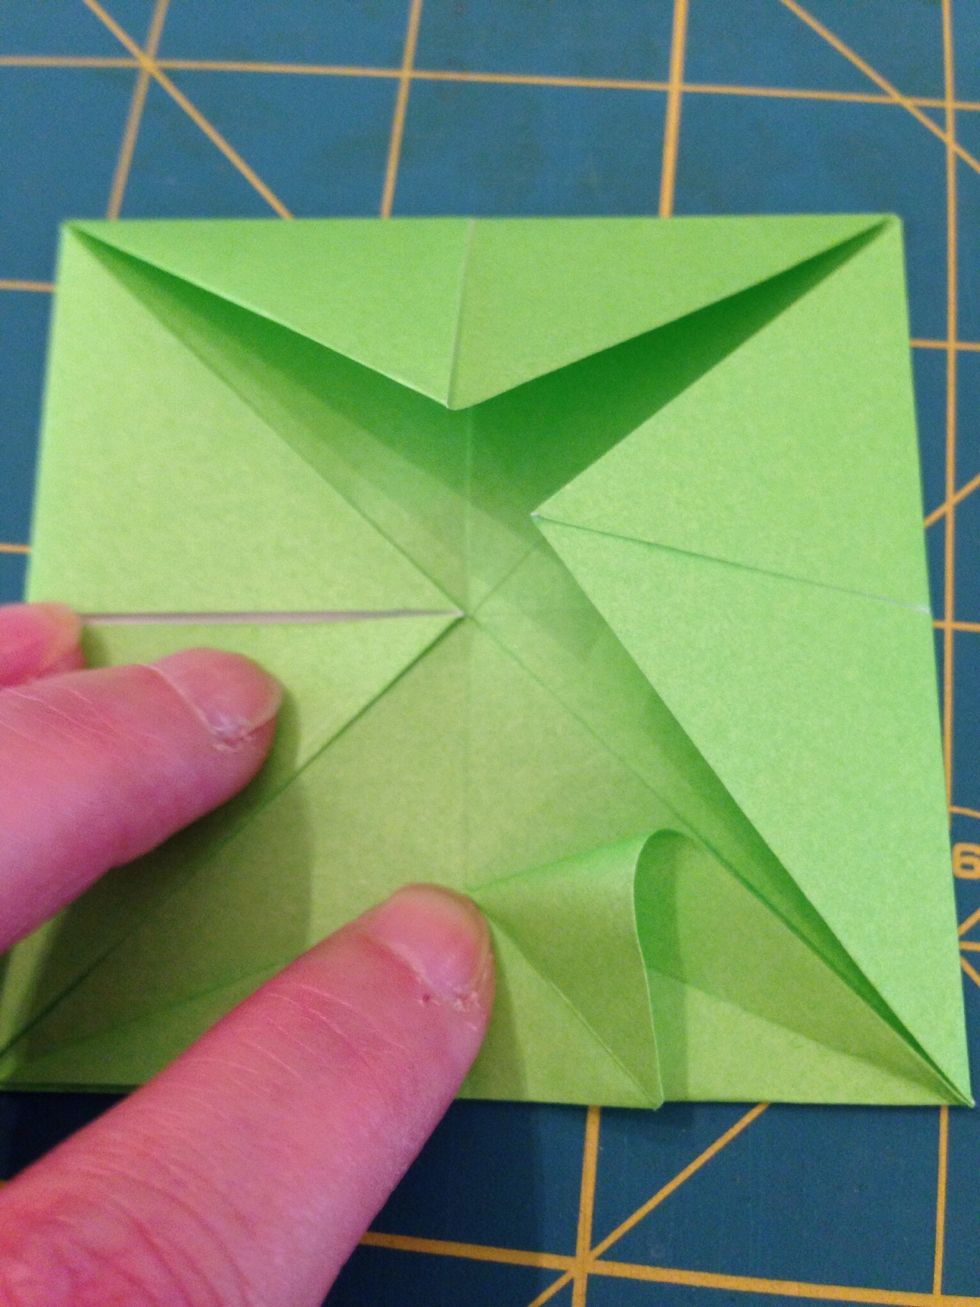
Fold the edge of the triangular flap to the bottom edge of the paper. Crease only to the center crease.

It will look like this.
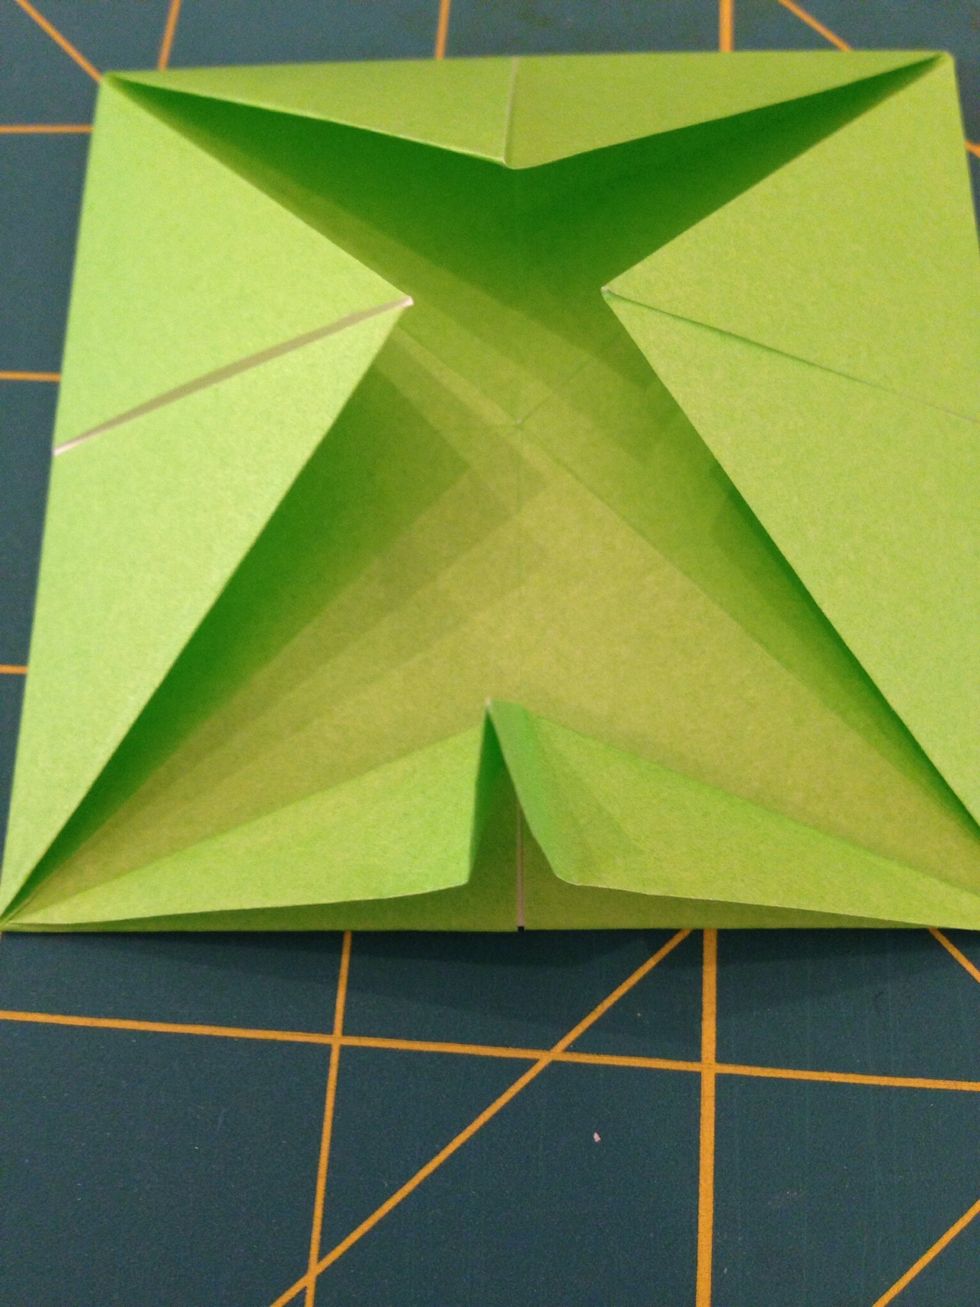
Now fold the opposite edge the same way.

Push the sides together to make a small flap that stands up.
It will look like this.
Repeat on the remaining sides.
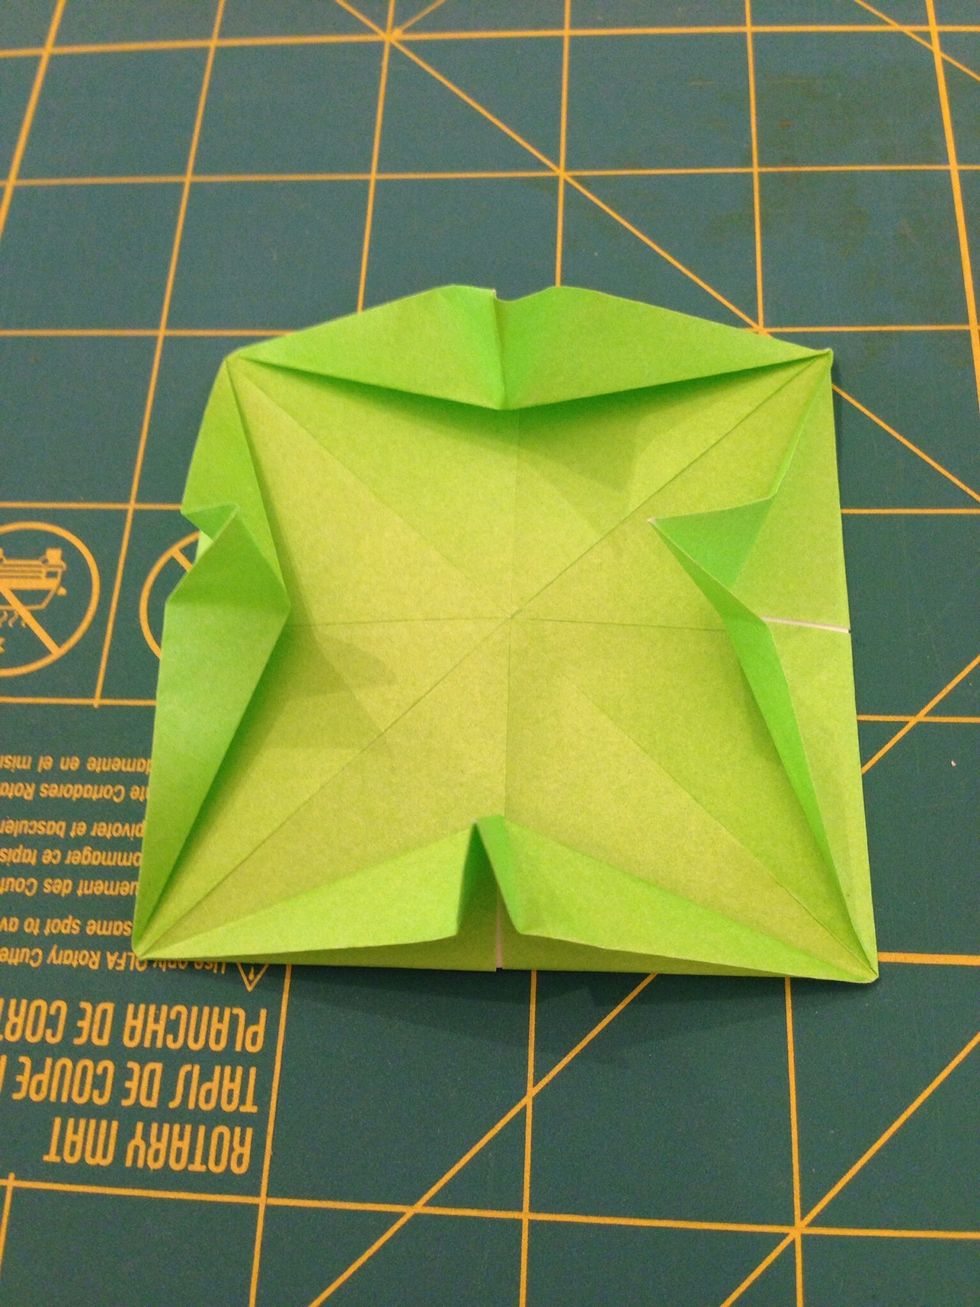
Mountain fold the model in half horizontally.
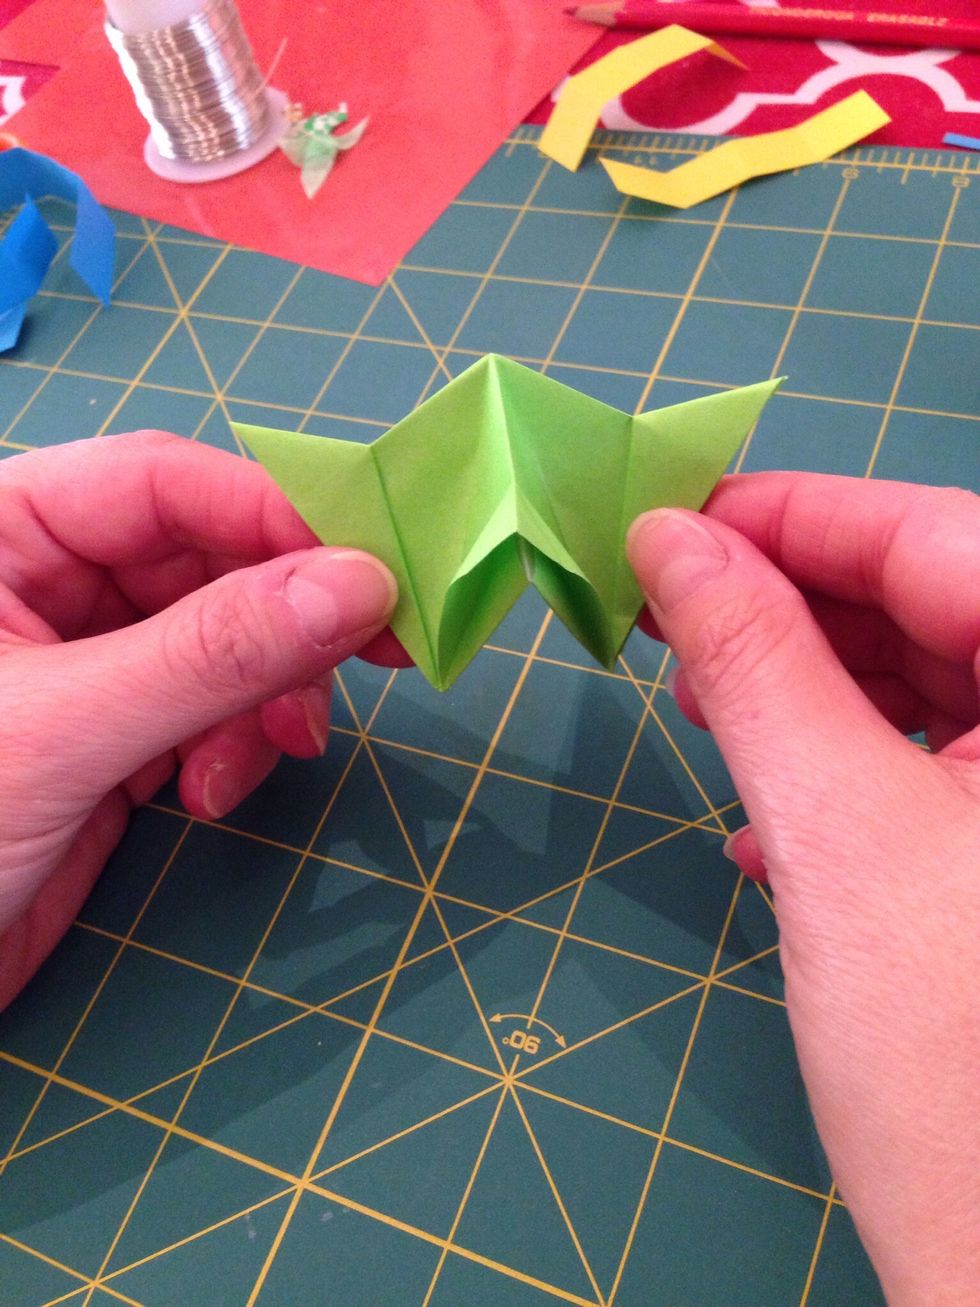
Hold the side edges by the corners...
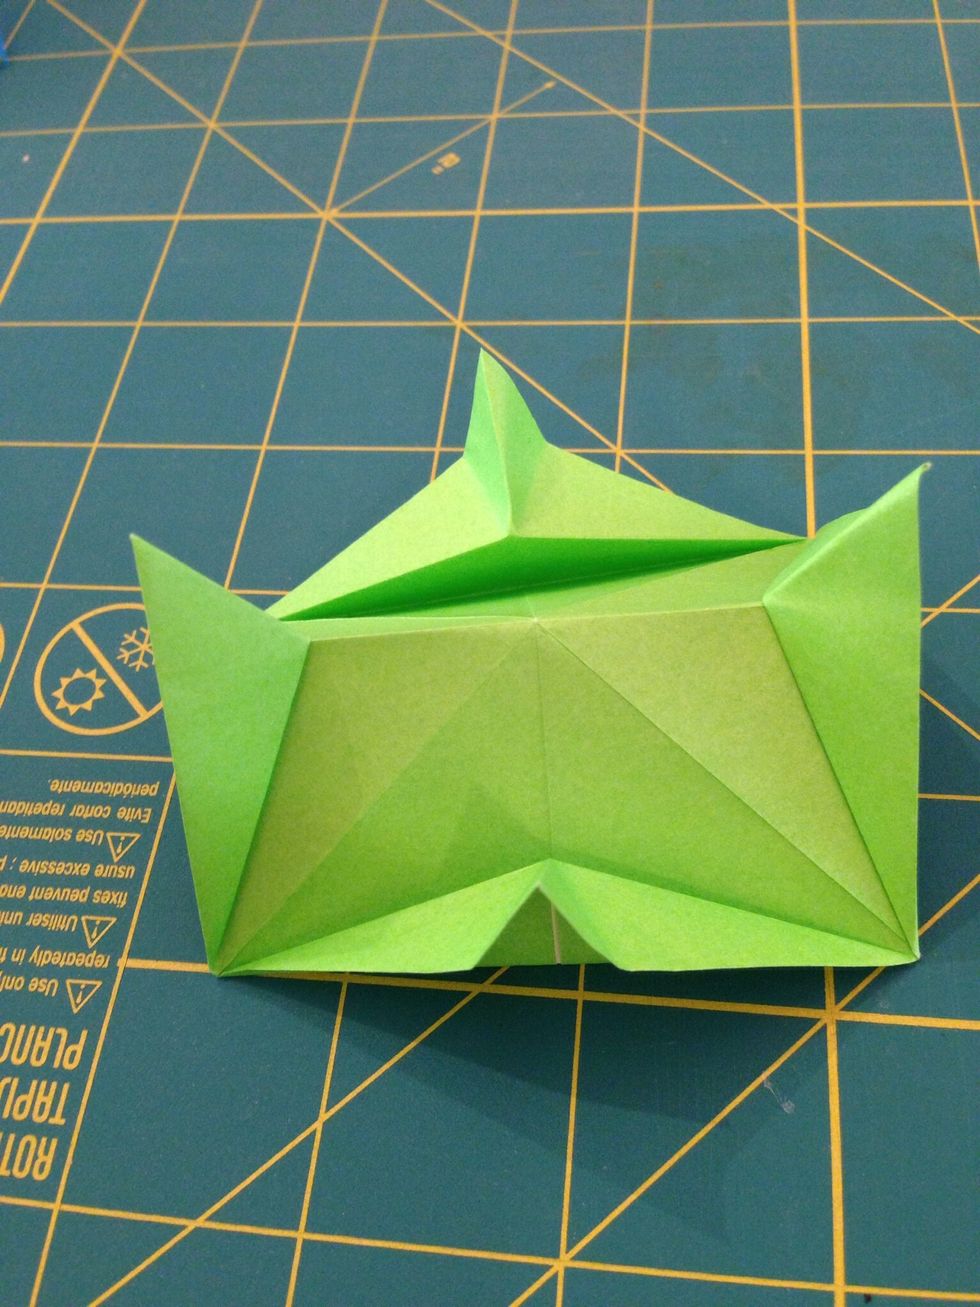
...and push the sides down to meet. The center point on the front and back will pop out to make flaps.
There it is! Now push this flap to one side. Push the flap on the back to the other side.
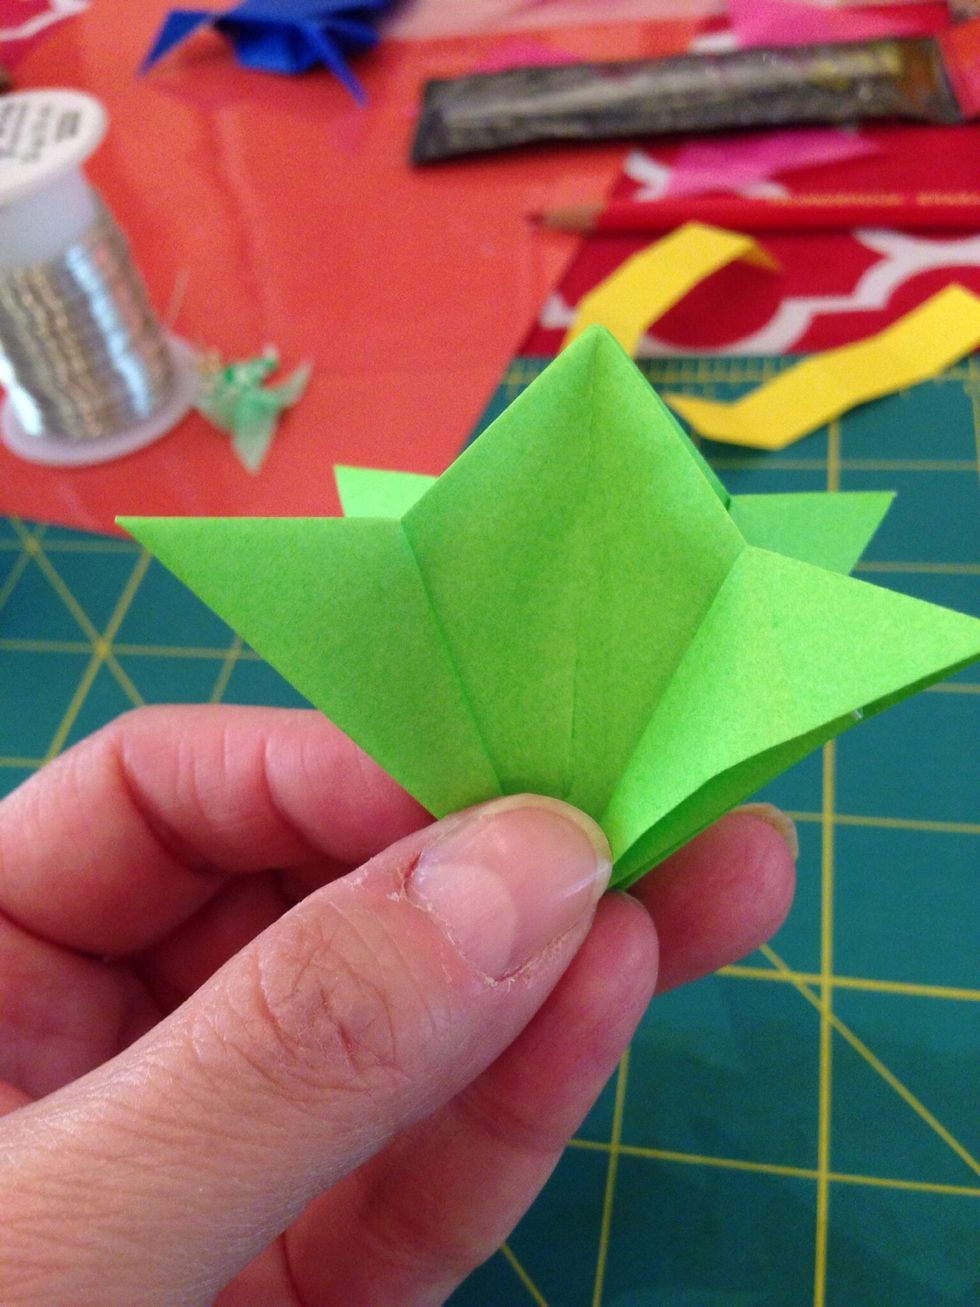
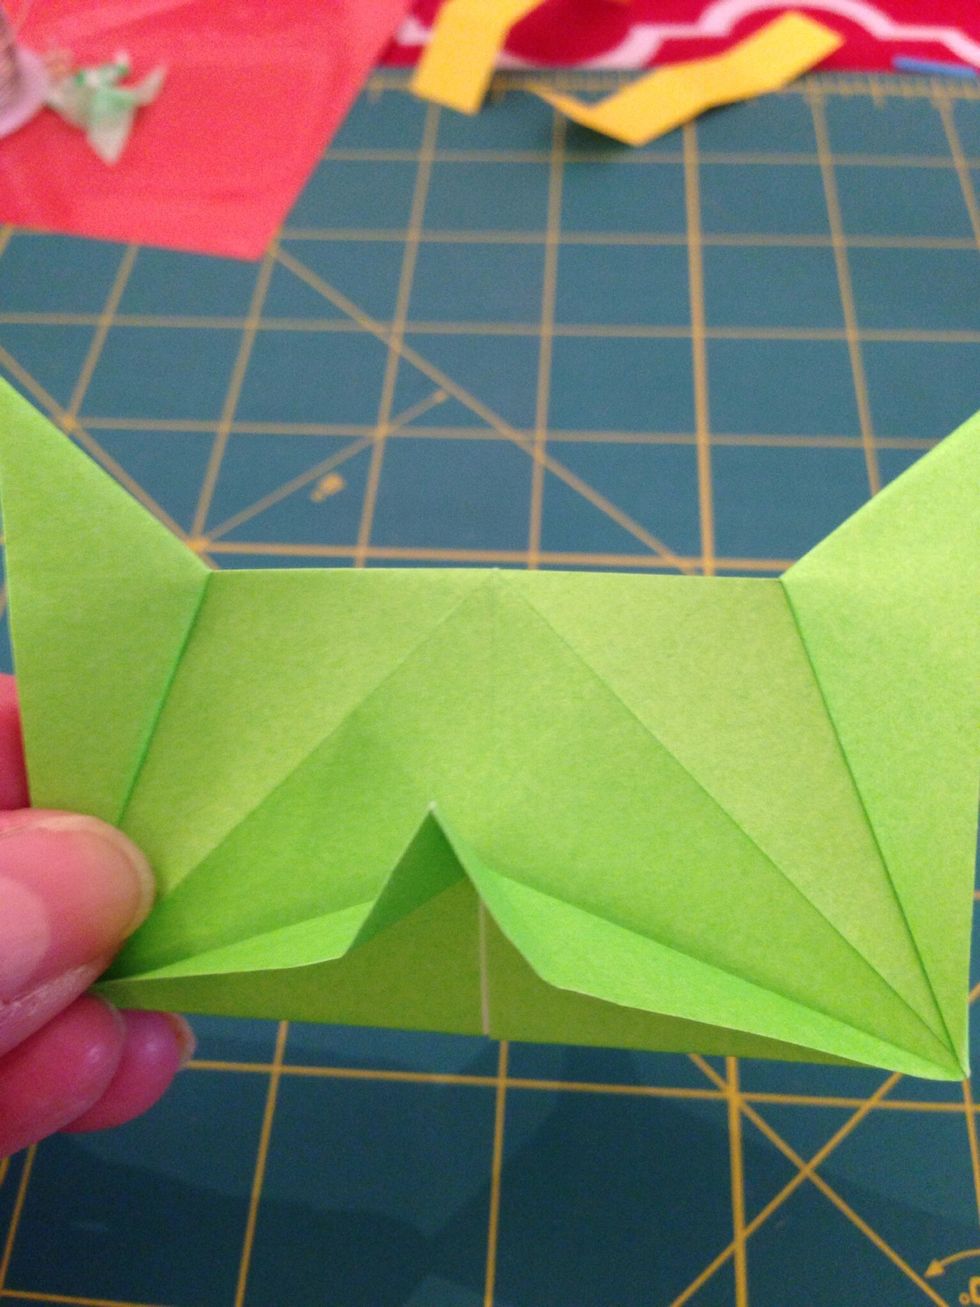
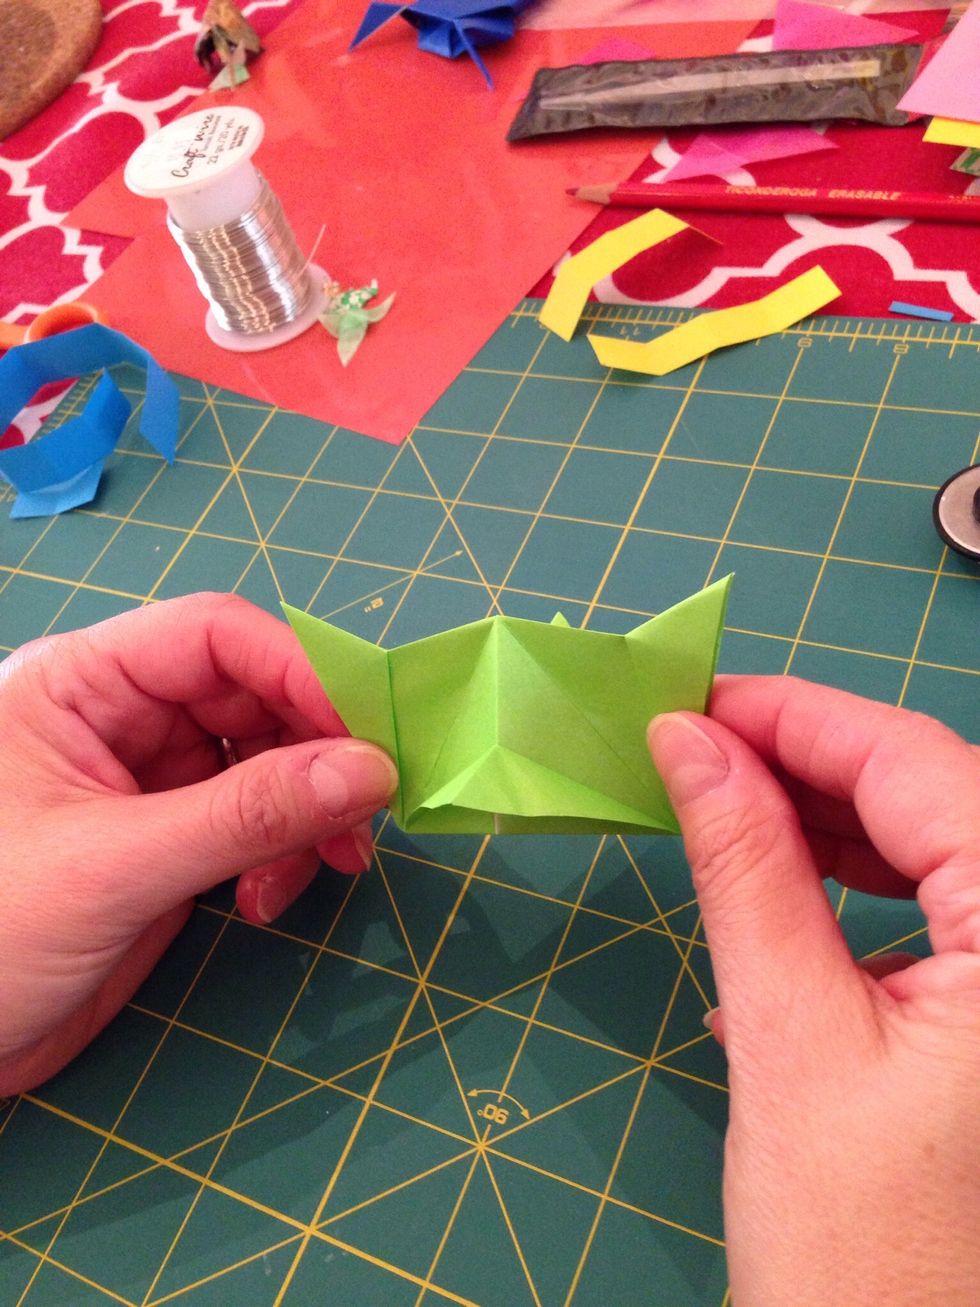
Press the model flat.

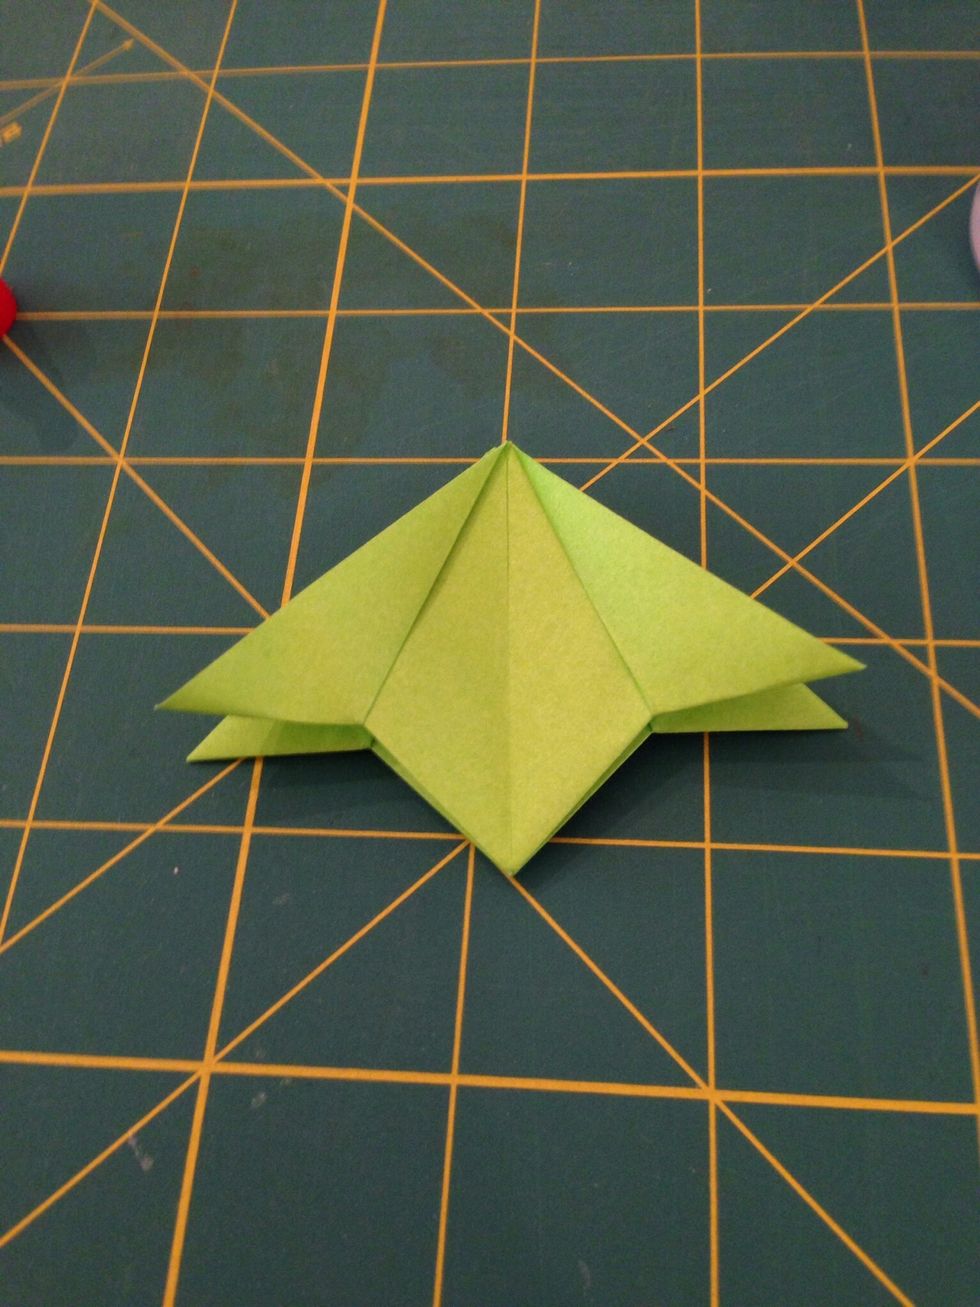
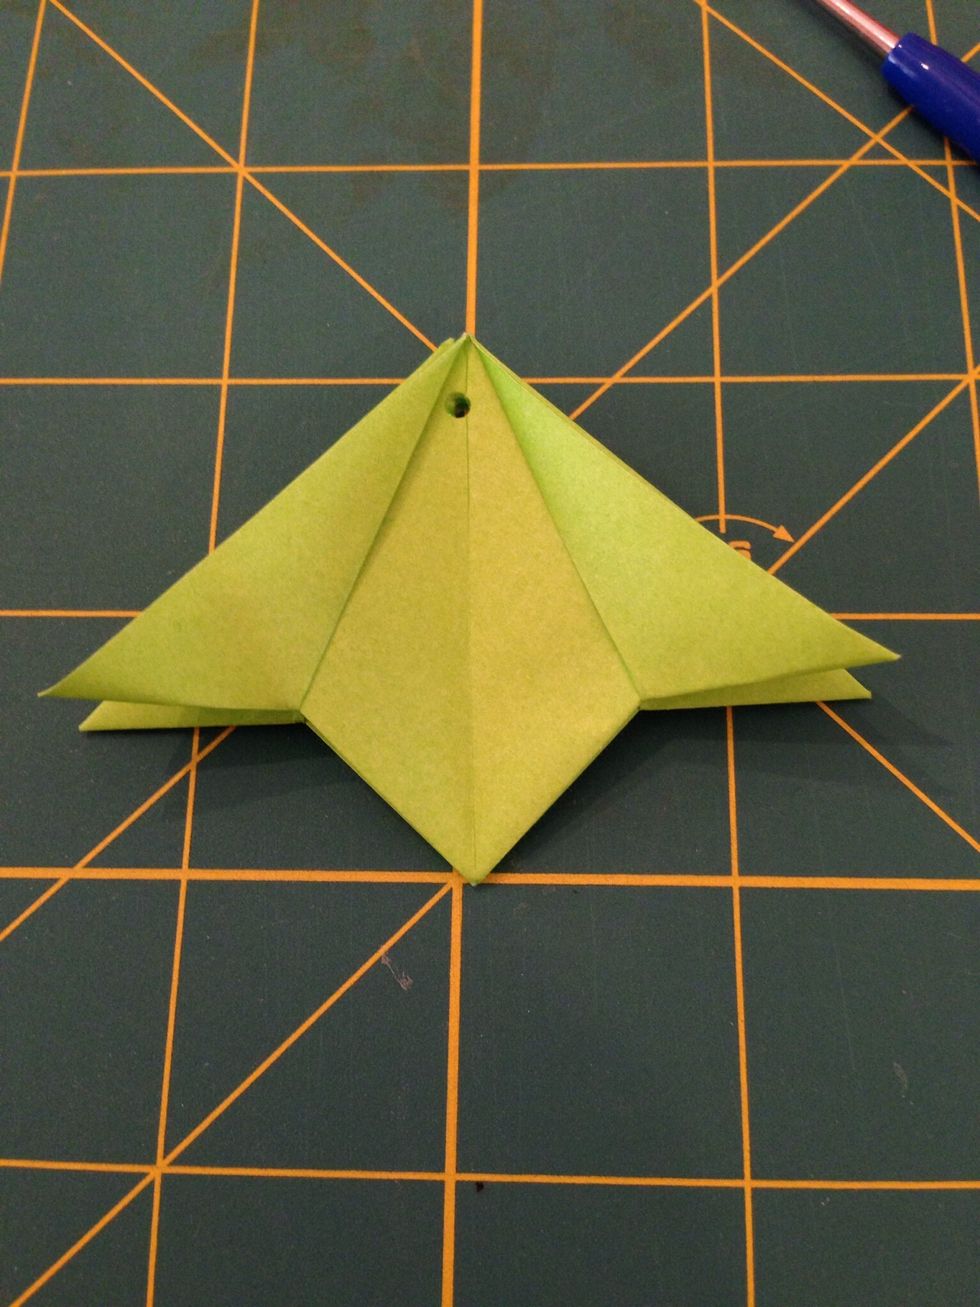
Ta-da! The folding is complete!
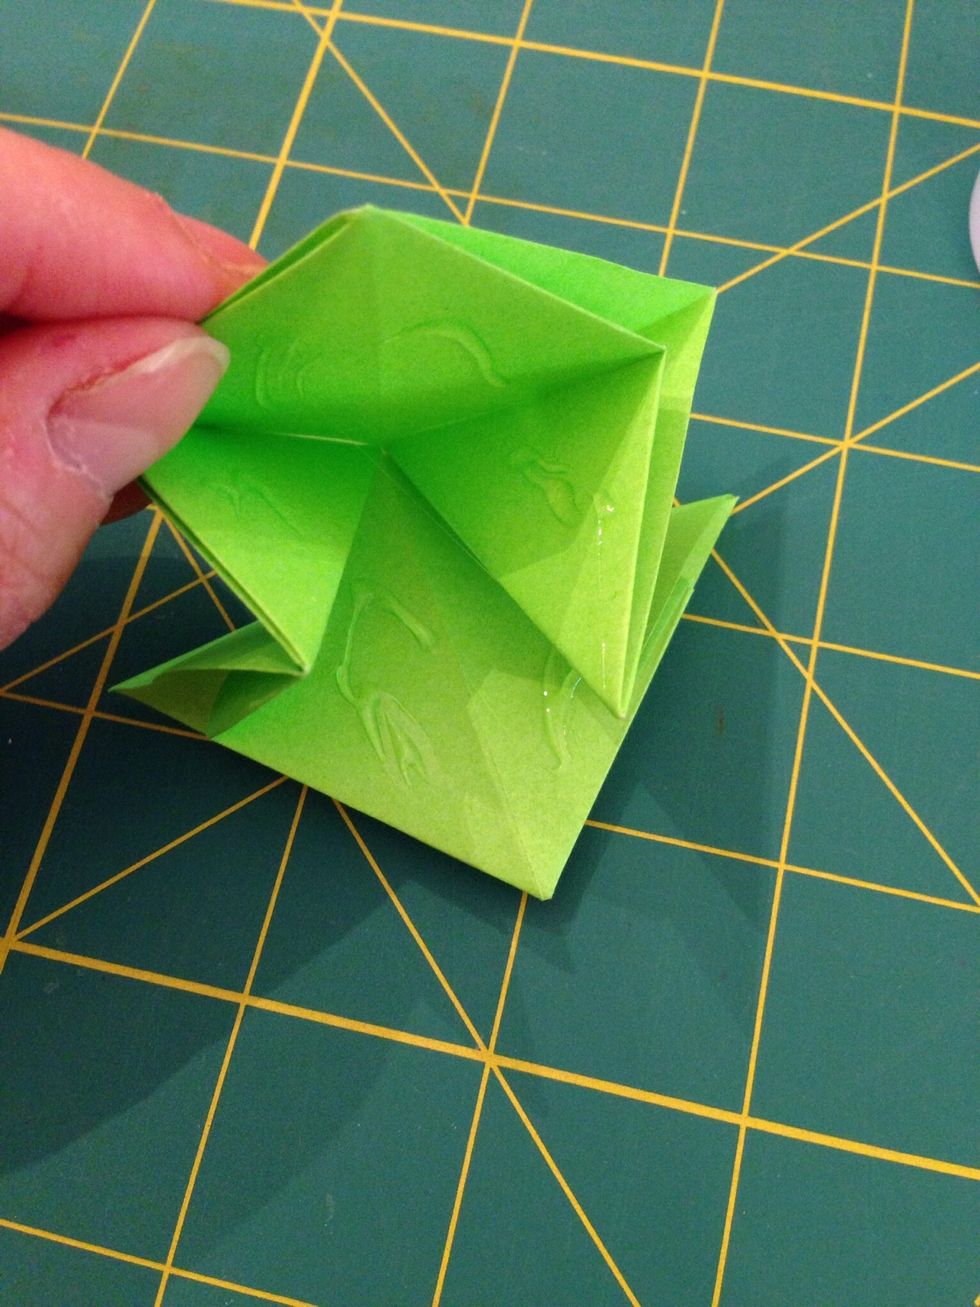
Dab glue on the inside surfaces.
Now press flat and allow to dry.
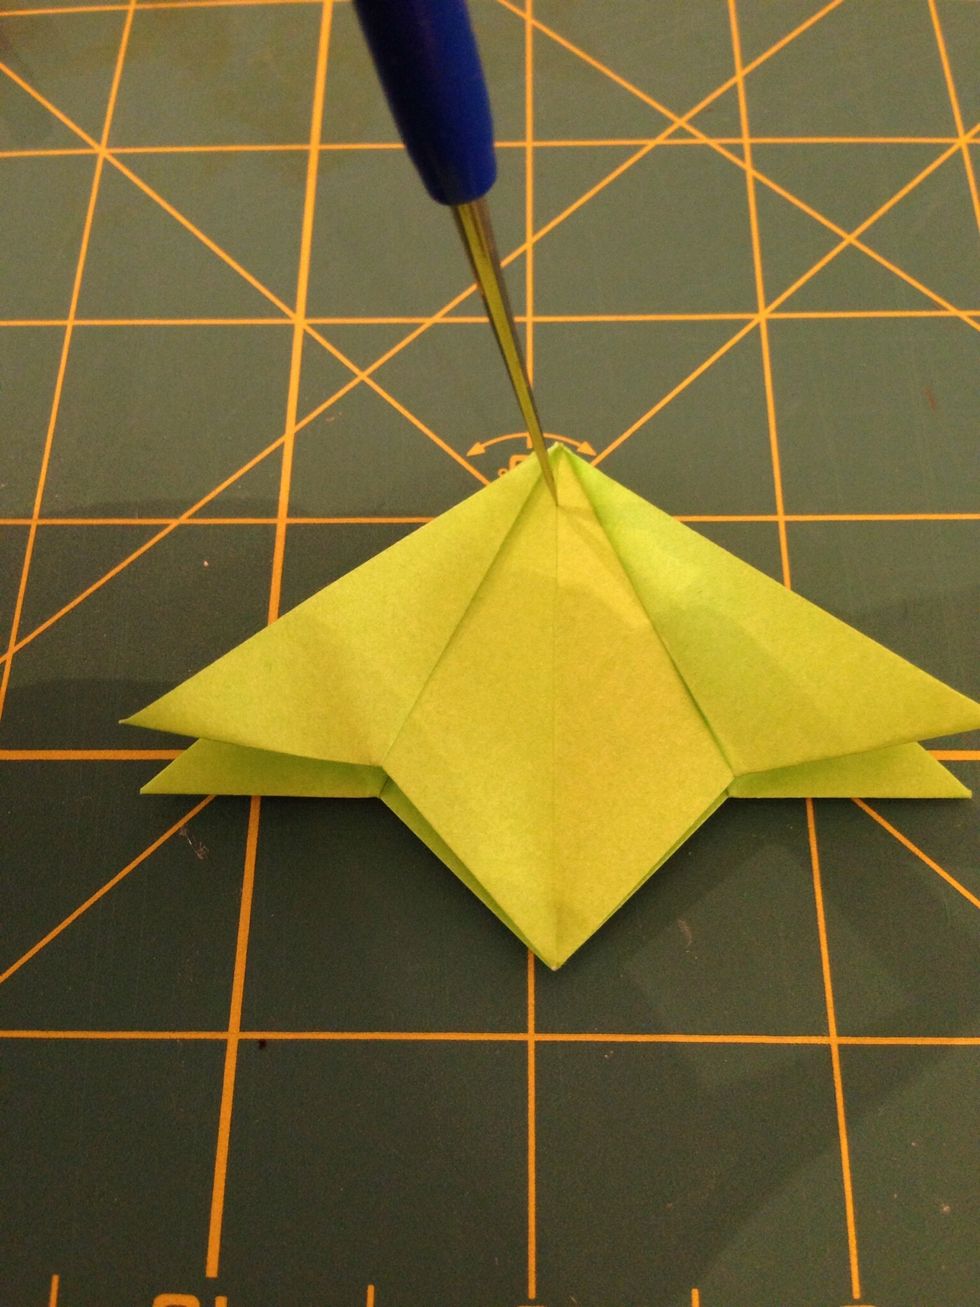
Pierce a hole near the top, right on the crease mark that goes down the center. I use a bead reamer because I have one on hand. But you can also use a tapestry needle or a ball-headed straight pin.
Now the model is ready for threading with cord or ribbon. You can also make a simple wire ornament hanger for your ornaments, but that is a lesson for another day!

A finished ornament with a ribbon hanger.
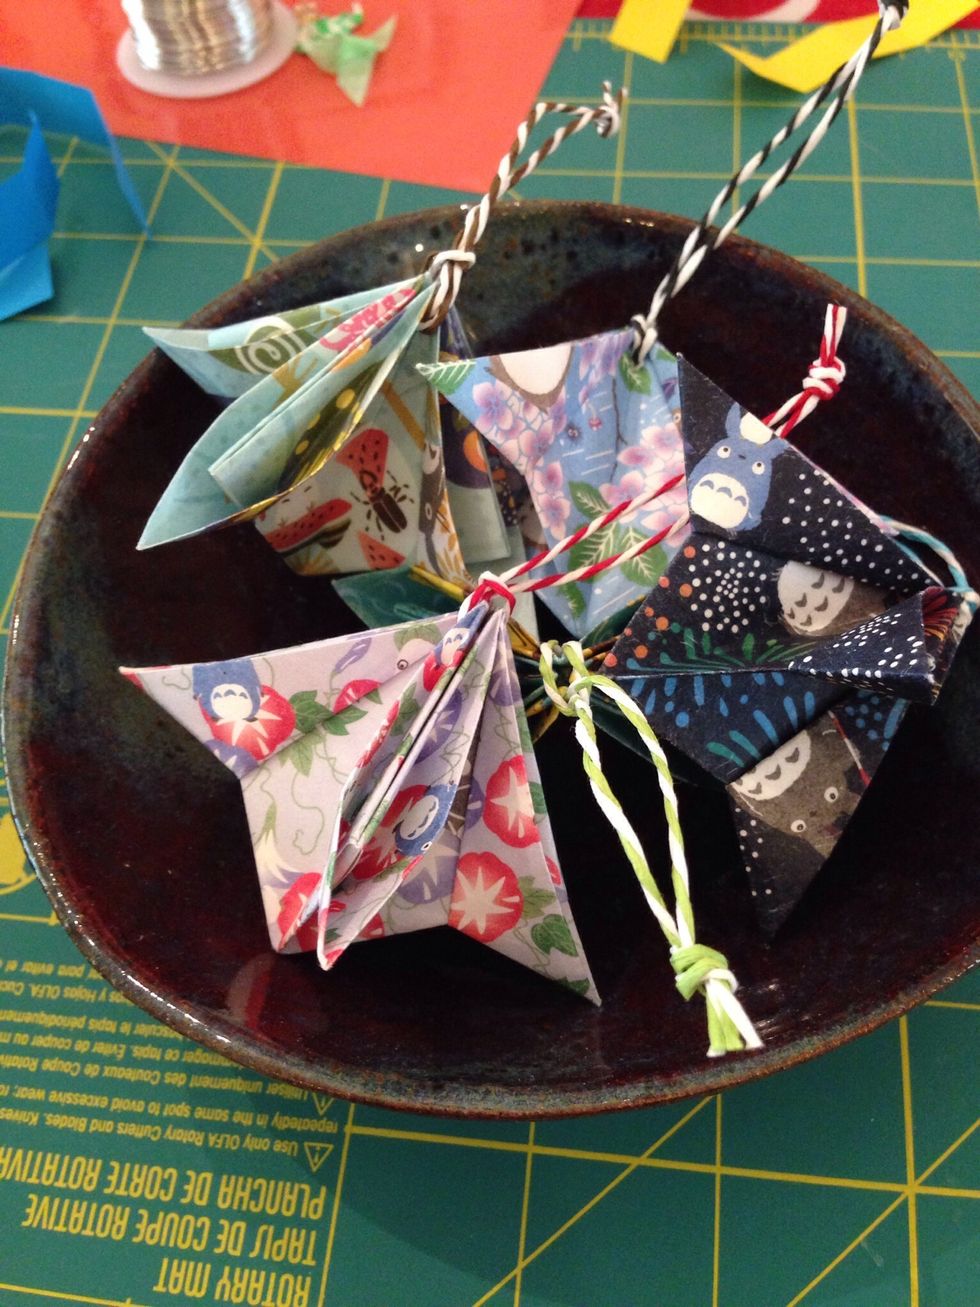
Here are some finished ornaments made from Totoro washi paper (I love Totoros!) and threaded with colorful paper cord.