The Conversation (0)
Sign Up

Take a piece of copy paper
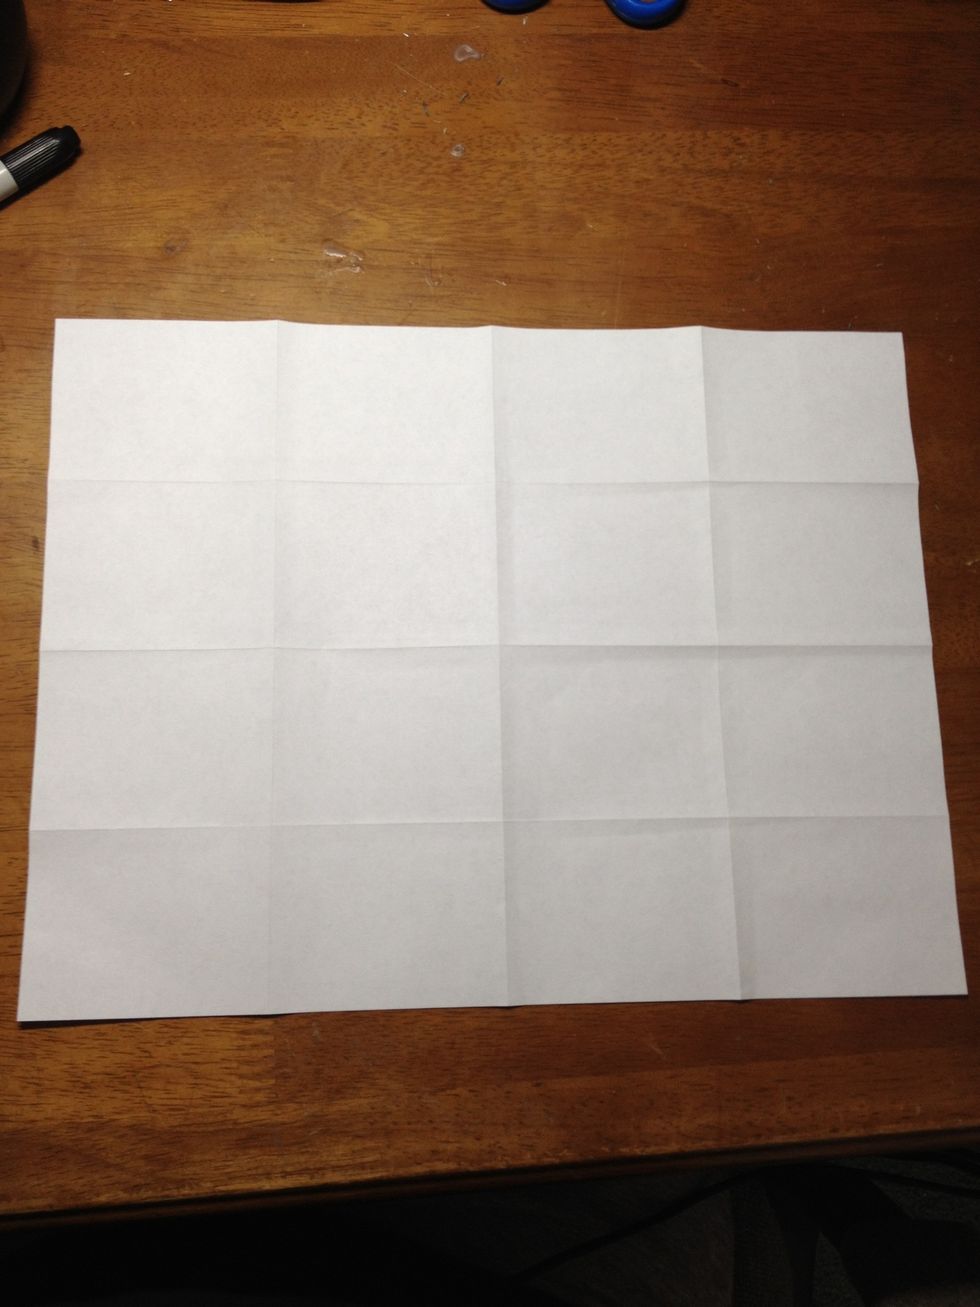
Fold the paper into 16 equal rectangles. Fold the sheet in half (both ways), then fold the outside sides to the middle.
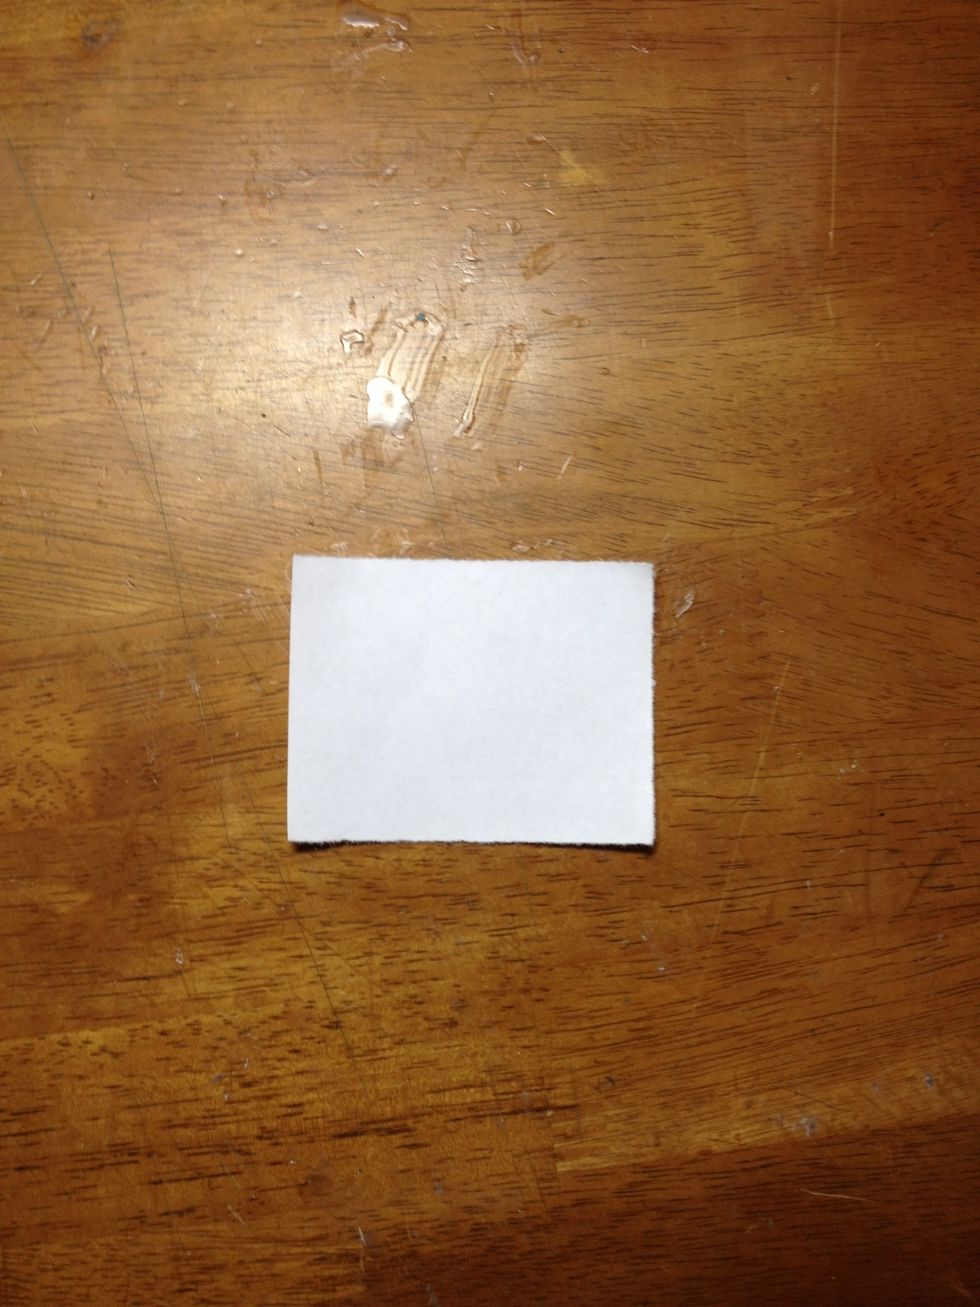
Using the scissors, cut out each of the 16 rectangles.
Repeat steps 1-3 until you have enough pieces to complete your swan. (This does take some time, so be patient).
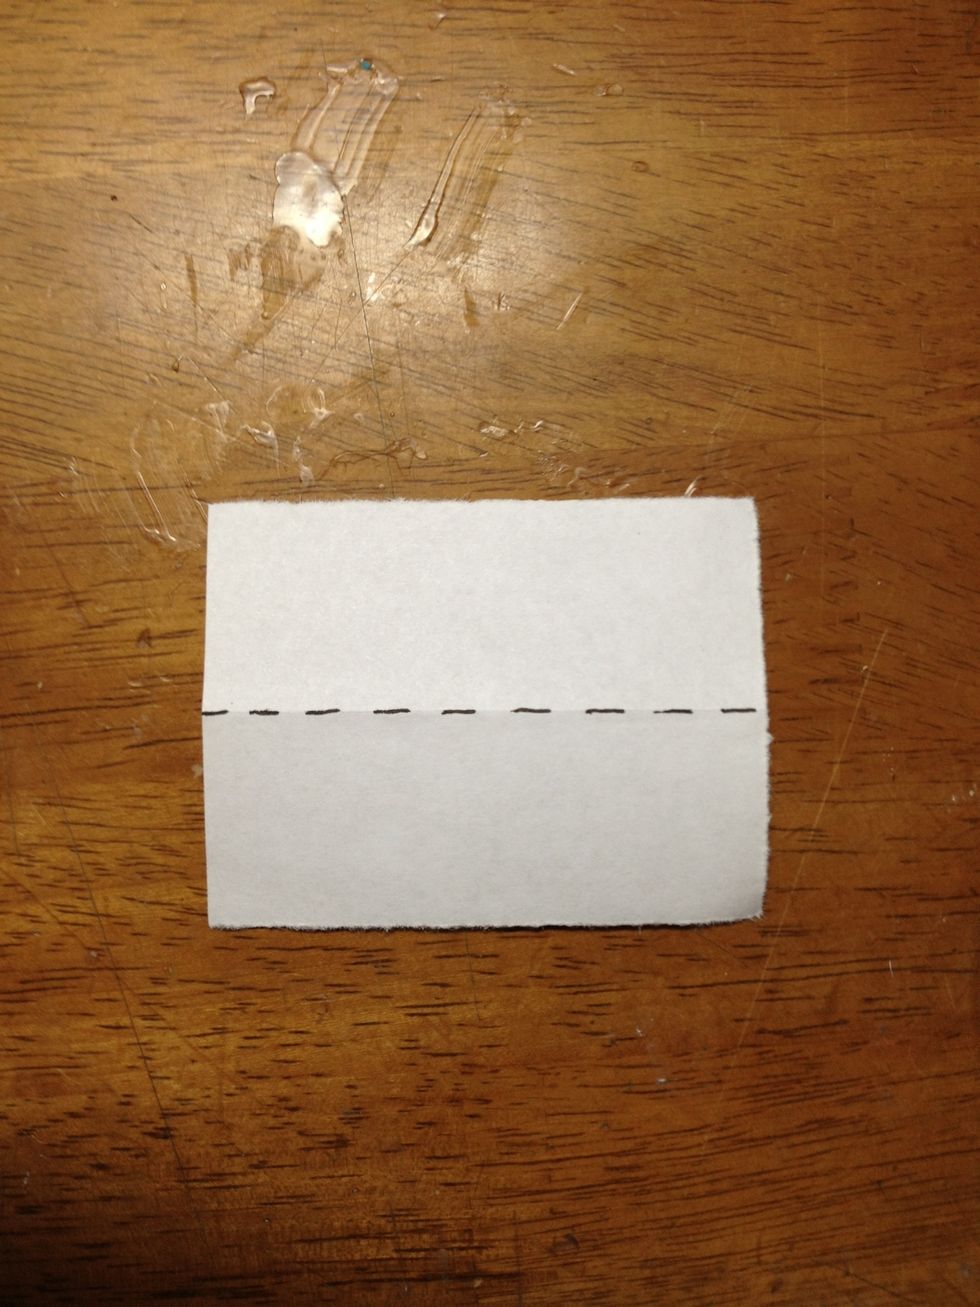
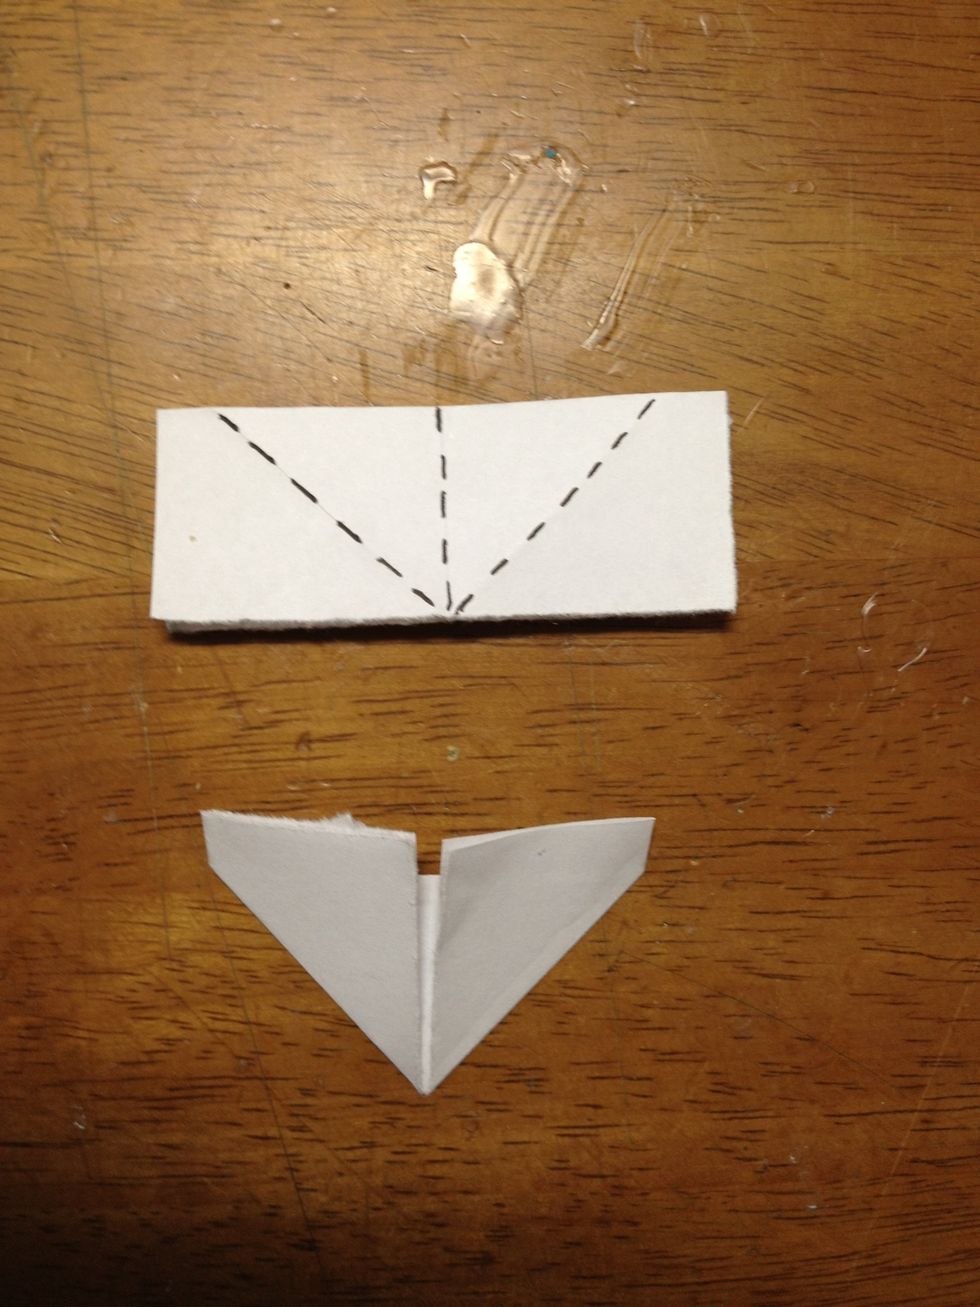
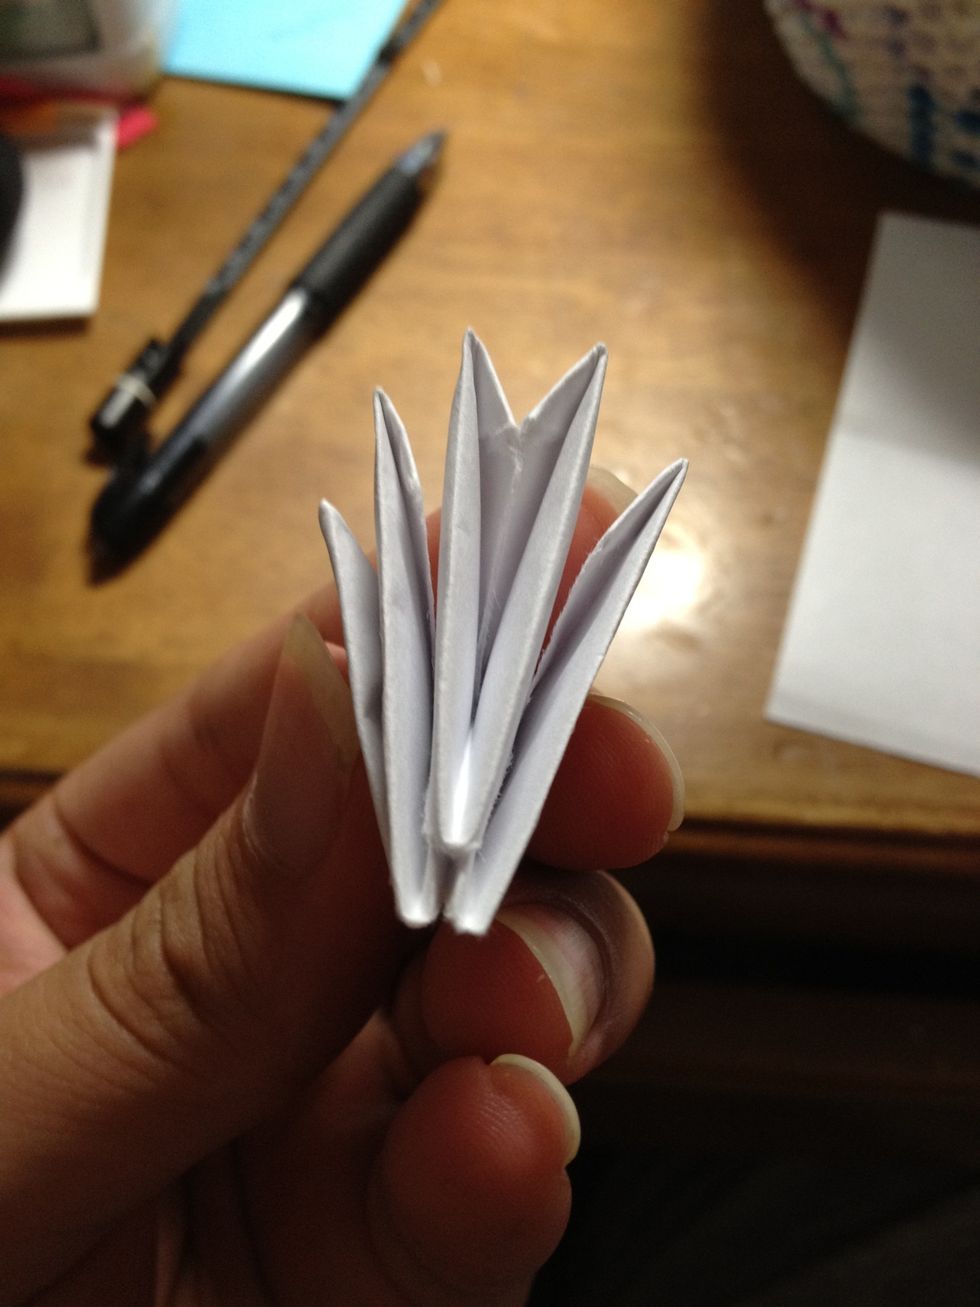
When you have all your pieces cut out, take each individual piece and fold along the dotted line (or as some people say "the hotdog way").
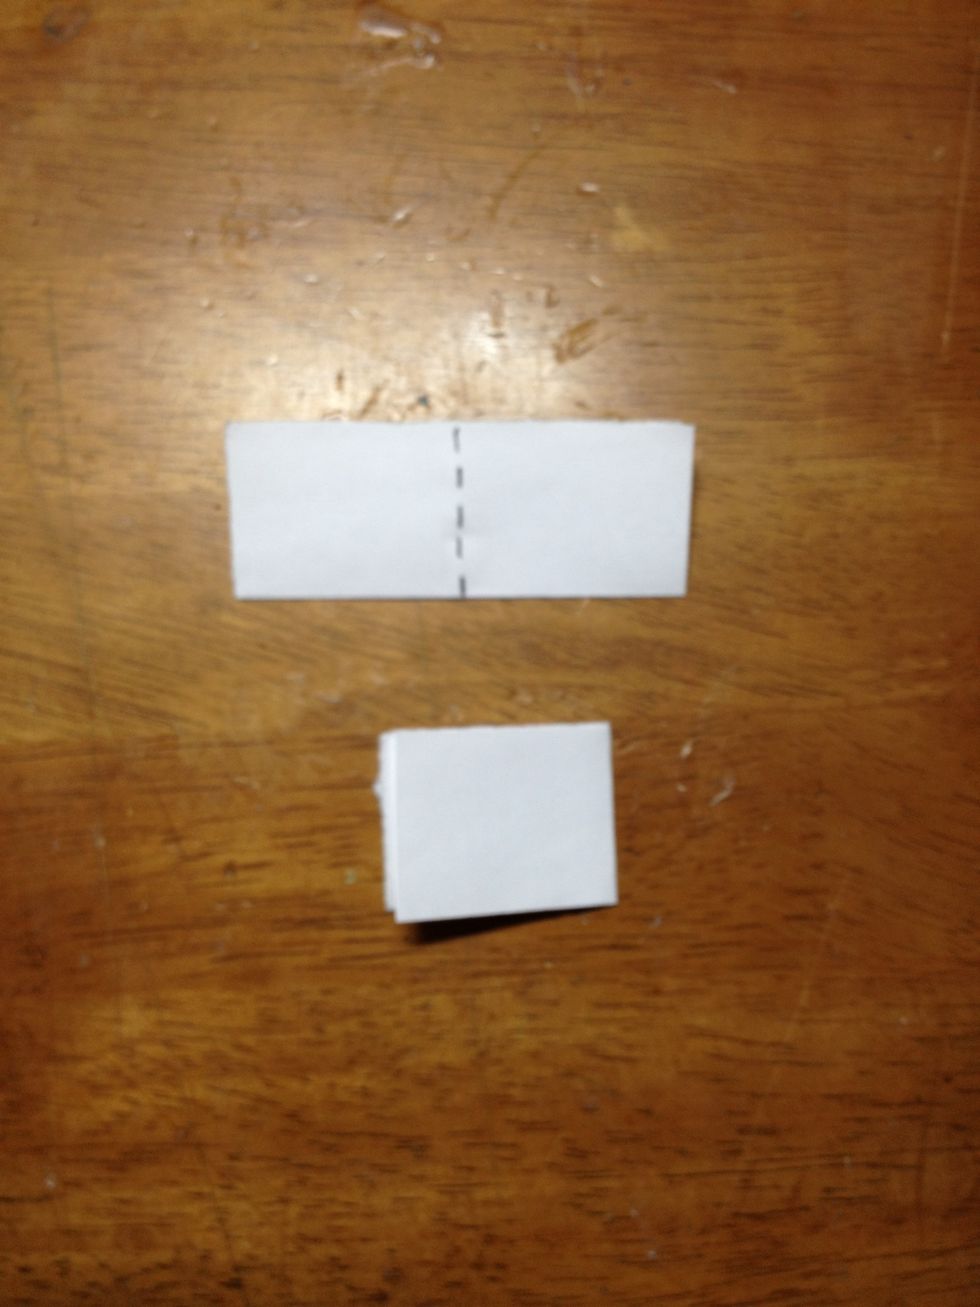
Next, you are going to fold the piece in half the other way, along the dotted line. (the bottom piece is why it should look like after it has been folded).
Next, you are going to fold along the dotted lines. Typically, I take the side where the piece opens up and I fold it so it lies flat along the center line. (do for both left and right).
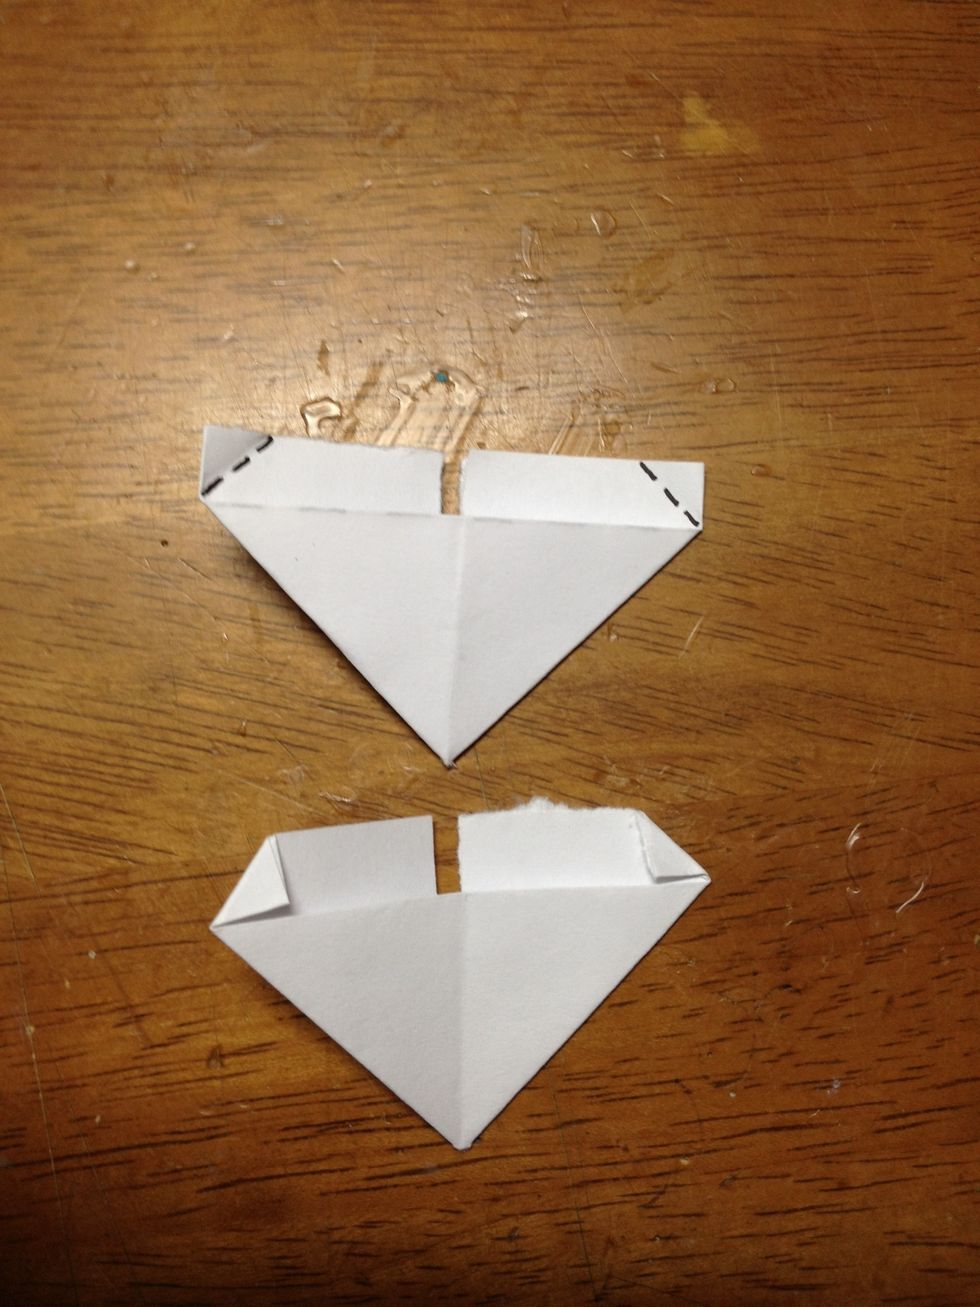
Flip your piece over and fold the corner part down along the dotted line.
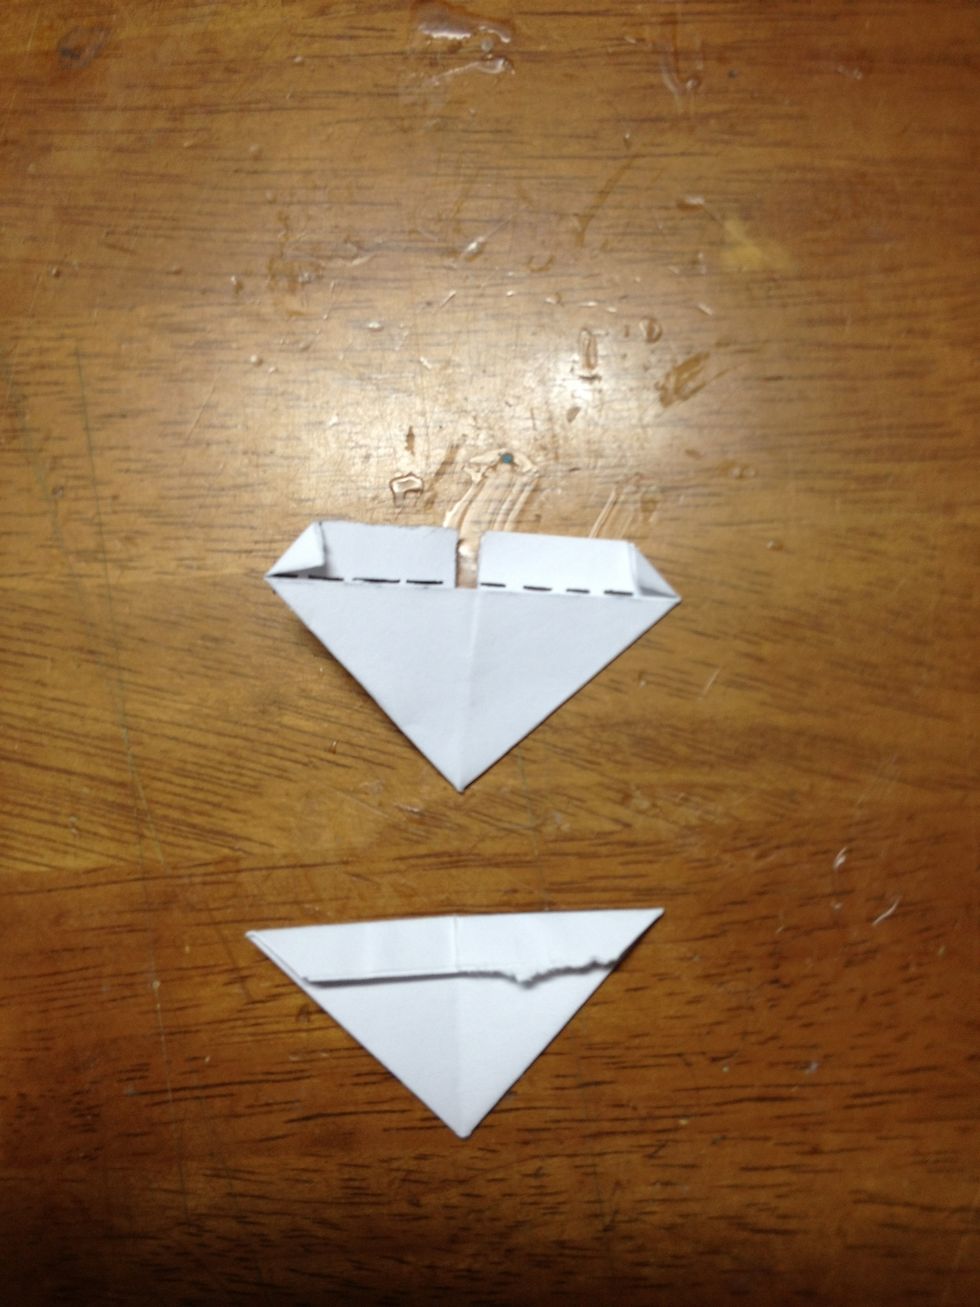
Now, fold the top flap of each side so that it lies flat on top of the lower half of the piece.
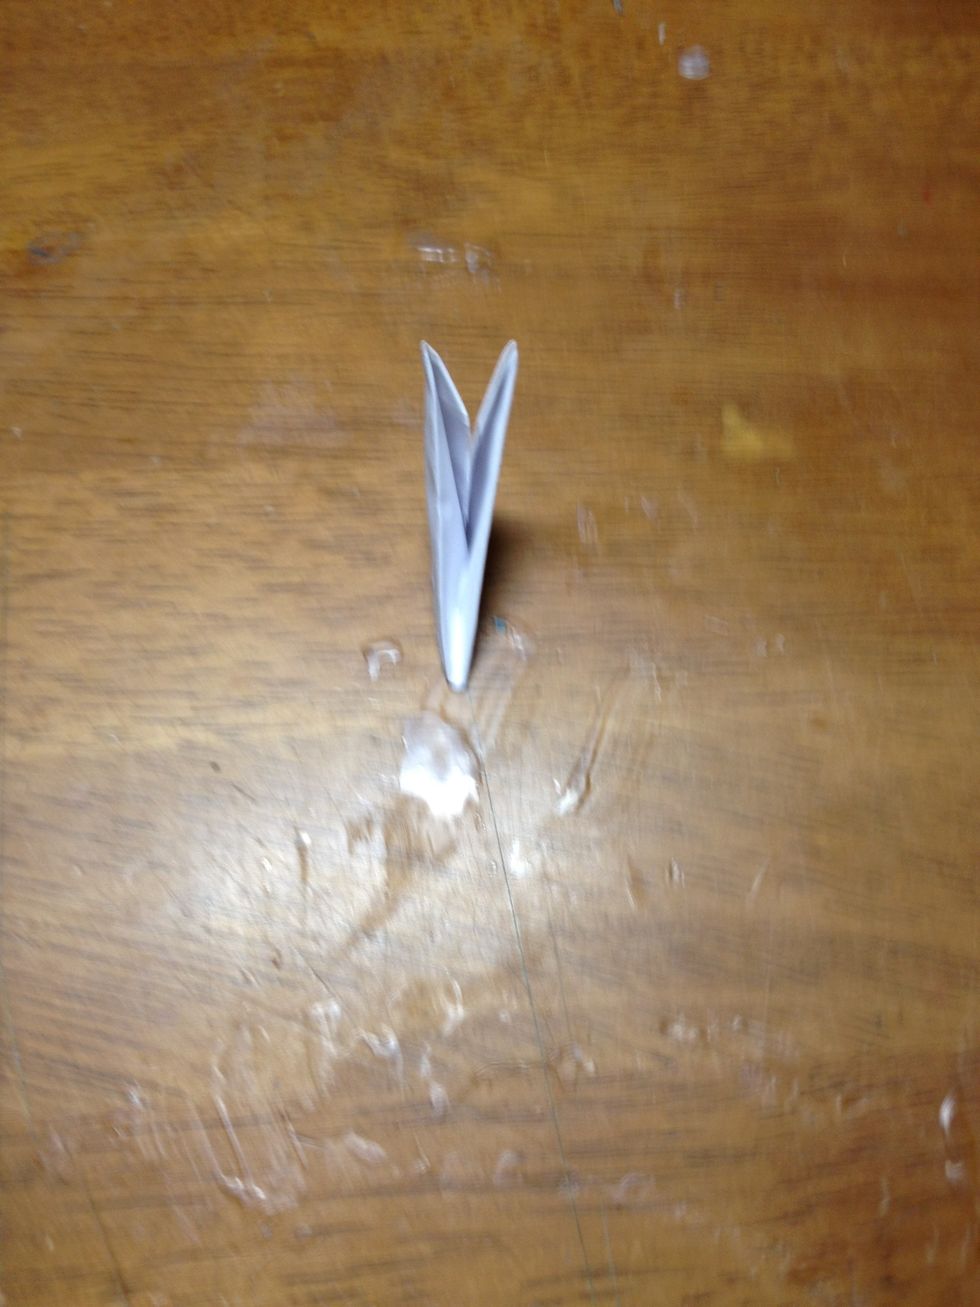
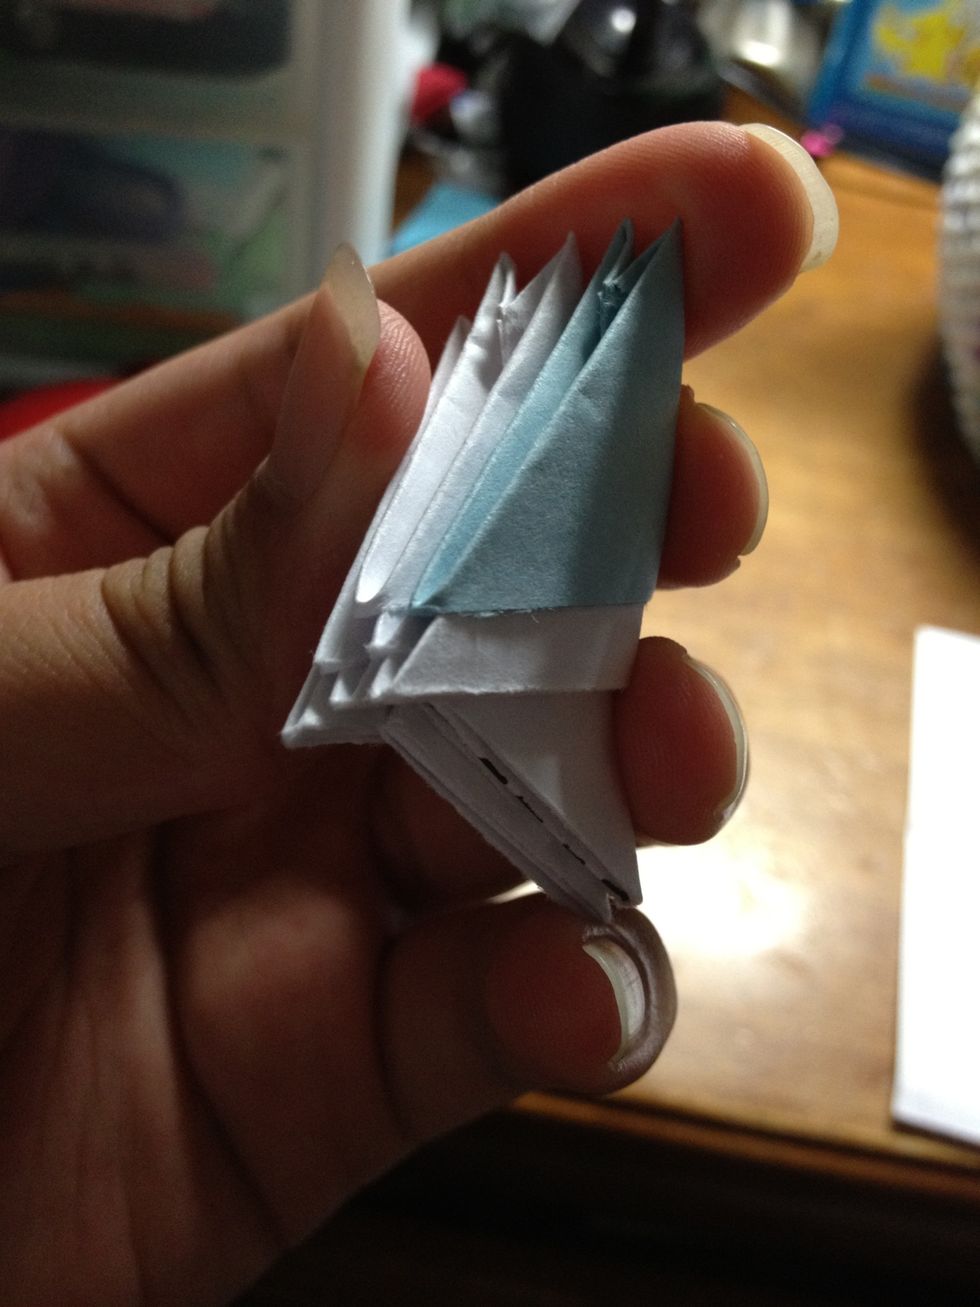
Lastly, fold the piece in half along the center line and your piece should look like the pic above.
Repeat steps 5-10, until all of your pieces are folded.
After all the piece are folded, you are ready to make your swan. Proper placement of each piece, will ensure that the swan is properly made.
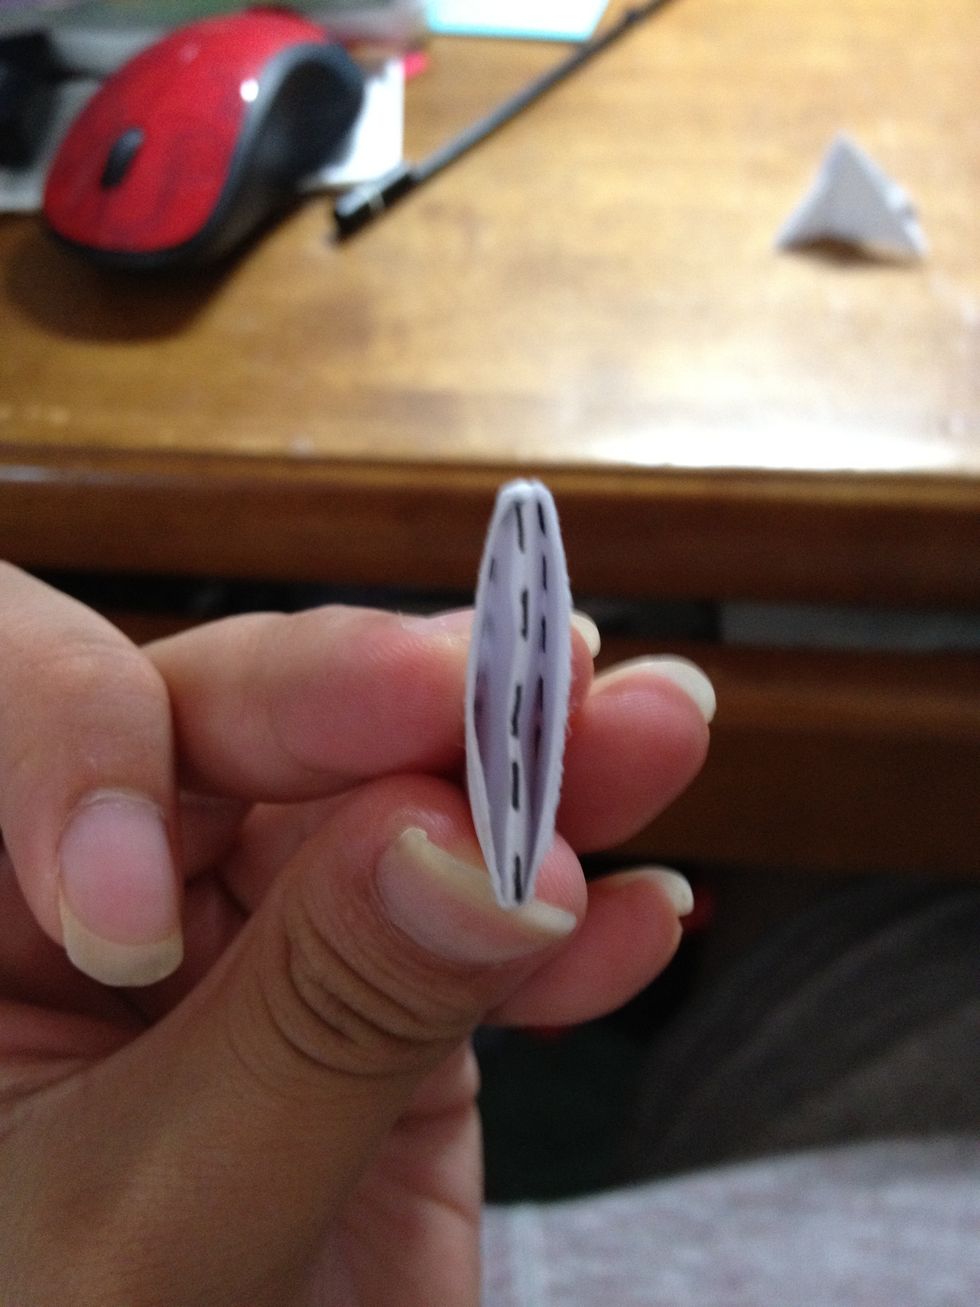
Each of the pieces you made have a pair of pockets on the bottom. By using these pockets, each piece is able to attach to another piece.

Now, for the very row/layer of the swan, the pieces are going to be facing inwards (nose point facing in). This allows the swan to stab stable as more pieces are put on. All other layers face out.
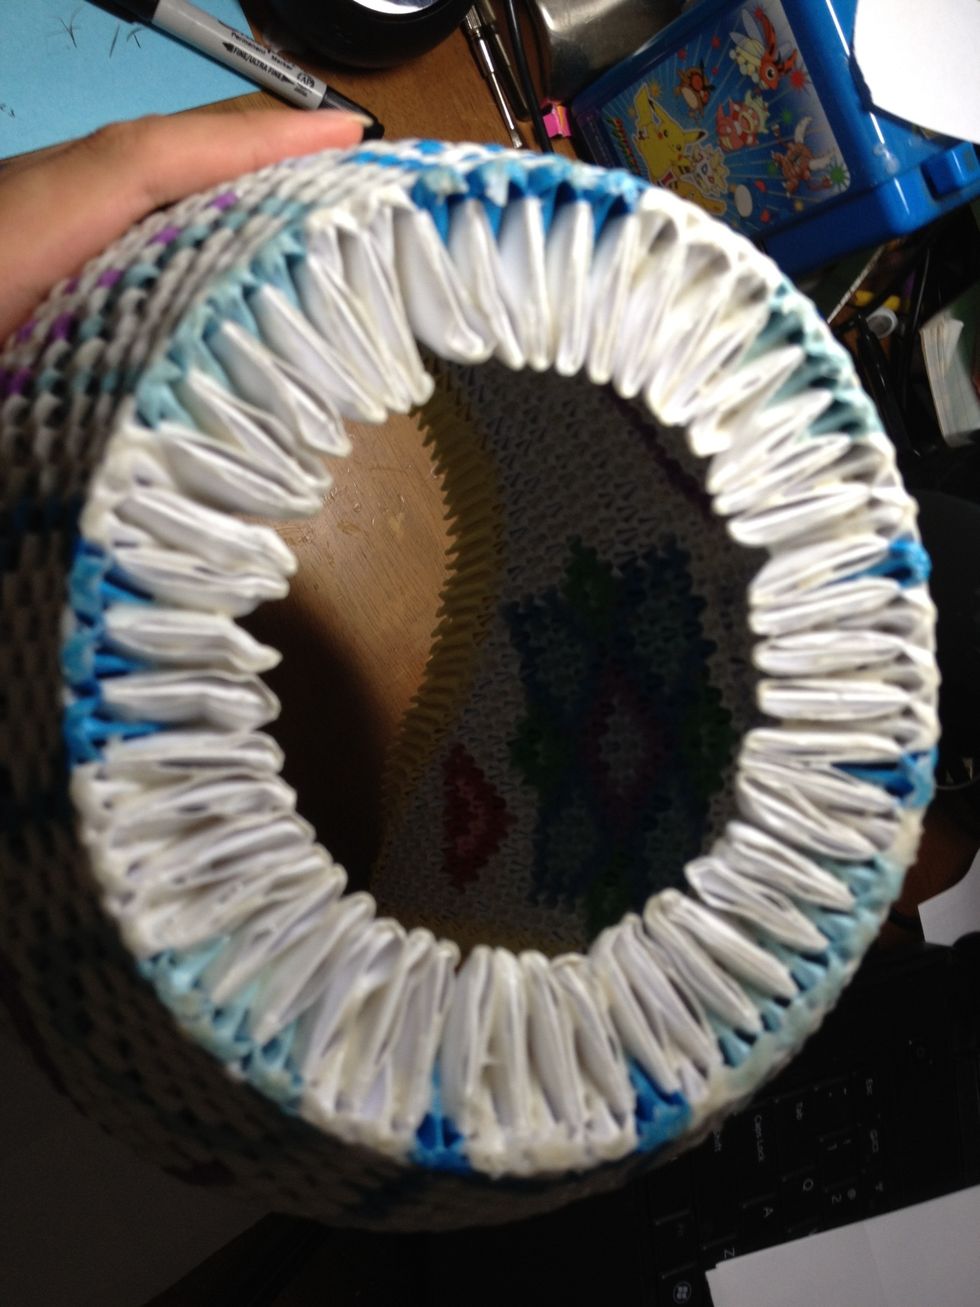
When your base and first two layers are complete, it should form a circular shape.
Once your base is complete, you may begin putting more pieces on. Each row will alternate (looking like a wall made of bricks). Each pocket on the bottom will fit onto two pieces on the previous layer
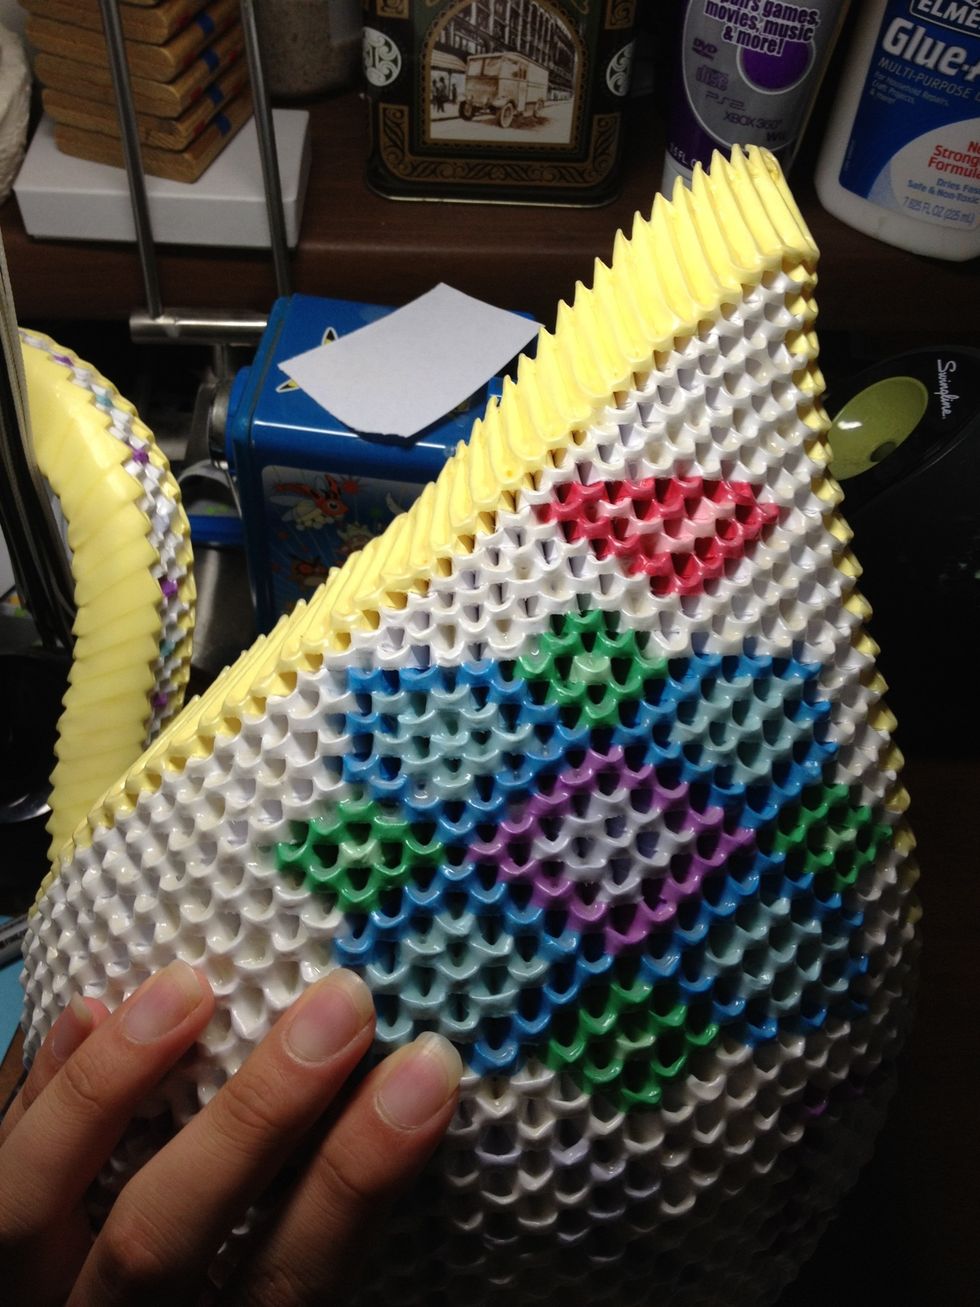
Keep adding more pieces until the base starts to look like a bowl. (You may add colored paper to your swan to give some extra design).
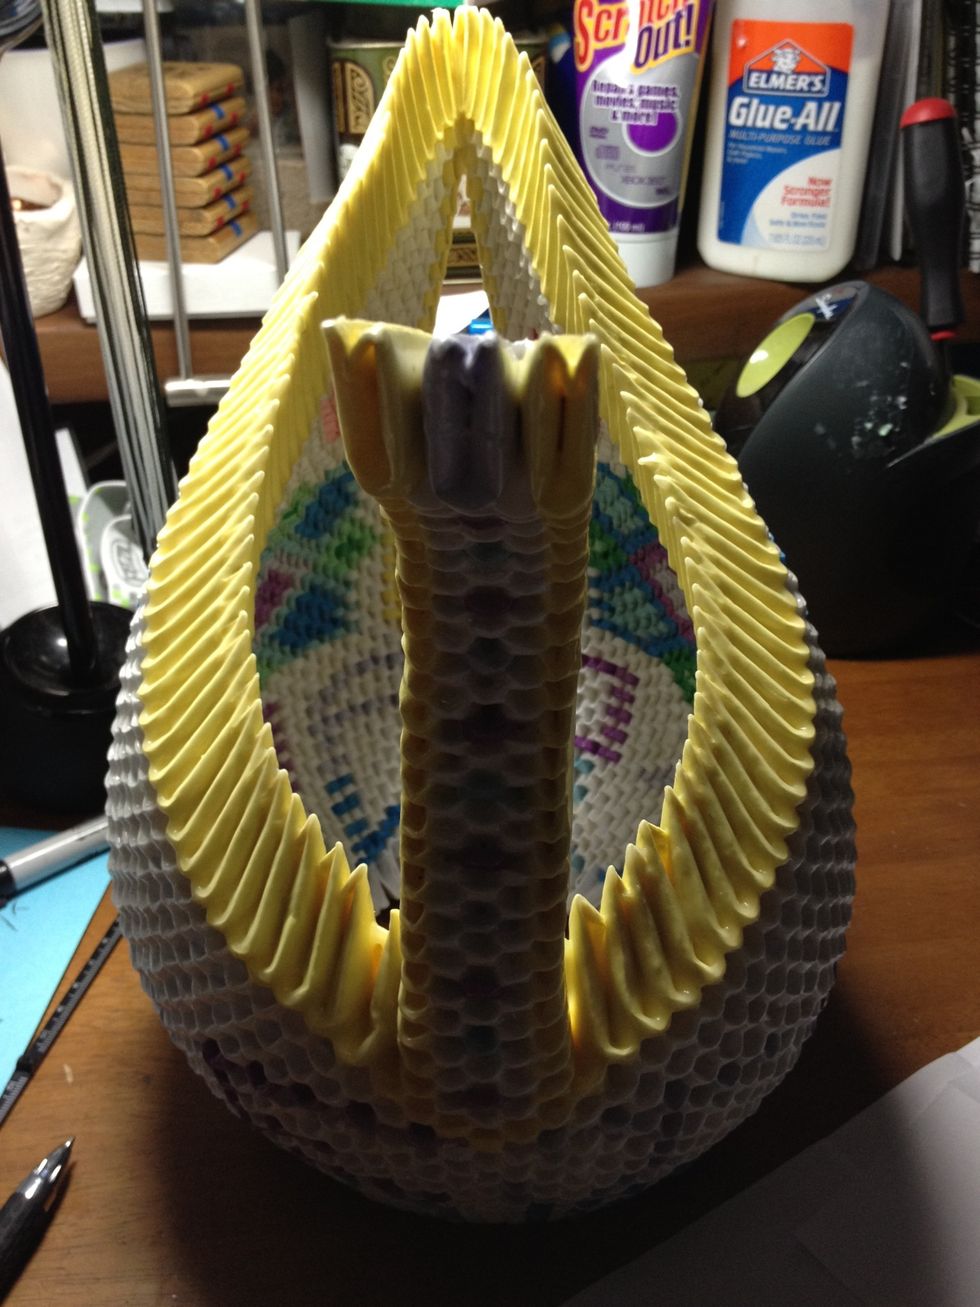
When your base is high enough, you can start building the wings/head/tail.
When building the wings , leave enough room (about 3 pieces each) for the head and tail. You can add color to the wings to give it a border.
The bottom row will have the most amount of pieces. As you ascend up the wings, every two rows will contain the same number of pieces. (so if the bottom had 15, then the next two rows would have 14).
As you build the wings, every even layer will contain an end piece that is one short. So, every odd layer has a piece that overlaps the piece from the previous layer and the piece from two layers down
Step 21 creates a flat back to the wings of the swan.
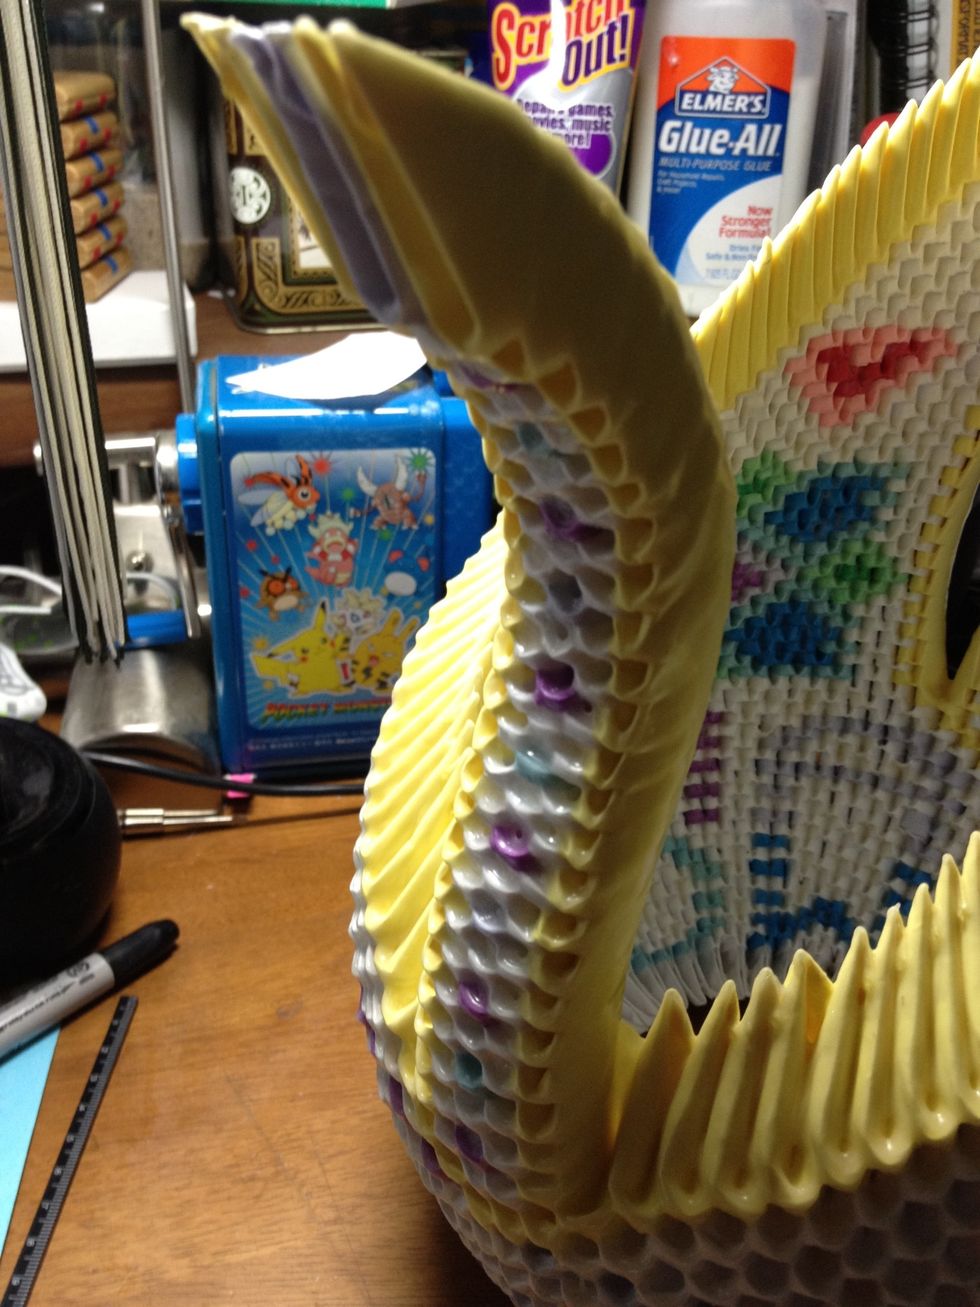
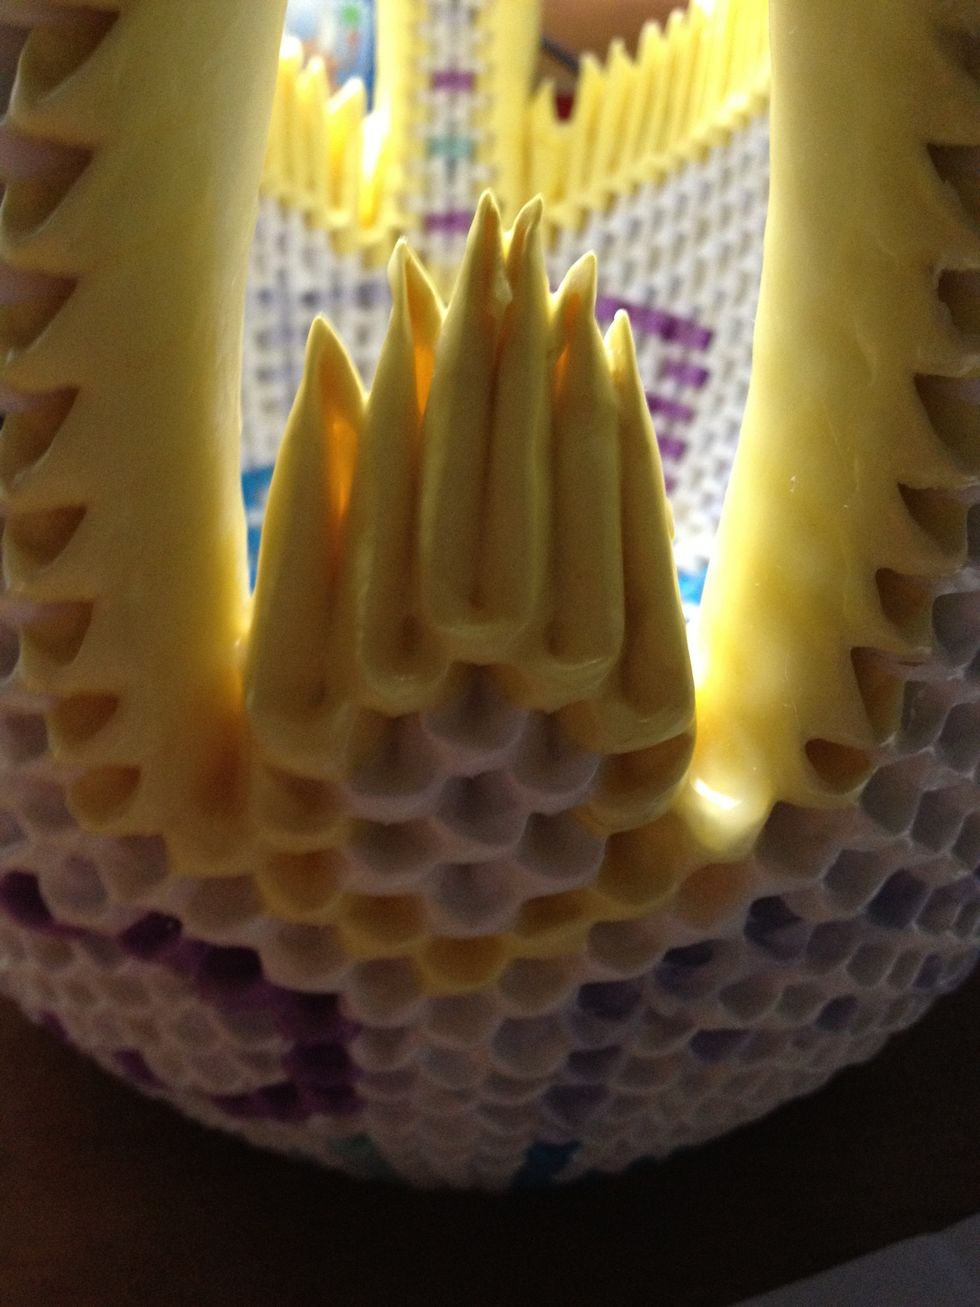
Now for the head. When making the head, it is going to be similar to making the wings, but both ends of the head have the flat side. Fot me, I alternate 3 pieces and 2 pieces.
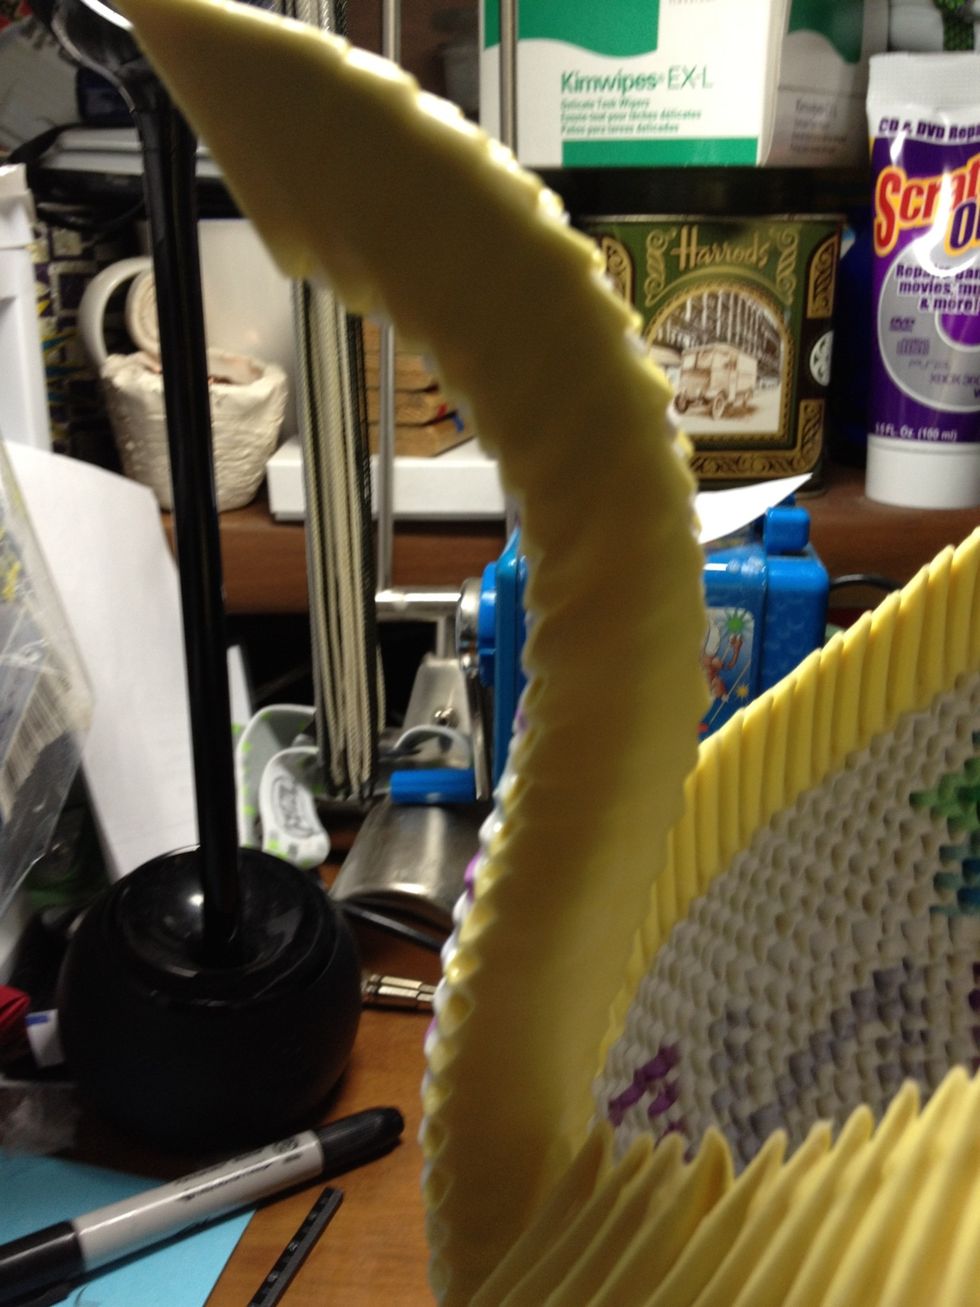
To me, the head is complete when I am able to bend the middle of the head to form that swan head-like shape.
The tail is simple, just put pieces on until you think the tail is proportional to the shape of the swan.
Optional: after my swan has been completed, I take elmers glue and brush it onto the outside of the swan multiple times, and allow it to dry. This creates a tough outside shell. Reduces breaking.
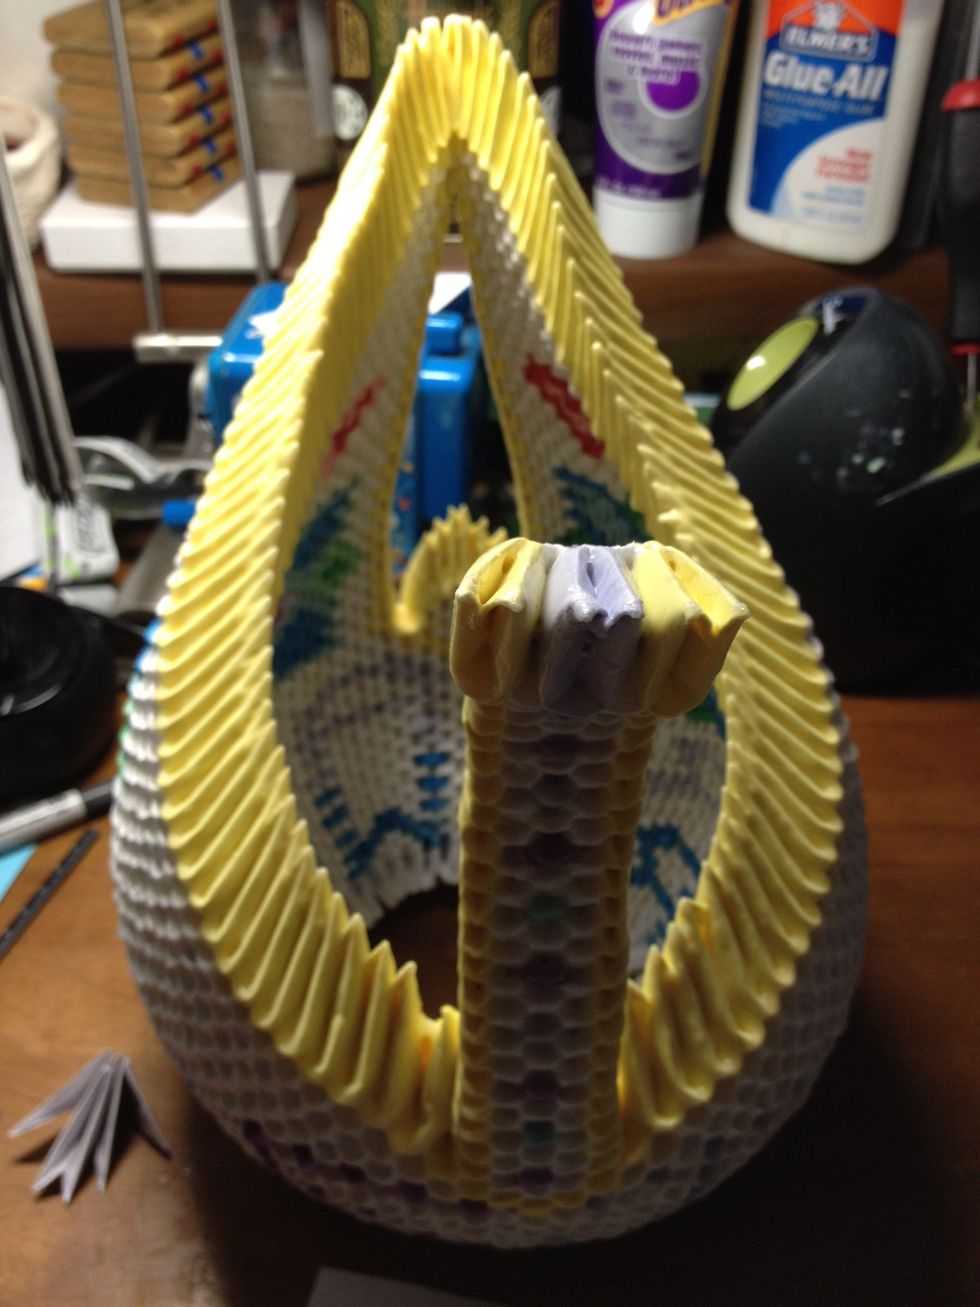
Final product!!
This swan does take a lot of time and effort, but it well worth it at the end.
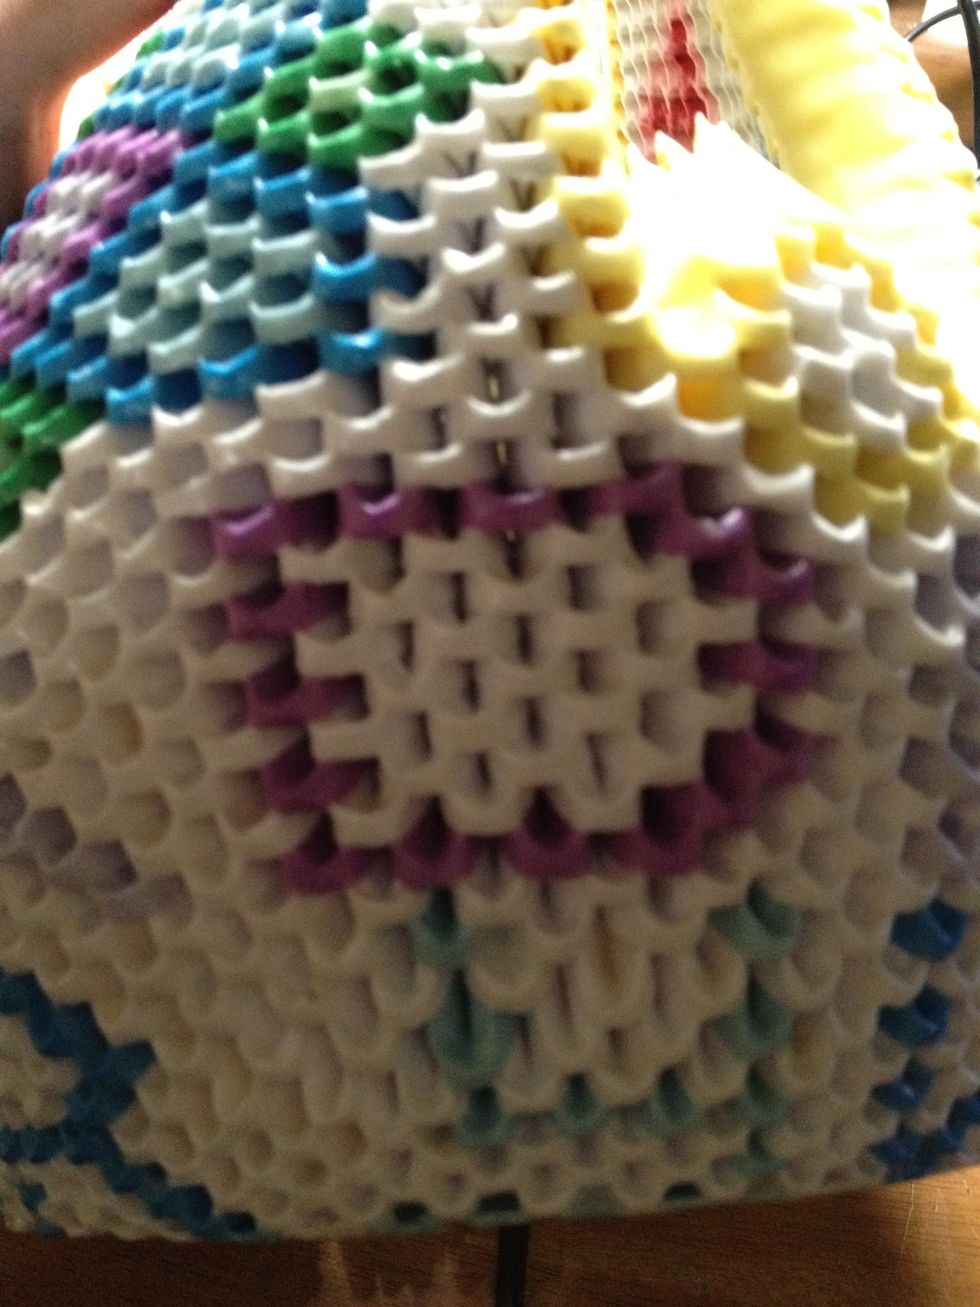
Note: by using color in the swan, you can also spell out words, as shown.