The Conversation (0)
Sign Up
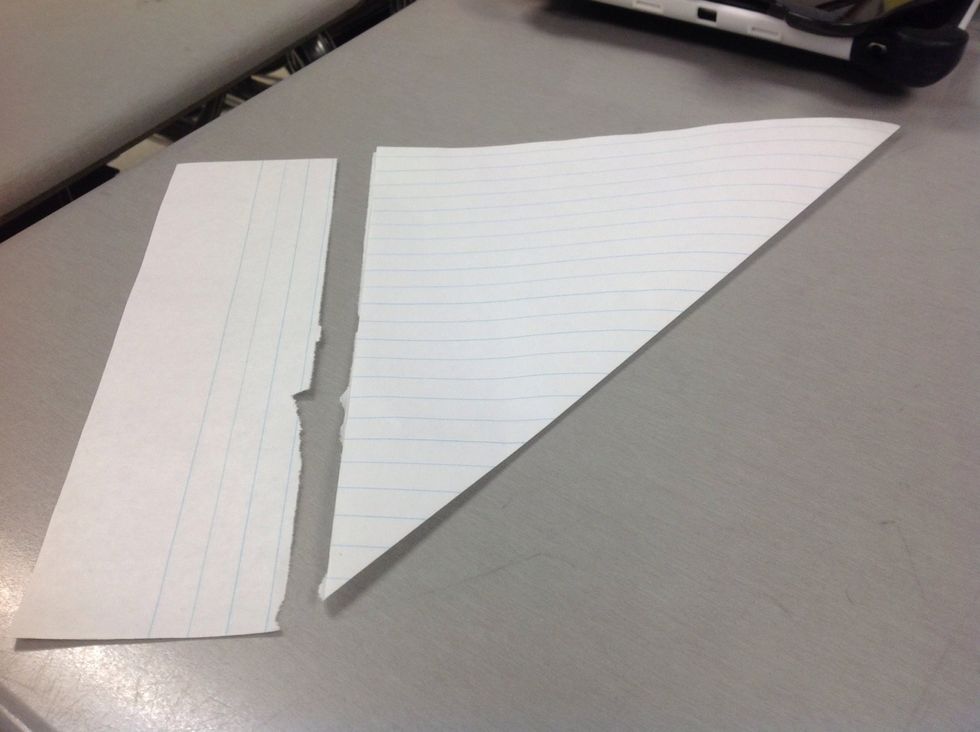
If you don't have a square piece of paper already, take the bottom edge of your rectangular paper and fold it until you make a triangle. Rip off the extra part and recycle - you won't need it.
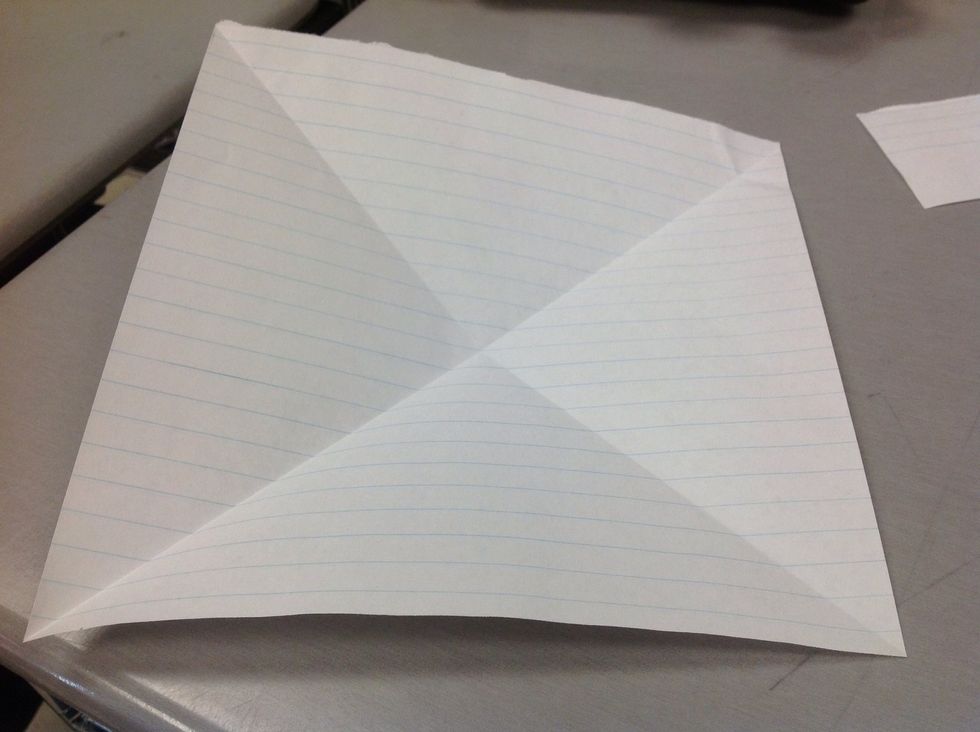
Open up your triangle. There should be one diagonal line connecting two opposite corners of the paper; fold a line perpendicular to this line that cuts across the other two corners and unfold.

Crease the paper in half horizontally and vertically - or, the hamburger and the hotdog way. Unfold.
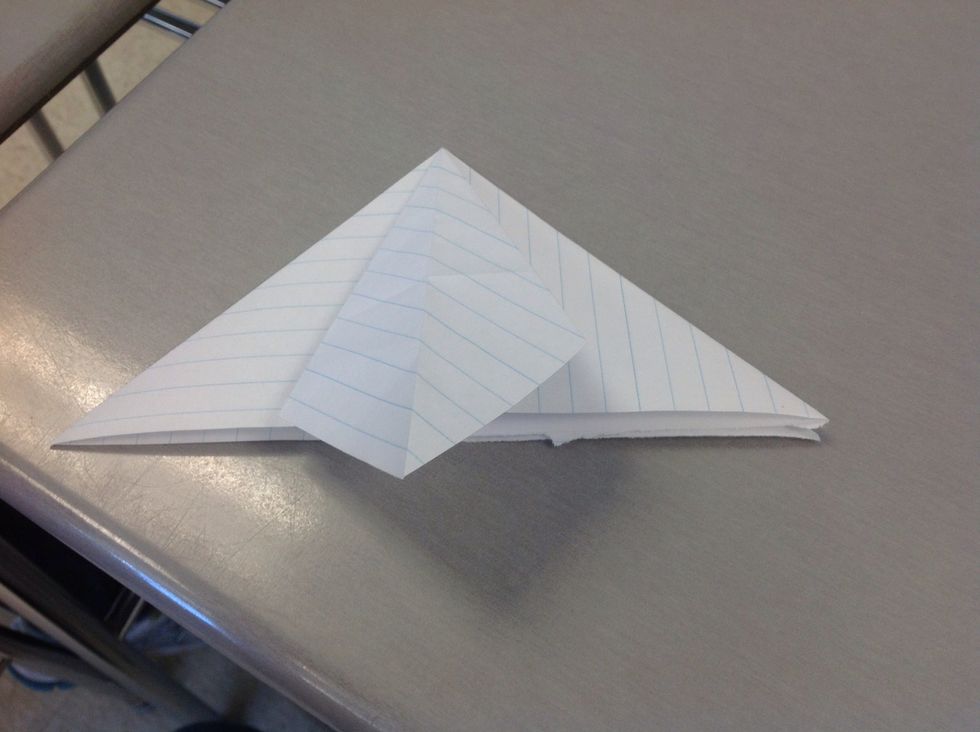
Take one corner of the paper and slowly fold it towards the corner beside it. It should pop into a part triangle-similar-like shape. This is the beginning of what is known as the water bomb base.

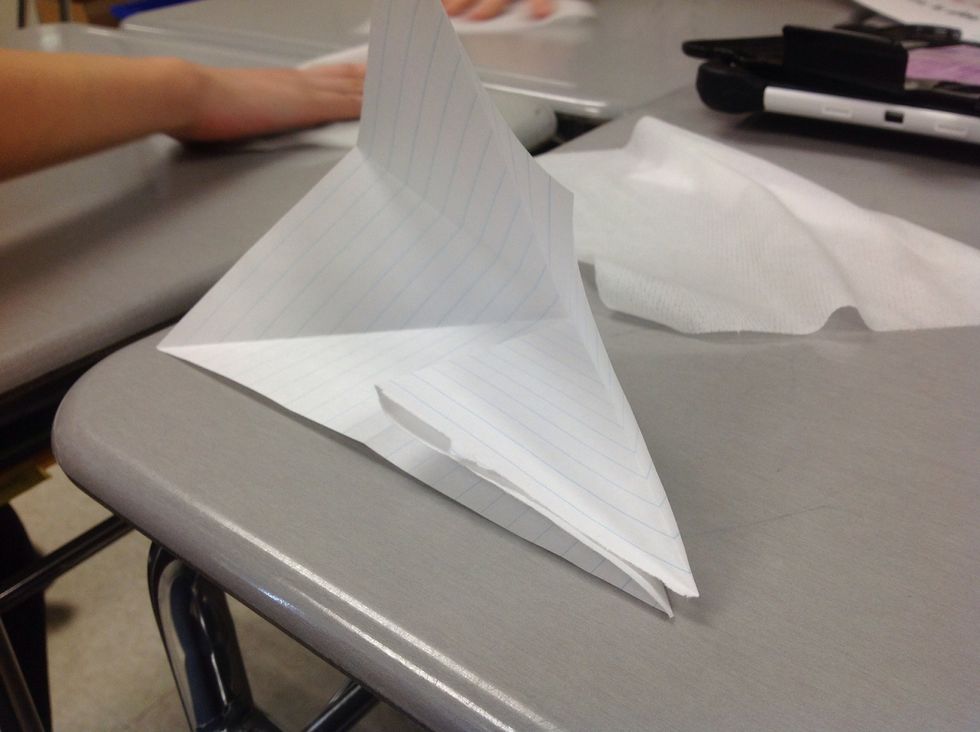
Take the opposite corner and fold it towards your other two overlapping corners-
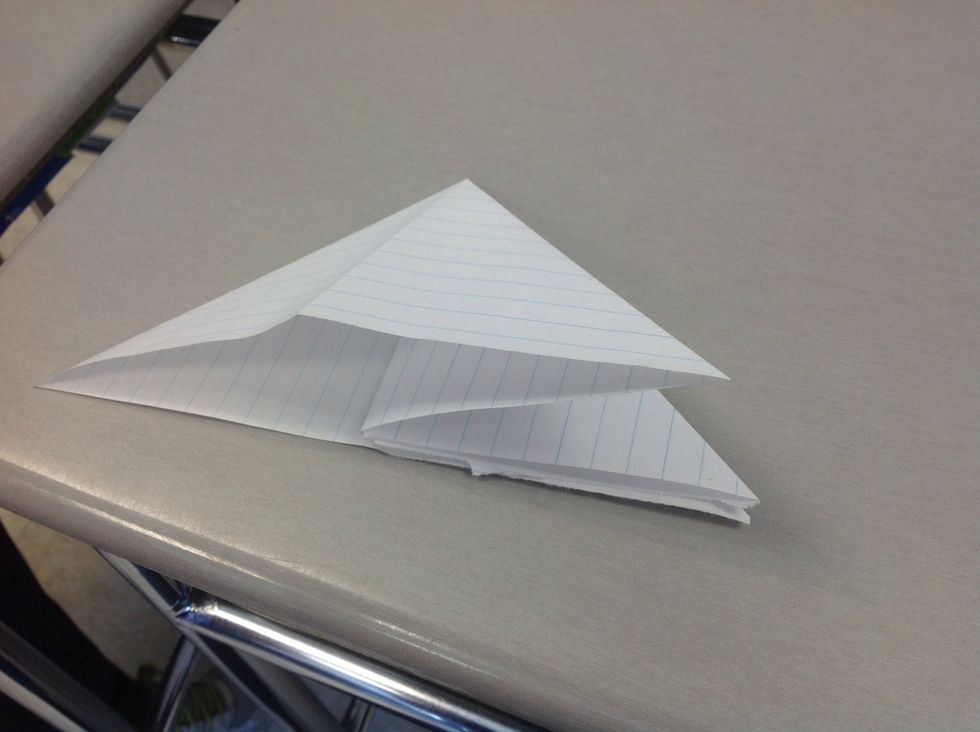
-to complete the water bomb base. By the way, this base comes in handy for lots of other types of origami too.
Pick up one of your corner-pockets, open up the inside, and press down flat so that the line in the middle lines up with the middle line.
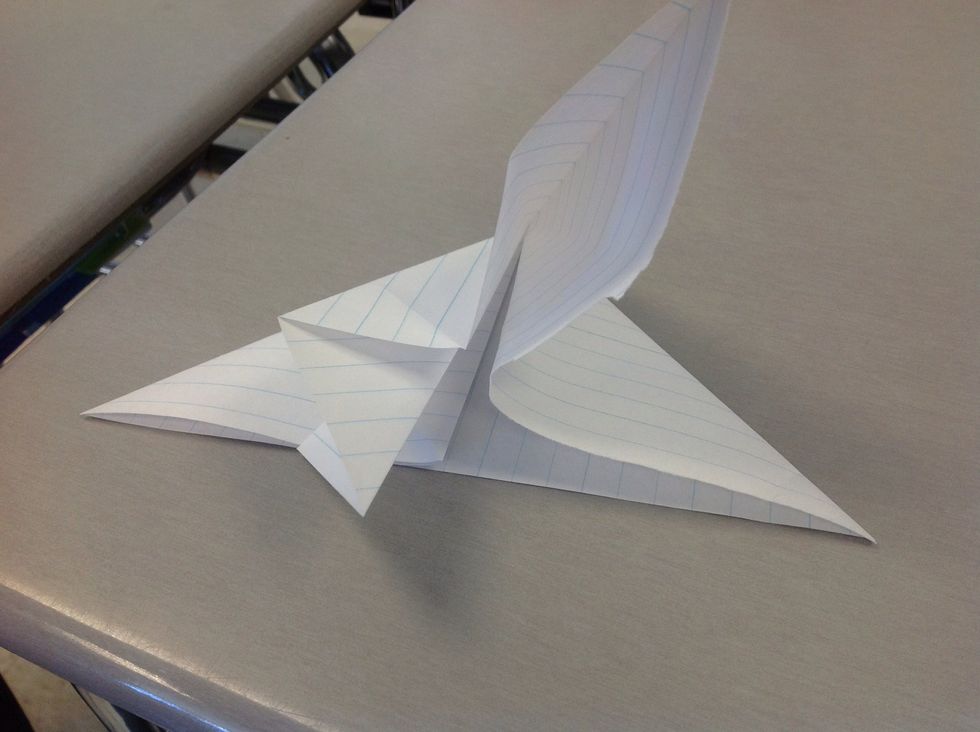
Take the corner to the right and move it over so that it is now in the middle like the other corner was earlier. Your pressed-down-flat corner should look like it is folded in half.
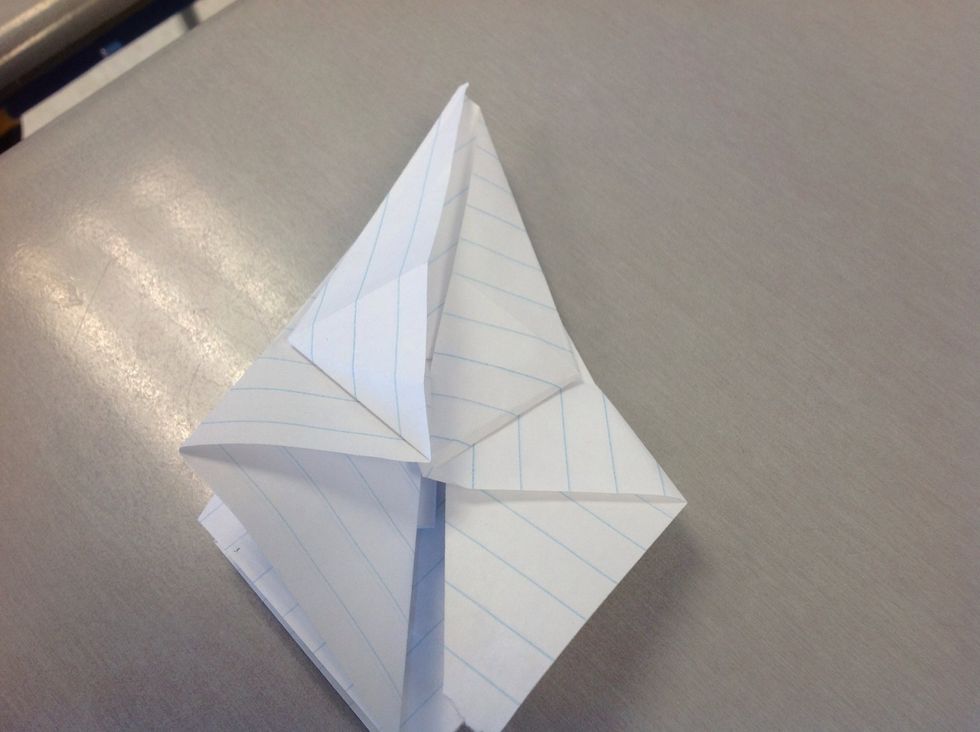
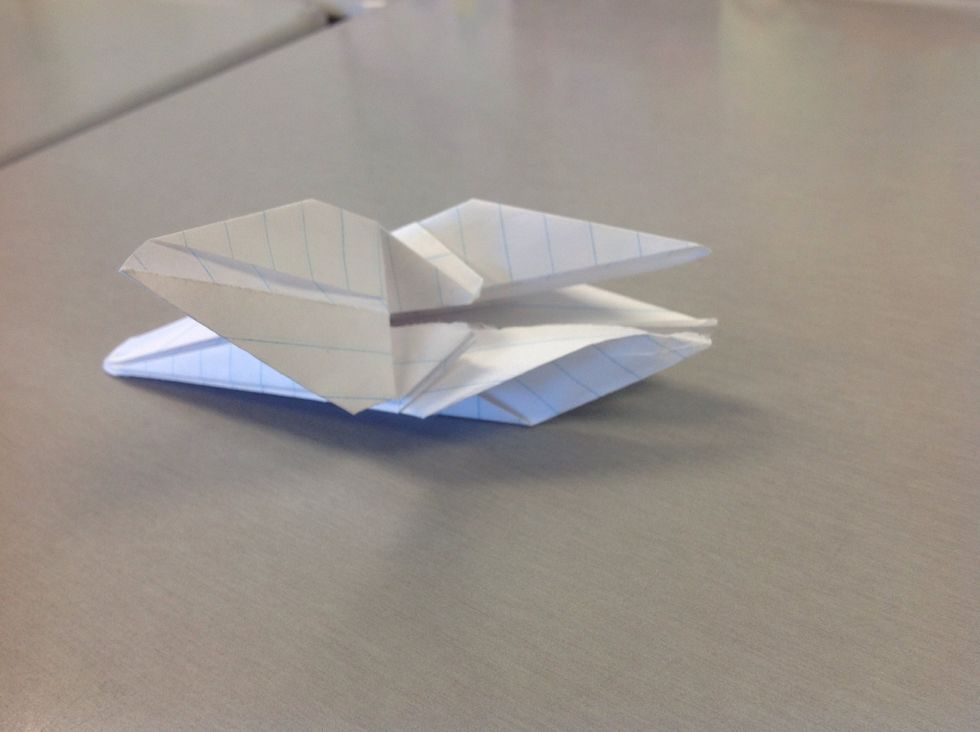
Repeat three more times. You should end up with a diamond (abbreviated as D) shape like this one, with THE LARGER BOTTOM CLOSER TO YOU (make sure it's in this position!).
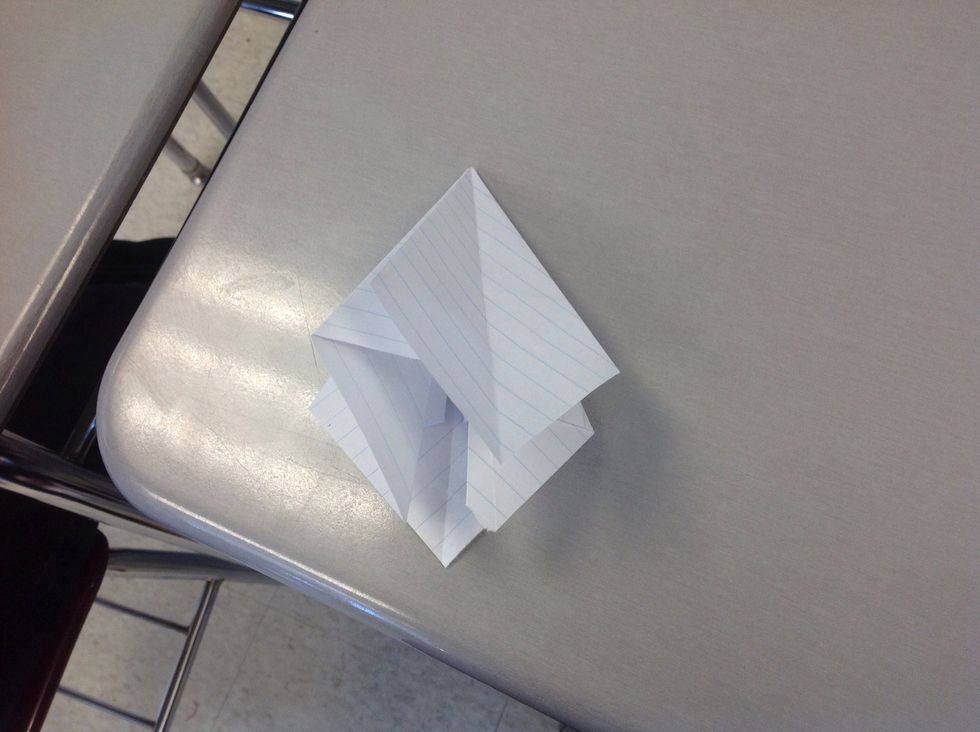
Take the 2 bottom corners of the D (top layer only) and fold them so the edges line up with the center and make triangles. Unfold, then take the top (the whole thing) and fold to the bottom. Unfold.
Stick your finger into the middle of the flap and pry the flap open; fold it so it hits the top of the D and press flat. This is called as squash fold.

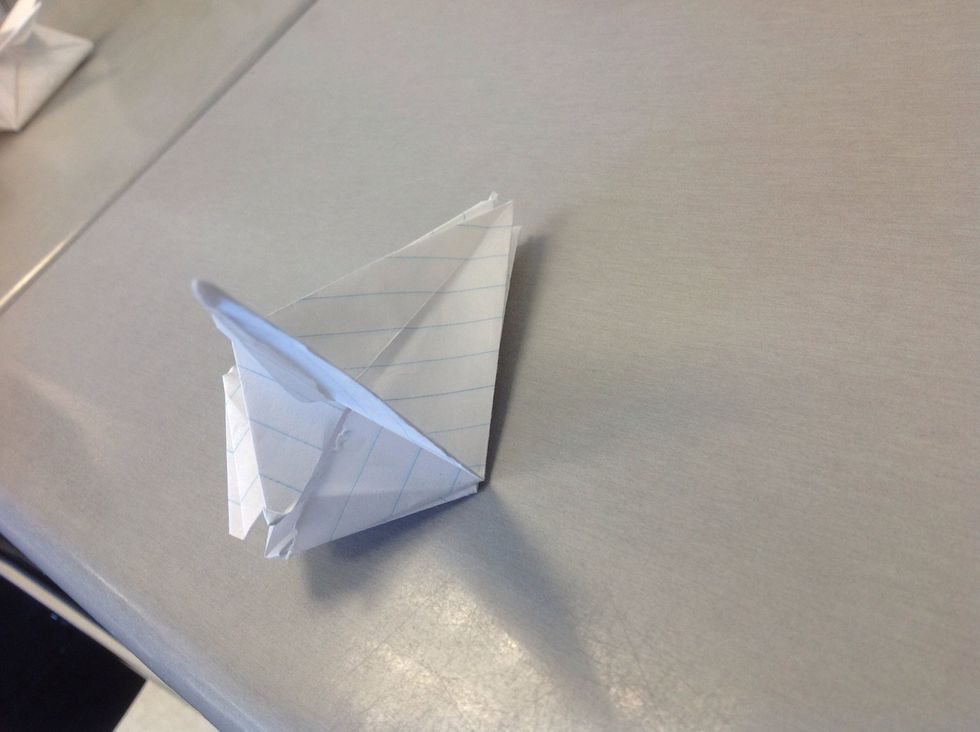
Repeat three more times to get a smaller diamond.
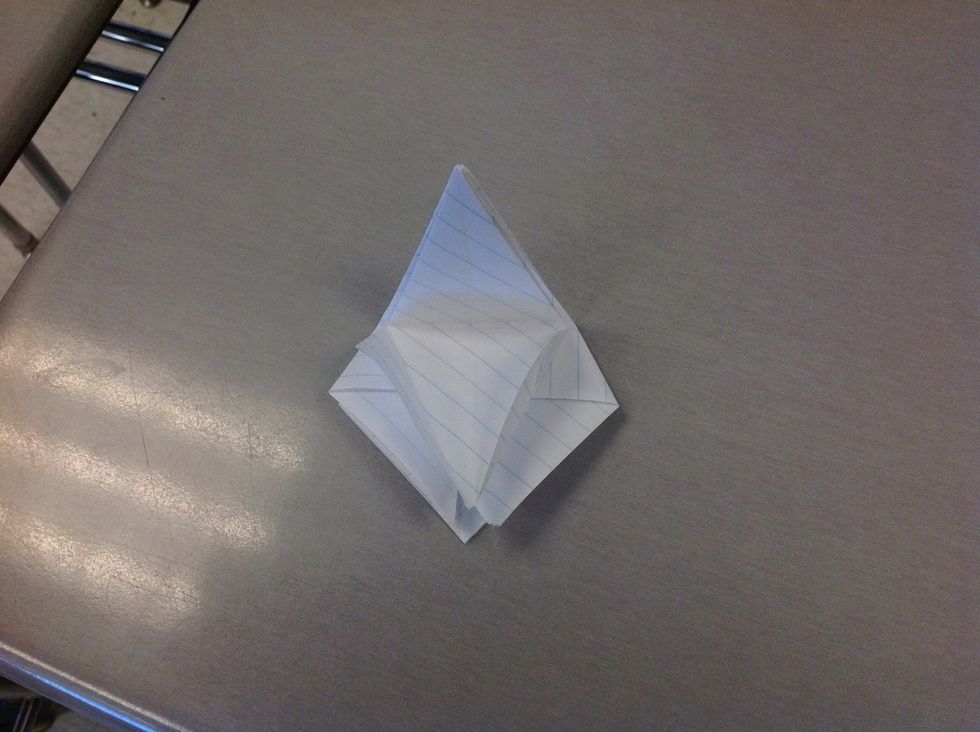
Turn the D around - peel apart the flap and fold it downwards.
Repeat on the three other sides.

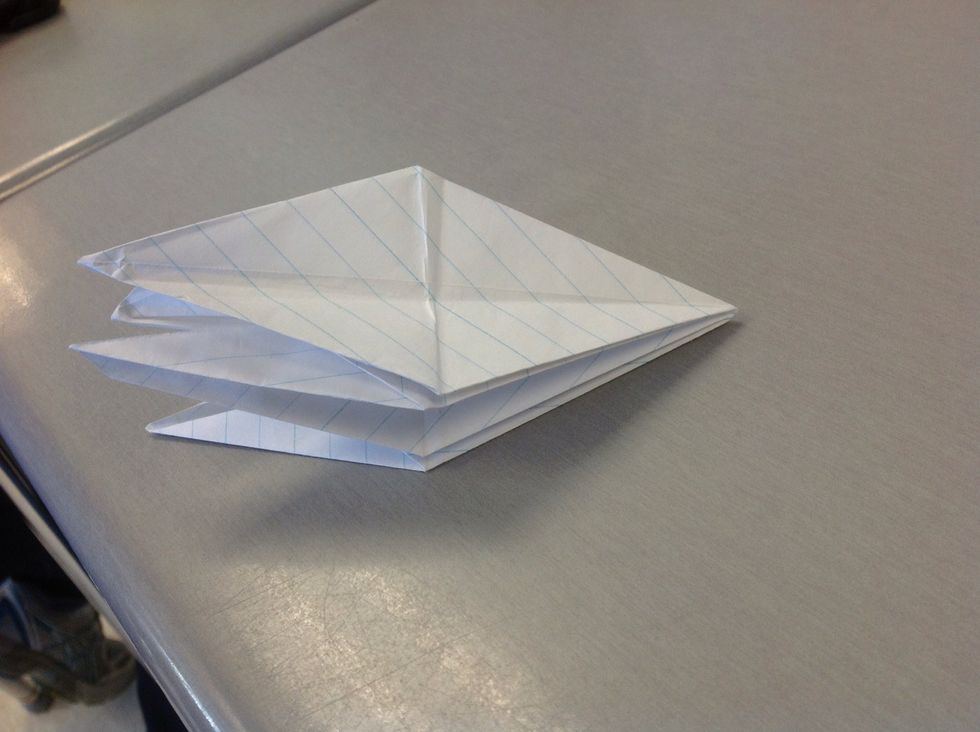
Making sure the open part is AT THE TOP, take the two sides and fold them so that they line up with the center of the D. They should form two skinny triangles.
Repeat the previous step three more times on the rest of the sides.
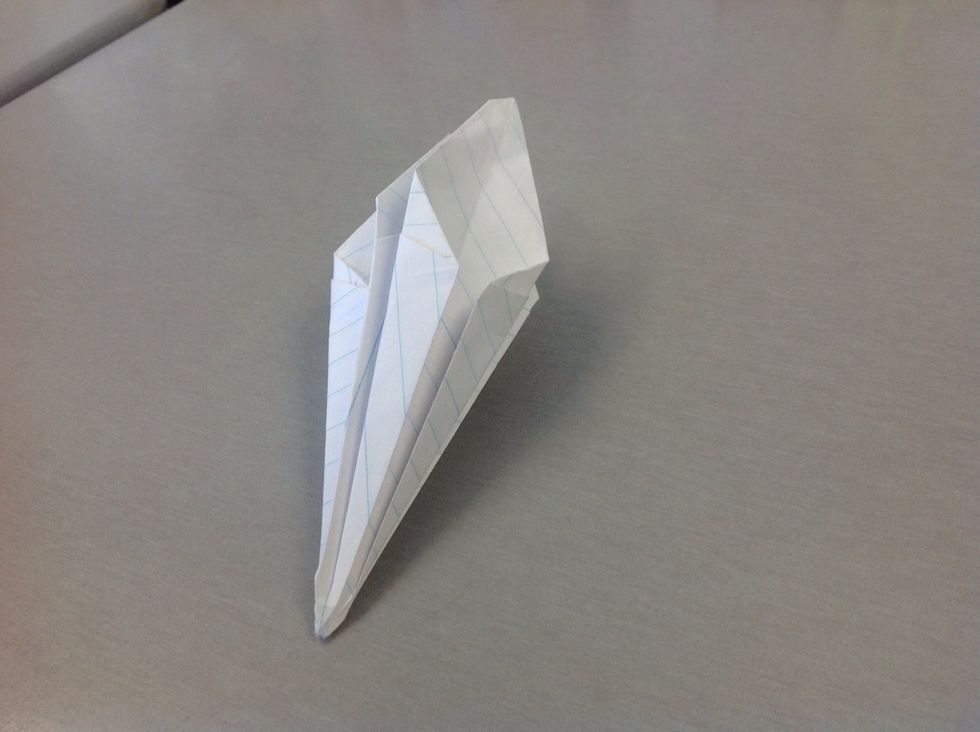
Almost done! Take the top of the open part of one of the sides and fold down midway to form petals. Repeat on the other three sides.
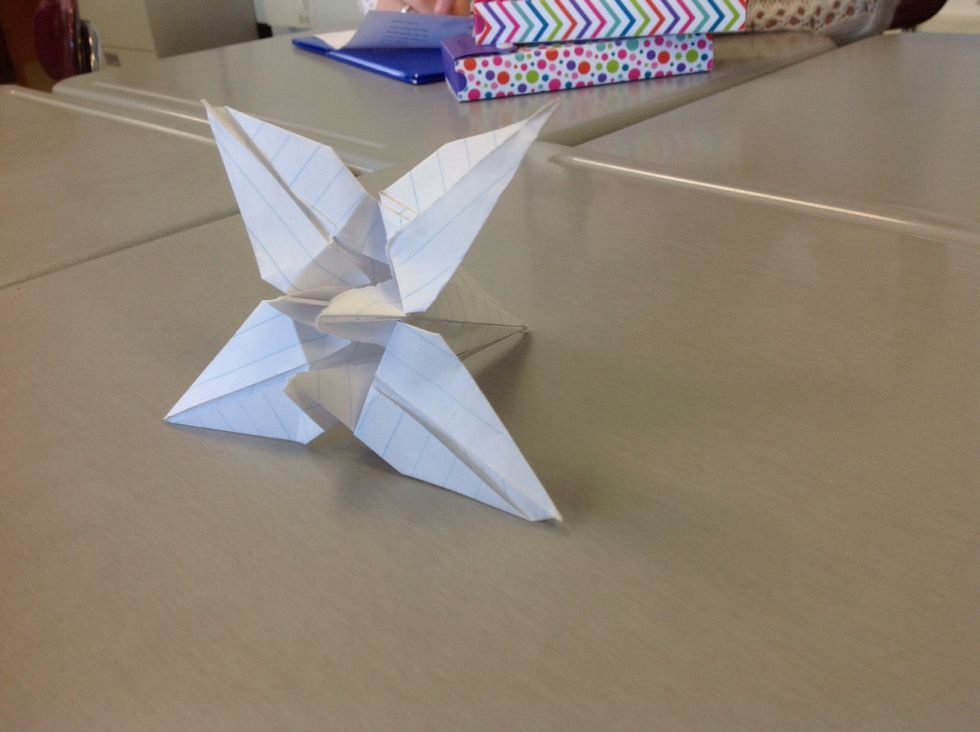
Hooray! Your beautiful (hopefully) origami lily is complete! Keep, give, share, make; it's yours to decide what to do with! :)