The Conversation (0)
Sign Up
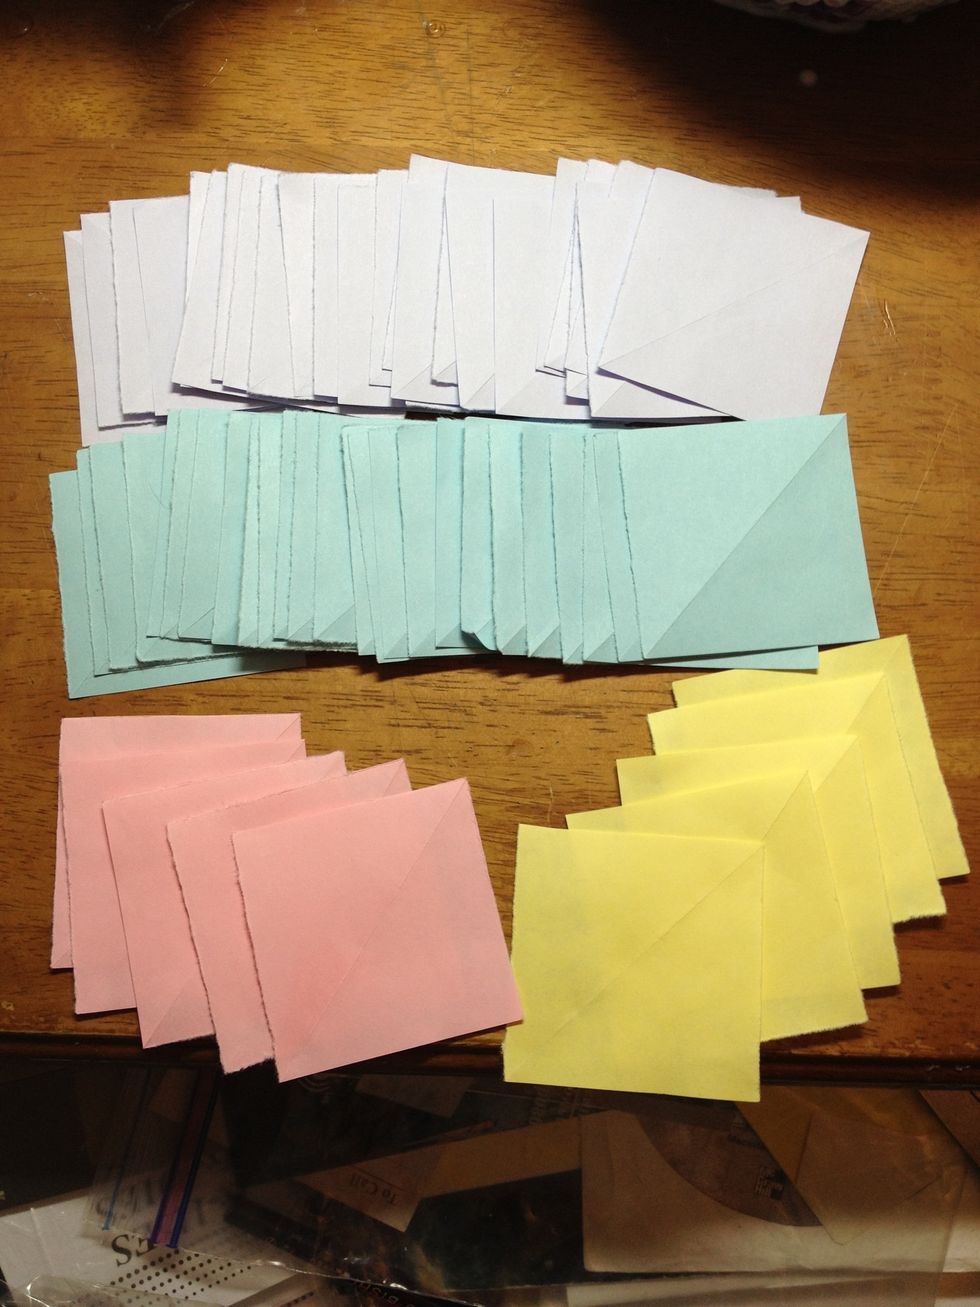
Start off with 60 pieces of paper of equal size. (you may make the pieces bigger or smaller, as you wish). These were cut from 8.5 x 11 pieces of colored paper, folded 4x4.
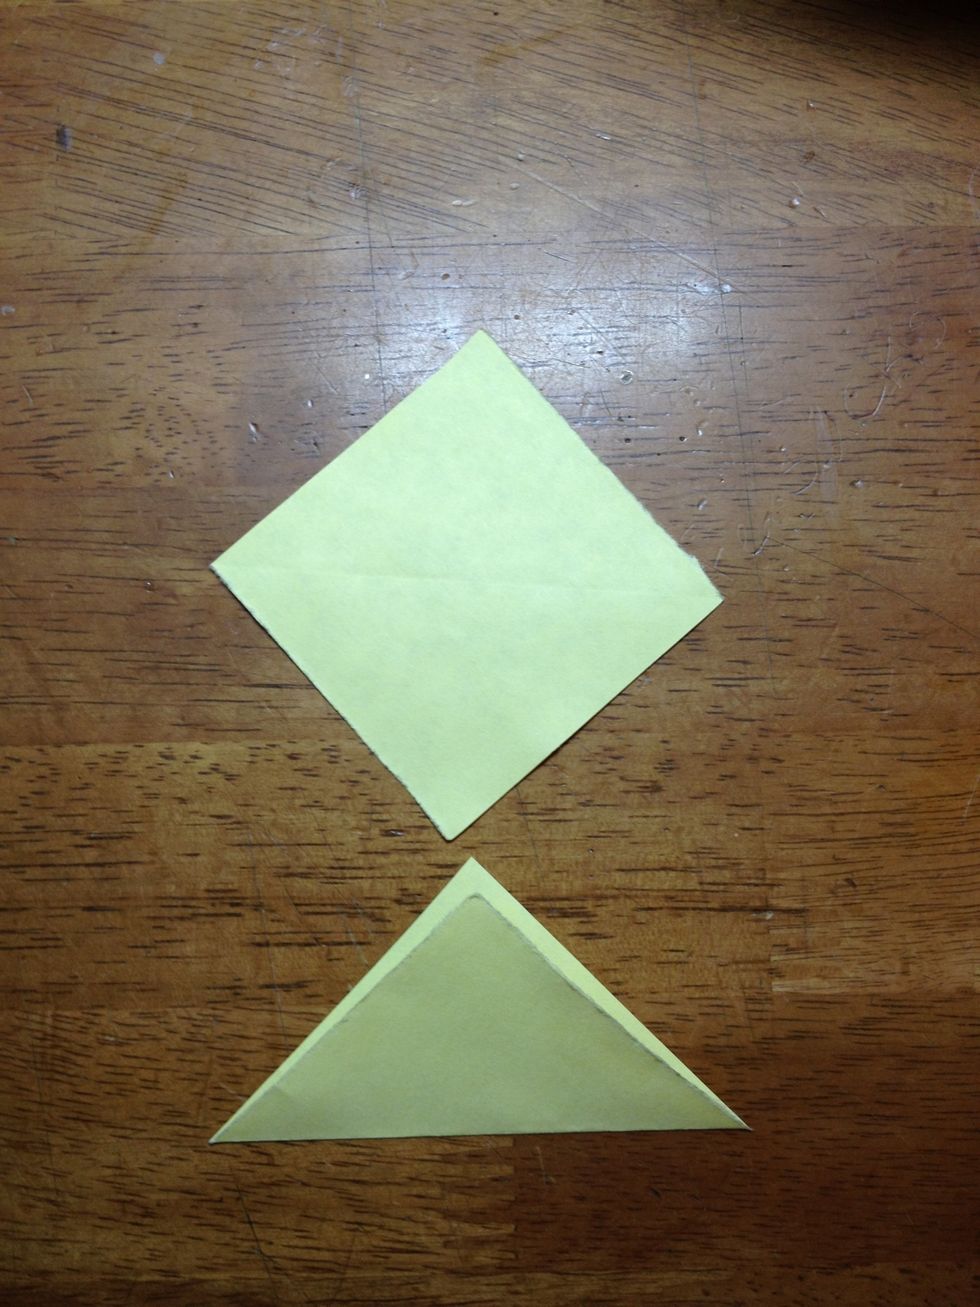
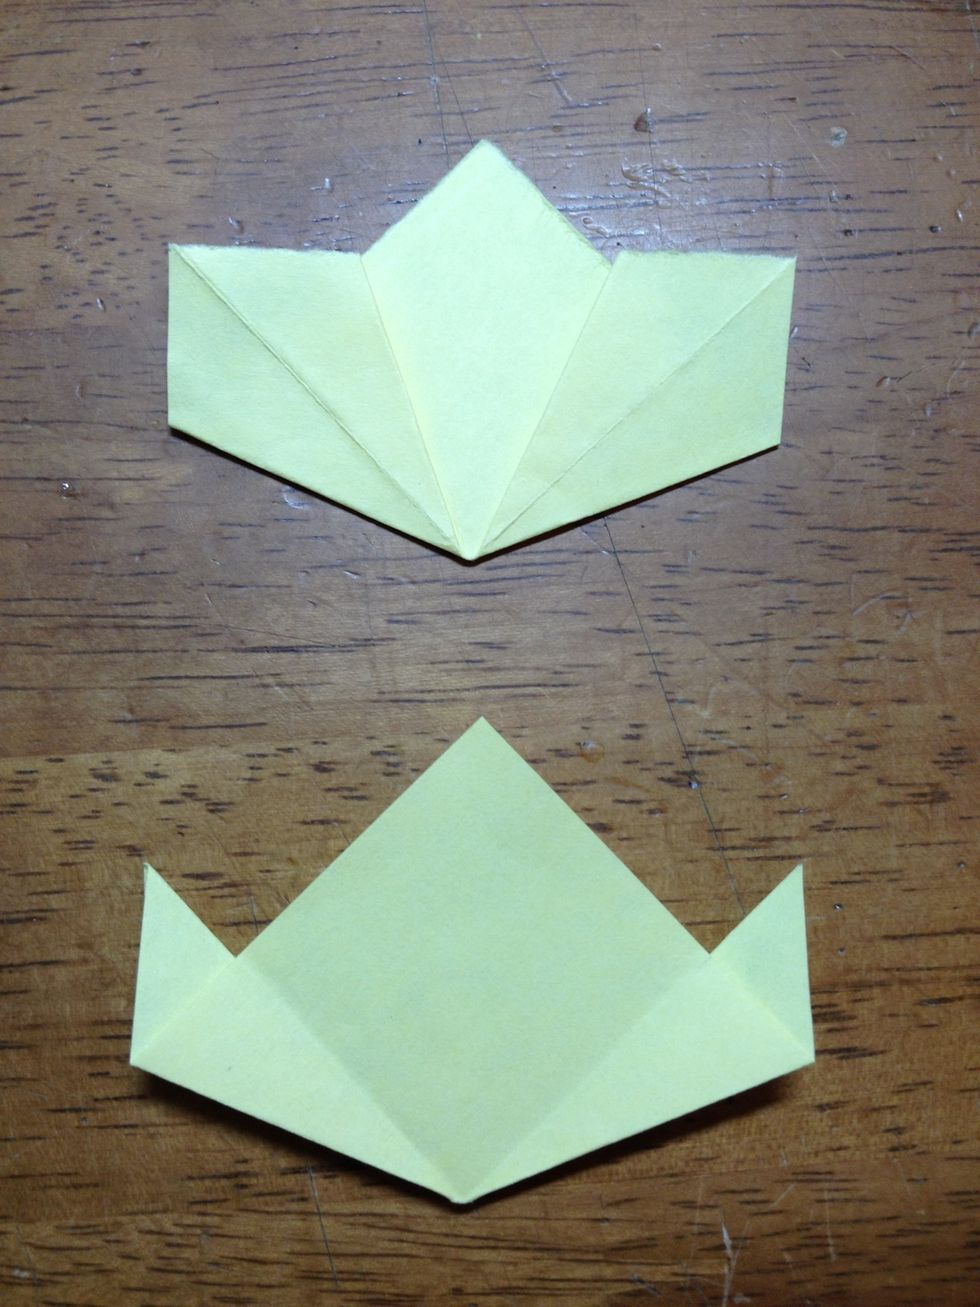
Next, take one of your 60 pieces and folded it so that one point of the square touches the other point, like the pic above.
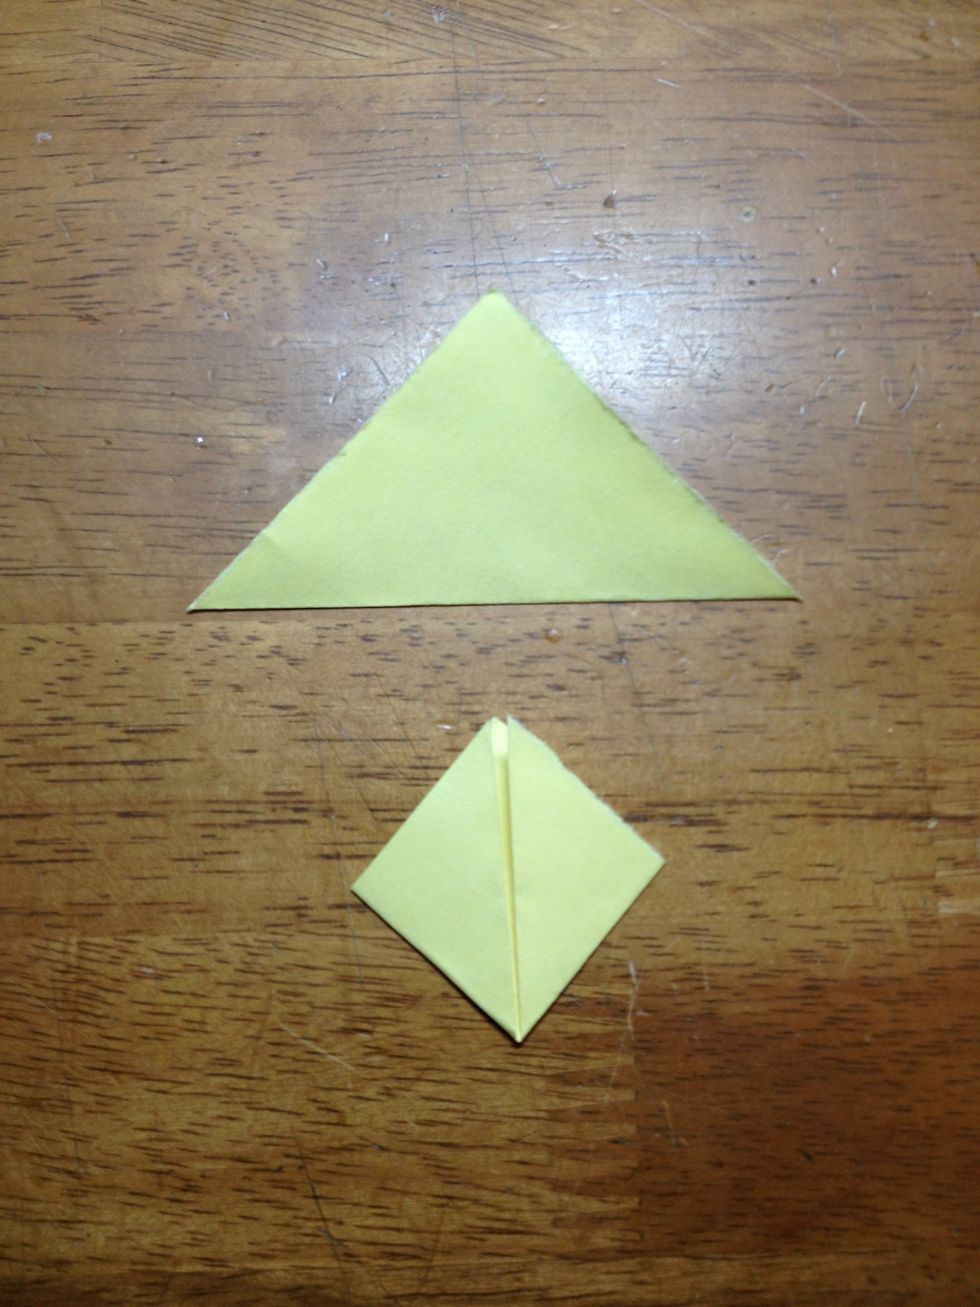
Next, fold the two outside corners towards the top corner, forming flaps.
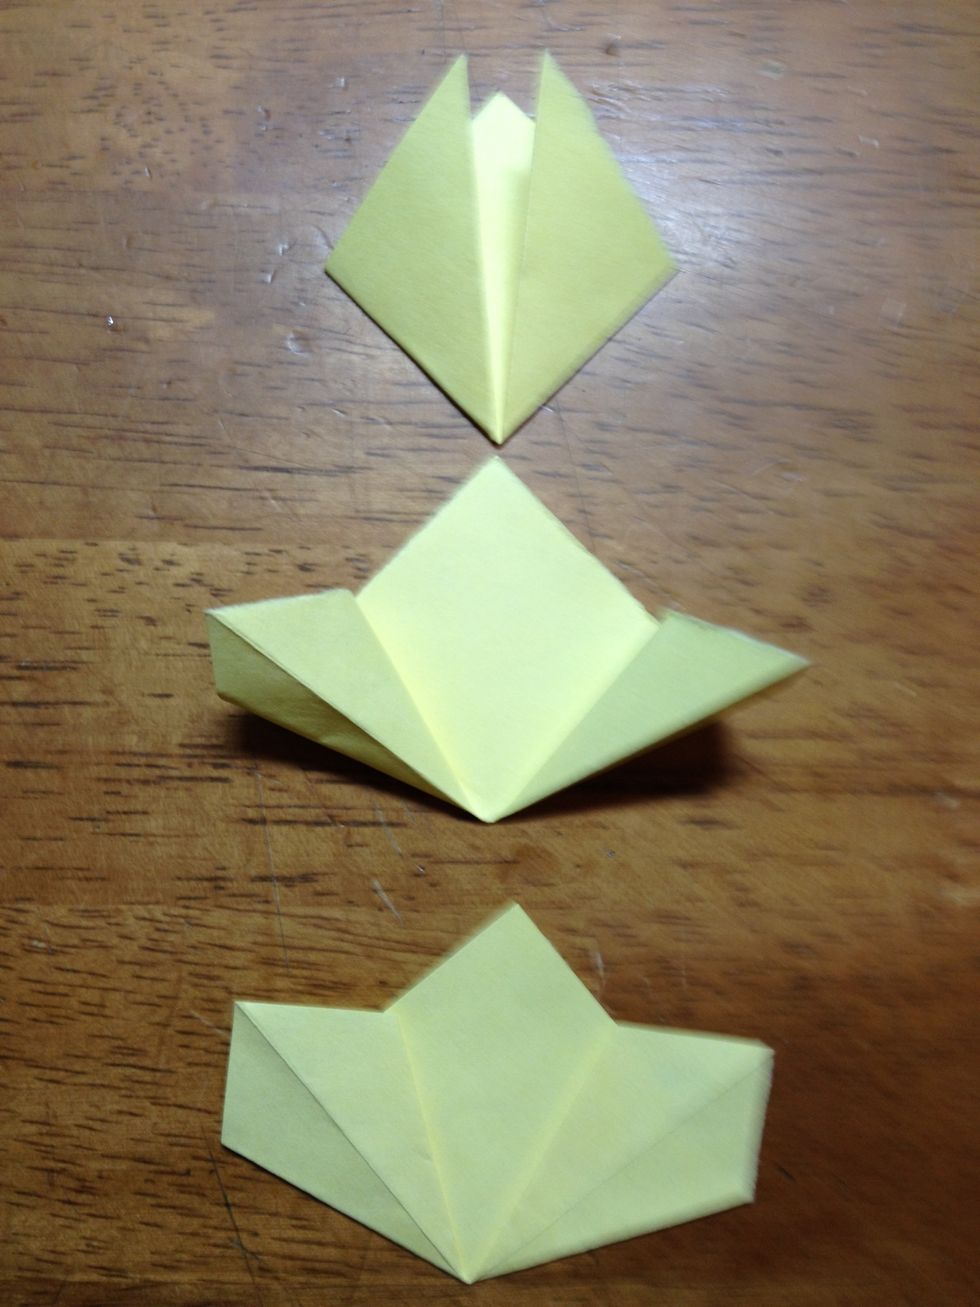
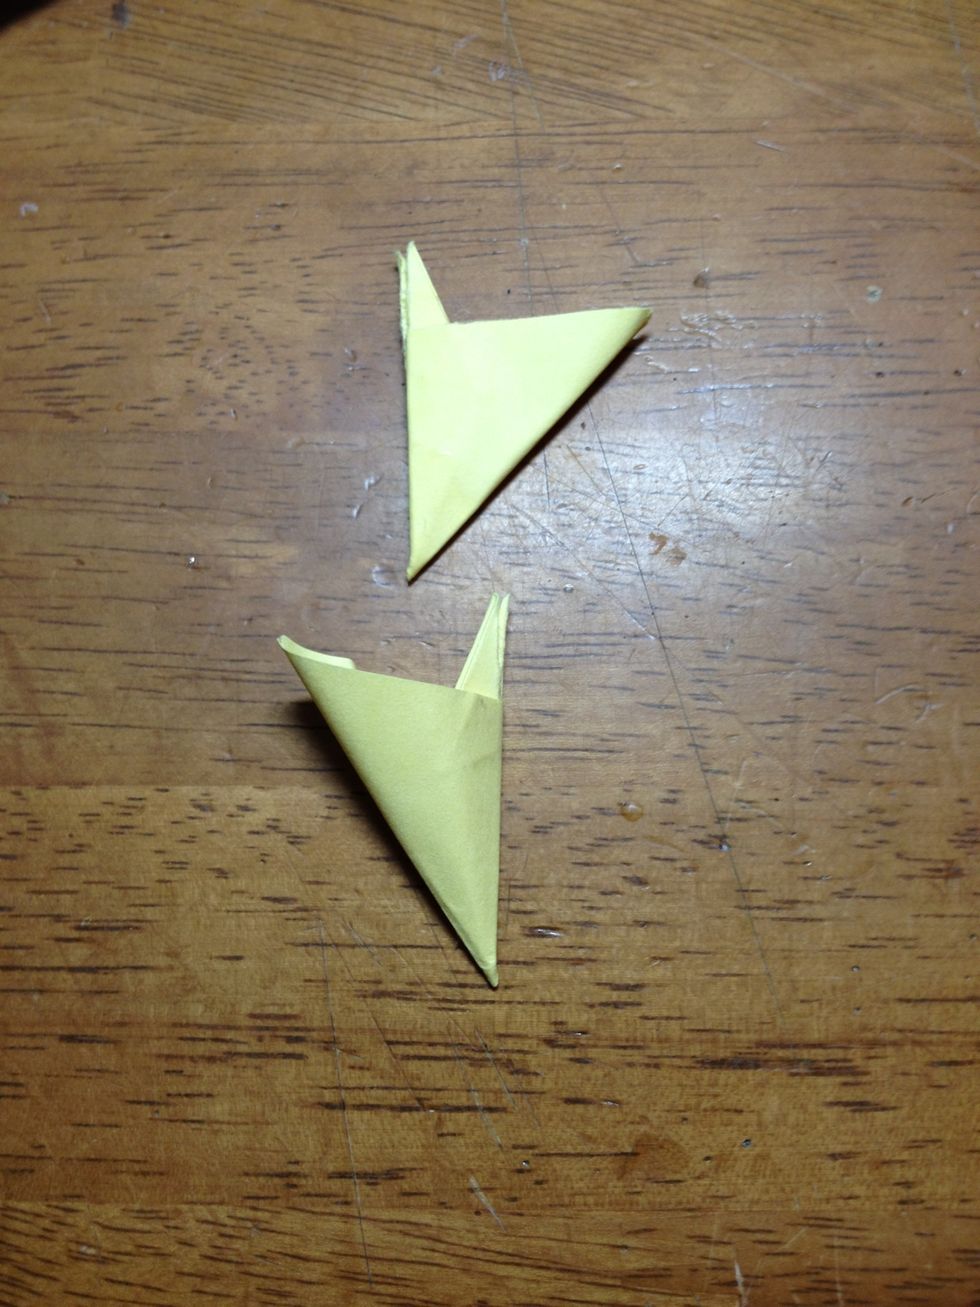
Next, open up both flaps, so that they look like the second model. Once they are open, push the flaps down so that they are flat and that the corners of the flaps line up with the back piece.
Next, fold the outer flaps in half, so that they look like the bottom model.
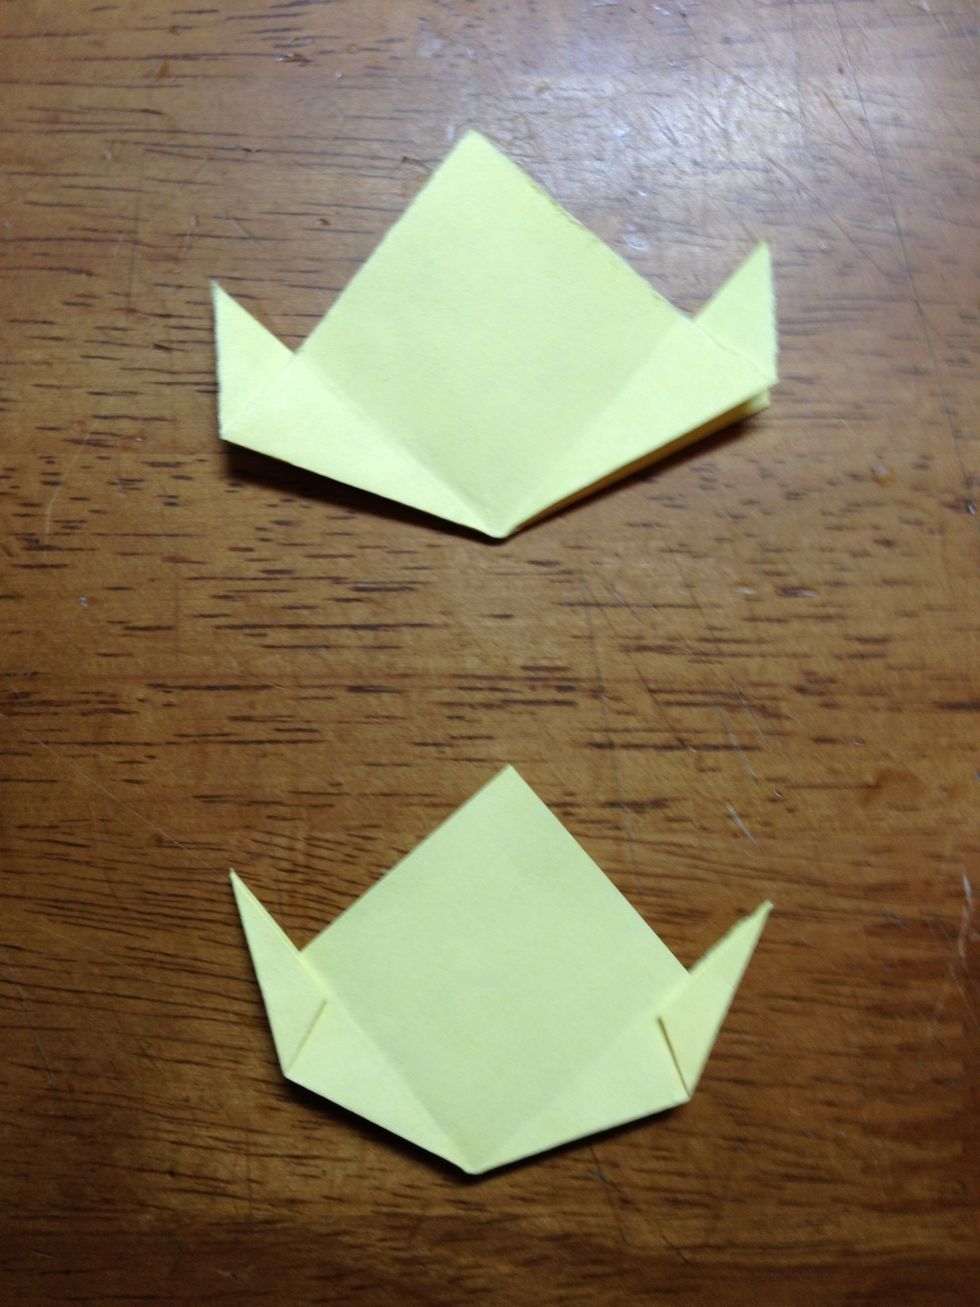
Next, fold the in the out flaps toward the middle (where you had folded that flap in half) on both sides so that it looks like the bottom model.
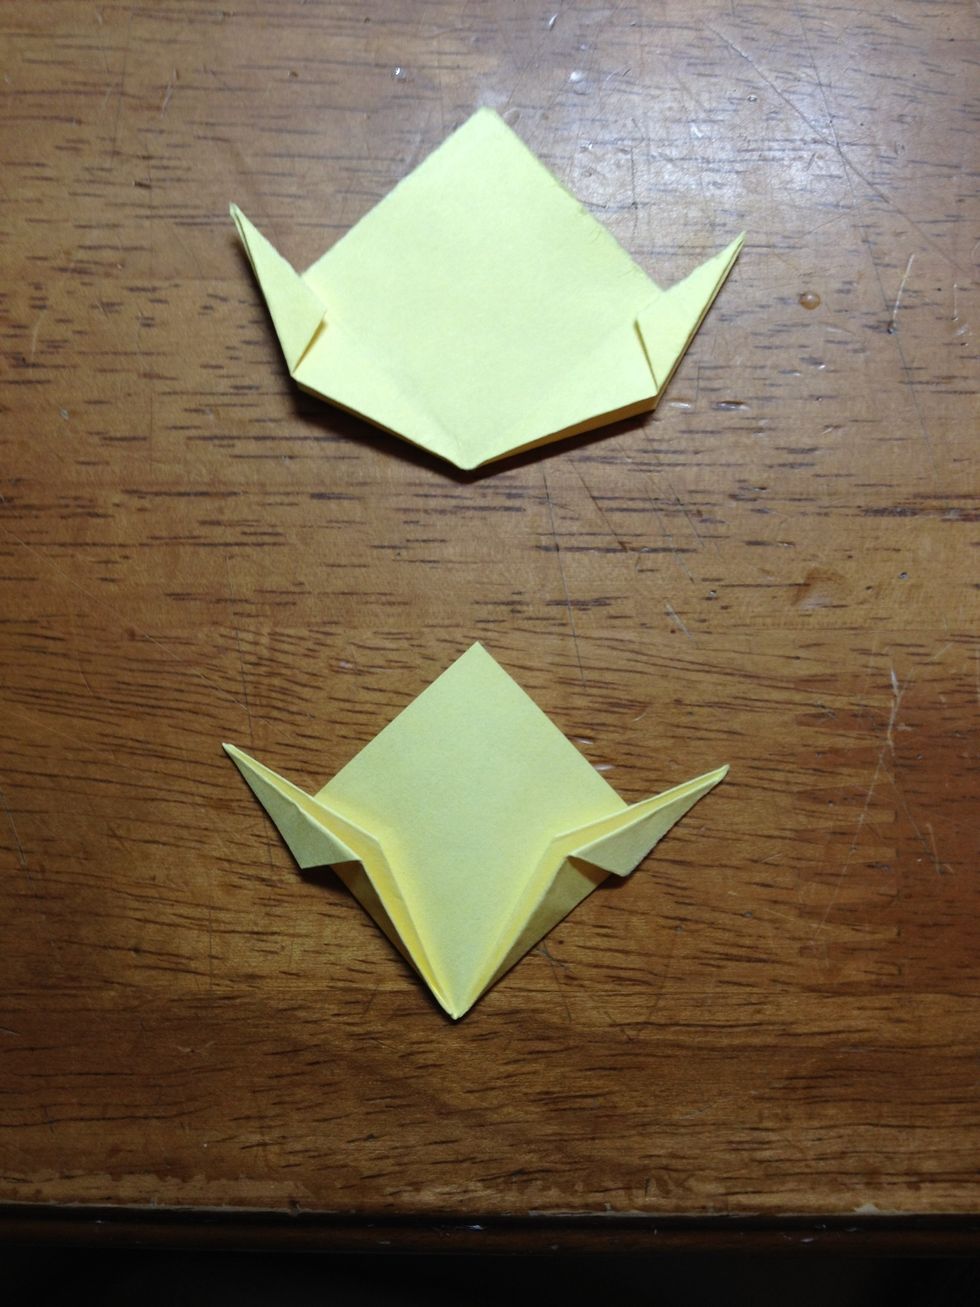
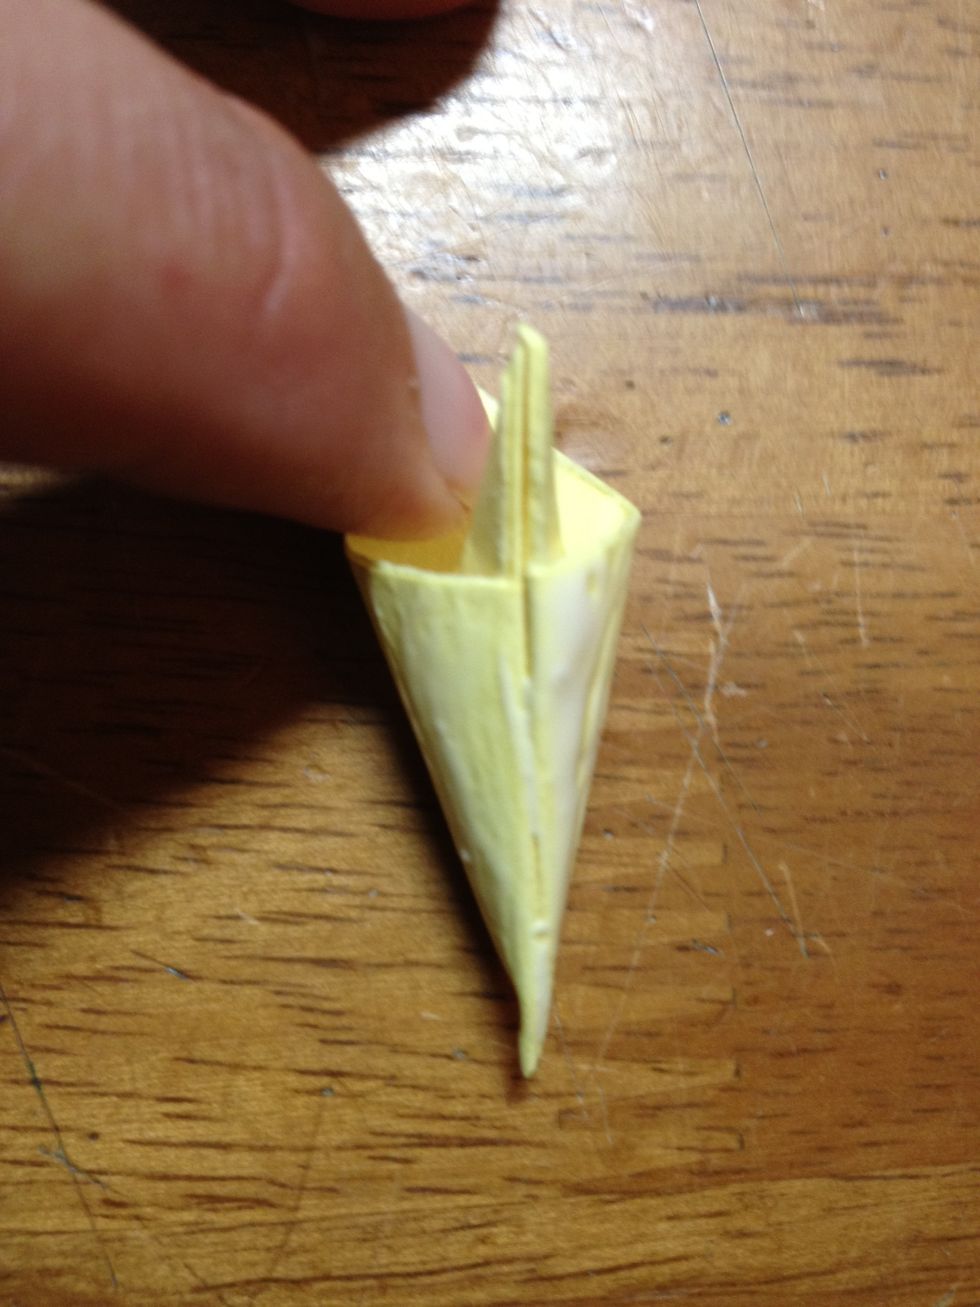
Next, fold in both flaps completely towards the middle of the piece.
Repeats steps 2 thru 7 until all 60 pieces are finished.
Once all 60 pieces have been folded, you can begin putting the petals together.
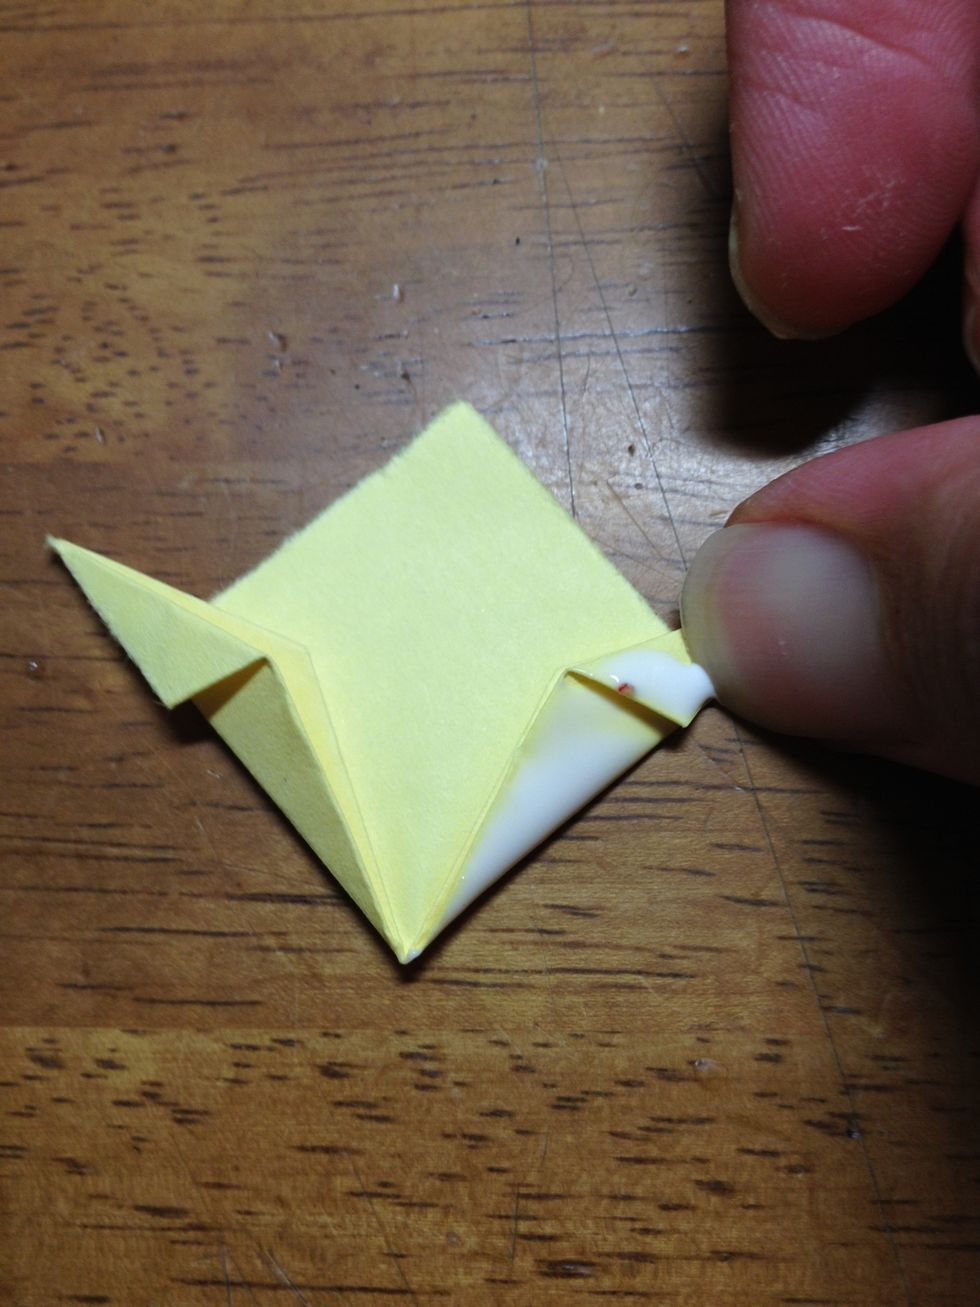
Glue the inner flap using either a toothpick or a cotton swab, or even a paint brush would work.
Next, bring both flaps together and press hard so that the glue sticks to both sides. Once that is done, push the center part to open up the back creating a flower petal.
Repeat steps 10 & 11 until all 60 petals have been made.
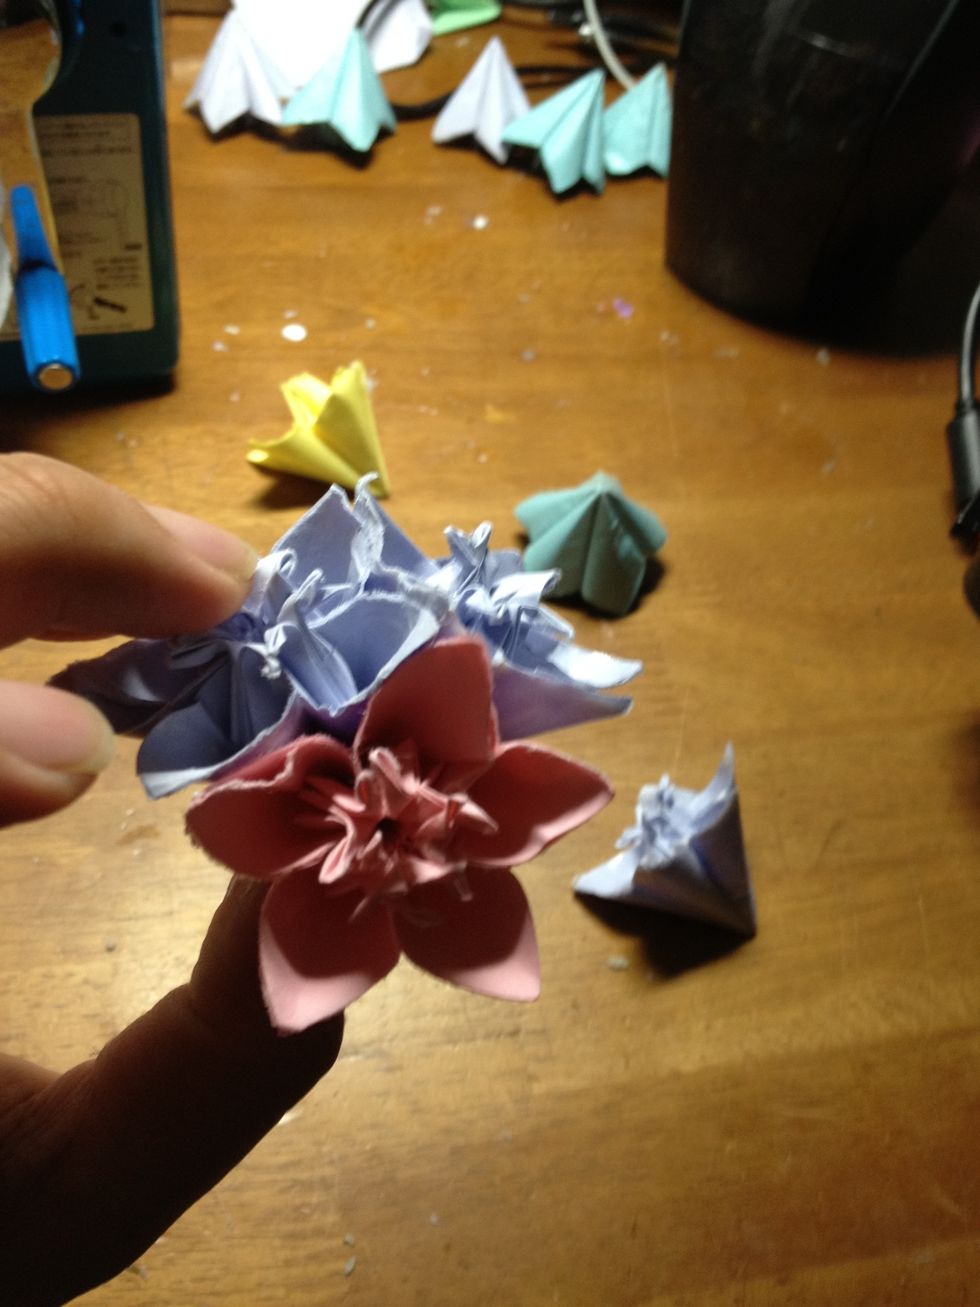
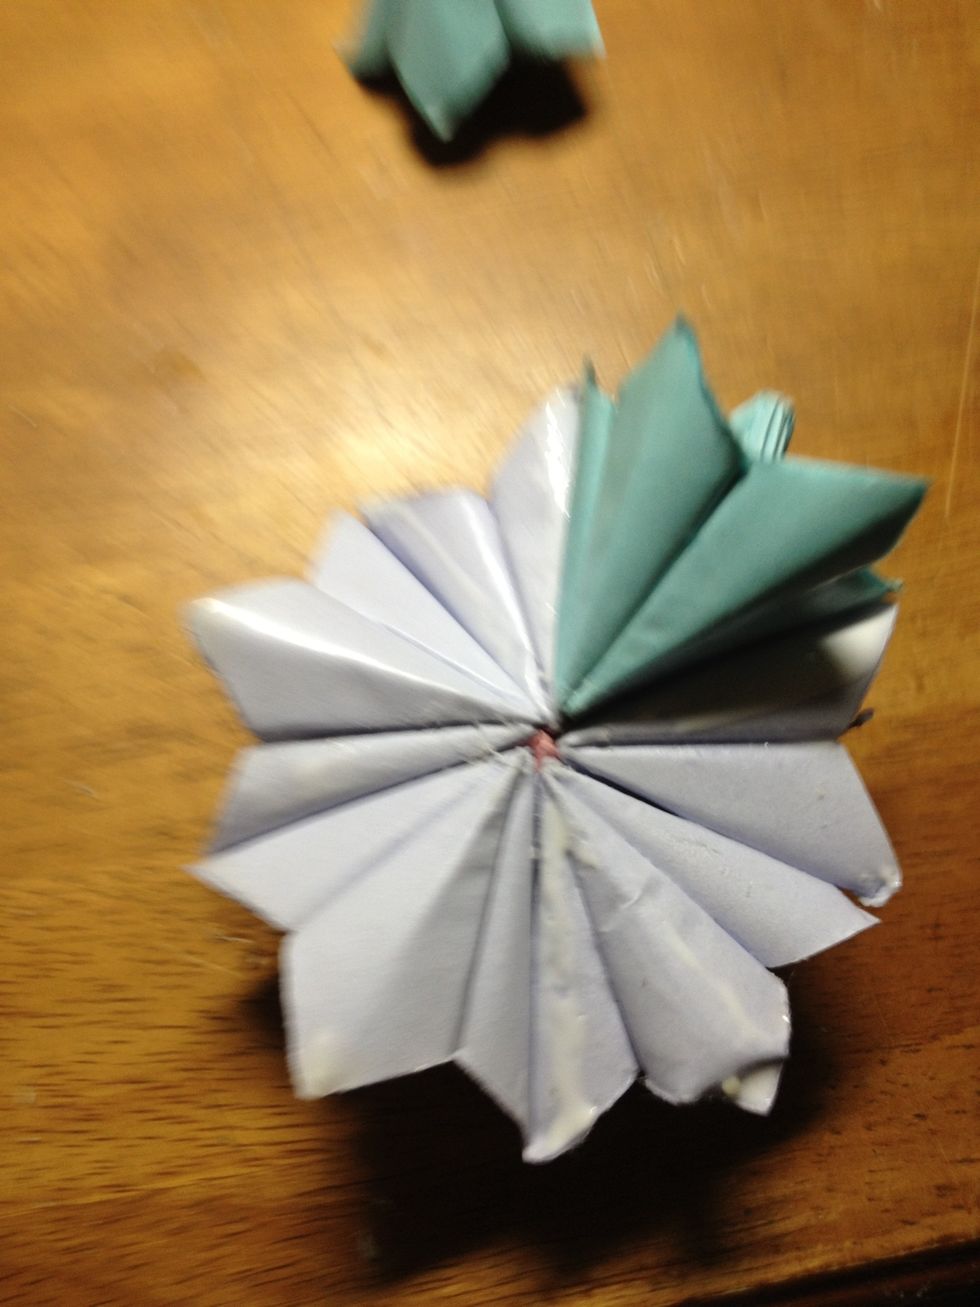
When all 60 petals have been made, you can start putting the flowers together. You will need 5 petals per flower, which would result in having 12 flowers in total.
With the petal opened up glue the area that I has glued in the pic above. When glued, you can attach petals together.

When all 5 petals are glued, bring the two flaps from the first and fifth piece together and glue them together forming a flower like the one above.
Repeat steps 14 and 15 until you have created all 12 flowers.
When all of your flowers are made, you can start putting it together. Glue the back of one of the petals and attached another petal from a different flower, like the pic above.
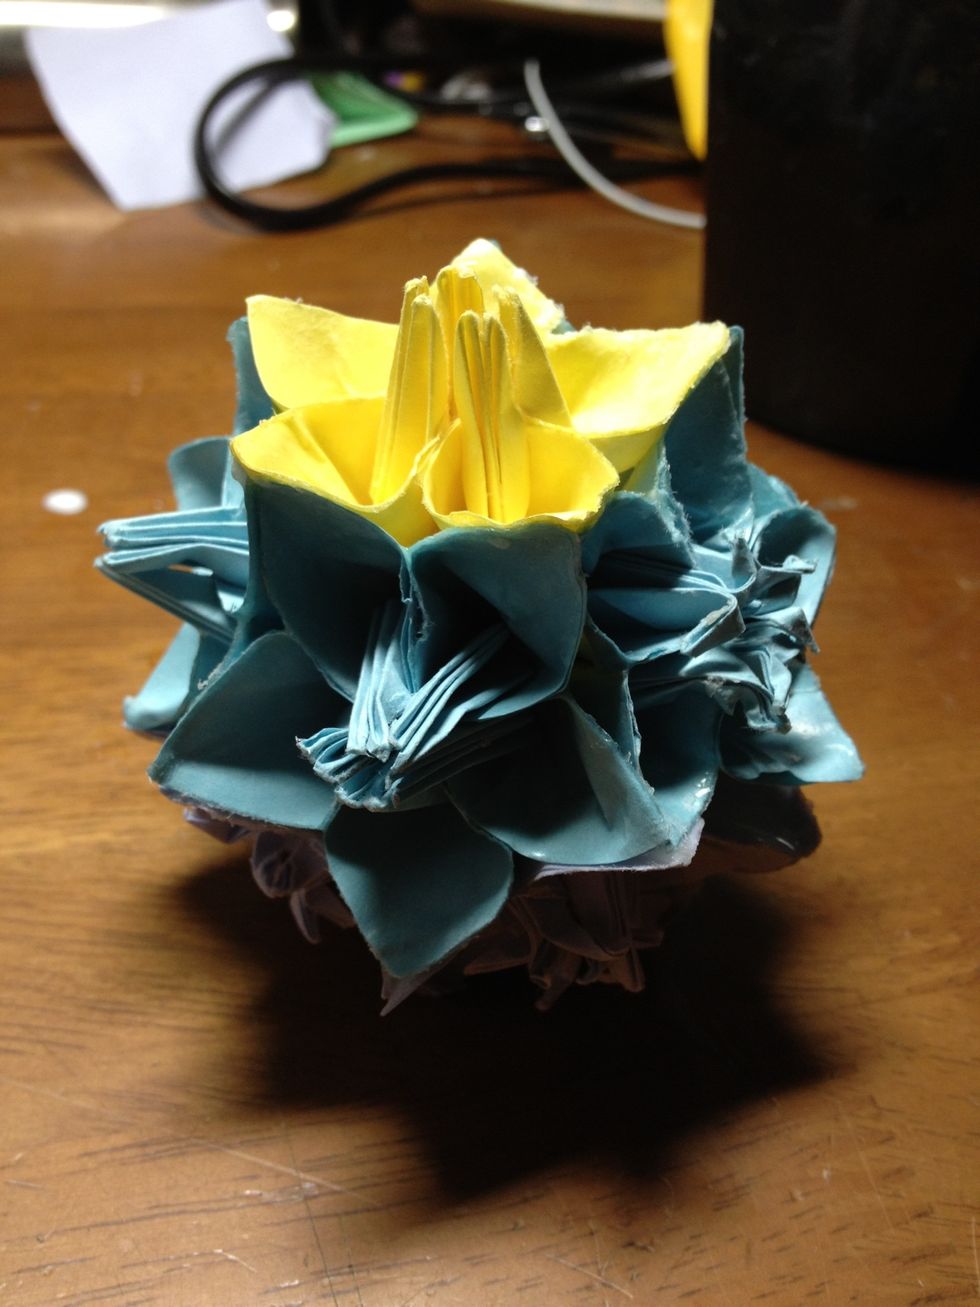
This is what it should look like when you have successfully connected 6 flowers.
For the other half, do the same thing as the first half, but add the flowers facing the other direction.
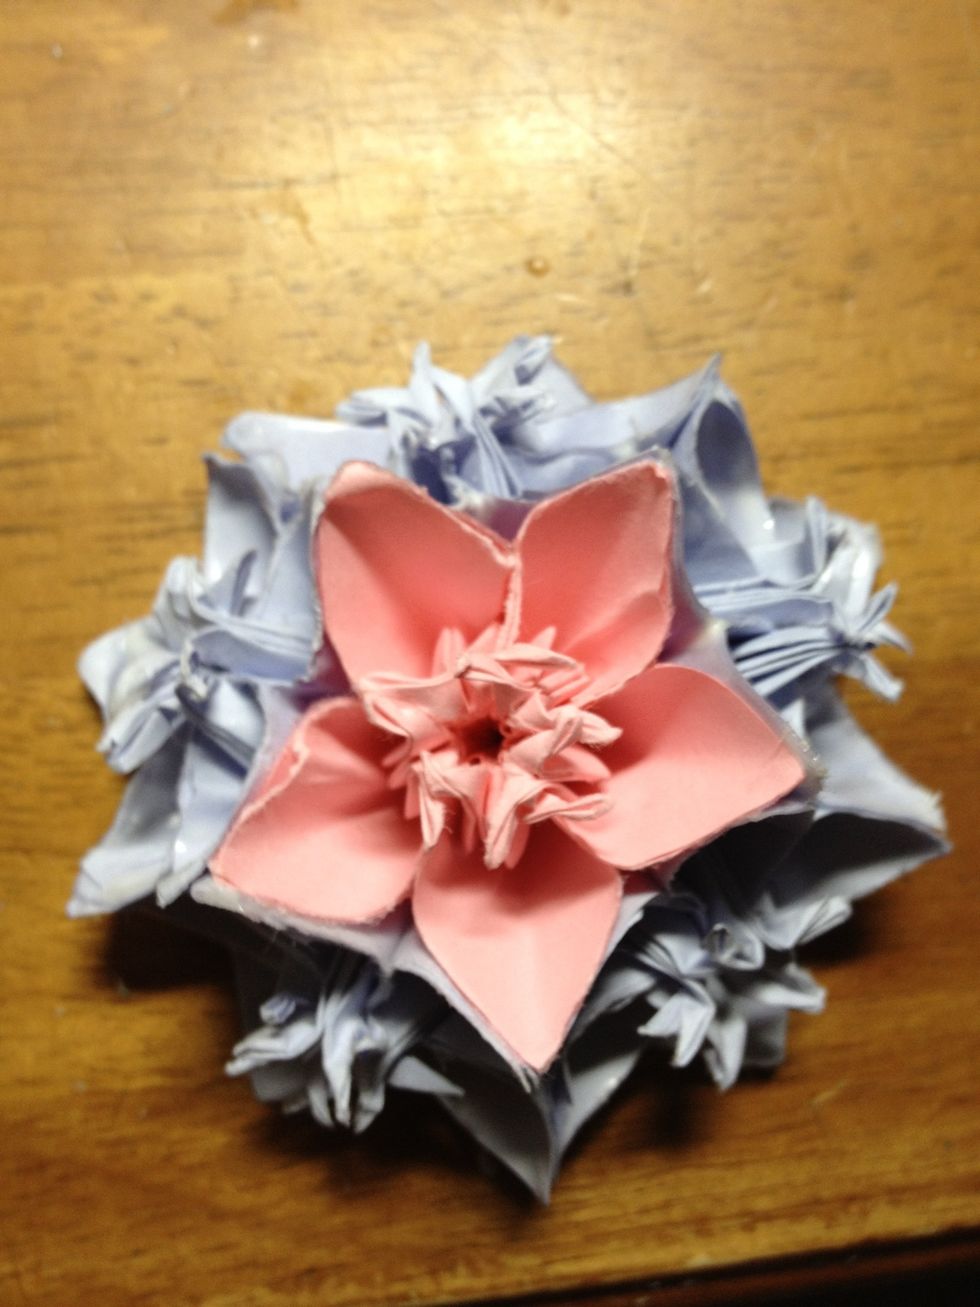
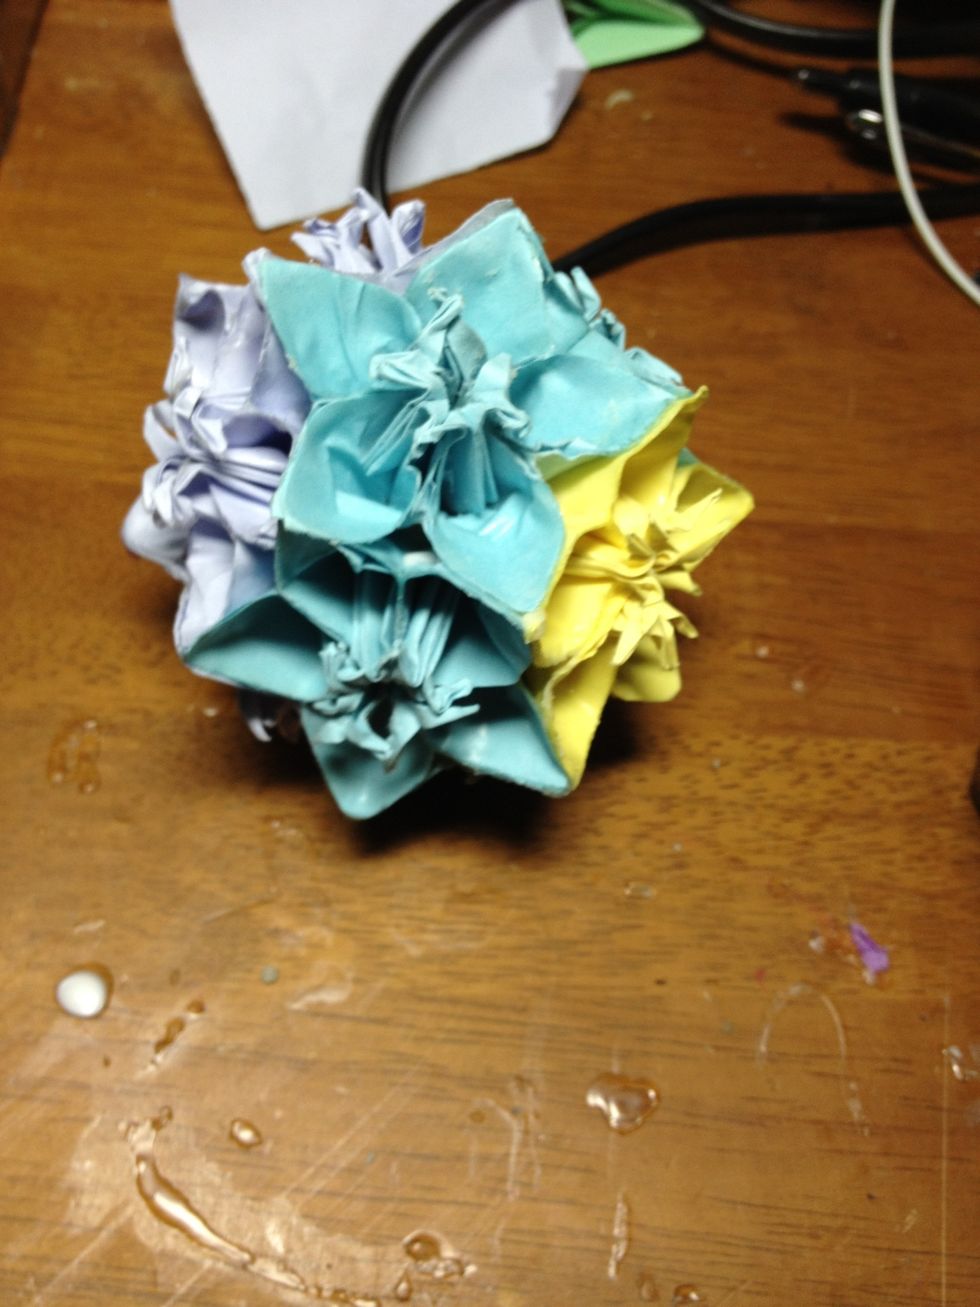
When all 12 flowers have been glued together it should look like this

The last thing, and this is optional, is to take the insides of the each flower (middle parts standing up on the yellow flower), and twist them in or out (whichever you want), and make more pretty.
Finished product