The Conversation (0)
Sign Up
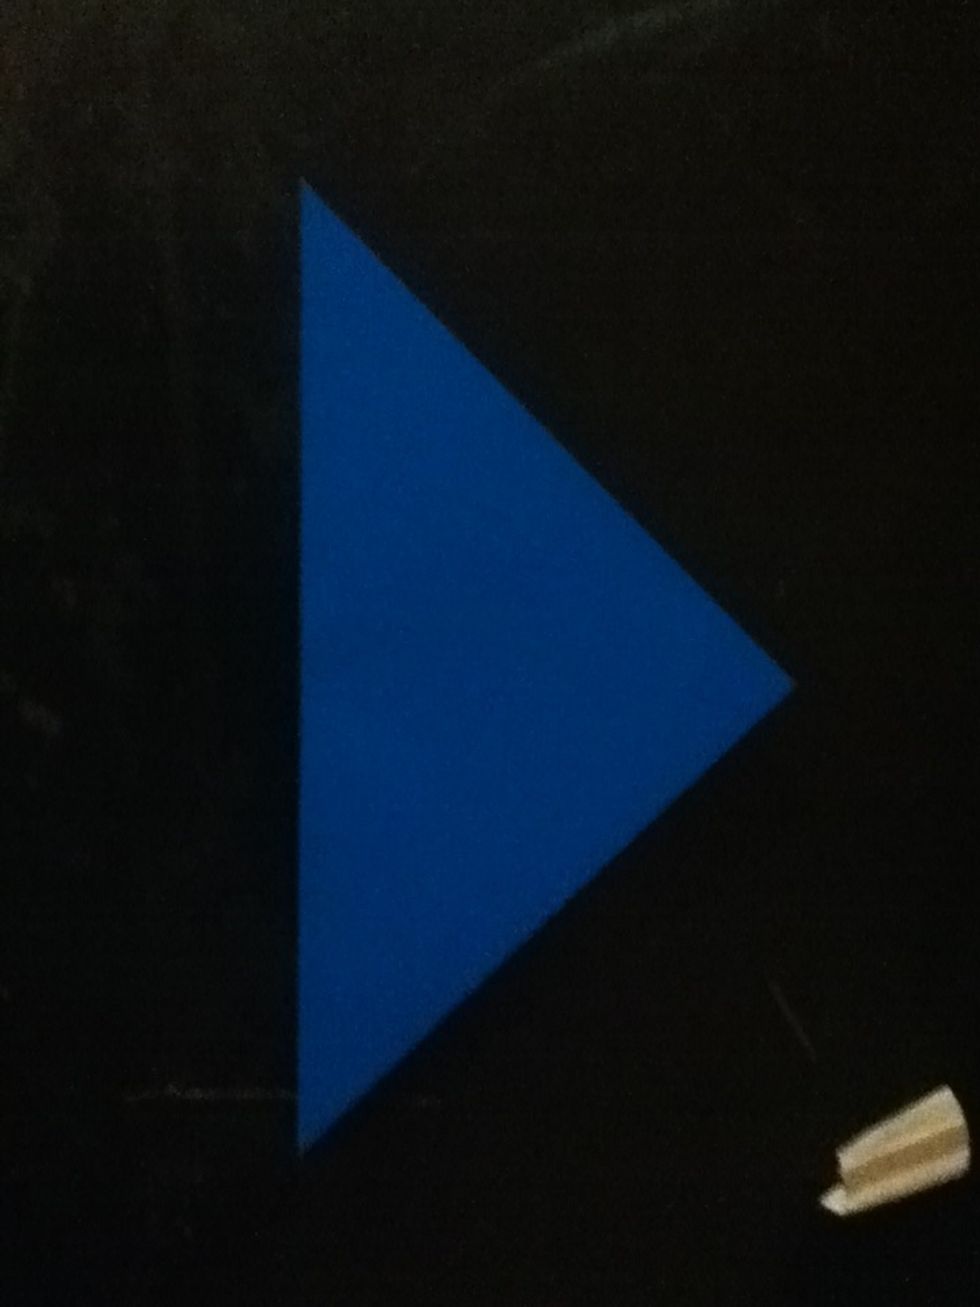
Fold your paper in half so it forms a triangle.
Fold the triangle's points up to the center point, forming a square.
Fold the tip and edge of the flap you folded up outwards, so that i lines up with the diamond's edge that is already there.
Do the same for the other side.
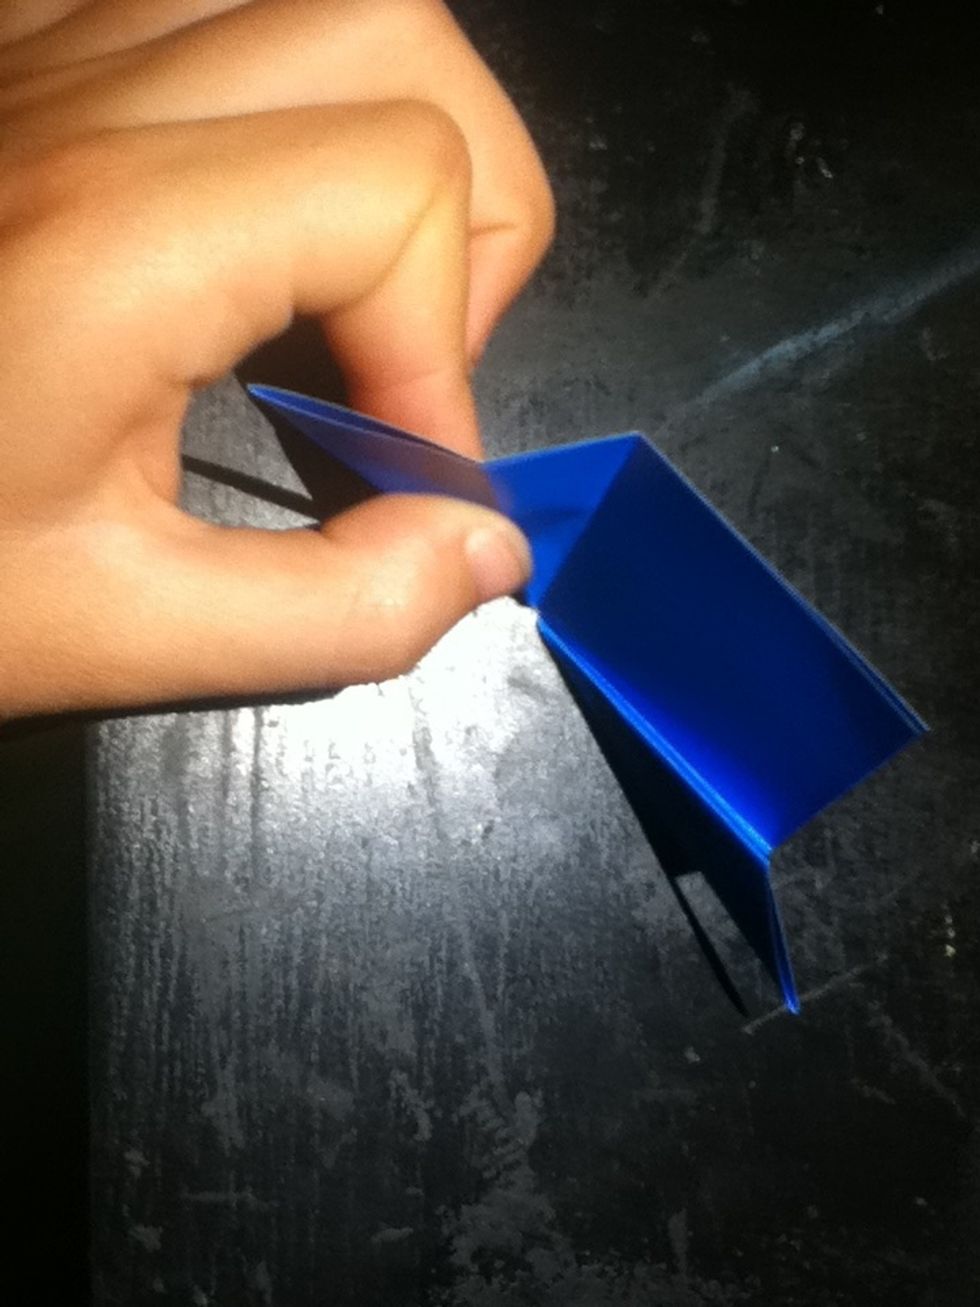
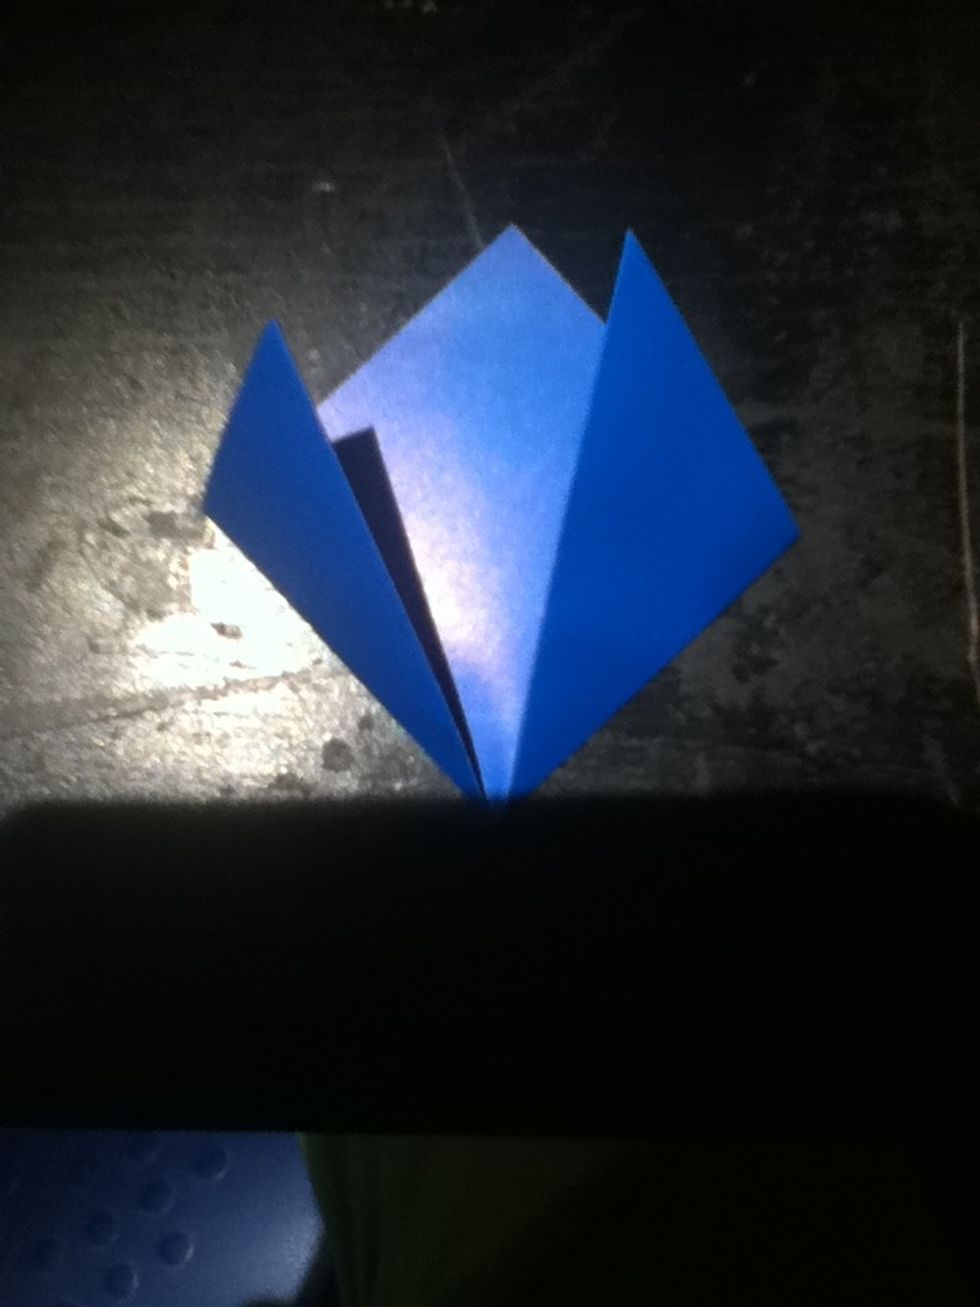
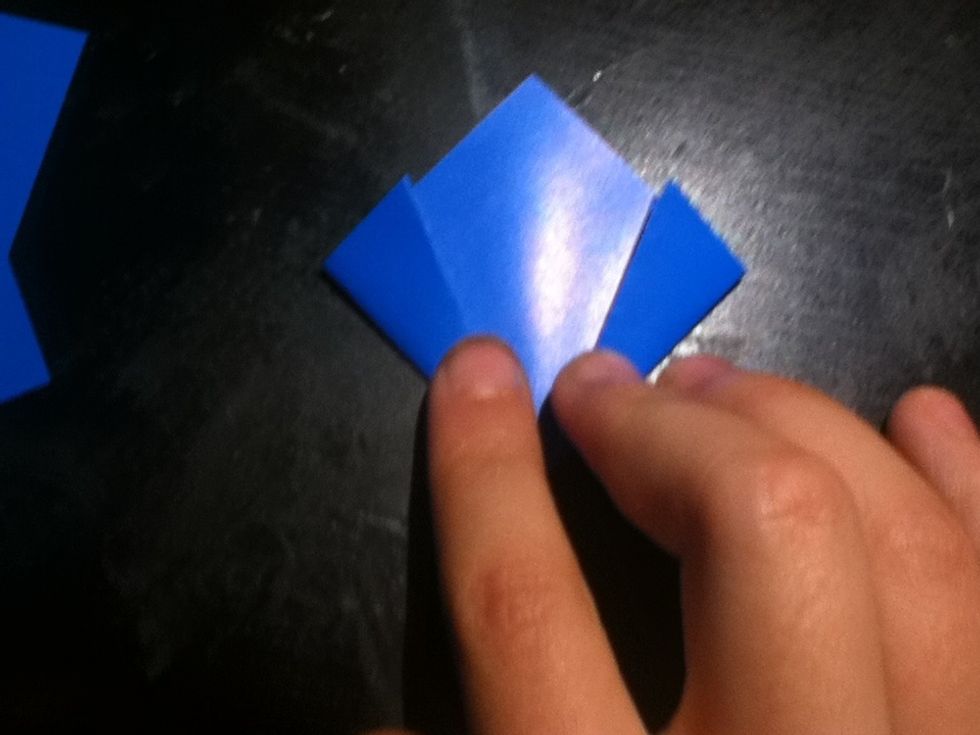
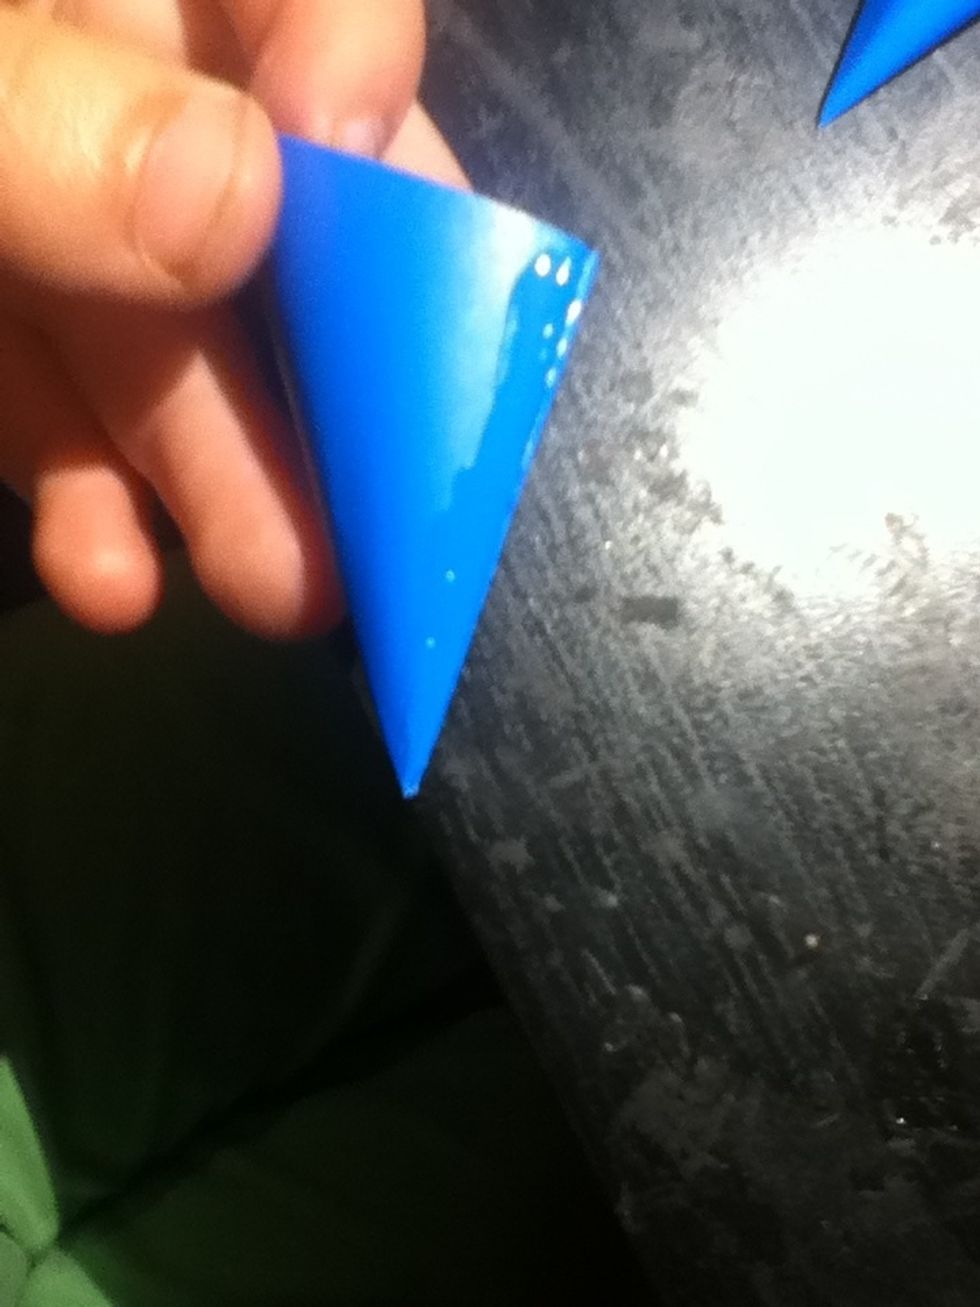
Open out one of the sides, and notice the double layers of the part I am holding.

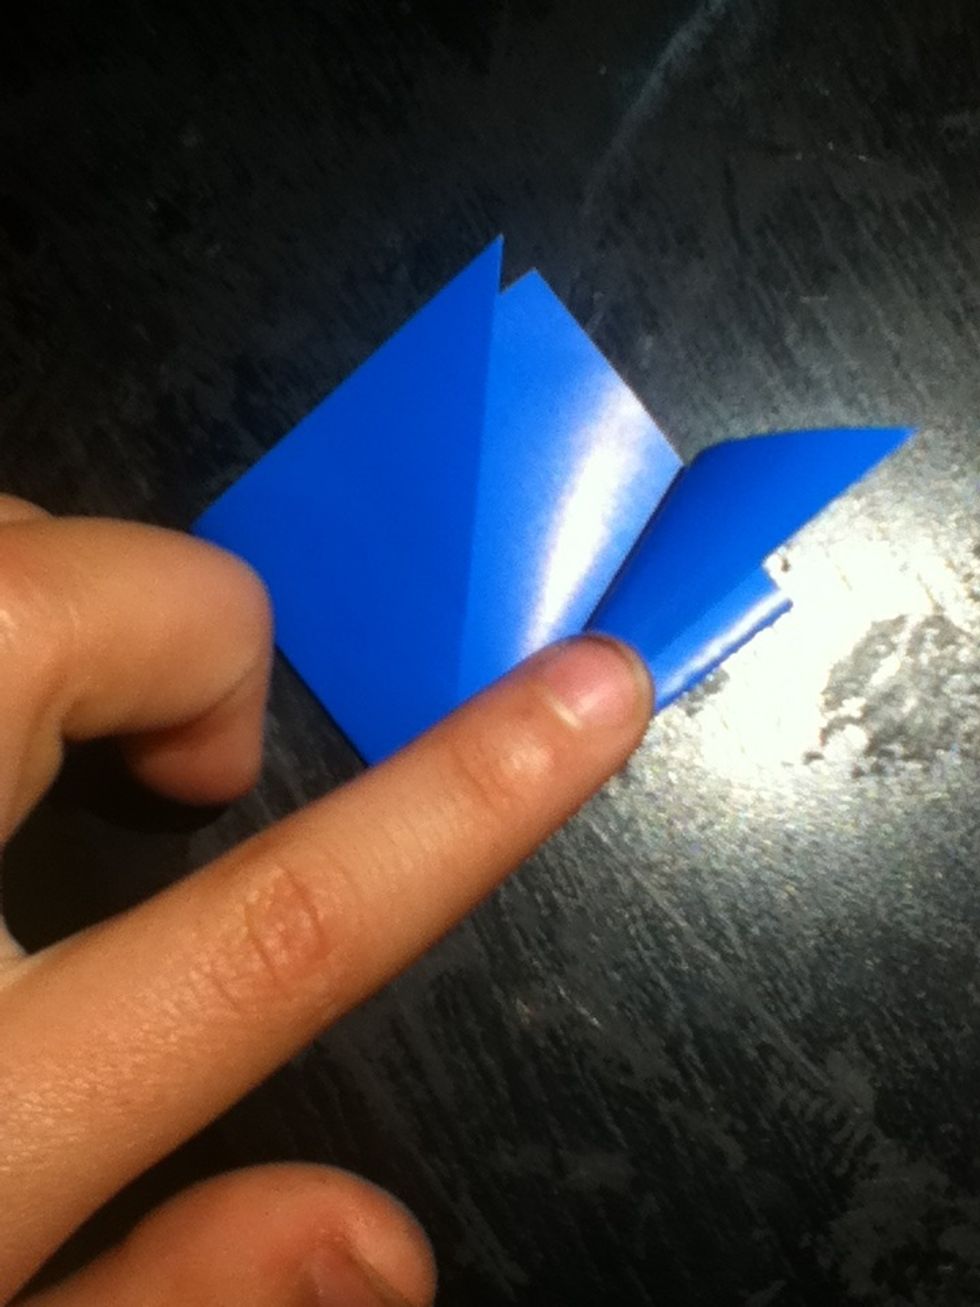
Open that part into a pocket, and flatten it down on the crease marks already established.
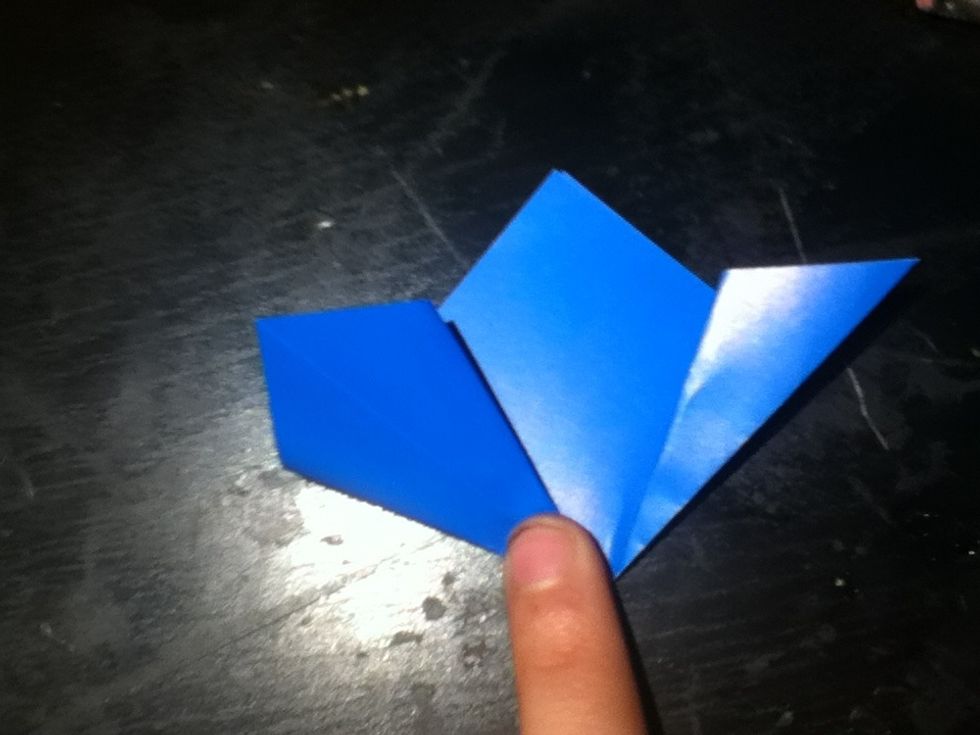
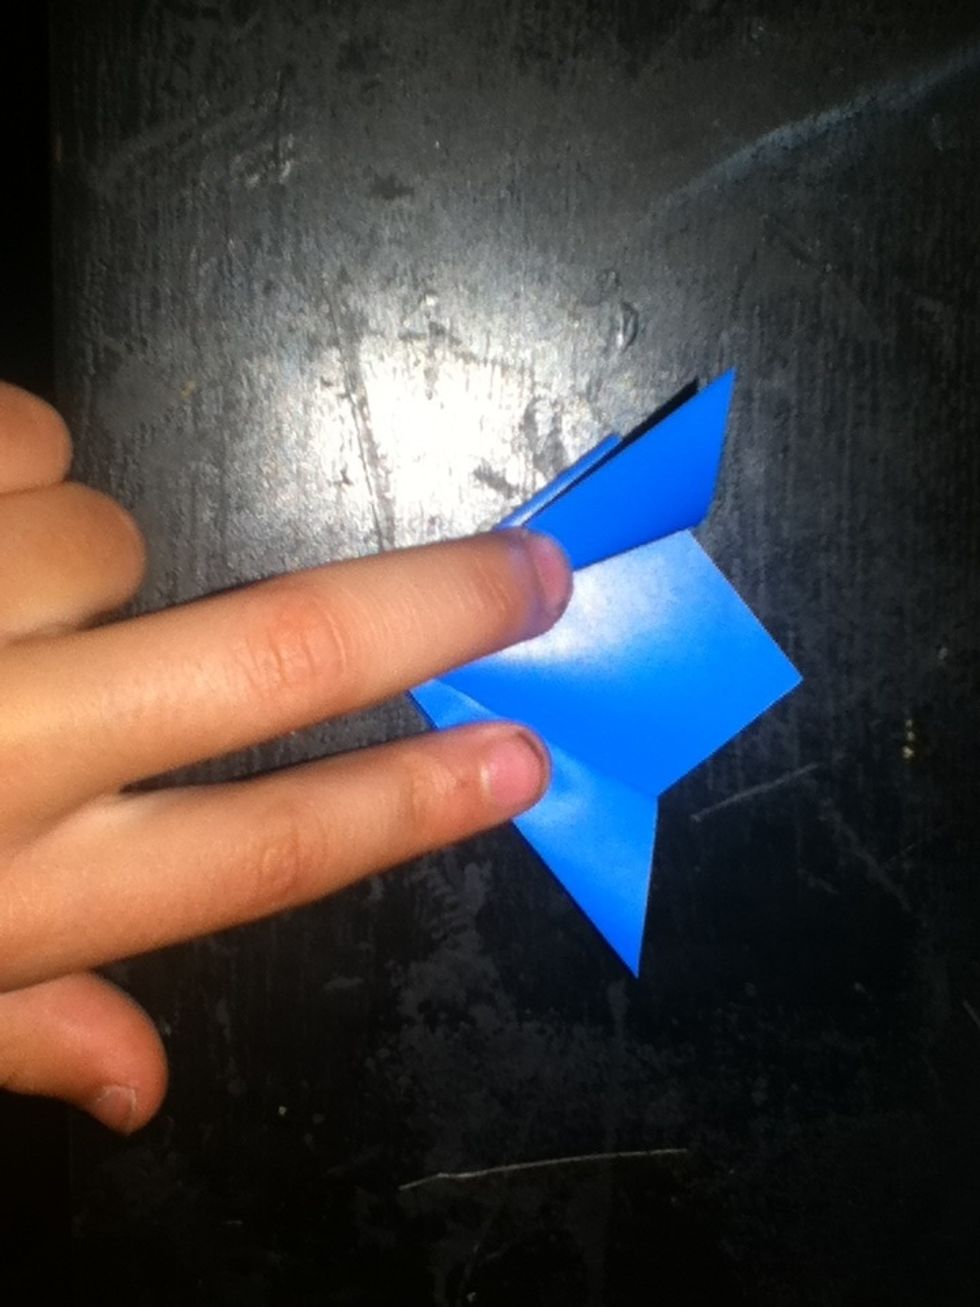
Flatten your pocket, and repeat with the other side.
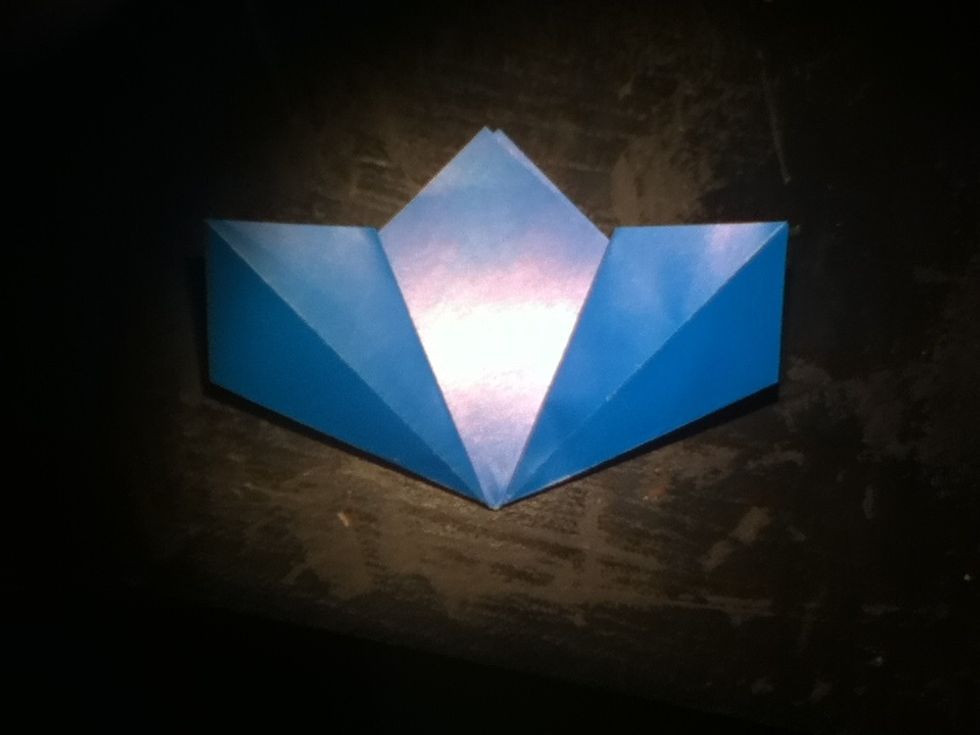
Your flattened model.
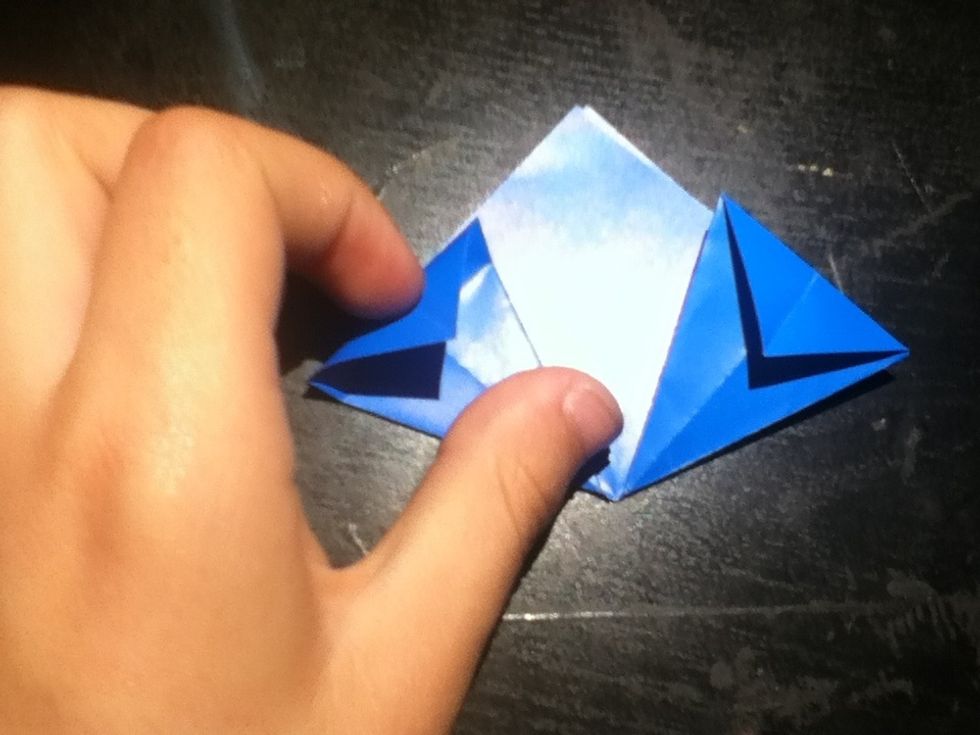
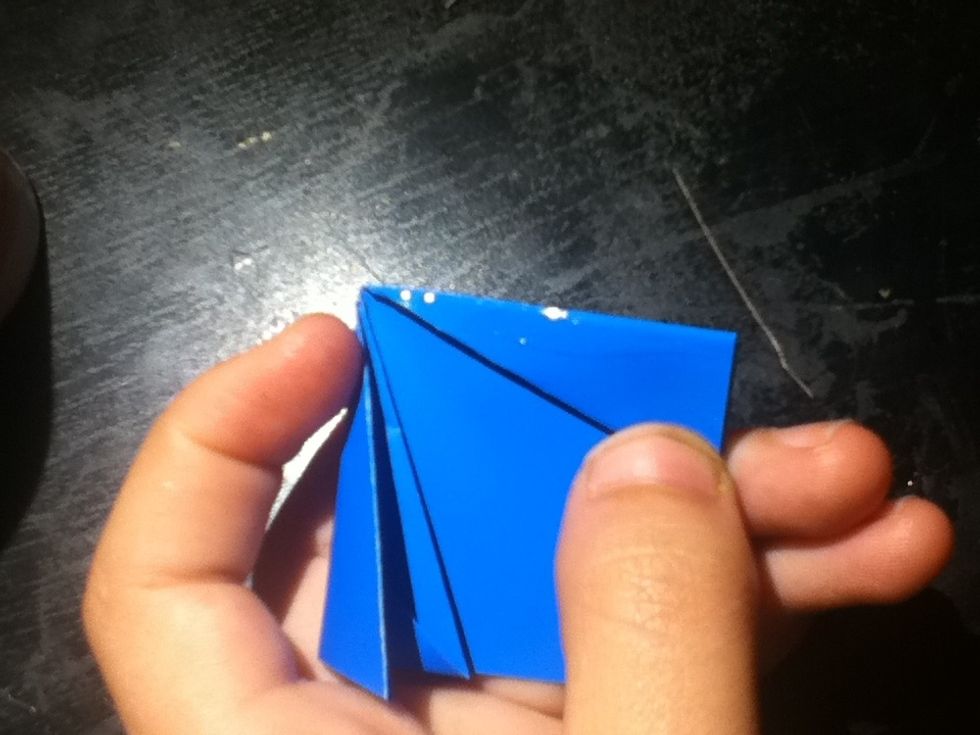
Fold the triangular tops of your flattened parts down.
Fold your flattened parts inward on the previously made crease.

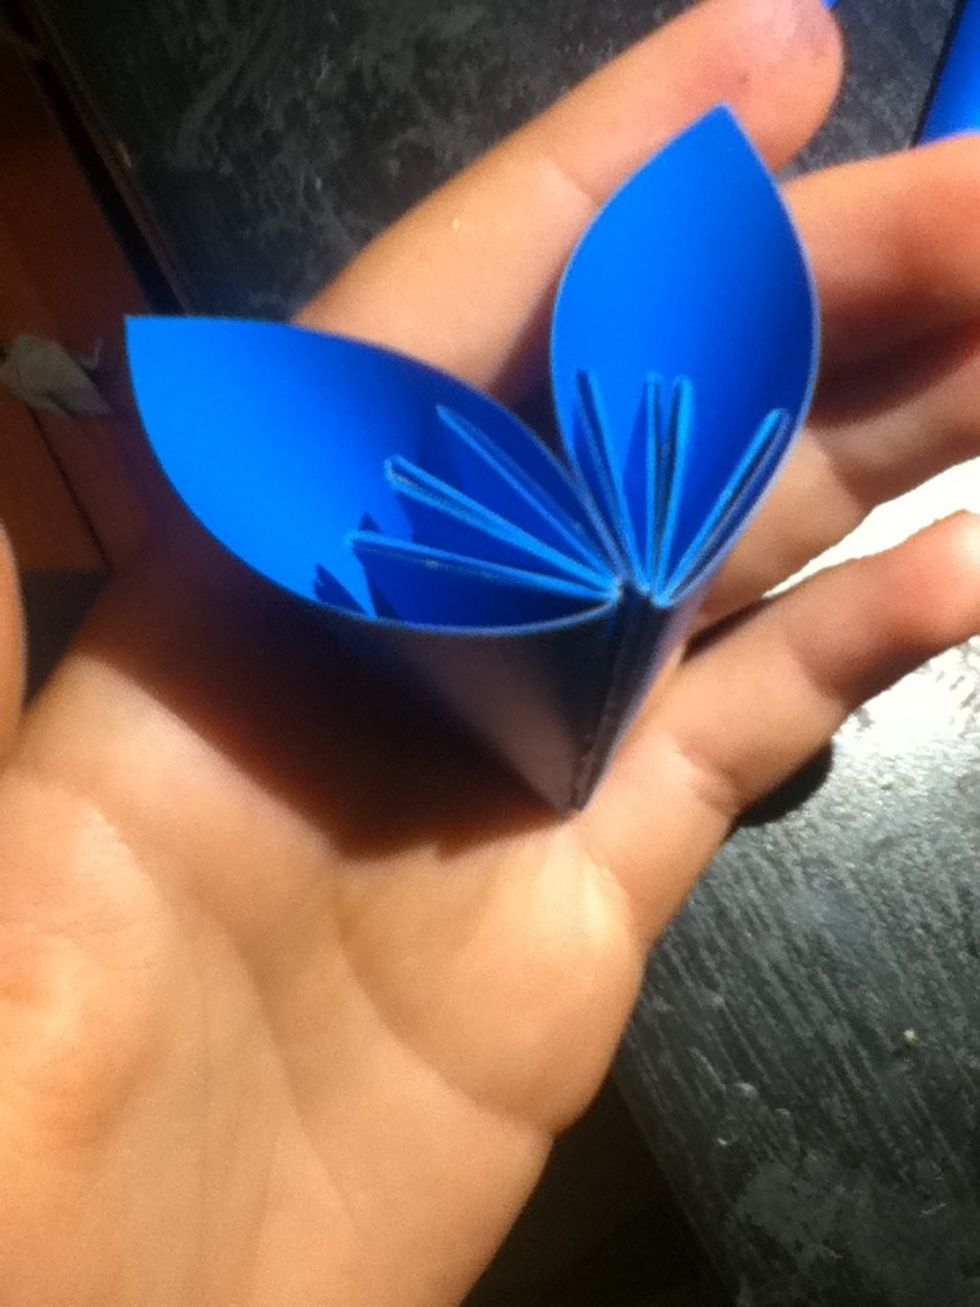
Bring the two edges together to see what it will look like. Then let it go and it will flatten out again.
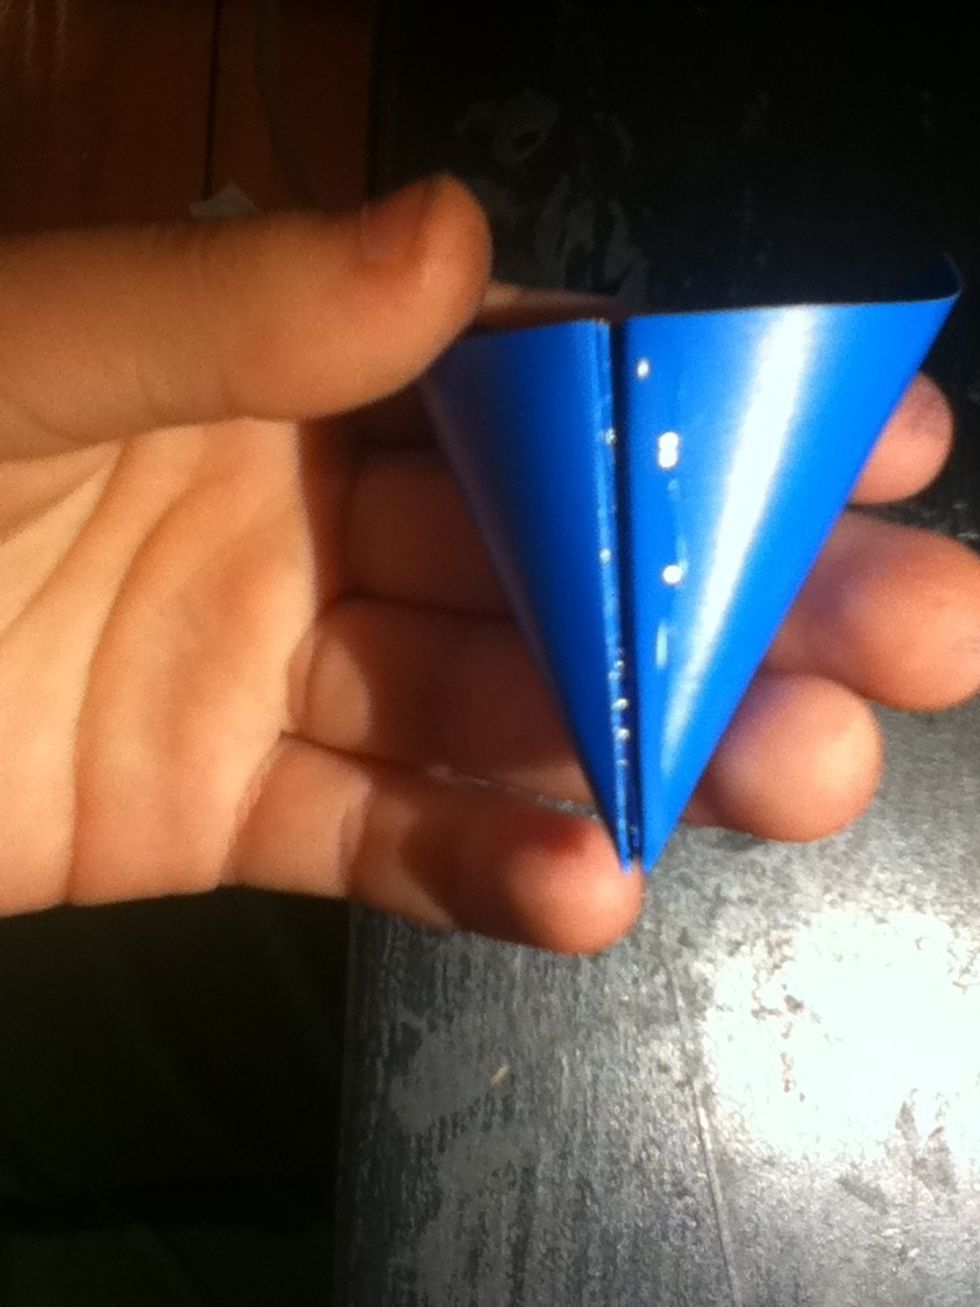
Put a thin strip of glue on the inside edge of one of the sides.
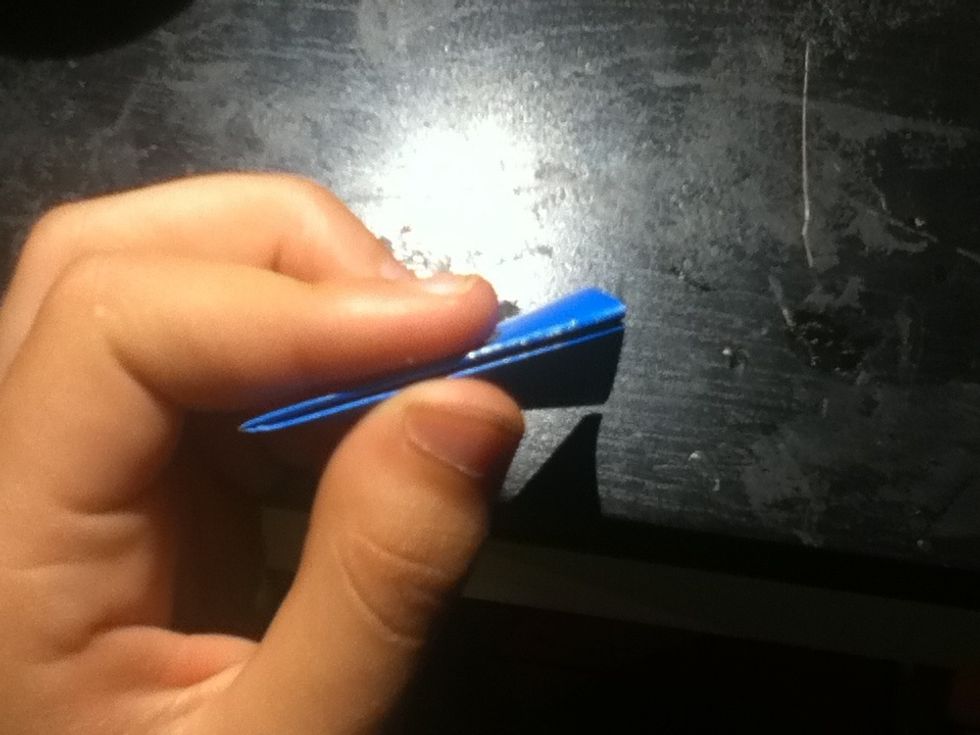
Bring the sides together as in step 11. Hold it for a little while so that the glue dries.
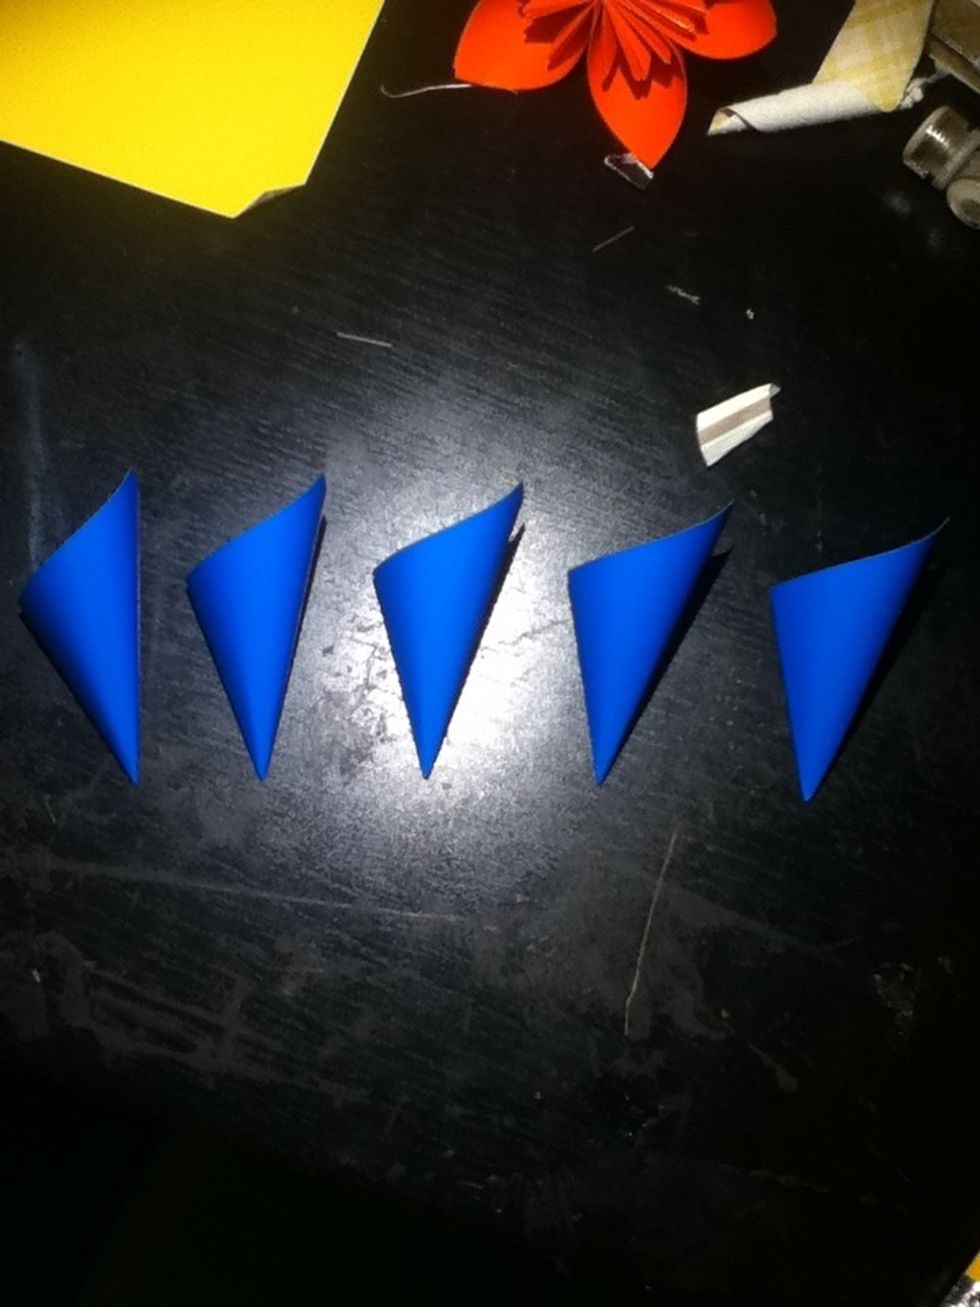
Make four more, so you have a total of five.
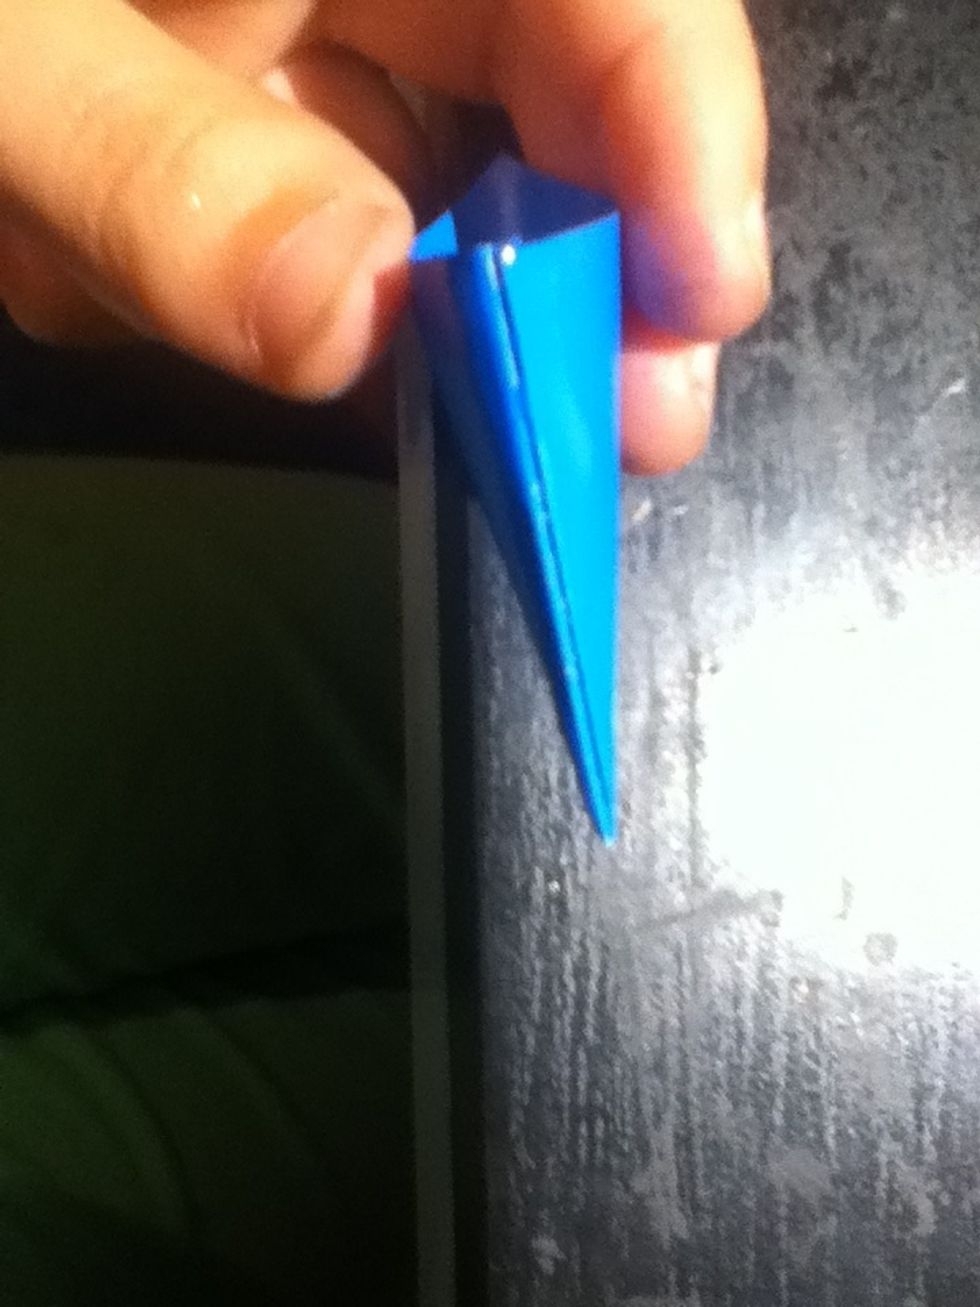
Put a thin strip of glue on one edge of one of your cones.
Place another cone's edge on the gluey edge, and hold for a moment to adhere. Make another pair, and set aside.
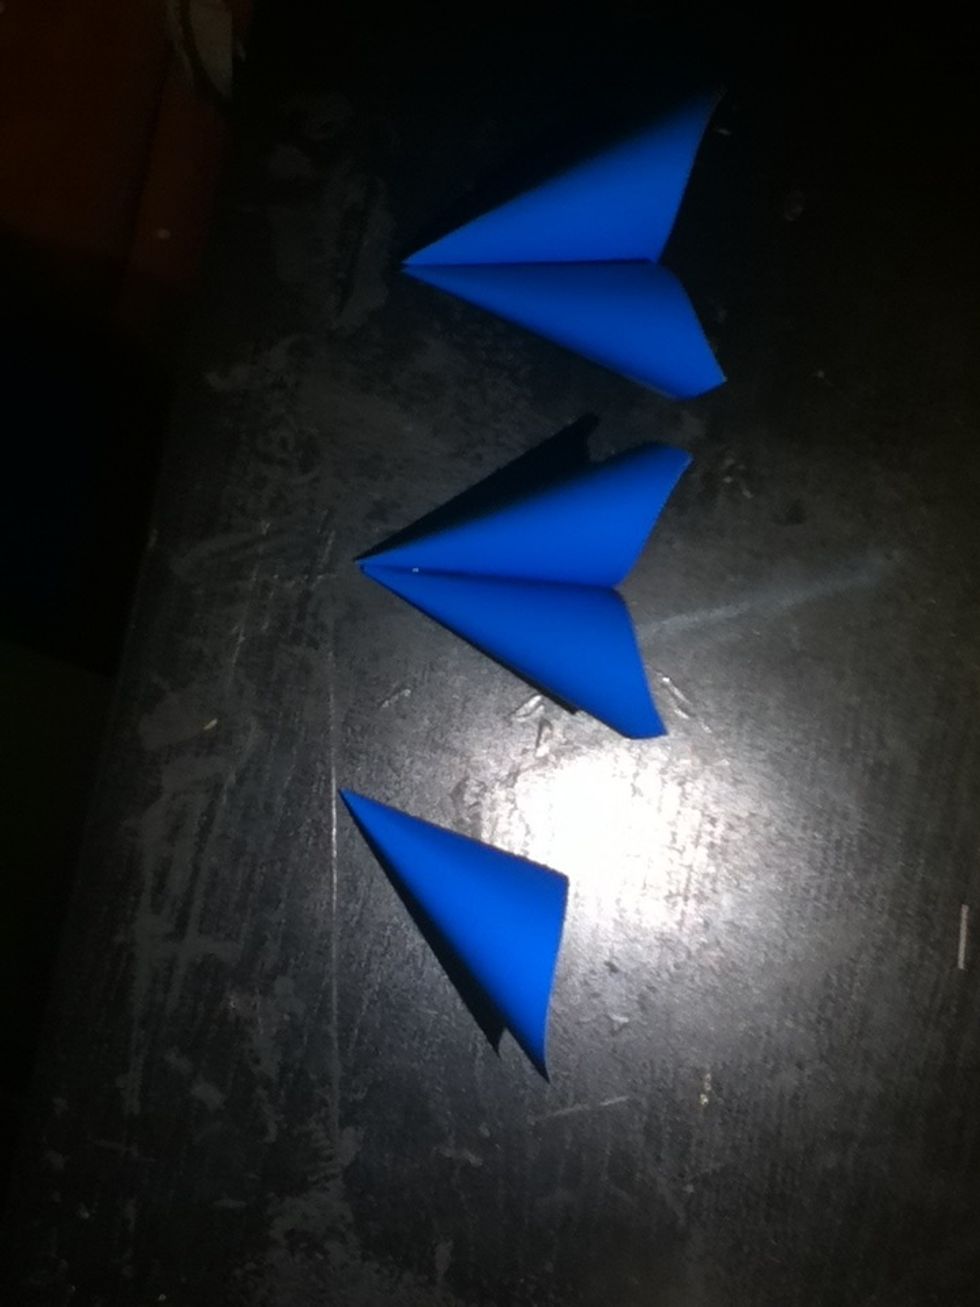
Your units should now look like this.
Put a thin strip of glue on the edge of one of your pairs.
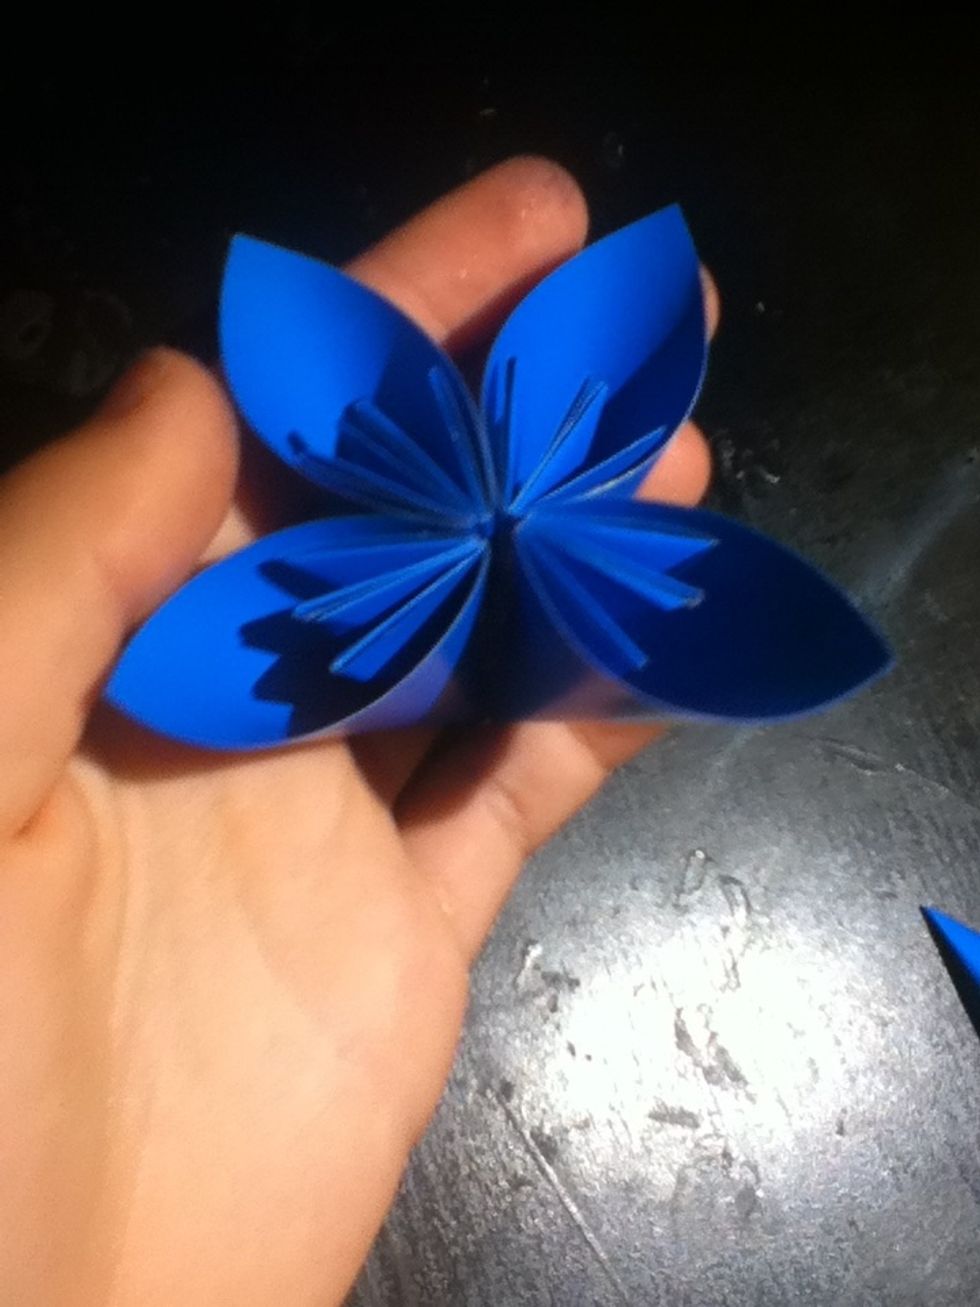
Glue the other pair to the glue strip, to form a cluster of four.
Put glue on BOTH sides of your single cone.
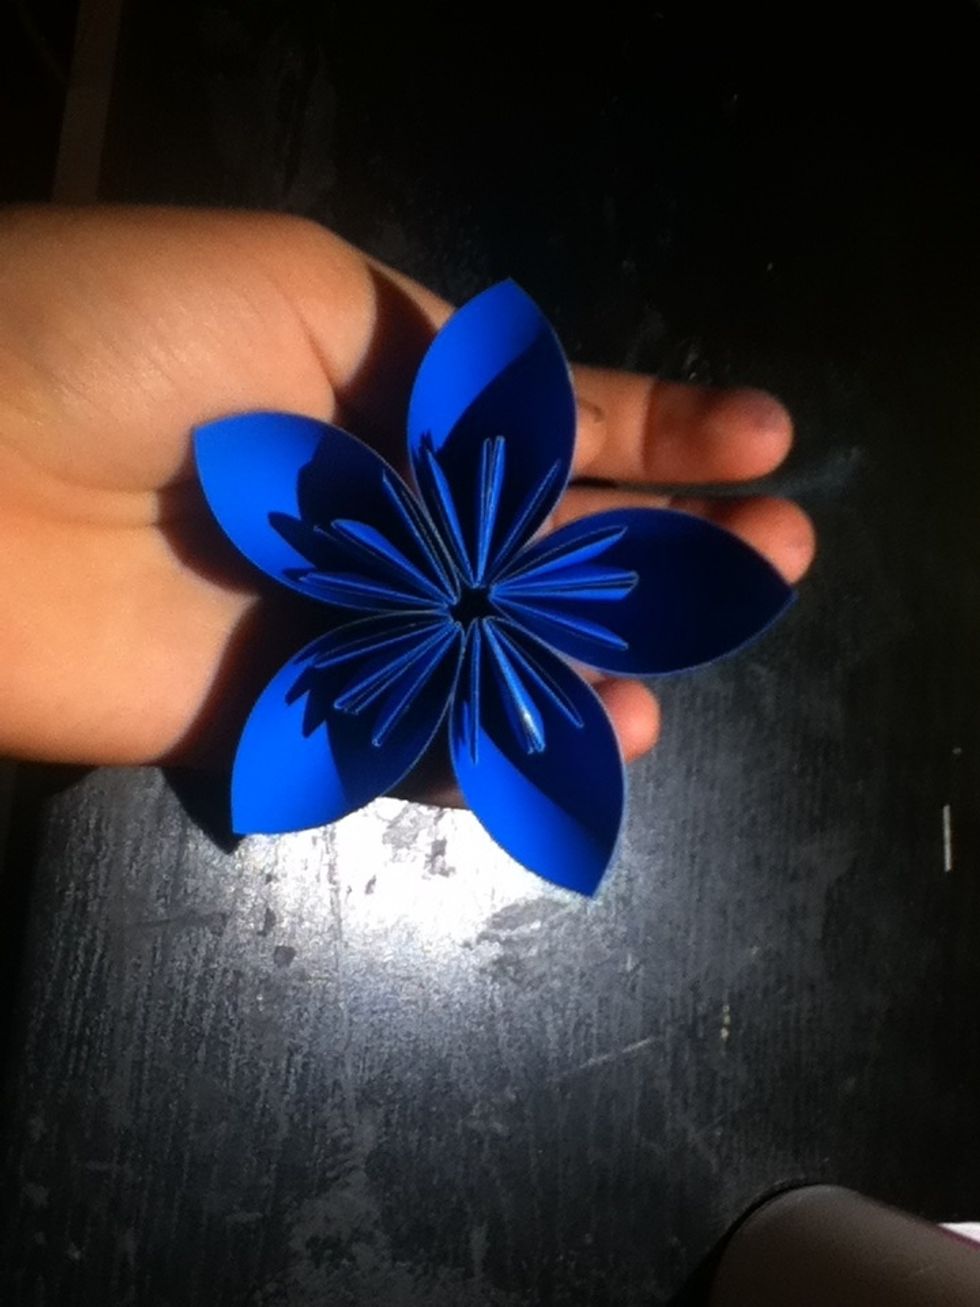
Fit it into the empty slot and press to adhere. Your flower is now finished!
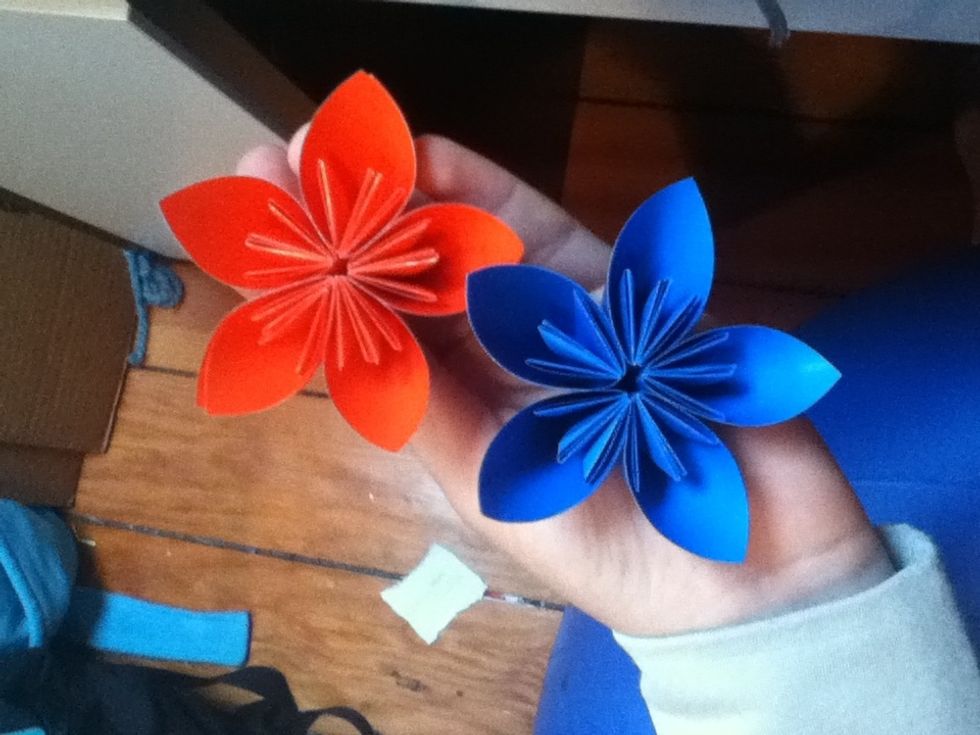
If you have any questions about the steps or the project, or any suggestions for future guides, let me know with a comment!