The Conversation (0)
Sign Up
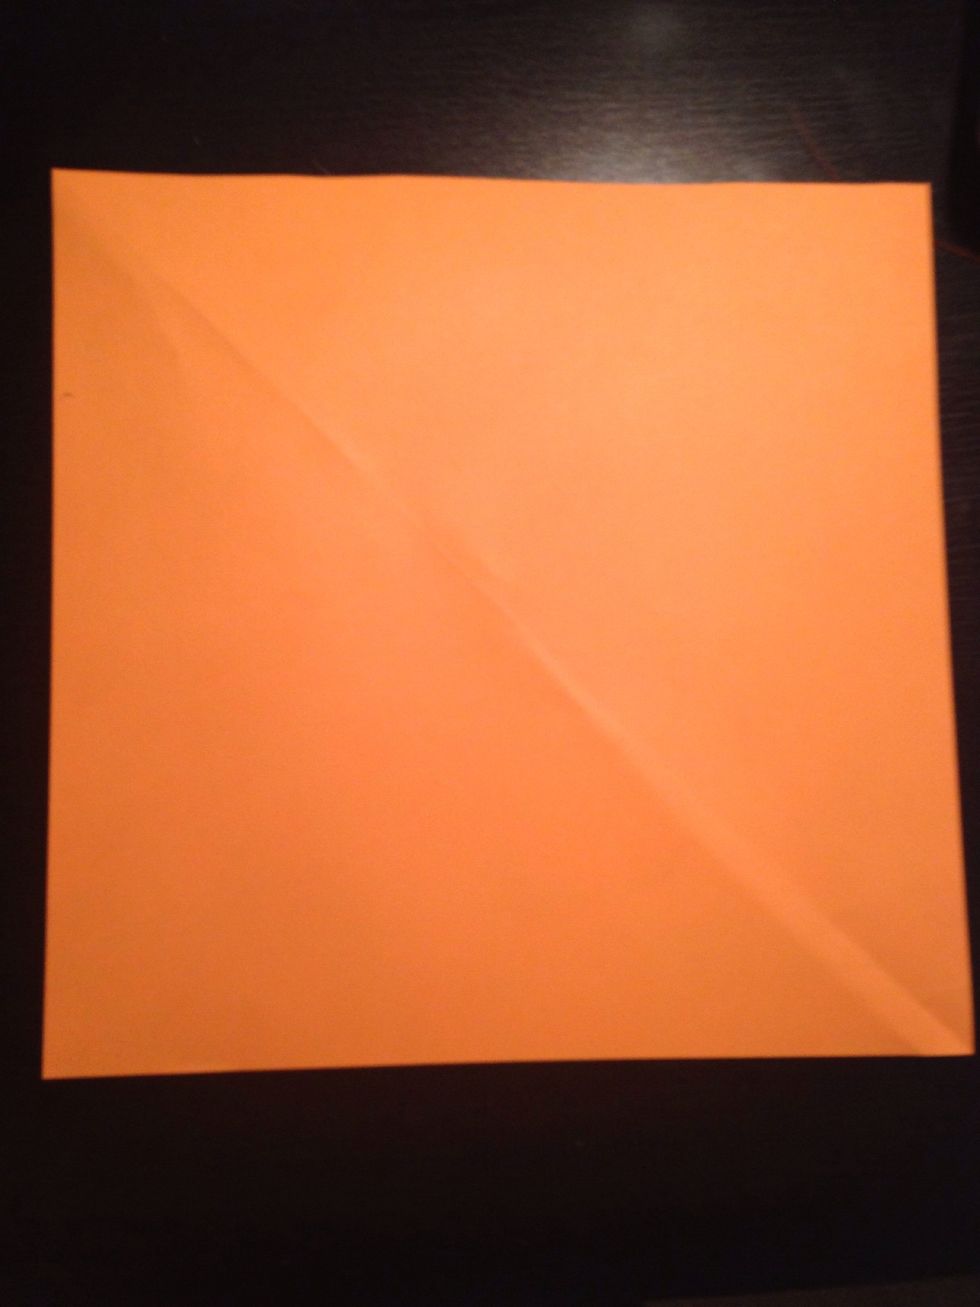
Start with a square piece of paper...
*Note* If you have bigger paper, your flower will ultimately be bigger. If you want smaller flowers, use actual origami paper (I used colored printer paper). Origami paper is easier to fold too!
Also, tap on the photos to see their full sizes :)
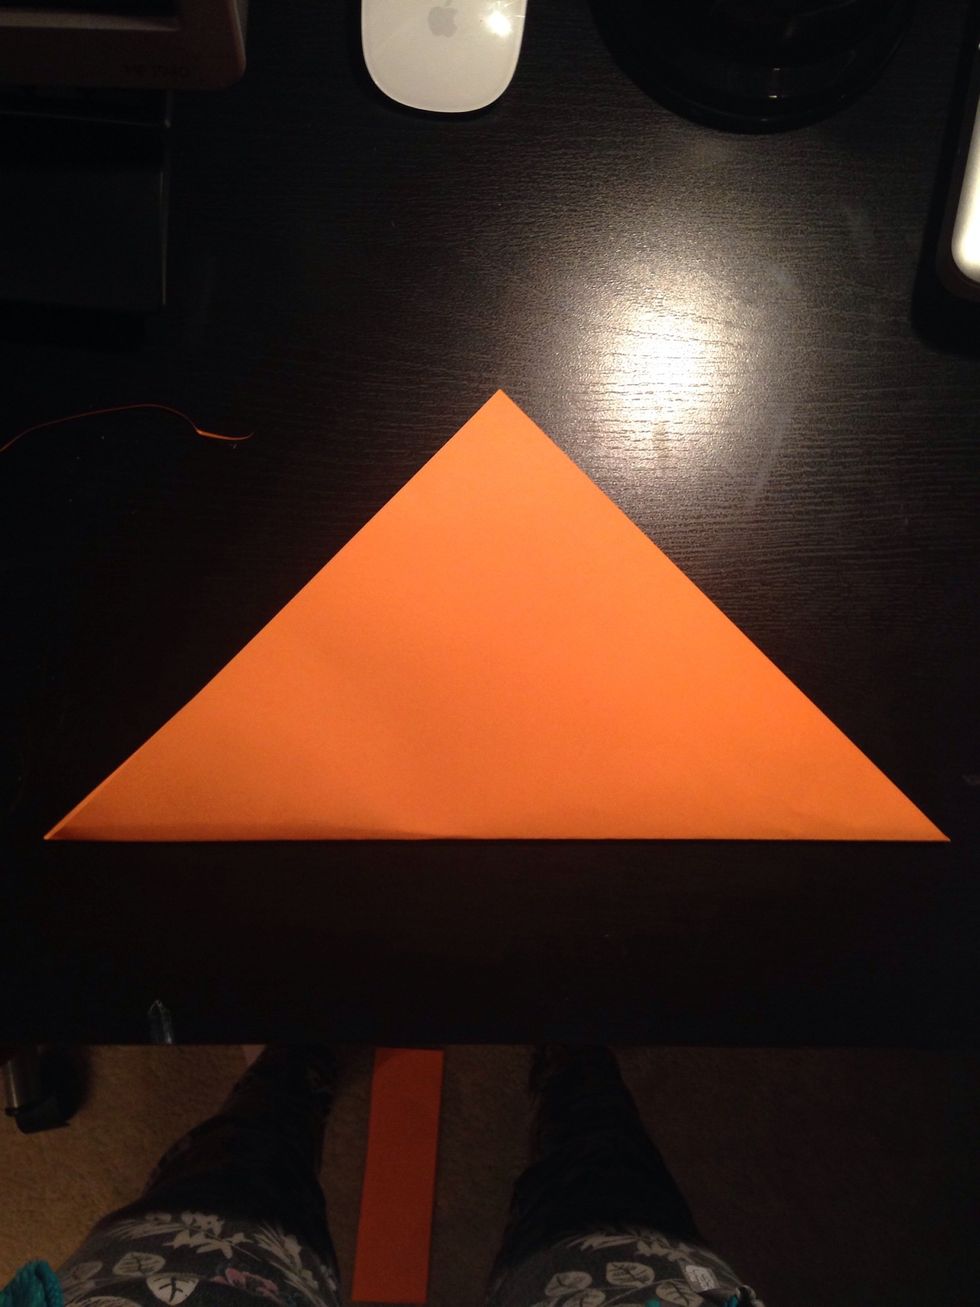
Fold the paper in half diagonally.
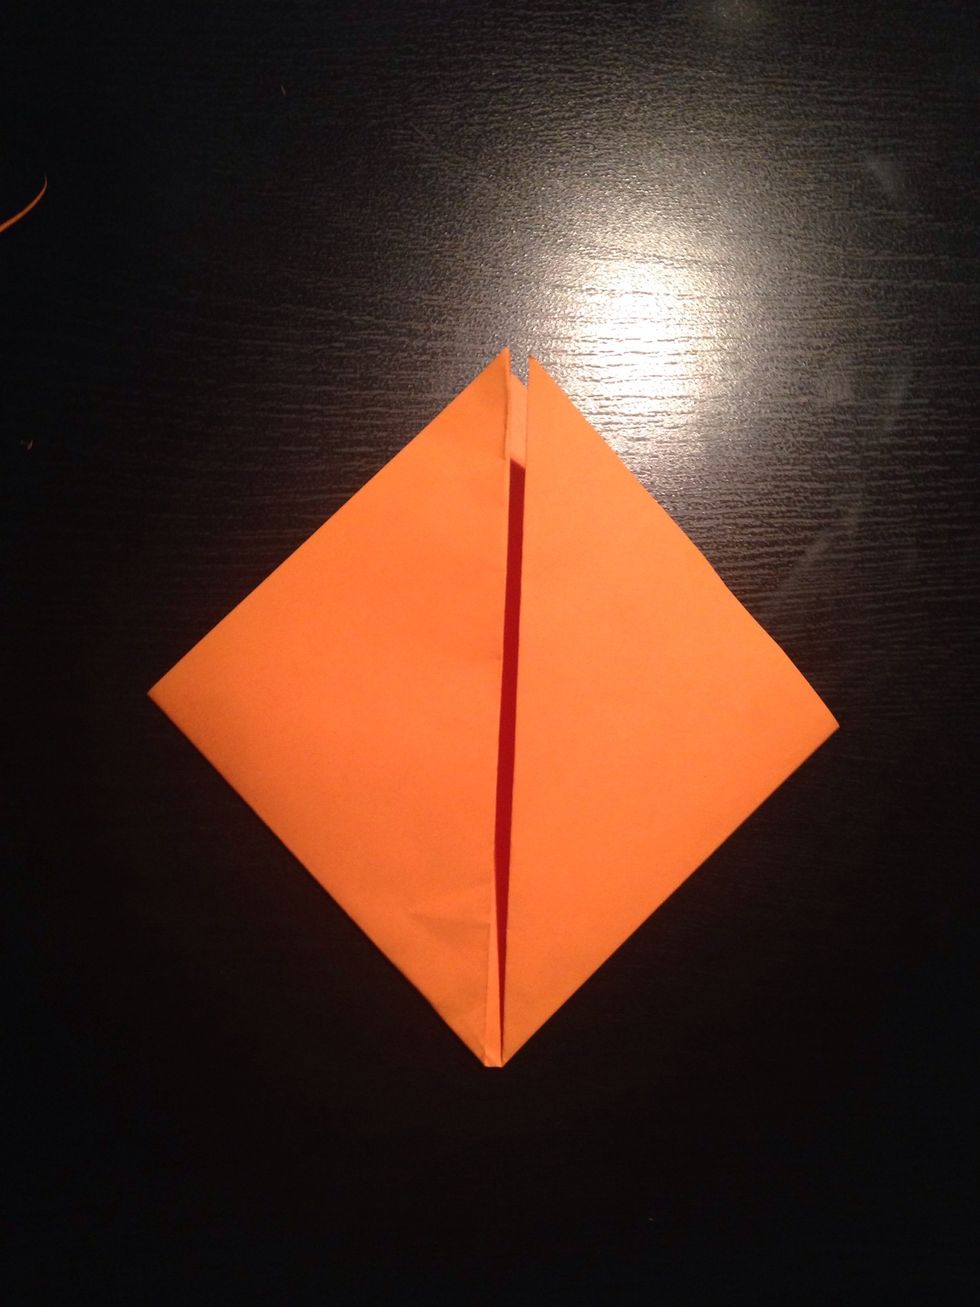
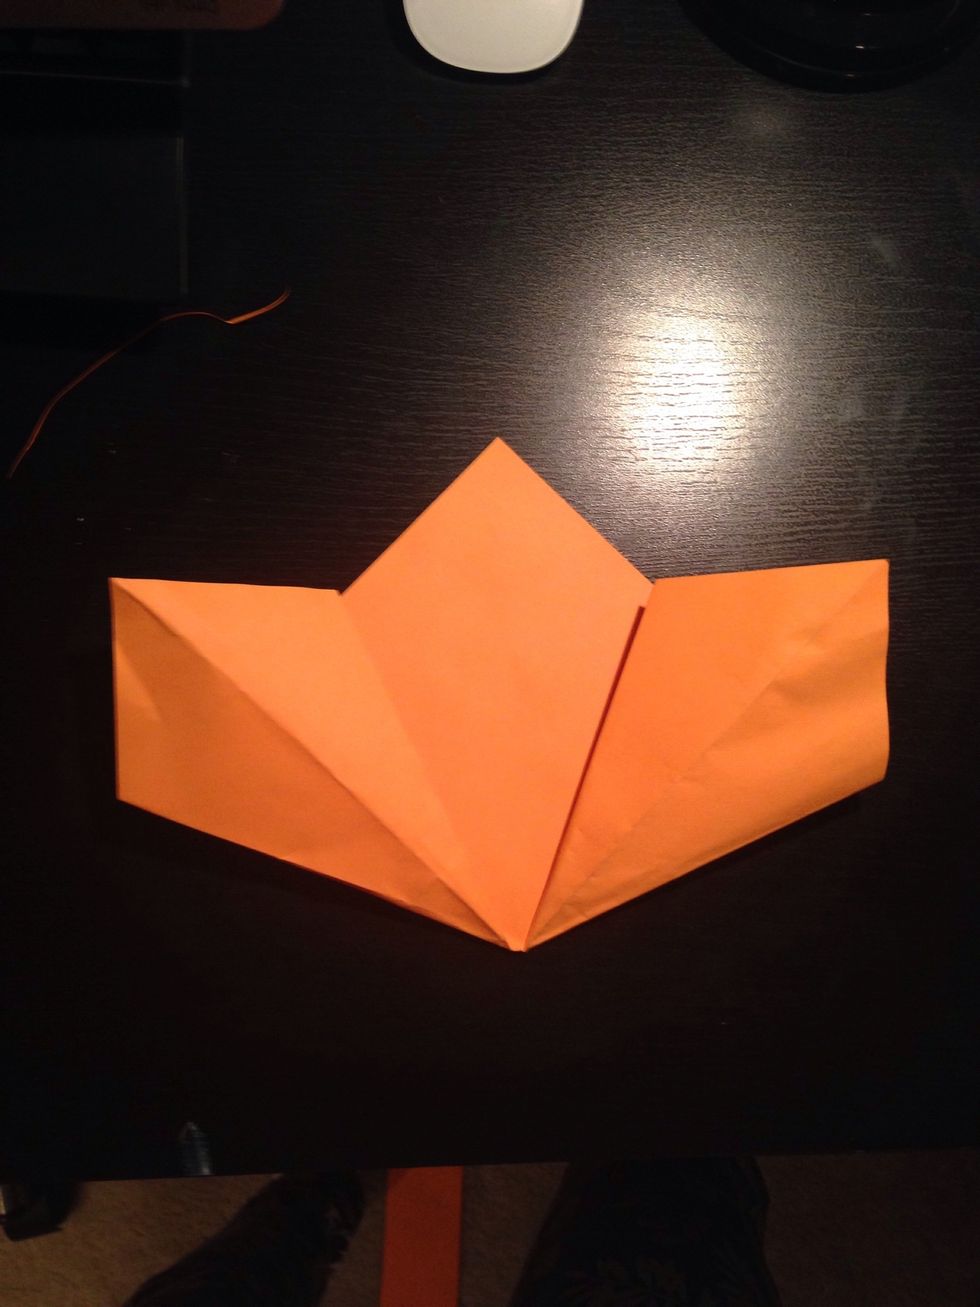
Now fold both the right and left corners to the top.
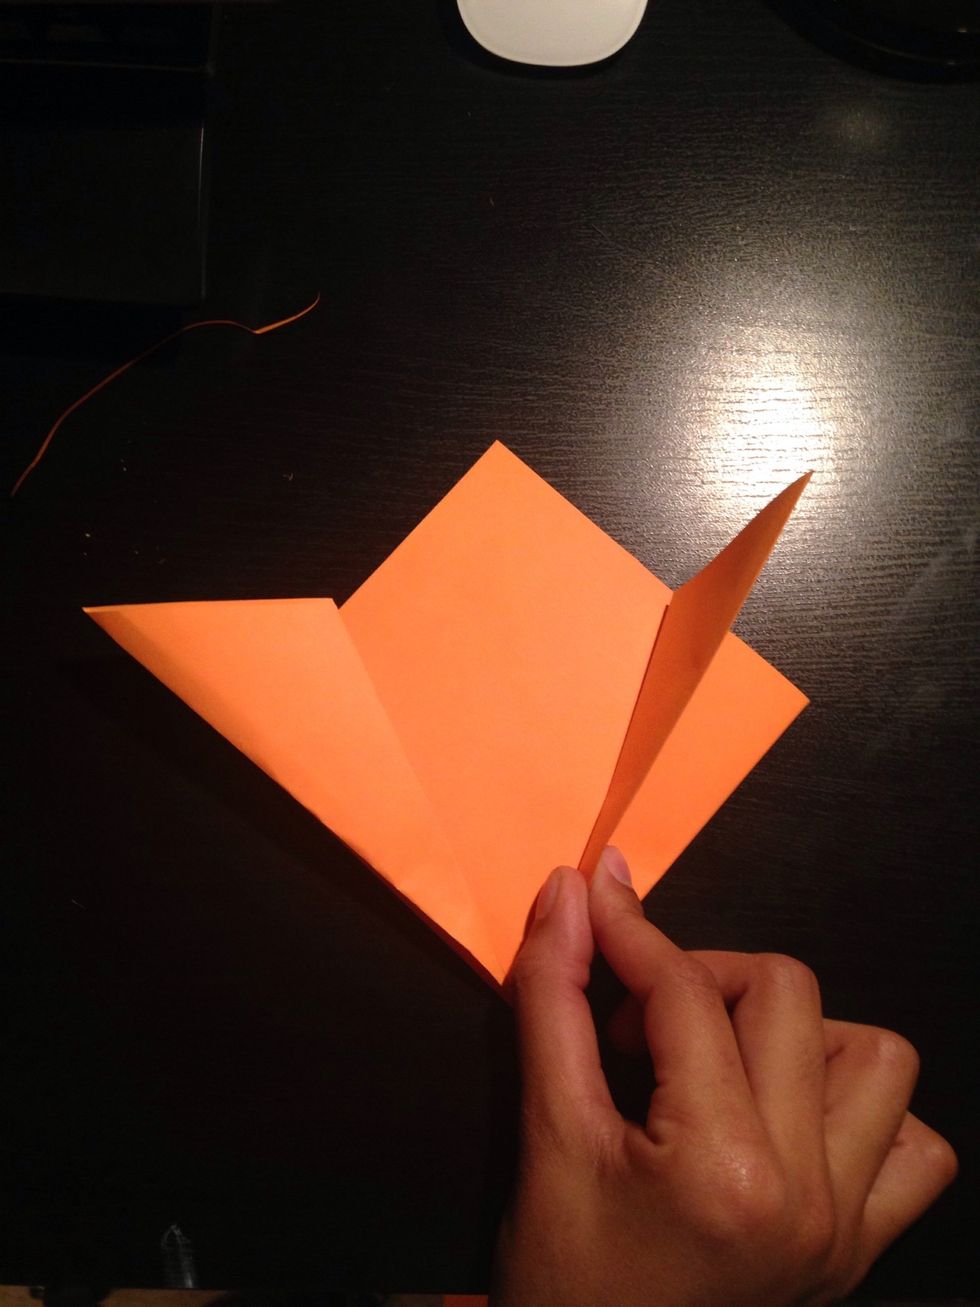
Fold the top edges of the paper downward so they align with the back of the paper.
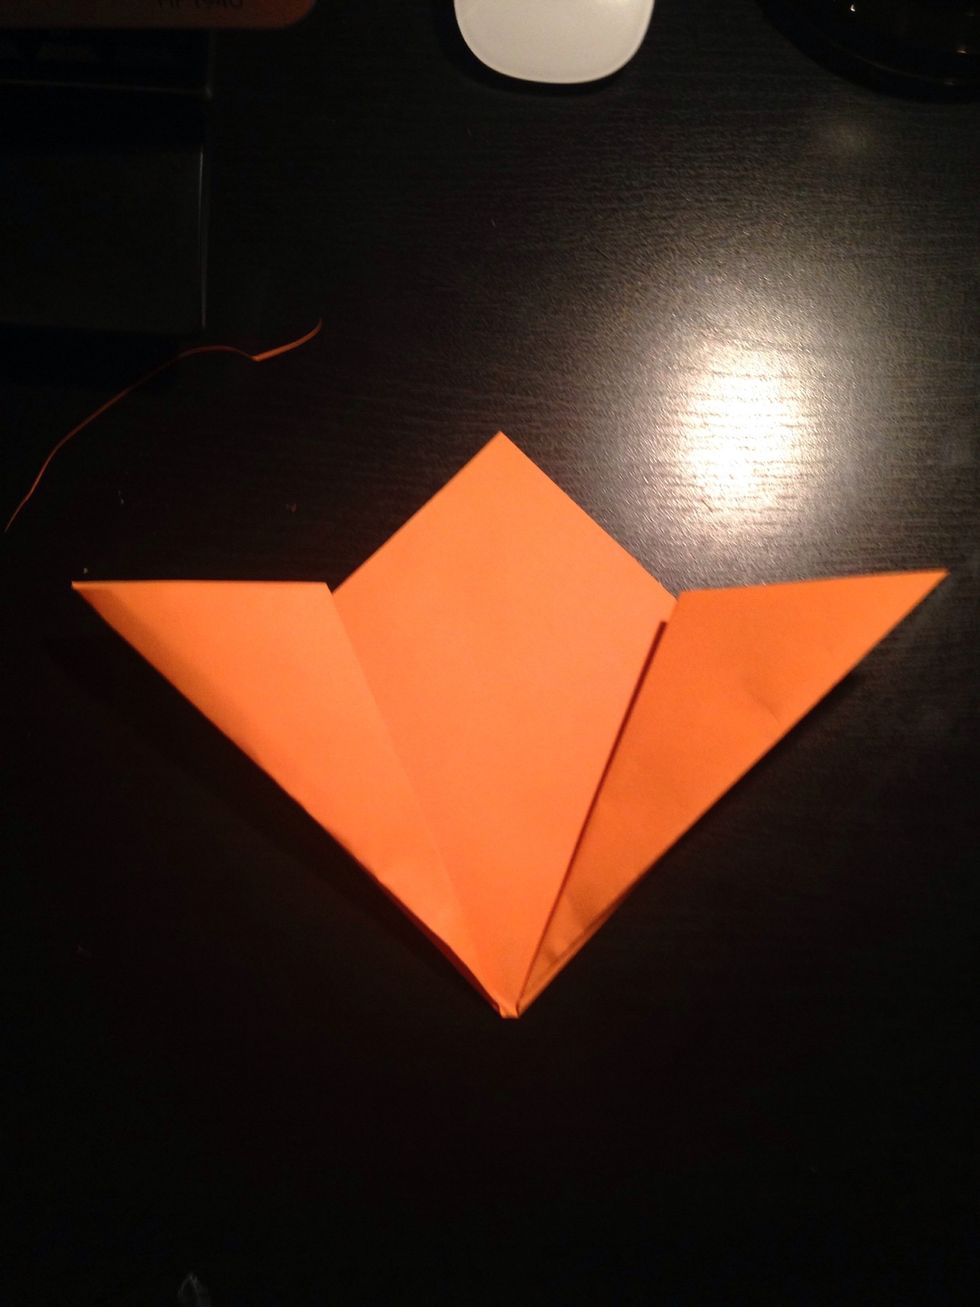
Repeat on other side.
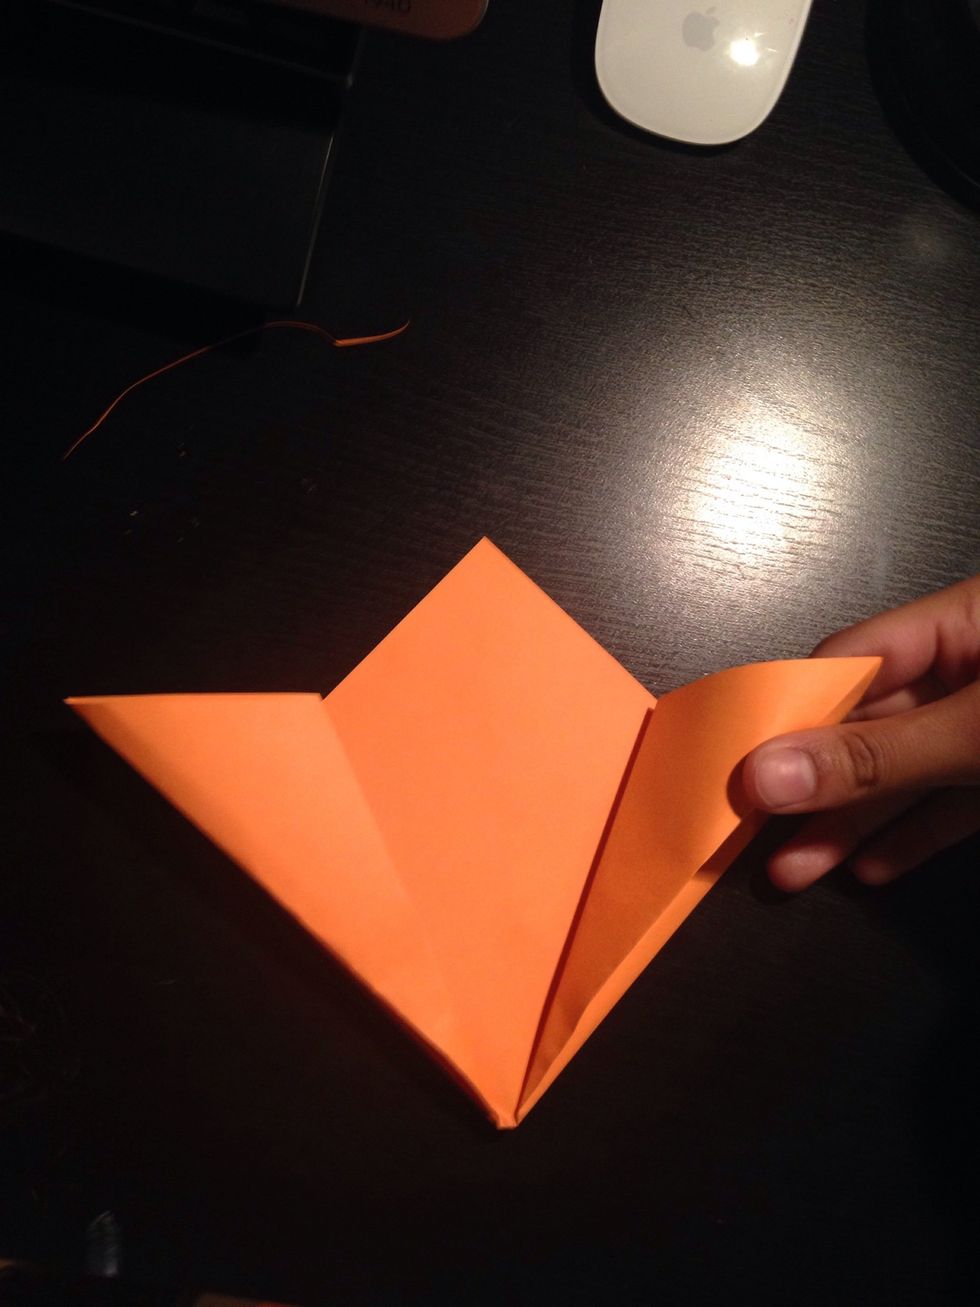
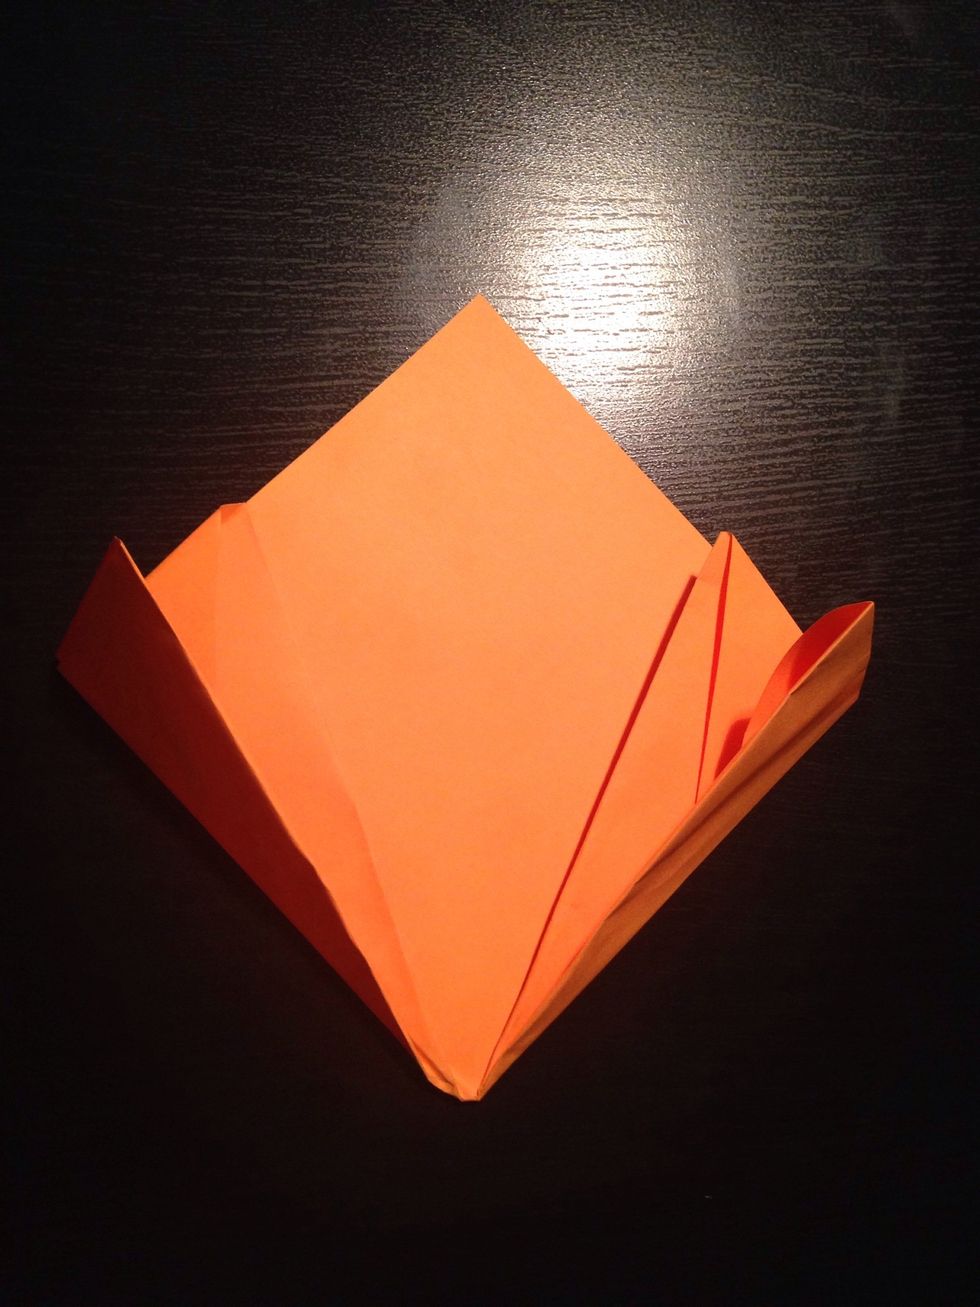
Place your finger in one of the outer pockets, and make a squash fold as shown in the next steps.
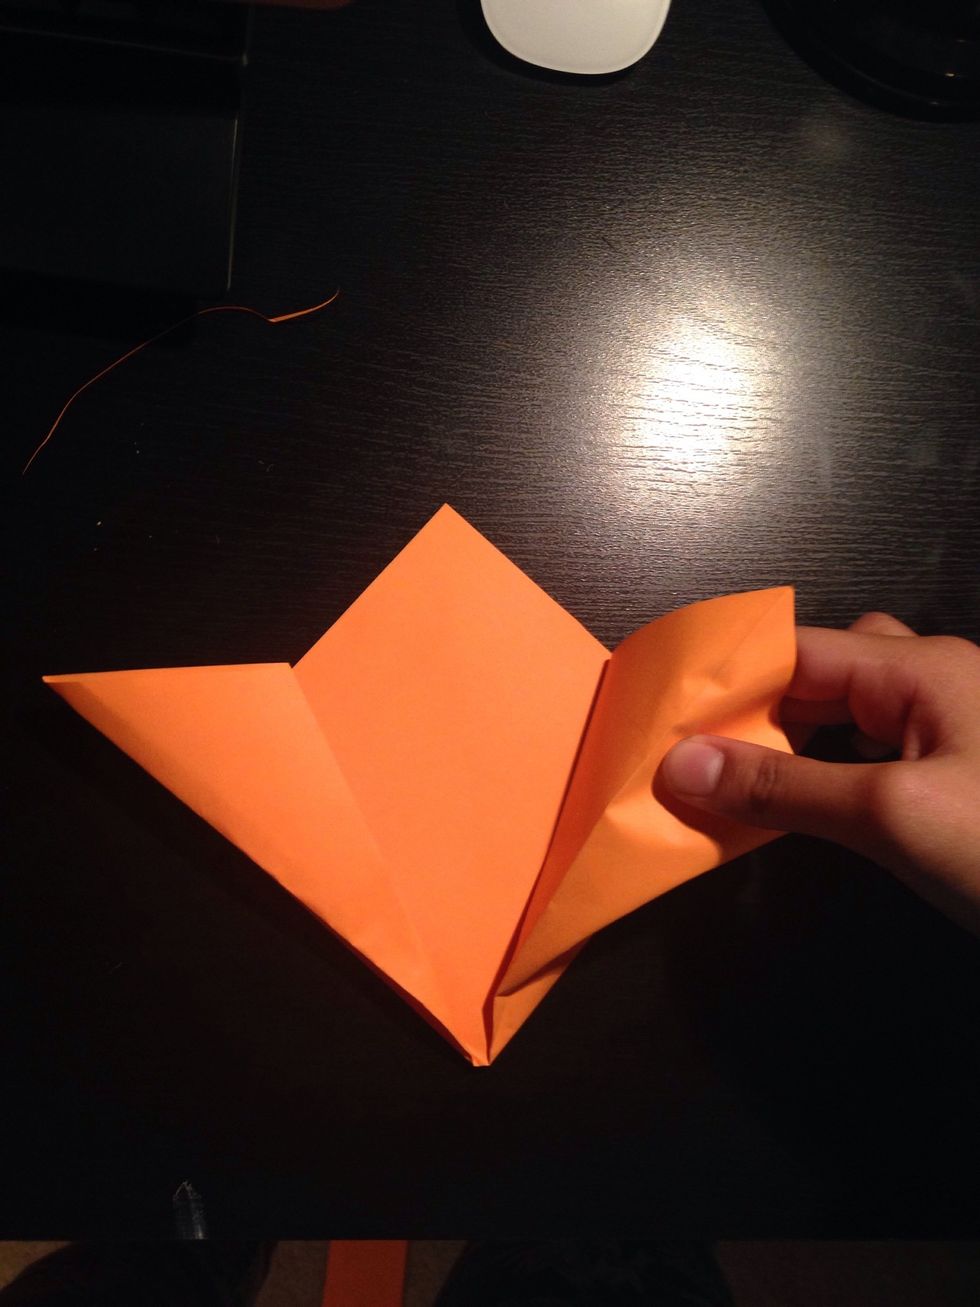
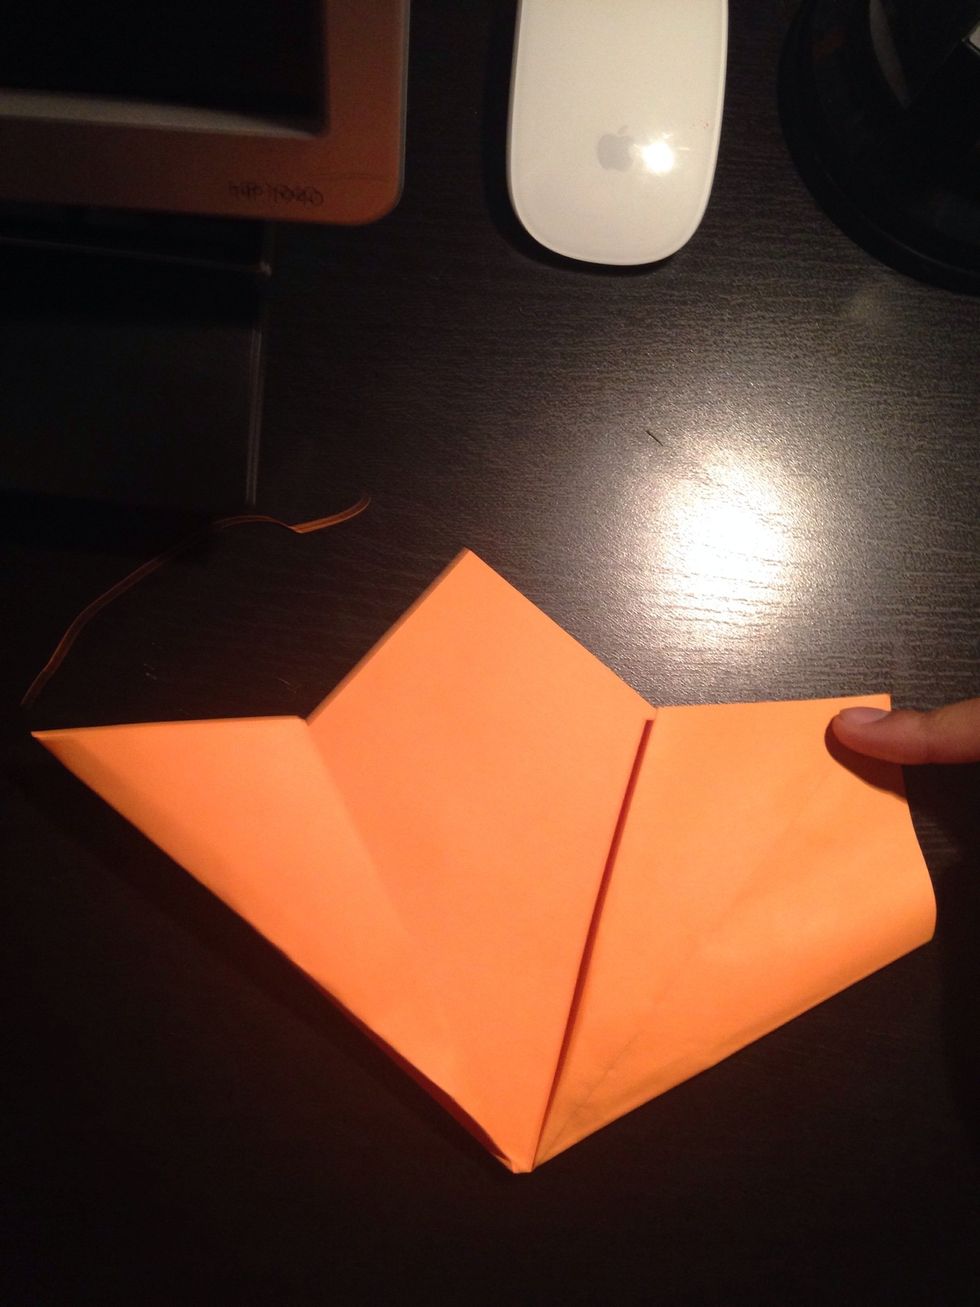
Repeat on other side.

Fold down both tips.
Make diagonal folds along the sides of the flaps (you are basically folding the flaps in half).
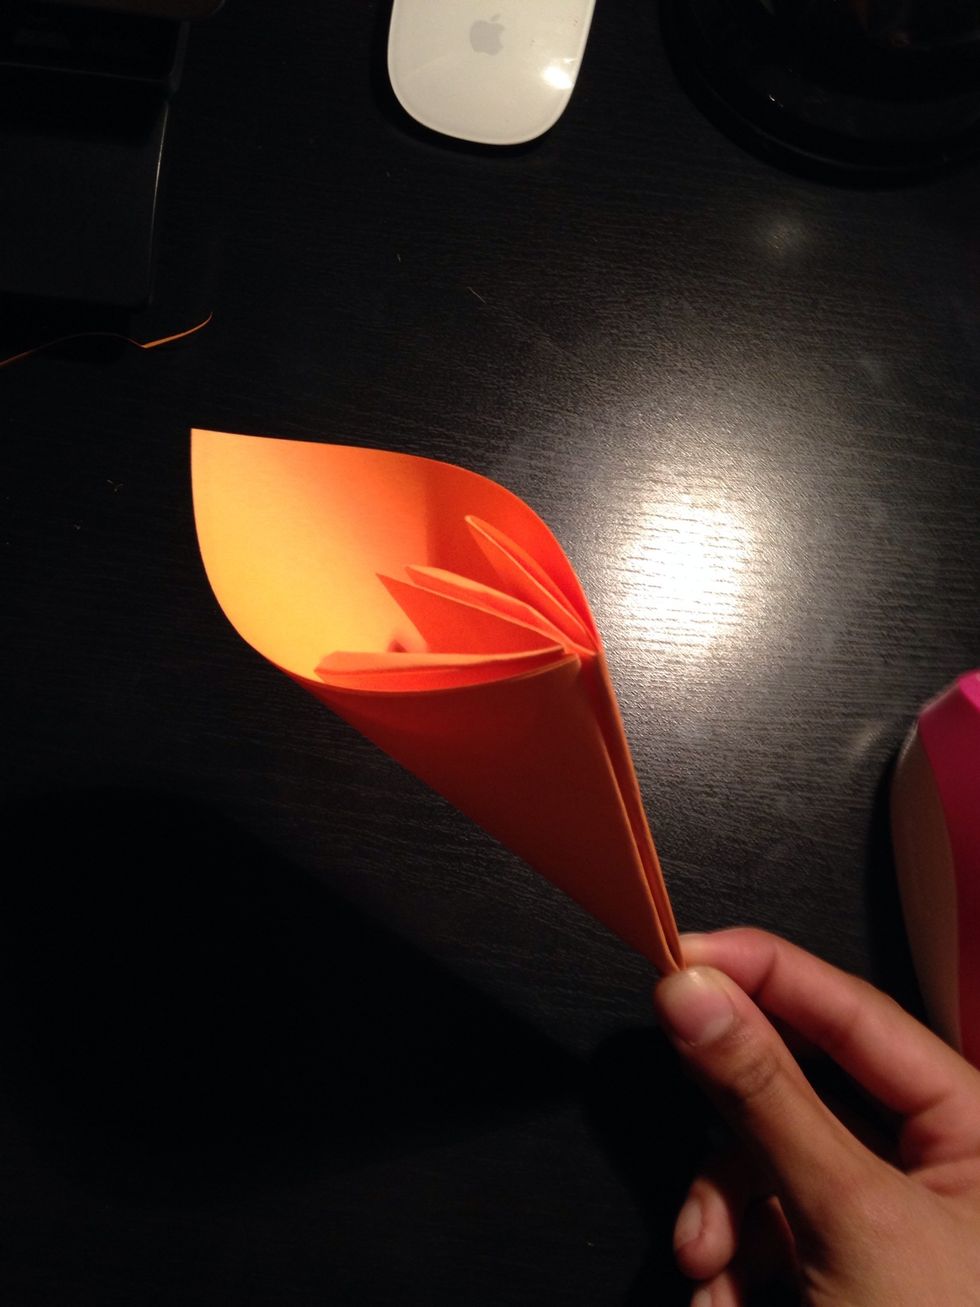
Join and glue the two flaps together to create a flower petal!
Repeat steps 1-14 to create a total of 5 petals. Glue them all together and you have an origami Kusudama Flower!
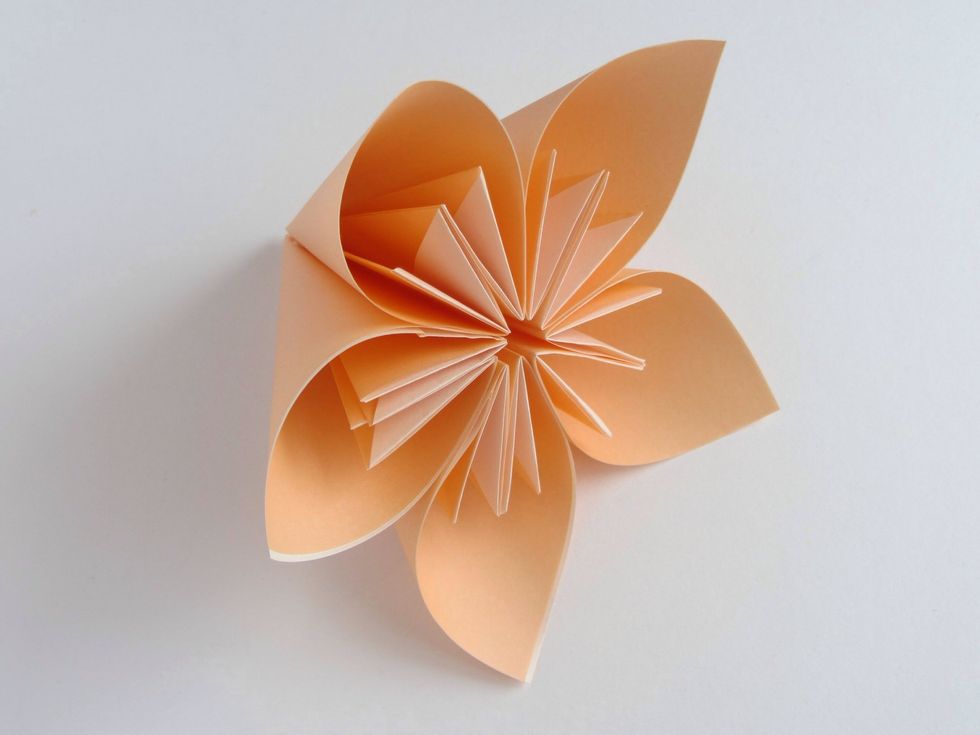
Finished product!