The Conversation (0)
Sign Up
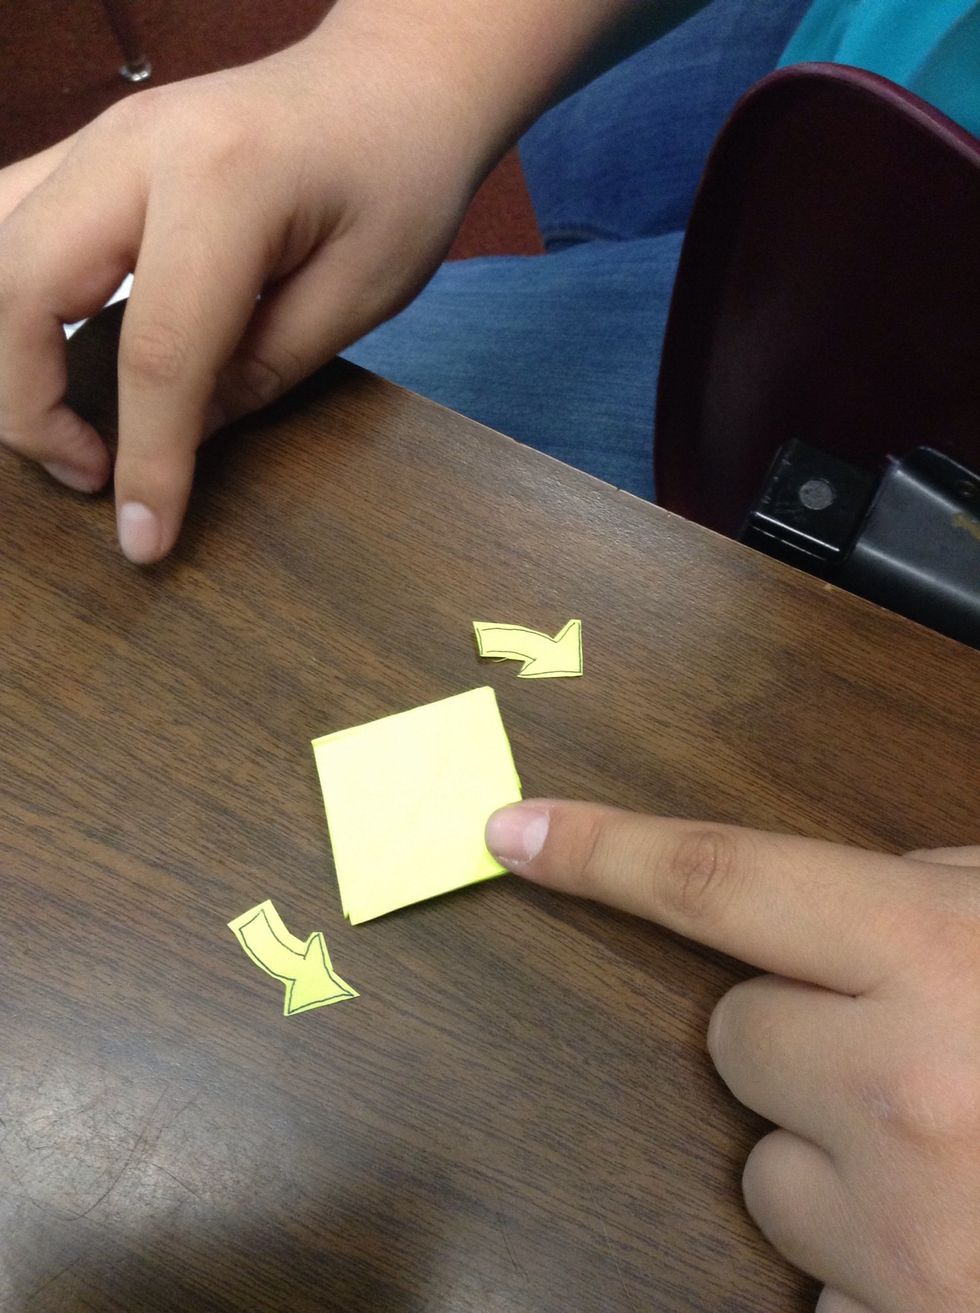
Get a square piece of paper.
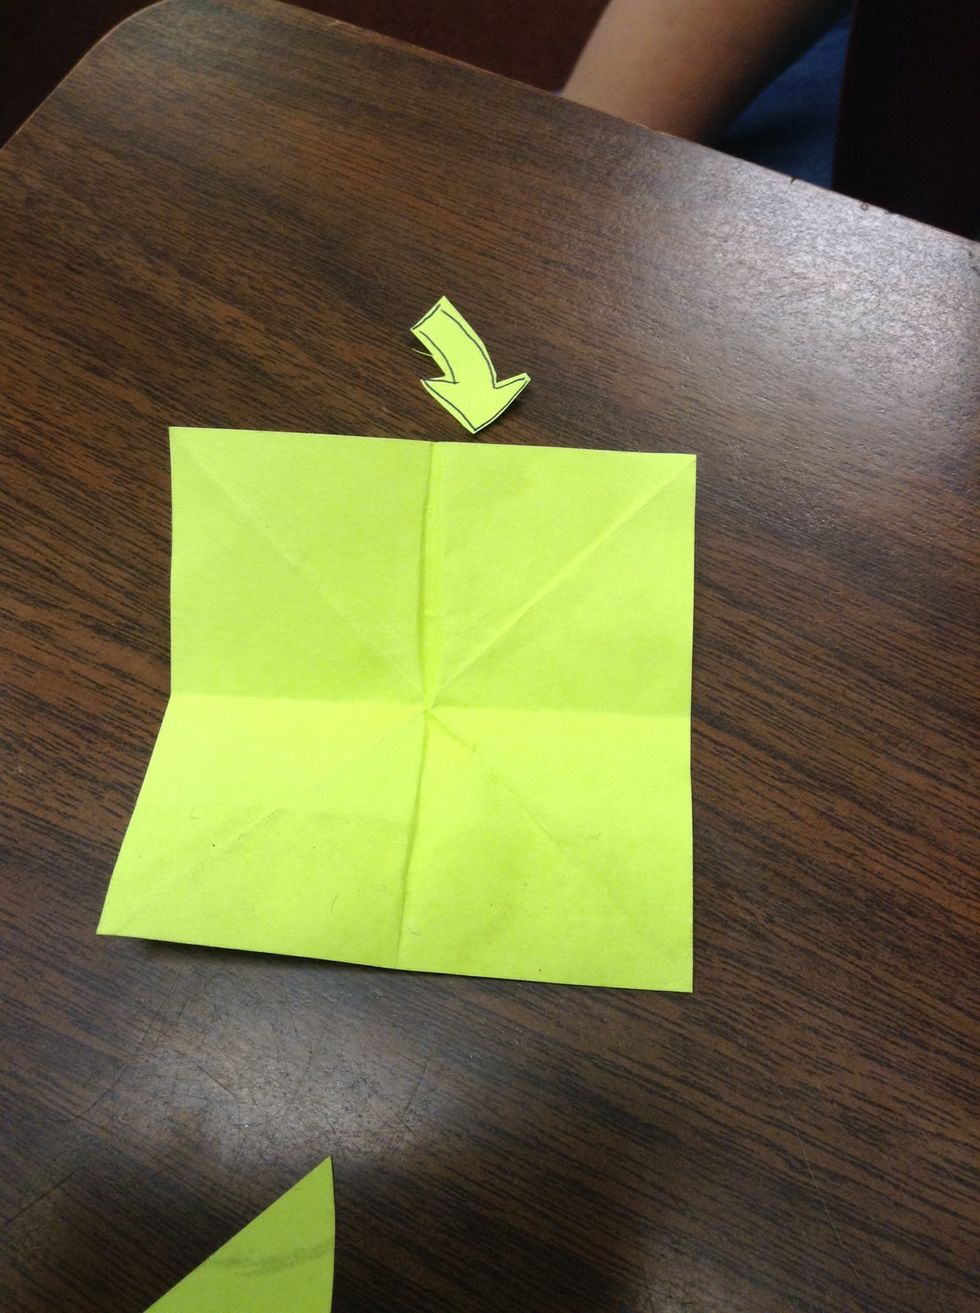
Fold the paper in half both ways and diagonal both ways.
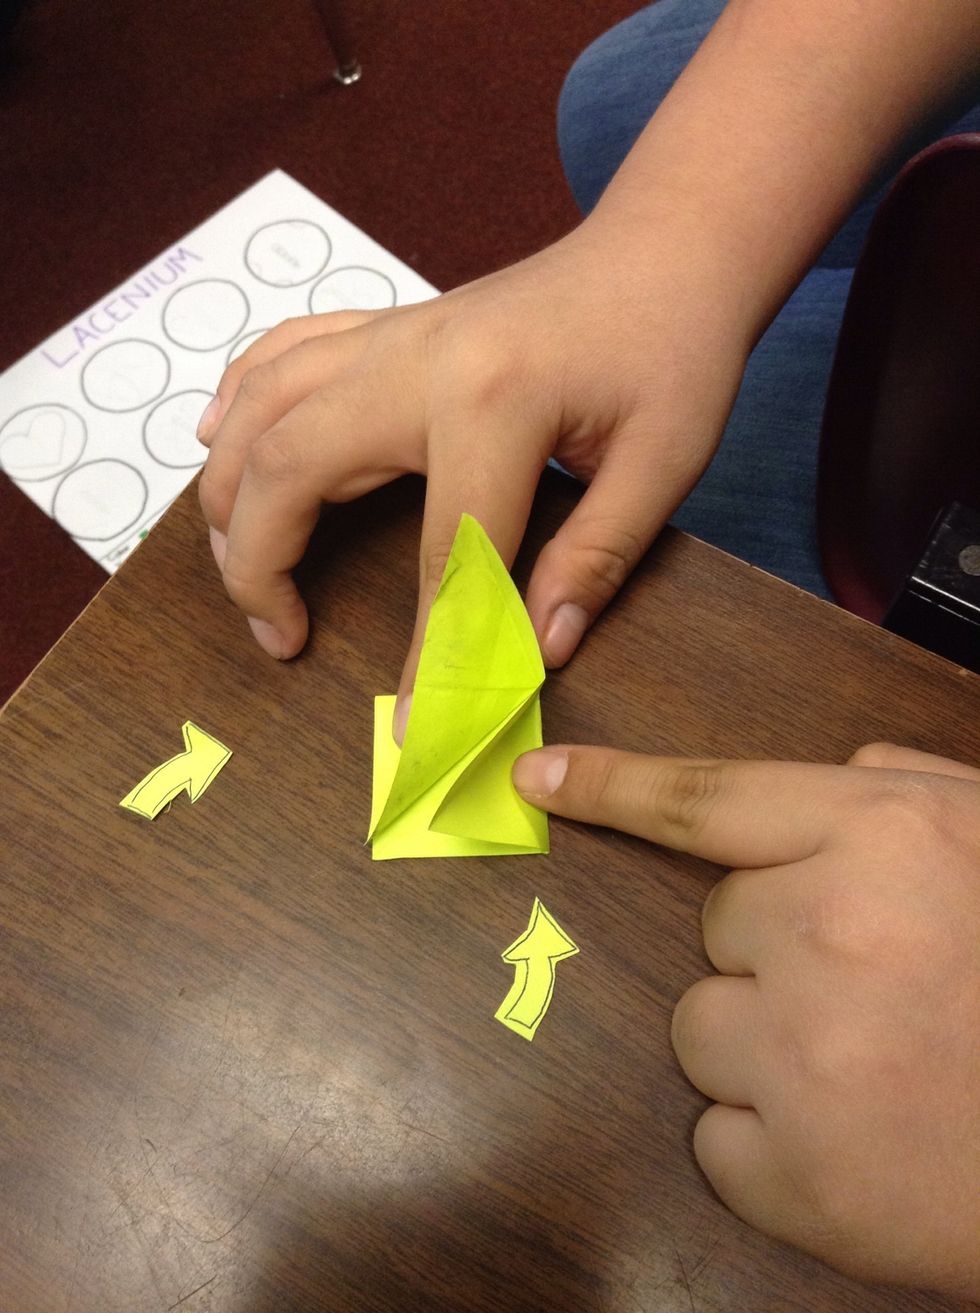
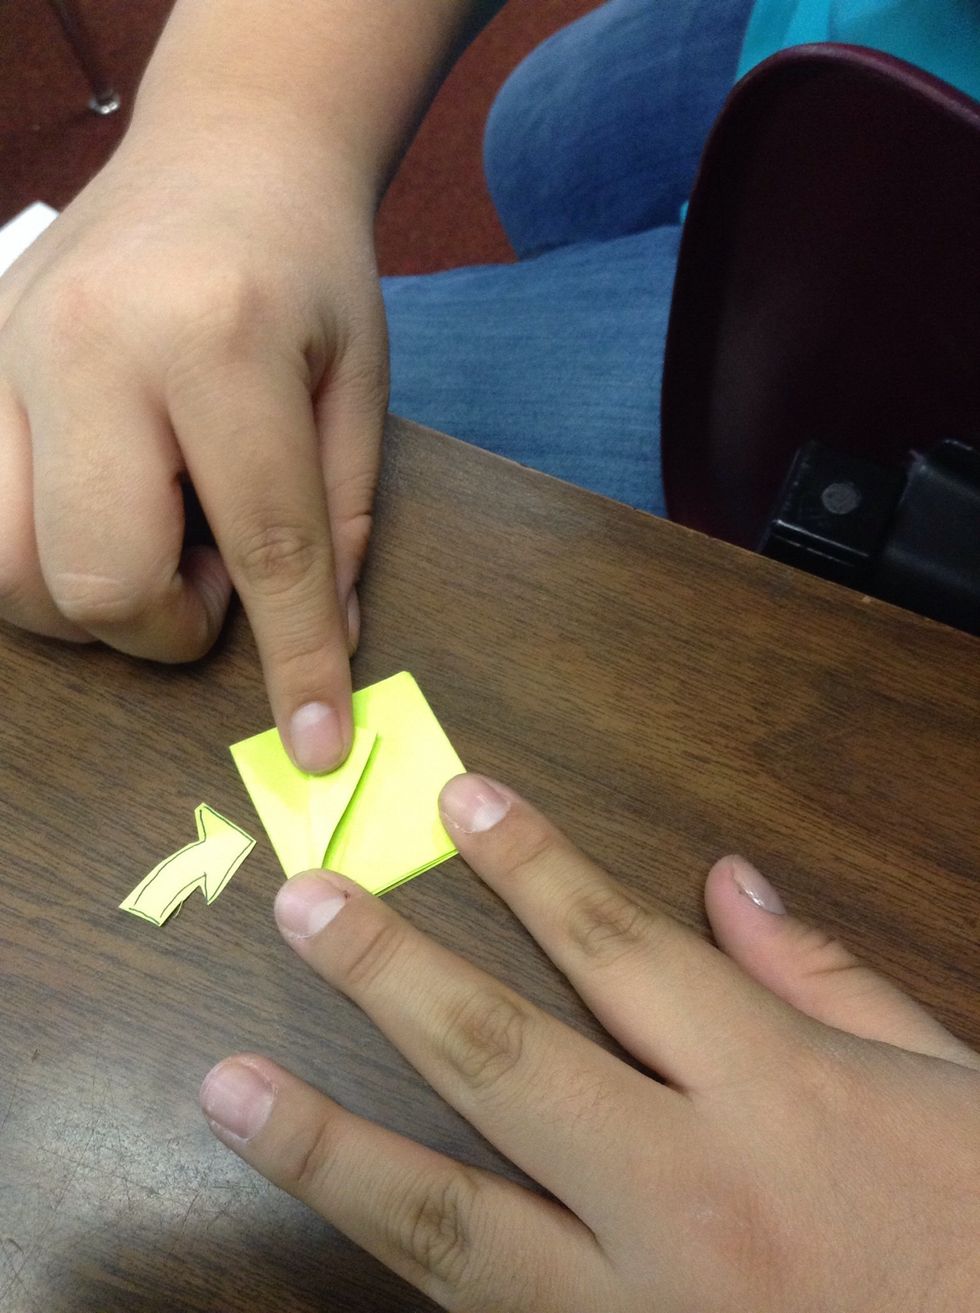
Turn the paper diagonal and take the two side squares and take each triangle side and push it down so that way the two triangle meet up with bottom square triangles and press the top down.
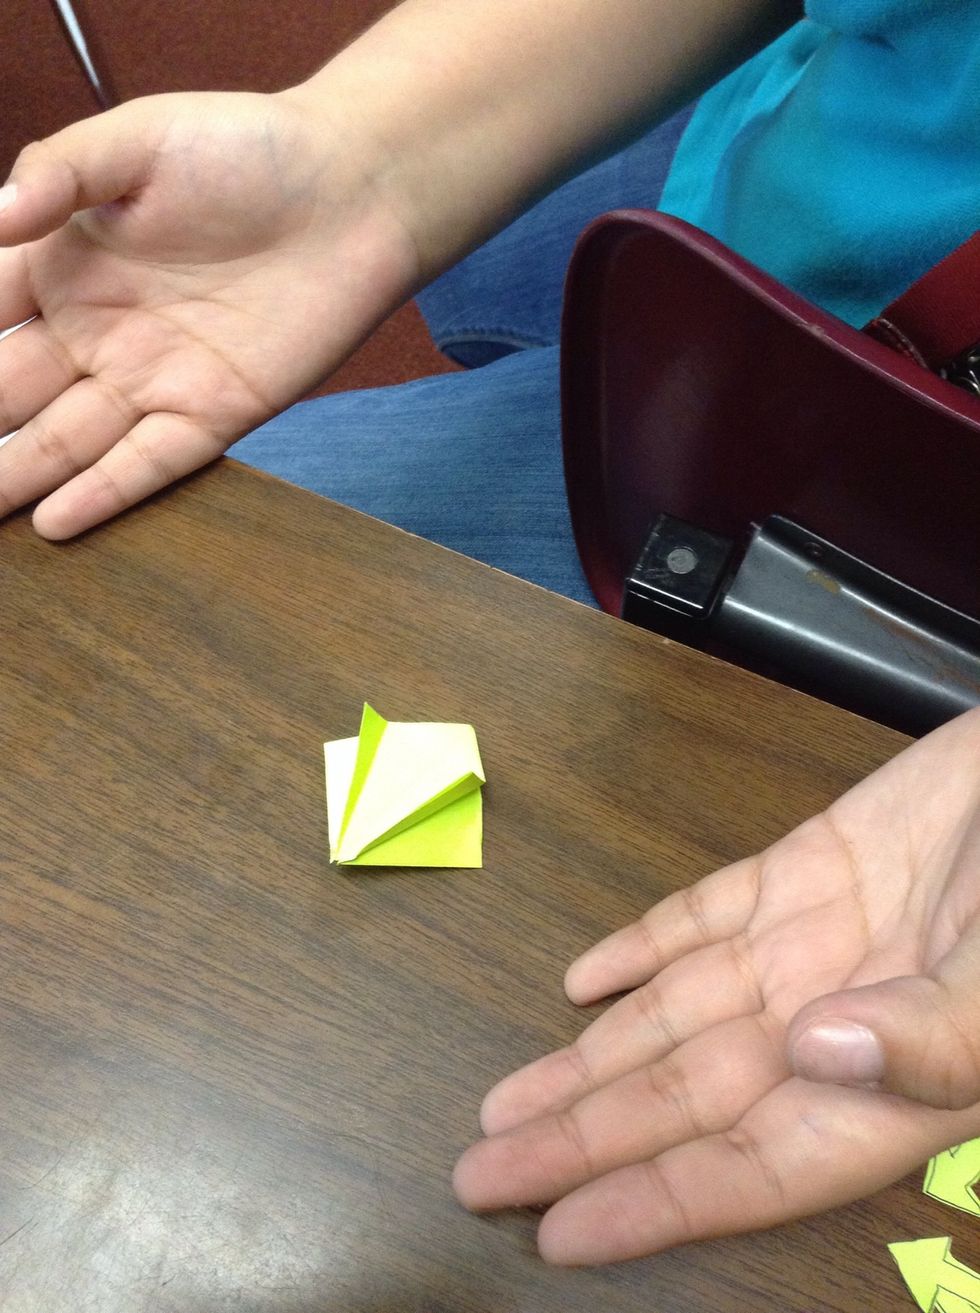
This is what it should look like so far.
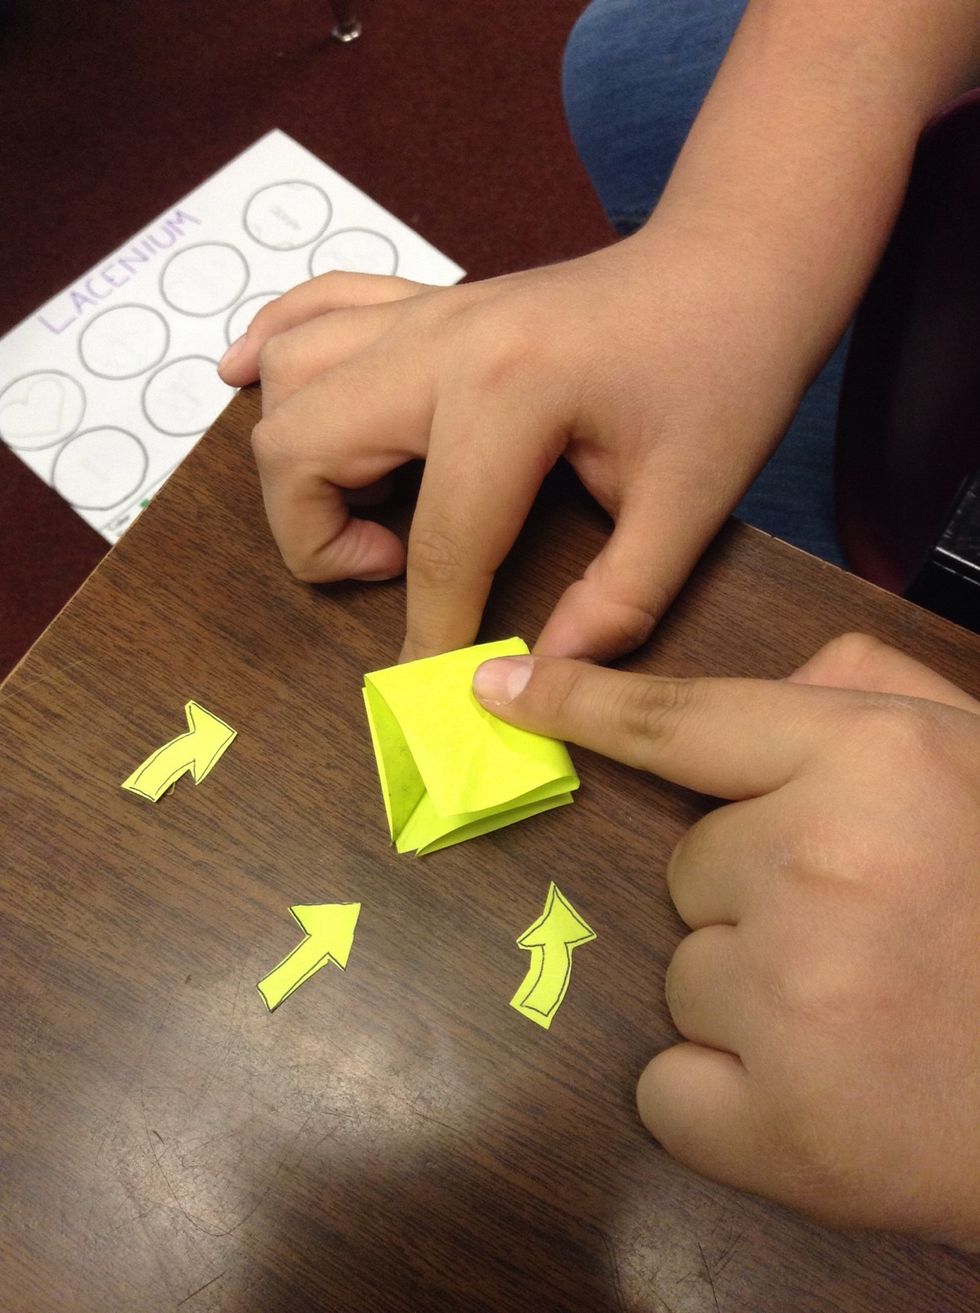
Turn it diagonal so the open part is at the bottom and the closed part is at the top. Fold the left corner near the center and make a triangle shape.
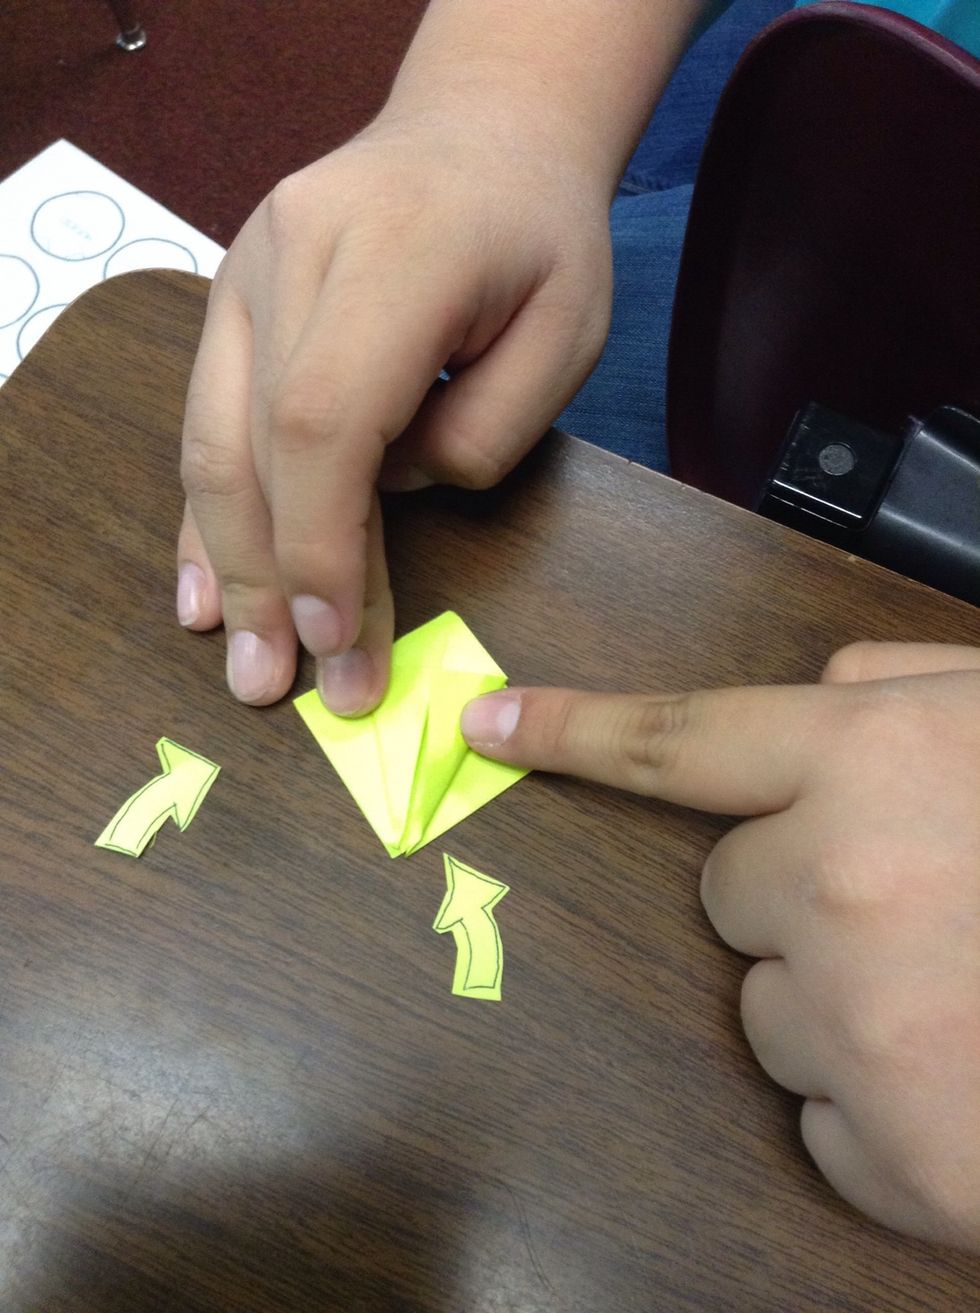
Repeat and this is what it should look like.
Flip the paper over .

Repeat for the other side.
This is what it should look like.
Next you unfold all the folded flaps.
Refold the flaps and fold down the big triangle at the top and unfold all the flaps again. And then unfold the top triangle.
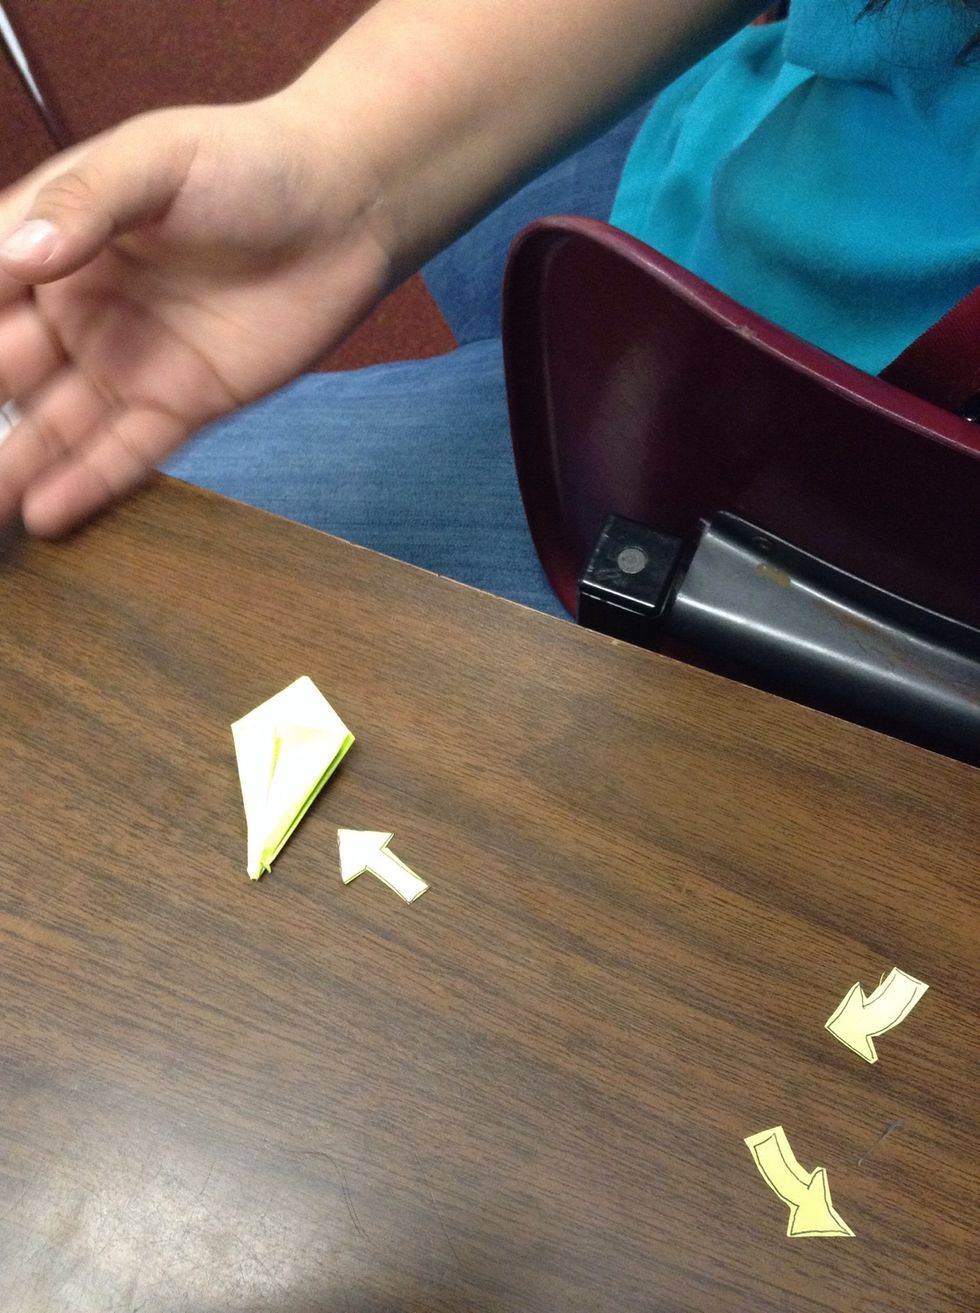
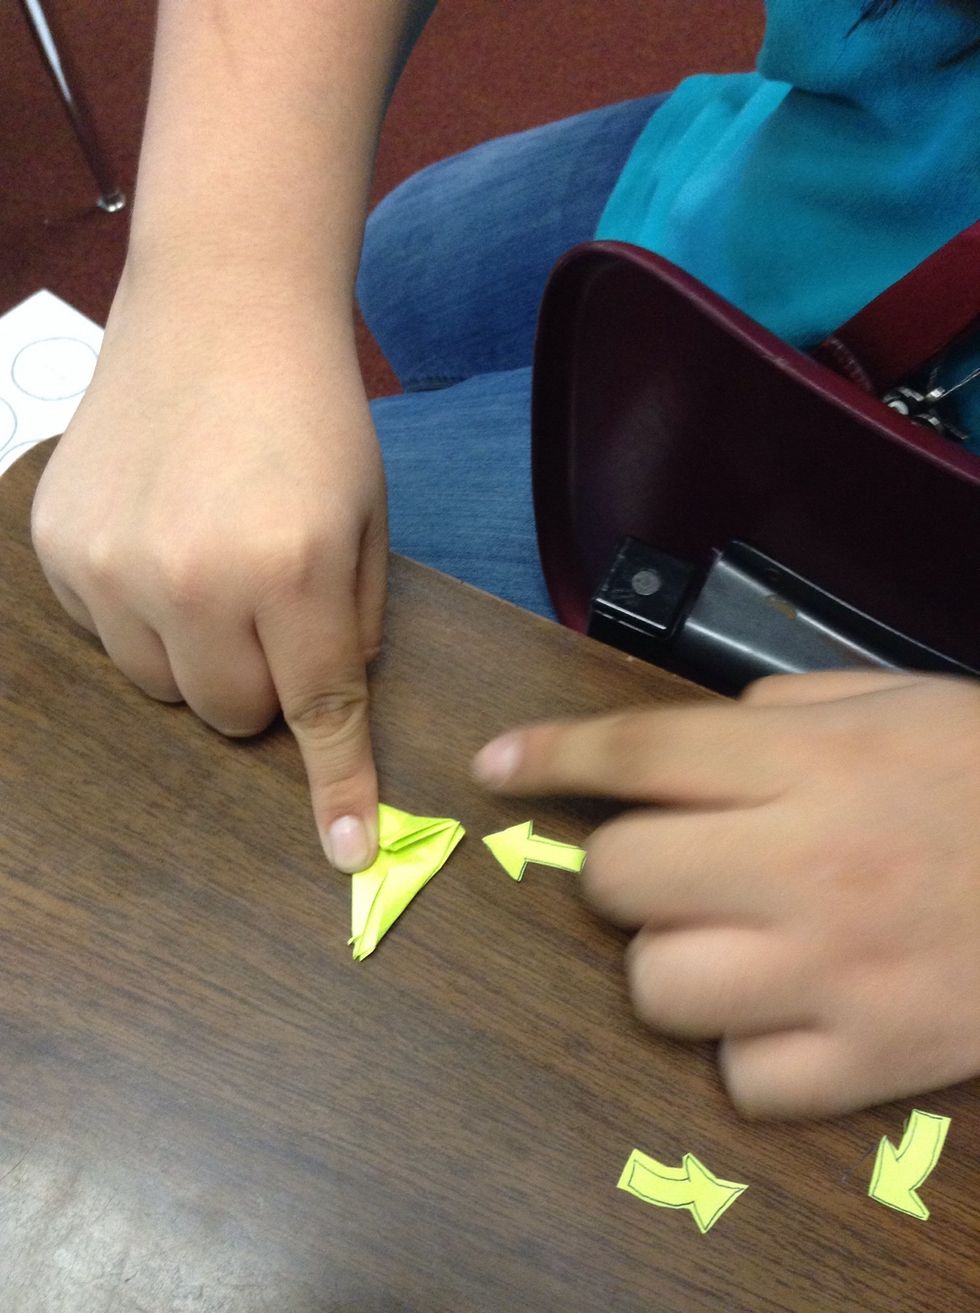
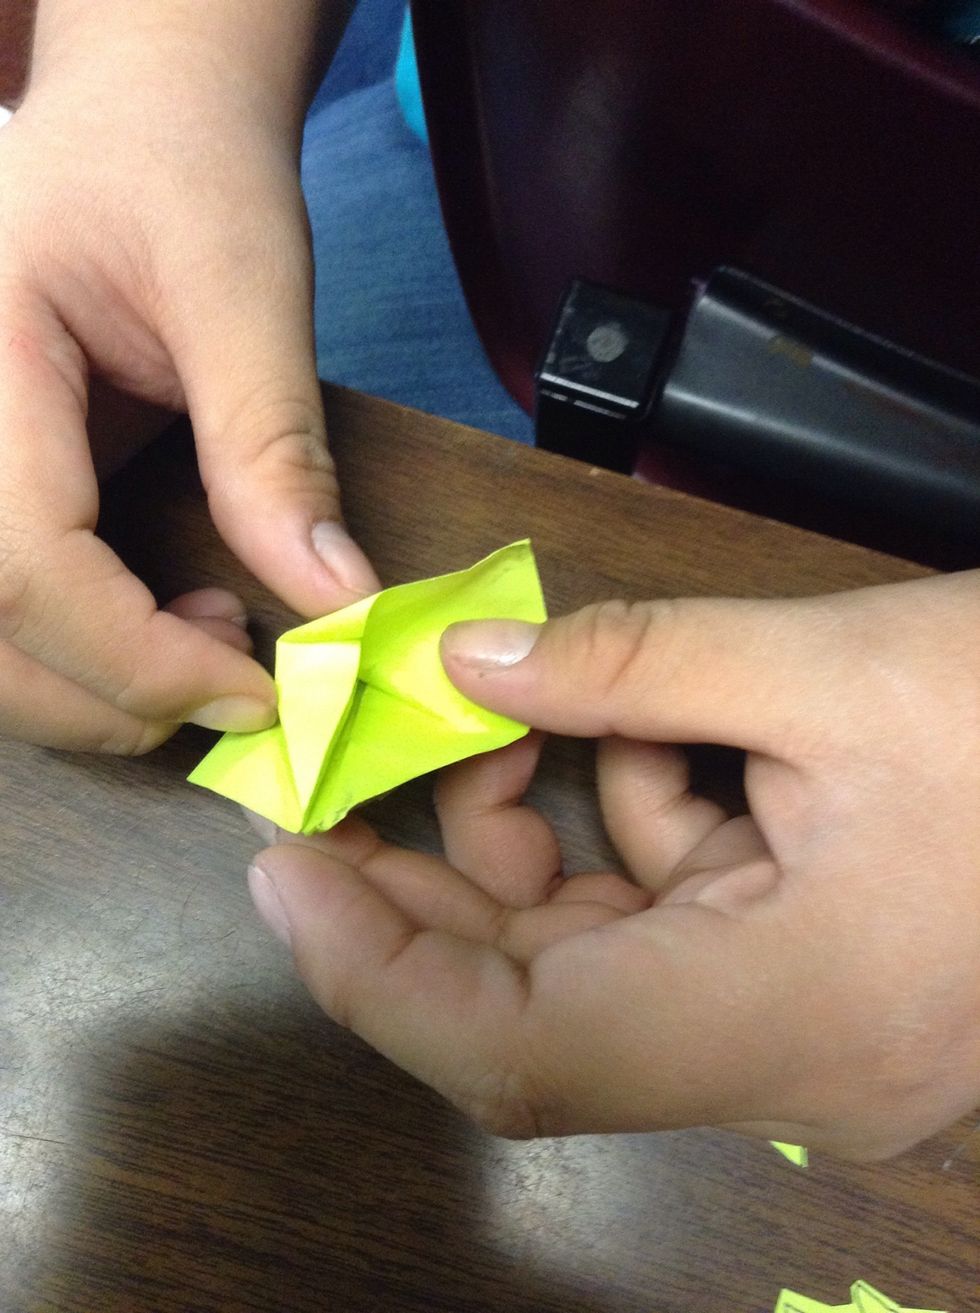
Now open the first opening like shown.......
This is what it should look like.
You take the piece of paper that has a crease in it on the side and push it into it.
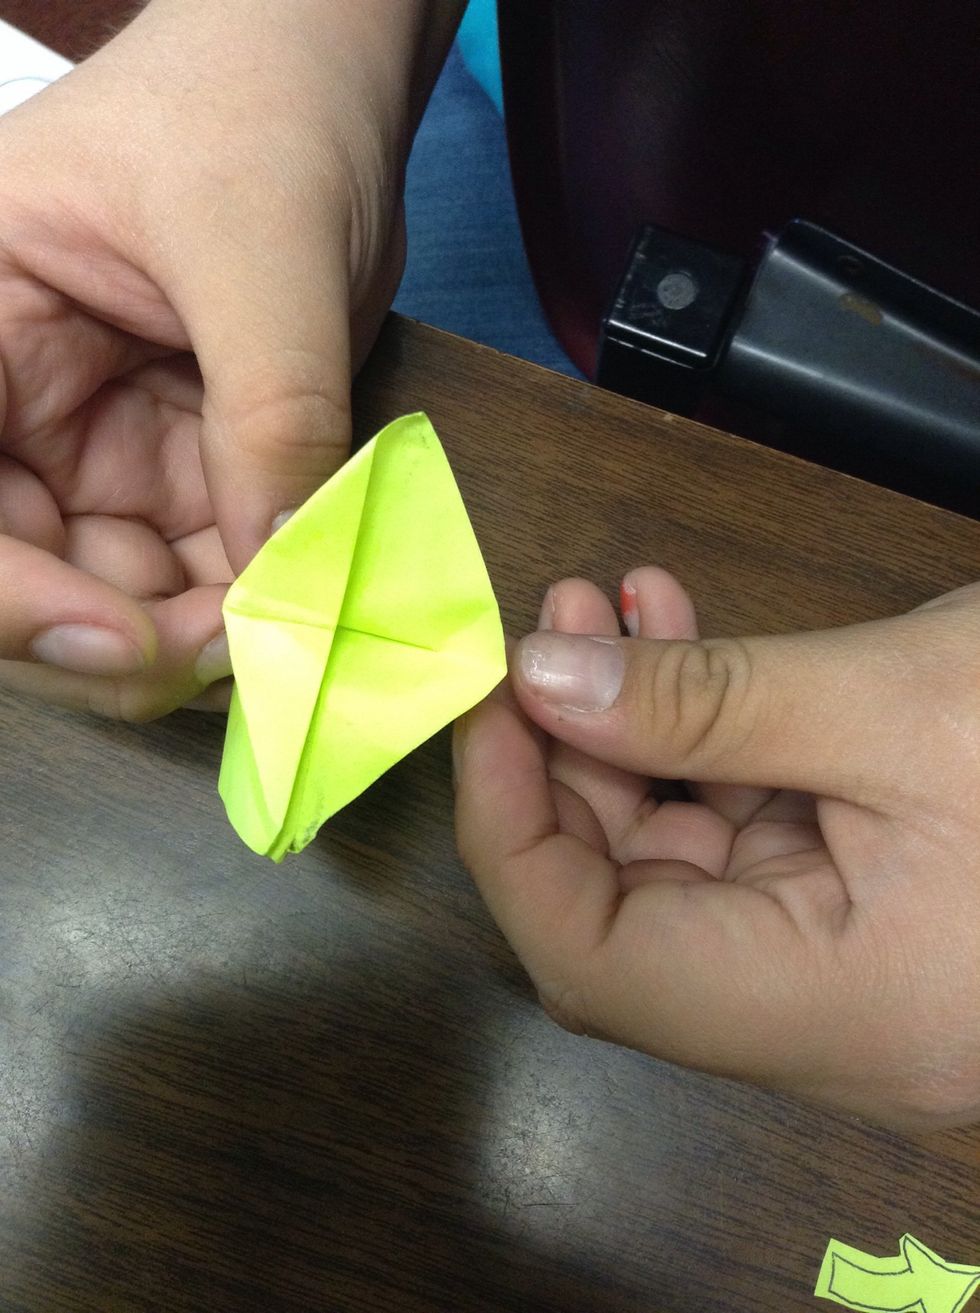
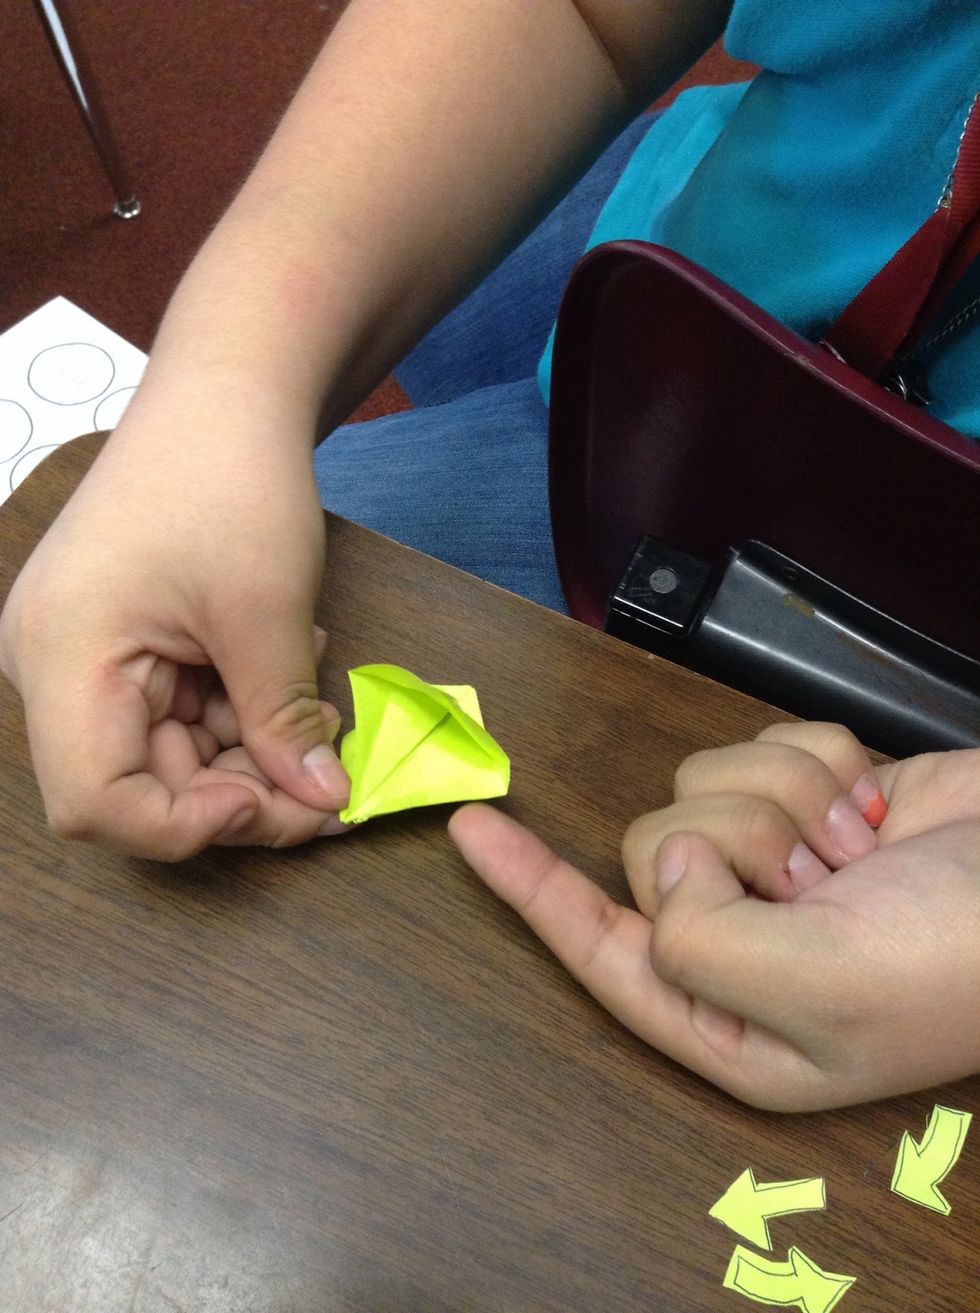
This is what it should look like.
Repeat for the other side.
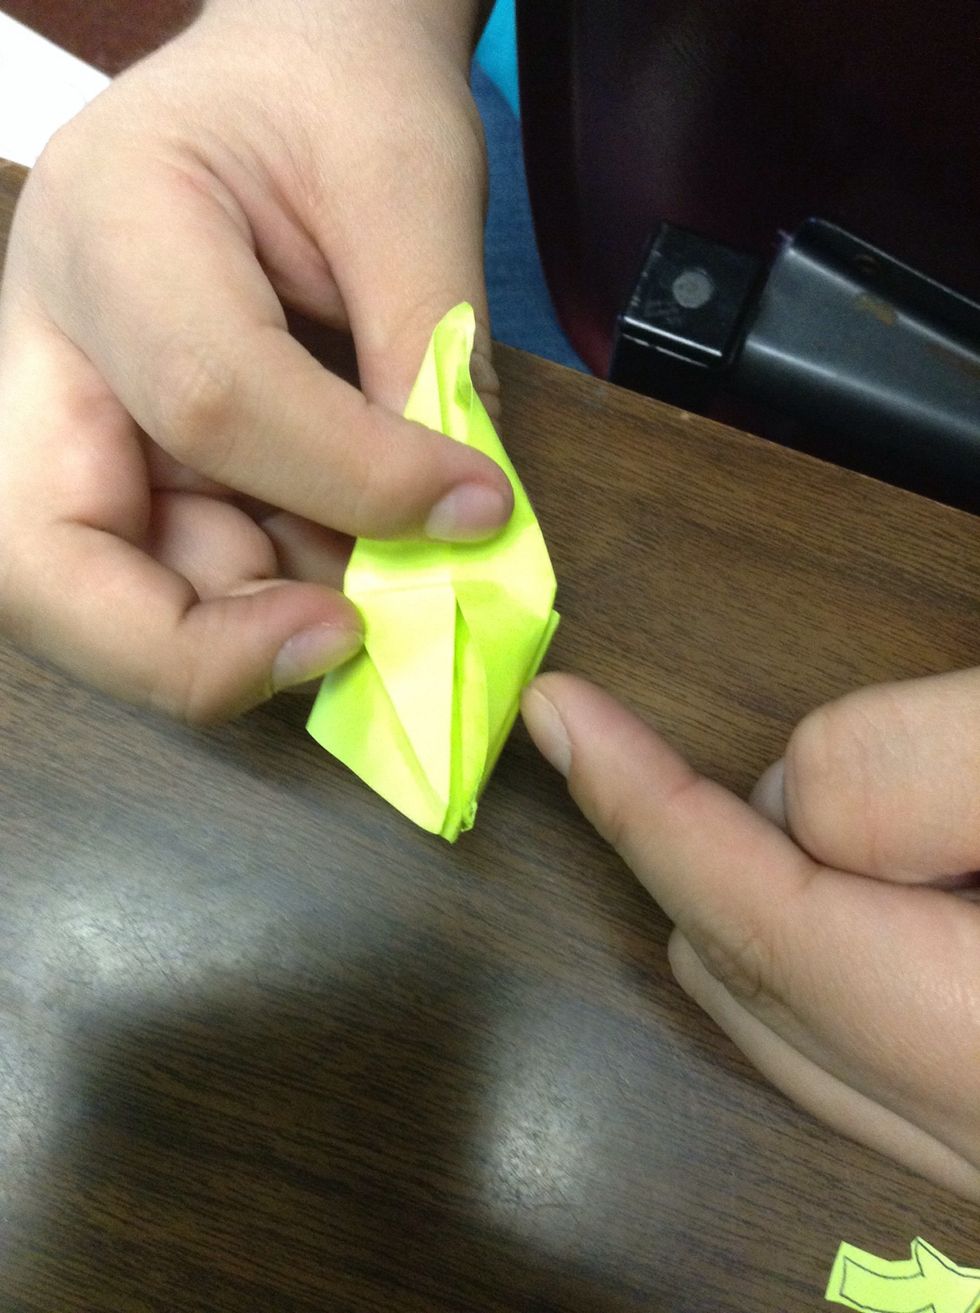
Flip it over and repeat the previous steps to both sides.
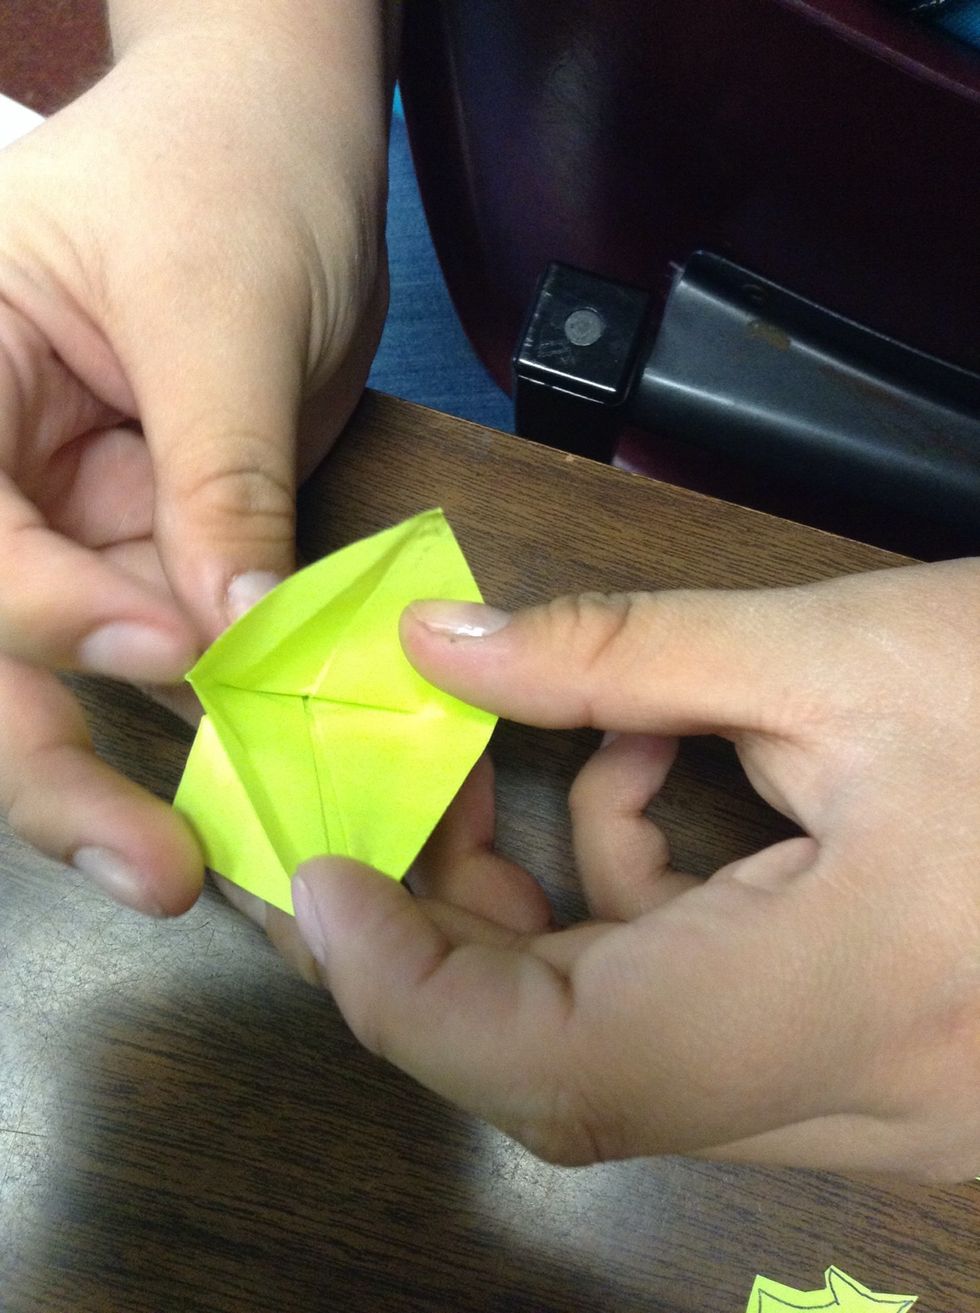
This is what it should look like when opened.
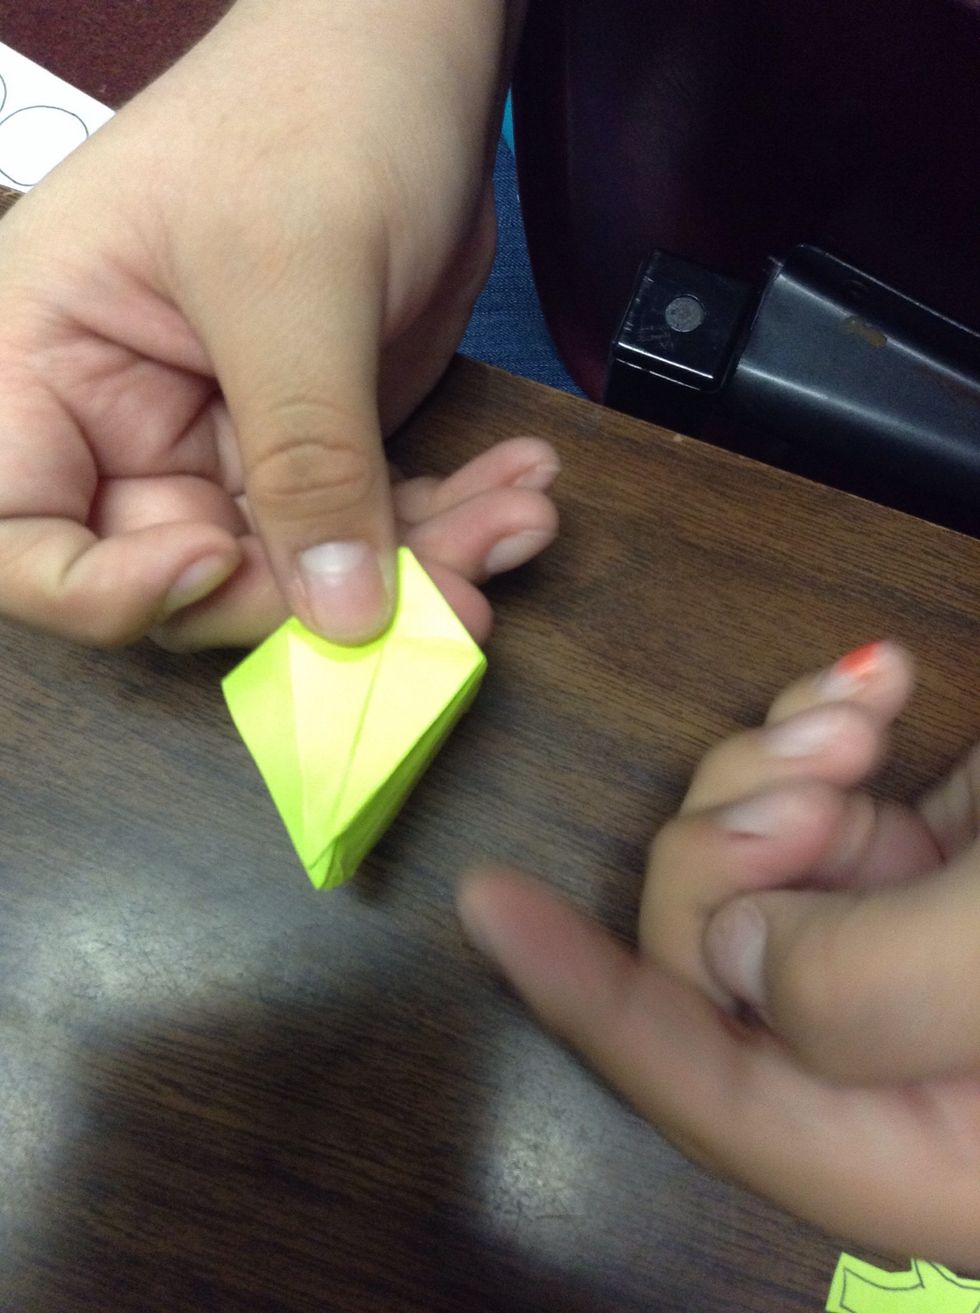
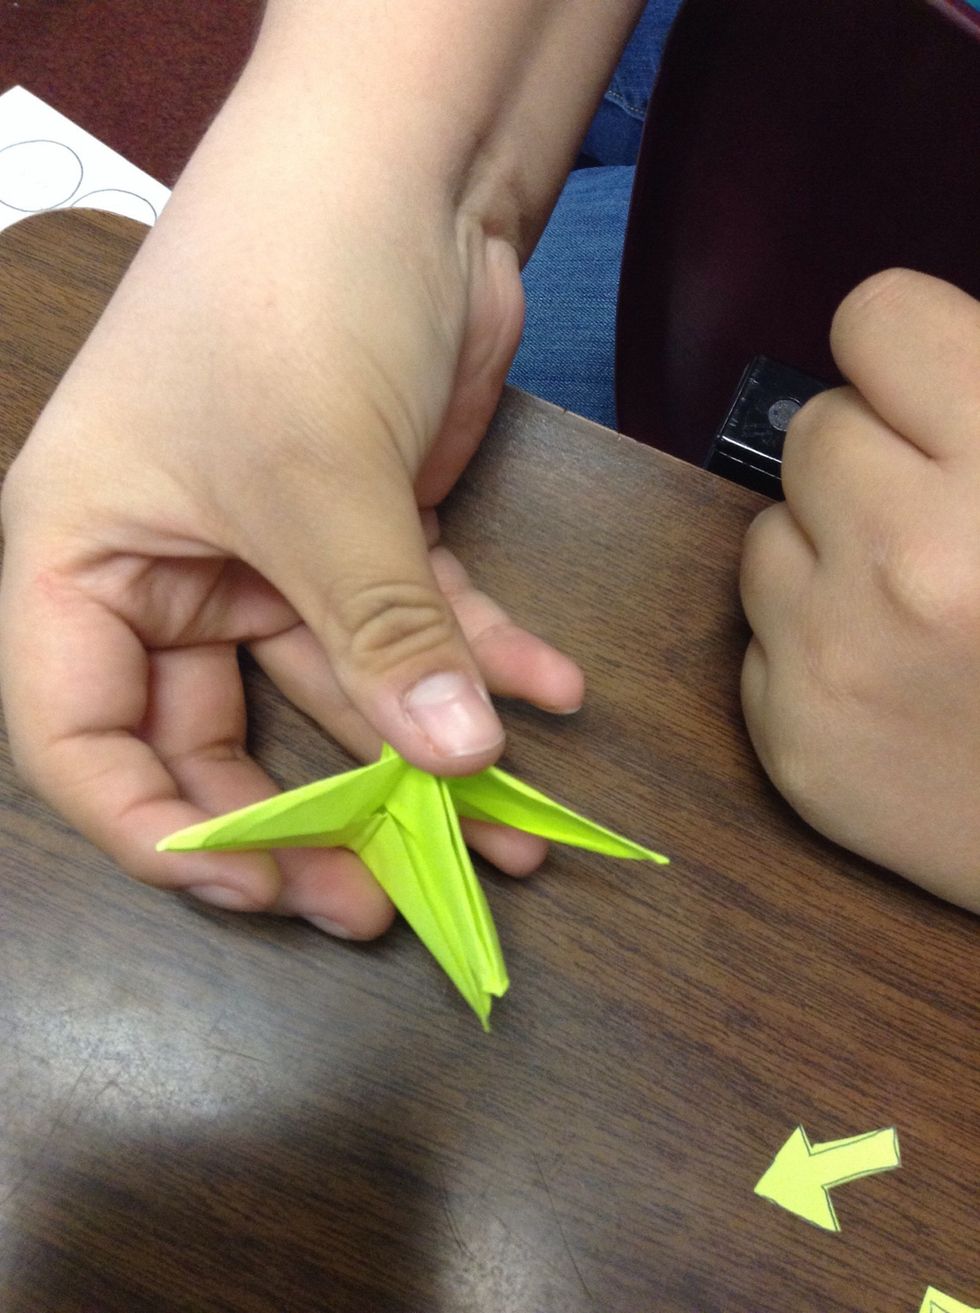
Fold up the two triangles revealing two separated triangles that look like little legs. Then flip it over and repeat.
This is what it should look like.
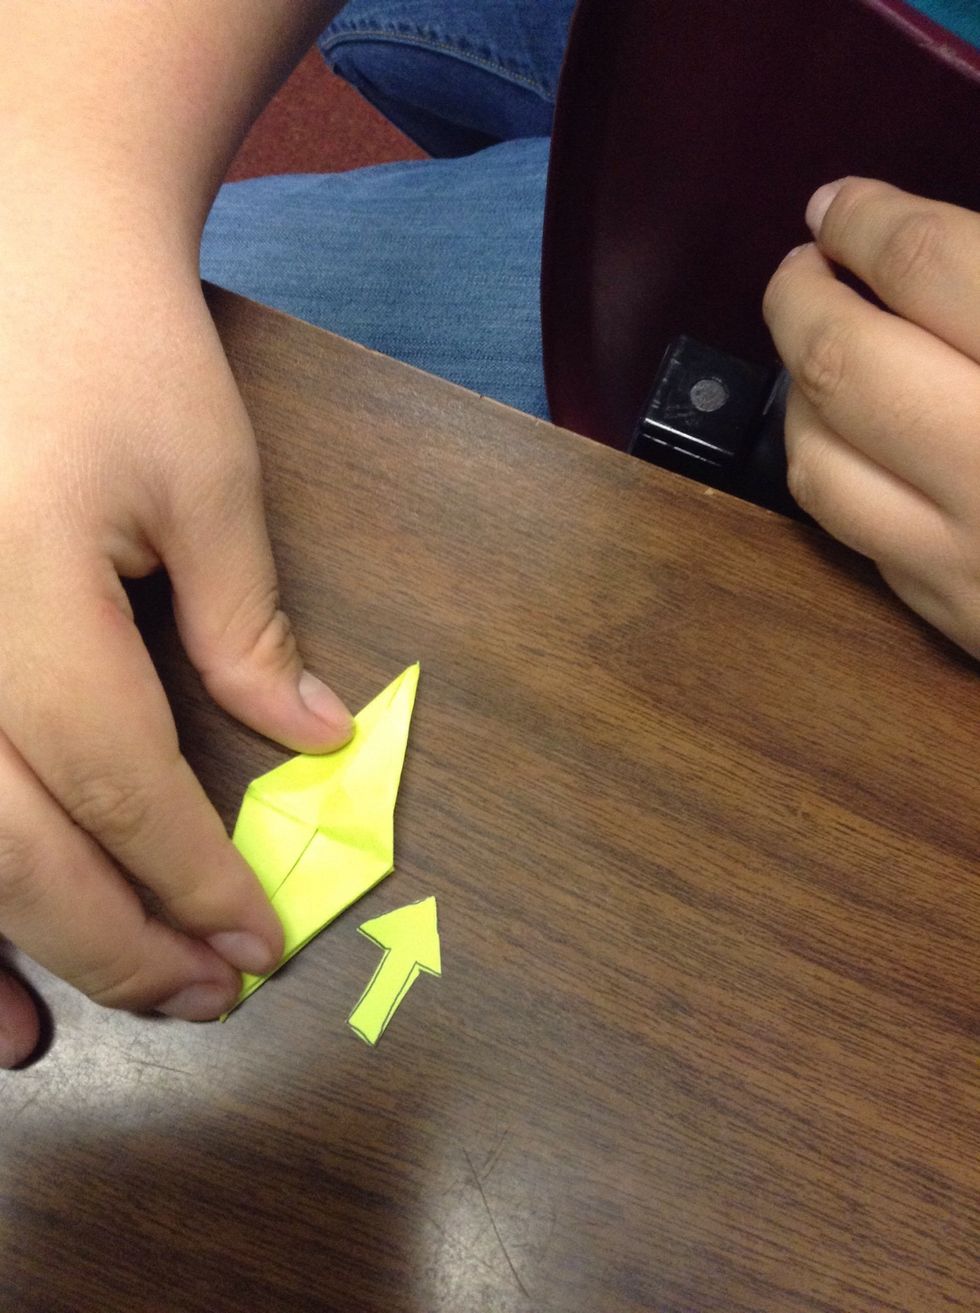
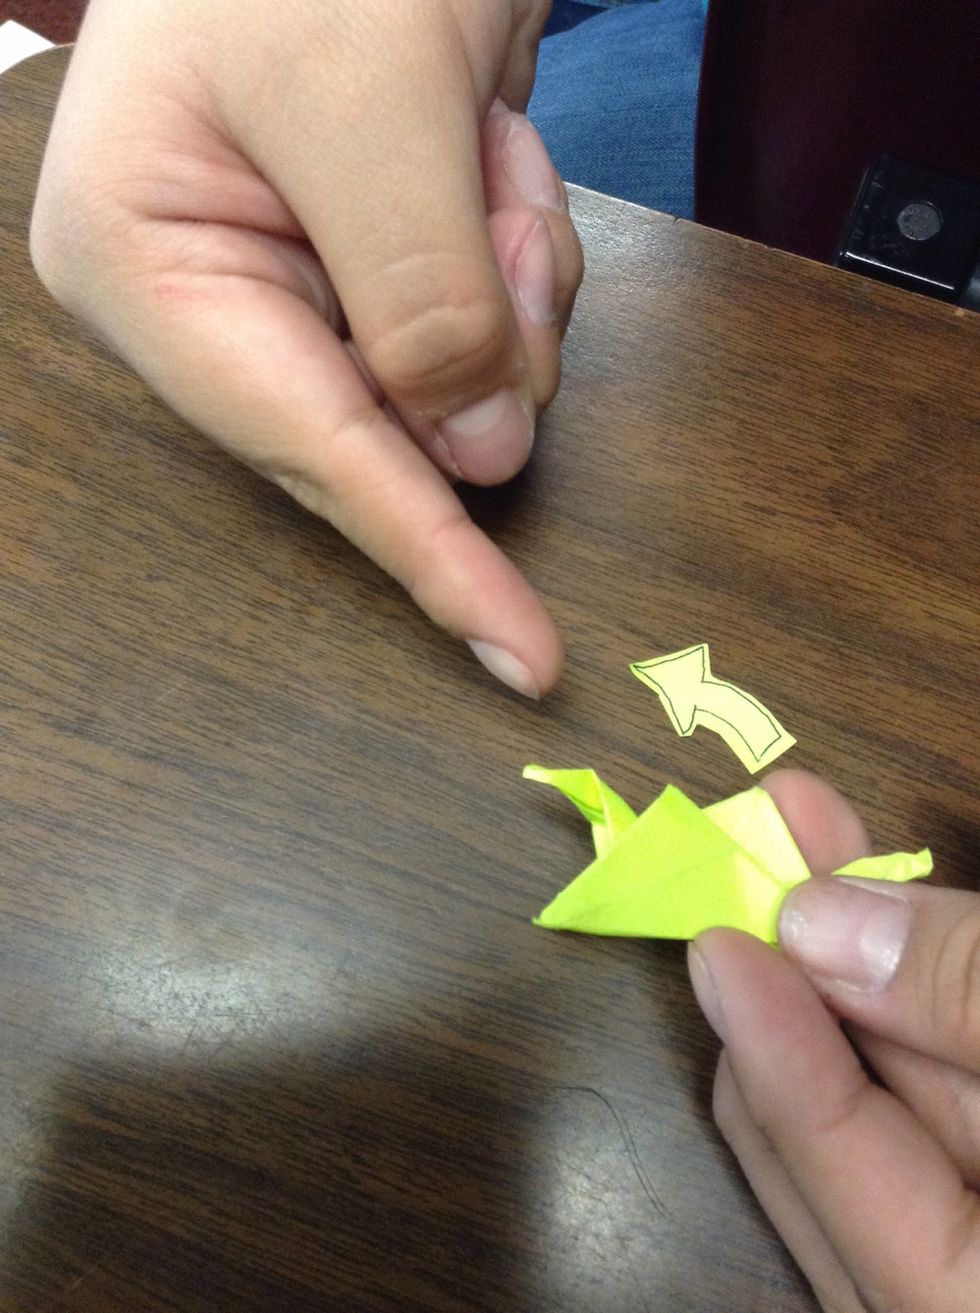
Take it and put it on its side and take one of the little legs and pull it up.
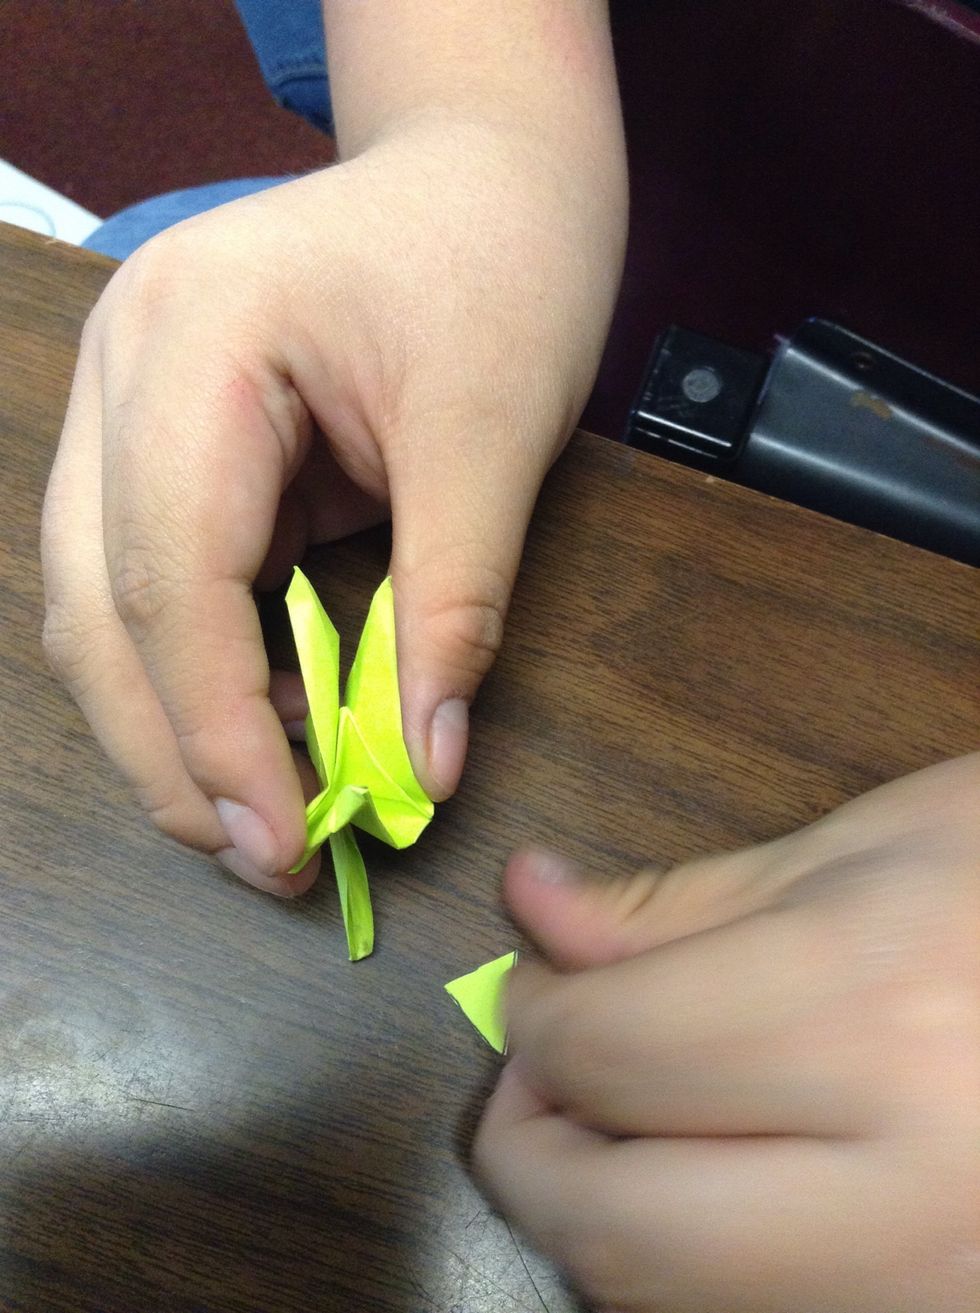
And squeeze it at the sides so it stays up.
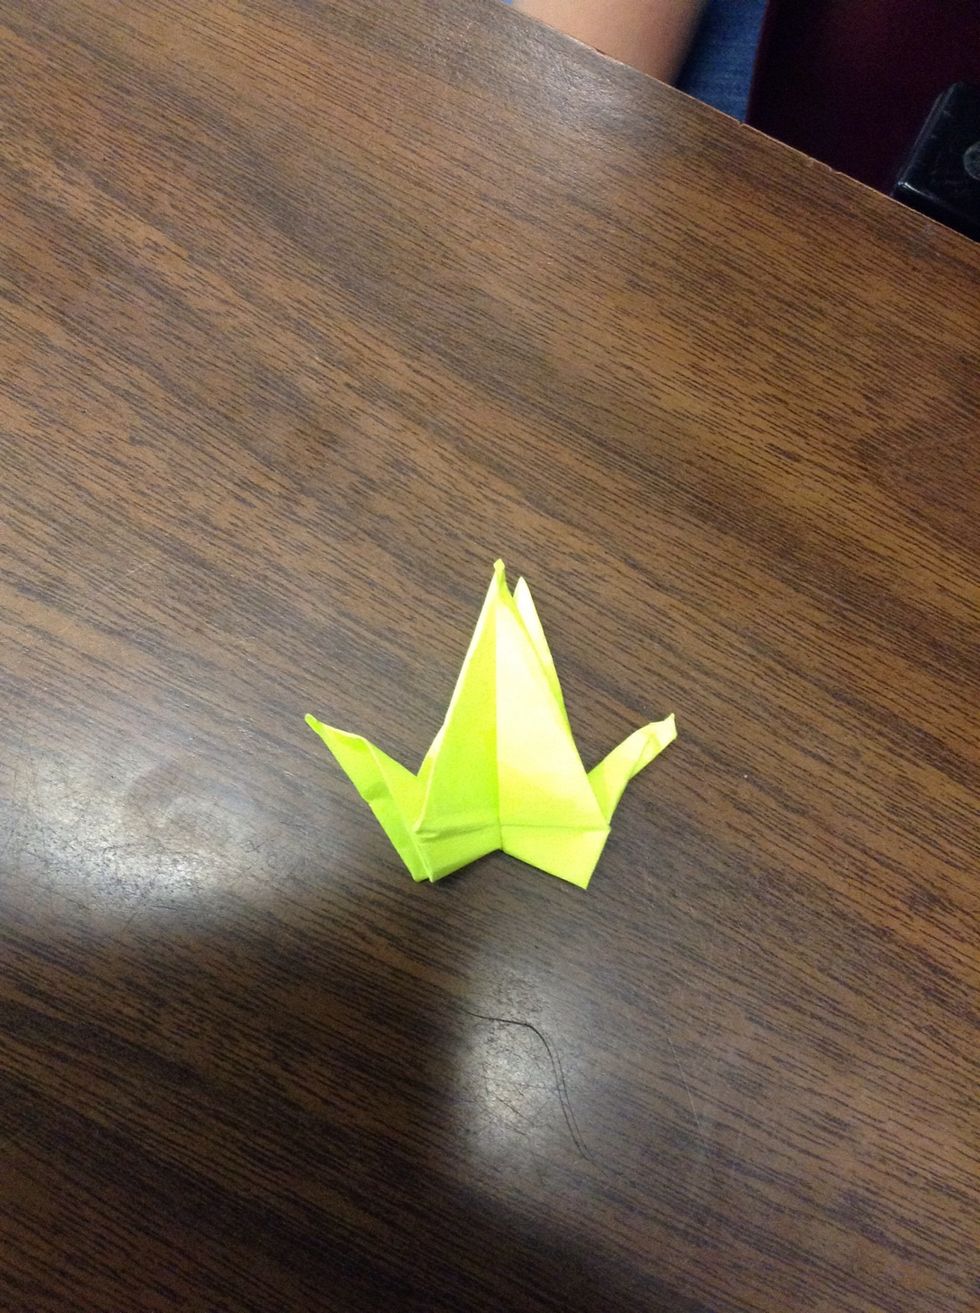
This is what it should look like.
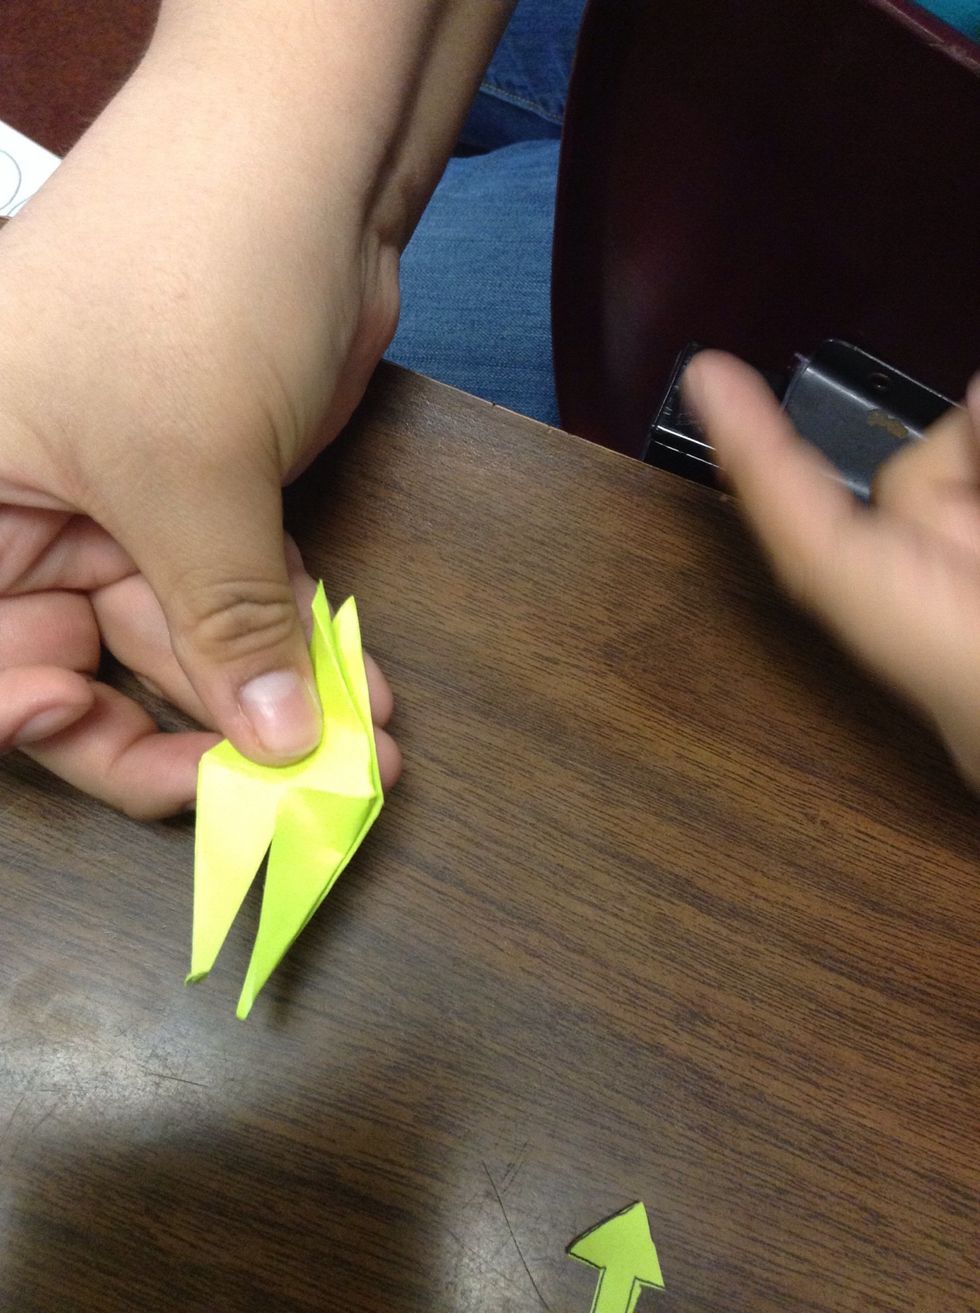
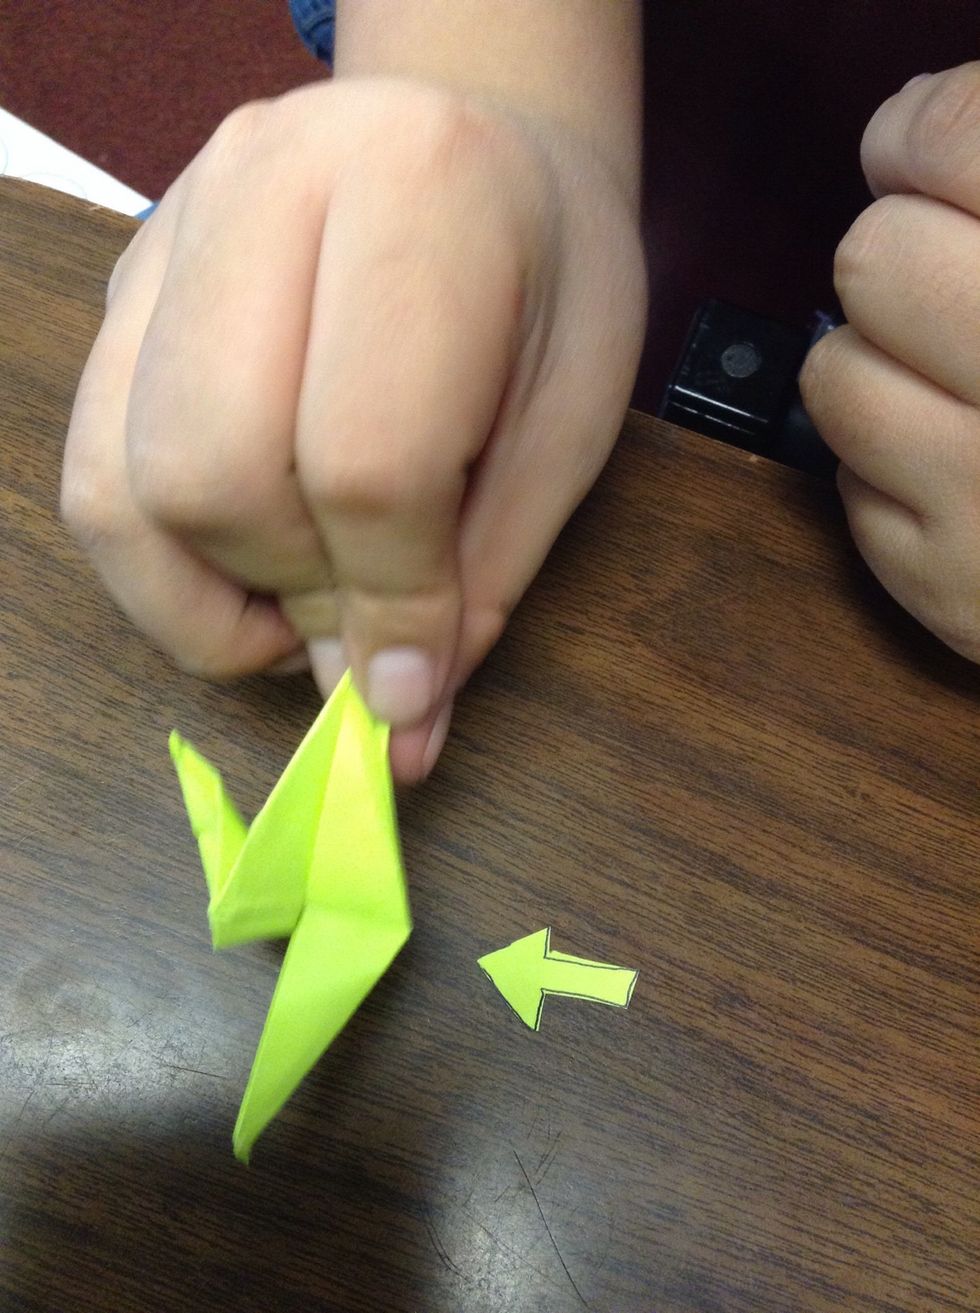
Repeat to the other side.
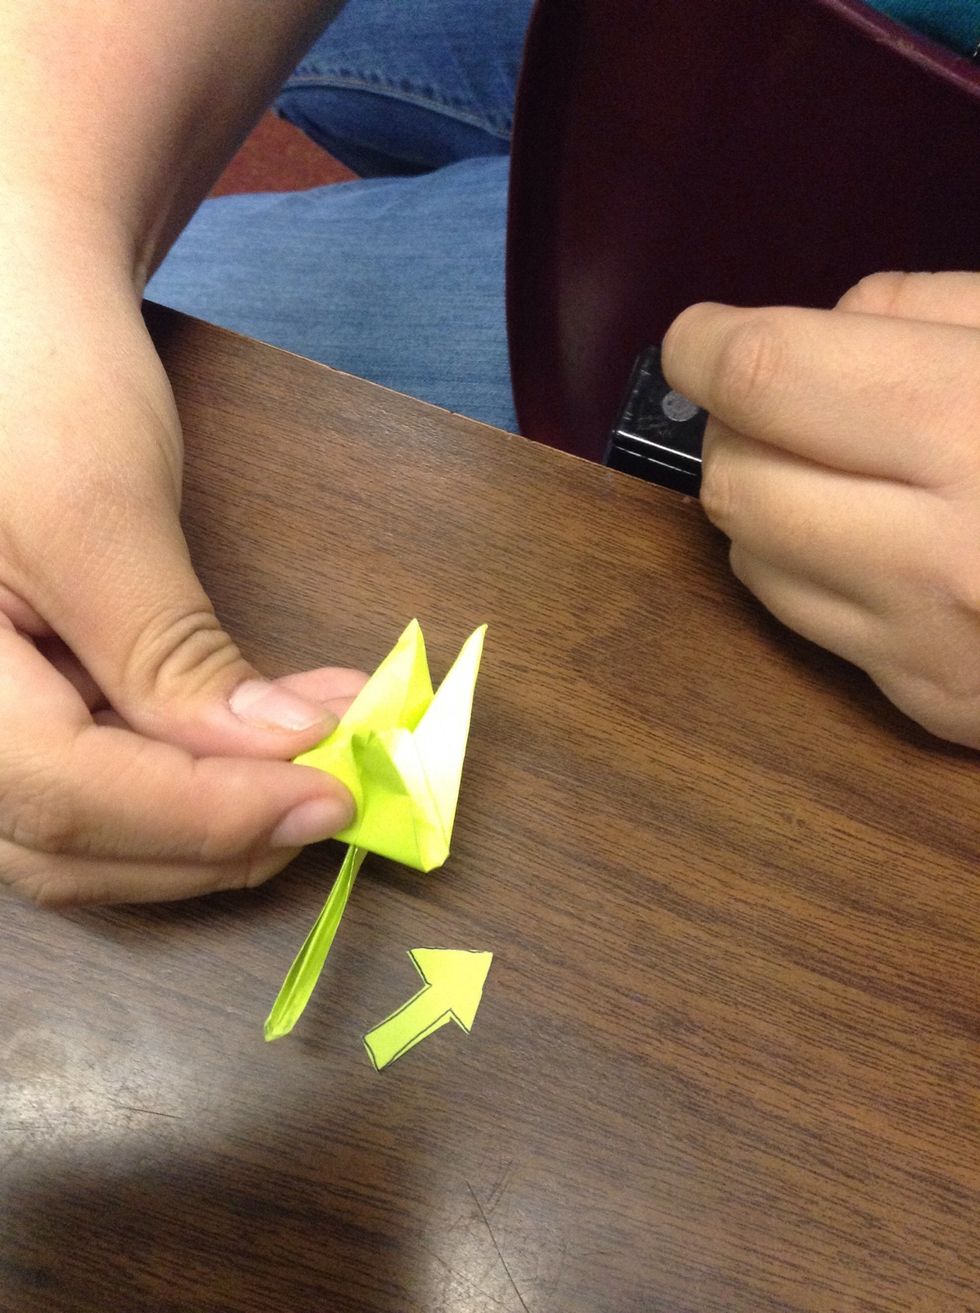
Take the wings and fold it at an angle so that the triangles point downward.
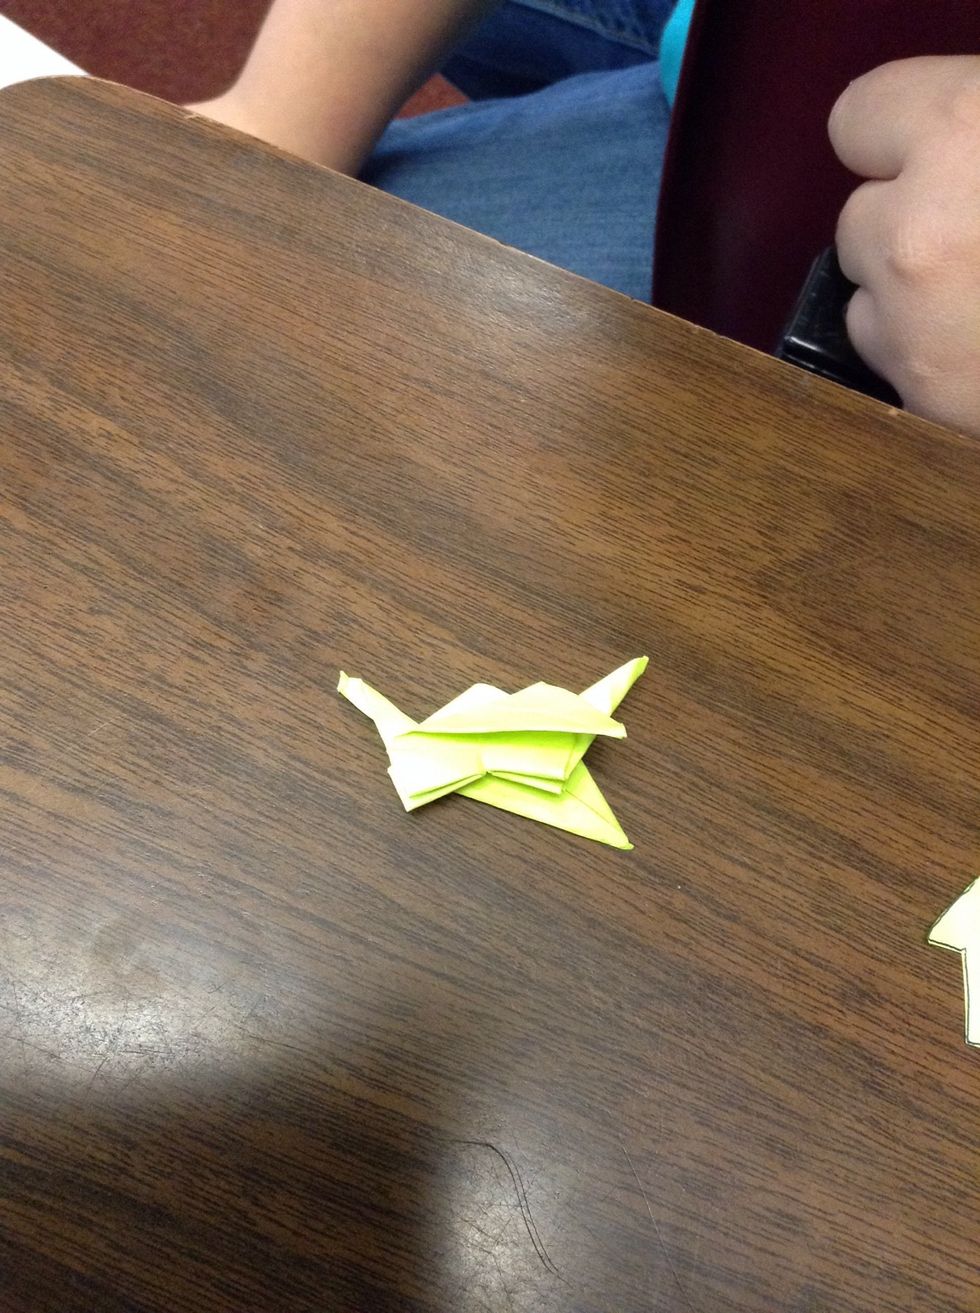
Take the leg where the triangles point down to and take a piece of the head and push it down.